Home>Furniture & Design>Outdoor Furniture>How To Fix A Stripped Outdoor Spigot
Outdoor Furniture
How To Fix A Stripped Outdoor Spigot
Modified: May 6, 2024
Learn how to easily fix a stripped outdoor spigot with our step-by-step guide. Keep your outdoor furniture and design intact with our expert tips.
(Many of the links in this article redirect to a specific reviewed product. Your purchase of these products through affiliate links helps to generate commission for Storables.com, at no extra cost. Learn more)
Introduction
Welcome to the world of outdoor living, where the gentle sway of a hammock and the aroma of freshly cut grass create the perfect backdrop for relaxation. However, even in this idyllic setting, practical issues can arise. One such issue is a stripped outdoor spigot, which can quickly turn a leisurely afternoon into a plumbing predicament.
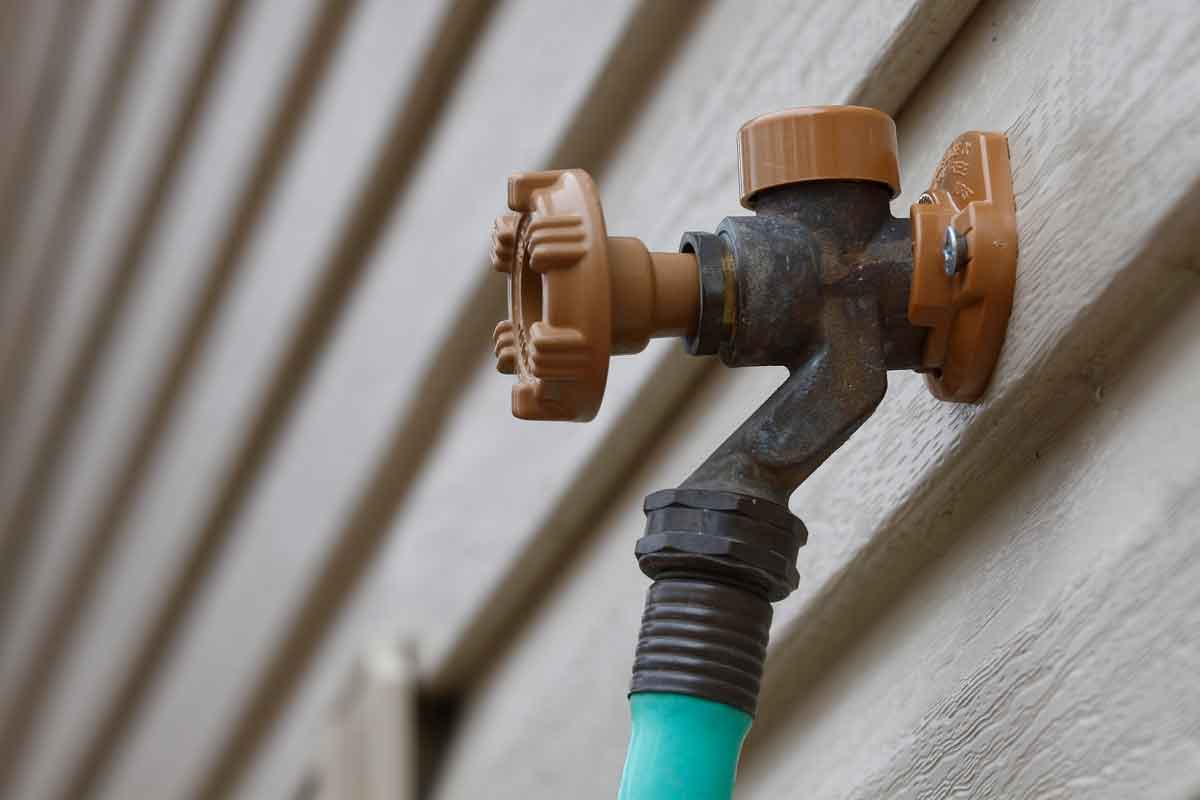
Imagine this: you're gearing up for a delightful barbecue with friends, the sun is shining, and the sizzle of the grill fills the air. You confidently turn the outdoor spigot handle, only to find that it spins endlessly without engaging the water flow. Panic sets in as you realize that the stripped spigot threatens to put a damper on your outdoor festivities.
But fear not! With a bit of know-how and some basic tools, you can tackle this problem head-on and restore the functionality of your outdoor spigot. In this guide, we'll walk you through the process of assessing the damage, gathering the necessary tools and materials, and executing the steps to fix a stripped outdoor spigot. By the end, you'll be equipped with the confidence to handle this common household issue and get back to enjoying the simple pleasures of outdoor living.
So, roll up your sleeves, put on your DIY cap, and let's dive into the world of outdoor spigot repair. Whether you're a seasoned DIY enthusiast or a novice looking to expand your home maintenance skills, this guide has got you covered. Let's embark on this repair journey and reclaim the convenience of a fully functional outdoor spigot!
Key Takeaways:
- Don’t let a stripped outdoor spigot ruin your outdoor fun! Assess the damage, gather the right tools, and follow the steps to fix it. You’ll be back to enjoying your outdoor space in no time!
- By fixing a stripped outdoor spigot, you’re not just restoring functionality – you’re gaining DIY skills and nurturing your home. Embrace the satisfaction of overcoming challenges and caring for your living space!
Read more: How To Fix A Dripping Outdoor Spigot
Assessing the Damage
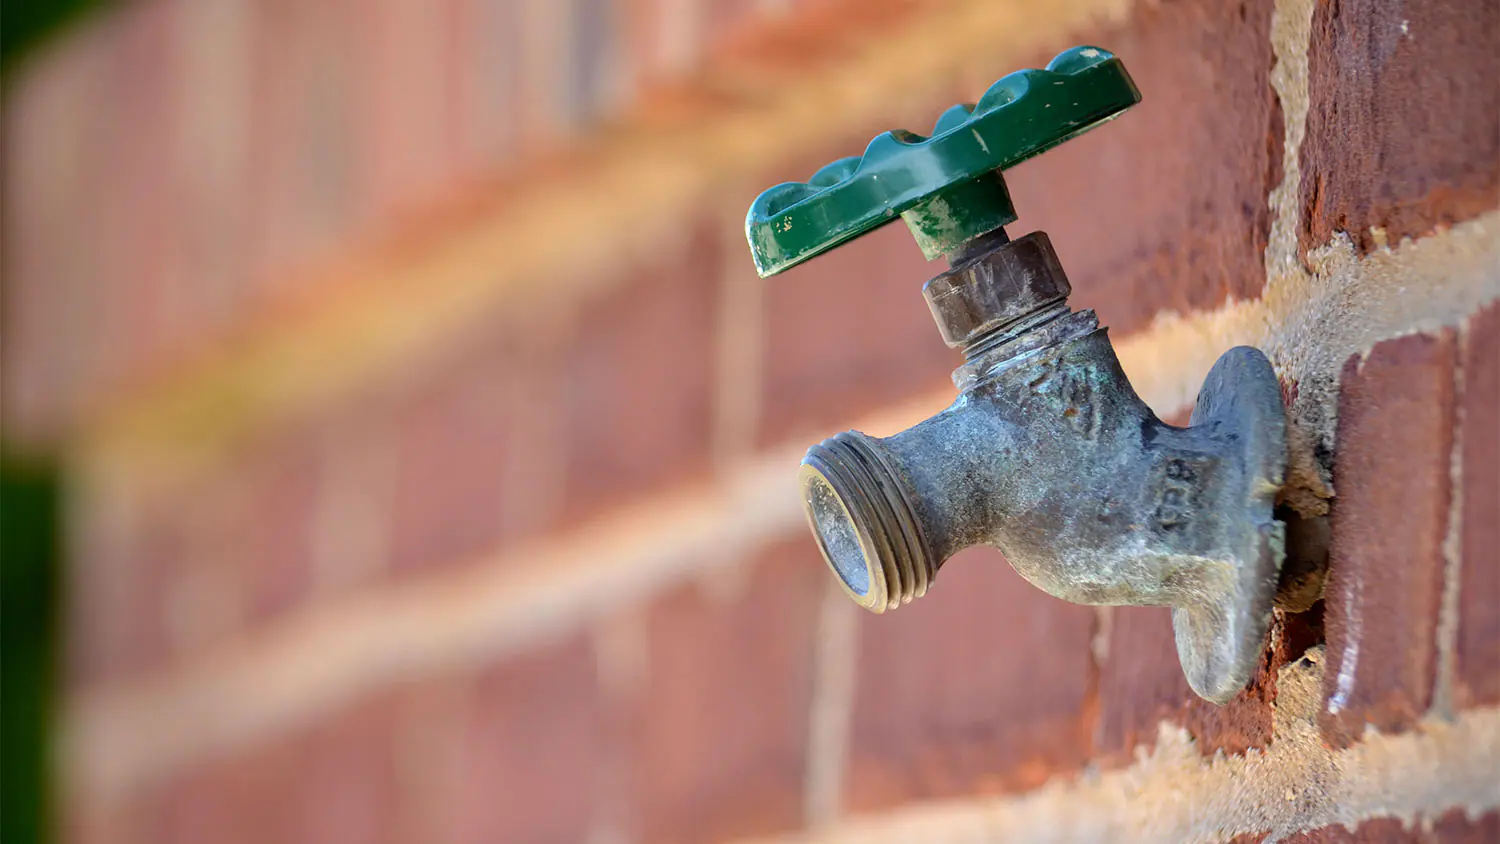
Before diving into the repair process, it’s crucial to assess the extent of the damage to your outdoor spigot. A stripped spigot typically results from wear and tear, over-tightening, or corrosion, leading to the inability to grip and turn the handle effectively. Here’s how you can evaluate the condition of your outdoor spigot:
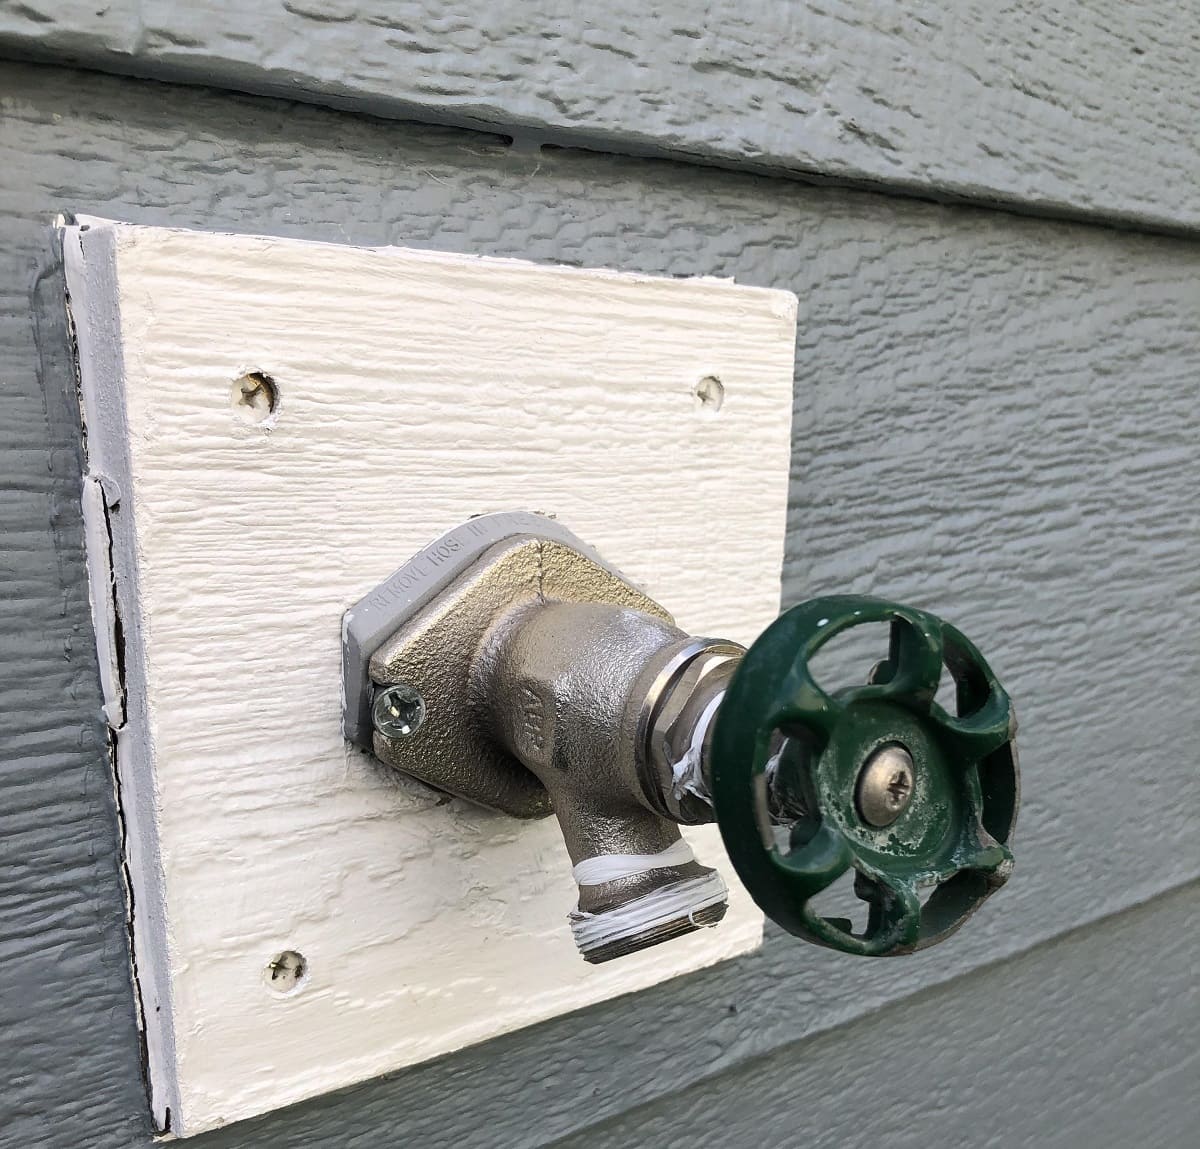
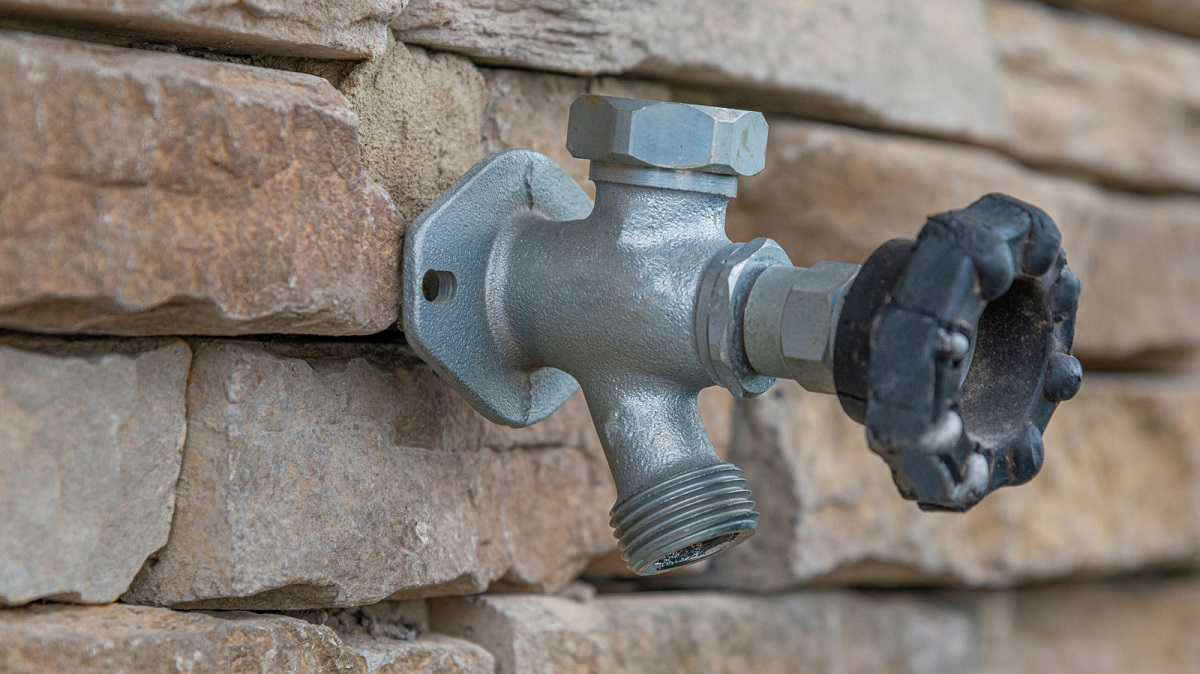
- Visual Inspection: Begin by visually examining the handle and the area around the spigot. Look for any signs of physical damage, such as cracks, fractures, or visible wear on the handle’s gripping surface. Additionally, check for rust or corrosion, as these can contribute to the stripping of the spigot threads.
- Operational Test: Attempt to turn the spigot handle and observe its behavior. If the handle spins freely without engaging the water flow, it indicates a potential stripping issue. Take note of any unusual resistance or grinding sensations, as these could signify underlying problems.
- Water Leakage: Inspect the spigot for any signs of water leakage when it’s in the closed position. A leaking spigot, in addition to the spinning handle, may indicate internal damage or deteriorated seals, which should be addressed during the repair process.
Once you’ve evaluated the condition of the spigot and identified the specific issues, you’ll be better equipped to proceed with the necessary repairs. Understanding the nature of the damage will guide your tool and material selection and inform the approach you’ll take to fix the stripped outdoor spigot. With a clear assessment in hand, you’re ready to move on to the next phase of the repair journey.
Tools and Materials Needed
Equipping yourself with the right tools and materials is essential for effectively addressing a stripped outdoor spigot. Here’s a comprehensive list of what you’ll need to embark on this repair mission:
Tools:
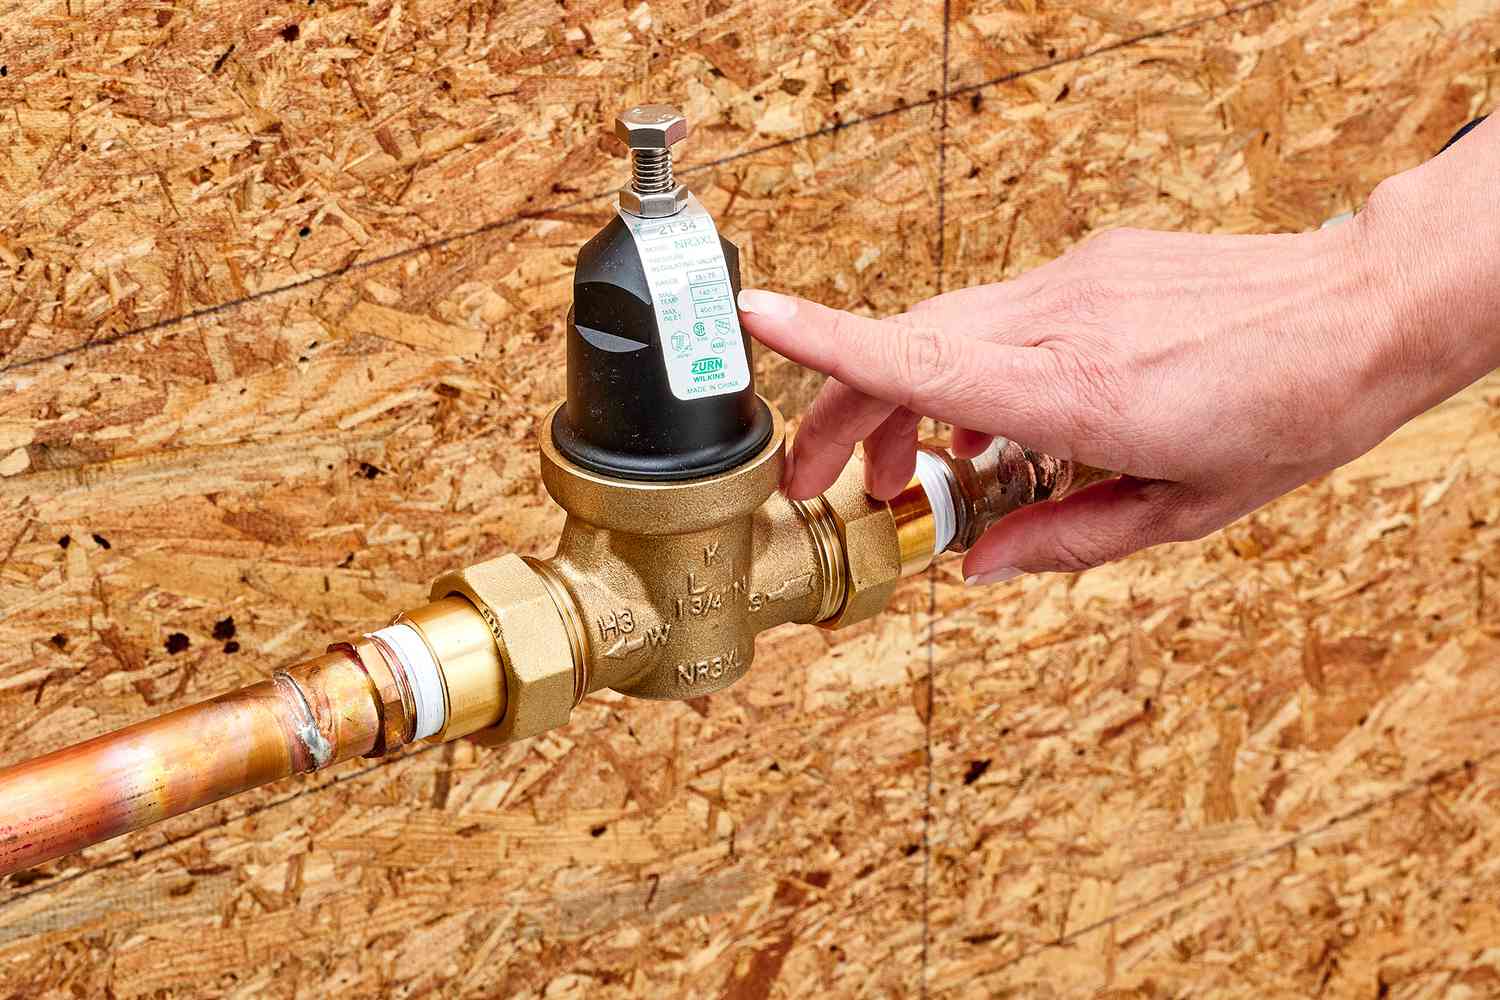
- Adjustable Wrench: A versatile tool for gripping and turning hexagonal nuts and bolts, the adjustable wrench will be crucial for loosening and removing the spigot handle and other components.
- Phillips Screwdriver: This tool will come in handy for removing screws or fasteners securing the spigot handle or cover plate.
- Pipe Wrench: For tackling stubborn or corroded components, a pipe wrench provides the necessary gripping power to loosen and remove the spigot from its connection point.
- Plumber's Tape: Also known as Teflon tape, this thin, white tape is used to seal the threads of pipe fittings, preventing leaks and providing a secure connection.
- Wire Brush: Useful for cleaning and removing debris or corrosion from the spigot threads and connection point, ensuring a smooth and secure fit during reassembly.
- Bucket: Having a bucket on hand will allow you to catch any residual water that may drain from the spigot during the repair process, preventing unnecessary mess and water wastage.
Materials:
- Replacement Spigot: Depending on the severity of the damage, you may need to acquire a new outdoor spigot to replace the stripped one. Ensure that the replacement spigot matches the size and configuration of your existing setup.
- Replacement Washers and O-Rings: If your assessment reveals deteriorated or damaged washers and O-rings, it's advisable to have replacements on hand to ensure a watertight seal upon reassembly.
- Lubricating Oil or Grease: Applying a lubricant to the spigot threads and moving parts can aid in smooth operation and prevent future corrosion or seizing.
- Penetrating Oil: In cases where components are seized or corroded, a penetrating oil can help loosen stubborn connections, making disassembly easier.
- Rag or Towel: Keeping a rag or towel nearby will allow you to wipe down components and clean up any spills or excess water, maintaining a tidy work area.
By ensuring that you have these tools and materials at your disposal, you’ll be well-prepared to tackle the repair of your stripped outdoor spigot. With everything in place, you’re ready to move on to the practical steps of fixing the spigot and restoring its functionality.
Read more: How To Change An Outdoor Spigot
Steps to Fix a Stripped Outdoor Spigot
With a clear understanding of the damage and the necessary tools and materials at your disposal, it’s time to roll up your sleeves and embark on the repair process. Follow these step-by-step instructions to address the issue of a stripped outdoor spigot:
Step 1: Turn Off the Water Supply
Before initiating any work on the spigot, it’s crucial to shut off the water supply to the outdoor faucet. This can usually be accomplished by locating the indoor shut-off valve connected to the outdoor spigot and turning it to the closed position. Once the water supply is secured, open the spigot to drain any residual water from the line.
Step 2: Remove the Spigot Handle
Using an adjustable wrench, carefully loosen and remove the handle of the outdoor spigot. In some cases, a Phillips screwdriver may be needed to detach any screws or fasteners securing the handle or cover plate. Once the handle is removed, inspect the exposed components for signs of wear, corrosion, or damage.
Step 3: Assess the Spigot Threads
With the handle removed, visually inspect the threads of the spigot and the connection point for any signs of stripping or damage. Use a wire brush to clean the threads and remove any debris or corrosion that may hinder the reassembly process. If the threads are severely stripped, it may be necessary to replace the entire spigot with a new unit.
Read more: How To Winterize An Outdoor Spigot
Step 4: Apply Lubrication and Penetrating Oil
If the spigot threads and components show signs of corrosion or seizing, apply a lubricating oil or grease to the threads and moving parts. For stubborn or corroded connections, use a penetrating oil to help loosen the components and facilitate disassembly. Allow the oil to penetrate for a few minutes before attempting to loosen the connections.
Step 5: Loosen and Remove the Spigot
Using a pipe wrench, carefully loosen and remove the outdoor spigot from its connection point. Exercise caution to avoid damaging the surrounding plumbing or fixtures during this process. If the spigot is severely corroded or stuck, the penetrating oil applied in the previous step will aid in loosening the connections.
Step 6: Install the Replacement Spigot (if necessary)
If the assessment reveals irreparable damage to the spigot threads, proceed to install the replacement spigot. Ensure that the new spigot matches the size and configuration of the existing setup. Apply plumber’s tape to the threads of the new spigot to create a secure and leak-free connection.
Step 7: Reassemble and Test the Spigot
Once the necessary repairs or replacements have been made, reassemble the spigot components in the reverse order of removal. Tighten the connections securely using the appropriate tools, ensuring that the spigot handle operates smoothly and engages the water flow effectively. Turn on the water supply and test the spigot for leaks and proper functionality.
By following these systematic steps, you can effectively address a stripped outdoor spigot and restore its operational integrity. With the repair process completed, it’s time to put the spigot to the test and ensure that your outdoor water supply is back in working order.
Read more: How To Raise An Outdoor Spigot
Testing the Repairs
With the repair process completed, it’s time to put your handiwork to the test and ensure that the stripped outdoor spigot is fully functional. Follow these steps to verify the success of your repairs and confirm that the spigot operates as intended:
Step 1: Turn On the Water Supply
Return to the indoor shut-off valve connected to the outdoor spigot and carefully turn it to the open position to restore the water supply. As the water flow resumes, listen for any unusual sounds or indications of leaks near the spigot’s connection point.
Step 2: Test the Spigot Handle
Gently turn the spigot handle to engage the water flow. Confirm that the handle operates smoothly without excessive resistance or wobbling. Pay attention to the feel of the handle and observe its behavior to ensure that it effectively controls the water flow.
Step 3: Check for Leaks
Closely inspect the area around the spigot and the connection point for any signs of water leakage. Even a minor drip can indicate an imperfect seal or a faulty connection. Use a dry towel or rag to wipe the area and detect any moisture that may signal a leak.
Read more: How To Extend Outdoor Water Spigot
Step 4: Verify Water Flow
Allow the spigot to run for a few moments and observe the water flow. Ensure that the water exits the spigot in a steady stream without irregular spurts or fluctuations. This confirms that the internal components and seals are functioning properly.
Step 5: Perform a Functionality Test
Test the spigot’s functionality by attaching a hose or other accessories and using the water supply for various outdoor tasks. This will provide a real-world assessment of the spigot’s performance and durability under typical usage conditions.
If the testing phase reveals any issues such as leaks, irregular water flow, or operational deficiencies, revisit the repair steps to identify and address the underlying problems. By conducting a thorough testing process, you can ensure that your outdoor spigot is fully restored and ready to serve your outdoor watering and cleaning needs.
Conclusion
Congratulations on successfully navigating the process of fixing a stripped outdoor spigot! By taking the initiative to address this common household issue, you’ve not only restored the functionality of your outdoor water supply but also gained valuable insights into DIY plumbing repairs. As you reflect on this repair journey, it’s important to acknowledge the skills and knowledge you’ve acquired along the way.
Repairing a stripped outdoor spigot is a testament to the spirit of resourcefulness and self-sufficiency. By assessing the damage, gathering the necessary tools and materials, and executing the repair steps, you’ve demonstrated a proactive approach to maintaining your home and outdoor living space. Embracing DIY repairs empowers you to tackle challenges head-on and fosters a sense of accomplishment as you witness the tangible results of your efforts.
Furthermore, the experience of repairing a stripped spigot has equipped you with valuable problem-solving skills and practical know-how. As you enjoy the convenience of a fully functional outdoor spigot, remember that the knowledge and confidence you’ve gained can be applied to future home maintenance endeavors. Whether it’s addressing a leaky faucet, unclogging a drain, or undertaking other plumbing tasks, you now possess a foundation of skills that can be leveraged to maintain and enhance your living environment.
As you bask in the satisfaction of a job well done, take a moment to appreciate the resilience and ingenuity that DIY repairs embody. Your willingness to engage with home maintenance tasks not only saves time and resources but also fosters a deeper connection to your living space. Embracing the art of repair and maintenance allows you to become an active steward of your home, nurturing its functionality and longevity.
So, as you continue to savor the joys of outdoor living, let the experience of fixing a stripped outdoor spigot serve as a reminder of your ability to overcome challenges and nurture your living environment. With each repair and improvement, you contribute to the harmony and vitality of your home, creating a space that reflects your care and dedication.
Now, armed with the knowledge and confidence to tackle household repairs, you’re ready to embark on future DIY endeavors with a sense of empowerment and enthusiasm. Whether it’s a simple fix or a more complex project, remember that the spirit of DIY repair is a journey of discovery, growth, and the fulfillment of turning a house into a cherished home.
Once you've managed to repair that outdoor spigot, why stop there? Every homestead requires regular upkeep, so consider diving into more useful guidance. Unsure whether your pipes demand professional attention? Our article on when your pipes might need professional help offers clear indicators. For those eager to enhance their dwelling with personal touches, our practical steps for enhancing your home guide provides practical steps. Regular check-ups can prevent major issues; learn what tasks are crucial with our guide on essential tasks for homeowners. Each piece is crafted to assist you in keeping your home in peak condition effortlessly.
Frequently Asked Questions about How To Fix A Stripped Outdoor Spigot
Was this page helpful?
At Storables.com, we guarantee accurate and reliable information. Our content, validated by Expert Board Contributors, is crafted following stringent Editorial Policies. We're committed to providing you with well-researched, expert-backed insights for all your informational needs.


0 thoughts on “How To Fix A Stripped Outdoor Spigot”