Home>Furniture & Design>Outdoor Furniture>How To Fix A Dripping Outdoor Spigot
Outdoor Furniture
How To Fix A Dripping Outdoor Spigot
Modified: August 17, 2024
Learn how to easily fix a dripping outdoor spigot and prevent water wastage with our comprehensive guide. Keep your outdoor furniture and design intact with these simple tips.
(Many of the links in this article redirect to a specific reviewed product. Your purchase of these products through affiliate links helps to generate commission for Storables.com, at no extra cost. Learn more)
Introduction
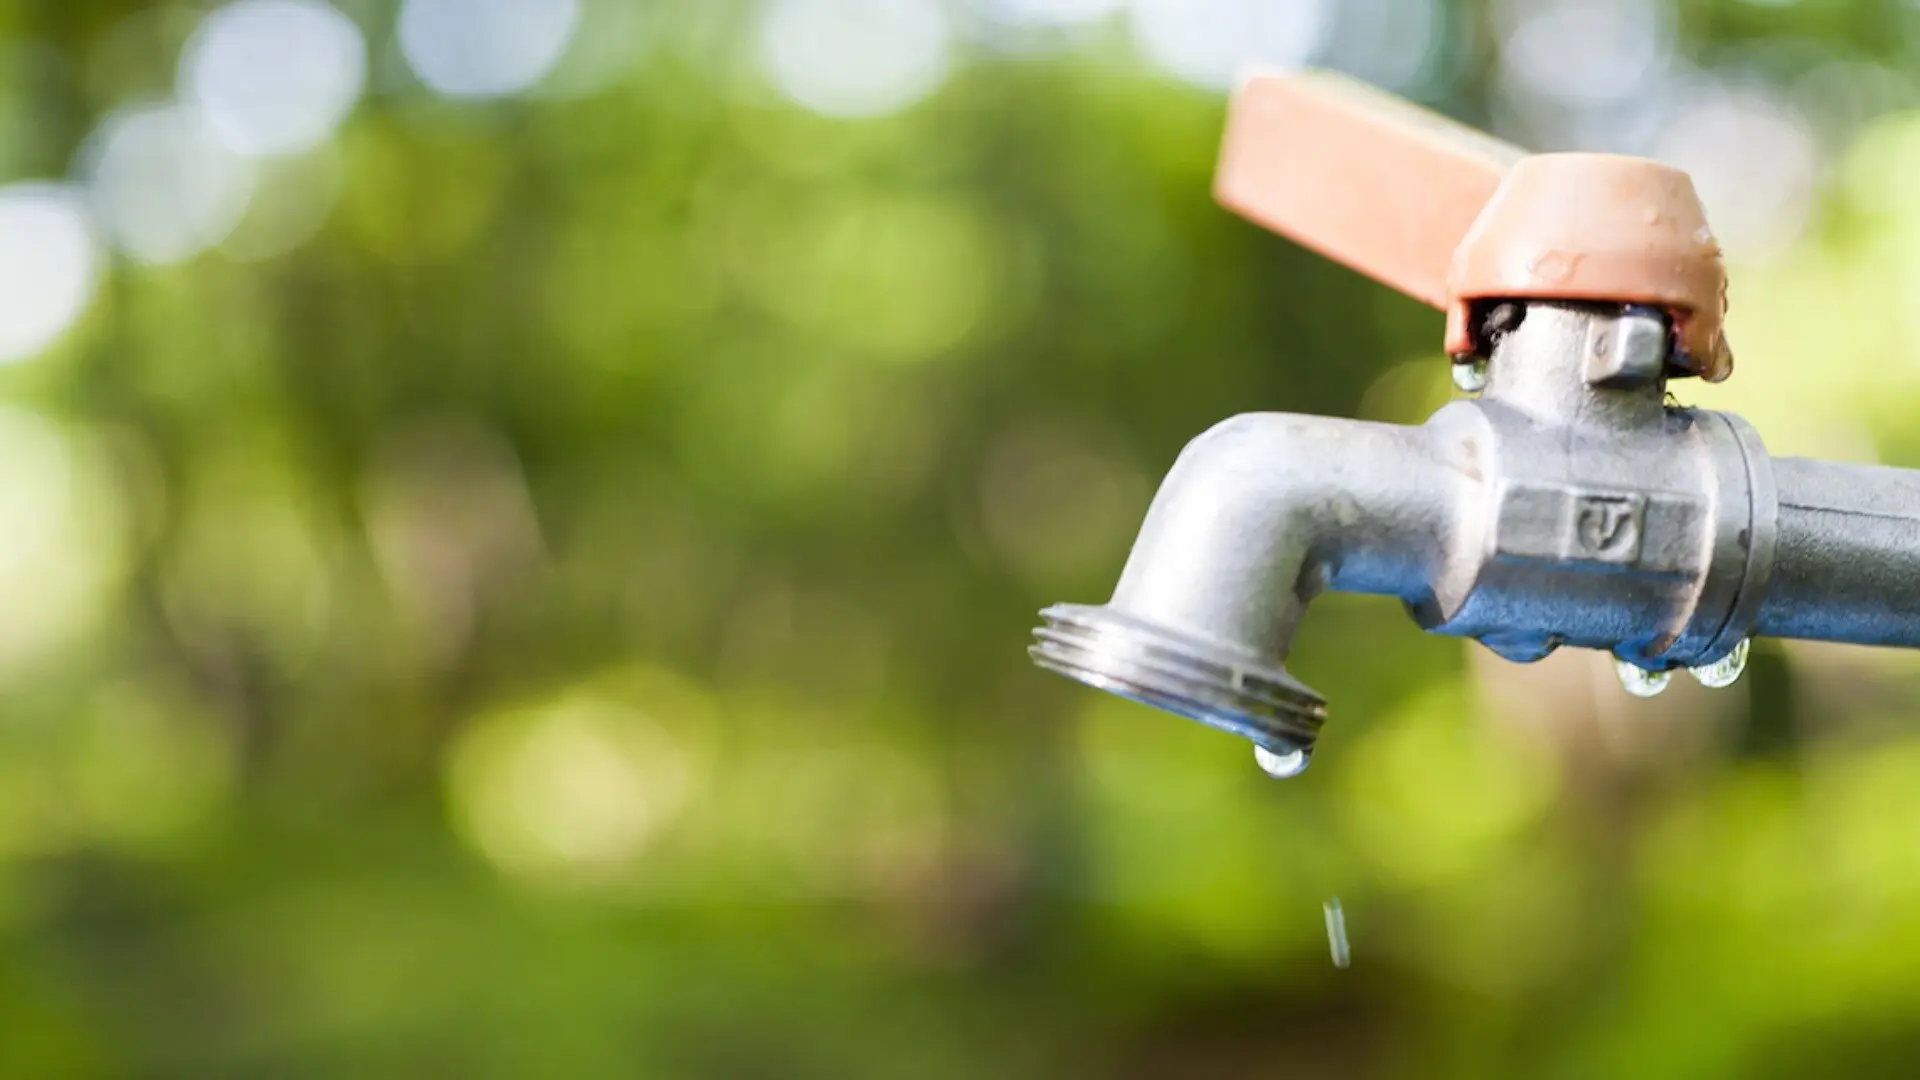
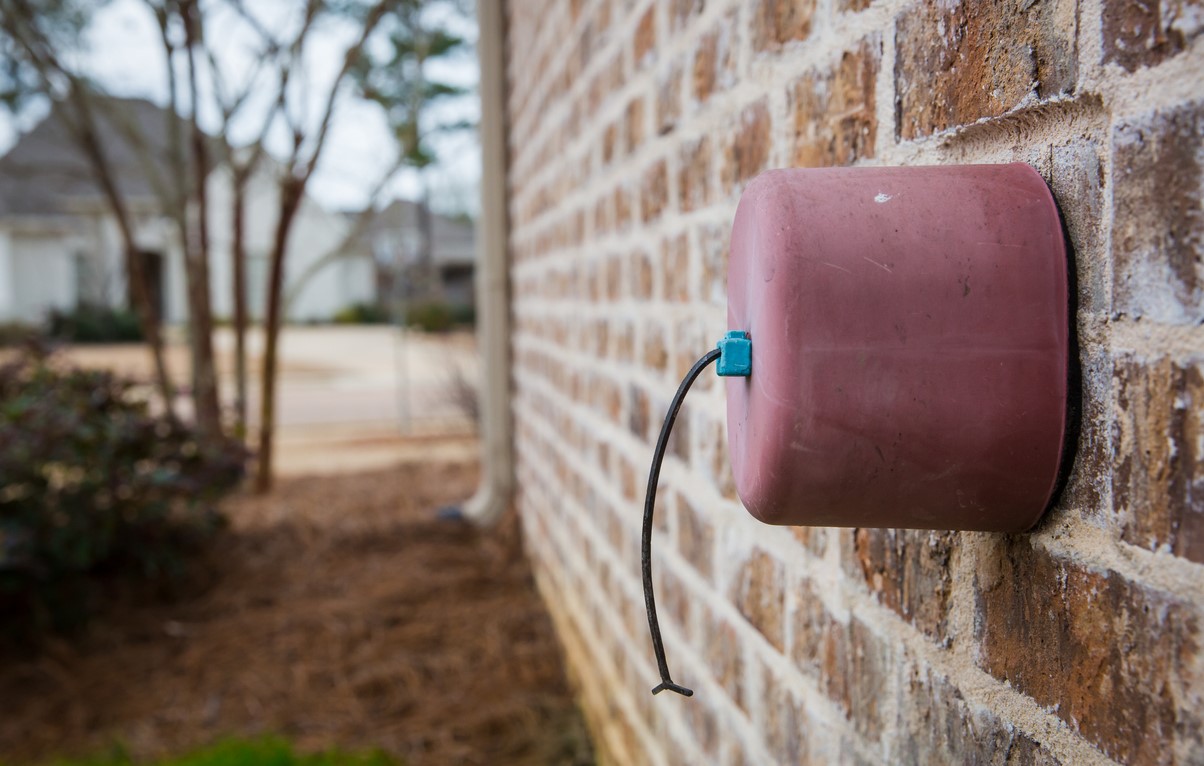
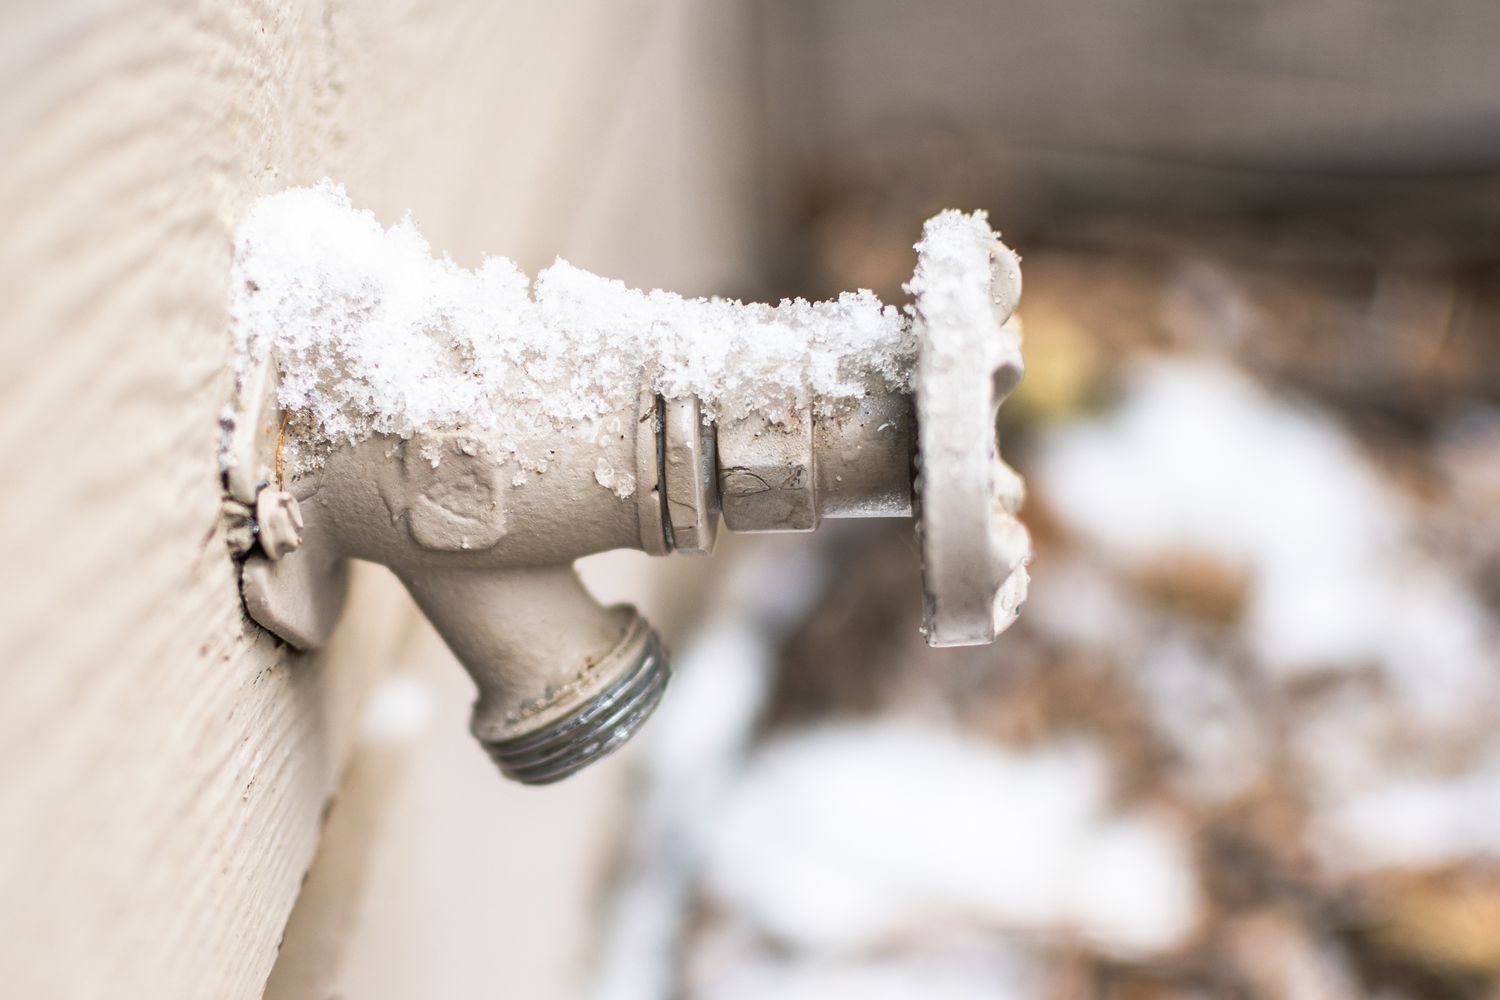
When you're enjoying a beautiful day in your outdoor living space, the last thing you want to deal with is a dripping outdoor spigot. Not only is the constant dripping an annoyance, but it can also lead to water wastage and potentially cause damage to your outdoor fixtures. However, fear not, as fixing a dripping outdoor spigot is a manageable task that you can tackle with just a few tools and a little know-how.
In this guide, we'll walk you through the step-by-step process of fixing a dripping outdoor spigot. You'll learn how to identify the issue, disassemble the spigot, replace the faulty parts, and reassemble everything to restore your spigot to its leak-free glory. With a bit of patience and the right tools, you can resolve this common household annoyance and get back to enjoying your outdoor oasis without the pesky drip, drip, drip. Let's dive in and get that spigot fixed!
Key Takeaways:
- Don’t let a dripping outdoor spigot ruin your outdoor oasis. With the right tools and know-how, you can easily fix the issue and enjoy a leak-free watering experience.
- Regular maintenance and prompt repairs are key to keeping your outdoor fixtures in top condition. By addressing a dripping spigot, you can prevent water wastage and ensure a functional outdoor space.
Read more: How To Fix A Stripped Outdoor Spigot
Tools and Materials
Before you embark on fixing your dripping outdoor spigot, it’s essential to gather the necessary tools and materials. Having the right items on hand will ensure a smooth and efficient repair process. Here’s what you’ll need:
- Adjustable wrench
- Phillips head screwdriver
- Flat head screwdriver
- Replacement washer
- Pipe joint compound or plumber’s tape
- Rag or towel
These basic tools and materials will equip you to address the most common issues causing a dripping outdoor spigot. Once you have everything ready, you’ll be prepared to tackle the repair with confidence and precision. Now that you’ve gathered your supplies, it’s time to move on to the next step: turning off the water supply.
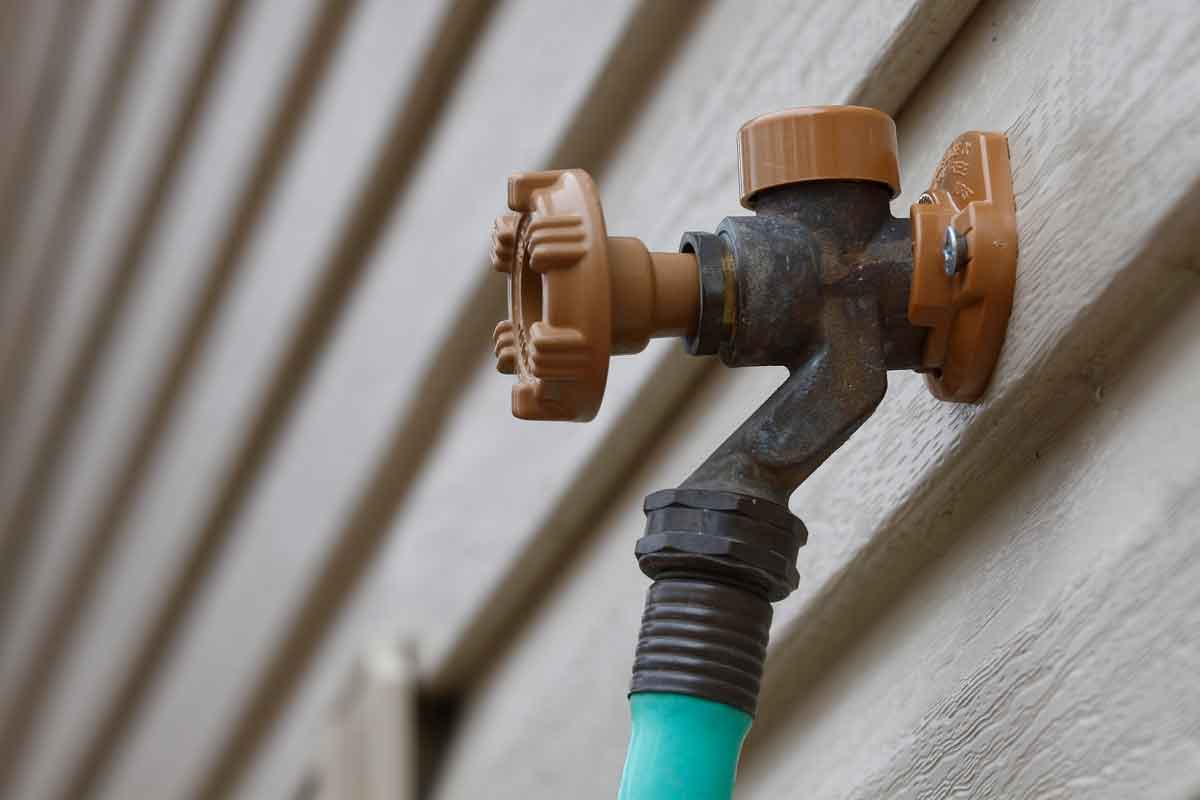
Step 1: Turn Off the Water
Before you begin working on the outdoor spigot, it’s crucial to shut off the water supply to the area. This step ensures that you can work on the spigot without water flowing and causing potential mess or complications. Here’s how to turn off the water:
- Locate the main water shut-off valve for your outdoor spigot. This valve is typically found near the area where the spigot is installed, often inside the house or in a utility area.
- Turn the valve handle or knob in a clockwise direction to shut off the water supply. If the valve is difficult to turn, use a wrench to assist with the task, being careful not to apply excessive force that could damage the valve.
- Once the water supply is turned off, open the outdoor spigot to release any remaining water in the line. This step helps prevent excess water from spilling out when you disassemble the spigot.
By following these steps to turn off the water, you’ll create a safe and dry environment to proceed with fixing the dripping outdoor spigot. With the water supply cut off, you can now move on to the next phase of the repair process: disassembling the spigot to identify the cause of the drip.
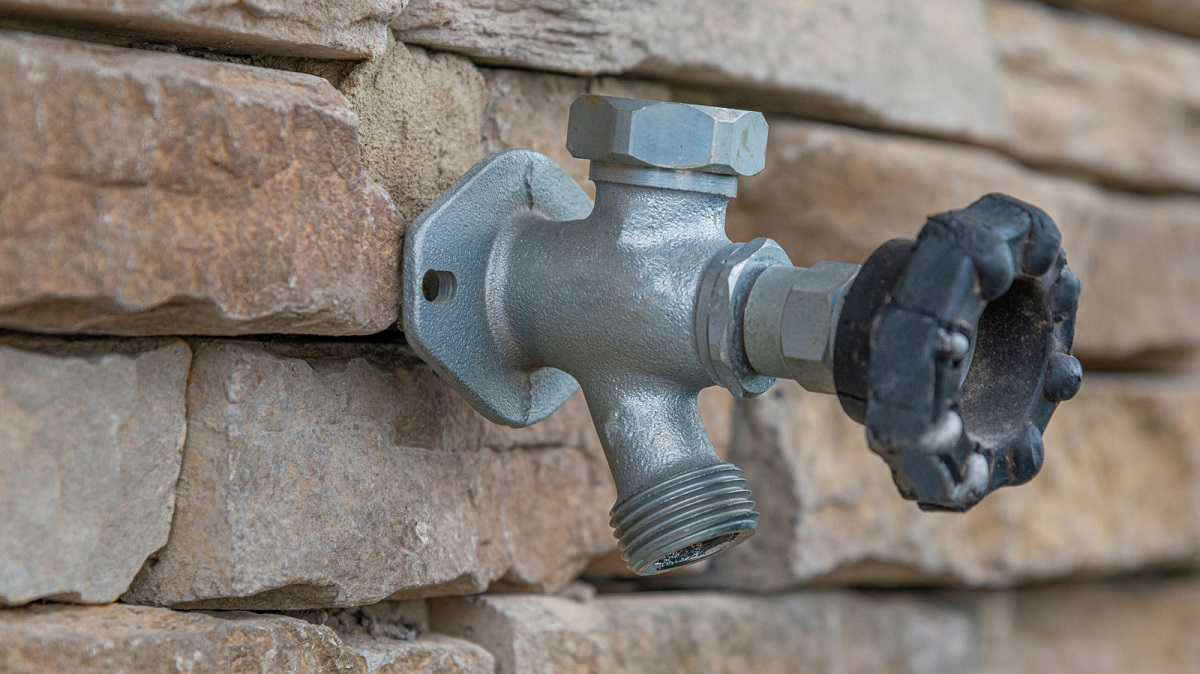
Step 2: Disassemble the Spigot
With the water supply turned off, you’re ready to begin disassembling the outdoor spigot to pinpoint the source of the drip. Follow these steps to disassemble the spigot:
- Use an adjustable wrench to loosen and remove the bonnet nut located just below the handle of the spigot. Turn the nut counterclockwise to loosen it and then continue unscrewing it by hand.
- Once the bonnet nut is removed, carefully pull out the spigot stem assembly. This assembly typically consists of the stem, O-ring, and a rubber washer at the end.
- Inspect the rubber washer for signs of wear, damage, or deterioration. A worn-out washer is a common cause of a dripping spigot. If the washer appears worn or damaged, it will need to be replaced.
- Using a flat head screwdriver, gently remove the old washer from the end of the spigot stem. Take note of the size and shape of the washer to ensure you select the correct replacement.
- Inspect the O-ring for any signs of damage or wear. While the washer is the primary culprit for a dripping spigot, a damaged O-ring can also contribute to leaks.
By carefully disassembling the spigot and examining the components, you’ll be able to identify the cause of the drip and determine if the washer needs replacement. With the worn washer identified, it’s time to move on to the next step: replacing the washer to resolve the dripping issue.
Turn off the water supply to the spigot. Remove the handle and replace the washer inside. If the leak persists, the valve seat may need to be replaced.
Step 3: Replace the Washer
Now that you’ve identified the worn or damaged washer as the likely culprit behind the dripping outdoor spigot, it’s time to replace it with a new one. Follow these steps to replace the washer:
- Take the old washer to a hardware store or home improvement center to ensure you select a replacement of the correct size and type. Washers come in various sizes and materials, so having the old washer as a reference will help you find the right match.
- Once you have the replacement washer, place it onto the end of the spigot stem, ensuring it fits snugly and sits flush against the bottom of the stem.
- If the spigot stem’s O-ring shows signs of damage or wear, consider replacing it as well. A new O-ring can help create a better seal and prevent future leaks.
- Apply a thin layer of pipe joint compound or wrap plumber’s tape around the threads of the spigot stem. This step helps create a secure and watertight seal when reassembling the spigot.
By replacing the worn washer and, if necessary, the O-ring, you’re taking a crucial step toward resolving the dripping outdoor spigot. With the new components in place, you’re ready to reassemble the spigot and test for leaks. Let’s move on to the next step to complete the repair process.
Read more: How To Change An Outdoor Spigot
Step 4: Reassemble the Spigot
With the new washer and, if needed, the replaced O-ring in position, it’s time to reassemble the outdoor spigot. Follow these steps to put the spigot back together:
- Insert the spigot stem assembly, including the new washer and, if replaced, the O-ring, back into the spigot housing.
- Reinstall the bonnet nut by screwing it onto the spigot stem in a clockwise direction. Use an adjustable wrench to tighten the bonnet nut securely, ensuring a snug fit to prevent leaks.
- Turn the outdoor spigot handle to the closed position to prepare for the next crucial step: testing the spigot for leaks.
By carefully reassembling the spigot and ensuring that the components are securely in place, you’re setting the stage for the final phase of the repair process. With the spigot reassembled, it’s time to move on to the next step: testing the spigot to confirm that the drip has been successfully resolved.
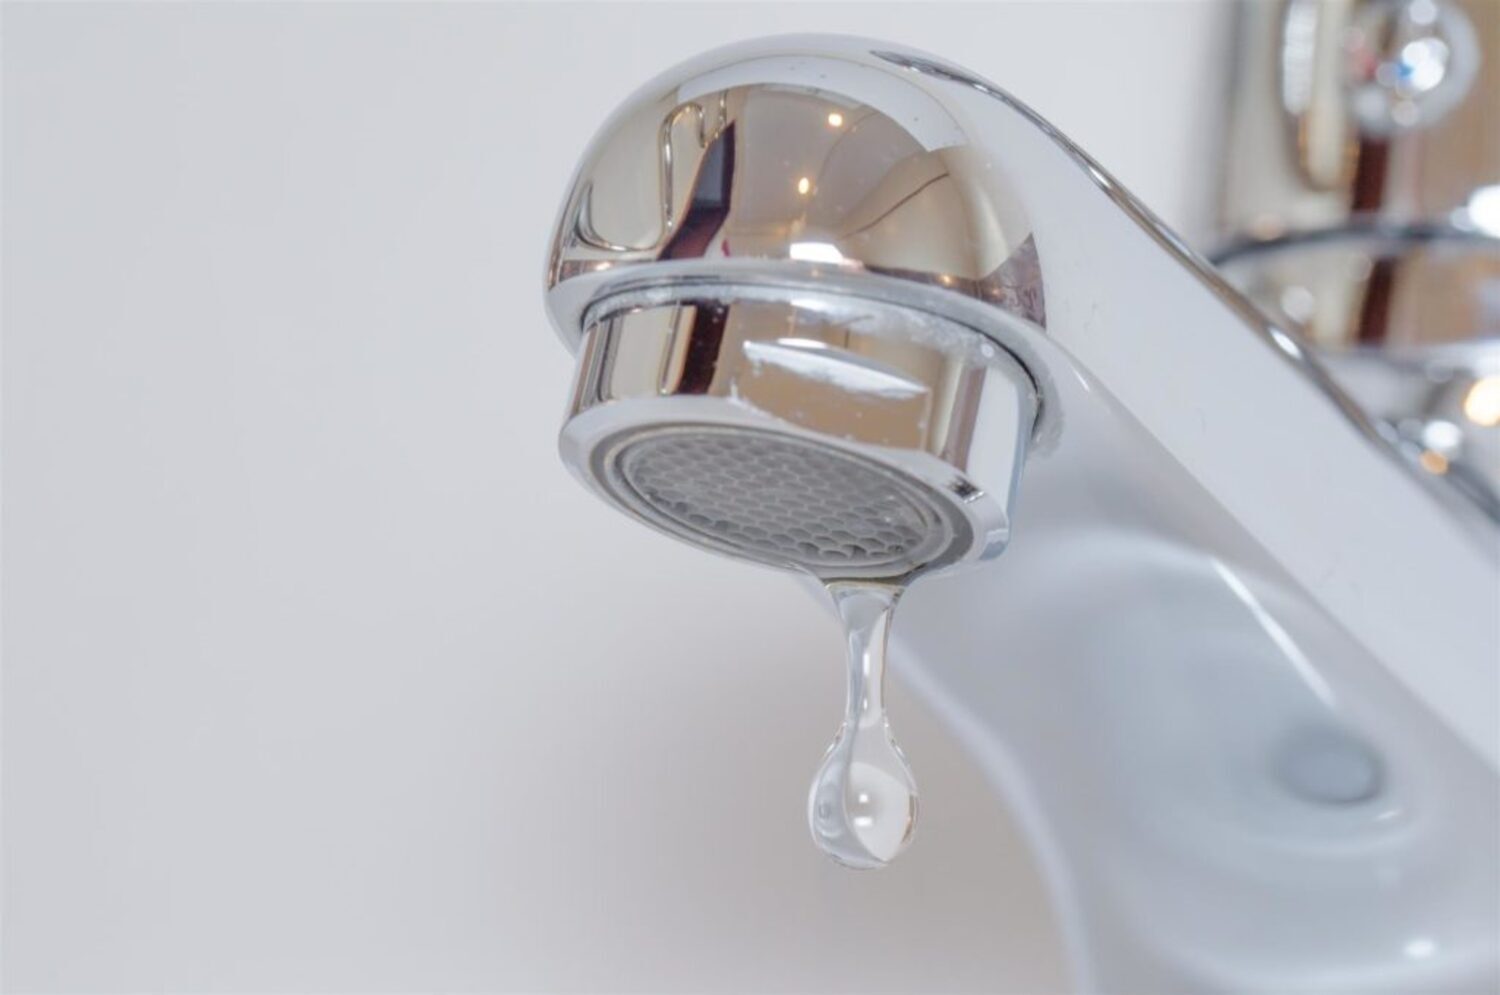
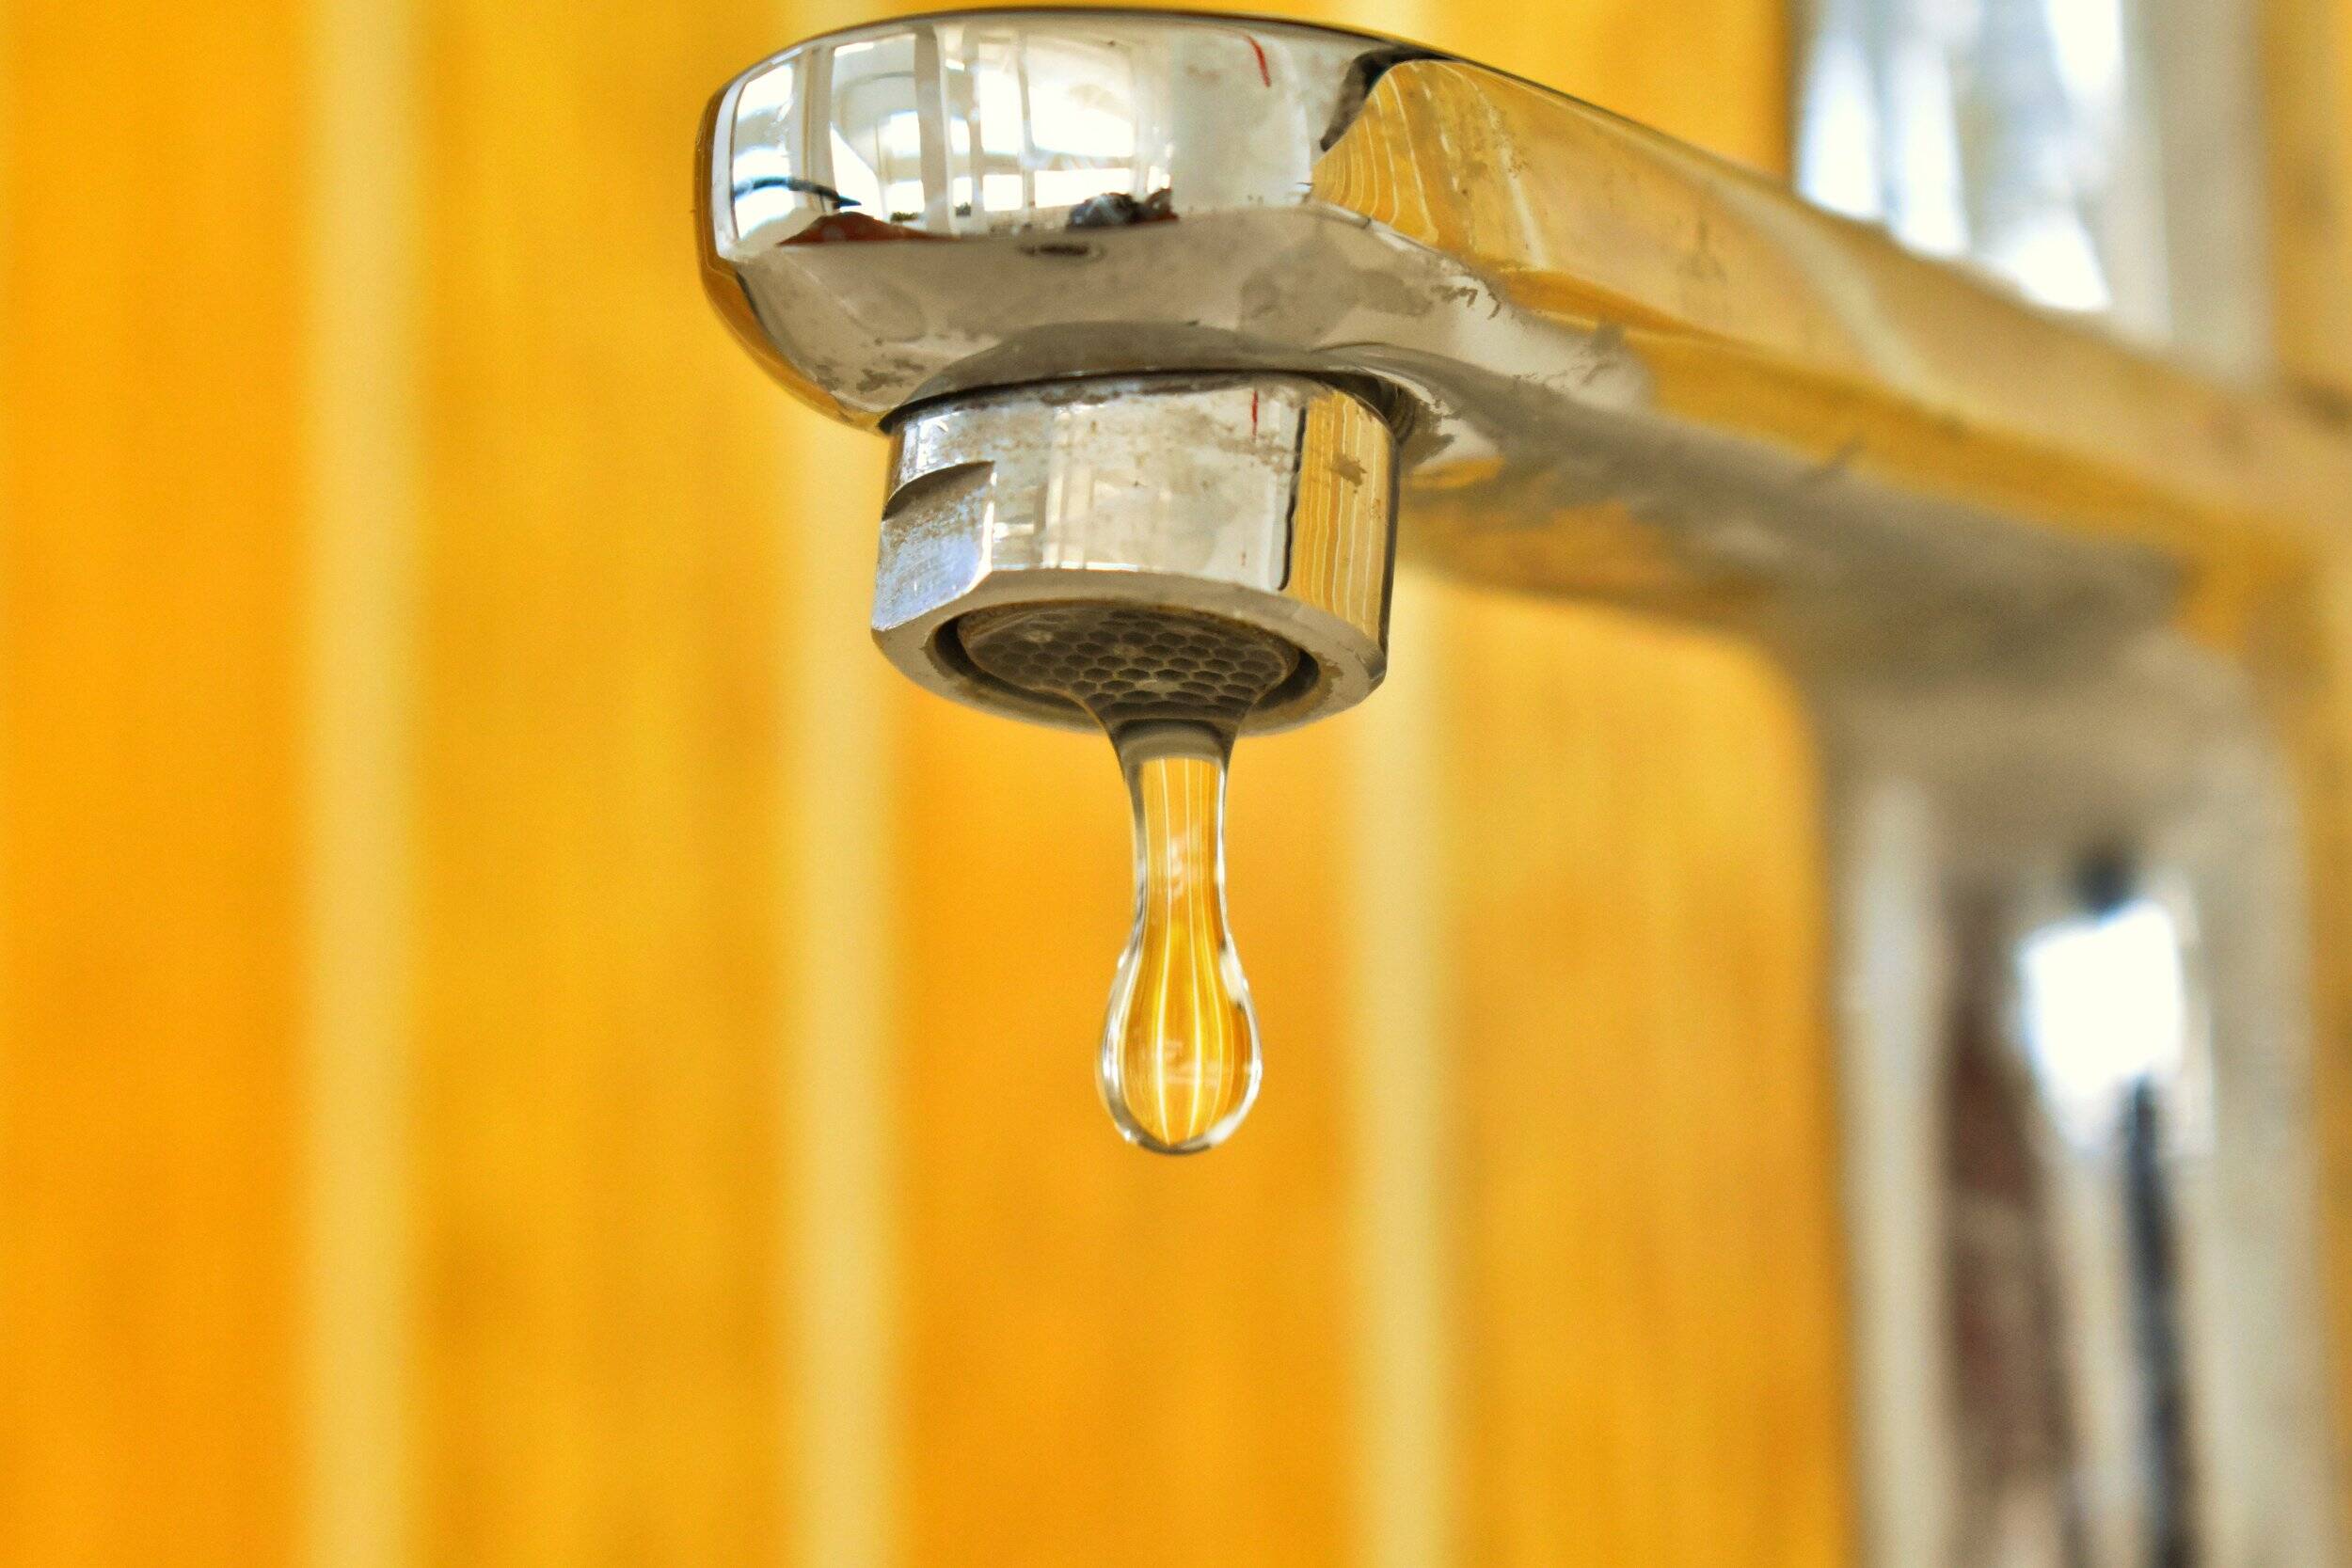
Step 5: Test the Spigot
With the outdoor spigot reassembled, it’s time to test it to ensure that the dripping issue has been effectively resolved. Follow these steps to test the spigot:
- Slowly turn the main water supply back on by rotating the shut-off valve handle or knob in a counterclockwise direction. Be attentive to any potential leaks or drips as the water flow resumes.
- Once the water supply is restored, open the outdoor spigot and let the water run for a few moments. Observe the spigot closely to check for any signs of dripping or leaking around the handle or spout.
- If the spigot operates without any leaks, congratulations – you’ve successfully fixed the dripping outdoor spigot! You can now enjoy a leak-free outdoor watering experience.
- If you notice any persistent dripping or leaking, double-check the tightness of the bonnet nut and the components inside the spigot. If necessary, disassemble the spigot again to inspect and address any issues.
By testing the spigot after reassembly, you can confirm that the repair has been effective in resolving the dripping problem. If the spigot operates without any leaks, you can proceed with confidence, knowing that your outdoor spigot is once again functioning as it should. With the repair process complete, you can now enjoy your outdoor space without the annoyance of a dripping spigot.
Conclusion
Fixing a dripping outdoor spigot is a manageable task that can save you from the annoyance of a constant drip and prevent water wastage. By following the steps outlined in this guide, you’ve learned how to identify the issue, disassemble the spigot, replace the faulty washer, reassemble the spigot, and test for leaks. With the right tools and a bit of know-how, you can tackle this common household repair with confidence.
Remember, regular maintenance and prompt repairs are essential for keeping your outdoor fixtures in top condition. By addressing a dripping spigot promptly, you can prevent potential water damage and ensure that your outdoor space remains both functional and enjoyable.
Now that you’ve successfully fixed the dripping outdoor spigot, take a moment to appreciate your handy work. Whether you’re watering your garden, washing your car, or simply enjoying the convenience of an outdoor spigot, you can do so without the pesky drip, thanks to your repair skills.
With this repair under your belt, you’re better equipped to handle common outdoor maintenance tasks and keep your outdoor living space in excellent shape. By staying proactive and addressing issues as they arise, you can continue to enjoy your outdoor oasis to the fullest, knowing that you have the skills to keep it in top condition.
Congratulations on successfully fixing your dripping outdoor spigot – now go ahead and make the most of your leak-free outdoor watering experience!
Frequently Asked Questions about How To Fix A Dripping Outdoor Spigot
Was this page helpful?
At Storables.com, we guarantee accurate and reliable information. Our content, validated by Expert Board Contributors, is crafted following stringent Editorial Policies. We're committed to providing you with well-researched, expert-backed insights for all your informational needs.

0 thoughts on “How To Fix A Dripping Outdoor Spigot”