Home>Furniture & Design>Outdoor Furniture>How To Turn Off Outdoor Spigot
Outdoor Furniture
How To Turn Off Outdoor Spigot
Modified: February 18, 2024
Learn how to properly turn off your outdoor spigot to prevent freezing and damage. Find expert tips and advice on outdoor furniture, furniture, and design. Protect your outdoor space today!
(Many of the links in this article redirect to a specific reviewed product. Your purchase of these products through affiliate links helps to generate commission for Storables.com, at no extra cost. Learn more)
Introduction
Welcome to the world of outdoor living, where the beauty of nature meets the comfort of well-designed outdoor furniture. As you embrace the allure of your outdoor space, it's essential to safeguard your investments, including your outdoor spigot. Whether you're preparing for the winter months or simply need to perform maintenance, knowing how to turn off your outdoor spigot is a valuable skill for any homeowner or outdoor enthusiast.
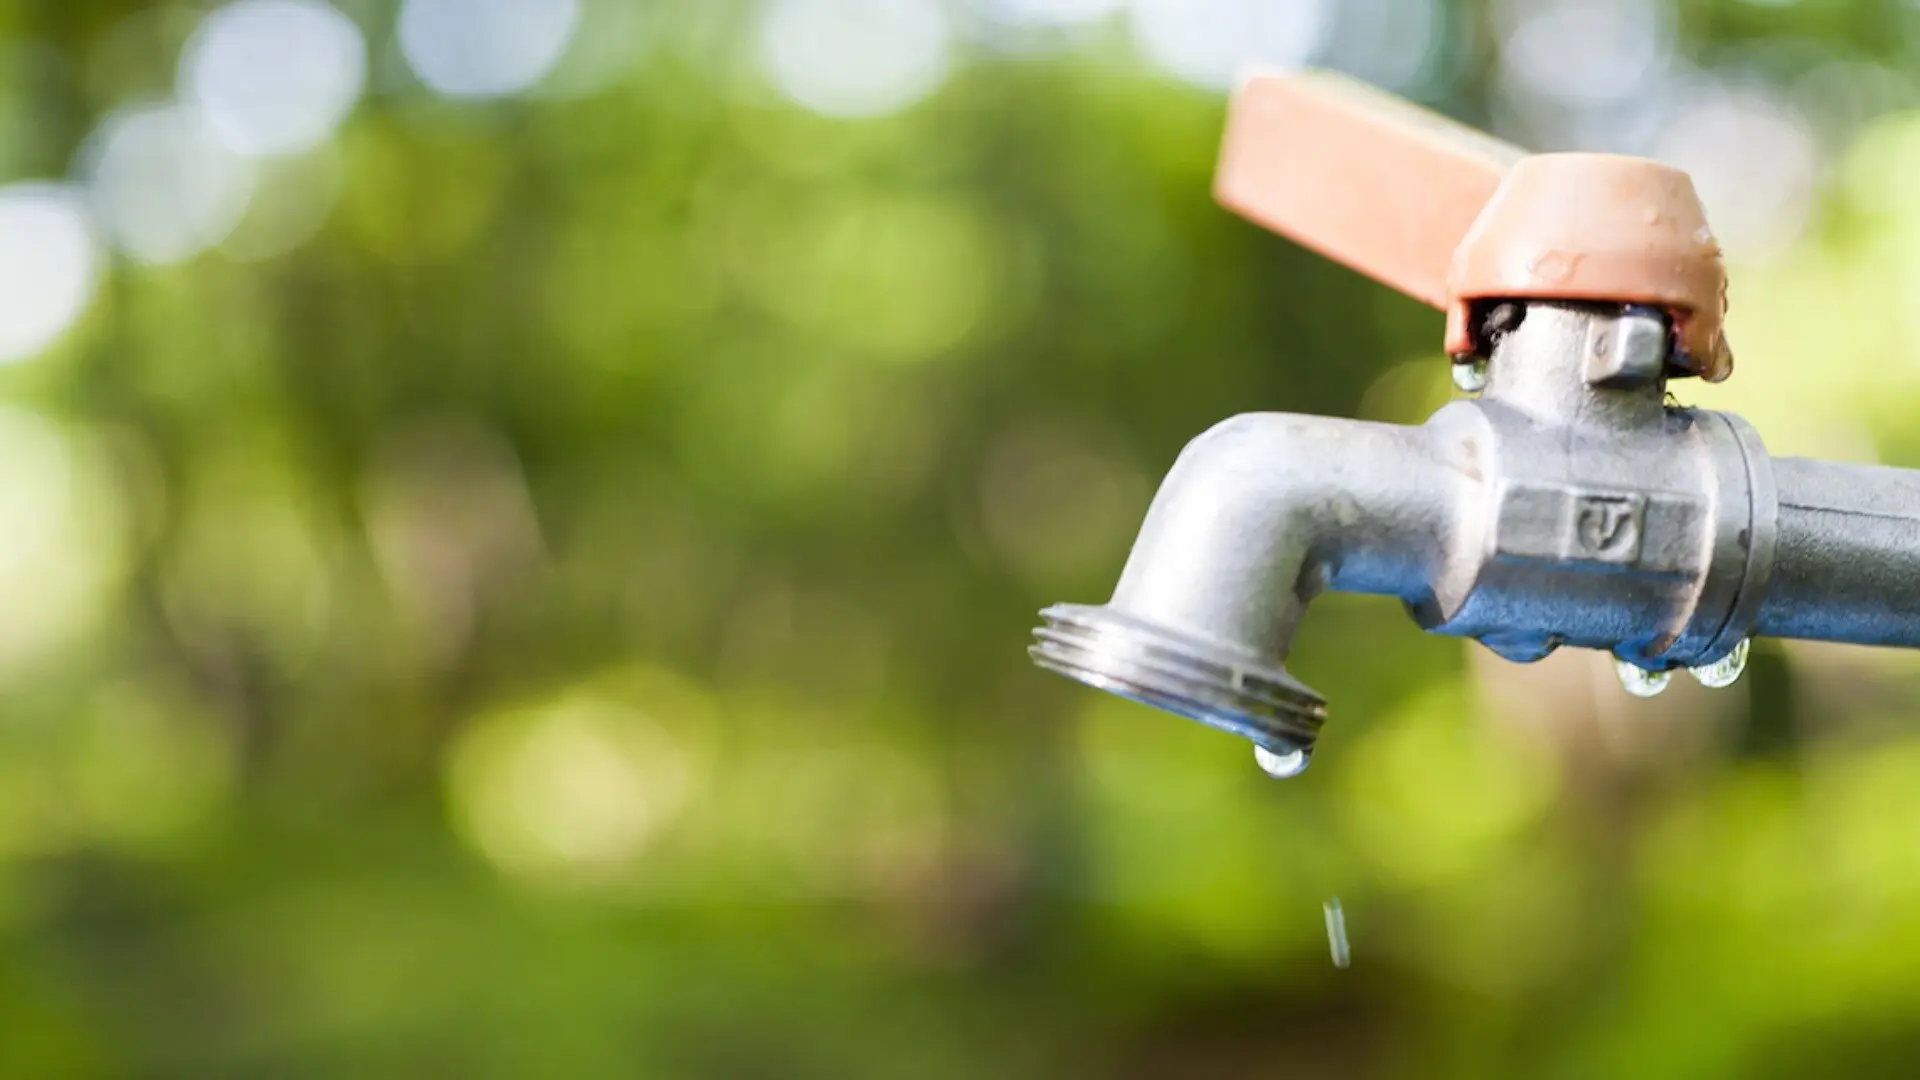
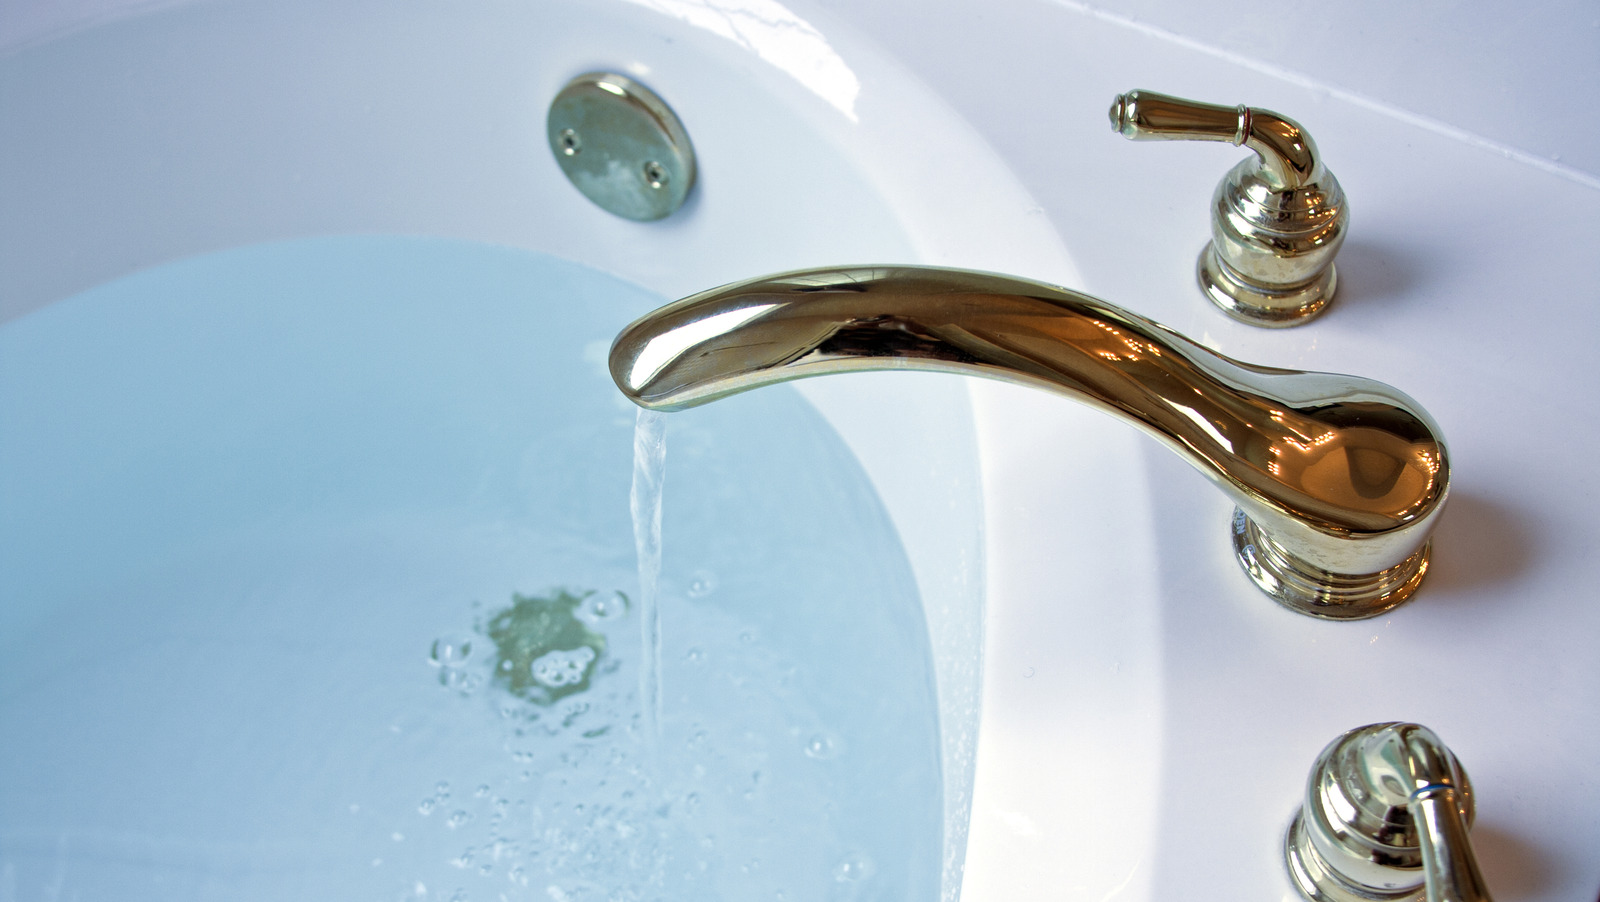
Your outdoor spigot, also known as a hose bib or outdoor faucet, serves as a vital water source for various outdoor activities, from watering your garden to washing your car. However, it's crucial to learn the proper steps to turn off your outdoor spigot to prevent potential damage caused by freezing temperatures or to facilitate repairs when needed.
In this comprehensive guide, we'll walk you through the essential steps to turn off your outdoor spigot, ensuring that it remains in optimal condition and ready for use whenever you need it. From locating the shut-off valve to properly insulating the spigot, you'll gain valuable insights into maintaining this fundamental component of your outdoor living space.
So, let's embark on this journey to enhance your outdoor living experience while safeguarding your outdoor spigot for years to come. Whether you're a seasoned homeowner or new to the world of outdoor maintenance, this guide will equip you with the knowledge and confidence to effectively manage your outdoor spigot with ease.
Key Takeaways:
- Safeguard your outdoor spigot by locating and turning off the shut-off valve indoors to prevent freezing and potential damage during colder months.
- Drain and insulate your outdoor spigot to protect it from freezing temperatures, ensuring its functionality and longevity for worry-free outdoor activities.
Read more: How To Change An Outdoor Spigot
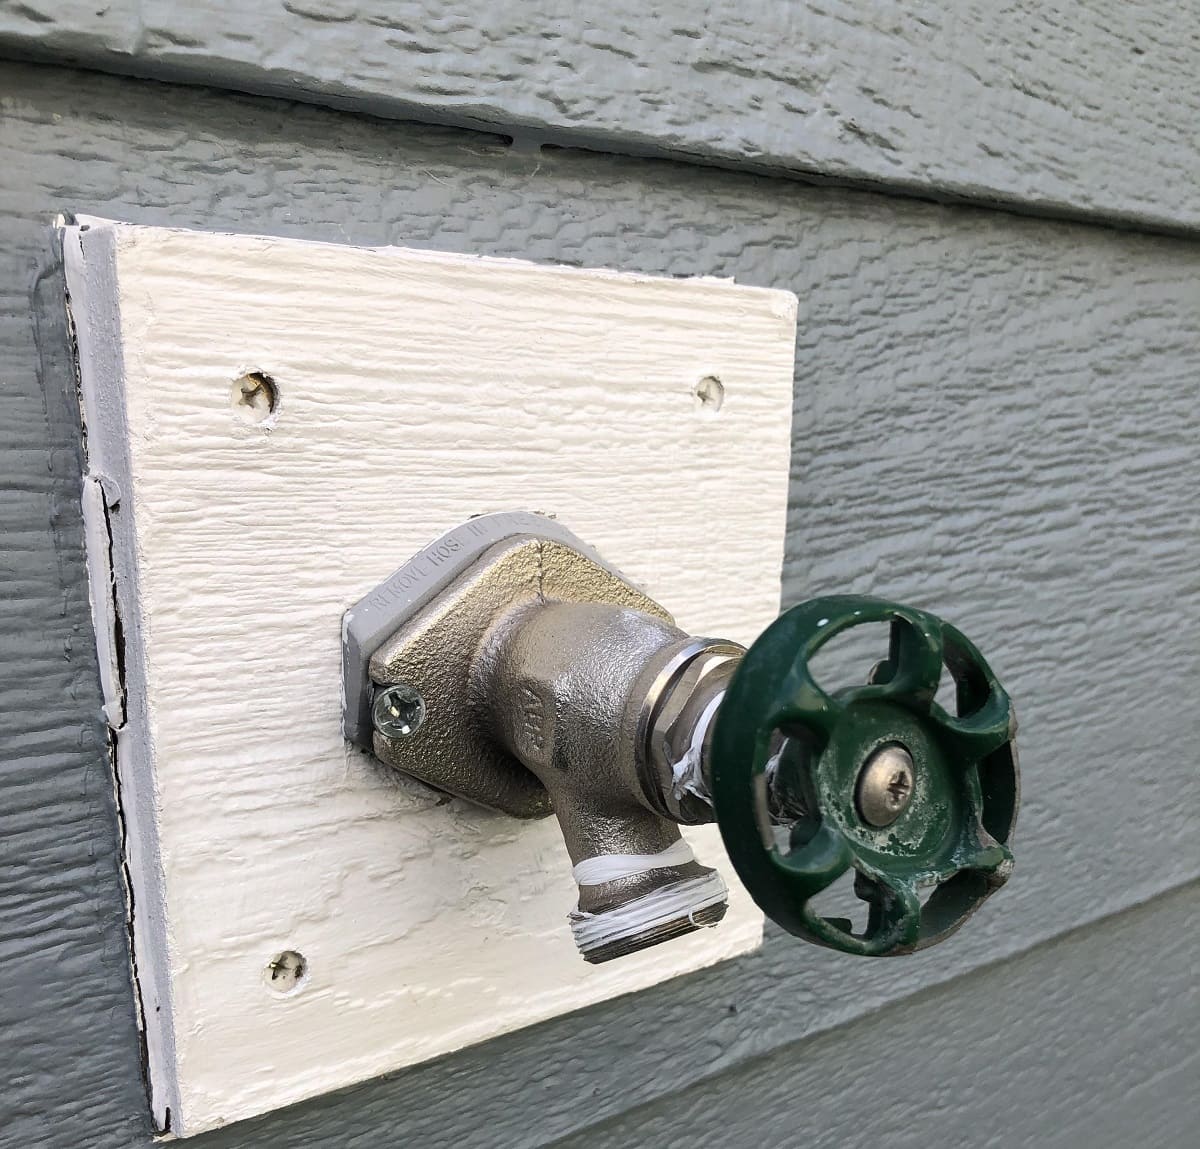
Step 1: Locate the Shut-Off Valve
Before you can turn off your outdoor spigot, you need to locate the shut-off valve that controls the water supply to the spigot. The shut-off valve is typically found indoors, often in the basement or crawl space, near the point where the outdoor spigot connects to the main water line. It may also be located in a utility room or near the water heater.
Once you’ve identified the general area where the shut-off valve may be located, take the time to inspect the surrounding walls and pipes for any visible signs of the valve. In some cases, the shut-off valve may be concealed behind a removable panel or located within a designated utility box.
If you’re unable to locate the shut-off valve indoors, you may need to trace the path of the outdoor spigot’s water supply line from the outside to its entry point into your home. This may involve visually following the pipe along the exterior of your house or using a stud finder to detect the presence of the pipe within your walls.
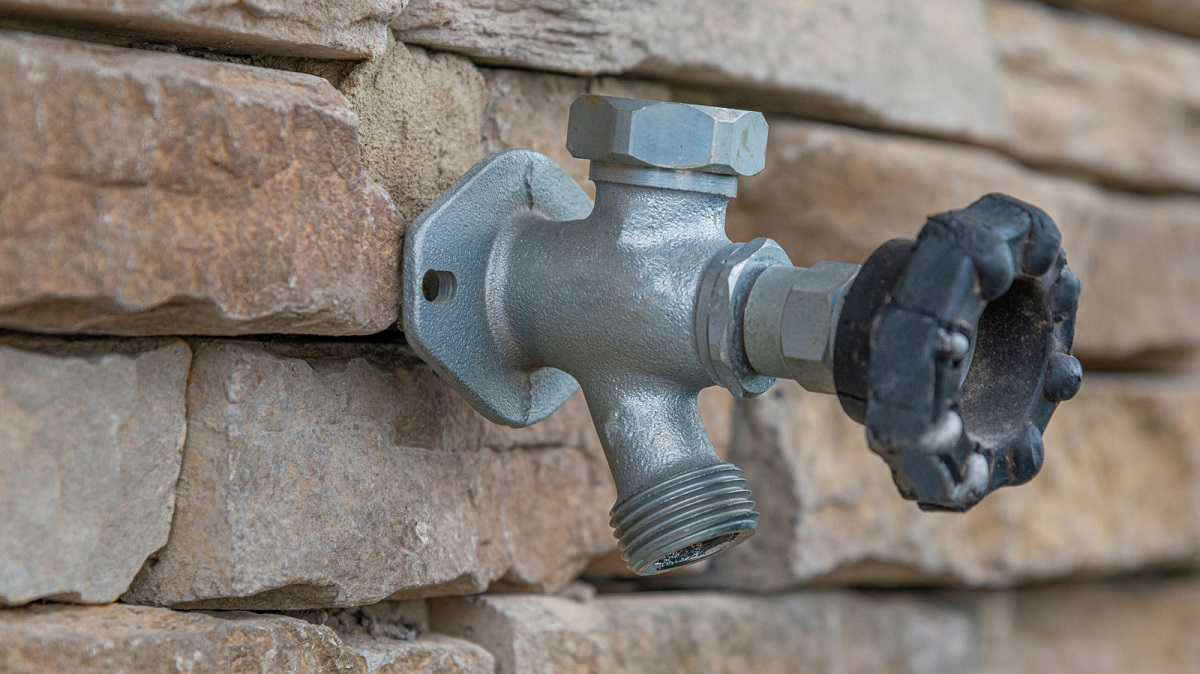
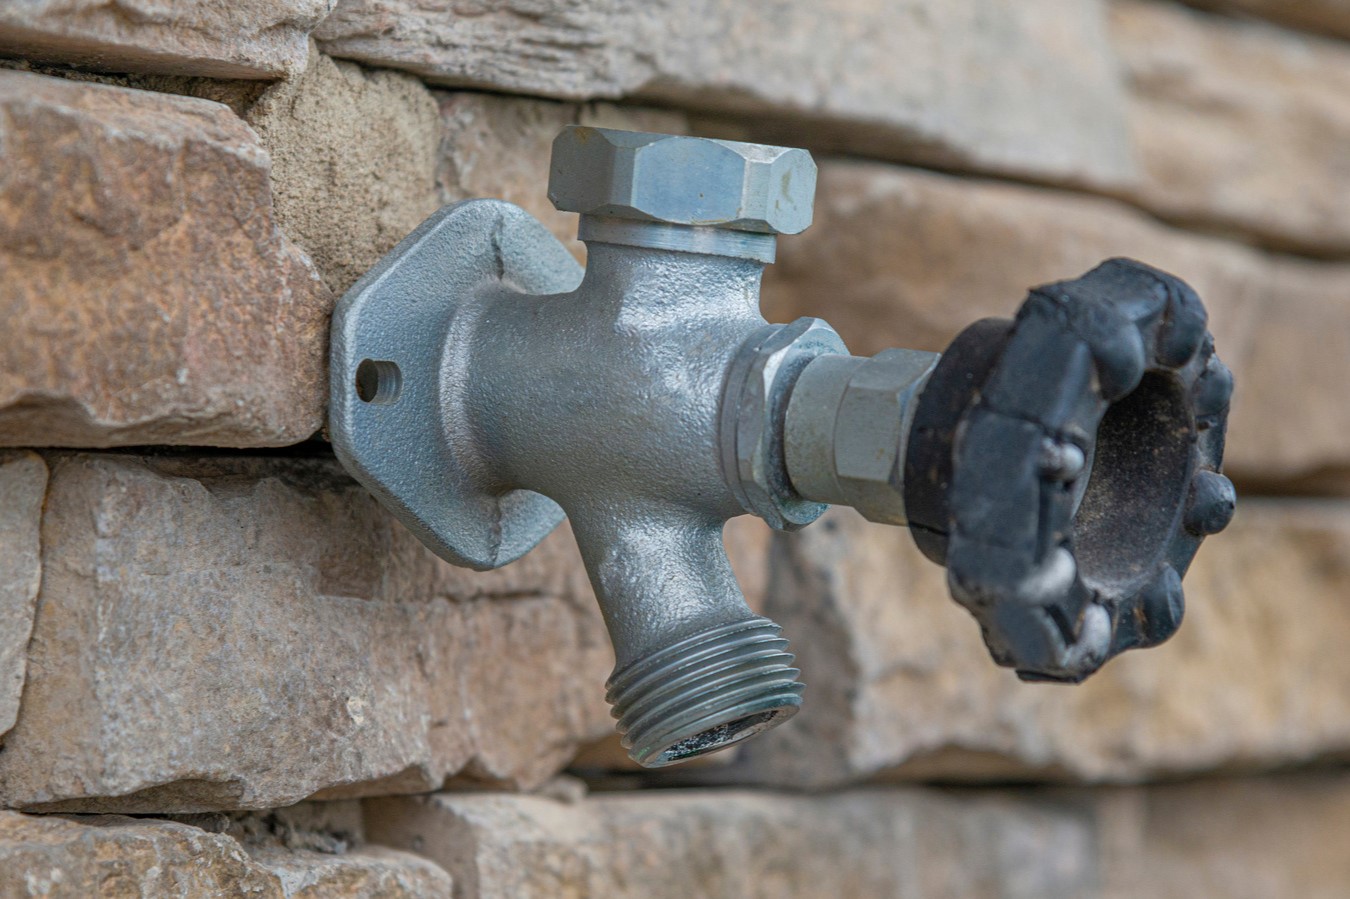
Keep in mind that the shut-off valve may be a traditional wheel-style valve that requires turning, or it could be a lever-style valve that needs to be rotated or flipped to shut off the water supply. Once you’ve successfully located the shut-off valve, take note of its position and familiarize yourself with how to operate it, as this knowledge will be crucial when it comes time to turn off the water supply to the outdoor spigot.
By understanding the location and operation of the shut-off valve, you’ll be well-prepared to proceed with the subsequent steps of turning off your outdoor spigot, ensuring a smooth and efficient process as you maintain your outdoor water source.
Step 2: Turn Off the Water Supply
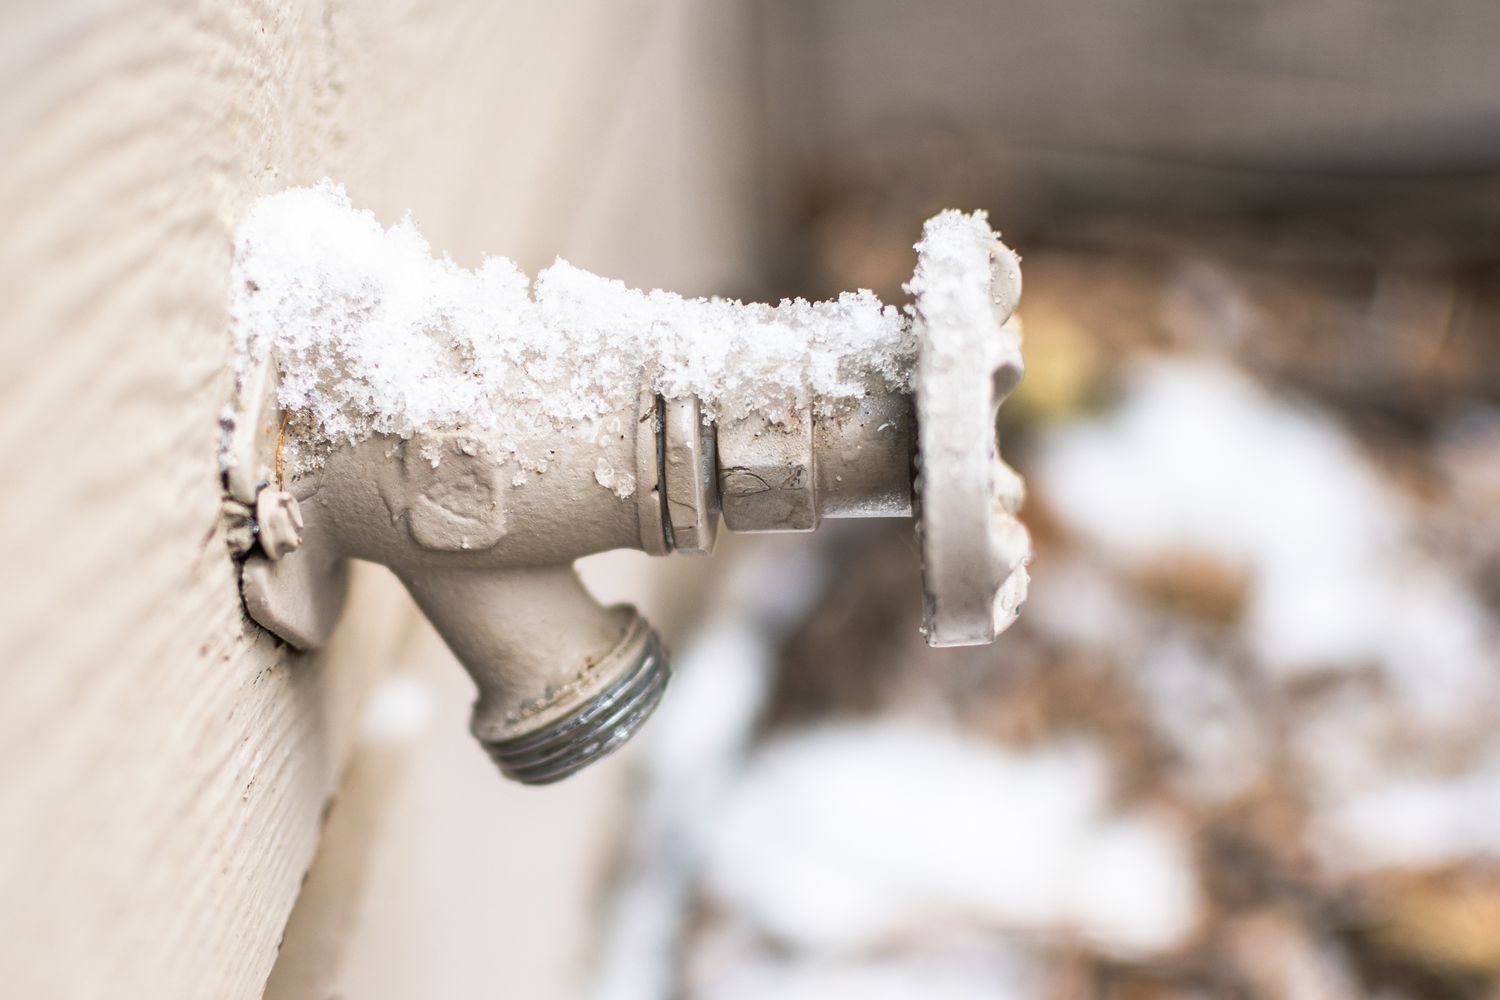
With the shut-off valve located, it’s time to take the necessary steps to turn off the water supply to your outdoor spigot. This action is crucial, especially as colder temperatures approach, to prevent frozen and burst pipes, which can lead to costly repairs and water damage.
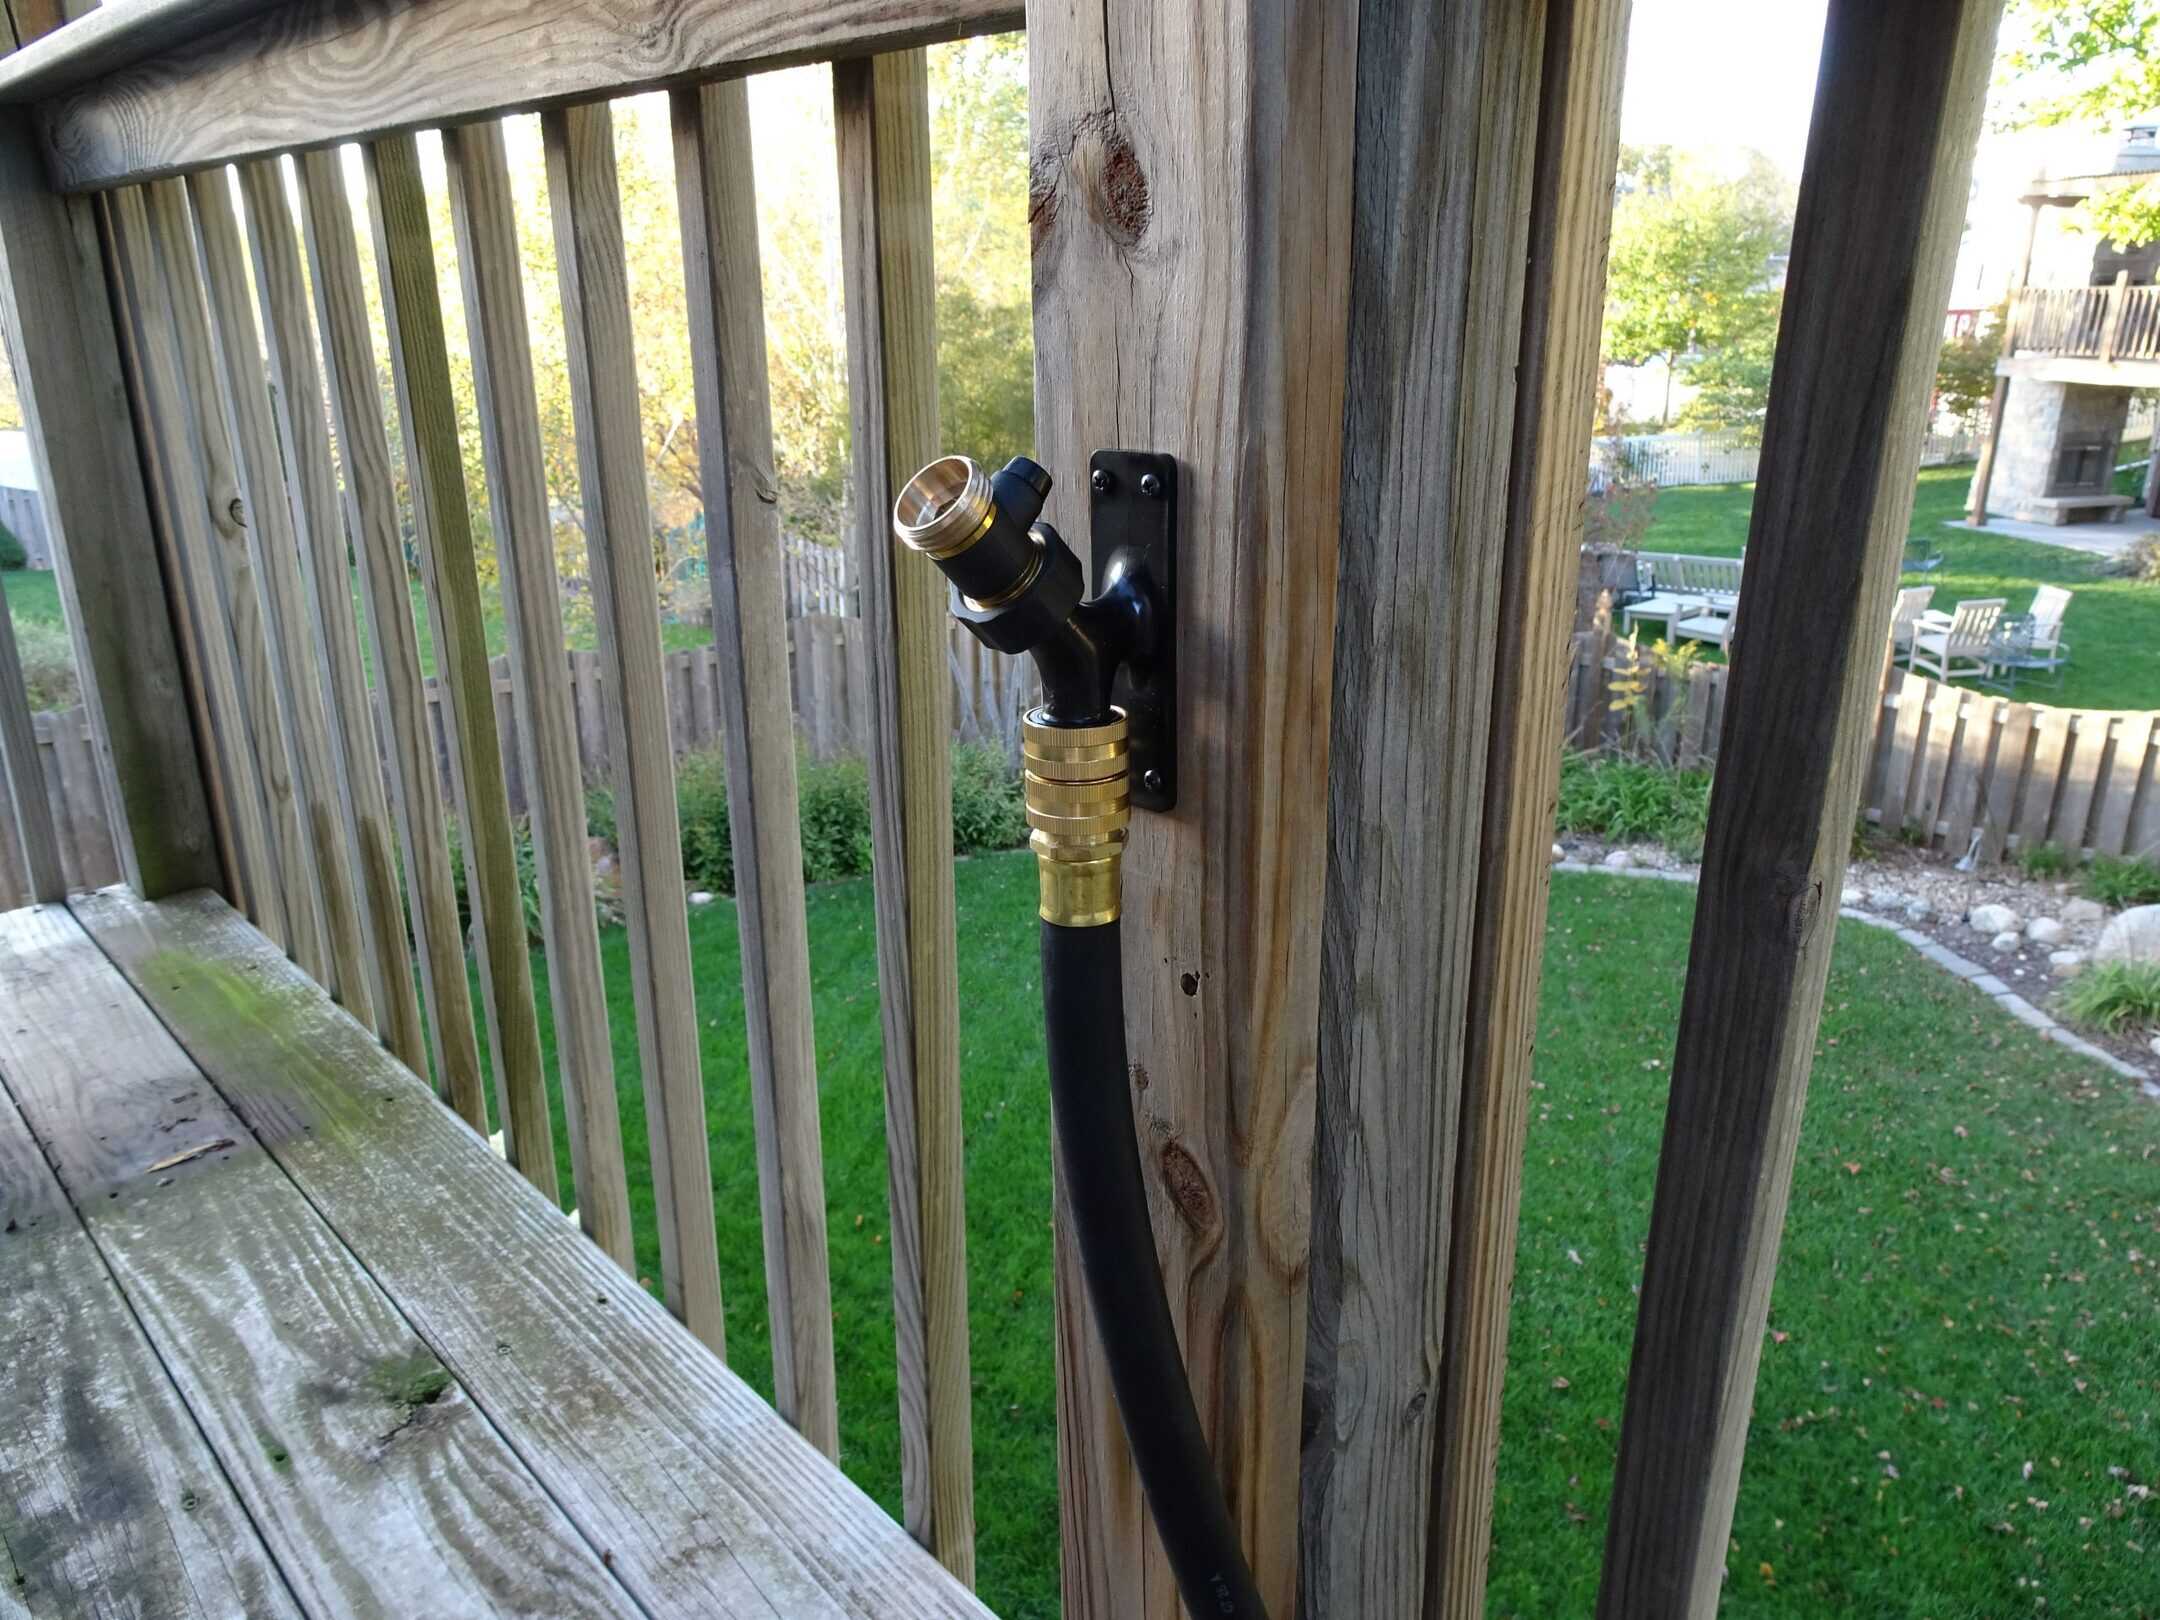
When you’re ready to turn off the water supply, ensure that all hoses and attachments are disconnected from the outdoor spigot. This will allow any residual water to drain from the spigot and prevent potential freezing within the attached hoses.
Next, carefully access the shut-off valve, whether it’s a wheel-style or lever-style valve, and proceed to turn or rotate it to the closed position. This action will effectively stop the flow of water to the outdoor spigot, safeguarding it from the harsh effects of freezing temperatures. As you turn off the water supply, listen for any sounds of water flow ceasing and verify that the valve is fully closed to prevent any leaks or drips.
It’s important to exercise caution and avoid exerting excessive force when operating the shut-off valve, as this could lead to damage or leaks within the valve assembly. If you encounter any resistance when turning the valve, stop and assess the situation to prevent potential damage and ensure the proper closure of the valve.
By effectively turning off the water supply to your outdoor spigot, you’re taking a proactive step in preserving its functionality and longevity, especially during periods of inactivity or inclement weather. This simple yet essential task will contribute to the overall maintenance and care of your outdoor water source, allowing you to enjoy worry-free outdoor activities and a well-preserved spigot for years to come.
Make sure to shut off the water supply to the outdoor spigot before turning it off. Then, open the spigot to let any remaining water drain out. Finally, close the spigot tightly to prevent any leaks.
Step 3: Drain the Spigot
After successfully turning off the water supply to your outdoor spigot, it’s important to drain any remaining water from the spigot and the connected plumbing to prevent potential freezing and damage. This step is particularly crucial during the colder months when freezing temperatures pose a significant risk to outdoor plumbing.
To begin, ensure that all hoses and attachments are completely disconnected from the spigot, allowing for unobstructed water drainage. With the hoses removed, open the outdoor spigot to release any trapped water within the plumbing. Allow the spigot to remain open until all water has drained out, ensuring that no residual water remains within the fixture.
As the water drains from the spigot, visually inspect the surrounding area for any signs of leakage or unusual water flow. This observation will help you identify and address any potential issues with the spigot or its plumbing, ensuring that it remains in optimal condition for future use.
Once the spigot has been fully drained, close the outdoor spigot to prevent any debris or pests from entering the plumbing during periods of inactivity. This simple action will help maintain the cleanliness and functionality of the spigot, further contributing to its long-term reliability.
By effectively draining the spigot, you’re taking proactive measures to safeguard it from potential damage caused by freezing temperatures and ensuring that it remains in optimal condition for your outdoor water needs. This essential step in maintaining your outdoor spigot will provide peace of mind and contribute to the overall longevity of this vital component of your outdoor living space.
Step 4: Insulate the Spigot
Insulating your outdoor spigot is a proactive measure that can help protect it from freezing temperatures and potential damage, especially during the winter months. By taking the time to properly insulate the spigot, you can ensure its functionality and longevity, regardless of the weather conditions.
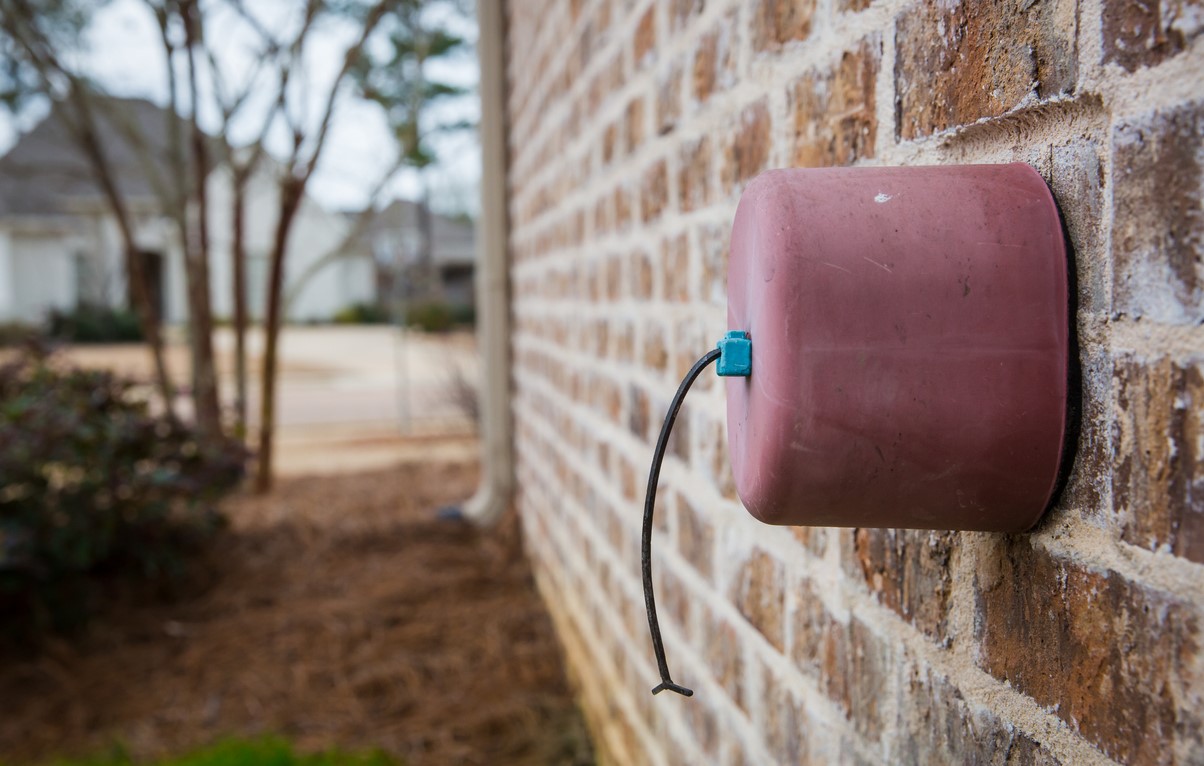
One effective way to insulate your outdoor spigot is by using a dedicated spigot cover or insulated faucet jacket. These specially designed covers are typically made of durable materials such as foam or insulating fabric and are designed to fit securely over the spigot, providing an additional layer of protection against freezing temperatures. When selecting a spigot cover, ensure that it is the appropriate size for your spigot and offers sufficient insulation to safeguard it from the cold.
To apply the spigot cover, carefully place it over the outdoor spigot, ensuring a snug and secure fit. The cover should extend over the spigot and any exposed plumbing, providing comprehensive insulation against the elements. Once in place, secure the cover according to its design, whether it utilizes straps, drawstrings, or other fastening mechanisms to keep it firmly attached to the spigot.
In addition to using a spigot cover, you can further insulate the spigot and its connected plumbing by wrapping them with insulating tape or foam pipe insulation. These materials provide an extra layer of protection against freezing temperatures and can be easily applied to the exposed areas of the spigot and plumbing. Ensure that the insulation is securely in place and free from any gaps or exposed areas to maximize its effectiveness.
By insulating your outdoor spigot, you’re taking proactive steps to protect it from potential damage caused by freezing temperatures, ensuring that it remains fully functional and ready for use throughout the year. This simple yet essential task will contribute to the overall maintenance and care of your outdoor water source, allowing you to enjoy worry-free outdoor activities and a well-preserved spigot for years to come.
Read more: How To Winterize An Outdoor Spigot
Conclusion
Congratulations! You’ve successfully navigated the essential steps to turn off your outdoor spigot, safeguarding it from potential damage and ensuring its longevity. By following these simple yet crucial steps, you’ve taken proactive measures to protect your outdoor water source, especially during periods of inactivity or inclement weather.
As you’ve learned, locating the shut-off valve and effectively turning off the water supply are fundamental tasks that contribute to the overall maintenance of your outdoor spigot. By understanding the location and operation of the shut-off valve, you’ve equipped yourself with the knowledge to confidently manage your outdoor water source.
Draining the spigot and insulating it further enhance its protection against freezing temperatures, providing comprehensive measures to safeguard it from potential damage. By diligently draining any remaining water and insulating the spigot, you’ve demonstrated a commitment to maintaining its functionality and reliability, regardless of the weather conditions.
As you embark on your outdoor living adventures, whether tending to your garden, washing your car, or enjoying leisurely outdoor activities, you can do so with the confidence that your outdoor spigot is well-preserved and ready for use. Your proactive approach to turning off and maintaining your outdoor spigot will contribute to its long-term performance and ensure that it remains a dependable water source for your outdoor endeavors.
By incorporating these essential steps into your outdoor maintenance routine, you’re not only preserving the functionality of your outdoor spigot but also enhancing your overall outdoor living experience. With a well-maintained spigot at your disposal, you can fully embrace the beauty of your outdoor space while enjoying the convenience of a reliable water source.
So, as you continue to cherish your outdoor living space and make the most of your outdoor activities, remember the importance of properly turning off and maintaining your outdoor spigot. By doing so, you’re investing in the long-term care and performance of this vital component of your outdoor oasis, ensuring that it remains a trusted companion for years to come.
Frequently Asked Questions about How To Turn Off Outdoor Spigot
Was this page helpful?
At Storables.com, we guarantee accurate and reliable information. Our content, validated by Expert Board Contributors, is crafted following stringent Editorial Policies. We're committed to providing you with well-researched, expert-backed insights for all your informational needs.


0 thoughts on “How To Turn Off Outdoor Spigot”