Home>Furniture & Design>Outdoor Furniture>How To Extend Outdoor Water Spigot
Outdoor Furniture
How To Extend Outdoor Water Spigot
Modified: August 18, 2024
Learn how to extend your outdoor water spigot for easy access to water for your outdoor furniture and design projects. Follow our step-by-step guide for a hassle-free installation.
(Many of the links in this article redirect to a specific reviewed product. Your purchase of these products through affiliate links helps to generate commission for Storables.com, at no extra cost. Learn more)
Introduction
Extending an outdoor water spigot can significantly enhance the convenience and functionality of your outdoor space. Whether you're aiming to reach distant garden beds, create a more accessible watering point, or simply upgrade your outdoor setup, this simple yet impactful project can make a world of difference. By following a few straightforward steps and utilizing the right tools and materials, you can successfully extend your outdoor water spigot with ease. In this guide, we'll walk you through the process, providing clear instructions and valuable insights to help you achieve your goal. So, gather your tools and let's embark on this DIY adventure to extend your outdoor water spigot!
Key Takeaways:
- Extend your outdoor water spigot to reach distant areas, upgrade your outdoor setup, and enhance convenience. With the right tools and materials, you can easily complete this impactful DIY project.
- By following simple steps, installing a hose bib extender, and testing for leaks, you can successfully extend your outdoor water spigot and enjoy a more functional and accessible outdoor space.
Tools and Materials Needed
Before diving into the process of extending your outdoor water spigot, it’s essential to gather the necessary tools and materials to ensure a smooth and efficient workflow. Here’s a comprehensive list to help you prepare for the task at hand:
Tools:
- Adjustable wrench
- Pipe wrench
- Teflon tape
- Hacksaw or pipe cutter
- Screwdriver
- Adjustable pliers
- Torch (if soldering is required)
- Level
- Trowel (if burying pipes)
Materials:
- Hose bib extender
- Copper or PVC pipes (if extending the water line)
- Pipe fittings (if necessary)
- Sand cloth or emery cloth
- Solder and flux (if soldering copper pipes)
- Gravel (if burying pipes)
- Cement or concrete mix (if burying pipes)
- Waterproof sealant
- Thread seal tape
By ensuring that you have all the required tools and materials on hand, you can streamline the process and minimize interruptions, allowing you to focus on the task at hand. With everything in place, you’re ready to proceed to the next step of extending your outdoor water spigot.
Step 1: Turn Off the Water Supply
Before commencing any work on your outdoor water spigot, it’s crucial to shut off the water supply to avoid any potential leaks or water damage. Locate the main shut-off valve for your outdoor water line, which is typically situated near the water meter or in the basement. Turn the valve clockwise to shut off the water flow completely.
If your outdoor spigot has an individual shut-off valve, be sure to turn it off as well to isolate the specific area where you’ll be working. This extra precaution prevents water from flowing into the section you’ll be modifying, allowing you to carry out the extension process without any complications.
After shutting off the water supply, open the outdoor spigot to drain any remaining water from the line. This will help prevent water from spilling out during the subsequent steps, keeping the work area dry and manageable. Once the water has been drained, you’re ready to proceed to the next phase of extending your outdoor water spigot.
Read more: How To Change An Outdoor Spigot
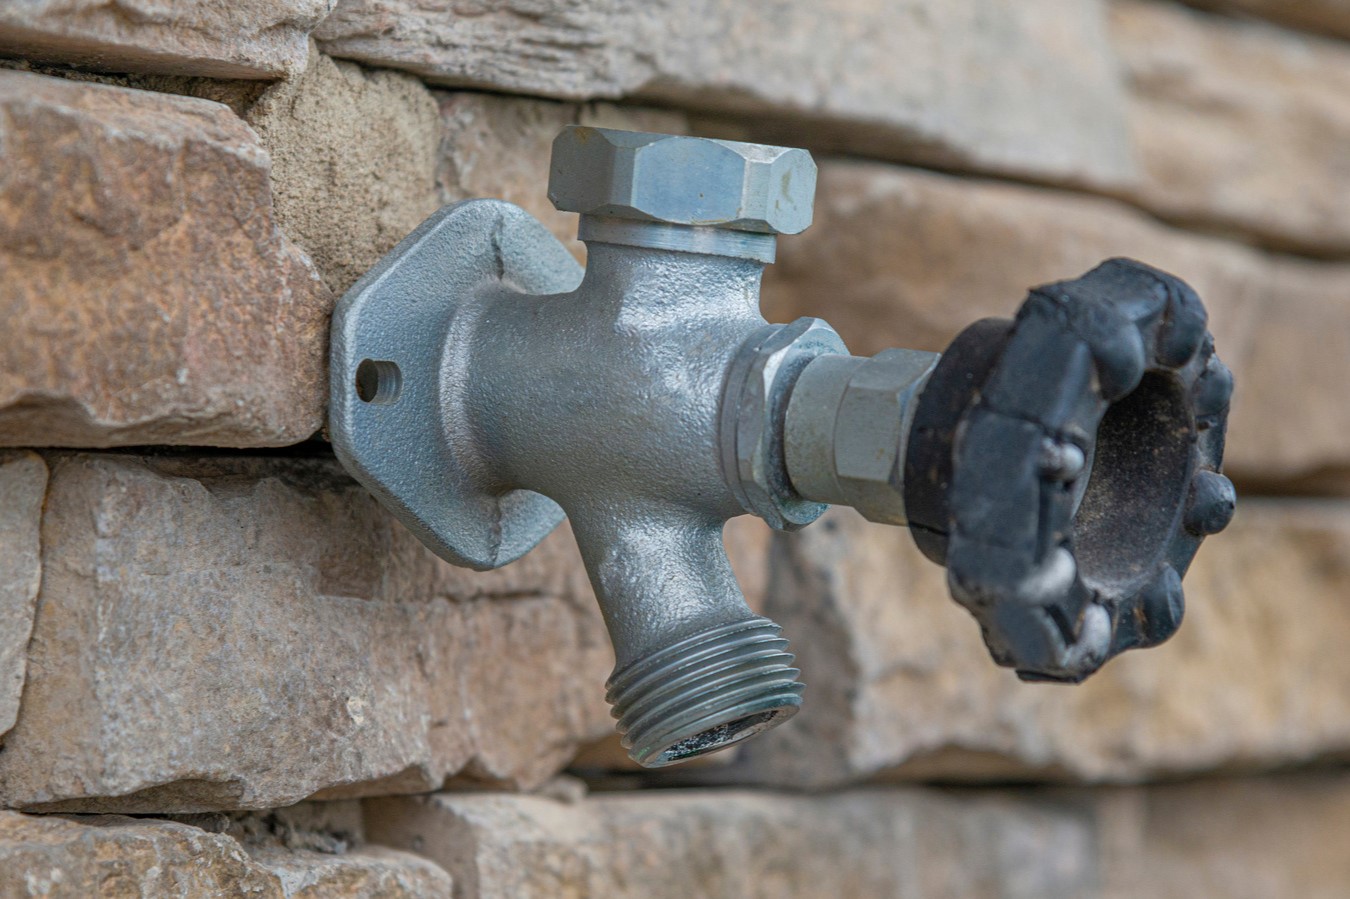
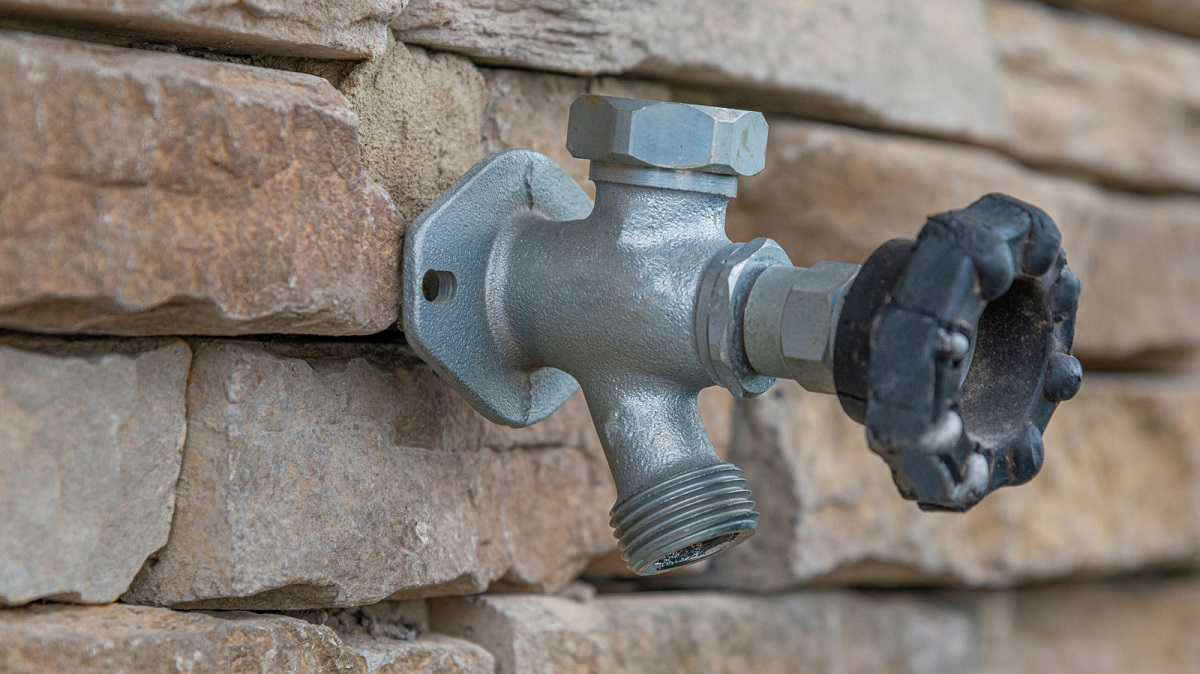
Step 2: Remove the Existing Spigot
With the water supply turned off and the outdoor spigot drained, it’s time to remove the existing spigot to prepare for the extension process. Follow these steps to safely and effectively remove the spigot:
- Disconnect the Hose: If there’s a hose attached to the spigot, disconnect it to access the spigot more easily.
- Unscrew the Spigot: Use an adjustable wrench or appropriate tool to loosen and remove the mounting nut that secures the spigot to the outdoor wall. Depending on the type of spigot, there may be additional screws or fasteners to remove.
- Inspect the Water Line: Once the spigot is detached, inspect the exposed end of the water line. If you’re extending the water line to relocate the spigot, you may need to cut the pipe at this point. Ensure that the water line is clean and free of any debris or old tape.
- Prepare for Soldering (If Applicable): If the water line is copper and soldered to the spigot, you may need to use a torch to heat the existing solder joint and detach the spigot. Exercise caution and follow proper safety measures if soldering is required.
Once the existing spigot and any associated fittings have been removed, inspect the surrounding area for any damage or corrosion. Clean the exposed end of the water line and ensure that it’s ready for the installation of the hose bib extender or any additional piping required for the extension.
By meticulously removing the existing spigot and preparing the water line for the extension, you’re laying the groundwork for the seamless installation of the new components. With this step completed, you’re ready to move on to the next phase of extending your outdoor water spigot.
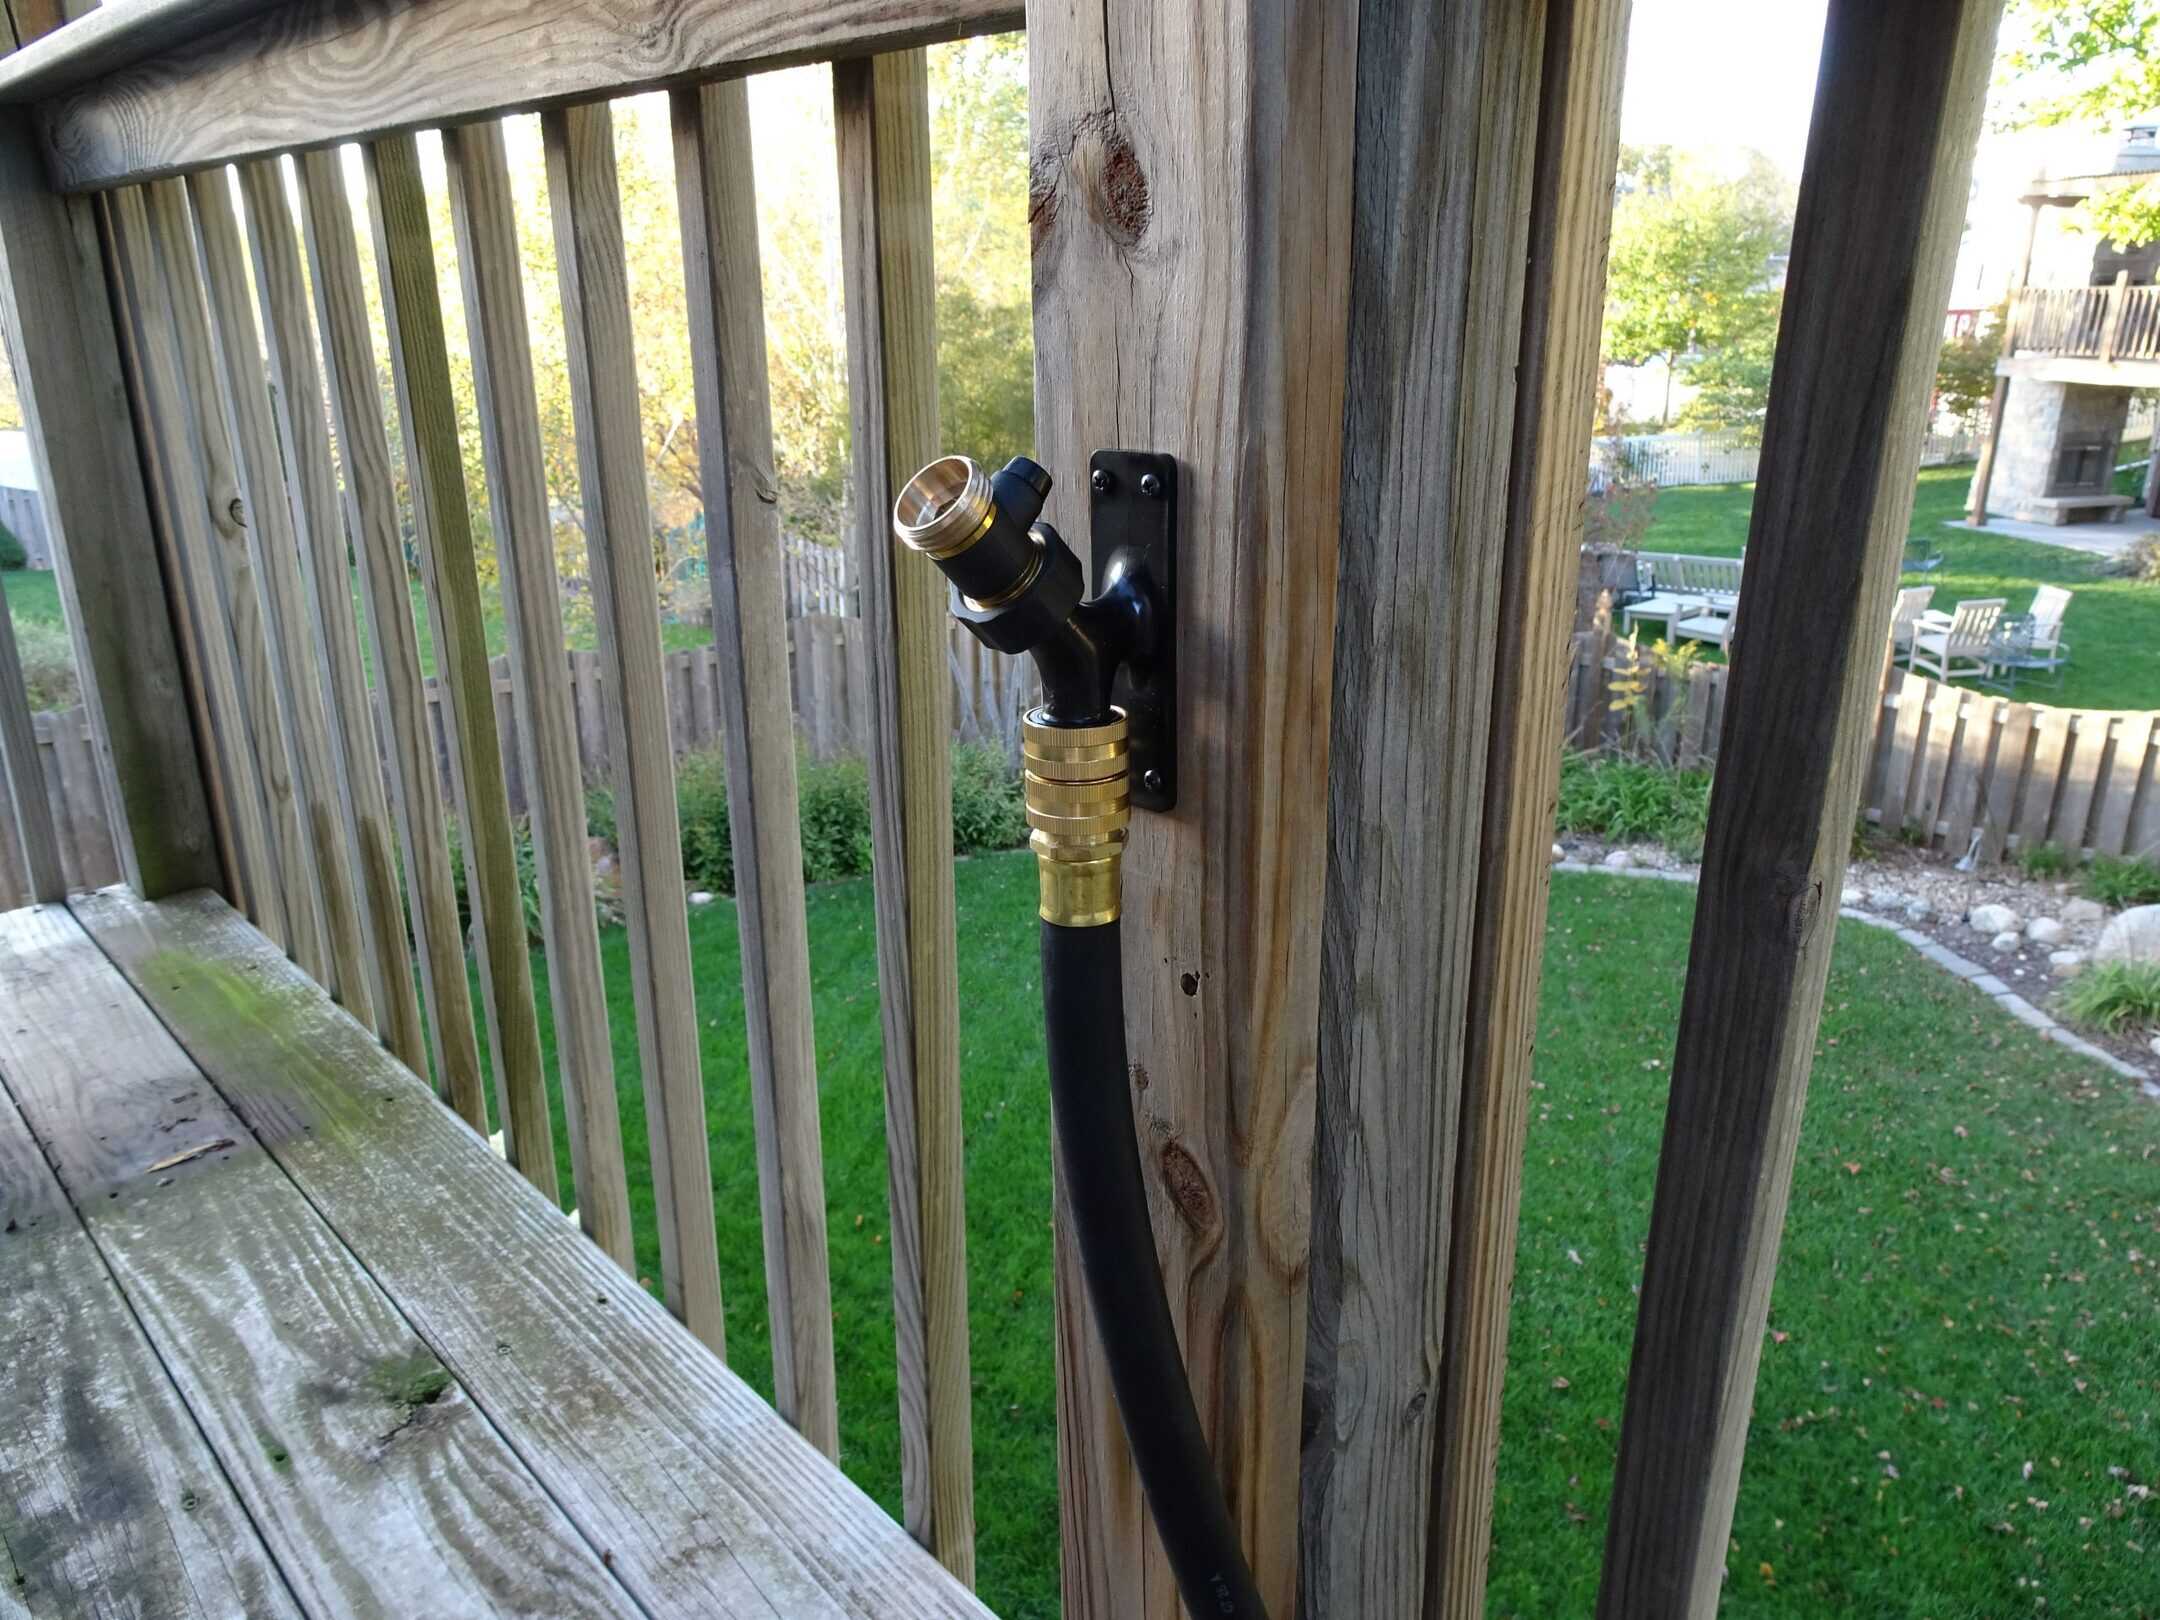
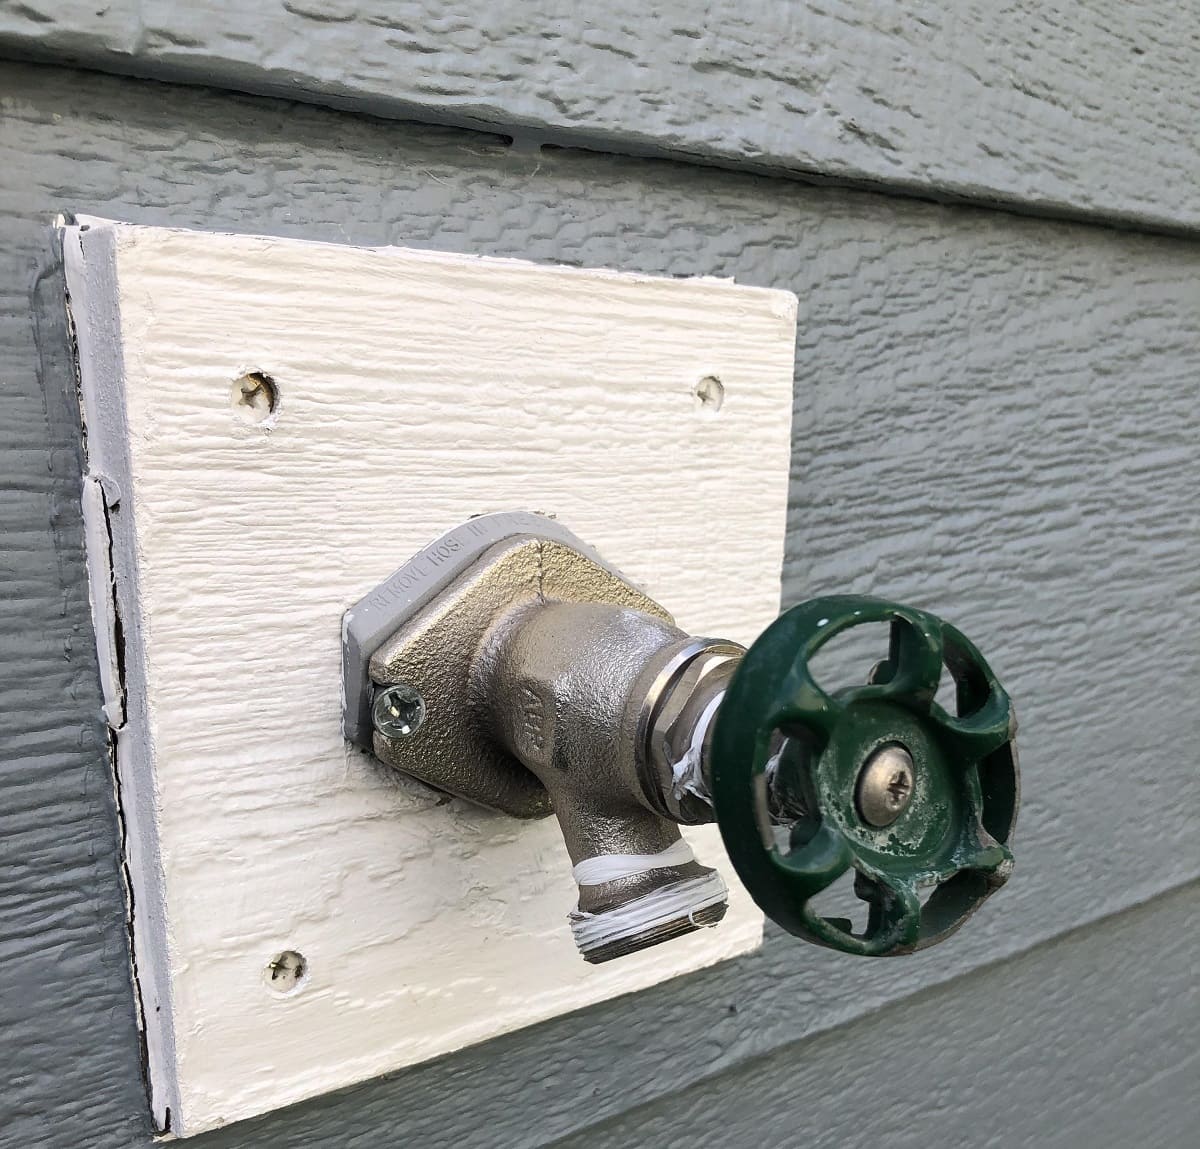
Step 3: Install the Hose Bib Extender
Now that the existing spigot has been removed and the water line is prepped for the extension, it’s time to install the hose bib extender, which will serve as the new point of access for your outdoor water supply. Follow these steps to seamlessly install the hose bib extender:
- Apply Thread Seal Tape: Before installing the hose bib extender, wrap the threaded end of the water line with thread seal tape to create a secure and watertight connection.
- Attach the Extender: Carefully screw the hose bib extender onto the threaded end of the water line, ensuring a snug fit. Use an adjustable wrench to tighten the connection, taking care not to over-tighten and potentially damage the threads.
- Secure the Extender: Once the hose bib extender is attached, use a level to ensure that it’s positioned correctly and vertically aligned. This step is crucial for both functionality and aesthetics, as it ensures that the extender is securely and neatly installed.
- Apply Waterproof Sealant: To fortify the connection and prevent any potential leaks, apply waterproof sealant around the base of the hose bib extender where it meets the outdoor wall. This extra layer of protection helps safeguard the connection from the elements.
If you’re extending the water line to relocate the spigot to a different area, you’ll need to install additional piping and fittings as necessary to achieve the desired configuration. Be sure to use the appropriate materials and techniques to create secure and leak-free connections.
By carefully installing the hose bib extender and ensuring a watertight connection, you’re one step closer to completing the extension of your outdoor water spigot. With the extender securely in place, you’re ready to proceed to the next phase of the installation process.
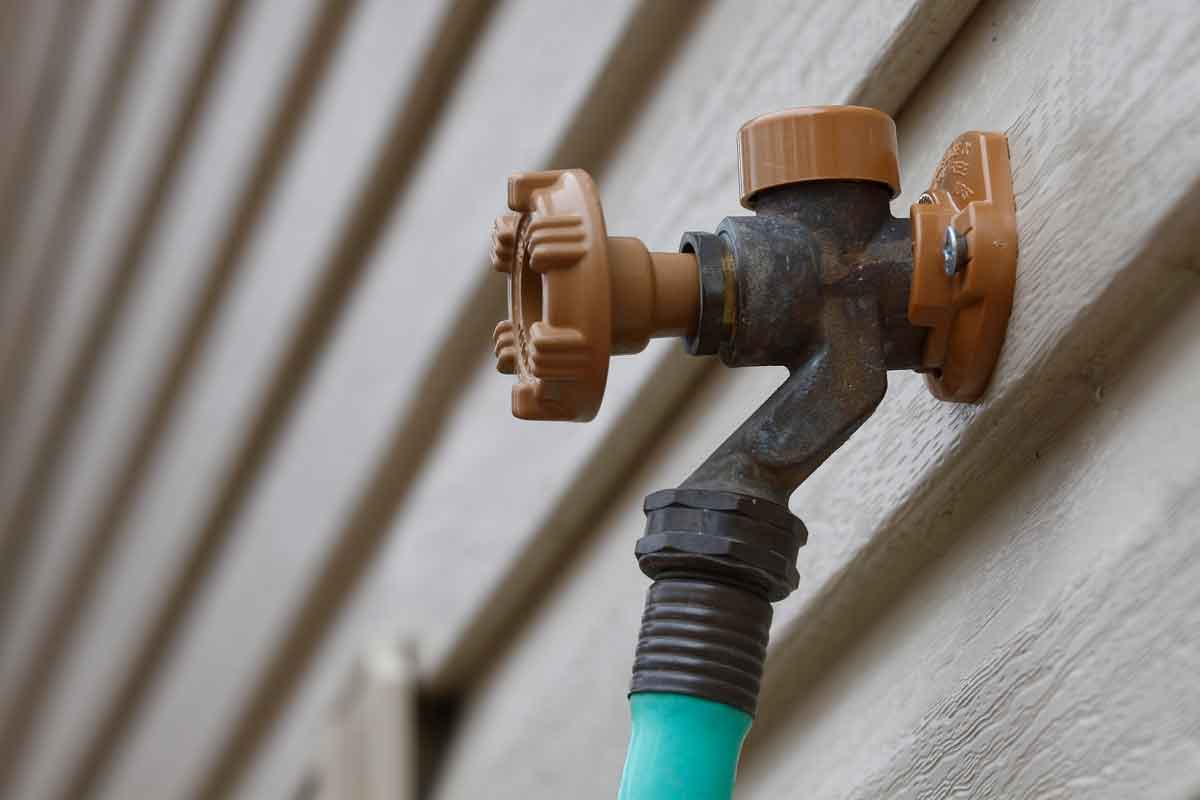
Consider using a hose extender or a spigot extension kit to easily extend your outdoor water spigot. These kits can be found at most hardware stores and are simple to install, allowing you to reach further distances with your hose.
Step 4: Reconnect the Water Supply
With the hose bib extender successfully installed, it’s time to reconnect the water supply to restore the flow of water to your outdoor spigot. Follow these essential steps to safely and efficiently reconnect the water supply:
- Turn On the Shut-Off Valve: If you isolated the water supply by turning off an individual shut-off valve for the outdoor spigot, carefully turn the valve back on to allow water to flow into the newly extended line. Ensure that the valve is fully open to restore the water supply.
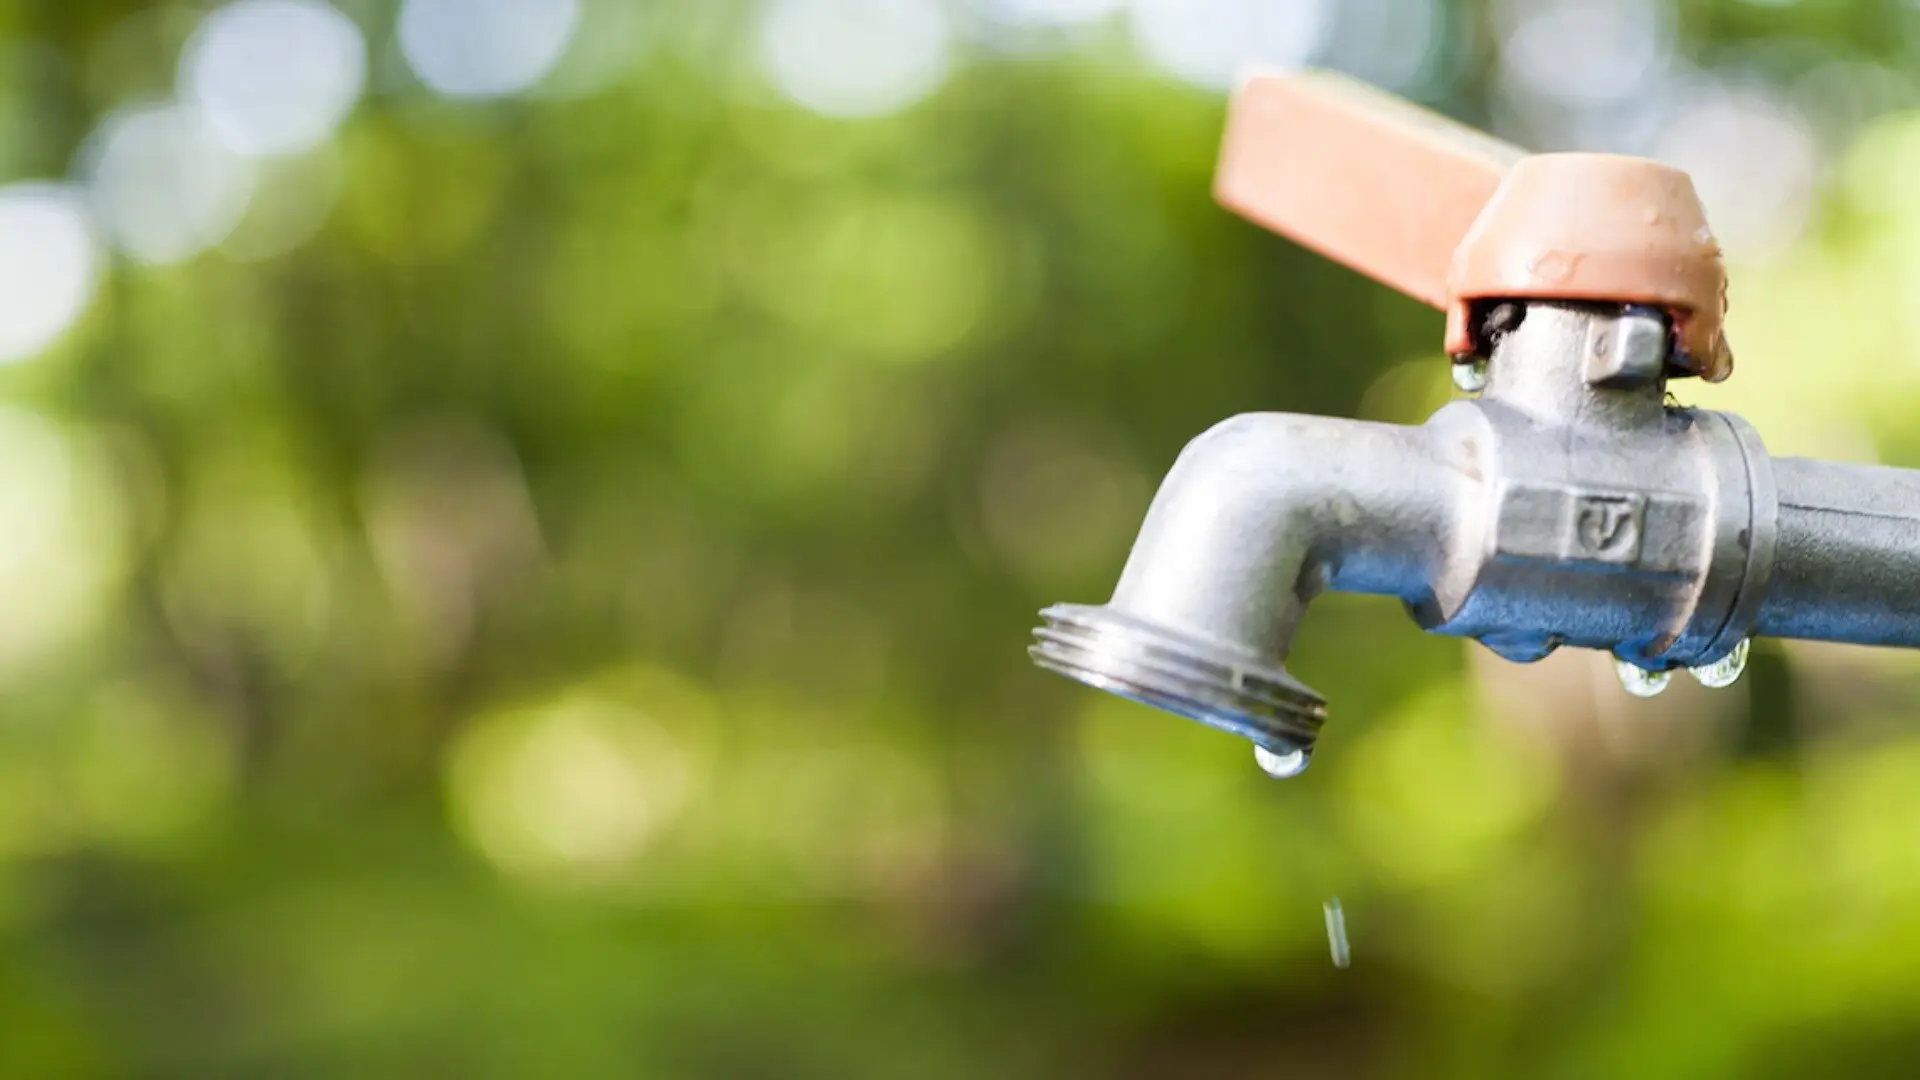
- Check for Leaks: Once the water supply is restored, carefully inspect the connections, including the attachment of the hose bib extender to the water line and the application of waterproof sealant. Look for any signs of leaks or drips, and address any issues promptly to prevent water damage.
- Test the Flow: Open the outdoor spigot to test the flow of water through the newly extended line. Allow the water to run for a few moments to ensure that there are no obstructions or irregularities in the flow. This step also helps to clear any air from the line.
- Verify Proper Functionality: Confirm that the hose bib extender functions as expected, providing a reliable and accessible point for connecting hoses and accessing outdoor water. Test the operation of the spigot by attaching a hose and checking for proper water flow.
By meticulously reconnecting the water supply and conducting thorough checks for leaks and proper functionality, you can ensure that the extended outdoor water spigot is ready for regular use. With the water supply reestablished and the new components in place, you’re ready to move on to the final step of the installation process.
Step 5: Test the New Spigot
After reconnecting the water supply and completing the installation of the hose bib extender, it’s crucial to thoroughly test the new spigot to confirm its functionality and address any potential issues. Follow these steps to ensure that the extended outdoor water spigot is fully operational:
- Inspect for Leaks: Once the water supply is restored and the hose bib extender is in place, carefully inspect the entire assembly for any signs of leaks or drips. Pay close attention to the connections, ensuring that they remain watertight under normal operating conditions.
- Operate the Spigot: Open the new spigot and allow water to flow through it. Observe the flow rate and pressure to ensure that they meet your expectations. Test the spigot with and without a connected hose to assess its performance in different usage scenarios.
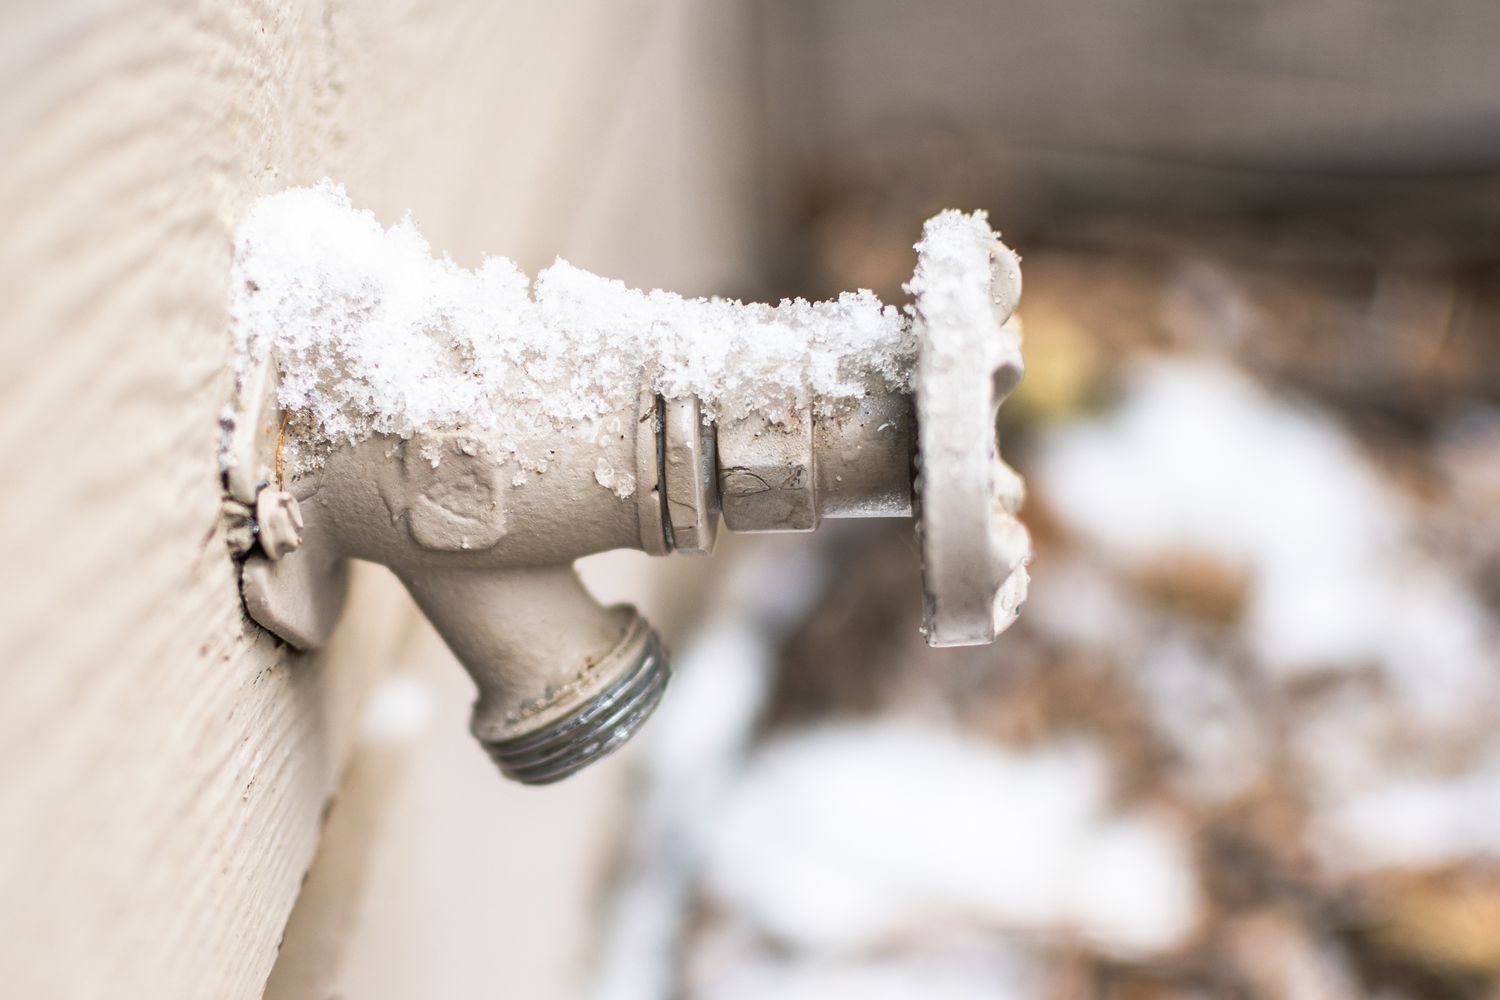
- Check for Proper Drainage: After using the spigot, verify that it drains properly and doesn’t retain water, which could lead to freezing and potential damage during colder seasons. Proper drainage is essential for maintaining the longevity and functionality of the spigot.
- Adjust and Fine-Tune: If you encounter any issues during the testing phase, such as low water pressure, unusual sounds, or leaks, take the necessary steps to address and resolve them. This may involve adjusting connections, reapplying sealant, or making minor modifications to optimize the spigot’s performance.
By conducting a comprehensive test of the new spigot and addressing any potential issues, you can ensure that it meets your expectations for functionality, reliability, and convenience. Testing the spigot under real-world conditions provides valuable insights into its performance and allows you to make any final adjustments before considering the installation process complete.
Read more: How To Winterize An Outdoor Spigot
Conclusion
Congratulations on successfully extending your outdoor water spigot! By following the step-by-step process outlined in this guide and utilizing the necessary tools and materials, you’ve enhanced the accessibility and functionality of your outdoor water supply. Whether you’ve extended the spigot to reach distant garden areas, create a more convenient watering point, or simply upgrade your outdoor setup, this DIY project empowers you to make the most of your outdoor space.
Through careful preparation, precise installation, and thorough testing, you’ve transformed your outdoor water supply to better suit your needs. The addition of a hose bib extender or the extension of the water line has opened up new possibilities for watering plants, cleaning outdoor surfaces, and engaging in various outdoor activities with ease.
As you enjoy the benefits of your extended outdoor water spigot, remember to periodically inspect the connections, especially after extreme weather conditions, to ensure that they remain secure and leak-free. Regular maintenance and proactive care will help preserve the functionality and longevity of the extended spigot, allowing you to continue reaping its benefits for years to come.
Whether you’re a seasoned DIY enthusiast or embarking on your first home improvement project, the successful extension of your outdoor water spigot showcases your ability to tackle practical tasks and enhance your living environment. With the right knowledge and resources at your disposal, you have the power to transform your surroundings and create a space that truly reflects your needs and preferences.
Thank you for joining us on this DIY journey to extend your outdoor water spigot. We hope this guide has empowered you to take on future projects with confidence and enthusiasm. Here’s to a well-equipped and functional outdoor space that enhances your daily experiences and fosters a deeper connection with nature and the outdoors!
Frequently Asked Questions about How To Extend Outdoor Water Spigot
Was this page helpful?
At Storables.com, we guarantee accurate and reliable information. Our content, validated by Expert Board Contributors, is crafted following stringent Editorial Policies. We're committed to providing you with well-researched, expert-backed insights for all your informational needs.


0 thoughts on “How To Extend Outdoor Water Spigot”