Home>Furniture & Design>Outdoor Furniture>How To Level An Outdoor Ac Unit
Outdoor Furniture
How To Level An Outdoor Ac Unit
Modified: August 28, 2024
Learn the step-by-step process of leveling an outdoor AC unit to ensure optimal performance and efficiency. Get expert tips on outdoor furniture, design, and maintenance.
(Many of the links in this article redirect to a specific reviewed product. Your purchase of these products through affiliate links helps to generate commission for Storables.com, at no extra cost. Learn more)
Introduction
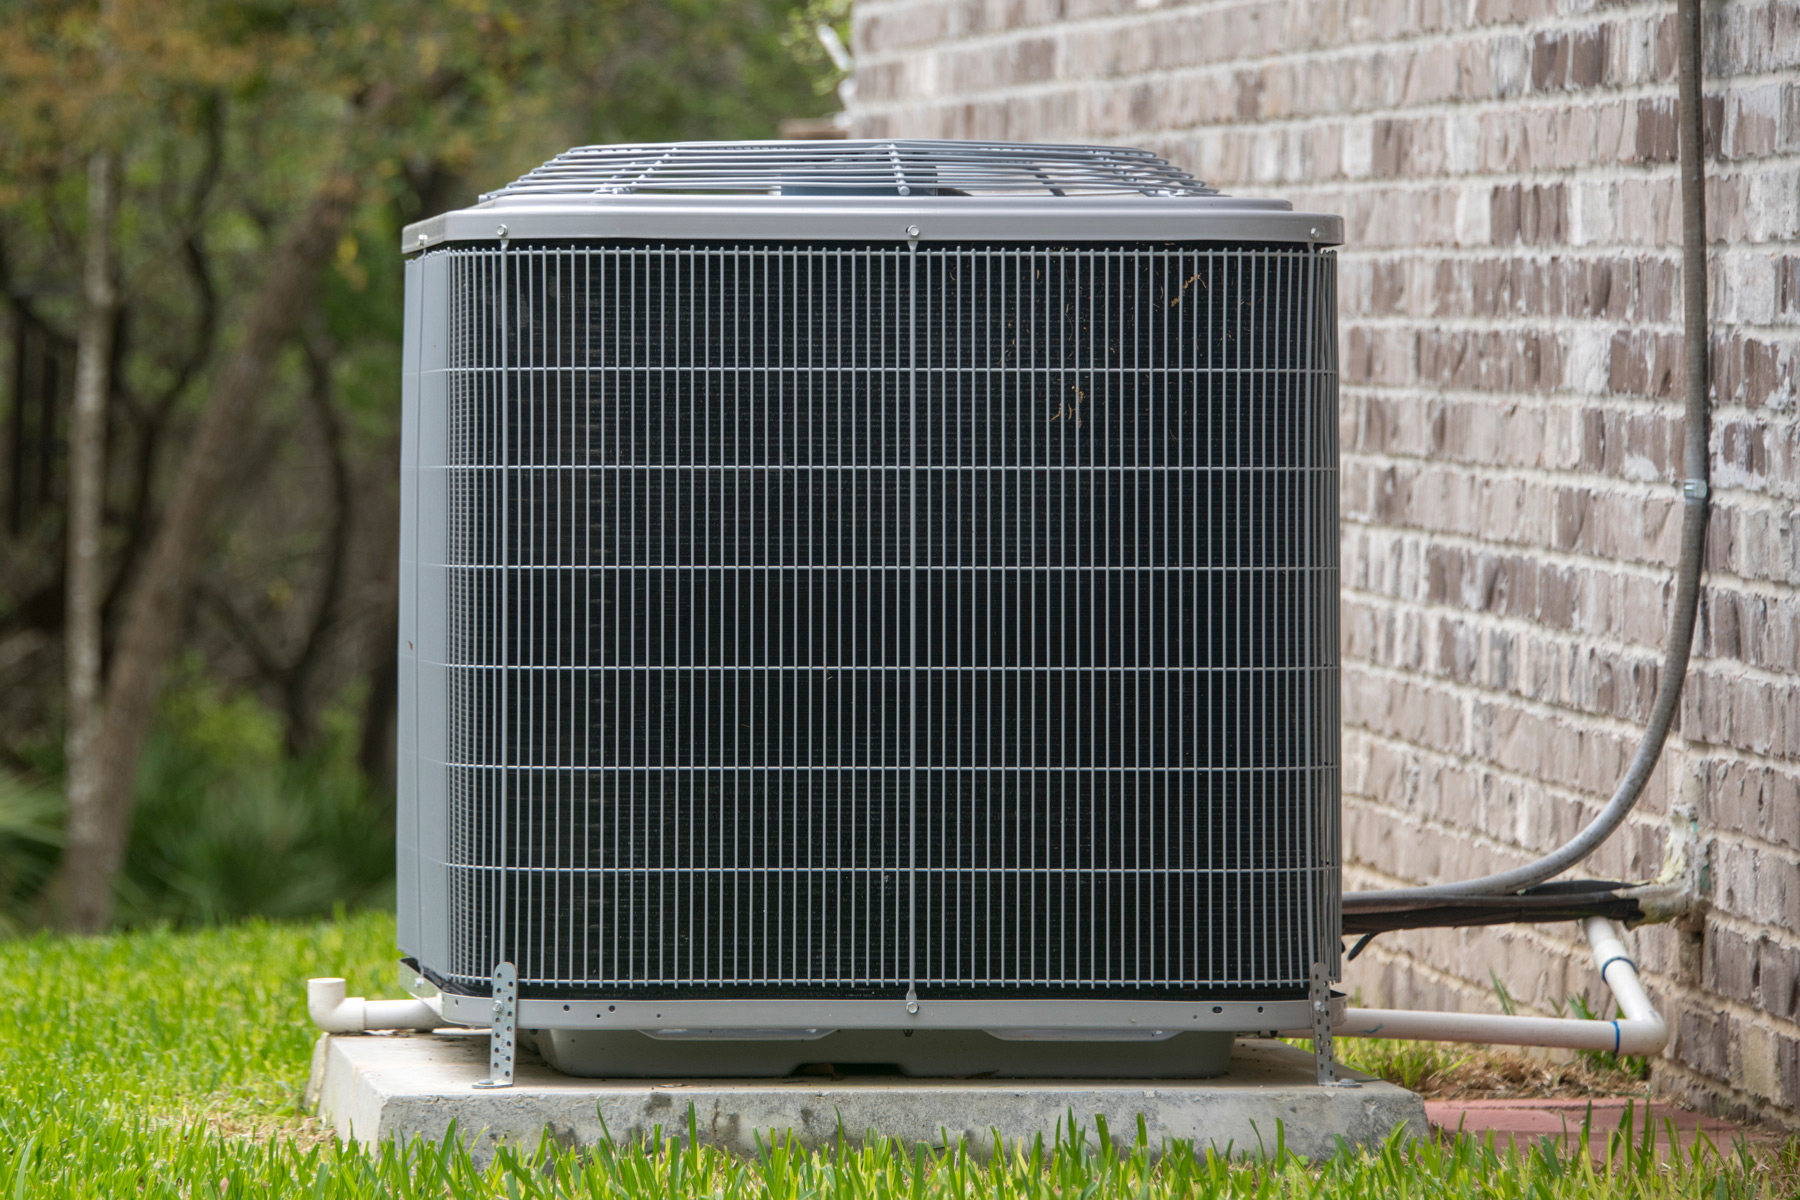
When it comes to the efficient functioning of your outdoor AC unit, ensuring that it is level is crucial. A level unit not only operates more effectively but also reduces the risk of damage and costly repairs. The good news is that leveling an outdoor AC unit is a relatively straightforward task that can be accomplished with the right tools and a systematic approach. In this guide, we will walk you through the step-by-step process of leveling your outdoor AC unit, providing you with the knowledge and confidence to tackle this essential maintenance task.
Ensuring that your outdoor AC unit is level is vital for several reasons. Firstly, a level unit allows for proper drainage, ensuring that any condensation or rainwater is effectively diverted away from the unit. Additionally, a level unit promotes balanced weight distribution, reducing the strain on the components and enhancing overall functionality. By taking the time to level your outdoor AC unit, you are not only prolonging its lifespan but also optimizing its performance, ultimately leading to improved energy efficiency and lower utility bills.
Whether you are a seasoned DIY enthusiast or a homeowner looking to take on a new challenge, leveling your outdoor AC unit is a task that can be accomplished with a few basic tools and a systematic approach. By following the steps outlined in this guide, you can ensure that your outdoor AC unit is positioned correctly, promoting optimal performance and longevity.
Now, let's dive into the tools and materials you will need to level your outdoor AC unit effectively.
Key Takeaways:
- Keep your outdoor AC unit level to prevent damage and improve efficiency. Use a level, shims, and basic tools to ensure proper drainage and balanced weight distribution.
- Clear the area, use a level, adjust with shims, secure the unit, and test its functionality to maintain a leveled outdoor AC unit for reliable performance.
Read more: How To Check The Refrigerant Level Of An AC
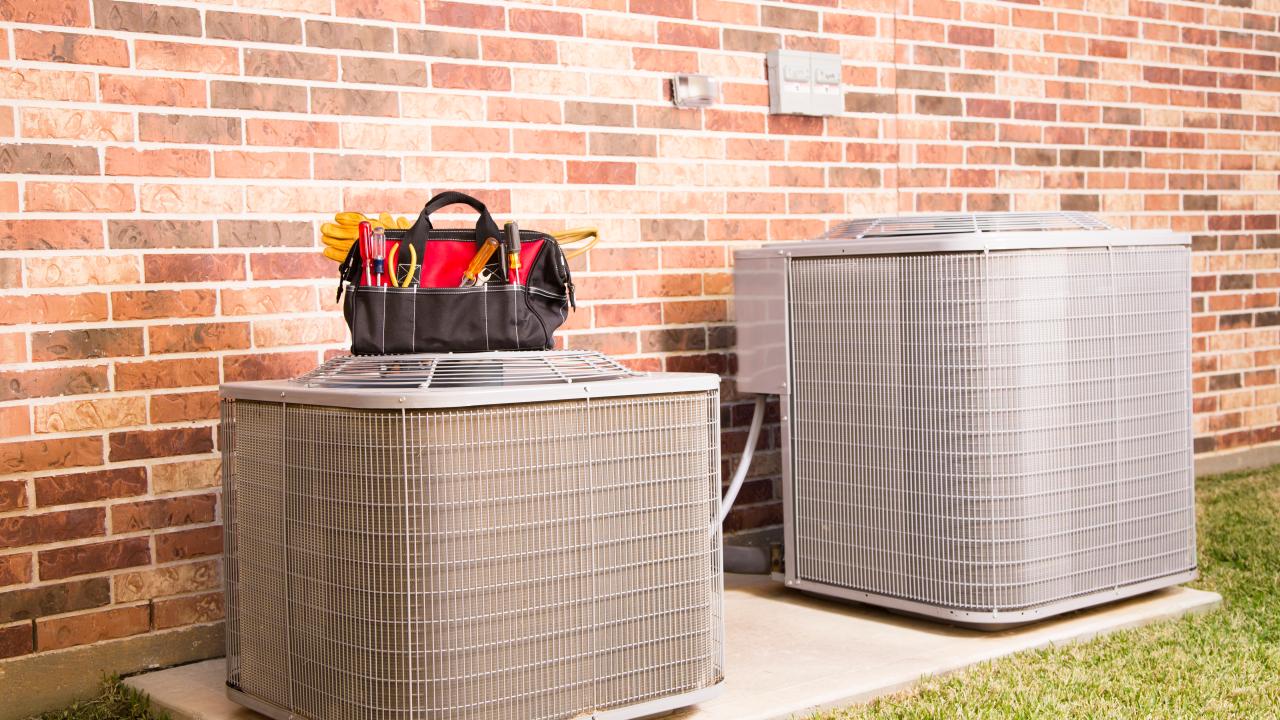
Tools and Materials Needed
Before you begin the process of leveling your outdoor AC unit, it’s essential to gather the necessary tools and materials to ensure a smooth and efficient workflow. Here’s what you’ll need:
- Level: A reliable bubble level is crucial for accurately determining whether the outdoor AC unit is positioned correctly. Opt for a durable level that can withstand outdoor conditions.
- Shims: Shims are used to adjust the position of the AC unit, ensuring that it is perfectly level. Look for weather-resistant shims that can withstand outdoor elements.
- Tape Measure: A tape measure will come in handy for taking precise measurements and ensuring that the unit is positioned at the correct height.
- Adjustable Wrench: An adjustable wrench is essential for loosening and tightening the bolts and screws that secure the AC unit in place.
- Cleaning Supplies: Before leveling the unit, it’s important to clear any debris or dirt from the surrounding area. Keep a broom, dustpan, and cleaning cloth on hand to prepare the area for the leveling process.
- Protective Gear: To ensure your safety during the process, consider wearing gloves and safety goggles, especially when handling cleaning supplies and tools.
By having these tools and materials ready, you can streamline the leveling process and address any potential challenges with confidence. With everything in place, you’re ready to move on to the first step: clearing the area around the unit.
Step 1: Clear the Area Around the Unit
Before you begin the process of leveling your outdoor AC unit, it’s important to ensure that the surrounding area is free of any debris or obstructions. This step is essential for creating a safe and accessible workspace, allowing you to assess the unit’s position accurately and make necessary adjustments. Here’s how to clear the area around the unit:
- Remove Debris: Start by removing any leaves, twigs, or other debris that may have accumulated around the base of the AC unit. Use a broom and dustpan to clear the area effectively.
- Clean the Surface: Once the debris is removed, take a moment to clean the surface around the unit. Use a damp cloth or cleaning solution to wipe away any dirt or grime, ensuring a clear and level workspace.
- Inspect for Obstructions: Check for any potential obstructions that could impede the leveling process. Ensure that there are no large rocks, branches, or other obstacles that could affect the unit’s position.
By taking the time to clear the area around the outdoor AC unit, you create a clean and safe environment for the leveling process. This initial step sets the stage for accurate assessment and adjustment, laying the foundation for a successful leveling outcome.
With the area cleared and prepared, you’re ready to move on to the next step: using a level to check the unit’s current position.
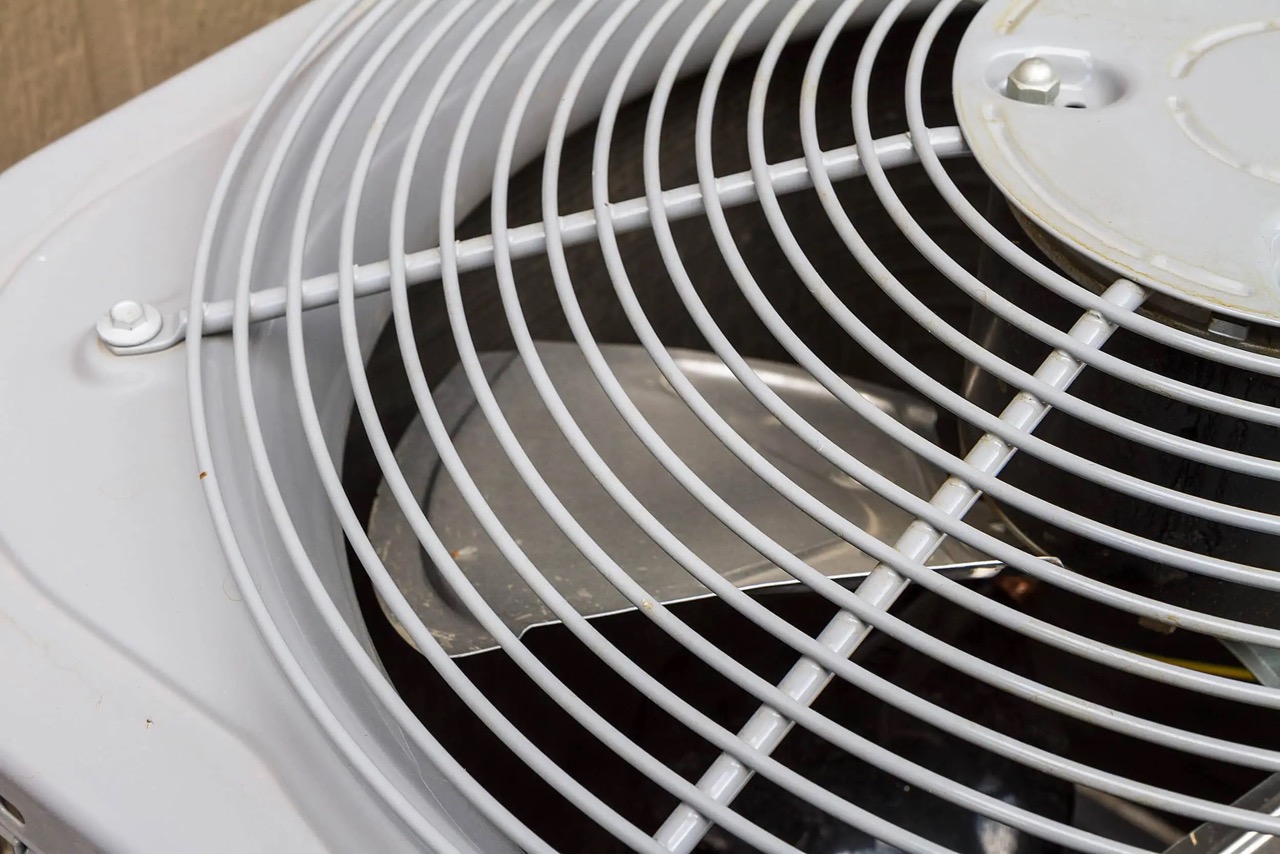
Step 2: Use a Level to Check the Unit
Once the area around the outdoor AC unit is clear and prepared, it’s time to assess the unit’s current position using a reliable bubble level. This step is crucial for determining whether the unit is properly leveled and identifying any adjustments that may be necessary. Here’s how to use a level to check the unit:
- Place the Level: Position the bubble level on top of the unit, ensuring that it is placed in a central and easily visible location. The level should rest on a flat surface for accurate readings.
- Check the Bubble: Once the level is in place, observe the position of the bubble within the level. If the bubble is centered between the calibration lines, the unit is likely level. However, if the bubble is off-center, adjustments will be needed.
- Confirm Multiple Directions: To ensure thorough assessment, check the level in multiple directions, including side to side and front to back. This comprehensive approach provides a complete understanding of the unit’s position.
By using a level to check the outdoor AC unit, you gain valuable insight into its current position and can determine the necessary adjustments with precision. Once you have assessed the unit’s levelness, you can proceed to the next step: adjusting the unit’s position to achieve optimal leveling.
Use a level to check if the outdoor AC unit is sitting on a flat surface. If not, place shims under the unit to level it. This will help the unit operate efficiently and prevent damage.
Step 3: Adjust the Unit’s Position
After using a level to assess the current position of the outdoor AC unit, it’s time to make any necessary adjustments to ensure proper leveling. This step involves strategically positioning shims to achieve a balanced and level orientation for the unit. Here’s how to adjust the unit’s position:
- Lift the Unit: Carefully lift one side of the unit to create space for inserting the shims. It’s important to exercise caution and use proper lifting techniques to avoid strain or injury.
- Insert Shims: Slide weather-resistant shims beneath the base of the unit to raise or lower specific areas as needed. The goal is to achieve a level position by strategically placing the shims where they will have the most significant impact.
- Check Levelness: Once the shims are in place, reposition the level on top of the unit and check for levelness in multiple directions. Continue adjusting the shims as necessary until the bubble in the level is centered, indicating that the unit is level.
By carefully adjusting the position of the outdoor AC unit, you can ensure that it is level and properly balanced, setting the stage for optimal functionality and performance. With the unit’s position adjusted, the next step is to secure the unit in place to maintain its level orientation.
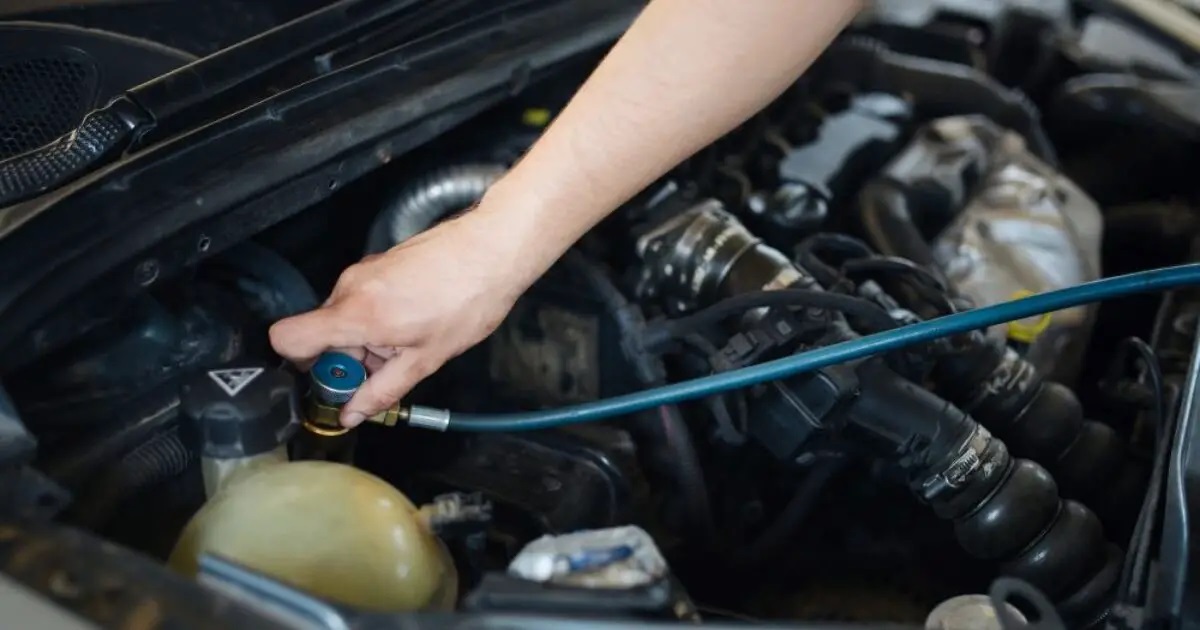
Read more: How Much Is An AC Recharge
Step 4: Secure the Unit in Place
With the outdoor AC unit properly leveled and positioned, the next crucial step is to secure it in place to maintain its optimal orientation. This involves ensuring that the unit remains stable and level, minimizing the risk of shifting or displacement. Here’s how to secure the unit in place:
- Tighten Mounting Hardware: Using an adjustable wrench, carefully tighten the mounting hardware, including bolts and screws, to secure the unit in its leveled position. Ensure that the hardware is firmly in place without over-tightening, which could affect the unit’s balance.
- Stabilize the Base: If the unit rests on a concrete pad, consider using a suitable adhesive or caulking material to stabilize the base and prevent movement. This additional measure helps maintain the unit’s level orientation over time.
- Inspect for Stability: After securing the unit, visually inspect it for any signs of instability or wobbling. Gently apply pressure to different areas to confirm that the unit remains firmly in place and level.
By taking the necessary steps to secure the outdoor AC unit in its leveled position, you can promote long-term stability and performance, safeguarding against potential issues related to unbalanced or shifting units. With the unit securely in place, the final step is to test its functionality to ensure that it operates effectively in its leveled orientation.
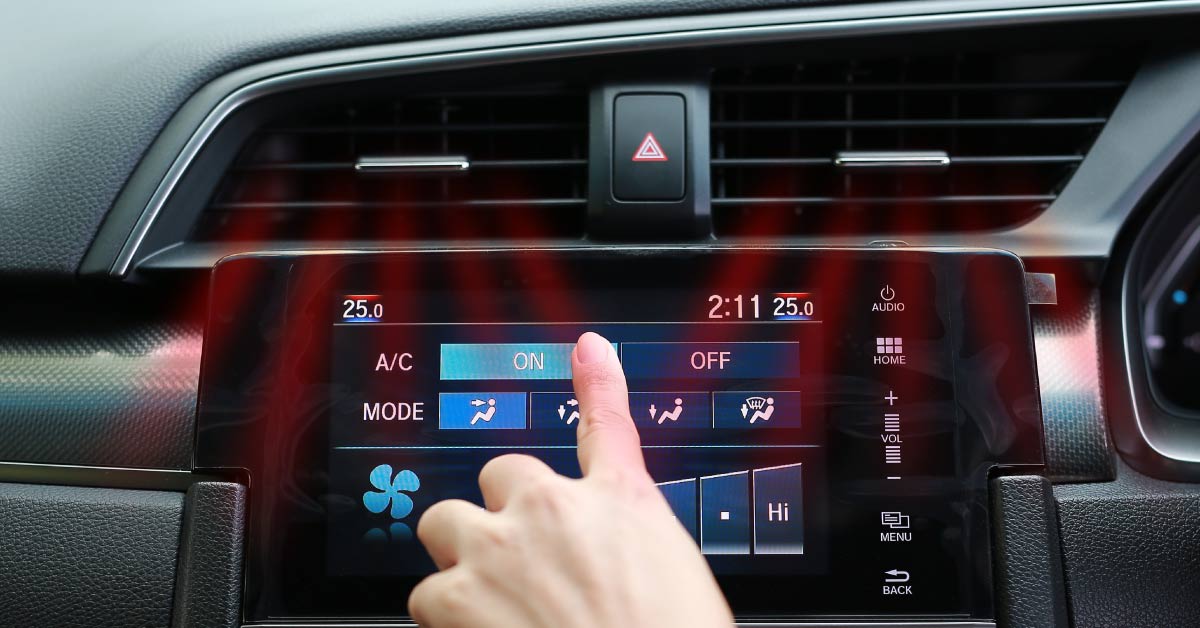
Step 5: Test the Unit
After leveling and securing the outdoor AC unit, it’s essential to conduct a thorough test to ensure that it operates effectively in its newly leveled position. This step involves activating the unit and observing its performance to confirm that it functions optimally. Here’s how to test the unit:
- Power On the Unit: Activate the outdoor AC unit according to the manufacturer’s instructions, allowing it to run and regulate the surrounding temperature.
- Observe Operation: Monitor the unit as it operates, paying attention to any unusual sounds, vibrations, or performance issues. A leveled unit should function smoothly and quietly, without noticeable disturbances.
- Check Drainage: Confirm that the unit’s drainage system effectively diverts any condensation or moisture away from the unit, preventing accumulation and potential damage.
- Assess Overall Performance: Evaluate the unit’s overall performance, including its cooling efficiency and energy consumption, to ensure that it functions optimally in its leveled position.
By conducting a comprehensive test of the outdoor AC unit, you can verify that the leveling process has resulted in improved functionality and performance. Any issues identified during the testing phase can be promptly addressed, ensuring that the unit operates at its best. With the unit successfully tested and confirmed to be functioning effectively, you can conclude the leveling process with confidence, knowing that your outdoor AC unit is optimally positioned for reliable operation.
Conclusion
Leveling your outdoor AC unit is a fundamental maintenance task that can significantly impact its performance, longevity, and energy efficiency. By following the step-by-step process outlined in this guide, you have acquired the knowledge and skills to effectively level your outdoor AC unit, ensuring that it operates optimally and remains well-positioned for reliable functionality.
Throughout the leveling process, you have learned the importance of creating a clear and accessible workspace, using a level to assess the unit’s position, strategically adjusting the unit’s orientation with shims, and securing it in place to maintain its levelness. Additionally, the critical step of testing the unit’s functionality has allowed you to confirm that the leveling process has resulted in improved performance and efficiency.
By investing the time and effort to level your outdoor AC unit, you have taken proactive measures to promote its longevity and minimize the risk of potential issues associated with unbalanced or improperly positioned units. A leveled unit not only operates more efficiently but also reduces the strain on its components, contributing to prolonged durability and reliable performance.
As you continue to prioritize the maintenance and care of your outdoor AC unit, incorporating regular inspections and leveling as needed, you contribute to its overall well-being and ensure that it continues to provide optimal cooling and comfort for your outdoor spaces.
With the completion of the leveling process, you can enjoy the peace of mind that comes with knowing your outdoor AC unit is positioned correctly, ready to deliver efficient and reliable performance for years to come.
Frequently Asked Questions about How To Level An Outdoor Ac Unit
Was this page helpful?
At Storables.com, we guarantee accurate and reliable information. Our content, validated by Expert Board Contributors, is crafted following stringent Editorial Policies. We're committed to providing you with well-researched, expert-backed insights for all your informational needs.


0 thoughts on “How To Level An Outdoor Ac Unit”