Home>Furniture & Design>Outdoor Furniture>How To Make A Cheap Outdoor Rug
Outdoor Furniture
How To Make A Cheap Outdoor Rug
Modified: January 14, 2024
Learn how to create a budget-friendly outdoor rug for your patio or deck with our easy DIY guide. Elevate your outdoor space with stylish and affordable outdoor furniture and design ideas.
(Many of the links in this article redirect to a specific reviewed product. Your purchase of these products through affiliate links helps to generate commission for Storables.com, at no extra cost. Learn more)
Introduction
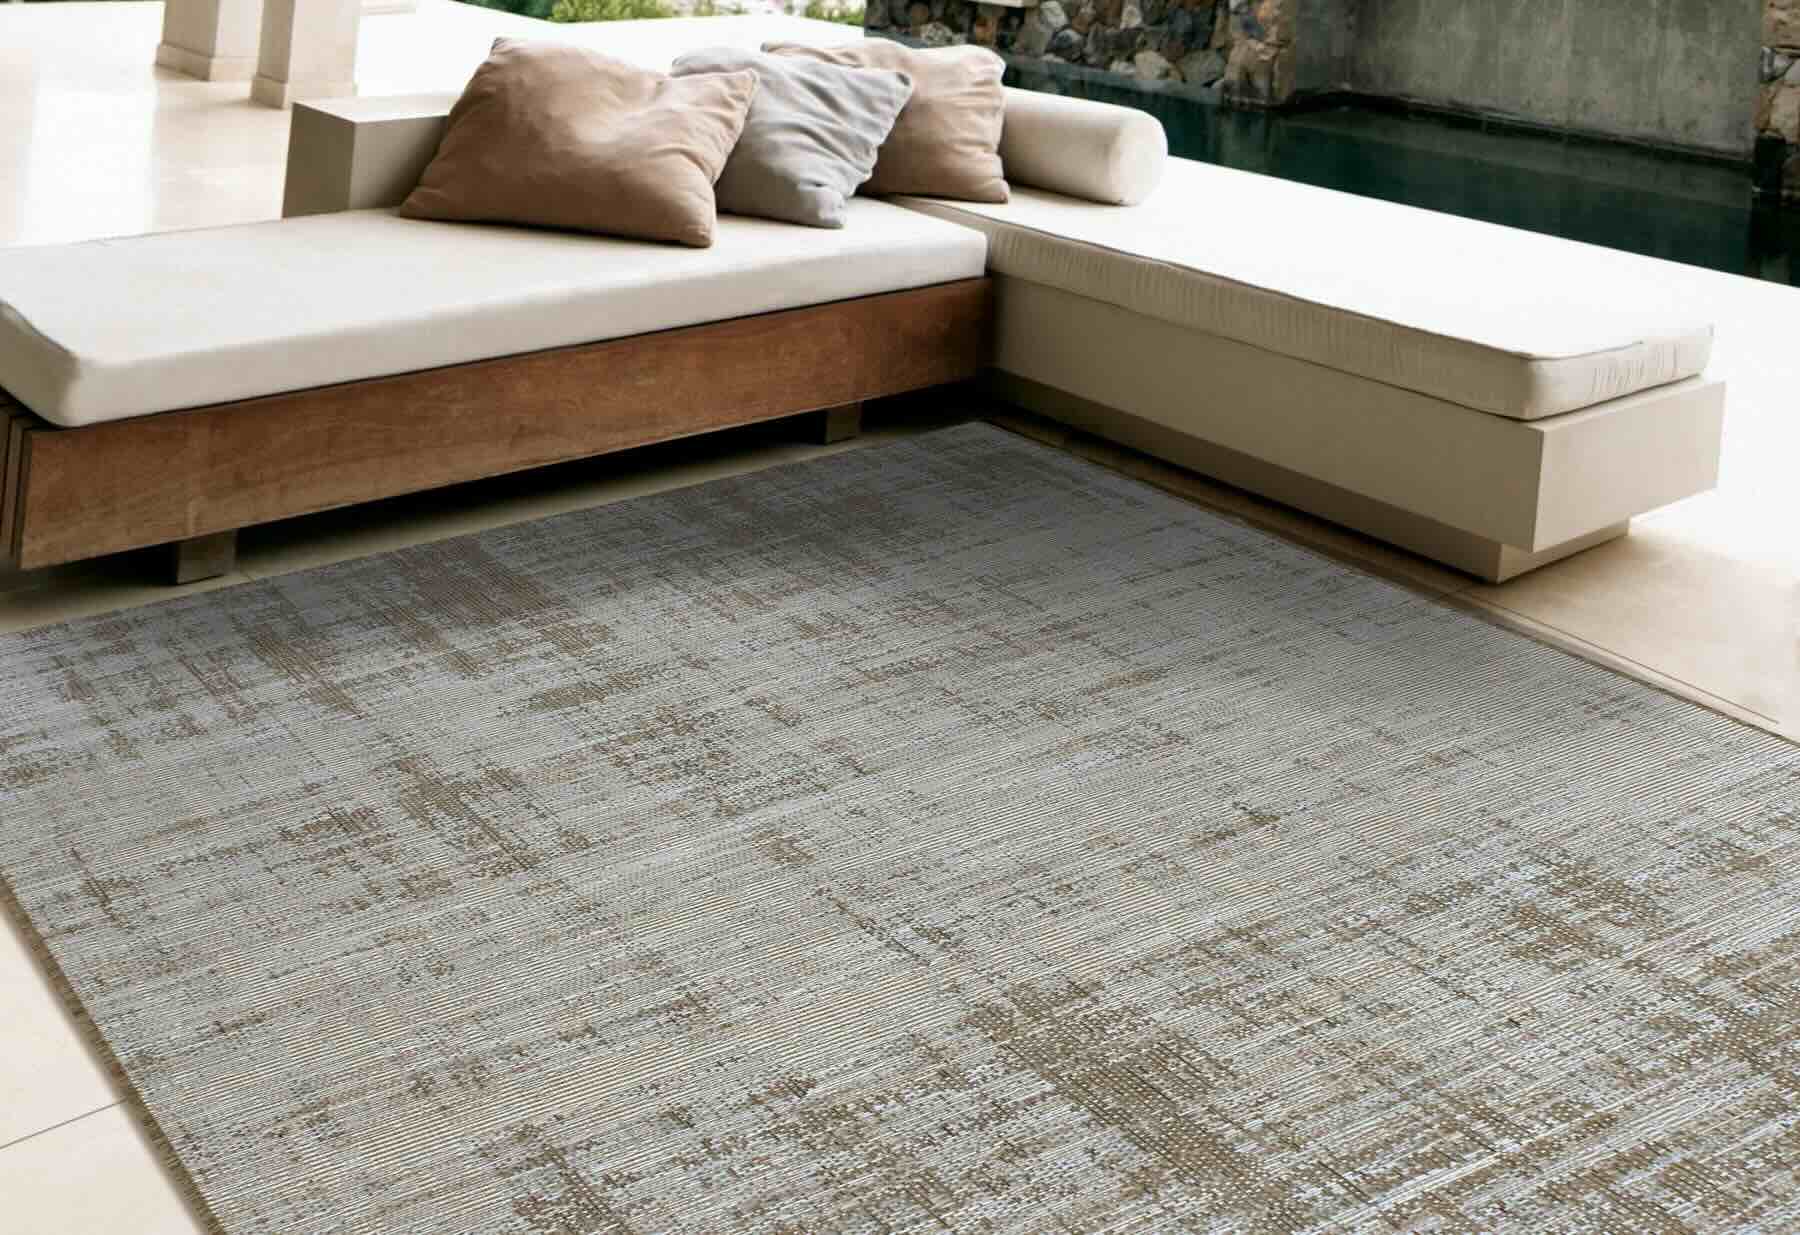
Creating a warm and inviting outdoor space doesn't have to break the bank. One way to add charm and comfort to your outdoor oasis is by incorporating an outdoor rug. While outdoor rugs are available for purchase, crafting your own can be a rewarding and cost-effective alternative. In this guide, we'll explore how to make a cheap outdoor rug that not only elevates the aesthetic of your outdoor area but also withstands the elements.
By following these simple steps, you can personalize your outdoor space with a custom rug that complements your style and serves as a focal point for gatherings and relaxation. With a few basic materials and a touch of creativity, you can embark on a fun and fulfilling DIY project that enhances the ambiance of your outdoor living area. Let's dive into the materials needed to get started on this exciting endeavor.
Key Takeaways:
- Create a custom outdoor rug by measuring, cutting, and waterproofing fabric. Enjoy a budget-friendly DIY project that adds style and comfort to your outdoor space.
- Transform basic materials into a durable and stylish outdoor rug. Personalize your outdoor oasis with a cost-effective and rewarding DIY project.
Read more: How To Make An Outdoor Rug
Materials Needed
Before embarking on this DIY outdoor rug project, it’s essential to gather the necessary materials. The items required for creating a cheap outdoor rug are readily available and budget-friendly, making this a practical and enjoyable endeavor. Here’s what you’ll need:
- Outdoor fabric: Select a durable outdoor fabric that suits your style and complements your outdoor decor. This could be a weather-resistant fabric designed to withstand the elements, such as sunbrella fabric or a similar outdoor upholstery material.
- Scissors: A sturdy pair of scissors will be essential for cutting the fabric to the desired size and shape for your outdoor rug.
- Waterproofing sealant: To protect your DIY outdoor rug from moisture and enhance its longevity, you’ll need a waterproofing sealant specifically designed for outdoor use.
- Paintbrush or roller: A paintbrush or roller will be used to apply the waterproofing sealant to the fabric evenly.
- Measuring tape: Accurately measuring the dimensions of your outdoor rug is crucial for achieving the desired fit and appearance in your outdoor space.
- Flat surface: A clean and flat surface, such as a patio or driveway, will serve as the ideal workspace for this project.
- Weights or clips: These will be used to secure the fabric in place while applying the waterproofing sealant and allowing it to dry.
With these materials in hand, you’re well-equipped to begin the process of crafting your own affordable and stylish outdoor rug. Next, we’ll delve into the step-by-step instructions for creating your DIY outdoor rug, starting with measuring and cutting the fabric to your desired dimensions.
Step 1: Measure and Cut the Fabric
The first step in creating your own cheap outdoor rug is to measure and cut the fabric to your desired size and shape. Begin by determining the area where you intend to place the rug, whether it’s on a patio, deck, or in a garden setting. Use a measuring tape to accurately measure the dimensions for your outdoor rug, ensuring that it fits the designated space comfortably.
Once you have the measurements, lay the outdoor fabric on a flat surface, such as a patio or driveway, and use a pair of sturdy scissors to carefully cut the fabric to the desired size and shape. Whether you prefer a rectangular, square, or circular rug, ensure that the edges are neatly trimmed for a polished appearance.
When cutting the fabric, it’s important to consider any specific design or pattern you wish to showcase. Take into account how the pattern will align with the shape and size of the rug. This step allows for personalization and creativity, enabling you to tailor the rug to your outdoor decor and style preferences.
By taking the time to measure and cut the fabric with precision, you set the foundation for a custom outdoor rug that seamlessly integrates into your outdoor living space. With the fabric cut to your specifications, you’re ready to move on to the next step: preparing the fabric for the waterproofing sealant application.
Step 2: Prepare the Fabric
After cutting the outdoor fabric to your desired size and shape, the next crucial step in creating a cheap outdoor rug is to prepare the fabric for the application of the waterproofing sealant. This preparation process ensures that the fabric is ready to withstand outdoor conditions and maintain its visual appeal over time.
Begin by thoroughly cleaning the fabric to remove any dust, dirt, or debris that may have accumulated. Depending on the fabric’s care instructions, you can either spot clean it with a gentle detergent and water or use a mild fabric cleaner. Allow the fabric to air dry completely before proceeding to the next step.
Once the fabric is clean and dry, it’s essential to ensure that the surface is free of any wrinkles or creases. Smooth out the fabric on a flat surface to eliminate any folds or uneven areas that could affect the application of the waterproofing sealant. This step sets the stage for a seamless and uniform sealant application, enhancing the rug’s overall appearance and performance.
Additionally, take this opportunity to inspect the edges of the fabric to ensure that they are neat and well-trimmed. Any uneven edges can be trimmed further to achieve a polished and professional look for your DIY outdoor rug.
By meticulously preparing the fabric for the waterproofing sealant, you lay the groundwork for a durable and visually appealing outdoor rug that can withstand various weather conditions. With the fabric primed and ready, you’re now prepared to move on to the next step: applying the waterproofing sealant to protect and enhance the fabric.
Consider using a drop cloth or outdoor fabric as a budget-friendly option for making an outdoor rug. These materials are durable and can be easily customized with paint or stencils to match your outdoor decor.
Step 3: Apply the Waterproofing Sealant
Applying a waterproofing sealant is a pivotal step in creating a durable and weather-resistant outdoor rug. This protective coating not only safeguards the fabric from moisture and mildew but also extends the longevity of your DIY outdoor rug, making it an ideal addition to your outdoor living space.
Before applying the waterproofing sealant, ensure that you are working in a well-ventilated area, preferably outdoors. Lay the prepared fabric flat on a clean surface, and use a paintbrush or roller to apply the waterproofing sealant evenly across the entire surface of the fabric. Be sure to follow the manufacturer’s instructions regarding the application process and drying time.
As you apply the sealant, pay close attention to achieving uniform coverage, ensuring that no areas are overlooked. The sealant forms a protective barrier that repels water and prevents moisture from seeping into the fabric, making it an essential component for preserving the integrity of your outdoor rug.
Depending on the specific product used, you may need to apply multiple coats of the waterproofing sealant to achieve optimal protection and durability. Allow each coat to dry thoroughly before applying the next, adhering to the recommended drying times provided by the manufacturer.
By applying the waterproofing sealant with care and precision, you fortify the fabric against the elements, enabling it to withstand outdoor conditions and maintain its visual appeal for an extended period. With the sealant applied, the next step involves allowing the rug to dry thoroughly before placing it in its designated outdoor space.
Read more: How To Make A Cheap Outdoor Dance Floor
Step 4: Let the Rug Dry
After applying the waterproofing sealant to the fabric, allowing the rug to dry thoroughly is essential to ensure that the sealant sets and the fabric attains its optimal protective properties. Proper drying time is crucial for the sealant to bond with the fabric, creating a resilient barrier against moisture and environmental elements.
Transfer the treated fabric to a clean and dry area, preferably outdoors, where it can be laid flat to air dry. Depending on the weather conditions and humidity levels, the drying process may take varying amounts of time. It’s advisable to consult the manufacturer’s guidelines for the specific waterproofing sealant used, as they often provide recommendations regarding drying times and ideal environmental conditions for the drying process.
During the drying period, it’s important to ensure that the fabric remains undisturbed and unaffected by external factors such as dust, debris, or inclement weather. If necessary, use weights or clips to secure the fabric in place and prevent it from shifting or wrinkling while it dries.
Allowing the outdoor rug to dry completely sets the stage for optimal performance and longevity, ensuring that the waterproofing sealant forms a robust shield against moisture and other outdoor elements. Once the fabric is fully dry, you’re ready to place your custom DIY outdoor rug in its designated outdoor setting, adding a touch of style and comfort to your outdoor space.
Step 5: Place the Rug Outdoors
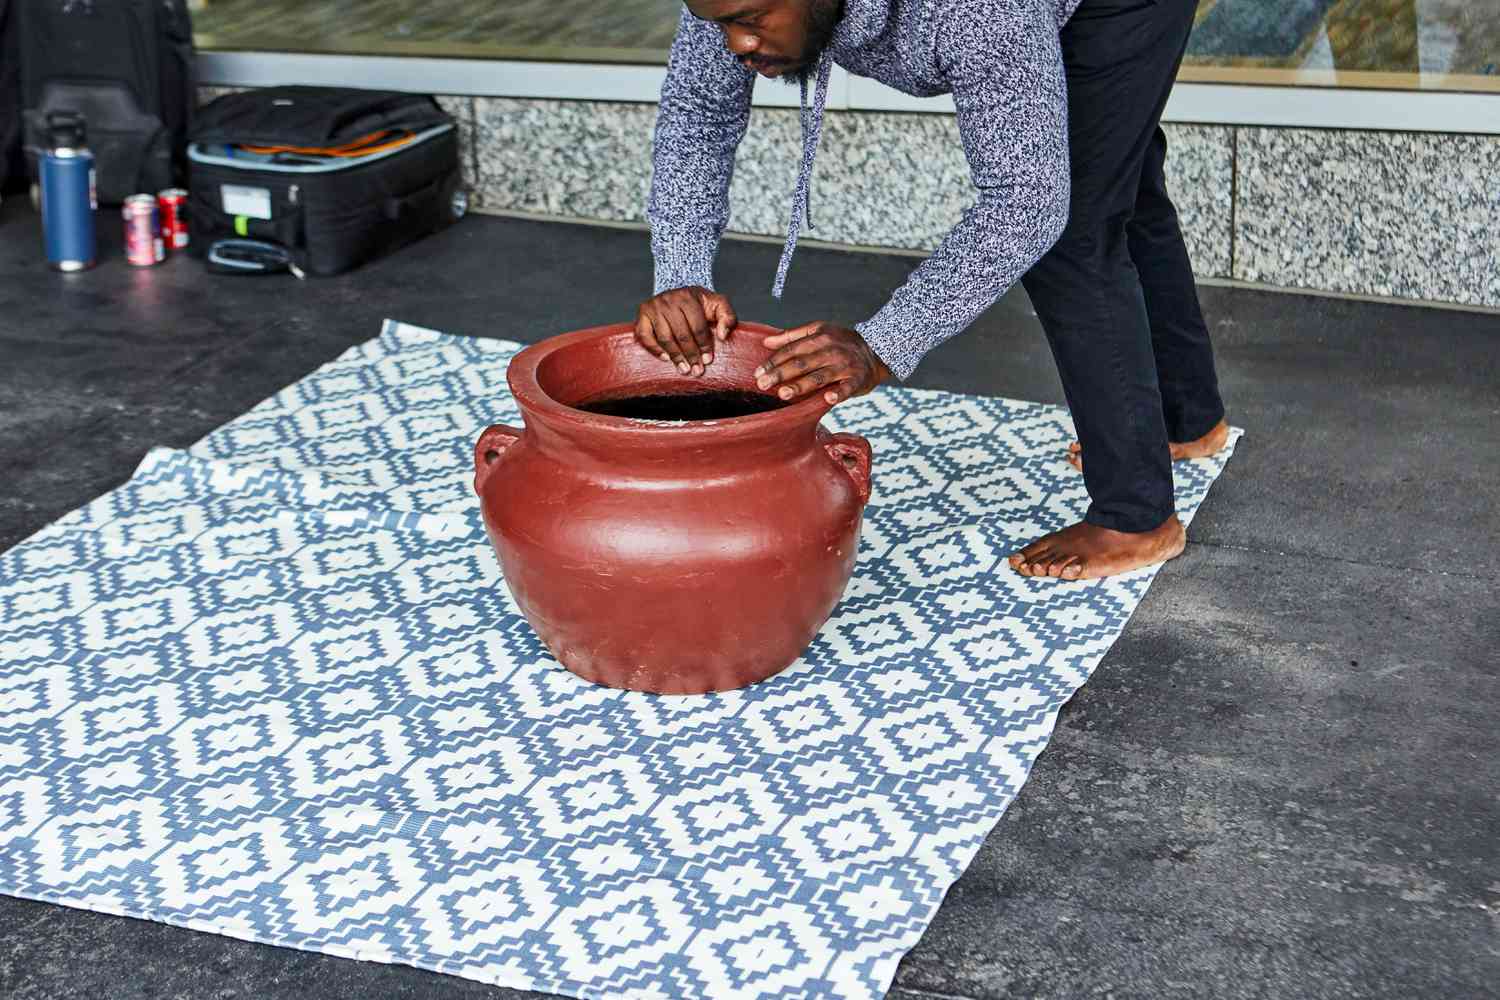
With the DIY outdoor rug fully prepared and dried, it’s time to place it in its designated outdoor setting, adding a touch of charm and comfort to your outdoor space. Whether you intend to position the rug on a patio, deck, or in a garden area, its presence will enhance the ambiance and create an inviting atmosphere for relaxation and social gatherings.
When selecting the ideal location for your outdoor rug, consider factors such as foot traffic, exposure to sunlight, and its visual impact within the outdoor setting. Placing the rug in a high-traffic area where it may be subjected to frequent use and footfall can add a cozy touch and define the space. Additionally, positioning it in an area that receives ample sunlight allows the rug to showcase its design and colors, contributing to the overall aesthetic of your outdoor environment.
As you place the rug outdoors, take a moment to ensure that it lies flat and is positioned securely to prevent tripping hazards or displacement. Depending on the surface where the rug will be placed, you may opt to use rug grips or non-slip padding to enhance stability and safety, especially on smooth or slippery surfaces.
Once the outdoor rug is in position, take a step back and admire the transformation it brings to your outdoor space. The personalized touch and visual appeal of your custom DIY outdoor rug contribute to the overall charm and comfort of your outdoor living area, creating an inviting space for relaxation, entertaining, and enjoying the beauty of the outdoors.
By following these steps to create and place your affordable and stylish outdoor rug, you’ve not only added a functional and decorative element to your outdoor space but also embarked on a rewarding DIY project that reflects your unique style and creativity.
Conclusion
Embarking on the journey of creating a cheap outdoor rug has allowed you to infuse your outdoor space with personalized charm and comfort while embracing a fulfilling do-it-yourself project. By following the step-by-step process outlined in this guide, you’ve transformed basic materials into a stylish and durable outdoor rug that complements your outdoor decor and withstands the elements.
Through careful measurement and cutting of the outdoor fabric, meticulous preparation, and the application of a waterproofing sealant, you’ve crafted a custom outdoor rug tailored to your preferences and outdoor lifestyle. The attention to detail and creative input involved in this DIY endeavor have resulted in a budget-friendly and visually appealing addition to your outdoor living area.
Placing the rug in its designated outdoor setting has not only enhanced the aesthetic appeal of your outdoor space but also created a cozy and inviting atmosphere for relaxation and social gatherings. The rug serves as a testament to your creativity and resourcefulness, adding a touch of warmth and personality to your outdoor oasis.
As you enjoy the fruits of your labor, take pride in the fact that you’ve contributed to the individuality and comfort of your outdoor environment through a practical and enjoyable DIY project. The process of making a cheap outdoor rug has not only allowed you to express your creativity but has also provided a cost-effective solution for elevating the ambiance of your outdoor living space.
With your custom DIY outdoor rug in place, you’ve added a distinctive and functional element to your outdoor setting, showcasing your unique style and enhancing the overall appeal of your outdoor oasis. This project exemplifies the joy and satisfaction that come with creating a practical and aesthetically pleasing addition to your home, reinforcing the idea that with a touch of creativity and resourcefulness, you can transform basic materials into a delightful and personalized outdoor accent.
Frequently Asked Questions about How To Make A Cheap Outdoor Rug
Was this page helpful?
At Storables.com, we guarantee accurate and reliable information. Our content, validated by Expert Board Contributors, is crafted following stringent Editorial Policies. We're committed to providing you with well-researched, expert-backed insights for all your informational needs.

0 thoughts on “How To Make A Cheap Outdoor Rug”