Home>Furniture & Design>Outdoor Furniture>How To Make Outdoor Gnomes

Outdoor Furniture
How To Make Outdoor Gnomes
Published: January 13, 2024
Learn how to make your own outdoor gnomes with our step-by-step guide. Create unique and charming outdoor furniture and design with our easy DIY tips.
(Many of the links in this article redirect to a specific reviewed product. Your purchase of these products through affiliate links helps to generate commission for Storables.com, at no extra cost. Learn more)
Introduction
Welcome to the whimsical world of outdoor gnomes! These charming and iconic figures have been adorning gardens and outdoor spaces for centuries, adding a touch of enchantment and personality to the surroundings. While you can easily purchase outdoor gnomes from stores, there's something truly special about creating your own custom gnome to grace your garden.
In this guide, we'll delve into the delightful process of making your very own outdoor gnome from scratch. Whether you're a seasoned crafter or a newcomer to the world of DIY projects, crafting an outdoor gnome can be a rewarding and enjoyable endeavor. By following the steps outlined in this article, you'll have the opportunity to infuse your personality and creativity into a unique garden ornament that will bring joy to your outdoor space.
Not only does crafting your own outdoor gnome allow for personalization, but it also provides an opportunity to engage in a fun and imaginative activity. From sculpting the gnome's features to adding intricate details and finally bringing it to life with vibrant colors, each step in the process is filled with creativity and expression.
So, gather your materials, unleash your creativity, and get ready to embark on a delightful journey of crafting your very own outdoor gnome. Let's dive into the materials needed to bring this enchanting project to life!
Key Takeaways:
- Craft your own outdoor gnome using clay, sculpting tools, and vibrant paints to infuse your garden with personalized charm and whimsical creativity.
- Seal your delightful gnome with weather-resistant protection to ensure its vibrant colors and intricate details withstand the elements and continue to enchant your outdoor space.
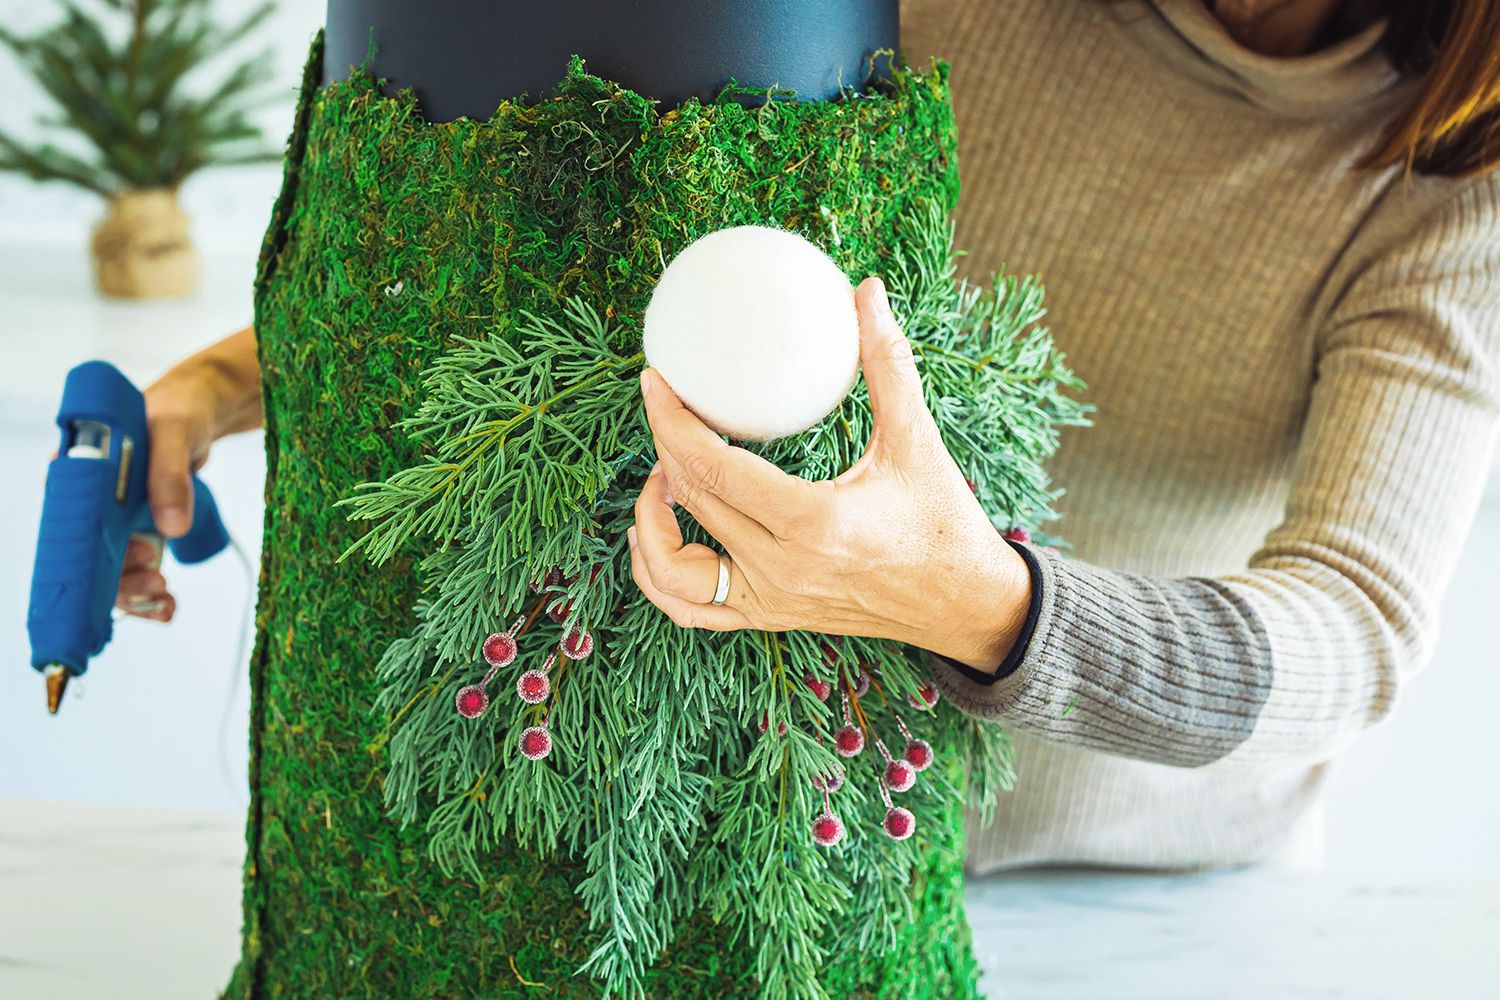
Read more: How To Make Gnome From Greenery
Materials Needed
Before diving into the creative process of crafting an outdoor gnome, it’s essential to gather the necessary materials. The following items will serve as the foundation for your whimsical creation:
- Clay or Polymer Clay: Choose a high-quality, durable clay that is suitable for outdoor use. Polymer clay is an excellent option as it can withstand various weather conditions.
- Sculpting Tools: Acquire a set of sculpting tools, including various sizes of modeling tools and detailing tools, to shape and refine the gnome’s features.
- Wire Armature (optional): If you prefer a more structured approach, consider using a wire armature to provide support for the gnome’s body.
- Paints: Select acrylic paints in an array of colors to bring your gnome to life. Ensure that the paints are suitable for outdoor use and can withstand exposure to sunlight and moisture.
- Sealant: Invest in a weather-resistant sealant to protect the gnome from the elements and preserve the vibrancy of the painted details.
- Paintbrushes: Gather an assortment of paintbrushes, including fine-tipped brushes for detailing and broader brushes for applying base colors.
- Protective Gear: Prioritize safety by wearing gloves, especially when working with clay and sealants, to protect your skin and prevent any potential skin irritation.
- Work Surface: Prepare a dedicated work surface, such as a clean and spacious table, where you can comfortably sculpt and paint your gnome.
- Inspiration and Imagination: Embrace your creativity and draw inspiration from various gnome designs and folklore to infuse your creation with character and charm.
With these essential materials at your disposal, you’re all set to embark on the enchanting journey of crafting your very own outdoor gnome. Next, we’ll delve into the first step of the creative process: creating the base for your delightful creation.
Step 1: Creating the Base
The foundation of your outdoor gnome begins with the creation of its base, which forms the structure upon which the charming figure will stand. Whether you opt for clay or polymer clay, the initial steps involve shaping the gnome’s body and ensuring its stability. Here’s a detailed guide to crafting the base for your delightful creation:
- Selecting the Clay: Choose a suitable clay type for your gnome, considering factors such as durability and weather resistance. Polymer clay is an excellent choice, as it can withstand outdoor conditions and is easy to mold.
- Creating the Body: Begin by shaping the clay into the basic form of the gnome’s body. You can start with a simple cone shape as the foundation and then refine it to achieve the desired proportions.
- Adding Support: If you opt for a wire armature, carefully insert and mold it within the clay to provide structural support for the gnome’s body. This step ensures that your gnome stands securely and maintains its shape over time.
- Refining the Details: Pay attention to the details of the base, such as the gnome’s posture and the texture of its clothing. Use sculpting tools to add texture and refine the overall appearance, infusing personality into the gnome’s stance.
- Baking the Base: Once you’re satisfied with the base’s form and details, follow the specific instructions for baking the clay. This process solidifies the base and prepares it for the next steps of sculpting and painting.
By carefully following these steps, you’ll establish a sturdy and well-crafted base for your outdoor gnome. With the foundation in place, you’re ready to embark on the next phase: sculpting the delightful features that will bring your gnome to life. Let’s delve into the creative process of sculpting the gnome in the following step.
Step 2: Sculpting the Gnome
With the base of your outdoor gnome firmly established, it’s time to infuse it with character and charm by sculpting the delightful features that define its whimsical personality. From the gnome’s facial expressions to its distinctive attire, this step allows you to shape the unique identity of your creation. Here’s a comprehensive guide to sculpting the endearing details of your outdoor gnome:
- Defining the Facial Features: Begin by sculpting the gnome’s face, carefully molding the clay to create endearing expressions. Pay attention to details such as the nose, cheeks, and the mischievous twinkle in the gnome’s eyes, infusing it with a captivating personality.
- Crafting the Hat and Beard: The gnome’s iconic hat and beard are essential elements that contribute to its timeless charm. Sculpt the hat with a pointed tip and a brim, adding texture and detailing to enhance its whimsical appearance. Similarly, fashion a flowing beard that exudes character and adds a touch of whimsy to the gnome’s visage.
- Shaping the Hands and Accessories: Utilize the sculpting tools to shape the gnome’s hands, giving them a lifelike and expressive quality. Consider adding accessories such as a walking stick, lantern, or gardening tools to further personalize your gnome and reflect its unique interests.
- Refining the Details: Pay meticulous attention to refining the overall details of the gnome, ensuring that each feature contributes to its enchanting allure. Use your creativity to imbue the gnome with a distinct personality, whether it’s a mischievous grin or a friendly wave.
- Baking the Sculpted Gnome: Once you’re satisfied with the sculpted features, carefully bake the gnome according to the clay’s specific instructions. This process solidifies the sculpted details and prepares the gnome for the next phase: adding intricate embellishments and vibrant colors.
By following these steps, you’ll breathe life into your outdoor gnome, infusing it with a captivating and charismatic presence. The sculpting process allows for boundless creativity, enabling you to craft a gnome that reflects your unique vision and adds a touch of whimsy to your outdoor space. Next, we’ll explore the delightful process of adding intricate details to your charming creation in the following step.
When making outdoor gnomes, use weather-resistant materials like concrete or resin to ensure they can withstand outdoor elements. This will help your gnomes last longer and stay looking great in your garden.
Step 3: Adding Details
As your outdoor gnome begins to take shape, the addition of intricate details serves as the hallmark of its enchanting allure. This step invites you to embellish your creation with charming accessories, intricate textures, and whimsical elements that elevate its whimsical presence. From adorning the gnome with delightful trinkets to crafting intricate patterns on its attire, adding details infuses your creation with character and personality. Here’s a comprehensive guide to adding captivating details to your delightful outdoor gnome:
- Adorning the Attire: Whether it’s a patterned vest, a textured coat, or a pair of whimsical boots, consider adorning your gnome with carefully sculpted and detailed attire. Use sculpting tools to create intricate textures and designs, infusing the gnome’s clothing with charm and character.
- Personalizing Accessories: Enhance the gnome’s individuality by adding personalized accessories that reflect its unique interests and hobbies. Consider crafting miniature gardening tools, a tiny book, or a lantern to adorn your gnome, adding a delightful touch of whimsy to its ensemble.
- Creating Nature-inspired Elements: Infuse your gnome with a connection to nature by incorporating elements such as sculpted mushrooms, flowers, or animals into its surroundings. These nature-inspired details bring a sense of enchantment to your gnome and evoke the magic of the outdoors.
- Refining Facial Expressions: Pay meticulous attention to the gnome’s facial expressions, refining its features to convey a sense of warmth, mischief, or friendliness. The subtle shaping of the eyes, mouth, and eyebrows can imbue the gnome with a captivating and endearing persona.
- Embracing Creativity: Let your creativity soar as you add unique and imaginative details to your gnome. Whether it’s a tiny ladybug perched on its shoulder or a miniature bird nestled in its hand, infusing your creation with whimsical elements adds an extra layer of charm.
By infusing your outdoor gnome with these delightful details, you’ll elevate its presence and imbue it with a captivating allure that enhances your outdoor space. Each carefully crafted element contributes to the gnome’s unique personality, making it a cherished and enchanting addition to your garden. With the details in place, the next step involves bringing your gnome to life with a vibrant array of colors. Let’s explore the delightful process of painting your charming creation in the following step.
Read more: What Are Garden Gnomes
Step 4: Painting the Gnome
With the sculpting and detailing stages complete, it’s time to infuse your outdoor gnome with a burst of vibrant colors that bring its enchanting features to life. Painting your gnome allows you to add personality, depth, and a touch of whimsy to its charming appearance. From selecting a palette of captivating hues to applying intricate details, this step offers a delightful opportunity to showcase your creativity. Here’s a comprehensive guide to painting your delightful outdoor gnome:
- Choosing a Color Palette: Select a range of acrylic paints in an array of colors that resonate with the whimsical spirit of your gnome. Consider vibrant shades for its attire, natural tones for accessories, and warm hues for its facial features.
- Applying Base Colors: Begin by applying base colors to the various elements of your gnome, such as its attire, hat, and accessories. Use broad paintbrushes to cover larger areas and establish the foundational colors that will form the backdrop for intricate details.
- Adding Intricate Details: Utilize fine-tipped paintbrushes to add intricate details to your gnome, such as patterns on its attire, delicate facial features, and meticulously painted accessories. This step allows you to infuse your creation with depth and character, bringing out its unique charm.
- Embracing Creativity: Allow your imagination to guide the painting process, adding personalized touches and whimsical embellishments to your gnome. Whether it’s a patterned vest, a colorful hat, or charming accents, each detail contributes to the gnome’s captivating allure.
- Accentuating Textures: Use varying brush techniques to accentuate the textures and details sculpted into the gnome’s attire and accessories. Highlighting these elements with skillful brushwork adds depth and visual interest to your creation.
By carefully painting your outdoor gnome, you’ll breathe life into its endearing features and infuse it with a captivating presence that enhances your outdoor space. The vibrant colors and intricate details serve as a testament to your creativity and craftsmanship, making your gnome a cherished and enchanting addition to your garden. With the painting process complete, the final step involves preserving and protecting your delightful creation from the elements. Let’s explore the essential process of sealing your outdoor gnome in the following step.
Step 5: Sealing the Gnome
After investing your creativity and craftsmanship into sculpting, detailing, and painting your outdoor gnome, it’s crucial to preserve its enchanting appearance and protect it from the elements. Sealing your gnome serves as the final step in the crafting process, ensuring that its vibrant colors and intricate details remain vibrant and intact, even when exposed to outdoor conditions. Here’s a comprehensive guide to sealing your delightful outdoor gnome:
- Selecting a Weather-Resistant Sealant: Choose a high-quality sealant specifically designed for outdoor use, capable of safeguarding your gnome from sunlight, moisture, and varying weather conditions. Look for a sealant that provides UV protection and is suitable for the materials used in crafting your gnome.
- Preparing the Work Area: Set up a well-ventilated and dust-free area where you can apply the sealant to your gnome. Ensure that the work surface is clean and free from debris to prevent any imperfections in the sealing process.
- Applying the Sealant: Using gentle and even strokes, apply the sealant to the entire surface of your gnome, including its attire, accessories, and sculpted features. Pay particular attention to intricate details, ensuring that the sealant penetrates and protects every aspect of your creation.
- Allowing for Drying and Curing: Once the sealant is applied, allow your gnome to dry and cure according to the specific instructions provided by the manufacturer. This process ensures that the sealant forms a protective barrier, safeguarding your gnome for the long term.
- Reapplying as Needed: Depending on the type of sealant used and the outdoor conditions in your area, consider reapplying the sealant periodically to maintain the vibrant appearance and protection of your gnome. Regular maintenance ensures that your creation continues to captivate and delight for years to come.
By carefully sealing your outdoor gnome, you’ll safeguard its delightful features and vibrant colors, allowing it to thrive in your garden or outdoor space. The sealant serves as a protective shield, preserving the charm and allure of your creation and ensuring that it remains a cherished and enchanting addition to your outdoor environment. With the gnome now sealed and protected, it’s ready to grace your garden with its whimsical presence, bringing joy and delight to all who encounter it.
Conclusion
Congratulations on completing the enchanting journey of crafting your very own outdoor gnome! From shaping the base to adding intricate details, painting with vibrant colors, and finally sealing your creation, each step has been a testament to your creativity and craftsmanship. Your delightful gnome now stands as a charming and whimsical addition to your garden, ready to captivate and enchant all who encounter it.
By infusing your outdoor gnome with personal touches, imaginative details, and vibrant colors, you’ve created a unique and captivating presence that adds a touch of magic to your outdoor space. Whether nestled among lush greenery, positioned by a flowerbed, or gracing a tranquil corner of your garden, your gnome brings a sense of joy and whimsy to its surroundings.
As you admire your delightful creation, take a moment to appreciate the artistry and care that went into crafting each endearing feature. Your outdoor gnome reflects not only your creative vision but also your dedication to infusing your environment with charm and personality. Its presence serves as a reminder of the joy found in creative expression and the enchantment of the natural world.
As the seasons change and your garden evolves, your outdoor gnome remains a steadfast and delightful companion, brightening the landscape with its timeless appeal. Whether basking in the sunlight, adorned with a dusting of snow, or surrounded by the vibrant hues of blooming flowers, your gnome continues to bring a sense of wonder and delight to your outdoor sanctuary.
Thank you for embarking on this whimsical crafting journey and infusing your outdoor space with the charm of your delightful gnome. May its endearing presence inspire moments of joy and imagination, creating cherished memories and adding a touch of enchantment to your outdoor oasis.
Now, as your outdoor gnome takes its place in the garden, it stands as a testament to your creativity, craftsmanship, and the enduring magic of handmade artistry. Embrace the whimsy, celebrate the creativity, and let your outdoor gnome continue to enchant and delight for years to come!
Frequently Asked Questions about How To Make Outdoor Gnomes
Was this page helpful?
At Storables.com, we guarantee accurate and reliable information. Our content, validated by Expert Board Contributors, is crafted following stringent Editorial Policies. We're committed to providing you with well-researched, expert-backed insights for all your informational needs.







0 thoughts on “How To Make Outdoor Gnomes”