Home>Garden Essentials>How To Make Gnome From Greenery
Garden Essentials
How To Make Gnome From Greenery
Modified: August 24, 2024
Learn how to create a charming gnome for your garden using greenery. Discover step-by-step instructions and unleash your creativity in this fun DIY project.
(Many of the links in this article redirect to a specific reviewed product. Your purchase of these products through affiliate links helps to generate commission for Storables.com, at no extra cost. Learn more)
Introduction
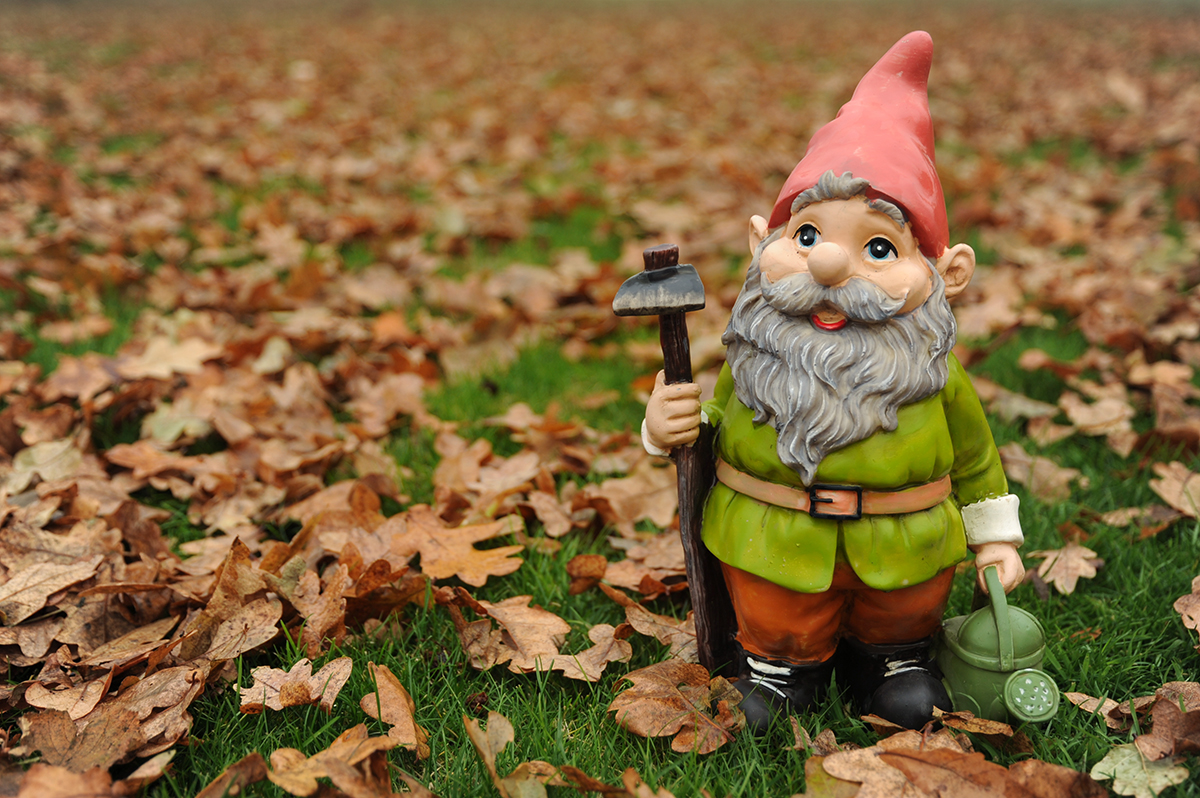
Are you looking to add a touch of whimsy to your garden? Gnomes have long been a popular choice for garden decorations, bringing a sense of enchantment and magic to any outdoor space. While you can easily purchase a gnome from a store, there’s something truly special about creating your own gnome from greenery.
In this article, we’ll guide you through the process of making a gnome entirely from natural materials. Not only is this a fun and creative project, but it’s also a great way to connect with nature and showcase your gardening skills. So, grab your gardening gloves and let’s get started on this delightful DIY adventure!
Before we dive into the step-by-step instructions, let’s take a quick look at the materials you’ll need for your greenery gnome.
Key Takeaways:
- Create your own whimsical garden gnome using natural materials like plants, moss, and decorative stones. It’s a fun and creative way to showcase your gardening skills and connect with nature.
- Personalize your gnome with unique facial features, clothing, and accessories. Share the joy of your creation with friends and family, and continue to care for and enjoy your charming greenery gnome in your garden.
Read more: How To Make Outdoor Gnomes
Materials Needed
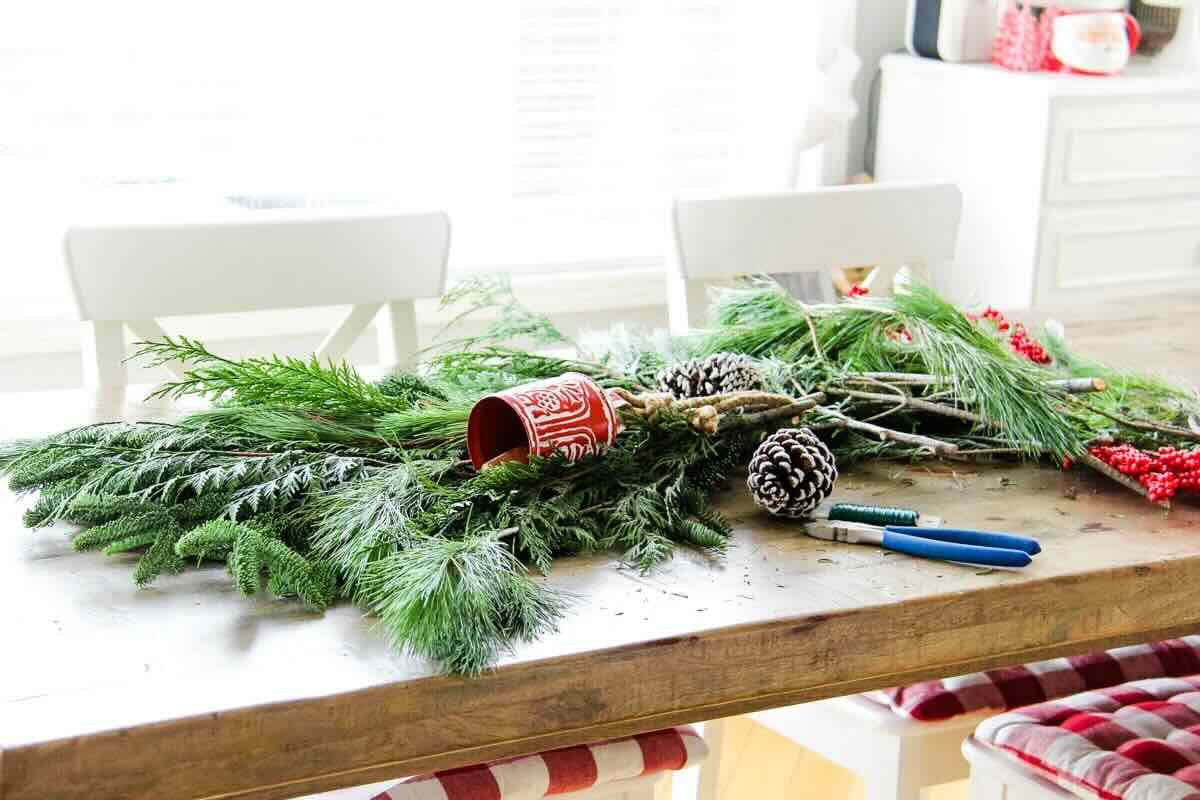
Before you embark on your greenery gnome project, gather the following materials:
- A sturdy base: This can be a small wooden stump, a clay pot, or even a decorative rock. Ensure that it’s stable enough to support your gnome.
- Gardening gloves: Protect your hands while working with prickly or thorny plants.
- Pruning shears: Use these to trim the greenery and shape it to your desired size and form.
- Moss: This will be used to create the gnome’s hair and add texture to the overall design.
- Small succulent or plant: Choose a plant that has a compact size and can withstand outdoor conditions.
- Wire or floral tape: Use these to secure the greenery to the base and hold the gnome’s body together.
- Decorative pebbles or stones: These will be used to accessorize your gnome’s outfit or create pathways around the gnome in your garden.
- Optional accessories: Get creative and think of accessories like miniature gardening tools, tiny mushrooms, or even a whimsical signboard!
Once you have all your materials gathered, you’re ready to start creating your greenery gnome. Let’s move on to the step-by-step process!
Step 1: Selecting the Greenery
The first step in making your greenery gnome is to select the right plants to use for its body. Look for plants that have interesting textures and shades of green, as these will create a more realistic and visually appealing gnome. Here are a few options to consider:
- Sedums: These succulent plants have thick leaves that come in a variety of shapes and colors. They are excellent choices for creating the body of your gnome due to their hardy nature and unique leaf formations.
- Mosses: Mosses add a touch of softness and provide a vibrant green color. You can use moss to cover the gnome’s body or create patches of moss for added texture.
- Creeping Thyme: This groundcover plant features tiny leaves and spreads to form a dense mat. It can be used to create the gnome’s clothing or even as a vibrant green beard.
- Miniature Ivy: Ivy cascades beautifully and can be used to create flowing hair or as a garment for your gnome. Look for varieties with small leaves to achieve a more proportionate look.
When selecting your greenery, consider the type of environment your gnome will be placed in. Choose plants that thrive in your climate and require similar care to your other garden plants. Ensure that the plants have enough flexibility for shaping and trimming to achieve the desired gnome form.
Take some time to explore local nurseries or gardening centers to find the perfect plants for your gnome creation. Once you’ve gathered your greenery, it’s time to move on to building the base for your gnome.
Step 2: Creating the Base
Now that you have selected your greenery, it’s time to create a solid base for your gnome. The base will serve as the foundation and support for the plant materials that will make up the body of the gnome. Follow these steps to create the base:
- Choose a sturdy object: Look for a small wooden stump, a clay pot, or a decorative rock as the base for your gnome. Make sure it’s stable and can withstand outdoor conditions.
- Clean and prepare the base: If you’re using a wooden stump or rock, clean off any dirt or debris and ensure it’s dry. If you’re using a clay pot, you can leave it as is or paint it with outdoor-safe paint for a more personalized touch.
- Position the base: Decide where you want to place your gnome in your garden. Ensure the base is level and secure in the chosen location.
- Add soil or gravel: Fill the base with soil or gravel to create a stable planting surface. This will help anchor the greenery and provide nutrients for the plants.
- Arrange the greenery: Take your selected plants and arrange them on top of the soil or gravel, shaping them to resemble the body of a gnome. Play around with different positions until you’re happy with the overall shape.
Remember to leave enough space at the top of the base for the gnome’s head and any additional details or accessories you plan to add later.
Once you’re satisfied with the arrangement of the greenery and the overall shape of the gnome, it’s time to move on to building the body. Join me in the next step!
Step 3: Building the Body
Now that you have established a solid base, it’s time to build the body of your greenery gnome. This step involves shaping and securing your chosen plants to create a cohesive and lifelike figure. Follow these steps to build the body:
- Trim the plants: Use pruning shears to carefully trim and shape the greenery to fit the desired proportions. Start with larger leaves or stems and gradually work your way down to the smaller details.
- Attach the greenery to the base: Secure the plants to the soil or gravel by gently pressing them down or using wire or floral tape. Make sure the plants are anchored firmly, but be mindful not to damage their delicate structure.
- Create layers and texture: Layer different plants and textures to add depth and visual interest to the gnome’s body. You can mix and match different greenery types, varying leaf sizes, or even incorporate different colored mosses for a more vibrant effect.
- Shape the body: Mold the greenery to create the desired shape for the gnome’s body. You can manipulate the plants to form a rounded belly, outstretched arms, or even crossed legs. Use your imagination and experiment until you achieve the desired look.
- Step back and assess: Take a few steps back and observe your gnome from different angles. This will help you identify any areas that need adjustment or additional greenery to achieve a balanced and visually pleasing form.
Remember to take your time during this step and adjust the placement and shaping of the greenery as needed. The body is the main focal point of your gnome, so pay attention to the details to create a charming and unique character.
With the body now complete, it’s time to move on to the next step: crafting the face of your greenery gnome.
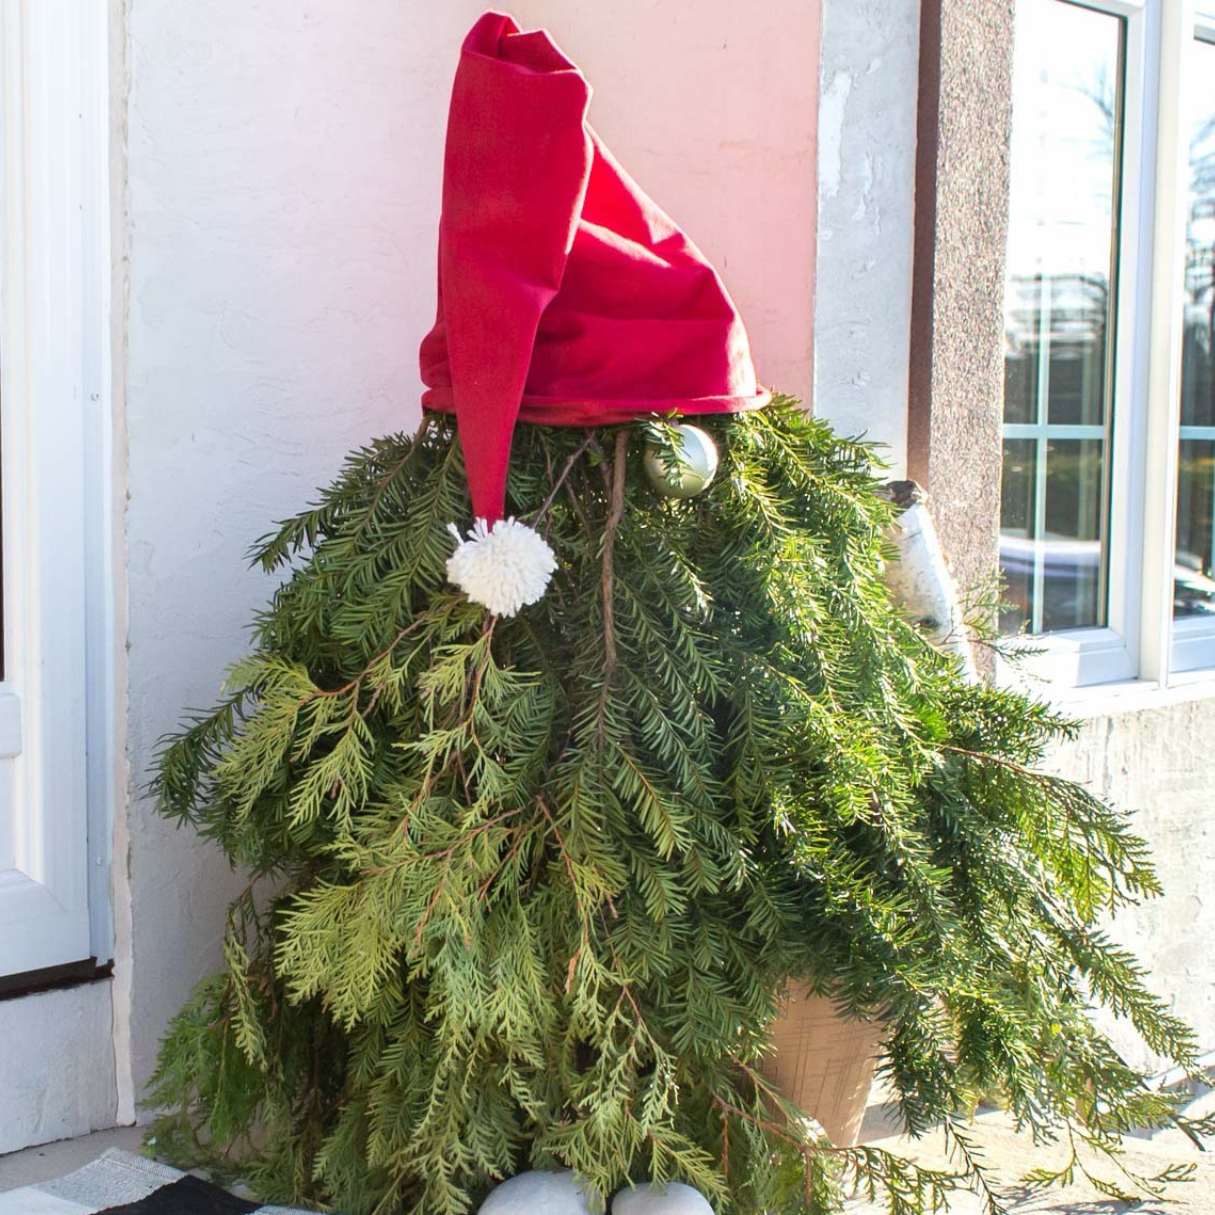
To make a gnome from greenery, start with a wire frame and wrap it with moss. Add small plants for the beard, hair, and clothing. Use twigs for arms and a small flower pot for the hat.
Read more: How To Make Greenery From Pineapple Growing
Step 4: Crafting the Face
The face is the centerpiece of your greenery gnome, adding personality and character to your creation. In this step, we’ll guide you through crafting the face using various materials and techniques. Let’s get started:
- Select facial features: Decide on the expression and features you want for your gnome’s face. You can create whimsical eyes, a small button nose, and a cheerful smile using materials like pebbles, small rocks, or even painted acorns. Alternatively, you can use small clay pieces or sculpt the features out of moss.
- Position the features: Carefully place the selected features on the gnome’s head, adjusting and rearranging until you’re satisfied with the expression and overall look. Play around with different placements to find the perfect arrangement.
- Secure the features: Use a small amount of adhesive or hot glue to secure the facial features in place. Be mindful not to use excessive adhesive, as it can damage the greenery or make it difficult to adjust the features later on.
- Add moss or additional details: To create hair or a beard for your gnome, you can cover the top of its head or chin area with moss. This will provide a natural and organic look. You can also incorporate other small details like twigs, leaves, or flowers to enhance the overall aesthetic.
Remember, the face is what brings your greenery gnome to life, so take your time and experiment until you’re happy with the expression and features. Once the face is complete, it’s time to add the finishing touches and additional details.
Join me in the next step as we explore how to add those charming finishing touches to your greenery gnome!
Step 5: Adding the Details
Now that you have crafted the body and face of your greenery gnome, it’s time to add the finishing touches and additional details that will make your creation truly enchanting. Follow these steps to bring your gnome to life:
- Accessorize the gnome: Consider adding accessories like miniature gardening tools, tiny mushrooms, or even a whimsical signboard. These small details will add personality and charm to your gnome. You can find these accessories at craft stores or even make them yourself using natural materials.
- Create clothing or attire: Use strips of fabric, colorful leaves, or even miniature flower petals to fashion clothing for your gnome. Drape them around the gnome’s body or secure them with wire or floral tape. Let your creativity shine as you design a unique outfit for your gnome.
- Add decorative pebbles or stones: Sprinkle decorative pebbles or stones around the base of the gnome to provide a polished and finished look. You can create pathways, borders, or even fashion a small garden bed around your gnome.
- Consider lighting or water features: If you want to take your gnome creation to the next level, think about incorporating small solar-powered lights or a water feature near your gnome. This will create a magical ambiance in your garden and make your gnome even more captivating.
- Step back and assess: Once you’ve added all the desired details, take a moment to step back and admire your work. Ensure that all the elements come together harmoniously and that your gnome reflects your vision and creativity.
Remember, the details are what make your greenery gnome unique and special. Don’t be afraid to experiment and add your own personal touches.
With the details in place, it’s time for the final step: adding the finishing touches to complete your greenery gnome. Let’s find out what those final touches entail!
Step 6: Final Touches
Congratulations! You’re almost done with your greenery gnome project. In this final step, we’ll add the finishing touches that will truly make your gnome stand out in your garden. Follow these steps to complete your creation:
- Check for stability: Ensure that all the components of your gnome are securely attached and stable. Make any necessary adjustments to ensure that it can withstand outdoor conditions and won’t topple over.
- Water and care: Give your gnome’s greenery a gentle misting of water to provide hydration. Depending on the type of plants you used, you may need to regularly water and care for your gnome, just as you would with your other garden plants.
- Choose a name: Give your gnome a name that reflects its personality. This adds a personal touch and reinforces the connection between you and your creation. Feel free to get creative and choose a whimsical or meaningful name.
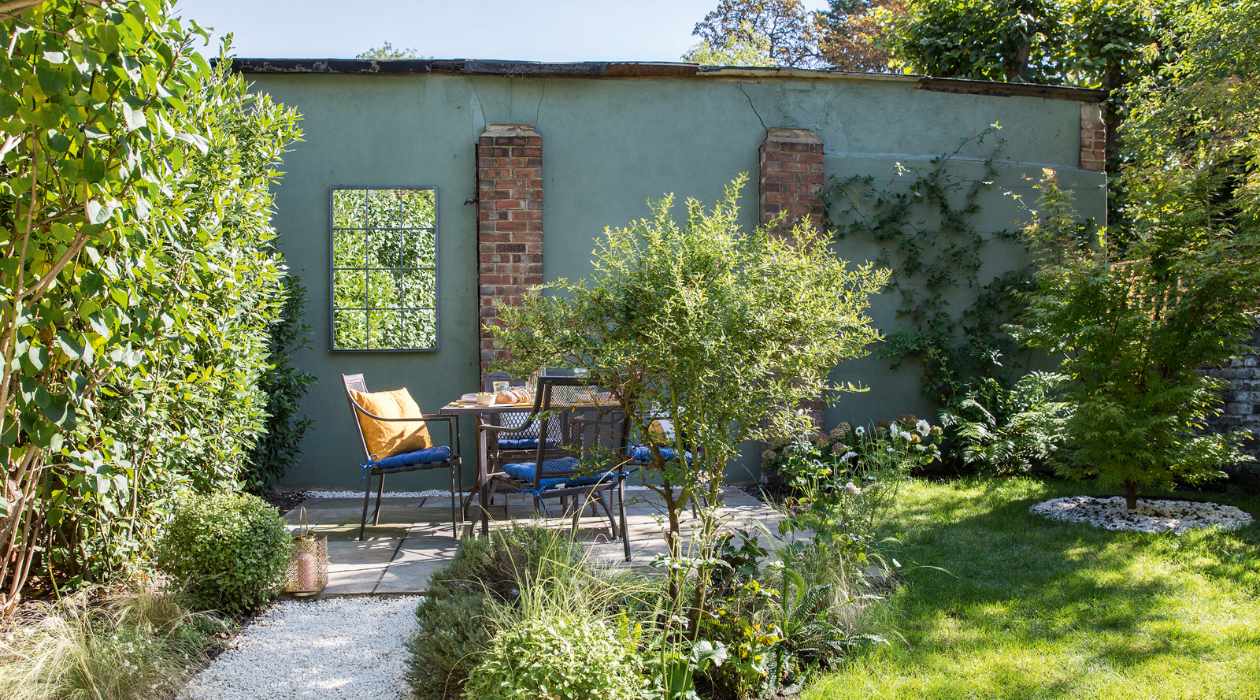
- Find its home in the garden: Select the perfect spot in your garden for your greenery gnome to reside. Consider the surrounding plants, sunlight exposure, and visibility to create an ideal environment where your gnome can flourish and bring joy to all who see it.
- Share and enjoy: Finally, share your greenery gnome creation with others! Invite friends and family to admire your handiwork and spread the joy and magic of your gnome throughout your garden.
Remember to periodically check on your gnome, ensuring that it remains healthy and vibrant. You can always make adjustments or add new elements to refresh its appearance over time.
By following these steps, you’ve successfully created a delightful gnome using greenery. Enjoy the whimsical charm it brings to your garden, and feel proud of your creative accomplishment!
As a recap, we’ve covered selecting greenery, creating a stable base, building the body, crafting the face, adding details, and applying the final touches. Now it’s time to step back and admire your beautiful greenery gnome!
Happy gardening and gnome-making!
Conclusion
Congratulations on completing your greenery gnome! You’ve embarked on a creative journey that has brought a touch of whimsy and enchantment to your garden. By handcrafting your gnome using natural materials, you’ve not only showcased your gardening skills but also connected with nature in a unique and beautiful way.
Throughout the process, you’ve learned to select the right greenery, create a sturdy base, shape the body, craft the face, add charming details, and apply the final touches. Each step has allowed you to infuse your gnome with personality, making it a true reflection of your creativity and imagination.
Your greenery gnome will now bring joy and intrigue to your garden, captivating the attention of visitors and fostering a sense of wonder and delight. As you care for it, the gnome will continue to grow and evolve, adding a delightful presence to your outdoor space.
Don’t forget to share the magic of your greenery gnome with others. Invite friends and family to admire your creation, sparking conversations and awe at the artistry you’ve brought to life.
Remember, this is just the beginning of your journey as a gnome enthusiast. You can continue to explore new themes, experiment with different plant combinations, and even create a gnome family or village to expand the whimsical world in your garden.
So, take a moment to bask in the accomplishment of completing your greenery gnome project. Feel proud of the unique and charming creation you’ve brought to life, and let its presence bring you joy and inspiration for years to come.
Happy gnome-making and happy gardening!
Frequently Asked Questions about How To Make Gnome From Greenery
Was this page helpful?
At Storables.com, we guarantee accurate and reliable information. Our content, validated by Expert Board Contributors, is crafted following stringent Editorial Policies. We're committed to providing you with well-researched, expert-backed insights for all your informational needs.


0 thoughts on “How To Make Gnome From Greenery”