Home>Furniture & Design>Outdoor Furniture>How To Make An Outdoor Bench
Outdoor Furniture
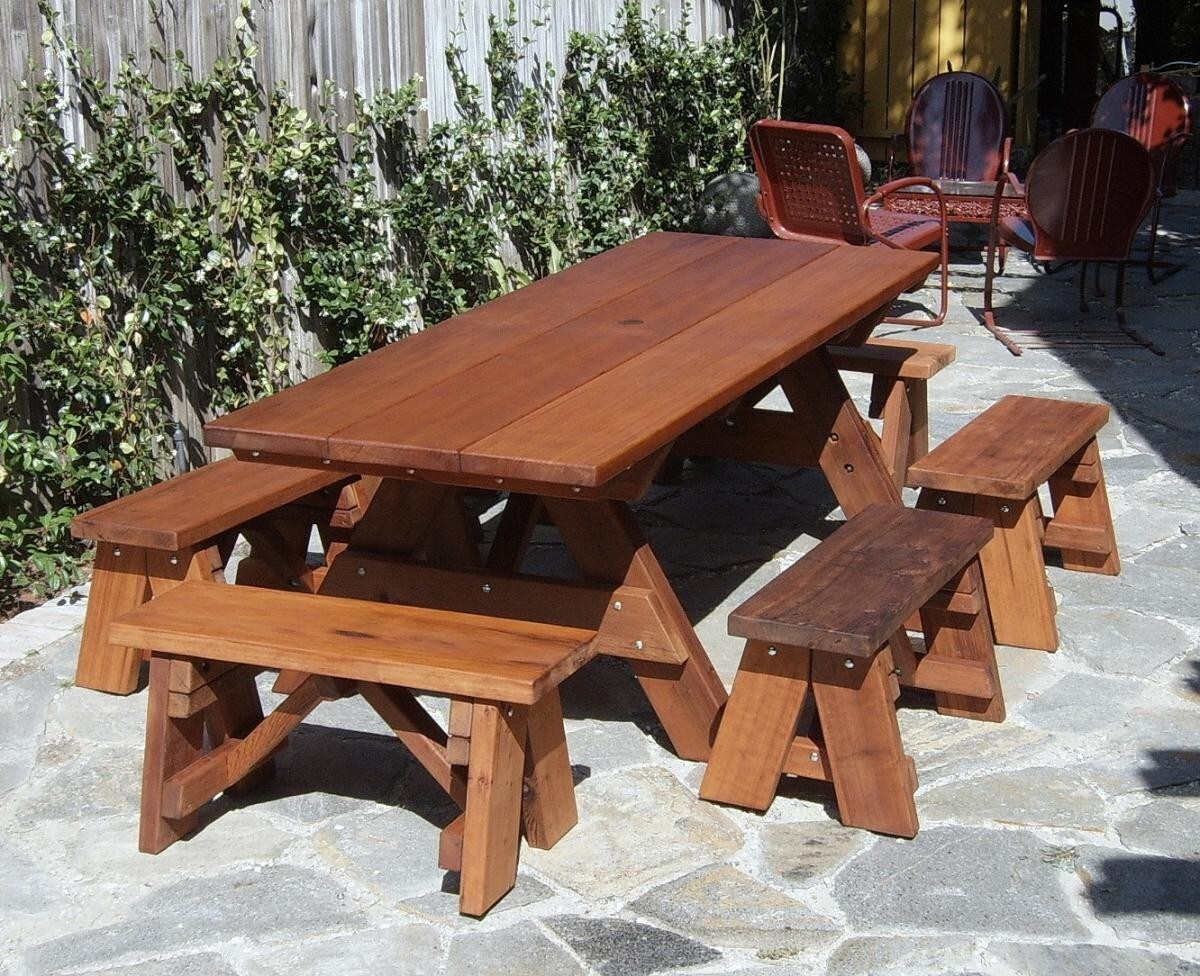
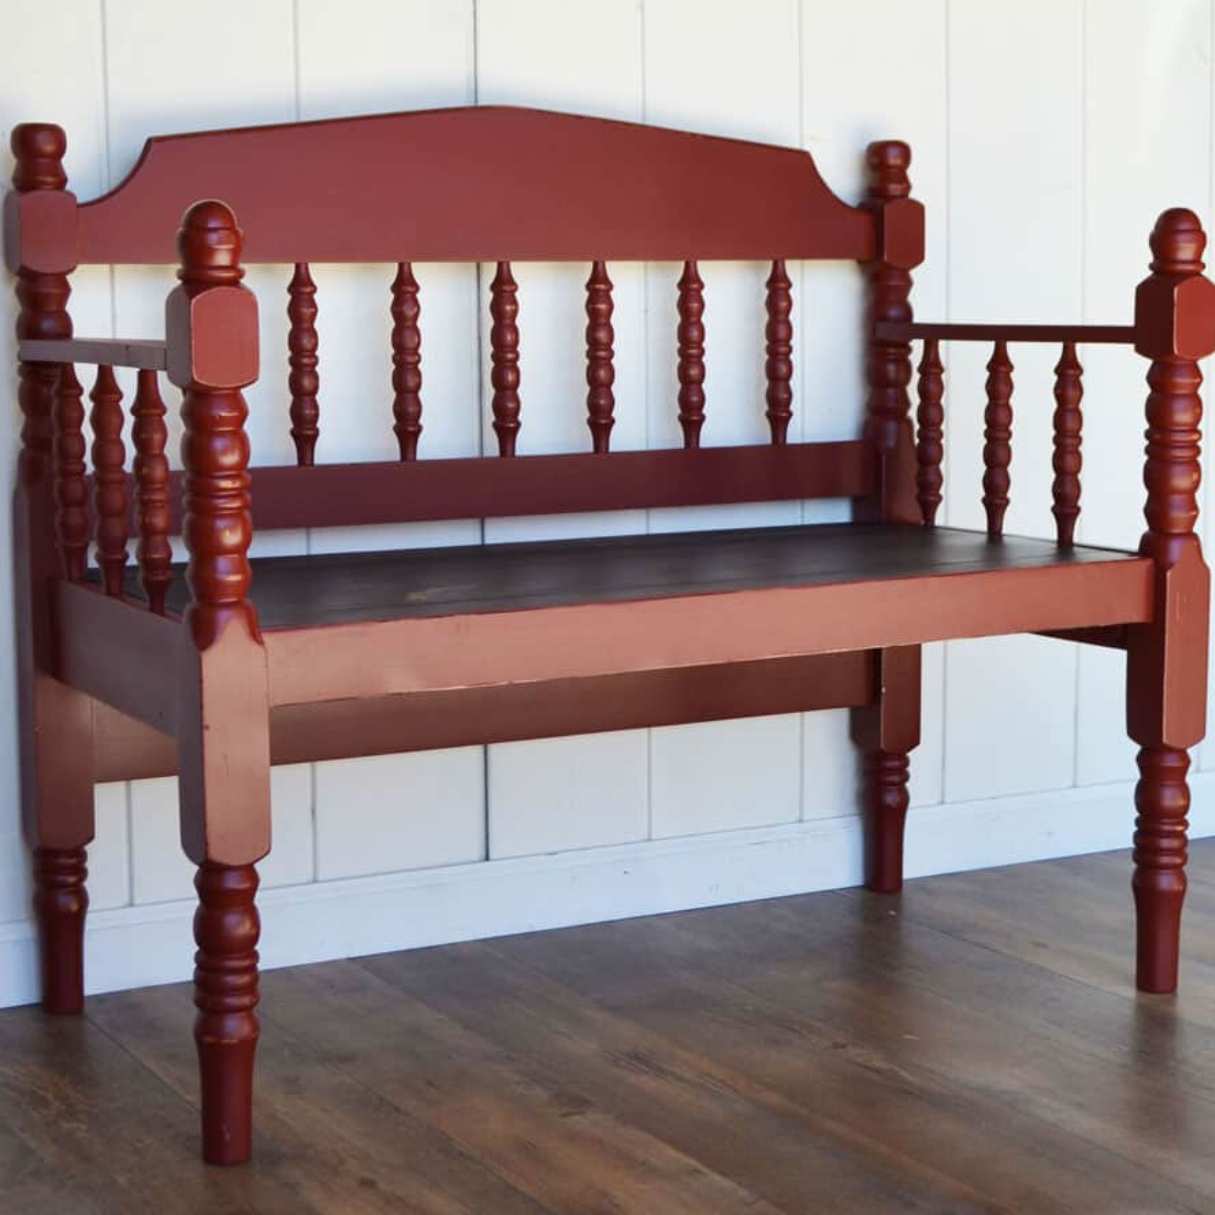
How To Make An Outdoor Bench
Published: January 13, 2024
Learn how to make an outdoor bench with our expert guide. Create stylish and functional outdoor furniture and design your space with ease. Ideal for DIY enthusiasts.
(Many of the links in this article redirect to a specific reviewed product. Your purchase of these products through affiliate links helps to generate commission for Storables.com, at no extra cost. Learn more)
Introduction
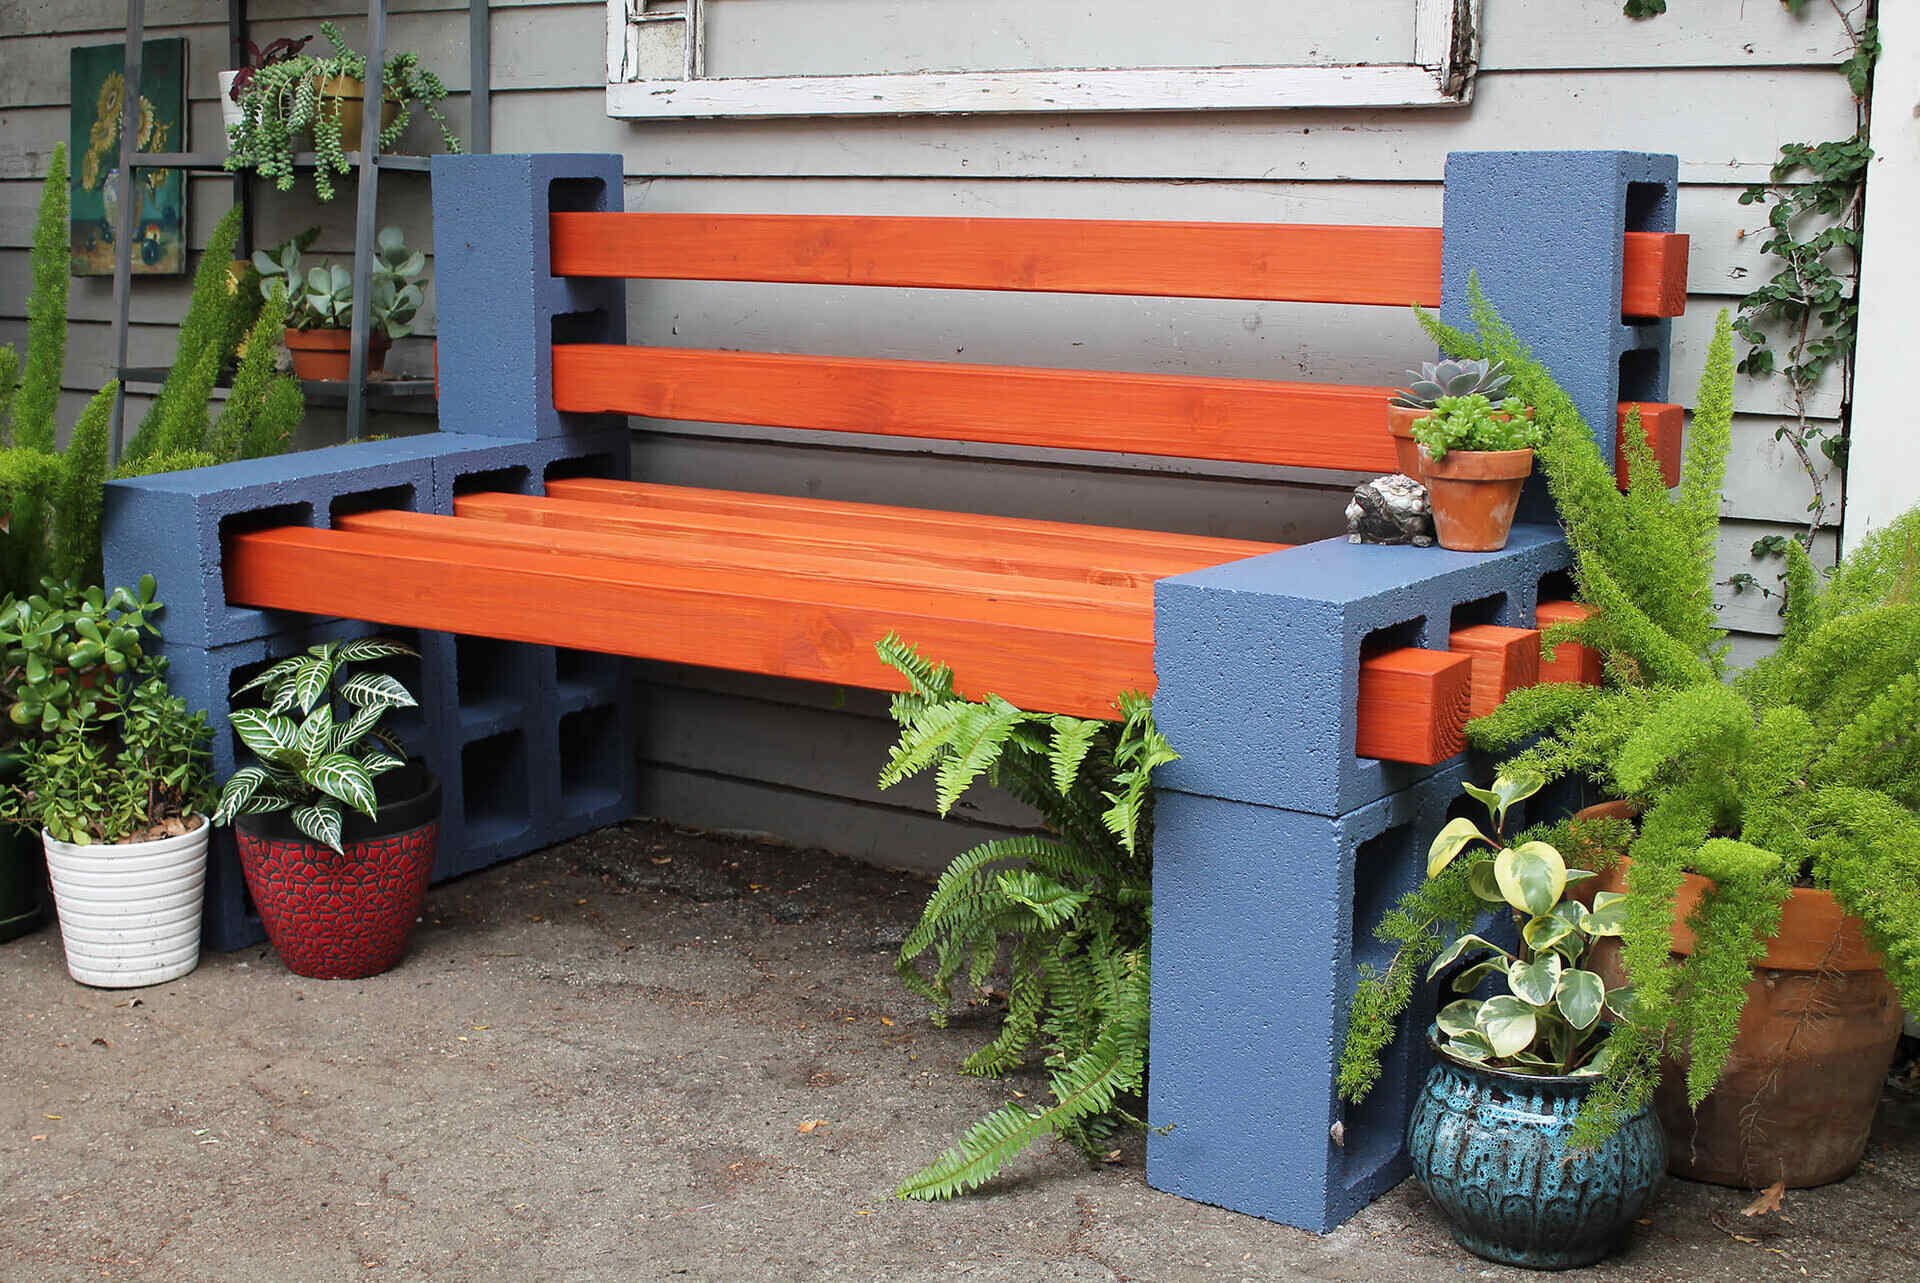
Welcome to the world of outdoor furniture crafting! Building your own outdoor bench can be a gratifying experience, allowing you to create a practical and aesthetically pleasing piece for your outdoor space. Whether you're a seasoned DIY enthusiast or a novice looking for a rewarding project, crafting an outdoor bench can be an enjoyable and fulfilling endeavor.
Not only does a handmade bench add a personal touch to your outdoor area, but it also provides a cozy spot to relax and enjoy the beauty of nature. From hosting lively gatherings to providing a tranquil retreat for solitary moments, an outdoor bench serves as a versatile and essential piece of furniture for any outdoor setting.
In this guide, we will walk you through the step-by-step process of creating your own outdoor bench. You'll learn about the materials and tools needed, as well as the techniques required to bring your vision to life. Whether you plan to place the bench in a garden, on a patio, or by a scenic spot in your backyard, the satisfaction of crafting a functional and stylish outdoor bench awaits you.
So, roll up your sleeves, gather your tools, and let's embark on this woodworking journey together. By the end of this guide, you'll have the knowledge and confidence to construct a beautiful outdoor bench that reflects your unique style and enhances your outdoor living space. Let's get started!
Key Takeaways:
- Crafting your own outdoor bench allows you to express your unique style and personality, adding a personalized touch to your outdoor space while enjoying the satisfaction of a hands-on project.
- Building an outdoor bench provides a cozy and practical seating area for relaxation and socializing, enriching your outdoor experiences with cherished memories and moments of tranquility.
Read more: How To Make A Wooden Outdoor Bench
Materials Needed
Before diving into the construction process, it’s essential to gather all the necessary materials. Here’s a list of the items you’ll need to build your outdoor bench:
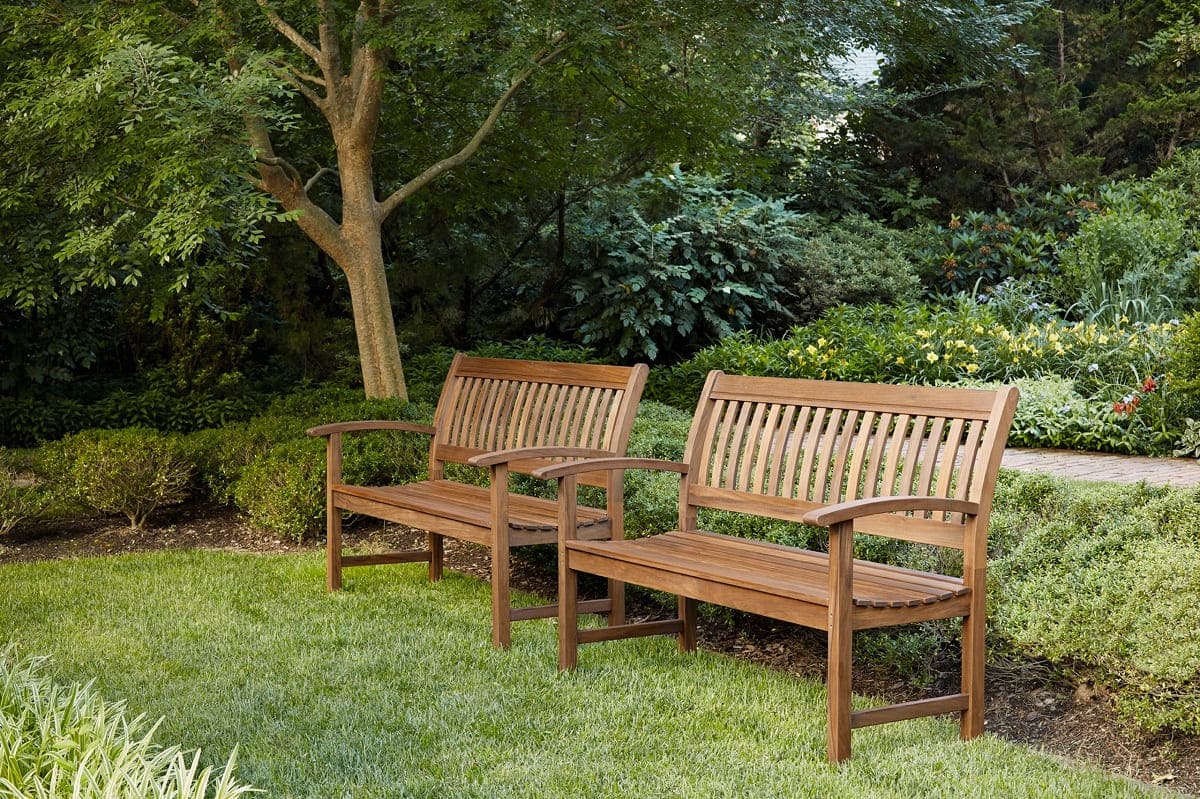
- Pressure-treated lumber or cedar: These materials are ideal for outdoor furniture due to their durability and resistance to rot and insect damage. Opt for high-quality, weather-resistant wood to ensure the longevity of your bench.
- Wood screws: Choose corrosion-resistant screws designed for outdoor use to secure the components of the bench securely.
- Wood glue: A reliable wood adhesive will reinforce the joints and add structural stability to your bench.
- Wood finish or sealant: Applying a protective finish or sealant will shield the wood from the elements, prolonging its lifespan and maintaining its appearance.
- Sandpaper: You’ll need various grits of sandpaper to smooth the wood surfaces and achieve a polished finish.
- Measuring tape and pencil: Accurate measurements are crucial for precise cuts and assembly. A measuring tape and pencil will help you mark the wood accurately.
- Protective gear: Safety goggles, a dust mask, and work gloves are essential for protecting yourself during the construction and finishing stages.
By ensuring that you have all the required materials on hand, you can streamline the construction process and minimize interruptions. With these materials at your disposal, you’ll be well-equipped to create a durable, visually appealing outdoor bench that complements your outdoor space.
Tools Required
Equipping yourself with the right tools is crucial for the successful construction of your outdoor bench. Here’s a list of essential tools you’ll need for this project:
- Power saw: A circular saw or miter saw will facilitate precise and efficient wood cutting, allowing you to create the necessary components for your bench.
- Drill/driver: A reliable drill/driver with a variety of drill bits and screwdriver attachments will be indispensable for assembling the bench and securing the components.
- Clamps: Having a selection of clamps on hand will aid in holding the wood pieces together during assembly, ensuring accurate and secure joints.
- Sandpaper or sander: To achieve a smooth and refined finish, you’ll need sandpaper or a sander to sand the wood surfaces and remove any rough edges.
- Level: A level will help you ensure that the bench components are aligned correctly, resulting in a stable and balanced final product.
- Paintbrushes or applicators: If you plan to apply a wood finish or sealant, having the appropriate brushes or applicators will allow you to coat the wood evenly and protect it from the elements.
- Workbench or sawhorses: A sturdy work surface is essential for cutting and assembling the bench components. A workbench or sawhorses will provide a stable platform for your woodworking tasks.
By having these tools at your disposal, you’ll be well-prepared to tackle each step of the construction process with confidence and precision. Whether you’re making precise cuts, securing components, or applying the finishing touches, the right tools will be instrumental in bringing your outdoor bench to fruition.
Step 1: Cutting the Wood
The first step in constructing your outdoor bench involves cutting the wood to create the necessary components. Follow these guidelines to ensure accurate and precise cuts:
- Measure and mark the wood: Using a measuring tape and pencil, carefully measure and mark the wood according to the dimensions specified in your bench design plan. Accurate measurements are essential for achieving a well-proportioned and structurally sound bench.
- Set up your cutting area: Create a designated cutting area with ample space to maneuver the wood and operate your power saw safely. Ensure that the cutting surface is stable and level to facilitate precise cuts.
- Use appropriate safety gear: Prioritize safety by wearing protective goggles, a dust mask, and work gloves to shield yourself from wood dust and debris during the cutting process.
- Make the cuts: With the wood securely positioned, use a power saw (such as a circular saw or miter saw) to make the necessary cuts according to your design specifications. Exercise caution and maintain a steady hand to achieve clean and accurate cuts.
- Check the cut pieces: After cutting each piece, inspect the edges for smoothness and accuracy. Use sandpaper to refine any rough edges and ensure that the cut pieces fit together seamlessly.
By meticulously cutting the wood according to your design plan, you’ll lay a solid foundation for the subsequent steps in the construction process. Accurate and precise cuts are essential for ensuring that the bench components fit together seamlessly, resulting in a sturdy and visually appealing final product.
When making an outdoor bench, use weather-resistant materials like cedar or teak to ensure durability. Apply a protective sealant to prevent damage from the elements.
Step 2: Assembling the Base
With the wood components cut to size, it’s time to assemble the base of your outdoor bench. Follow these steps to create a stable and robust base:
- Arrange the components: Lay out the cut wood pieces according to your design plan, ensuring that all components are positioned correctly for assembly.
- Apply wood glue: Use wood glue to reinforce the joints and secure the components together. Apply the glue sparingly and evenly to ensure a strong bond.
- Secure with screws: Using a drill/driver and wood screws, carefully attach the components to form the base of the bench. Ensure that the screws are driven in securely to provide structural stability.
- Check for alignment: Use a level to verify that the base components are aligned correctly and that the bench sits level on the ground. Adjust the components as needed to achieve proper alignment.
- Allow the base to dry: Once the base is assembled, allow the wood glue to dry thoroughly before proceeding to the next step. This will ensure that the base is solid and stable before adding the seat.
By following these steps, you’ll create a sturdy and well-constructed base that forms the foundation of your outdoor bench. A carefully assembled base is essential for ensuring the overall stability and longevity of the bench, laying the groundwork for the next phase of the construction process.
Read more: How To Make A Brick Bench
Step 3: Attaching the Seat
As you progress with the construction of your outdoor bench, the next step involves attaching the seat to the base. Follow these guidelines to ensure a secure and comfortable seating surface:
- Position the seat components: Place the cut wood pieces designated for the seat on top of the assembled base, ensuring proper alignment and overhang as per your design plan.
- Secure the seat to the base: Using wood screws and a drill/driver, carefully attach the seat components to the base. Drive the screws in securely to create a stable connection between the seat and the base.
- Reinforce with wood glue: Apply wood glue along the joints where the seat components meet the base, reinforcing the attachment and adding structural strength to the bench.
- Check for stability: Test the bench for stability by applying gentle pressure to ensure that the seat is securely attached to the base. Make any necessary adjustments to enhance the stability of the bench.
By following these steps, you’ll successfully integrate the seat with the base, creating a cohesive and functional outdoor bench. The secure attachment of the seat ensures that the bench provides a comfortable and reliable seating solution for outdoor relaxation and gatherings.
Step 4: Sanding and Finishing
With the structural components of your outdoor bench in place, it’s time to focus on refining the wood surfaces and applying a protective finish. Follow these steps to achieve a polished and durable final product:
- Sand the wood surfaces: Use sandpaper or a sander to smooth the wood surfaces, removing any rough edges, imperfections, and splinters. Begin with a coarse grit sandpaper and progress to finer grits for a refined finish.
- Round the edges: To enhance the visual appeal and comfort of the bench, consider rounding the edges of the seat and base components using sandpaper. This will create a softer and more inviting aesthetic.
- Apply a wood finish or sealant: Choose a high-quality wood finish or sealant suitable for outdoor use. Apply the finish evenly using a paintbrush or applicator, ensuring comprehensive coverage to protect the wood from moisture and UV exposure.
- Allow the finish to dry: Once the wood finish is applied, allow sufficient time for it to dry according to the manufacturer’s instructions. This will ensure that the wood is adequately protected and ready for outdoor use.
- Inspect and touch up: After the finish has dried, inspect the bench for any areas that may require additional sanding or touch-up applications of the wood finish. Address any imperfections to achieve a flawless appearance.
By meticulously sanding and finishing the wood components, you’ll elevate the visual appeal of the bench while safeguarding it against the elements. The finishing touches will not only enhance the durability of the bench but also contribute to its overall aesthetic charm, making it a standout feature in your outdoor space.
Conclusion
Congratulations on successfully completing the construction of your own outdoor bench! Through careful planning, precise execution, and attention to detail, you’ve brought to life a functional and visually appealing piece of furniture that enhances your outdoor living space. As you reflect on the journey from raw materials to a completed bench, consider the following key takeaways:
- Personalization and Creativity: Crafting your outdoor bench allowed you to infuse your unique style and preferences into a tangible creation. The bench reflects your personality and adds a personalized touch to your outdoor environment.
- Practicality and Enjoyment: Your newly constructed bench provides a comfortable and inviting seating area for relaxation, socializing, and enjoying the beauty of nature. It serves as a practical and cherished addition to your outdoor setting.
- Sense of Accomplishment: The satisfaction of building a piece of furniture from scratch is a testament to your skills and determination. Embrace the sense of accomplishment that comes with completing a hands-on project.
As you admire your handiwork, take a moment to envision the countless memories and moments of tranquility that await you and your loved ones on the newly crafted bench. Whether it’s basking in the warmth of the sun, savoring a quiet moment of solitude, or engaging in lively conversations with friends and family, your outdoor bench stands ready to enrich your outdoor experiences.
Remember that the construction of your outdoor bench is not just a one-time project; it’s an ongoing source of pride and enjoyment. With regular maintenance and care, your bench will continue to serve as a beloved fixture in your outdoor oasis for years to come.
Thank you for embarking on this woodworking journey with us. We hope that the process of creating your outdoor bench has been as fulfilling and rewarding for you as it has been for us to guide you through it. May your outdoor bench be a symbol of craftsmanship, comfort, and cherished moments in the great outdoors.
Frequently Asked Questions about How To Make An Outdoor Bench
Was this page helpful?
At Storables.com, we guarantee accurate and reliable information. Our content, validated by Expert Board Contributors, is crafted following stringent Editorial Policies. We're committed to providing you with well-researched, expert-backed insights for all your informational needs.


0 thoughts on “How To Make An Outdoor Bench”