Home>Furniture & Design>Outdoor Furniture>How To Seal An Outdoor Wood Table
Outdoor Furniture
How To Seal An Outdoor Wood Table
Published: January 15, 2024
Learn how to effectively seal and protect your outdoor wood table with our expert tips and techniques. Keep your outdoor furniture looking great for years to come.
(Many of the links in this article redirect to a specific reviewed product. Your purchase of these products through affiliate links helps to generate commission for Storables.com, at no extra cost. Learn more)
Introduction
So, you've invested in a beautiful outdoor wood table to elevate your patio or deck. However, to ensure its longevity and maintain its stunning appearance, it's crucial to properly seal the wood. Sealing an outdoor wood table not only protects it from the elements but also enhances its natural beauty, making it an inviting centerpiece for al fresco dining and gatherings.
In this comprehensive guide, we'll walk you through the step-by-step process of sealing your outdoor wood table, ensuring that it remains a timeless and durable addition to your outdoor space. From preparing the wood surface to applying the sealant and providing maintenance tips, we've got you covered.
Let's dive into the details of how to seal an outdoor wood table, allowing you to enjoy its charm and functionality for years to come.
Key Takeaways:
- Protect your outdoor wood table by sealing it properly. Prepare, sand, clean, apply sealant, allow drying time, consider additional coats, and maintain for long-lasting beauty and durability.
- Sealing your outdoor wood table ensures it remains a timeless and durable addition to your outdoor space. Follow the steps to prepare, sand, clean, apply sealant, allow drying time, consider additional coats, and maintain for optimal results.
Read more: How To Seal Outdoor Painted Wood
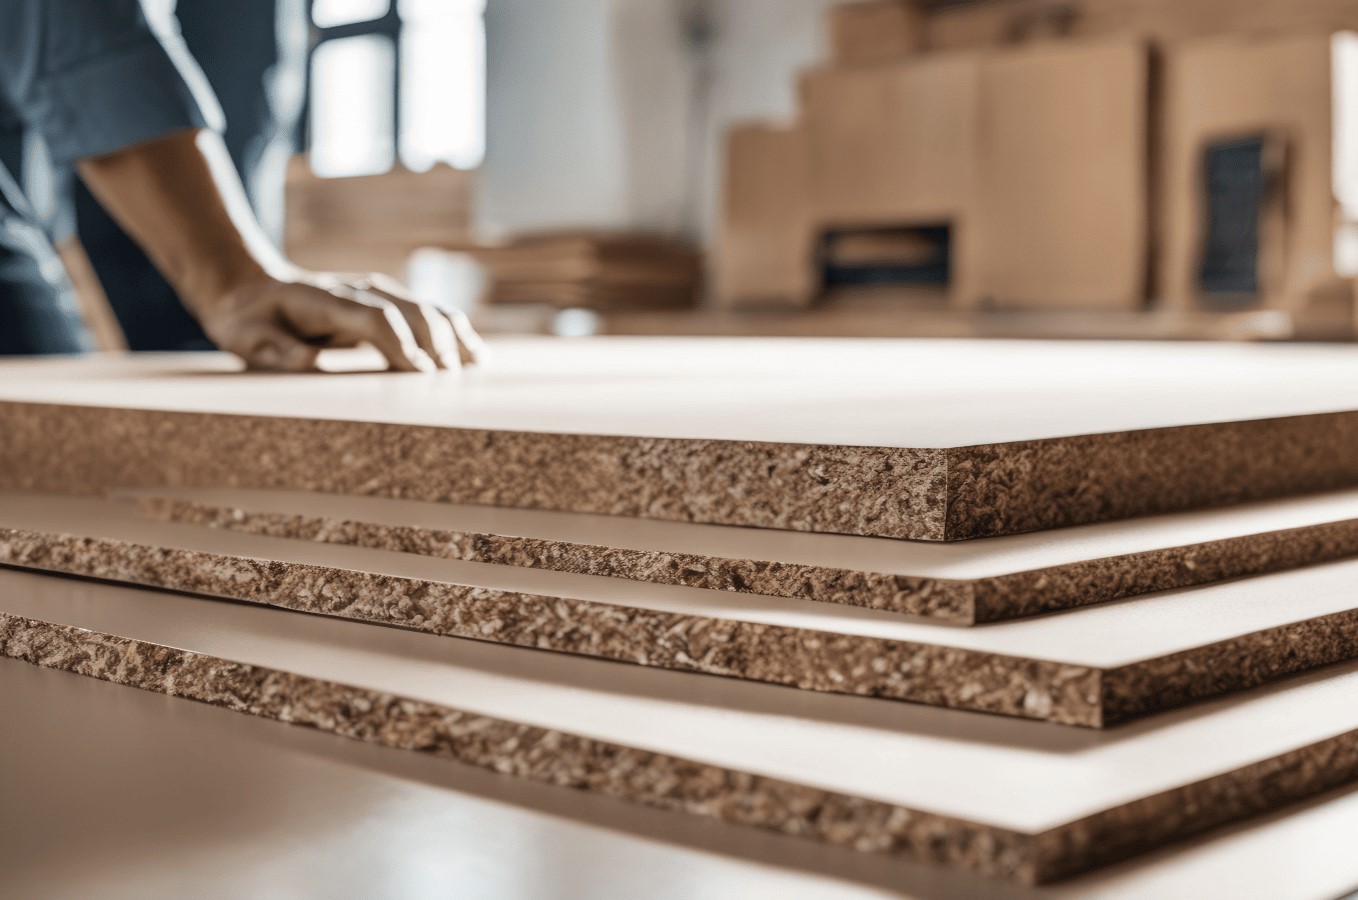
Step 1: Prepare the Wood Table
Before diving into the sealing process, it’s essential to prepare the wood table to ensure optimal results. Start by removing any items from the table, such as decor, tableware, or plants, to provide ample space for the preparation steps. Next, choose a well-ventilated and ideally shaded area for the project, as this will facilitate a smoother application process and drying time.
Begin by thoroughly inspecting the wood table for any existing coatings, dirt, or imperfections. If the table has a previous sealant or coating, it’s crucial to remove it entirely before applying a new sealant. You can achieve this by using a chemical stripper or sanding the surface, depending on the type of existing finish.
Once the old finish is removed, carefully examine the wood for any rough spots, splinters, or uneven areas. Sanding the entire surface with fine-grit sandpaper will not only smooth out imperfections but also promote better adhesion of the new sealant. After sanding, wipe down the table with a tack cloth to remove any dust or debris, ensuring a clean and smooth surface for the subsequent sealing steps.
By diligently preparing the wood table, you set the stage for a successful sealing process, allowing the sealant to penetrate and protect the wood effectively. This meticulous approach to preparation will contribute to the overall durability and aesthetic appeal of your outdoor wood table.
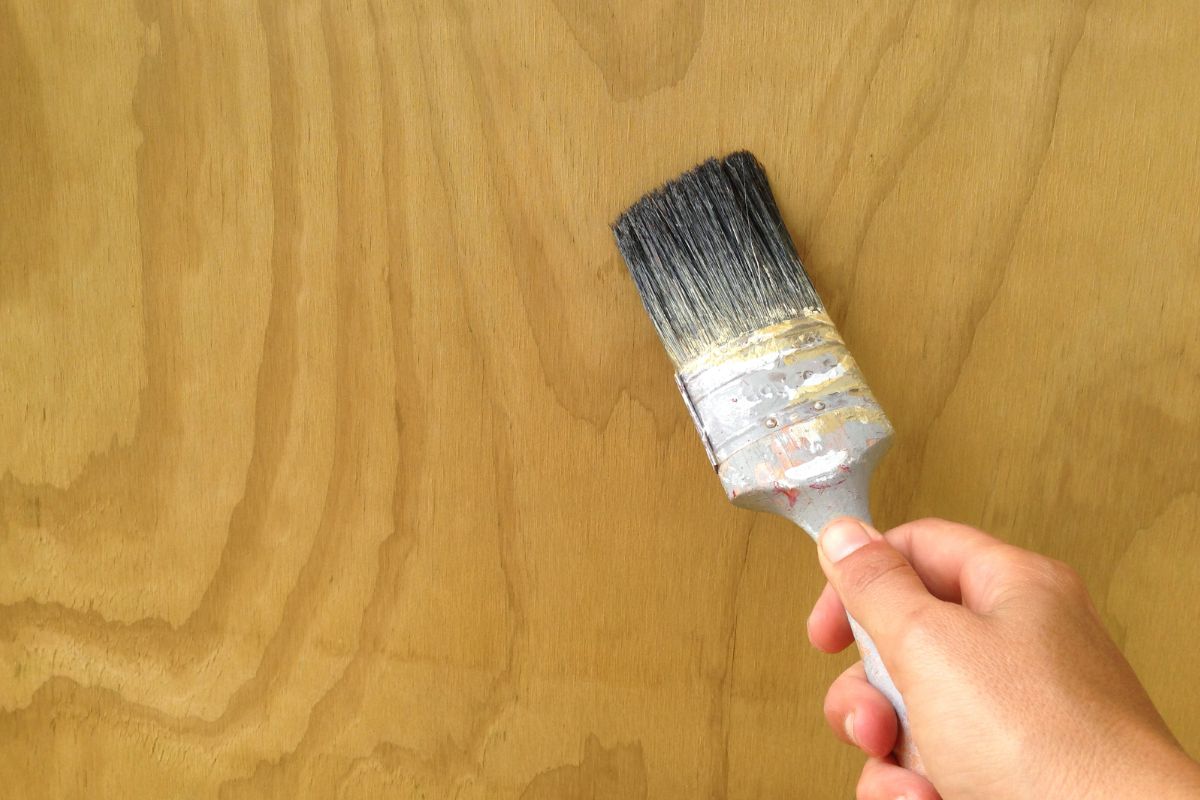
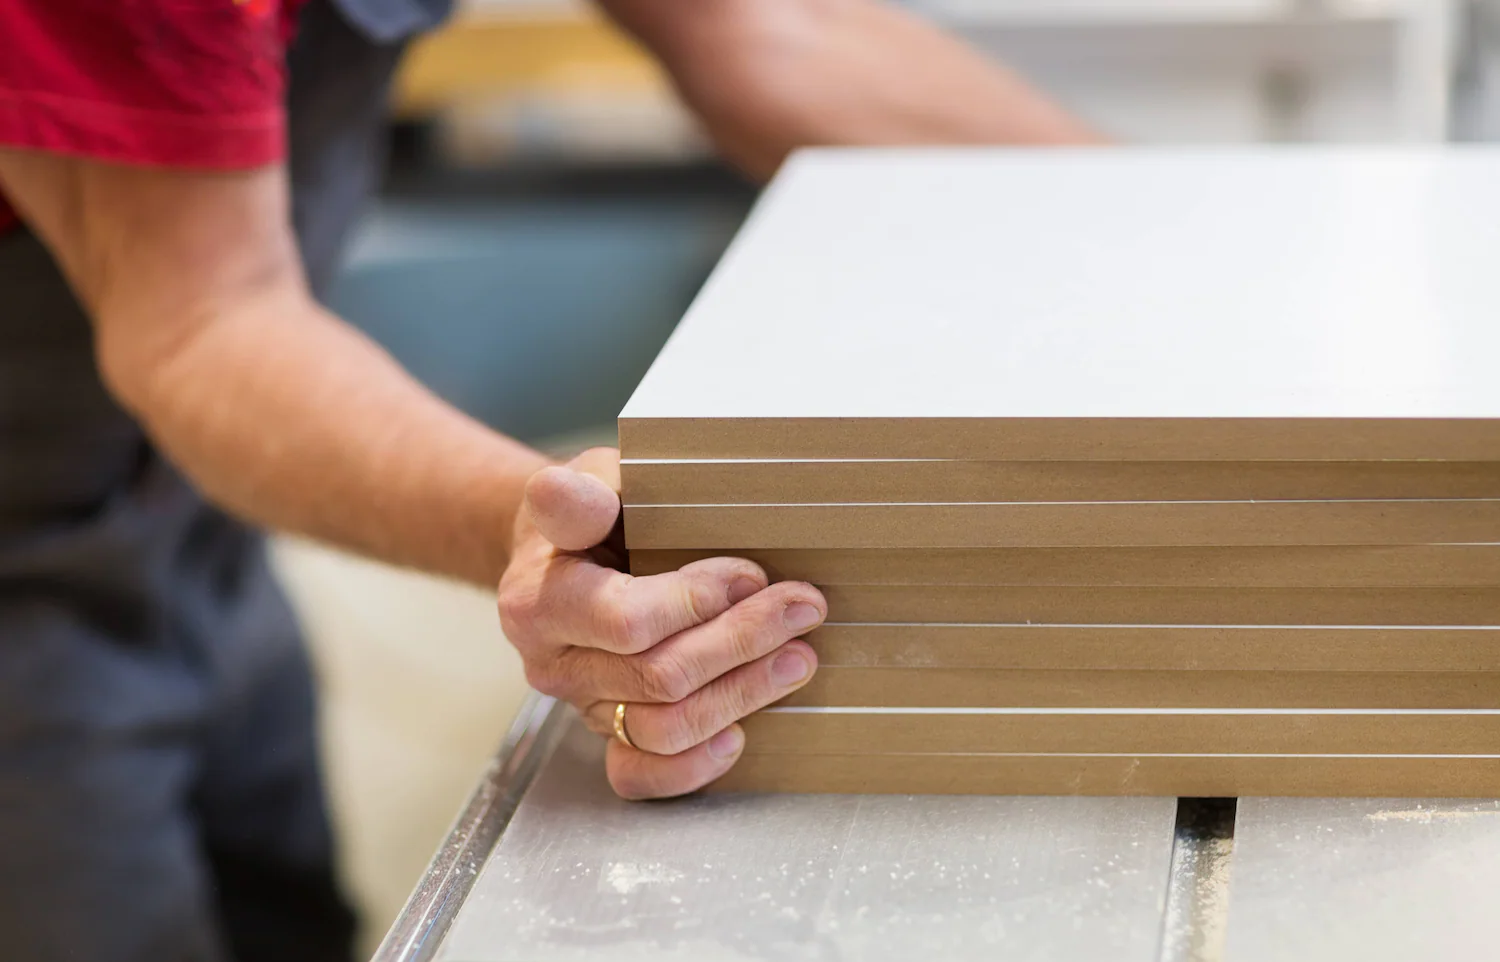
Step 2: Sand the Surface
Once the wood table is adequately prepared, the next crucial step in the sealing process is to sand the surface. Sanding serves multiple purposes, including smoothing out imperfections, promoting adhesion, and preparing the wood to absorb the sealant effectively.
Begin by selecting the appropriate sandpaper grit for the initial sanding. Coarse-grit sandpaper, such as 80 or 100 grit, is ideal for removing any stubborn remnants of the old finish or addressing rough areas on the wood surface. As you progress, transition to finer-grit sandpaper, such as 150 or 220 grit, to achieve a smoother and more refined surface.
When sanding, ensure that you move in the direction of the wood grain to avoid creating visible scratches or marks. This methodical approach will maintain the natural beauty of the wood while preparing it for the sealant. Pay close attention to any intricate details or edges, as thorough sanding in these areas will contribute to a uniform and professional-looking finish.
After completing the sanding process, use a tack cloth or a soft, lint-free cloth to remove the sanding dust from the table surface. This step is crucial to ensure that the wood is clean and free of any debris before proceeding to the next stages of sealing. By meticulously sanding the wood table, you create an ideal foundation for the subsequent application of the sealant, ultimately enhancing the table’s durability and visual appeal.
Step 3: Clean the Table
After sanding the wood table, the next vital step in the sealing process is to thoroughly clean the surface to remove any residual dust, dirt, or contaminants. This meticulous cleaning stage ensures that the sealant adheres effectively and that the final finish is flawless and long-lasting.
Begin by using a mild detergent or specially formulated wood cleaner, diluted in water, to gently wash the entire table surface. A soft-bristled brush or sponge can be used to reach intricate areas and crevices, ensuring that all traces of dust and grime are removed. Pay particular attention to any visible dirt or stains, as a clean surface is essential for the sealant to bond properly with the wood.
Once the table is thoroughly washed, rinse it with clean water to remove any soapy residue. It’s crucial to allow the wood to dry completely before proceeding to the next sealing steps. Depending on the weather conditions and humidity levels, this may take a day or two. Patience during this phase is essential to ensure that the wood is entirely dry, as applying the sealant to damp or moist wood can compromise the effectiveness of the sealing process.
By diligently cleaning the wood table, you create an optimal foundation for the sealant, allowing it to adhere seamlessly and provide robust protection against outdoor elements. This meticulous cleaning stage contributes to the overall longevity and aesthetic appeal of the sealed outdoor wood table, ensuring that it remains a stunning focal point in your outdoor space.
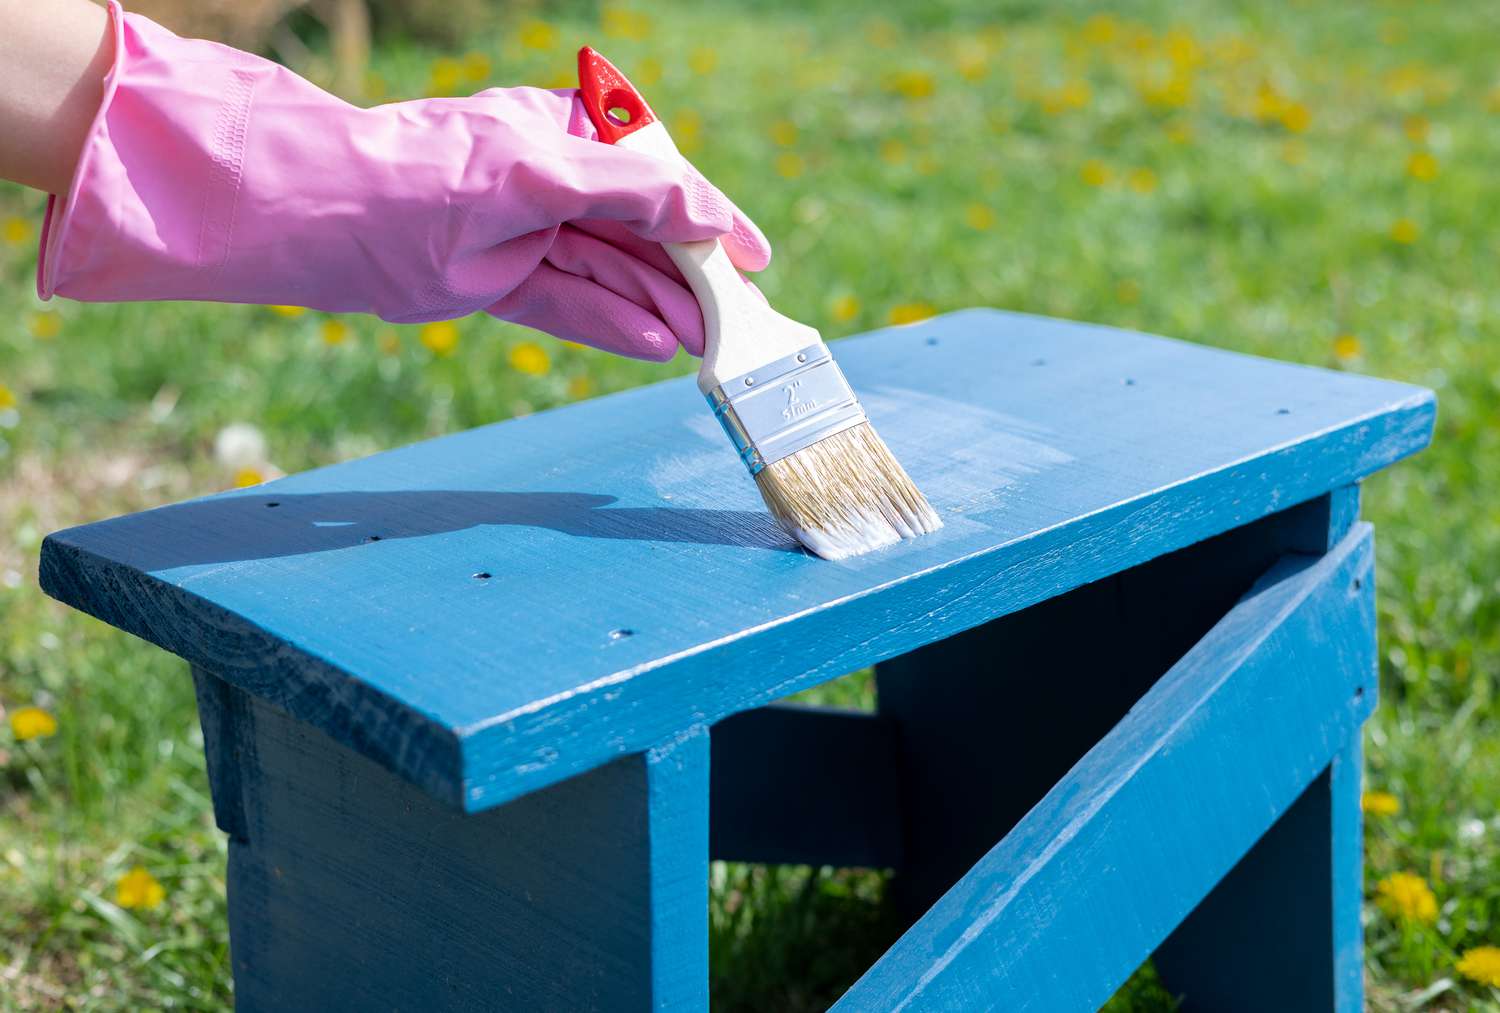
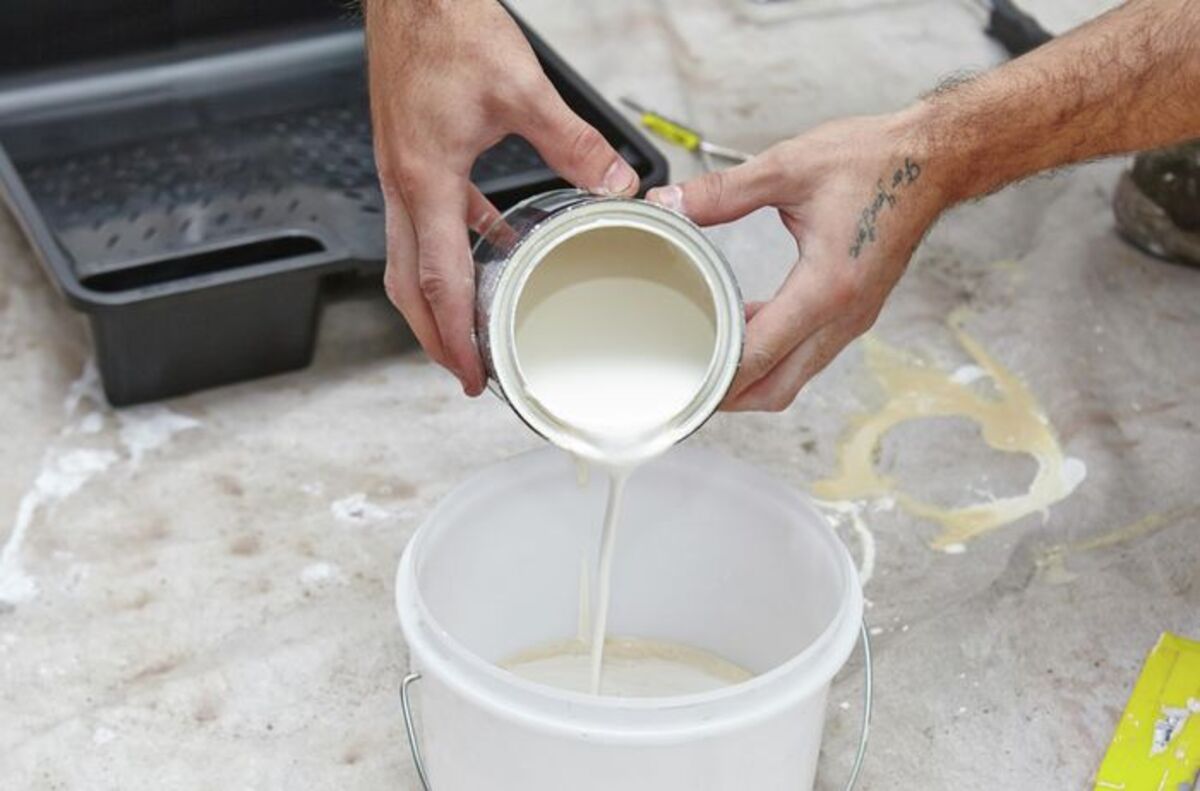
To seal an outdoor wood table, use a waterproof wood sealant and apply it with a brush or cloth in even strokes. Make sure to cover the entire surface and allow it to dry completely before using the table.
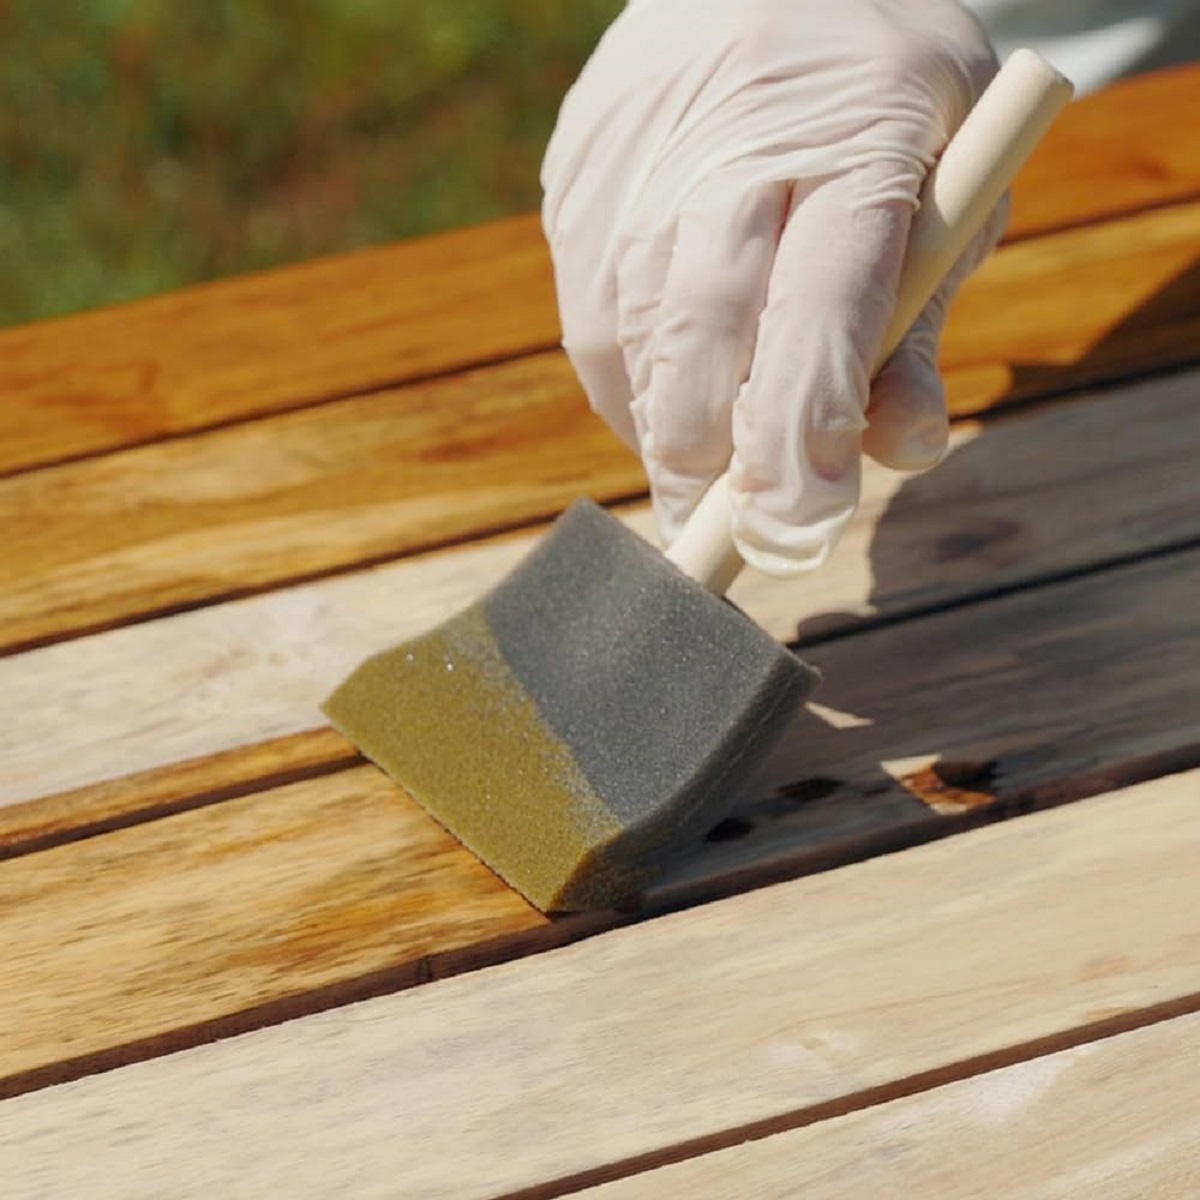
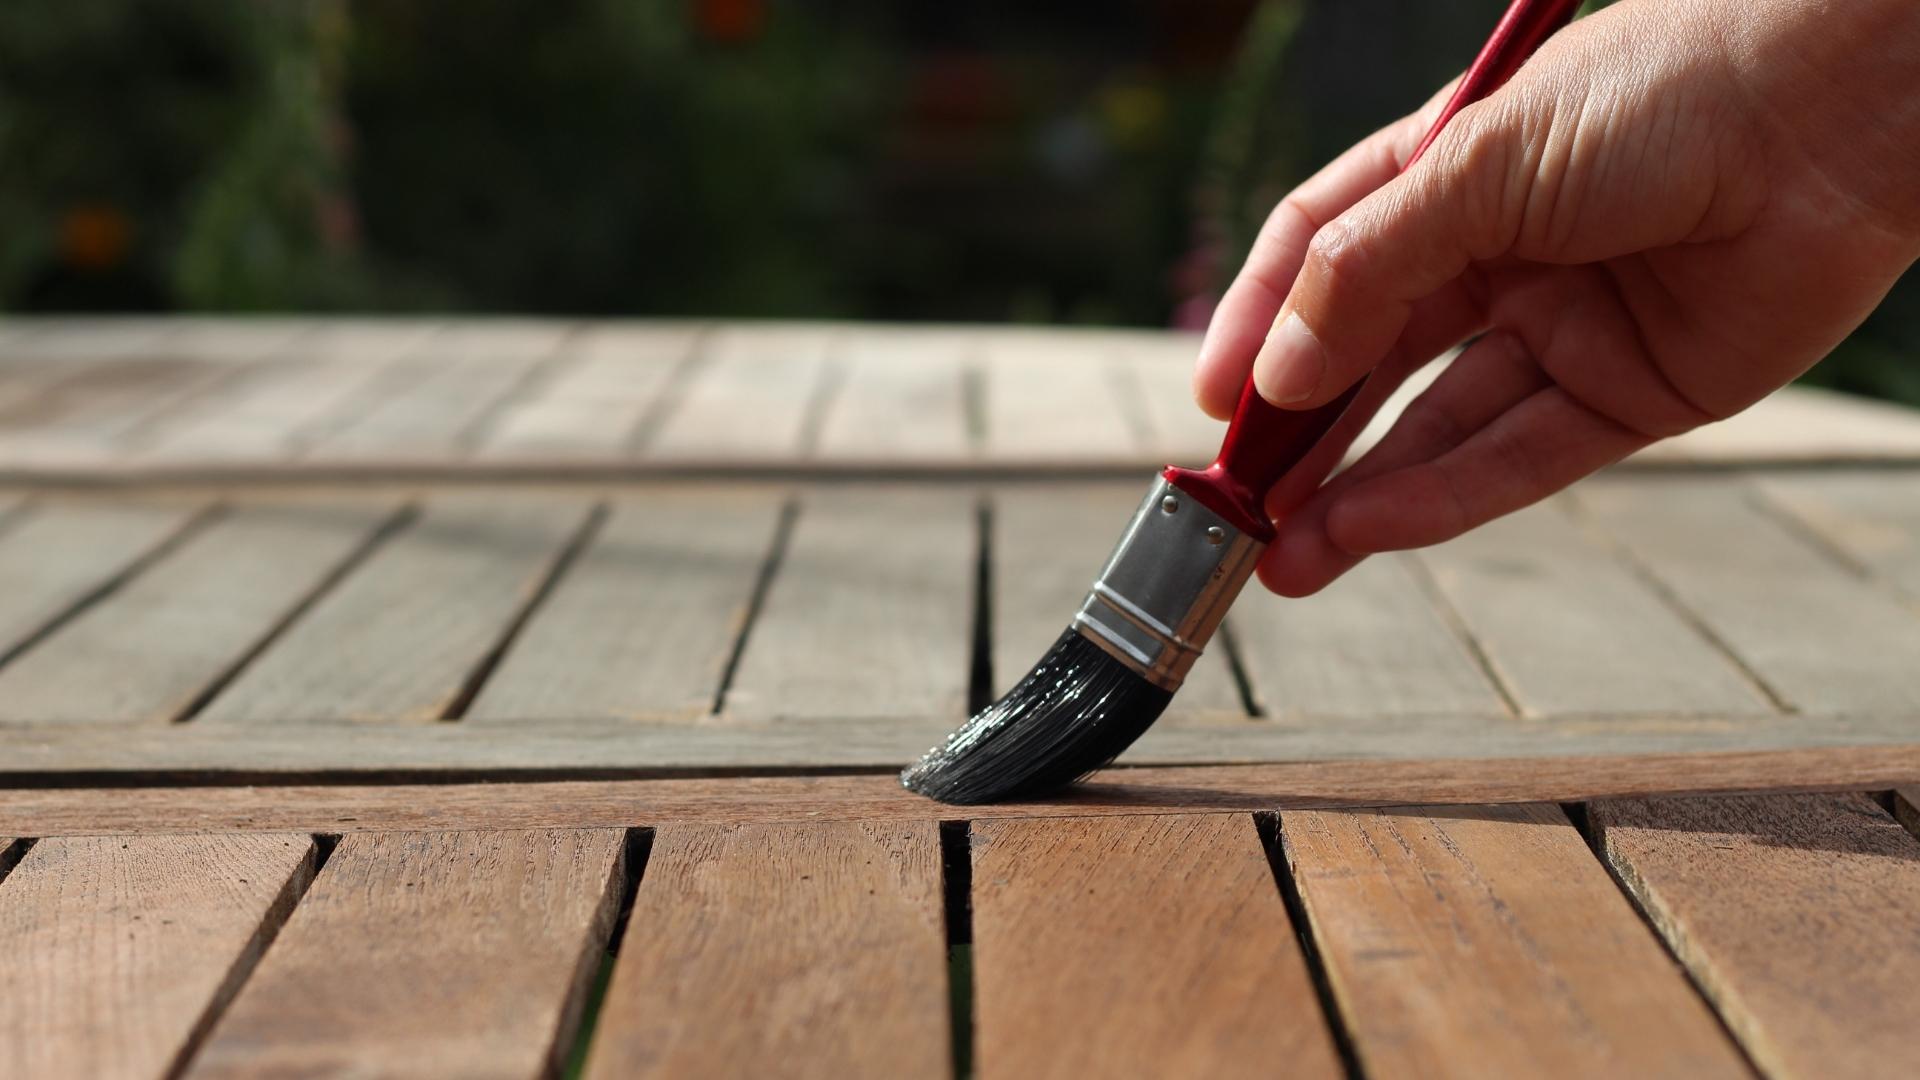
Step 4: Apply the Sealant
With the wood table meticulously prepared, sanded, and cleaned, it’s time to apply the sealant, a pivotal step in safeguarding the wood from outdoor elements and enhancing its natural beauty. Selecting the right sealant is crucial, as it will determine the level of protection, durability, and aesthetic finish of the wood table.
When choosing a sealant, opt for a high-quality outdoor wood sealant or wood preservative that is specifically designed for exterior use. Consider the wood species and the desired finish – whether you prefer a clear, natural look or a tinted sealant to enrich the wood’s color. Additionally, ensure that the selected sealant provides UV protection and is resistant to moisture, mildew, and temperature fluctuations, especially if the table will be exposed to varying weather conditions.
Prior to application, carefully read and follow the manufacturer’s instructions on the sealant container. Shake or stir the sealant thoroughly to ensure a consistent texture and composition. Using a natural bristle brush, foam brush, or a clean, lint-free cloth, apply the sealant evenly in the direction of the wood grain. Work methodically, covering small sections at a time to guarantee thorough and uniform coverage.
As you apply the sealant, pay attention to any drips, pooling, or excess product, ensuring that these are promptly smoothed out or removed to prevent uneven drying and potential imperfections in the finish. It’s essential to maintain a wet edge while applying the sealant to avoid visible brush marks and achieve a seamless, professional-looking outcome.
Once the entire surface is coated, allow the sealant to dry according to the manufacturer’s recommendations. This typically involves allowing the first coat to dry for a specified duration before considering the application of additional coats, if desired. By meticulously applying the sealant, you fortify the wood table against the elements while accentuating its natural allure, ensuring that it remains a timeless and resilient centerpiece in your outdoor setting.
Read more: What To Seal Outdoor Wood Furniture With
Step 5: Allow Drying Time
After applying the sealant to the wood table, it’s crucial to allow ample drying time to ensure a durable and flawless finish. Proper drying time is essential for the sealant to cure effectively, providing the wood with robust protection against outdoor elements and enhancing its visual appeal.
The drying time for the sealant can vary based on factors such as temperature, humidity, and the specific product used. It’s imperative to consult the manufacturer’s guidelines for the recommended drying duration. Typically, the initial coat of sealant requires a longer drying period, ensuring that it penetrates the wood and forms a solid foundation for subsequent coats, if applicable.
During the drying process, it’s essential to protect the wood table from dust, debris, and moisture to prevent imperfections in the finish. If the table is located outdoors during the drying period, consider covering it with a breathable, lightweight cloth or tarp to shield it from environmental elements while allowing air circulation. Alternatively, if the table is indoors, ensure that the area is well-ventilated to facilitate the drying process.
Patience is key during the drying phase, as rushing the process can compromise the integrity of the sealant and the overall finish. Avoid placing items on the table or using it for any purpose until the sealant has fully cured, as premature use can lead to blemishes and a less effective protective barrier.
By allowing the necessary drying time, you ensure that the sealant forms a resilient shield over the wood table, safeguarding it from moisture, UV rays, and general wear and tear. This meticulous approach contributes to the longevity and enduring beauty of the sealed outdoor wood table, allowing you to enjoy its charm for years to come.
Step 6: Apply Additional Coats (Optional)
Once the initial coat of sealant has thoroughly dried, you may consider applying additional coats to further enhance the protection and visual appeal of the wood table. While an extra coat is optional, it can significantly bolster the durability and longevity of the sealant, especially for outdoor furniture exposed to varying weather conditions.
Prior to applying additional coats, inspect the table surface to ensure that it is clean and free of any imperfections. If necessary, lightly sand the sealed surface with fine-grit sandpaper to promote adhesion and create a smooth foundation for the subsequent coats. Wipe away any sanding dust with a tack cloth before proceeding with the additional sealant application.
When applying subsequent coats, follow the same meticulous approach used for the initial coat, ensuring even coverage and smooth application in the direction of the wood grain. Allow each coat to dry thoroughly according to the manufacturer’s recommendations before considering the application of another coat. Typically, two to three coats of sealant provide robust protection and a lustrous finish for outdoor wood tables.
It’s important to note that applying multiple coats of sealant not only enhances the protective barrier but also enriches the wood’s natural tones and grain, resulting in a more pronounced and captivating aesthetic. Additionally, the extra layers of sealant contribute to a more resilient shield against moisture, UV rays, and general wear, prolonging the table’s lifespan and maintaining its allure.
By considering the application of additional coats, you invest in the long-term preservation and visual enhancement of your outdoor wood table, ensuring that it remains a timeless and resilient centerpiece in your outdoor setting.
Step 7: Maintain the Sealed Table
After successfully sealing your outdoor wood table, it’s essential to implement a regular maintenance routine to preserve its beauty and ensure long-term durability. Proper maintenance not only safeguards the table from environmental elements but also sustains its aesthetic appeal, allowing you to continue enjoying its charm for years to come.
One fundamental aspect of maintaining a sealed wood table is routine cleaning. Regularly remove debris, such as leaves, dirt, and pollen, from the table surface to prevent the accumulation of moisture and potential damage. Utilize a soft brush or a gentle stream of water to dislodge debris, followed by a thorough drying to prevent water from seeping into the wood.
Additionally, consider using a specially formulated wood cleaner or a mild detergent diluted in water to wash the table periodically. This gentle cleaning process removes grime and contaminants while preserving the integrity of the sealant. After cleaning, ensure that the table dries completely before returning any items or decor to its surface.
As part of maintenance, inspect the sealed wood table regularly for signs of wear, such as fading or thinning of the sealant. Depending on the level of exposure to outdoor elements, you may need to reapply the sealant periodically to maintain optimal protection and visual appeal. This proactive approach to maintenance prolongs the life of the sealant and preserves the wood table’s captivating finish.
Furthermore, consider using protective covers or storing the table indoors during extreme weather conditions to shield it from prolonged exposure to harsh elements. This additional safeguard can significantly extend the lifespan of the sealant and the wood, ensuring that your outdoor table remains a stunning and resilient focal point in your outdoor space.
By implementing a consistent maintenance regimen, you uphold the enduring beauty and functionality of your sealed outdoor wood table, allowing it to remain a cherished and inviting centerpiece in your outdoor setting for years to come.
Frequently Asked Questions about How To Seal An Outdoor Wood Table
Was this page helpful?
At Storables.com, we guarantee accurate and reliable information. Our content, validated by Expert Board Contributors, is crafted following stringent Editorial Policies. We're committed to providing you with well-researched, expert-backed insights for all your informational needs.


0 thoughts on “How To Seal An Outdoor Wood Table”