Home>Renovation & DIY>Home Renovation Guides>How To Seal Backsplash

Home Renovation Guides
How To Seal Backsplash
Modified: February 17, 2024
Learn how to seal a backsplash in your home renovation project with our comprehensive guide. Follow these expert tips for a successful DIY project.
(Many of the links in this article redirect to a specific reviewed product. Your purchase of these products through affiliate links helps to generate commission for Storables.com, at no extra cost. Learn more)
Introduction
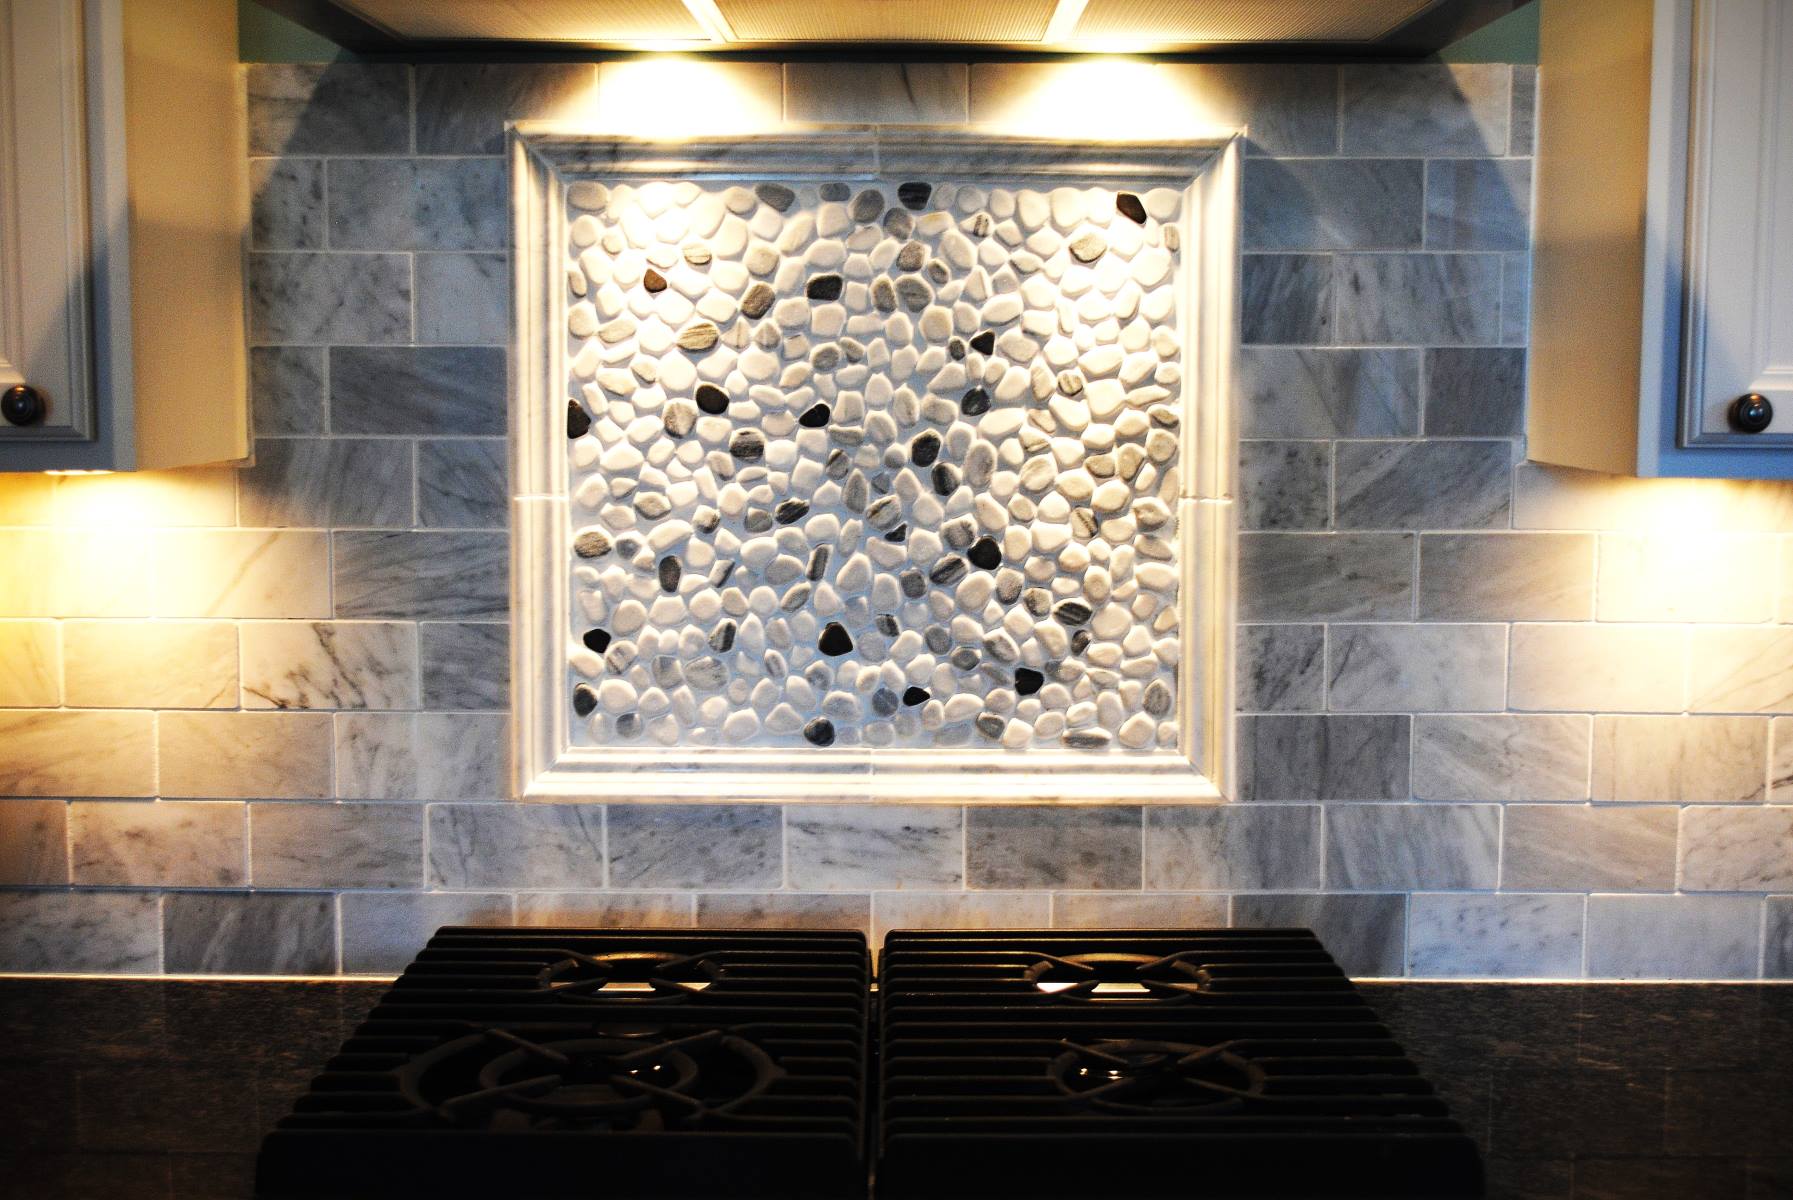
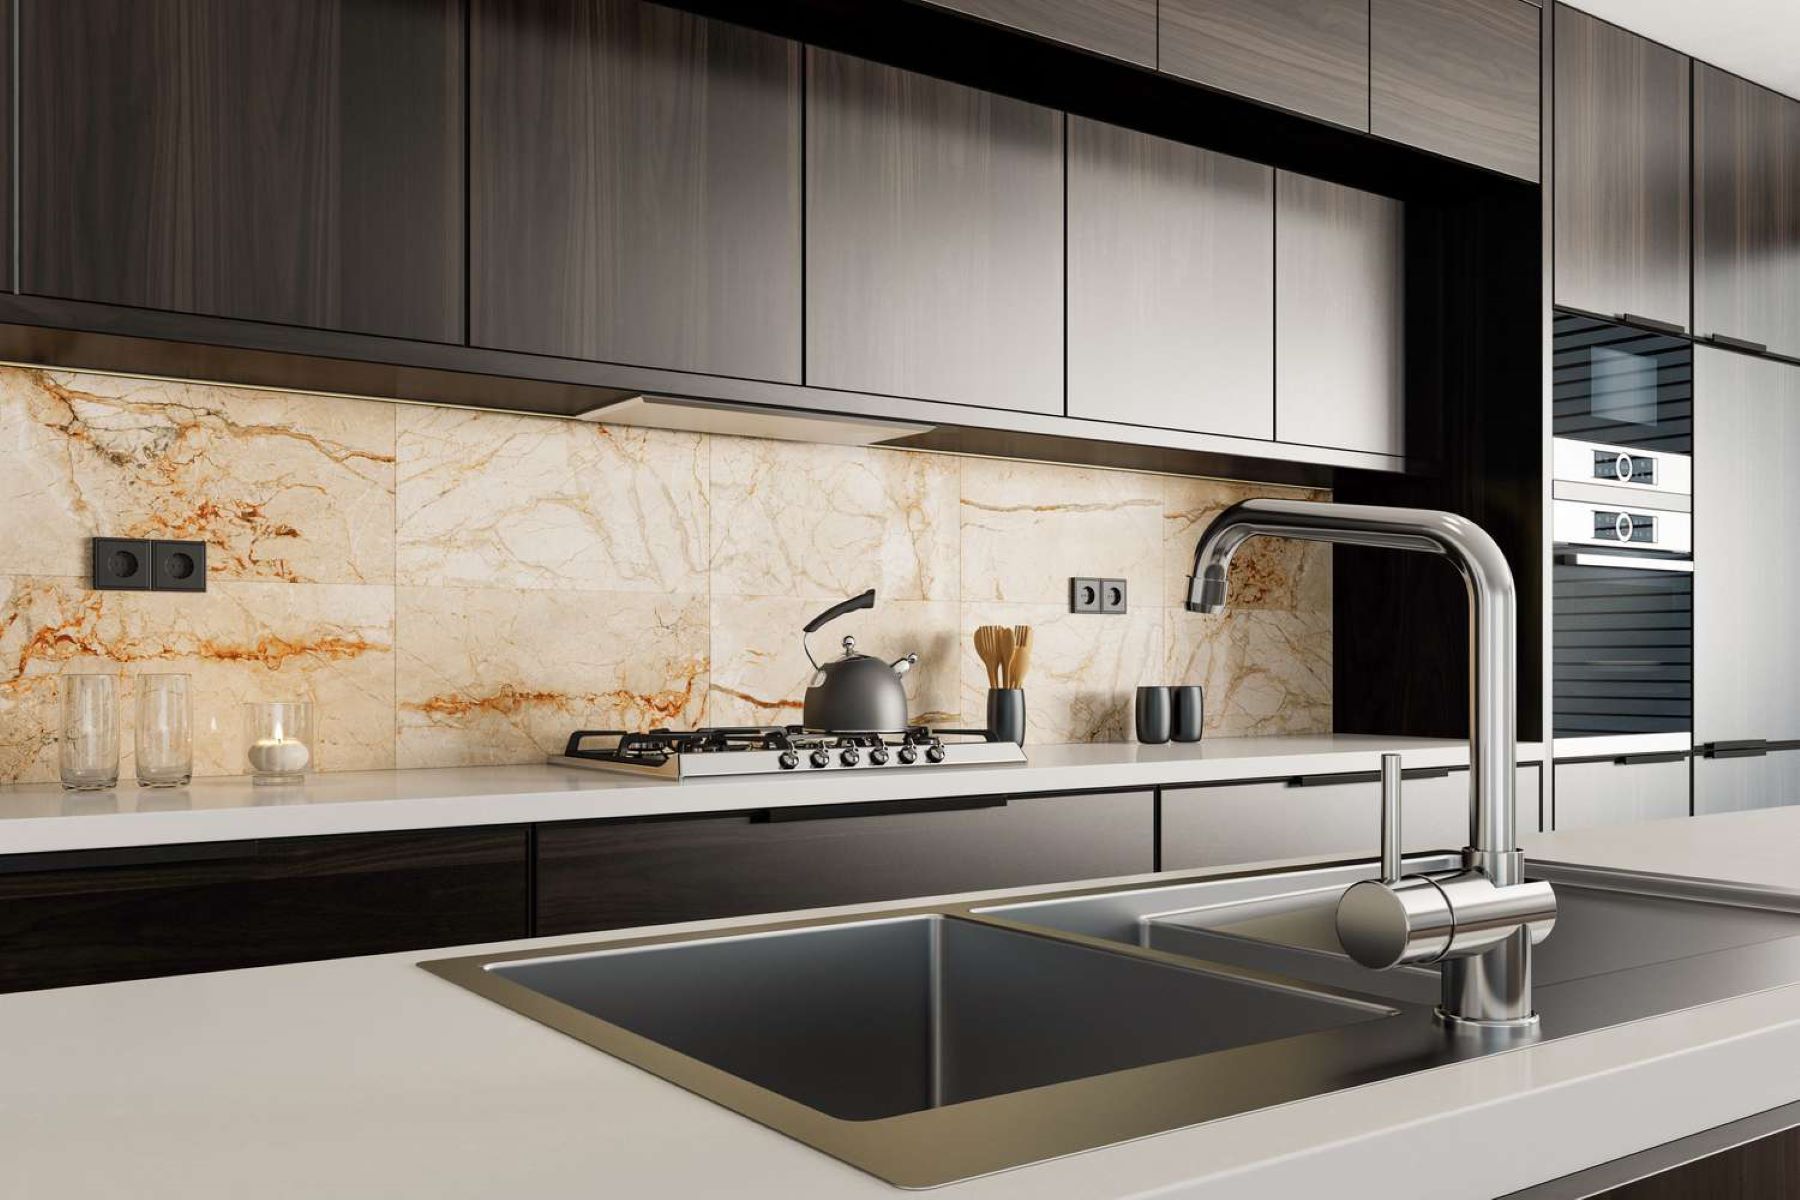
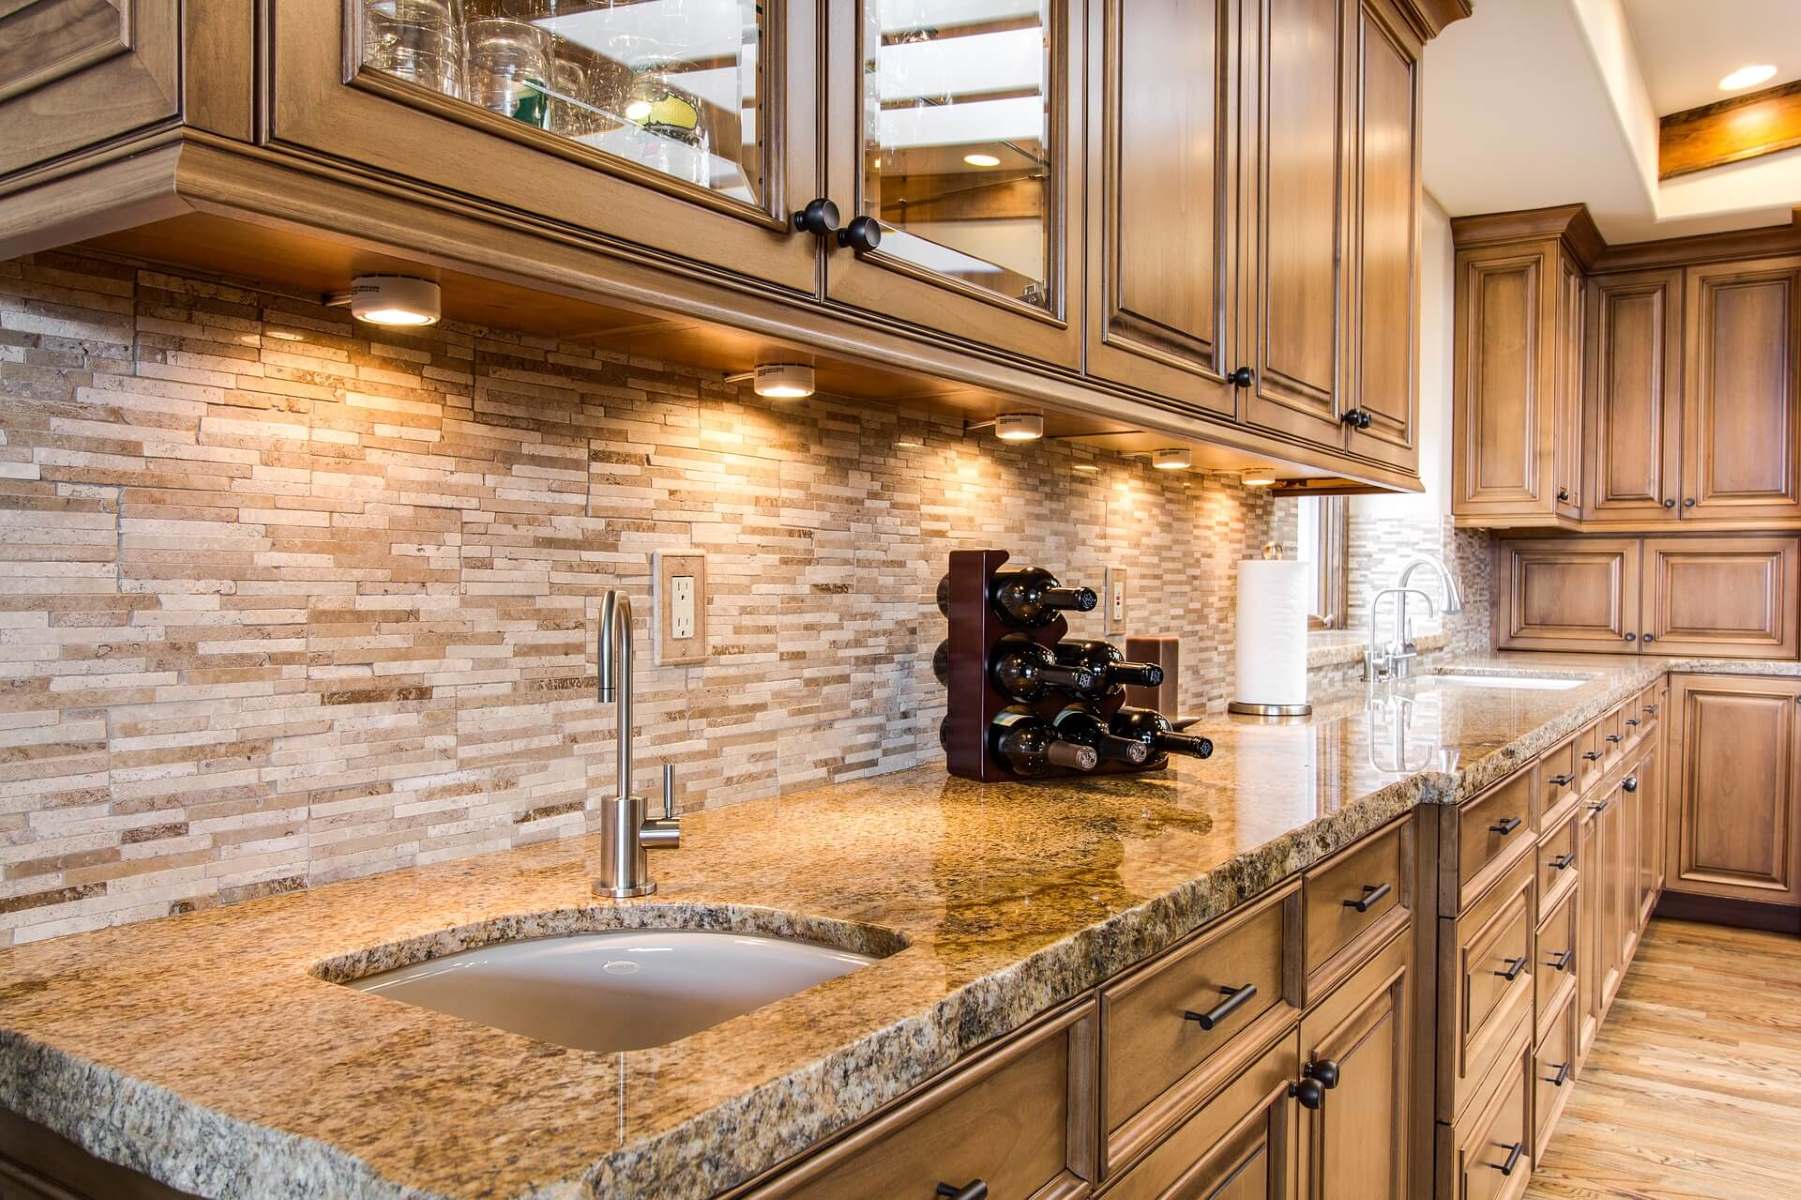
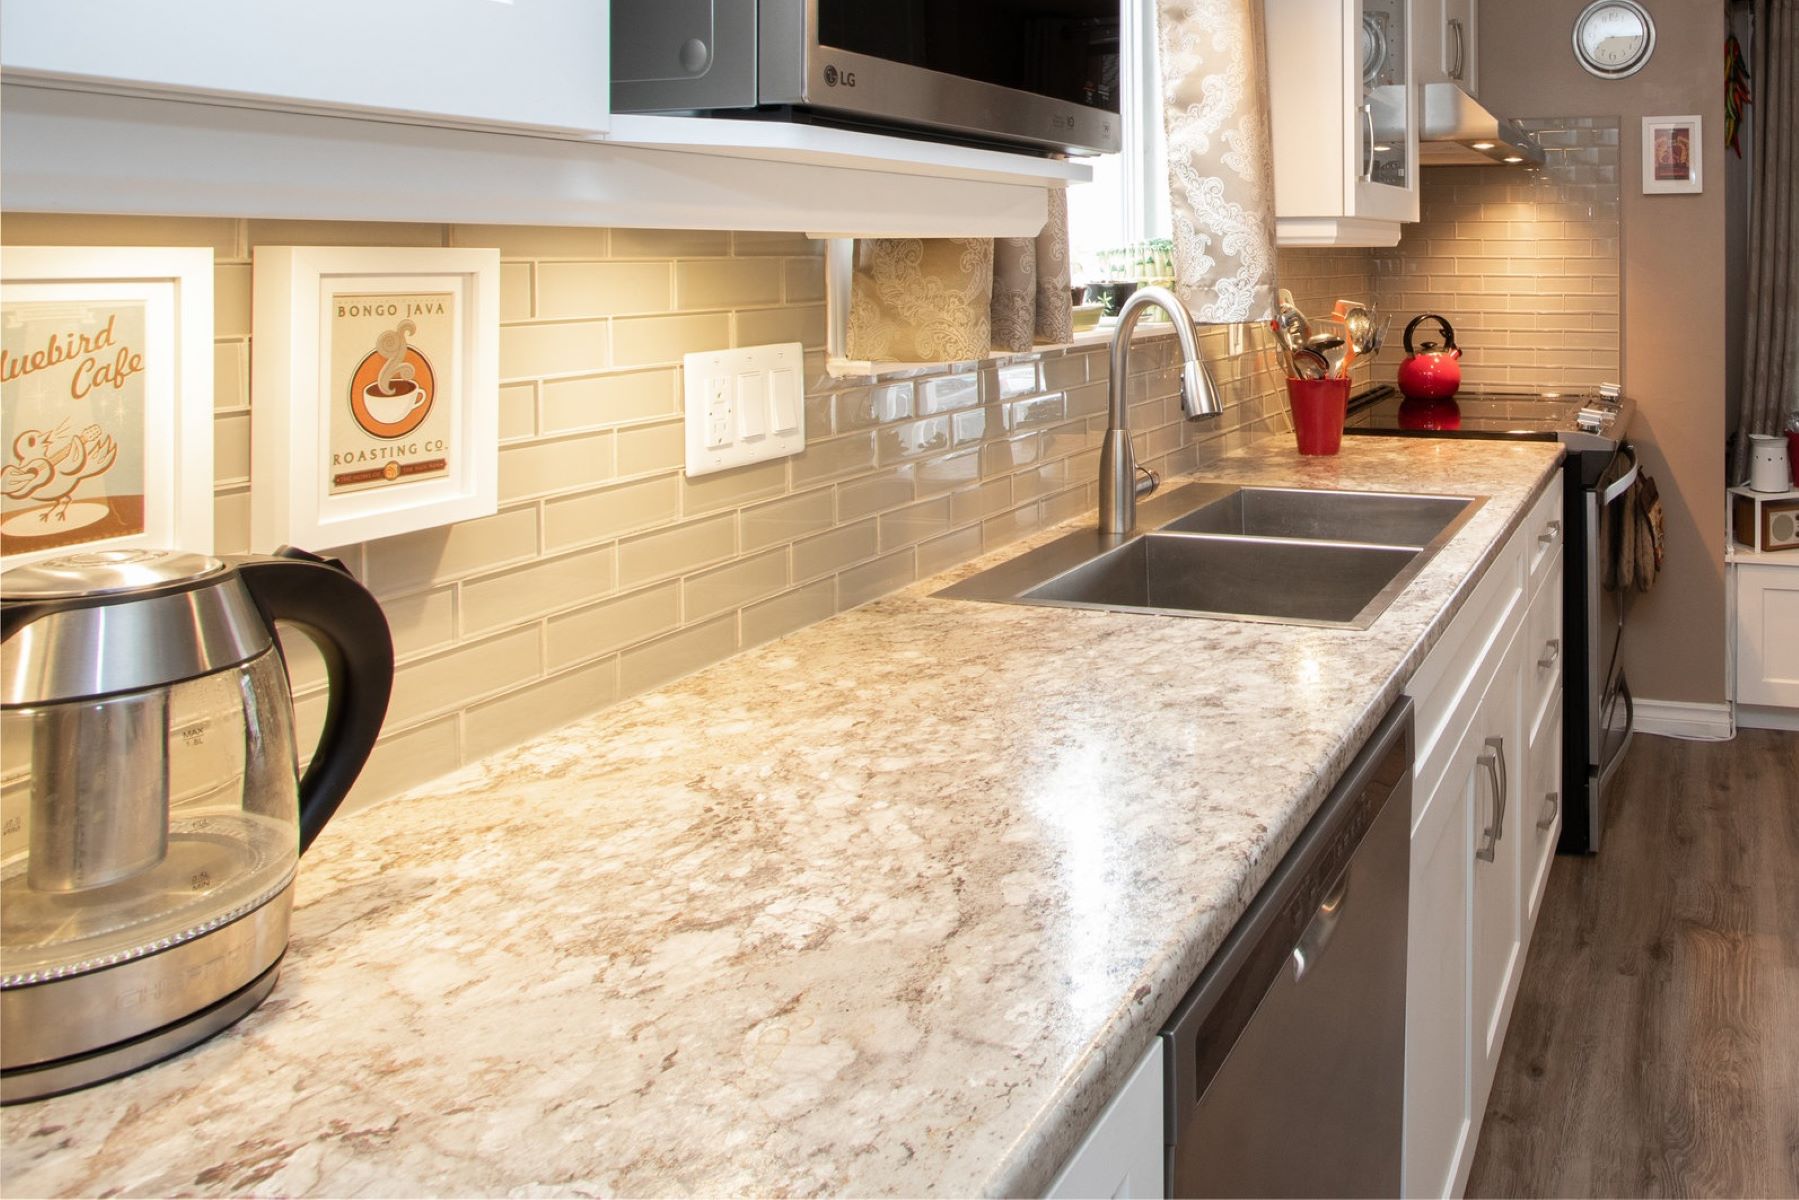
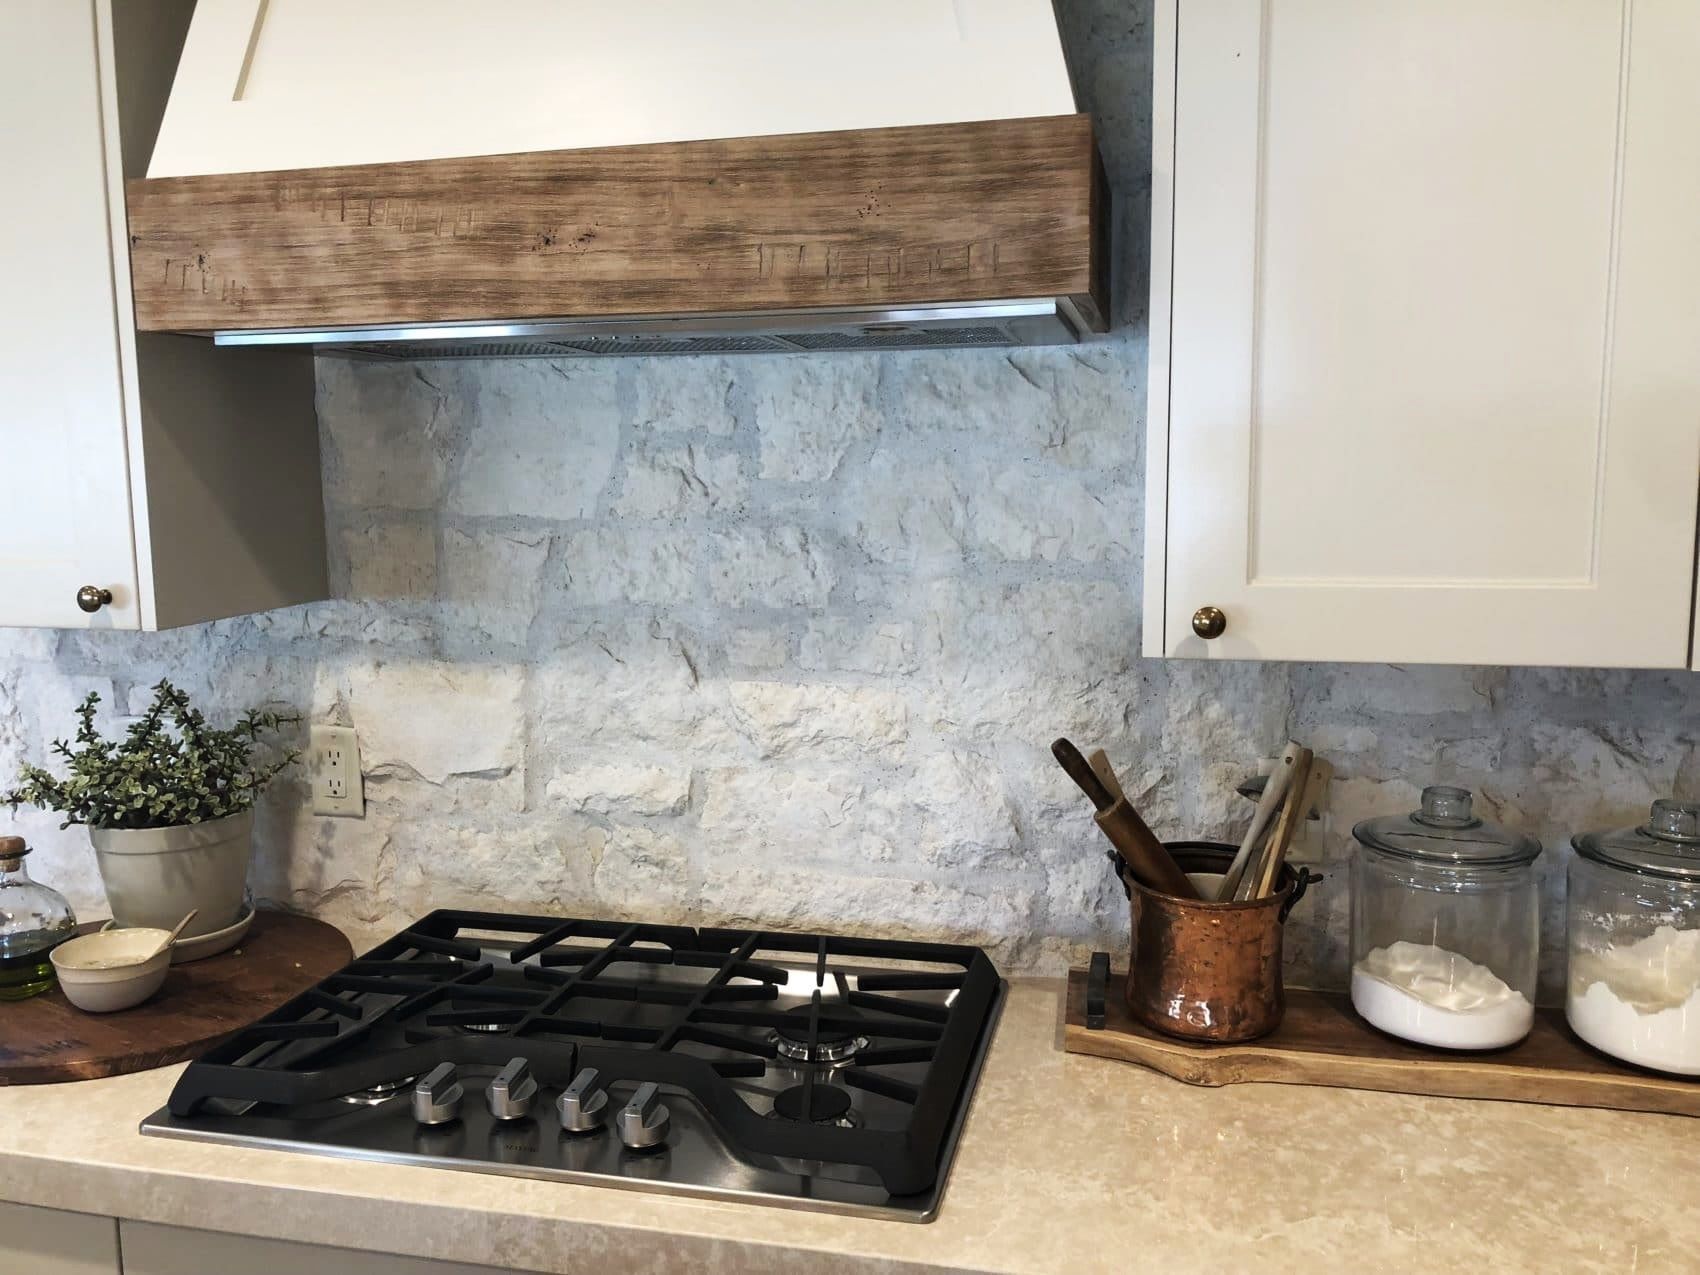
Sealing your backsplash is a crucial step in maintaining its beauty and functionality. Whether you have a stunning mosaic, classic subway tiles, or sleek glass backsplash, applying a high-quality sealer can protect it from stains, moisture, and grime, ensuring that it remains a focal point in your kitchen or bathroom for years to come.
A backsplash not only adds aesthetic appeal to your space but also serves a practical purpose by protecting the walls from splashes, spills, and splatters. However, without proper sealing, it can become susceptible to damage and discoloration over time. By following the steps outlined in this guide, you can learn how to seal your backsplash effectively, preserving its pristine appearance and structural integrity.
Whether you're a seasoned DIY enthusiast or a novice homeowner looking to tackle your first home improvement project, sealing your backsplash is a manageable task that can yield significant long-term benefits. With the right materials, a bit of elbow grease, and a clear understanding of the process, you can achieve professional-quality results without the need for expensive professional assistance.
In the following steps, we will walk you through the process of gathering the necessary materials, preparing the backsplash for sealing, applying the sealer, and allowing it to dry properly. By the end of this guide, you'll have the knowledge and confidence to protect your backsplash effectively, ensuring that it remains a stunning and functional element in your home. Let's dive in and discover how simple and rewarding the process of sealing your backsplash can be.
Key Takeaways:
- Protect your backsplash by sealing it with the right materials and techniques. This ensures it stays beautiful and functional, repelling stains and moisture for years to come.
- Sealing your backsplash is a rewarding DIY project that enhances both the appearance and durability of your kitchen or bathroom. With the right tools and steps, you can achieve professional-quality results and enjoy a stunning, well-protected backsplash.
Read more: How To Seal Grout In Kitchen Backsplash
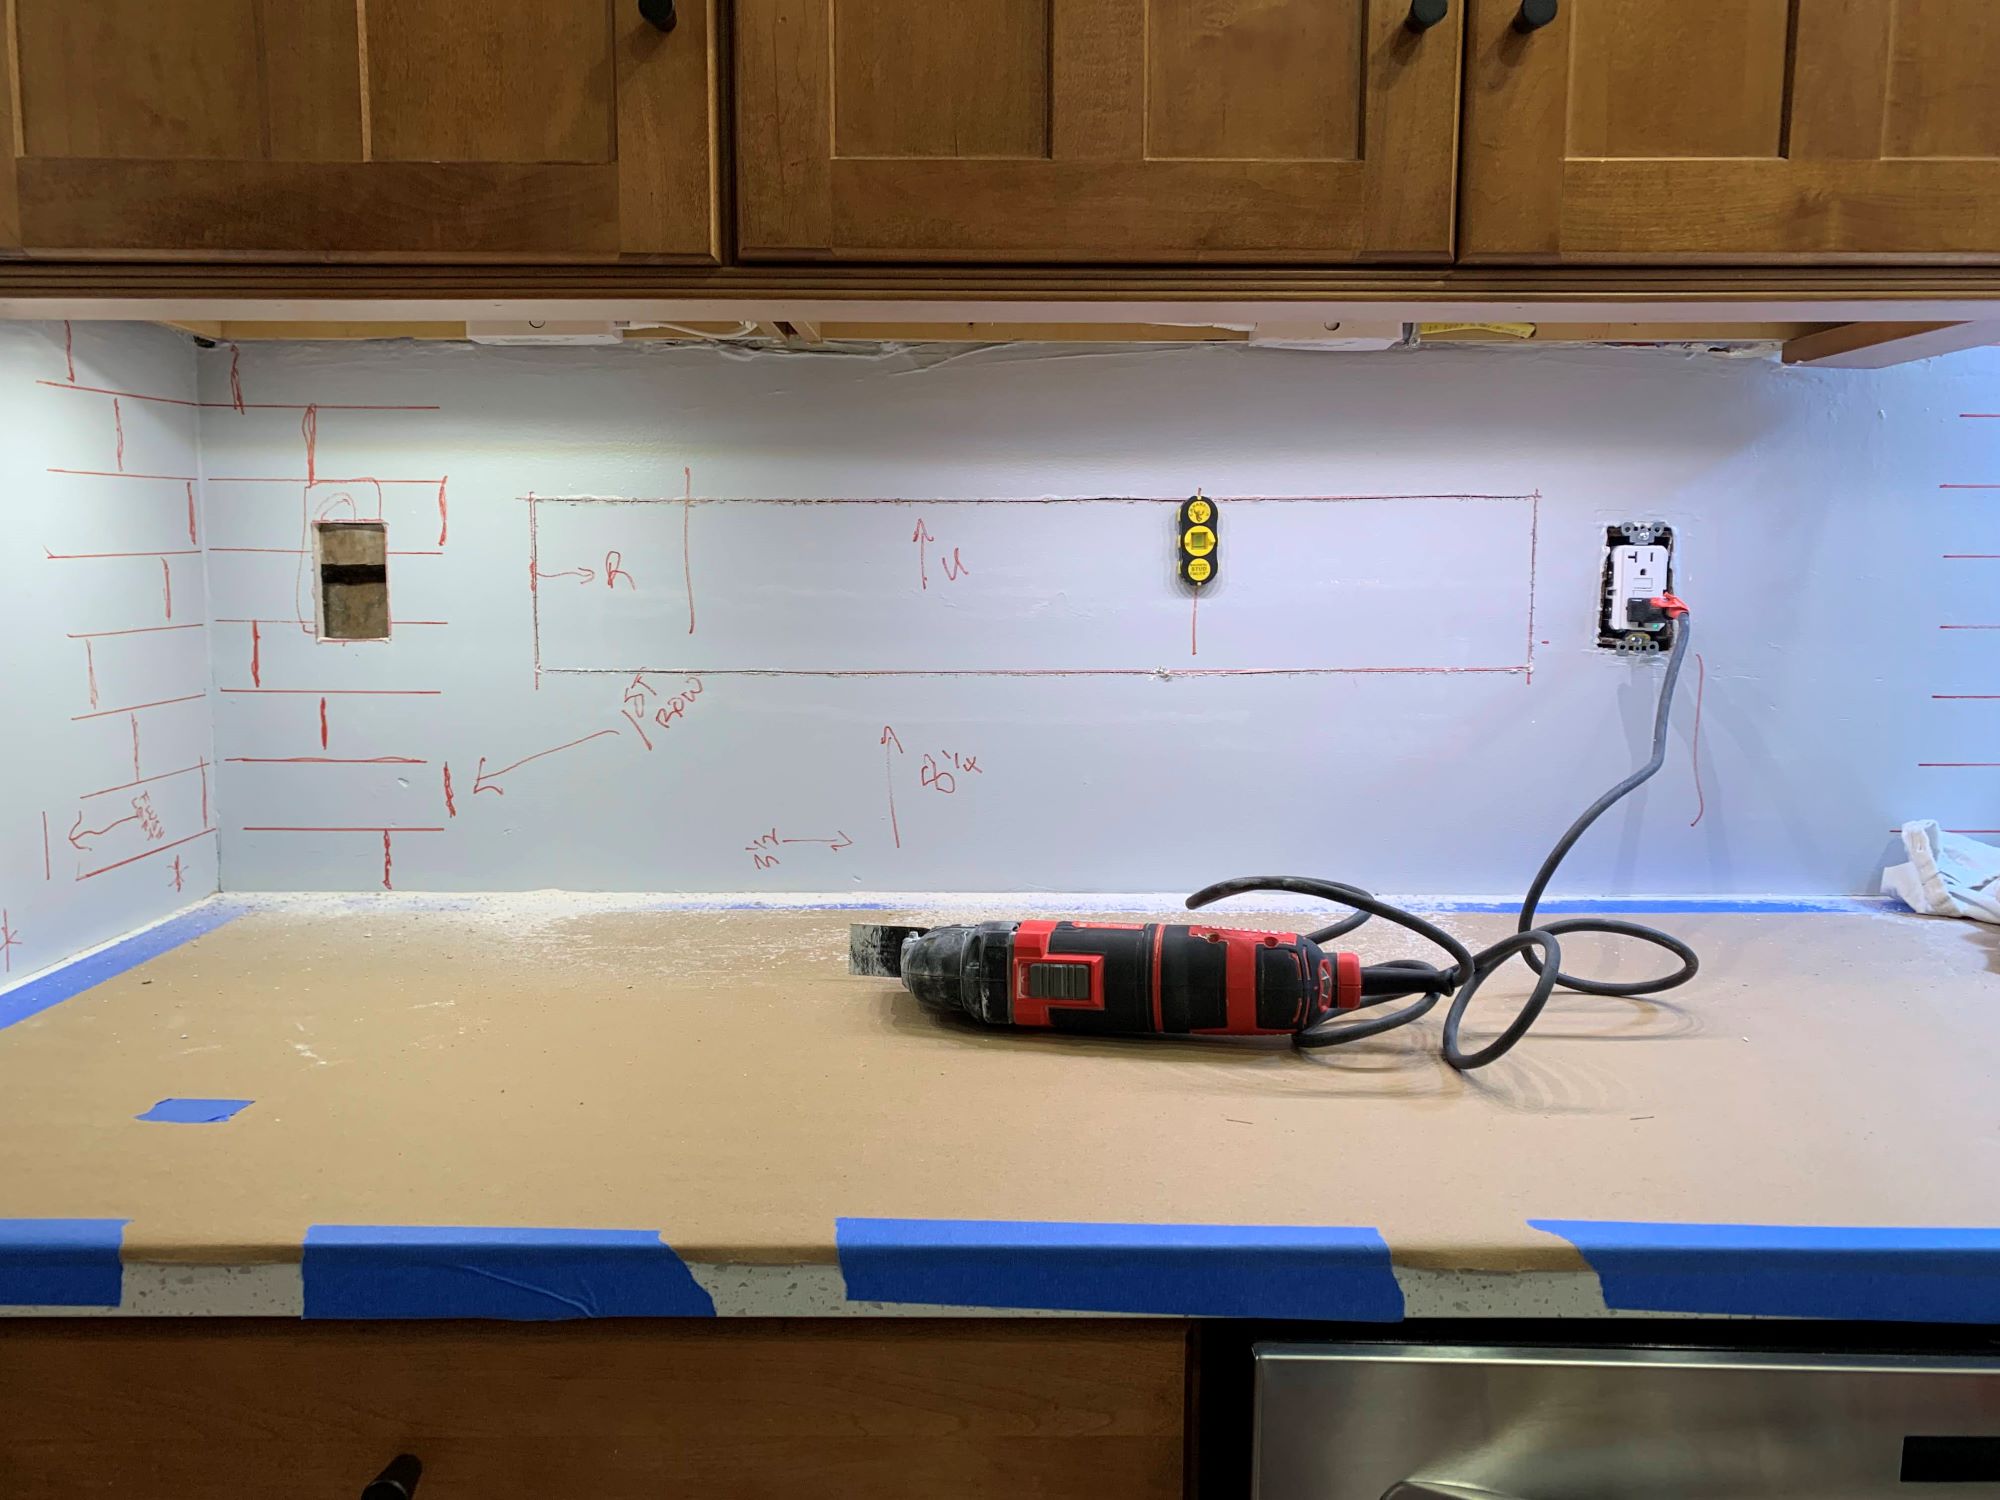
Step 1: Gather Materials
Before embarking on the process of sealing your backsplash, it's essential to gather the necessary materials to ensure a smooth and efficient workflow. Here's a comprehensive list of items you'll need:
-
Sealer: Select a high-quality sealer specifically designed for the type of backsplash material you have. For example, if you have a natural stone backsplash, opt for a sealer formulated for natural stone surfaces. Similarly, if you have a ceramic or porcelain tile backsplash, choose a sealer suitable for these materials. It's crucial to match the sealer to the specific requirements of your backsplash to achieve optimal results.
-
Protective Gear: Prioritize safety by wearing protective gear, including disposable gloves and a face mask, especially if you're working with strong chemical sealers. These precautions will help safeguard your skin and respiratory system during the sealing process.
-
Cleaning Supplies: To prepare the backsplash for sealing, gather mild dish soap, warm water, and a soft sponge or cloth for cleaning any existing dirt, grease, or residue. Additionally, have a separate clean cloth or paper towels for drying the surface thoroughly before applying the sealer.
-
Ventilation: Ensure proper ventilation in the area where you'll be working. If possible, open windows and doors to allow fresh air to circulate, minimizing exposure to fumes from the sealer.
-
Applicator: Depending on the type of sealer you're using, you'll need an appropriate applicator. For liquid sealers, a clean paintbrush or foam brush works well, while for spray sealers, a spray bottle or aerosol applicator may be required.
-
Painter's Tape and Plastic Sheets: If you want to protect adjacent surfaces, such as countertops or cabinets, have painter's tape and plastic sheets on hand to cover and shield these areas from accidental sealer splashes or spills.
-
Stir Stick or Mixing Tool: If the sealer needs to be stirred or mixed before application, ensure you have a stir stick or mixing tool available to blend the product thoroughly.
By gathering these materials in advance, you'll set the stage for a successful backsplash sealing project. With the right tools and supplies at your disposal, you can proceed confidently to the next step of cleaning the backsplash in preparation for the sealing process.
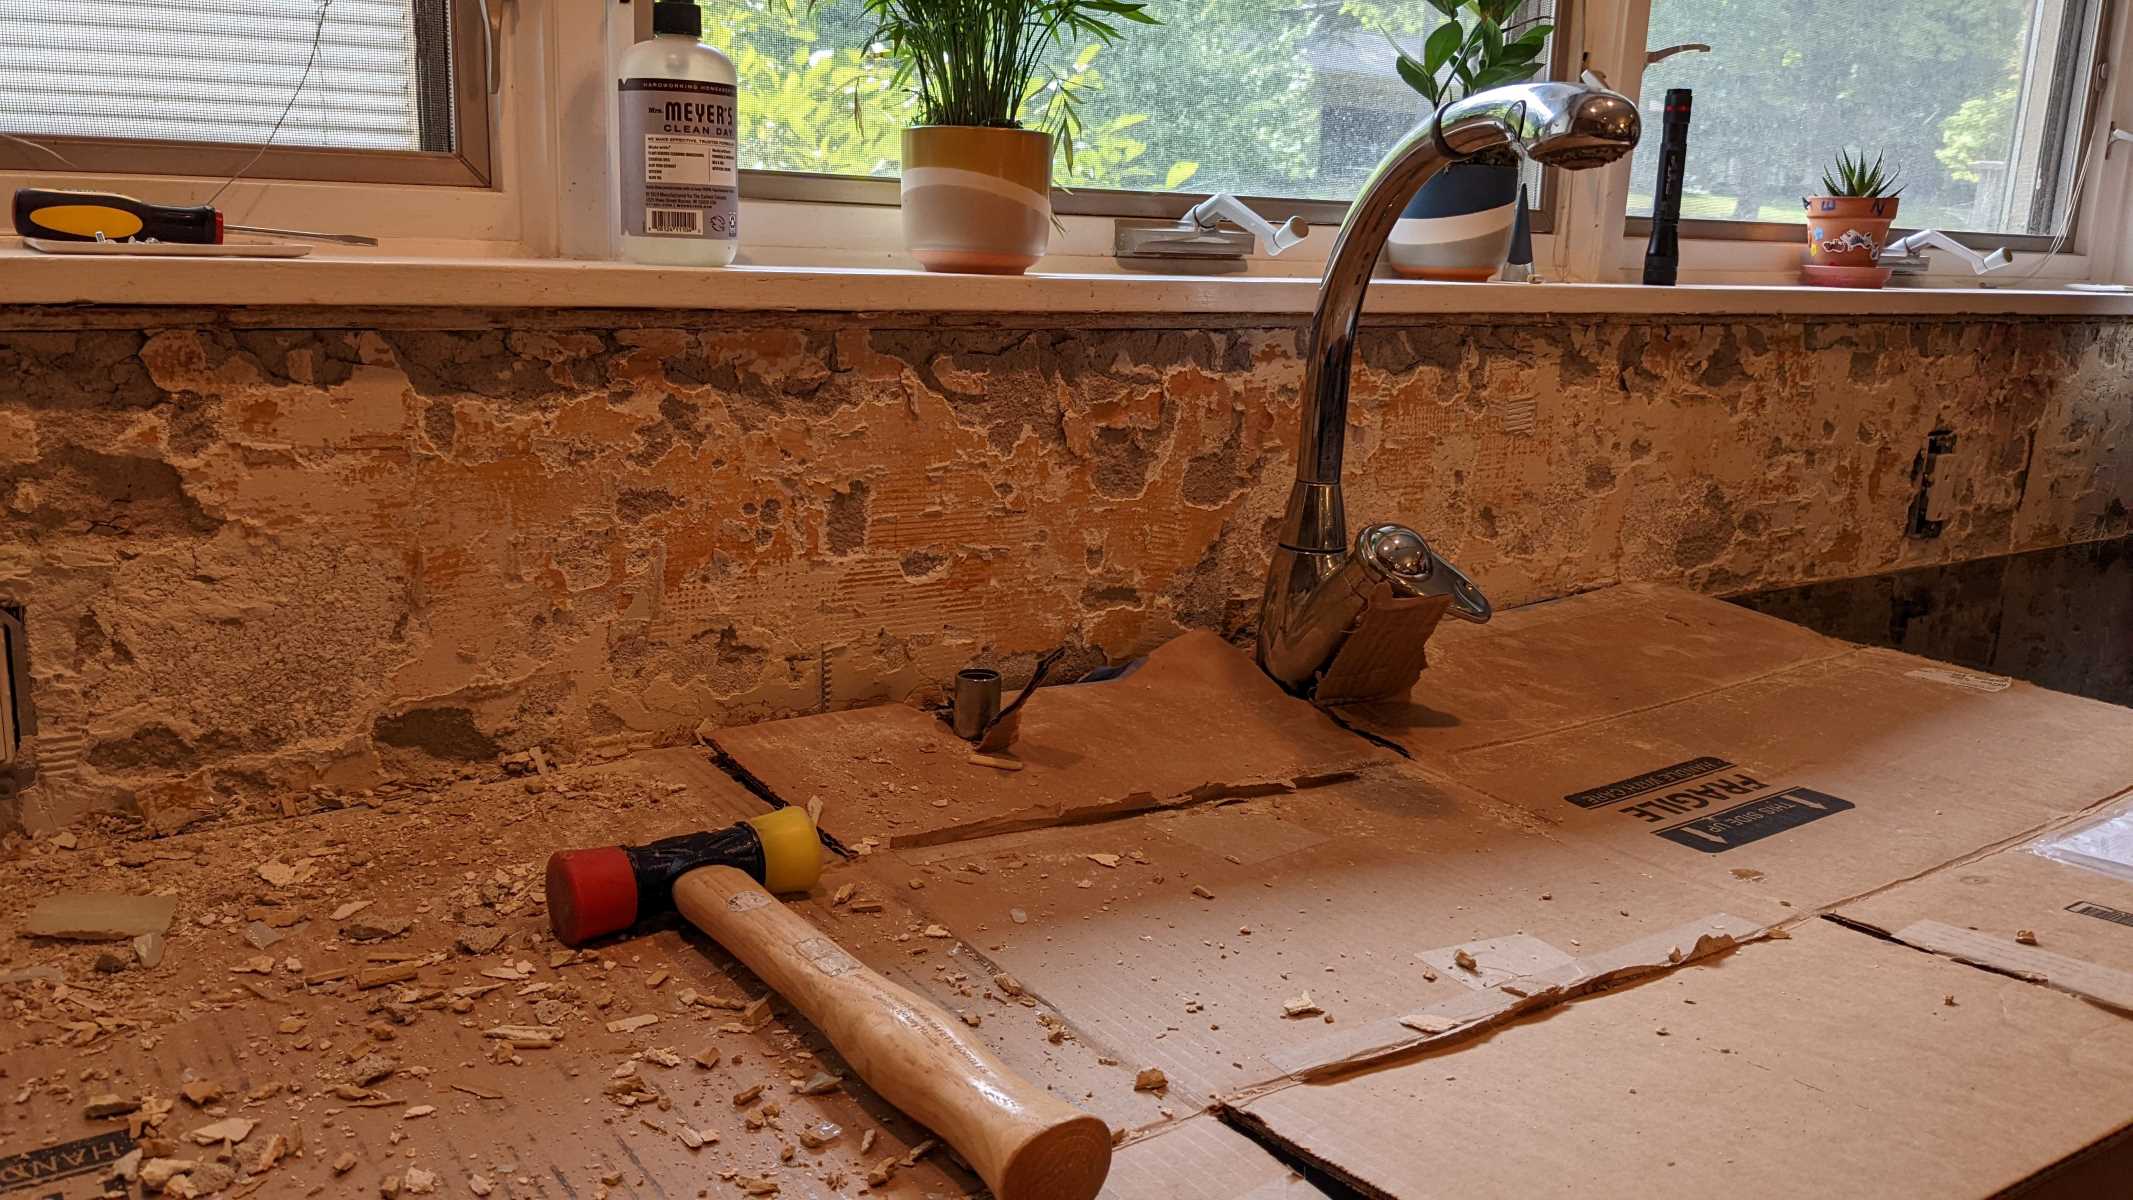
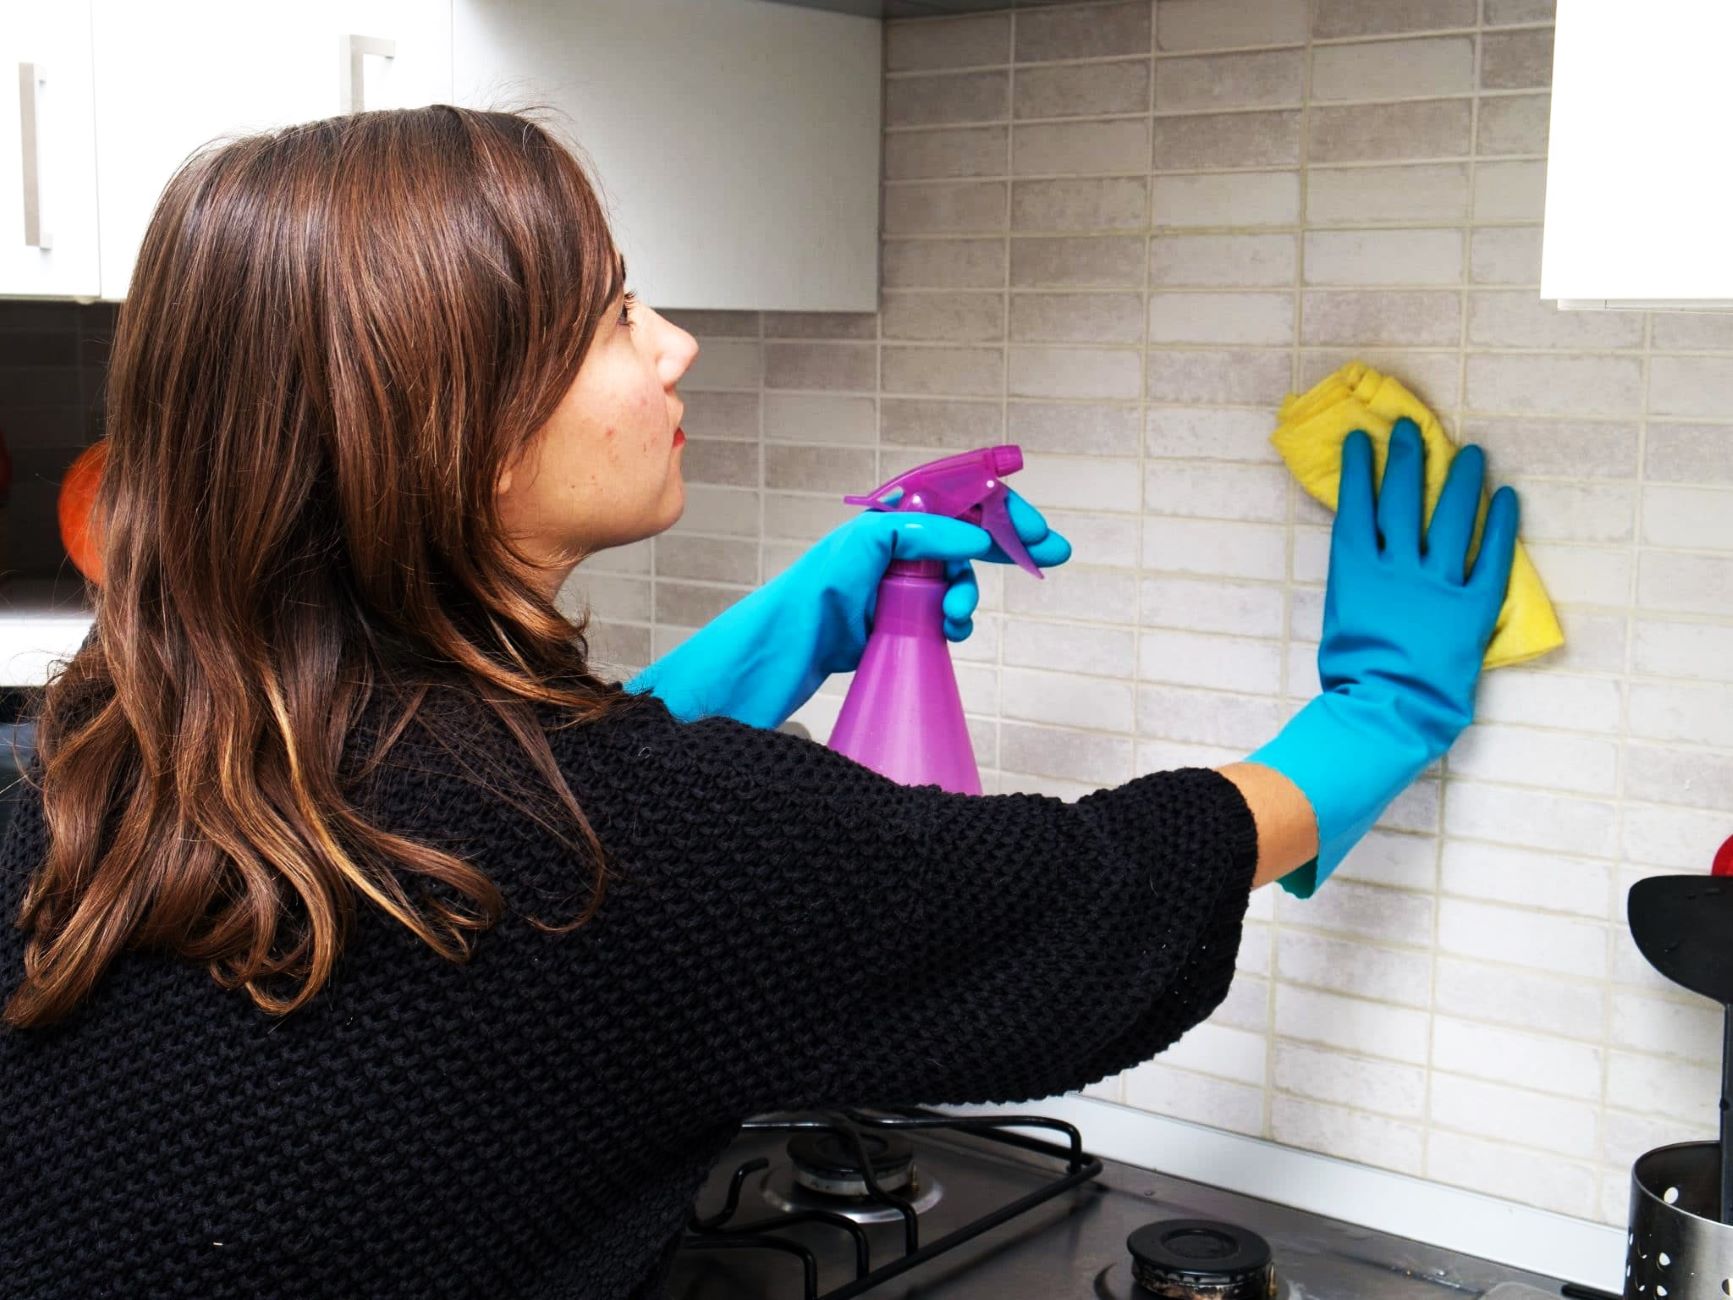
Step 2: Clean the Backsplash
Before applying the sealer, it's crucial to ensure that the backsplash surface is clean and free from any dirt, grease, or residue. Proper cleaning not only enhances the adhesion of the sealer but also prevents any impurities from becoming trapped beneath the protective layer. Here's a detailed guide on how to clean your backsplash effectively:
-
Prepare the Cleaning Solution: In a small bucket or container, mix a few drops of mild dish soap with warm water. This gentle solution is effective in removing grease and grime without causing damage to the backsplash material.
-
Dampen a Soft Sponge or Cloth: Dip a soft sponge or cloth into the soapy water, ensuring it's not overly saturated. Wring out any excess water to prevent drips and excessive moisture on the backsplash.
-
Begin Cleaning: Starting from one end of the backsplash, gently scrub the surface in a circular motion, paying extra attention to areas near the stovetop or sink where grease and food splatters are common. Take care not to apply excessive pressure, especially if you have a delicate or textured backsplash material.
-
Rinse and Repeat: Periodically rinse the sponge or cloth in clean water to remove soapy residue, and continue cleaning the entire backsplash surface. This step helps ensure that no soap residue is left behind, which could interfere with the sealer's bonding process.
-
Dry the Backsplash: Once the entire backsplash has been cleaned, use a separate clean cloth or paper towels to thoroughly dry the surface. Removing all moisture is essential before applying the sealer, as any lingering water droplets can affect the sealer's ability to adhere uniformly.
-
Inspect for Lingering Stains: After the backsplash has dried, inspect the surface for any lingering stains or stubborn spots. If necessary, repeat the cleaning process in targeted areas to ensure the entire backsplash is free from blemishes.
By following these steps, you'll prepare your backsplash for the next crucial phase: applying the sealer. A clean and dry surface sets the foundation for the sealer to bond effectively, providing long-lasting protection and preserving the beauty of your backsplash for years to come.
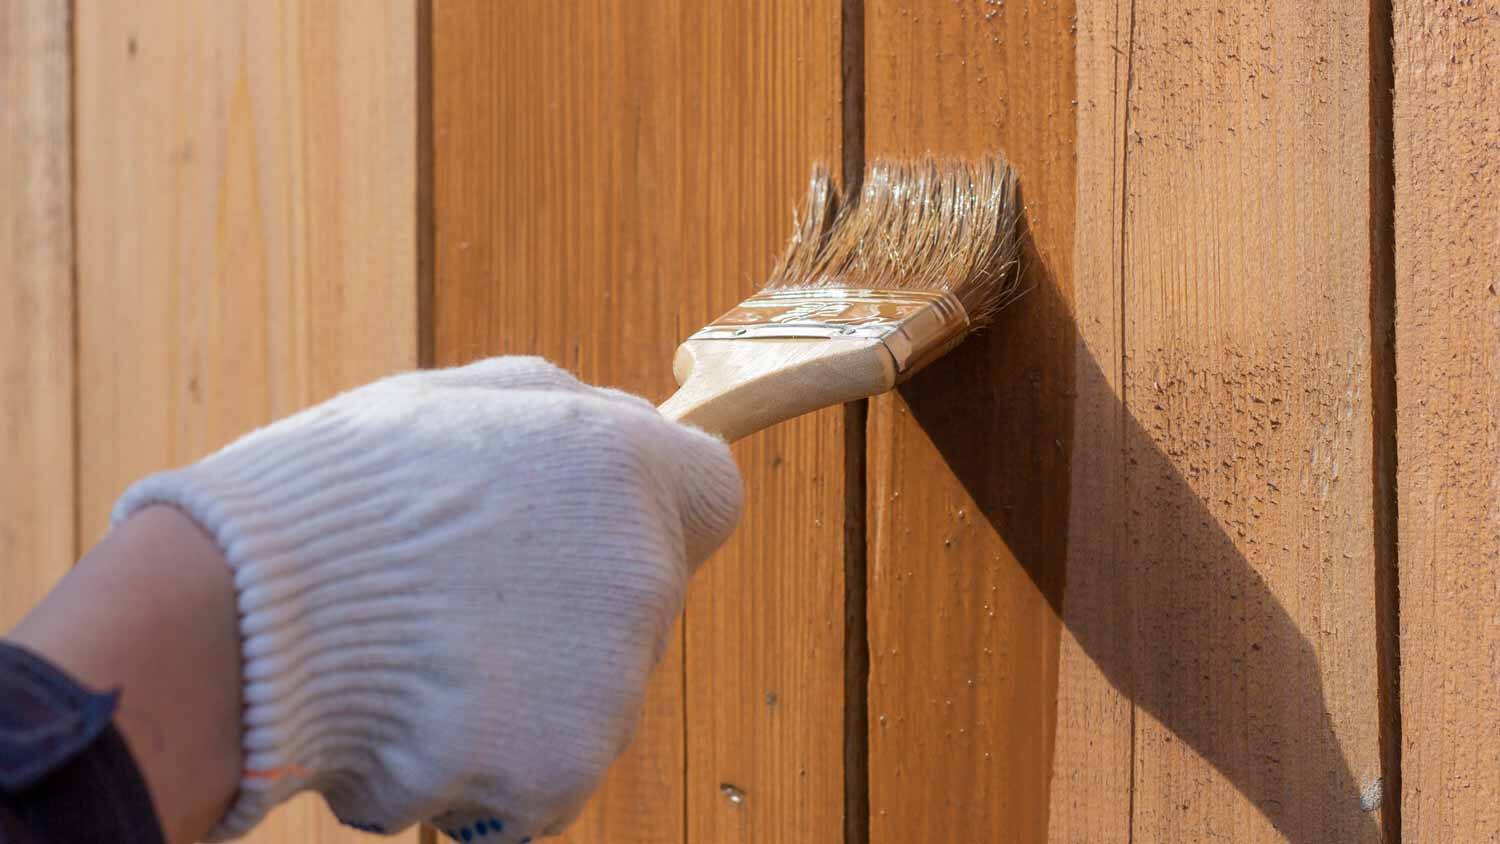
Step 3: Apply the Sealer
With a meticulously cleaned and dried backsplash, you're now ready to apply the sealer, a pivotal step in safeguarding your backsplash against stains and moisture. Follow these detailed instructions to ensure a seamless and effective application process:
-
Read the Manufacturer's Instructions: Before proceeding, carefully review the manufacturer's guidelines and instructions provided with the sealer. Familiarize yourself with any specific recommendations or precautions to ensure optimal results.
-
Ventilate the Area: Ensure adequate ventilation in the workspace. Open windows and doors to promote air circulation, minimizing exposure to fumes from the sealer.
-
Stir the Sealer: If the sealer requires stirring or shaking before use, thoroughly mix the product using a stir stick or mixing tool. This step ensures that the sealer's components are well-blended for consistent application.
-
Apply the Sealer: Using an appropriate applicator based on the sealer type (liquid or spray), begin applying the sealer to the backsplash surface. Work in small, manageable sections to ensure thorough coverage without missing any areas.
-
Follow a Consistent Technique: Whether using a paintbrush, foam brush, or spray applicator, maintain a consistent application technique to achieve an even coat of sealer across the entire backsplash. Avoid leaving puddles or streaks, as these can affect the sealer's appearance and performance.
-
Allow Absorption Time: Depending on the sealer type and the backsplash material, allow the sealer to absorb into the surface for the specified duration as per the manufacturer's instructions. This absorption period is crucial for the sealer to penetrate and create a protective barrier.
-
Apply Multiple Coats (If Necessary): For highly porous or absorbent backsplash materials, such as natural stone or unglazed tiles, consider applying multiple coats of sealer. Follow the manufacturer's recommendations regarding the interval between coats to ensure proper bonding and effectiveness.
-
Wipe Excess Sealer: After the absorption period, use a clean, dry cloth to gently wipe off any excess sealer from the backsplash surface. This step helps prevent the formation of visible residue or streaks once the sealer dries.
By meticulously following these steps, you'll effectively apply the sealer to your backsplash, providing a durable shield against stains and moisture. The meticulous application process sets the stage for the final step: allowing the sealer to dry thoroughly, ensuring long-lasting protection for your backsplash.
After installing a backsplash, use a silicone-based sealer to protect it from water and stains. Apply the sealer with a brush or cloth, making sure to cover the entire surface. Allow it to dry completely before using the backsplash.
Step 4: Wipe off Excess Sealer
After applying the sealer to your backsplash and allowing it to absorb into the surface as per the manufacturer's instructions, the next critical step is to wipe off any excess sealer. This meticulous process ensures that the backsplash maintains a pristine appearance while maximizing the protective benefits of the sealer. Here's a detailed guide on how to effectively wipe off excess sealer from your backsplash:
-
Assess the Sealed Area: Begin by inspecting the sealed backsplash surface to identify any areas where excess sealer may have accumulated. Look for visible residue, streaks, or pooling of the sealer, especially along grout lines or textured surfaces.
-
Use a Clean, Dry Cloth: Select a clean, lint-free cloth or paper towels to gently wipe off the excess sealer. Avoid using cloths with rough or abrasive textures, as these can potentially damage the sealed surface or leave behind fibers.
-
Employ Gentle Pressure: With the dry cloth in hand, apply gentle and even pressure to the sealed areas, focusing on removing any visible excess sealer. Use a circular or back-and-forth motion to ensure thorough coverage and consistent removal of the surplus product.
-
Inspect for Residue: As you wipe off the excess sealer, periodically inspect the cloth for any residue or streaks. If necessary, refold the cloth or switch to a fresh section to prevent redistributing the excess sealer back onto the backsplash.
-
Address Grout Lines and Edges: Pay special attention to grout lines and edges where excess sealer may accumulate. Use a precise and controlled motion to remove any sealer buildup from these areas, ensuring a clean and uniform appearance across the entire backsplash.
-
Repeat as Needed: Depending on the size of the backsplash and the amount of excess sealer present, you may need to repeat the wiping process multiple times. Take your time to ensure that all visible residue is effectively removed.
-
Allow for Final Drying: Once you've wiped off the excess sealer, allow the backsplash to undergo the final drying process as recommended by the sealer manufacturer. This step is crucial for the sealer to fully cure and bond with the surface, providing long-lasting protection.
By meticulously wiping off excess sealer from your backsplash, you'll achieve a beautifully sealed surface that not only enhances the aesthetic appeal of your space but also ensures robust protection against stains and moisture. This attention to detail in the wiping process contributes to the overall success of your backsplash sealing project, allowing you to enjoy a stunning and resilient feature in your kitchen or bathroom for years to come.
Read more: How To Measure For A Backsplash
Step 5: Let the Sealer Dry
After meticulously applying the sealer and wiping off any excess, the final and crucial step in the backsplash sealing process is allowing the sealer to dry thoroughly. This phase is essential for the sealer to cure, bond with the surface, and provide long-lasting protection against stains and moisture. Proper drying ensures that the sealer achieves its maximum effectiveness, preserving the beauty and integrity of your backsplash for years to come.
The drying duration varies depending on the type of sealer used, the ambient humidity, and the ventilation in the area. It's imperative to follow the specific guidelines provided by the sealer manufacturer regarding the drying time and any additional recommendations for optimal results. In general, the following tips can help ensure a successful drying process:
-
Maintain Adequate Ventilation: Proper airflow is essential for the drying process. If possible, keep the area well-ventilated by opening windows or using fans to promote air circulation. This helps expedite the evaporation of any residual solvents in the sealer, contributing to a faster and more thorough drying process.
-
Minimize Traffic and Contact: To prevent accidental damage or disruption to the drying sealer, minimize traffic and avoid any direct contact with the sealed backsplash. This precaution ensures that the sealer can cure undisturbed, allowing it to form a robust protective barrier without interference.
-
Observe Curing Time: While the sealer may feel dry to the touch after a certain period, it's essential to observe the complete curing time recommended by the manufacturer. Curing time refers to the duration required for the sealer to fully bond with the surface and reach its maximum protective capacity. Adhering to the specified curing time is critical for achieving the desired level of protection for your backsplash.
-
Monitor the Appearance: As the sealer dries, observe the changes in the appearance of the backsplash. The surface may undergo subtle transformations, such as a slight enhancement in color or texture. These visual cues can indicate the progress of the drying and curing process, providing valuable insights into the sealer's performance.
By allowing the sealer to dry thoroughly according to the manufacturer's instructions, you ensure that your backsplash receives the full benefits of the sealing process. The patience and attention invested in this final step contribute to the longevity and resilience of your backsplash, empowering you to enjoy a stunning and well-protected feature in your home.
Conclusion
In conclusion, the process of sealing your backsplash is a transformative and essential endeavor that not only enhances the visual appeal of your space but also fortifies the structural integrity of this vital surface. By following the comprehensive steps outlined in this guide, you've gained valuable insights into the meticulous art of sealing a backsplash, ensuring that it remains a stunning and functional element in your home for years to come.
Sealing your backsplash is a proactive measure that safeguards it against the daily challenges of a kitchen or bathroom environment. From repelling stains and spills to resisting moisture and grime, the application of a high-quality sealer serves as a protective shield, preserving the beauty and longevity of your backsplash.
By meticulously gathering the necessary materials and preparing the backsplash through thorough cleaning, you've set the stage for a successful sealing process. The application of the sealer, coupled with the careful removal of any excess, ensures that your backsplash receives a uniform and robust protective layer, tailored to its specific material and requirements.
The final step of allowing the sealer to dry thoroughly is a testament to your commitment to achieving exceptional results. By adhering to the manufacturer's guidelines and exercising patience during the drying and curing process, you've positioned your backsplash to withstand the rigors of daily use while maintaining its luster and resilience.
As you step back and admire your newly sealed backsplash, take pride in the knowledge that you've invested in its long-term beauty and functionality. Whether it's the elegance of natural stone, the timeless appeal of ceramic tiles, or the modern allure of glass, your sealed backsplash stands as a testament to your dedication to maintaining a welcoming and enduring home environment.
In the journey of home improvement, the act of sealing your backsplash transcends mere maintenance; it embodies a commitment to preserving the heart of your kitchen or bathroom. With each protective layer of sealer, you've fortified not just a surface, but a focal point that reflects your attention to detail and your desire for a space that exudes both beauty and practicality.
So, as you revel in the enhanced allure and resilience of your newly sealed backsplash, take pride in the knowledge that you've embarked on a transformative endeavor—one that elevates the aesthetics and longevity of your home, one backsplash at a time.
Frequently Asked Questions about How To Seal Backsplash
Was this page helpful?
At Storables.com, we guarantee accurate and reliable information. Our content, validated by Expert Board Contributors, is crafted following stringent Editorial Policies. We're committed to providing you with well-researched, expert-backed insights for all your informational needs.


0 thoughts on “How To Seal Backsplash”