Home>Furniture>Bedroom Furniture>How To Disassemble An Adjustable Bed Frame


Bedroom Furniture
How To Disassemble An Adjustable Bed Frame
Modified: August 22, 2024
Learn how to easily disassemble your adjustable bed frame in a few simple steps. Perfect for rearranging your bedroom furniture or moving to a new home.
(Many of the links in this article redirect to a specific reviewed product. Your purchase of these products through affiliate links helps to generate commission for Storables.com, at no extra cost. Learn more)
Introduction
When it comes to bedroom furniture, an adjustable bed frame can provide both comfort and functionality. Whether you want to find the perfect sleeping position or simply make your space more versatile, being able to disassemble your adjustable bed frame is a valuable skill. Whether you’re moving, rearranging your room, or just need to clean under your bed, knowing how to properly take apart your bed frame will make the process much smoother.
In this article, we will guide you through the step-by-step process of disassembling an adjustable bed frame. We’ll cover the tools and materials you’ll need, as well as provide detailed instructions for each stage of disassembly. By following these guidelines, you can ensure a hassle-free experience and keep your bed frame in excellent condition.
Before we jump into the specifics, it’s important to note that each adjustable bed frame may have different assembly procedures. Therefore, it’s important to consult the manufacturer’s instructions or contact customer support if you have any doubts or concerns. Additionally, always prioritize your safety when working with tools and heavy furniture. If you’re not confident in your abilities or have any physical limitations, consider seeking assistance from a professional.
Now, let’s gather our tools and materials and get started on disassembling your adjustable bed frame.
Key Takeaways:
- Disassembling an adjustable bed frame requires careful preparation, systematic disassembly, and proper storage of components. Following these steps will ensure a smooth process and make reassembly easier in the future.
- Cleaning and maintaining the bed frame after disassembly is crucial for prolonging its lifespan and ensuring optimal functionality. By following these steps, you can keep your adjustable bed frame in excellent condition.
Read more: How To Disassemble A Bed Frame
Tools and Materials Needed
Before you begin disassembling your adjustable bed frame, it’s important to gather the necessary tools and materials. Having everything ready will save you time and frustration during the disassembly process. Here are the key items you’ll need:
- Adjustable wrench
- Phillips screwdriver
- Allen wrench
- Pliers
- Tape measure
- Ziploc bags or small containers for storing screws and bolts
- Moving blankets or furniture sliders (optional, but useful for protecting your floor and making it easier to move heavy pieces)
Now that you have your tools and materials ready, let’s move on to preparing your workspace for the disassembly process.
Step 1: Prepare the Workspace
Before you start disassembling your adjustable bed frame, it’s crucial to create a clear and spacious workspace. Here’s what you need to do:
- Clear the area around your bed: Remove any furniture, rugs, or objects that may obstruct your movement or cause accidents.
- Protect your floor: Place protective material, such as a drop cloth or moving blankets, on the floor to avoid scratching or damaging your flooring during the disassembly process.
- Secure small parts: If your adjustable bed frame has small parts (like screws or bolts) that may get lost during disassembly, gather ziplock bags or small containers to keep them organized and secure. Label each bag or container with the corresponding hardware for easy reassembly later.
- Enlist a helper (optional): If your bed frame is large or heavy, having an extra set of hands can make the disassembly process easier and safer.
By preparing your workspace before you begin, you can ensure a smooth and efficient disassembly process. Now, let’s move on to the next step: disconnecting the power supply.
Step 2: Disconnect the Power Supply
Before you start disassembling your adjustable bed frame, it’s important to disconnect the power supply if it has an electrical component. Here’s how to do it:
- Locate the power cord: Depending on the model of your adjustable bed frame, the power cord may be attached to the frame or to a control box.
- Unplug the power cord: Gently unplug the power cord from the nearest electrical outlet. If the cord is attached to a control box, disconnect it from the box as well.
- Secure the cord: Use zip ties or twist ties to secure the power cord to the frame or control box. This will prevent it from getting tangled or damaged during the disassembly process.
Disconnecting the power supply is crucial for your safety and to prevent any electrical mishaps during the disassembly process. Once you’ve disconnected the power supply, you can proceed to the next step: removing the mattress and bedding.
Step 3: Remove the Mattress and Bedding
Now that you’ve disconnected the power supply, it’s time to remove the mattress and bedding from your adjustable bed frame. Here’s how:
- Remove any pillows or cushions: Take off any pillows or cushions that are on the bed.
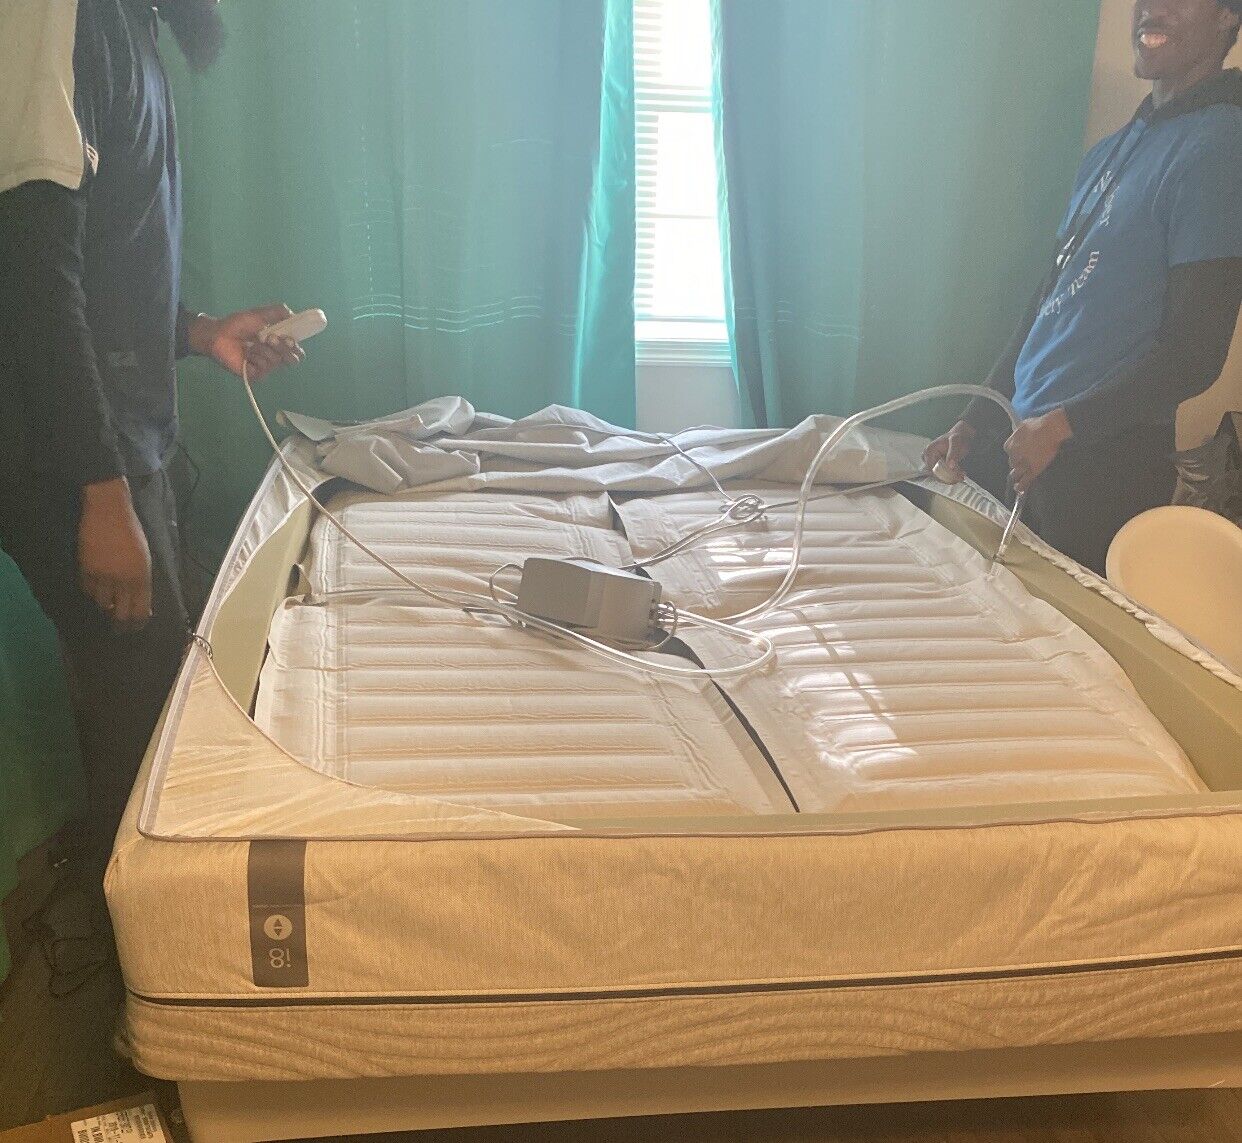
- Remove the mattress: If your mattress is adjustable, make sure it’s in the flat position. Carefully lift the mattress off the bed frame and set it aside in a safe and designated area. If your mattress is too heavy to lift on your own, ask for help.
- Strip the bedding: Remove all sheets, blankets, and any other bedding items from the bed frame.
- Wash and store the bedding: If the bedding needs cleaning, follow the manufacturer’s instructions for proper care. Once clean, fold and store the bedding in a designated area.
Removing the mattress and bedding will give you better access to the bed frame components during the disassembly process. With these items safely removed, you can now move on to the next step: locating and removing the bolts or screws.
Read more: How To Disassemble A Zinus Bed Frame
Step 4: Locate and Remove the Bolts or Screws
Now that you’ve cleared the mattress and bedding, it’s time to locate and remove the bolts or screws that hold your adjustable bed frame together. Follow these steps:
- Inspect the frame: Carefully examine the frame to identify the bolts or screws that secure the various components. These may be located at the corners, joints, or along the side rails.
- Gather the appropriate tools: Depending on the type of bolts or screws used, use the corresponding tool, such as an adjustable wrench or a Phillips screwdriver, to carefully remove the hardware.
- Loosen and remove the bolts or screws: Gradually loosen each bolt or screw, but avoid removing them completely at this stage. This will help to ensure that the frame remains stable during disassembly.
It’s important to maintain a systematic approach to remove bolts or screws, working your way around the frame. Keep track of the removed hardware by placing them in individual labeled bags or containers. This labeling will help you easily identify the hardware when it’s time to reassemble the bed frame.
With the bolts or screws loosened and secured, you’re ready to move on to the next step: detaching the headboard and footboard.
Step 5: Detach the Headboard and Footboard
Now that you’ve removed the bolts or screws, it’s time to detach the headboard and footboard from your adjustable bed frame. Follow these steps:
- Identify the attachment points: Look for the connectors that secure the headboard and footboard to the frame. These may be brackets, hooks, or other types of fasteners.
- Carefully detach the headboard: Depending on the specific design of your bed frame, you may need to lift the headboard slightly to disengage it from the frame or remove screws or bolts that hold it in place.
- Repeat the process for the footboard: Once the headboard is detached, follow the same procedure for the footboard. Again, you may need to lift or tilt the footboard to release it from the frame.
Take caution while removing the headboard and footboard, as they can be heavy and potentially unwieldy. It may be helpful to have a helper assist you in safely lifting and removing these components. Once detached, carefully set the headboard and footboard aside in a secure area where they won’t be damaged.
With the headboard and footboard successfully detached, it’s time to move on to the next step: removing the side rails.
When disassembling an adjustable bed frame, start by removing the mattress and any bedding. Then, carefully unscrew and detach the headboard and footboard, followed by the side rails. Keep track of all screws and parts for reassembly.
Step 6: Remove the Side Rails
With the headboard and footboard detached, it’s time to remove the side rails of your adjustable bed frame. Follow these steps:
- Identify the attachment points: Look for the connectors that secure the side rails to the frame. These may be in the form of brackets, screws, or other fasteners.
- Remove the fasteners: Using the appropriate tool, such as a screwdriver or wrench, carefully remove the fasteners that secure the side rails to the frame. Loosen and remove each fastener one at a time, working your way along the length of the rails.
- Detach the side rails: Once the fasteners are removed, gently pull or slide the side rails away from the frame. Be sure to keep a firm grip on the rails to prevent them from falling or causing any damage.
Removing the side rails may require a bit of maneuvering and coordination, especially if they are long or heavy. It’s a good idea to have a helper assist you in this step to ensure a safe and smooth process.
Once the side rails are successfully detached, set them aside in a secure area where they won’t be damaged. With the side rails removed, you’re ready to move on to the next step: disassembling the adjustable mechanism.
Step 7: Disassemble the Adjustable Mechanism
Now that you’ve removed the side rails, it’s time to disassemble the adjustable mechanism of your bed frame. Follow these steps:
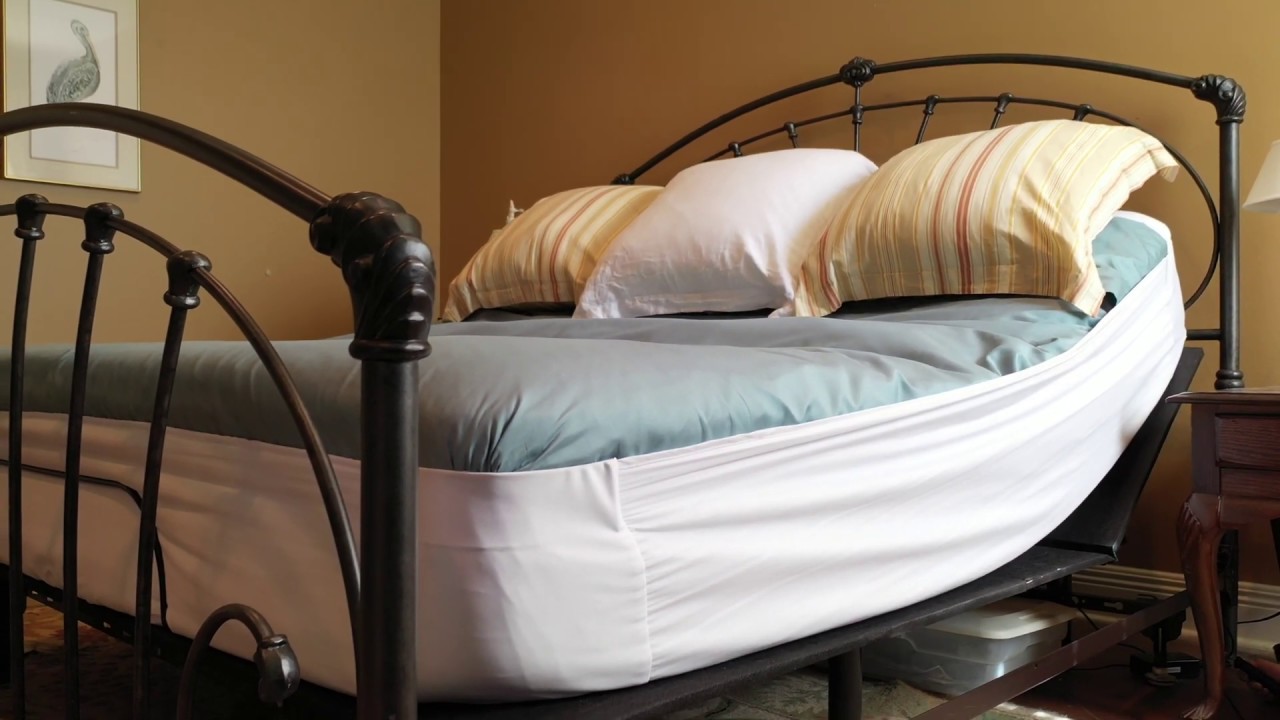
- Locate the adjustment mechanism: Depending on the design of your bed frame, the adjustment mechanism may be located near the head or foot of the frame. It could be a motorized system or a manual mechanism.
- Refer to the manufacturer’s instructions: Before attempting to disassemble the adjustable mechanism, consult the manufacturer’s instructions to ensure you understand the specific disassembly process for your bed frame.
- Carefully disconnect the adjustable mechanism: Follow the manufacturer’s instructions to safely disconnect and disassemble the adjustable mechanism. This may involve removing screws, releasing tension springs, or detaching electrical connections.
- Keep small parts organized: As you disassemble the adjustable mechanism, be diligent about keeping track of small parts, such as screws or bolts. Place them in labeled bags or containers to ensure they don’t get misplaced.
Disassembling the adjustable mechanism may require some technical skill or knowledge. If you’re unsure about any steps or encounter difficulties, it’s best to refer to the manufacturer’s instructions or seek assistance from a professional.
Once the adjustable mechanism is disassembled, set aside its components in a safe and organized manner. Now you’re ready for the next step: gathering and labeling small parts.
Read more: How To Disassemble A Wooden Bed Frame
Step 8: Gather and Label Small Parts
Now that you’ve disassembled the adjustable mechanism, it’s important to gather and label all the small parts from your bed frame. Follow these steps:
- Collect all small parts: Take inventory of all the screws, bolts, washers, and other small components that were removed during the disassembly process. Make sure you have everything in one place.
- Inspect and clean the small parts: Before labeling, check the small parts for any signs of damage or wear. If necessary, clean them with a mild detergent and water, removing any dirt or debris that may have accumulated.
- Use labeled bags or containers: Place each type of small part in separate labeled bags or containers. This will ensure that you can easily identify and locate them when it’s time to reassemble the bed frame.
- Label the bags or containers: Clearly label each bag or container with the corresponding hardware. This will prevent any confusion or mix-up during the reassembly process.
By gathering and labeling the small parts, you’ll have a clear and organized system for reassembling your bed frame. It will save you time and frustration when you put everything back together.
Now that the small parts are safely stored, you’re ready for the next step: organizing and storing the components.
Step 9: Organize and Store the Components
With the small parts labeled and secured, it’s time to organize and store the larger components of your adjustable bed frame. Follow these steps:
- Arrange the larger components: Take the headboard, footboard, side rails, and any other disassembled pieces, and arrange them in a logical and orderly manner. If necessary, use furniture sliders or moving blankets to protect them from any scratches or damage.
- Keep the components together: To ensure that all the components stay together and don’t get mixed up with other furniture or items, consider tying them together with rope or using designated storage containers.
- Find a secure storage area: Choose a storage area that is dry, temperature-controlled, and safe from any potential damage. Make sure the components are stored in an upright position to prevent warping or bending.
- Label the storage area: To make it easier to find the stored components when you’re ready to reassemble the bed frame, label the storage area with a clear description or even a photo.
Organizing and storing the components properly will ensure that they are kept in good condition and are readily accessible when you need them. When it’s time to put your adjustable bed frame back together, you’ll be grateful for the organized storage.
With the components stored safely, you’re ready for the final step: cleaning and maintaining the bed frame.
Step 10: Clean and Maintain the Bed Frame
Now that your adjustable bed frame has been disassembled, it’s a great opportunity to clean and maintain its various components. Follow these steps to ensure your bed frame stays in optimal condition:
- Clean the frame: Use a soft cloth or a gentle cleaning solution to wipe down the frame, removing any dust, dirt, or stains that may have accumulated over time. Pay special attention to areas that are harder to reach, such as crevices or corners.
- Care for the mattress platform: Depending on the material of the mattress platform, follow the manufacturer’s instructions for proper cleaning and maintenance. This may involve vacuuming, spot cleaning, or using specific cleaning products.
- Inspect for damages: While cleaning, inspect each component of the bed frame for any signs of damage, such as cracks, dents, or loose parts. If you notice any issues, address them promptly to prevent further damage and ensure the safe reassembly of the bed frame.
- Perform necessary repairs: If any repairs are needed, such as tightening loose screws or replacing damaged parts, take the time to fix them before reassembling the bed frame. This will ensure the bed frame is in top shape and increase its longevity.
- Consider preventive measures: To prevent future damage and wear, you can apply a furniture wax or polish to the wooden components, use felt pads to protect floors from scratches, or invest in a mattress protector to keep your mattress clean and dry.
By cleaning and maintaining your bed frame, you not only keep it looking clean and appealing but also extend its lifespan. Regular maintenance will help ensure that your adjustable bed frame stays in optimal condition and provides you with years of comfort and functionality.
With the cleaning and maintenance complete, you have successfully disassembled and prepared your adjustable bed frame. Whether you’re moving, rearranging your room, or simply giving it a thorough cleaning, following these steps will make the reassembly process much easier in the future.
Remember to refer to the manufacturer’s instructions when it’s time to reassemble the bed frame and take proper precautions to ensure your safety during the process. Enjoy your fresh and clean adjustable bed frame!
Concluding our guide, we hope this step-by-step process has been helpful to you. Now you’re ready to take on the task of disassembling your adjustable bed frame with confidence and ease. Good luck!
Conclusion
Disassembling an adjustable bed frame may seem like a daunting task, but with the right tools, knowledge, and preparation, it can be a manageable and rewarding process. By following the step-by-step guide we’ve provided, you can confidently disassemble your bed frame for moving, cleaning, or reorganizing your space.
Starting with preparing your workspace and disconnecting the power supply, you’ll be able to remove the mattress and bedding, locate and remove the bolts or screws, and detach the headboard, footboard, and side rails. Disassembling the adjustable mechanism and gathering and labeling small parts will ensure a smooth reassembly process in the future.
Remember to take proper care of the components, organizing and storing them safely to prevent damage or loss. Cleaning and maintaining your bed frame will keep it in excellent condition and prolong its lifespan.
Don’t forget to consult the manufacturer’s instructions for your specific bed frame model, as assembly procedures may vary. And always prioritize your safety during the disassembly process.
With these guidelines, you are now well-equipped to disassemble your adjustable bed frame with ease and confidence. Whether you’re moving, cleaning, or simply rearranging your bedroom, you can tackle the task with efficiency and precision.
We hope this comprehensive guide has been helpful to you. Disassembling your adjustable bed frame doesn’t have to be overwhelming. By following the steps outlined in this article, you’ll be well on your way to a successful disassembly process.
Good luck, and enjoy the benefits of a well-maintained and versatile adjustable bed frame!
Frequently Asked Questions about How To Disassemble An Adjustable Bed Frame
Was this page helpful?
At Storables.com, we guarantee accurate and reliable information. Our content, validated by Expert Board Contributors, is crafted following stringent Editorial Policies. We're committed to providing you with well-researched, expert-backed insights for all your informational needs.









0 thoughts on “How To Disassemble An Adjustable Bed Frame”