Home>Furniture>Bedroom Furniture>How To Build An Adjustable Bed Frame

Bedroom Furniture
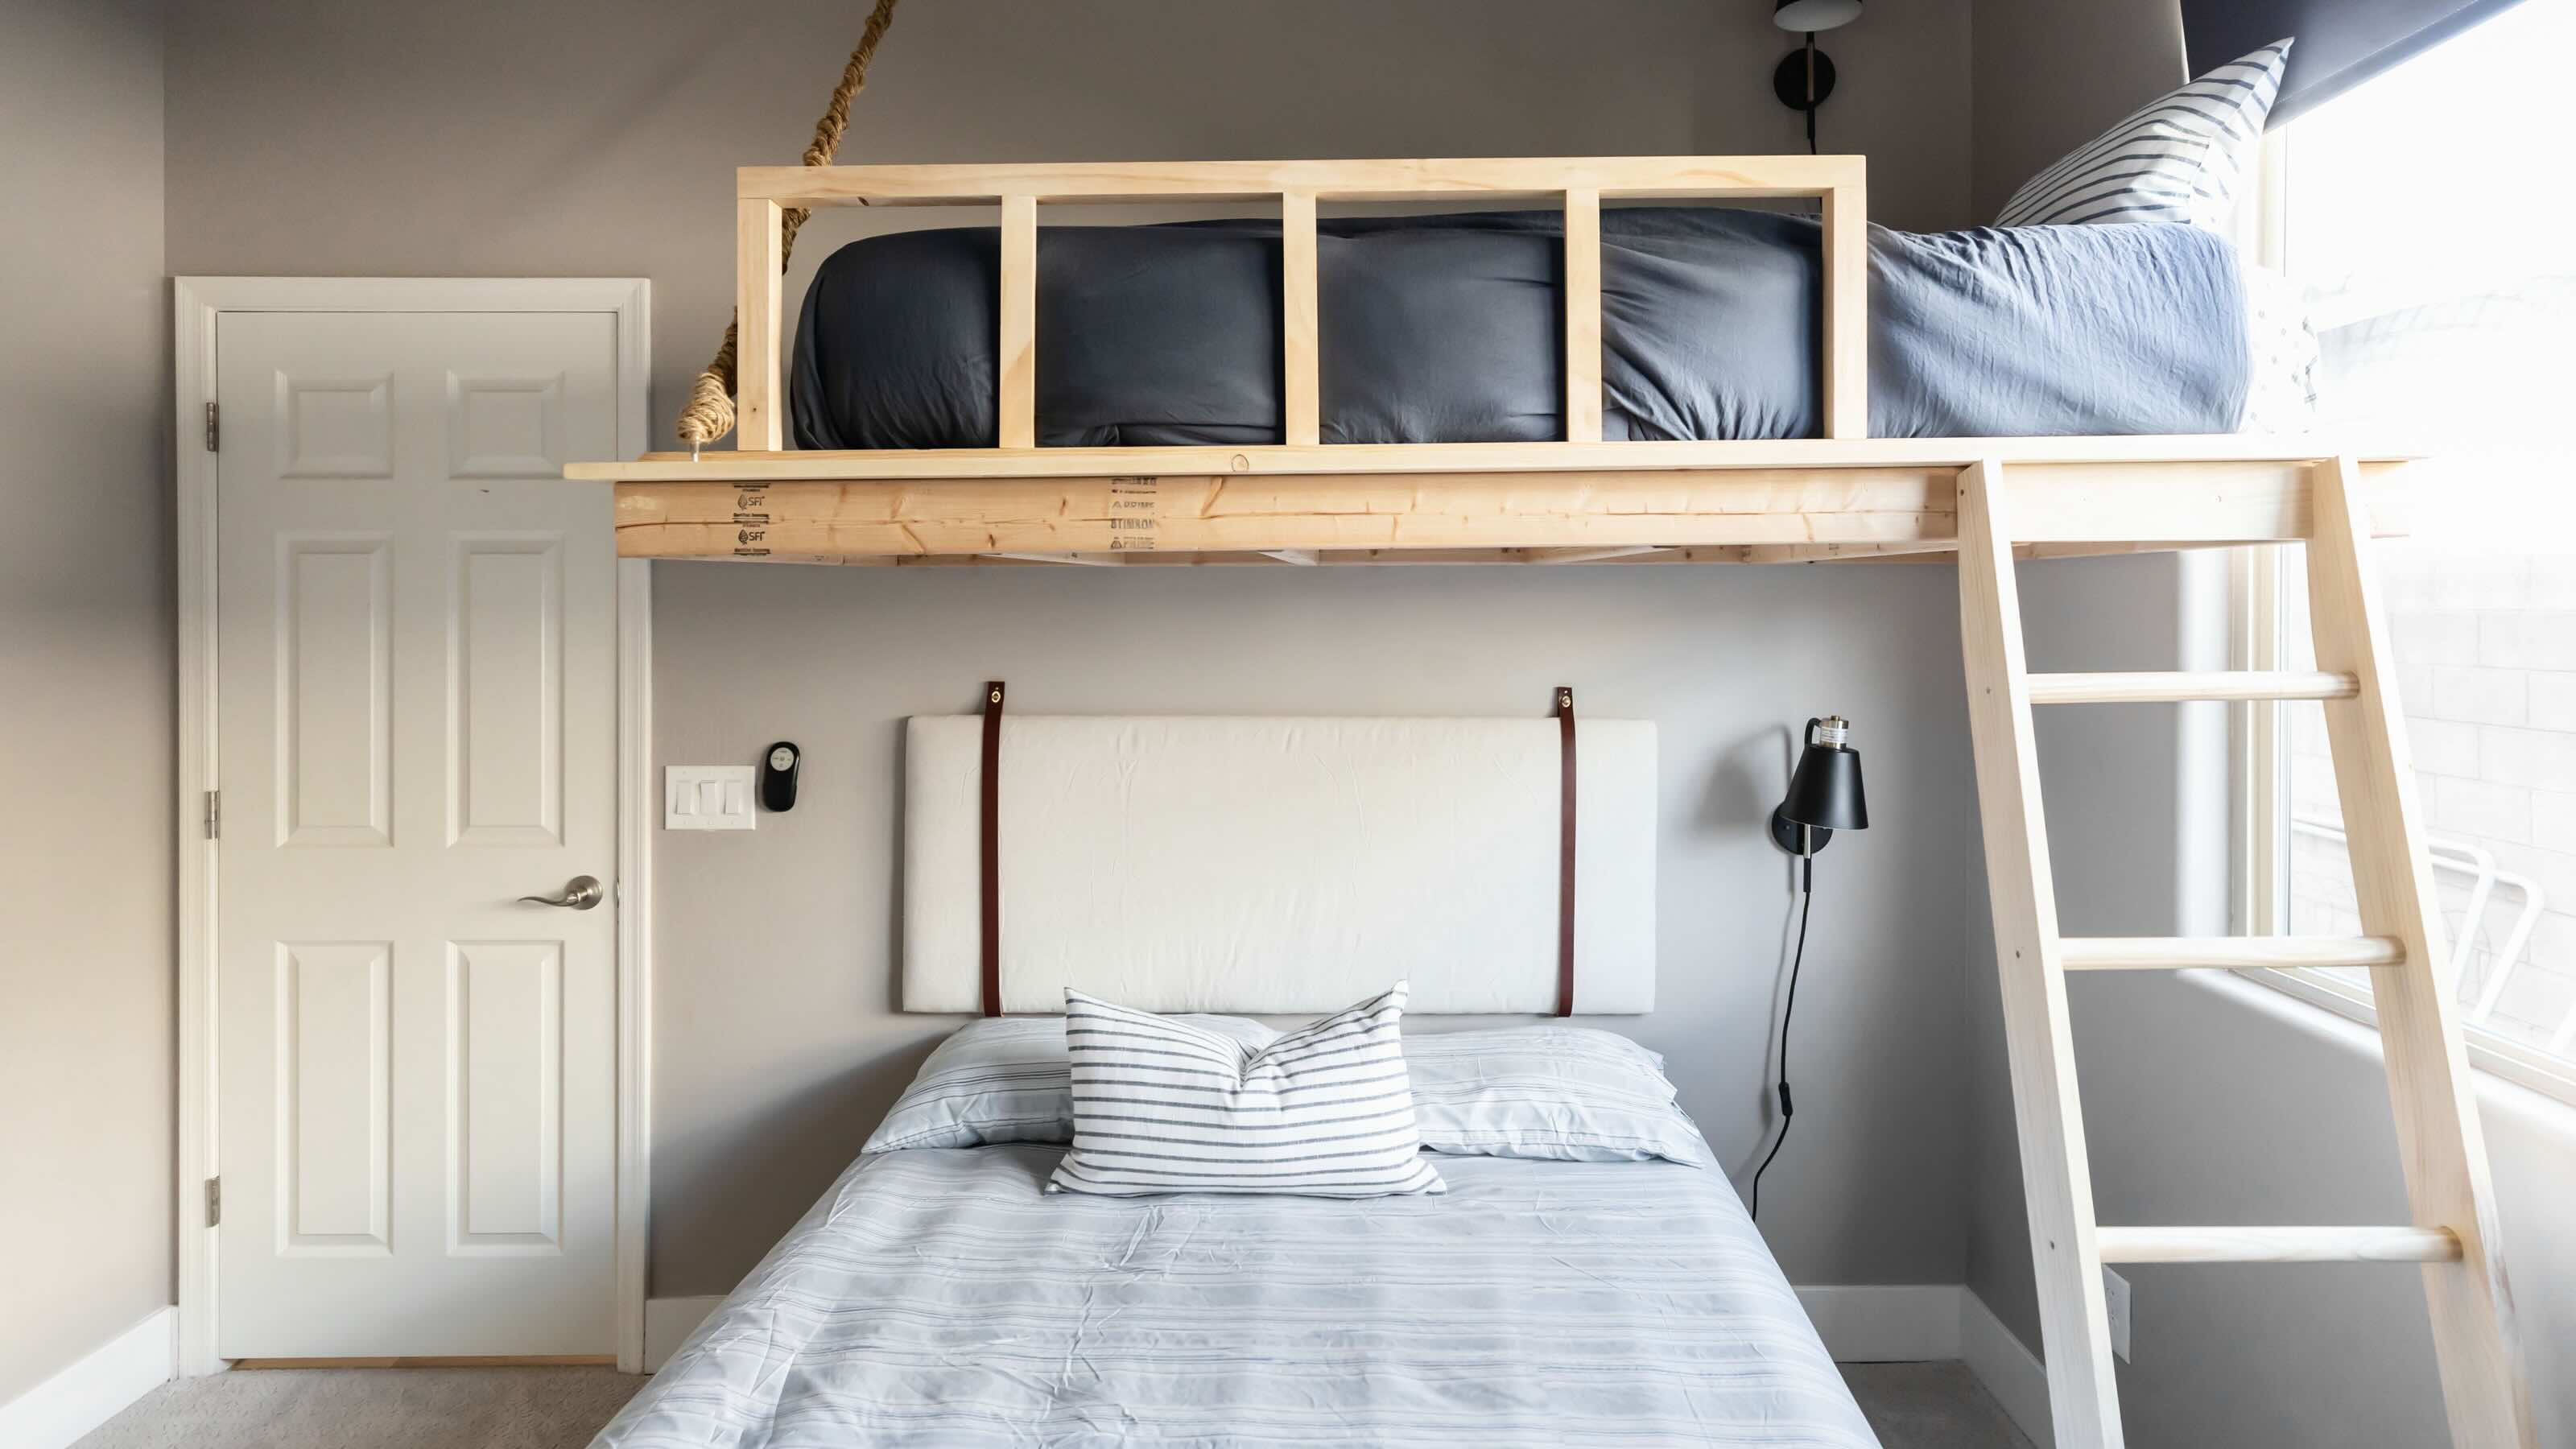
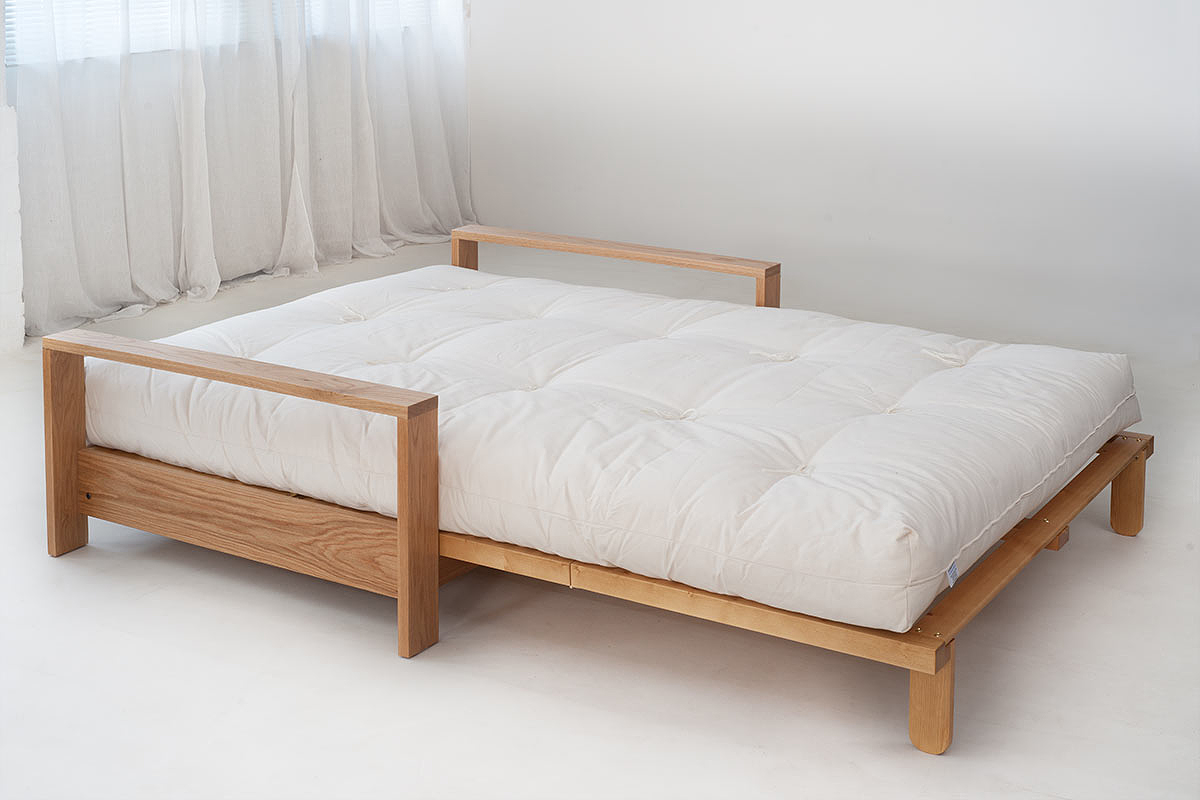
How To Build An Adjustable Bed Frame
Modified: August 17, 2024
Discover how to build an adjustable bed frame for your bedroom furniture. Get step-by-step instructions and create the perfect customizable sleeping space.
(Many of the links in this article redirect to a specific reviewed product. Your purchase of these products through affiliate links helps to generate commission for Storables.com, at no extra cost. Learn more)
Introduction
Having a comfortable and functional bed is essential for a good night’s sleep. While there are countless bed frames available on the market, building your own adjustable bed frame can be a rewarding and cost-effective option. Whether you have specific requirements or simply enjoy DIY projects, constructing your own bed frame allows you to customize it to your exact needs and preferences.
In this comprehensive guide, we will walk you through the step-by-step process of building an adjustable bed frame. From gathering the necessary materials to finishing and painting the frame, you will learn all the essential techniques and tips to create a sturdy and comfortable bed frame that perfectly suits your bedroom decor.
Before we dive into the construction process, let’s explore the benefits of an adjustable bed frame. Adjustable bed frames offer a wide range of positioning options, allowing you to adjust the angle of the head and foot of the bed. This feature not only enhances comfort but also offers several health benefits. Adjustable beds can help alleviate common sleep problems, such as snoring, acid reflux, and back pain. Additionally, they are ideal for those who enjoy reading, watching TV, or working on a laptop while in bed.
Now that you understand the advantages of an adjustable bed frame, let’s dive into the step-by-step process of building one. From measuring and cutting the frame components to installing the adjustable mechanism, we will guide you through each stage of the construction. So grab your tools and let’s get started on creating your dream bed frame!
Key Takeaways:
- Building your own adjustable bed frame allows for customization to fit your exact needs and preferences, providing a cost-effective and rewarding DIY project that enhances comfort and sleep quality.
- An adjustable bed frame offers relief from common sleep issues and provides flexibility for personalized comfort, making it a functional and stylish centerpiece for your bedroom.
Read more: How To Disassemble An Adjustable Bed Frame
Step 1: Gather the necessary materials
Before you begin building your adjustable bed frame, it’s essential to gather all the necessary materials and tools. Having everything ready ahead of time will streamline the construction process and prevent any unnecessary delays. Here is a list of the materials and tools you will need:
1. Hardwood or plywood: Choose high-quality hardwood or plywood for the frame components. The dimensions will depend on the size of the bed frame you want to build. Consider using durable hardwood like oak or cherry for added strength and longevity.
2. Adjustable mechanism: The heart of an adjustable bed frame is its mechanism, which allows for different mattress positions. You can purchase an adjustable bed mechanism from a specialty supplier or online. Make sure to select a mechanism that matches the size of your bed frame.
3. Screws and nails: Invest in strong, corrosion-resistant screws and nails to ensure the durability of your bed frame. Depending on your preference, you can choose between wood screws or dowels for assembling the frame components.
4. Wood glue: Opt for a high-quality wood glue that provides a strong bond and is suitable for hardwood or plywood.
5. Power tools: To facilitate the construction process, you will need several power tools, including a drill, circular saw, jigsaw, and sander. These tools will help you cut the wood accurately and assemble the frame components securely.
6. Measuring tape and pencil: Accurate measurements are crucial for building a sturdy and properly fitting bed frame. Have a measuring tape and a pencil on hand to mark the dimensions and ensure that everything aligns correctly.
7. Sandpaper and finishing materials: After assembling the bed frame, you will need sandpaper to smooth out any rough edges or imperfections. Additionally, consider the finishing materials you will use, such as wood stain or paint, to achieve the desired look for your bed frame.
Once you have gathered all the necessary materials and tools, you’re ready to move on to the next step: measuring and cutting the frame components.
Step 2: Measure and cut the frame components
Now that you have all the necessary materials on hand, it’s time to measure and cut the frame components for your adjustable bed frame. This step is crucial for ensuring that each piece fits together seamlessly and creates a sturdy foundation for your mattress. Here’s how to get started:
1. Measure the mattress size: Begin by measuring the size of your mattress. This will determine the dimensions of your bed frame. Standard mattress sizes include twin, full, queen, and king. Take accurate measurements of the length and width to ensure a proper fit.
2. Determine the frame dimensions: Once you have measured the mattress, determine the overall dimensions of your bed frame. Take into consideration any additional features or clearance requirements, such as space for an adjustable mechanism or headboard design.
3. Mark the dimensions on the wood: Use a measuring tape and pencil to mark the dimensions on the hardwood or plywood. Double-check your measurements to avoid any errors that may cause misalignment or instability in the final product.
4. Cut the frame components: Using a circular saw or jigsaw, carefully cut the wood according to the marked dimensions. Take your time and follow the lines accurately for clean and precise cuts. Ensure that all components, including the headboard, footboard, side rails, and center support, are cut to the correct size.
5. Sand the edges: After cutting the frame components, use sandpaper to smooth out the rough edges. This will not only enhance the appearance of the bed frame but also prevent any splintering or snagging on bedding or clothing.
Remember to wear appropriate safety gear, such as safety glasses and gloves, while cutting and sanding the wood. Additionally, keep a clean and organized workspace to avoid accidents and ensure accurate measurements and cuts.
By taking the time to measure and cut the frame components accurately, you will lay the foundation for a well-constructed and securely fitting bed frame. Once you have completed this step, you’re ready to move on to the next stage: assembling the headboard and footboard.
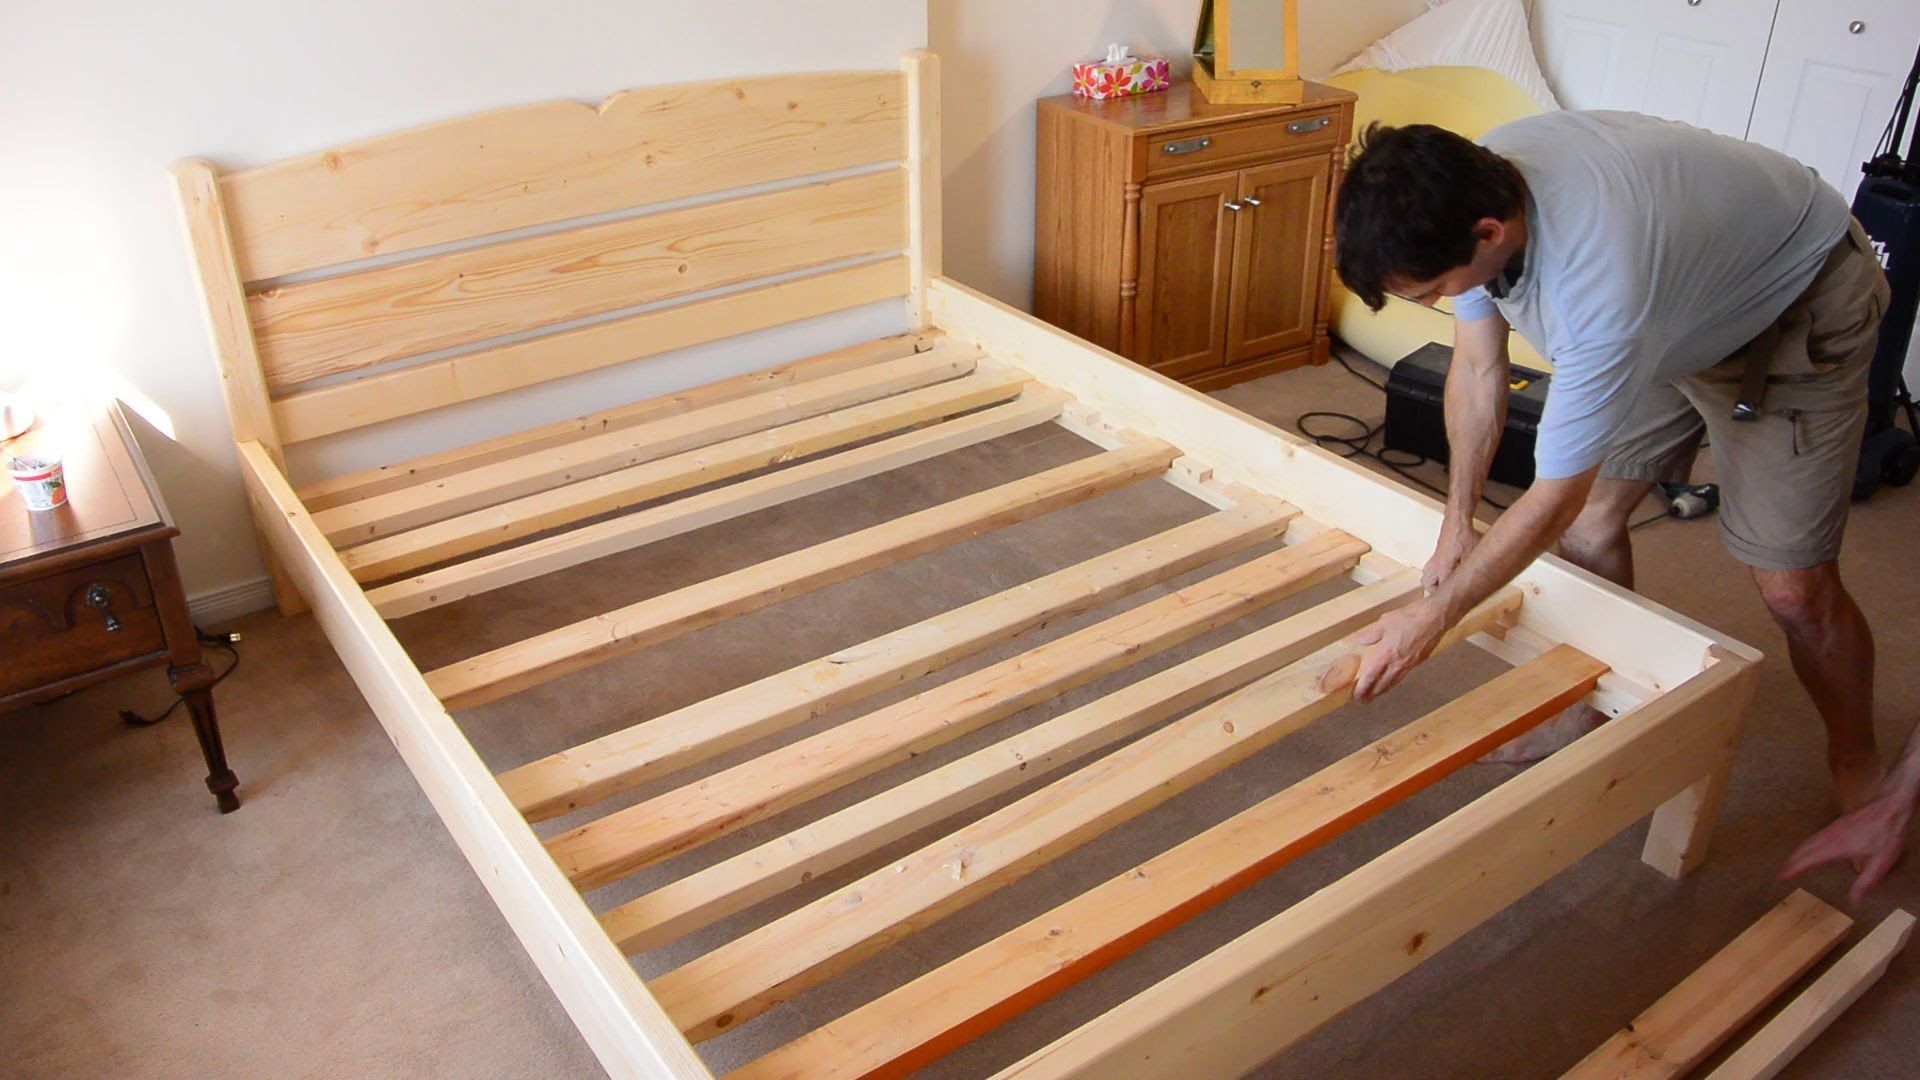
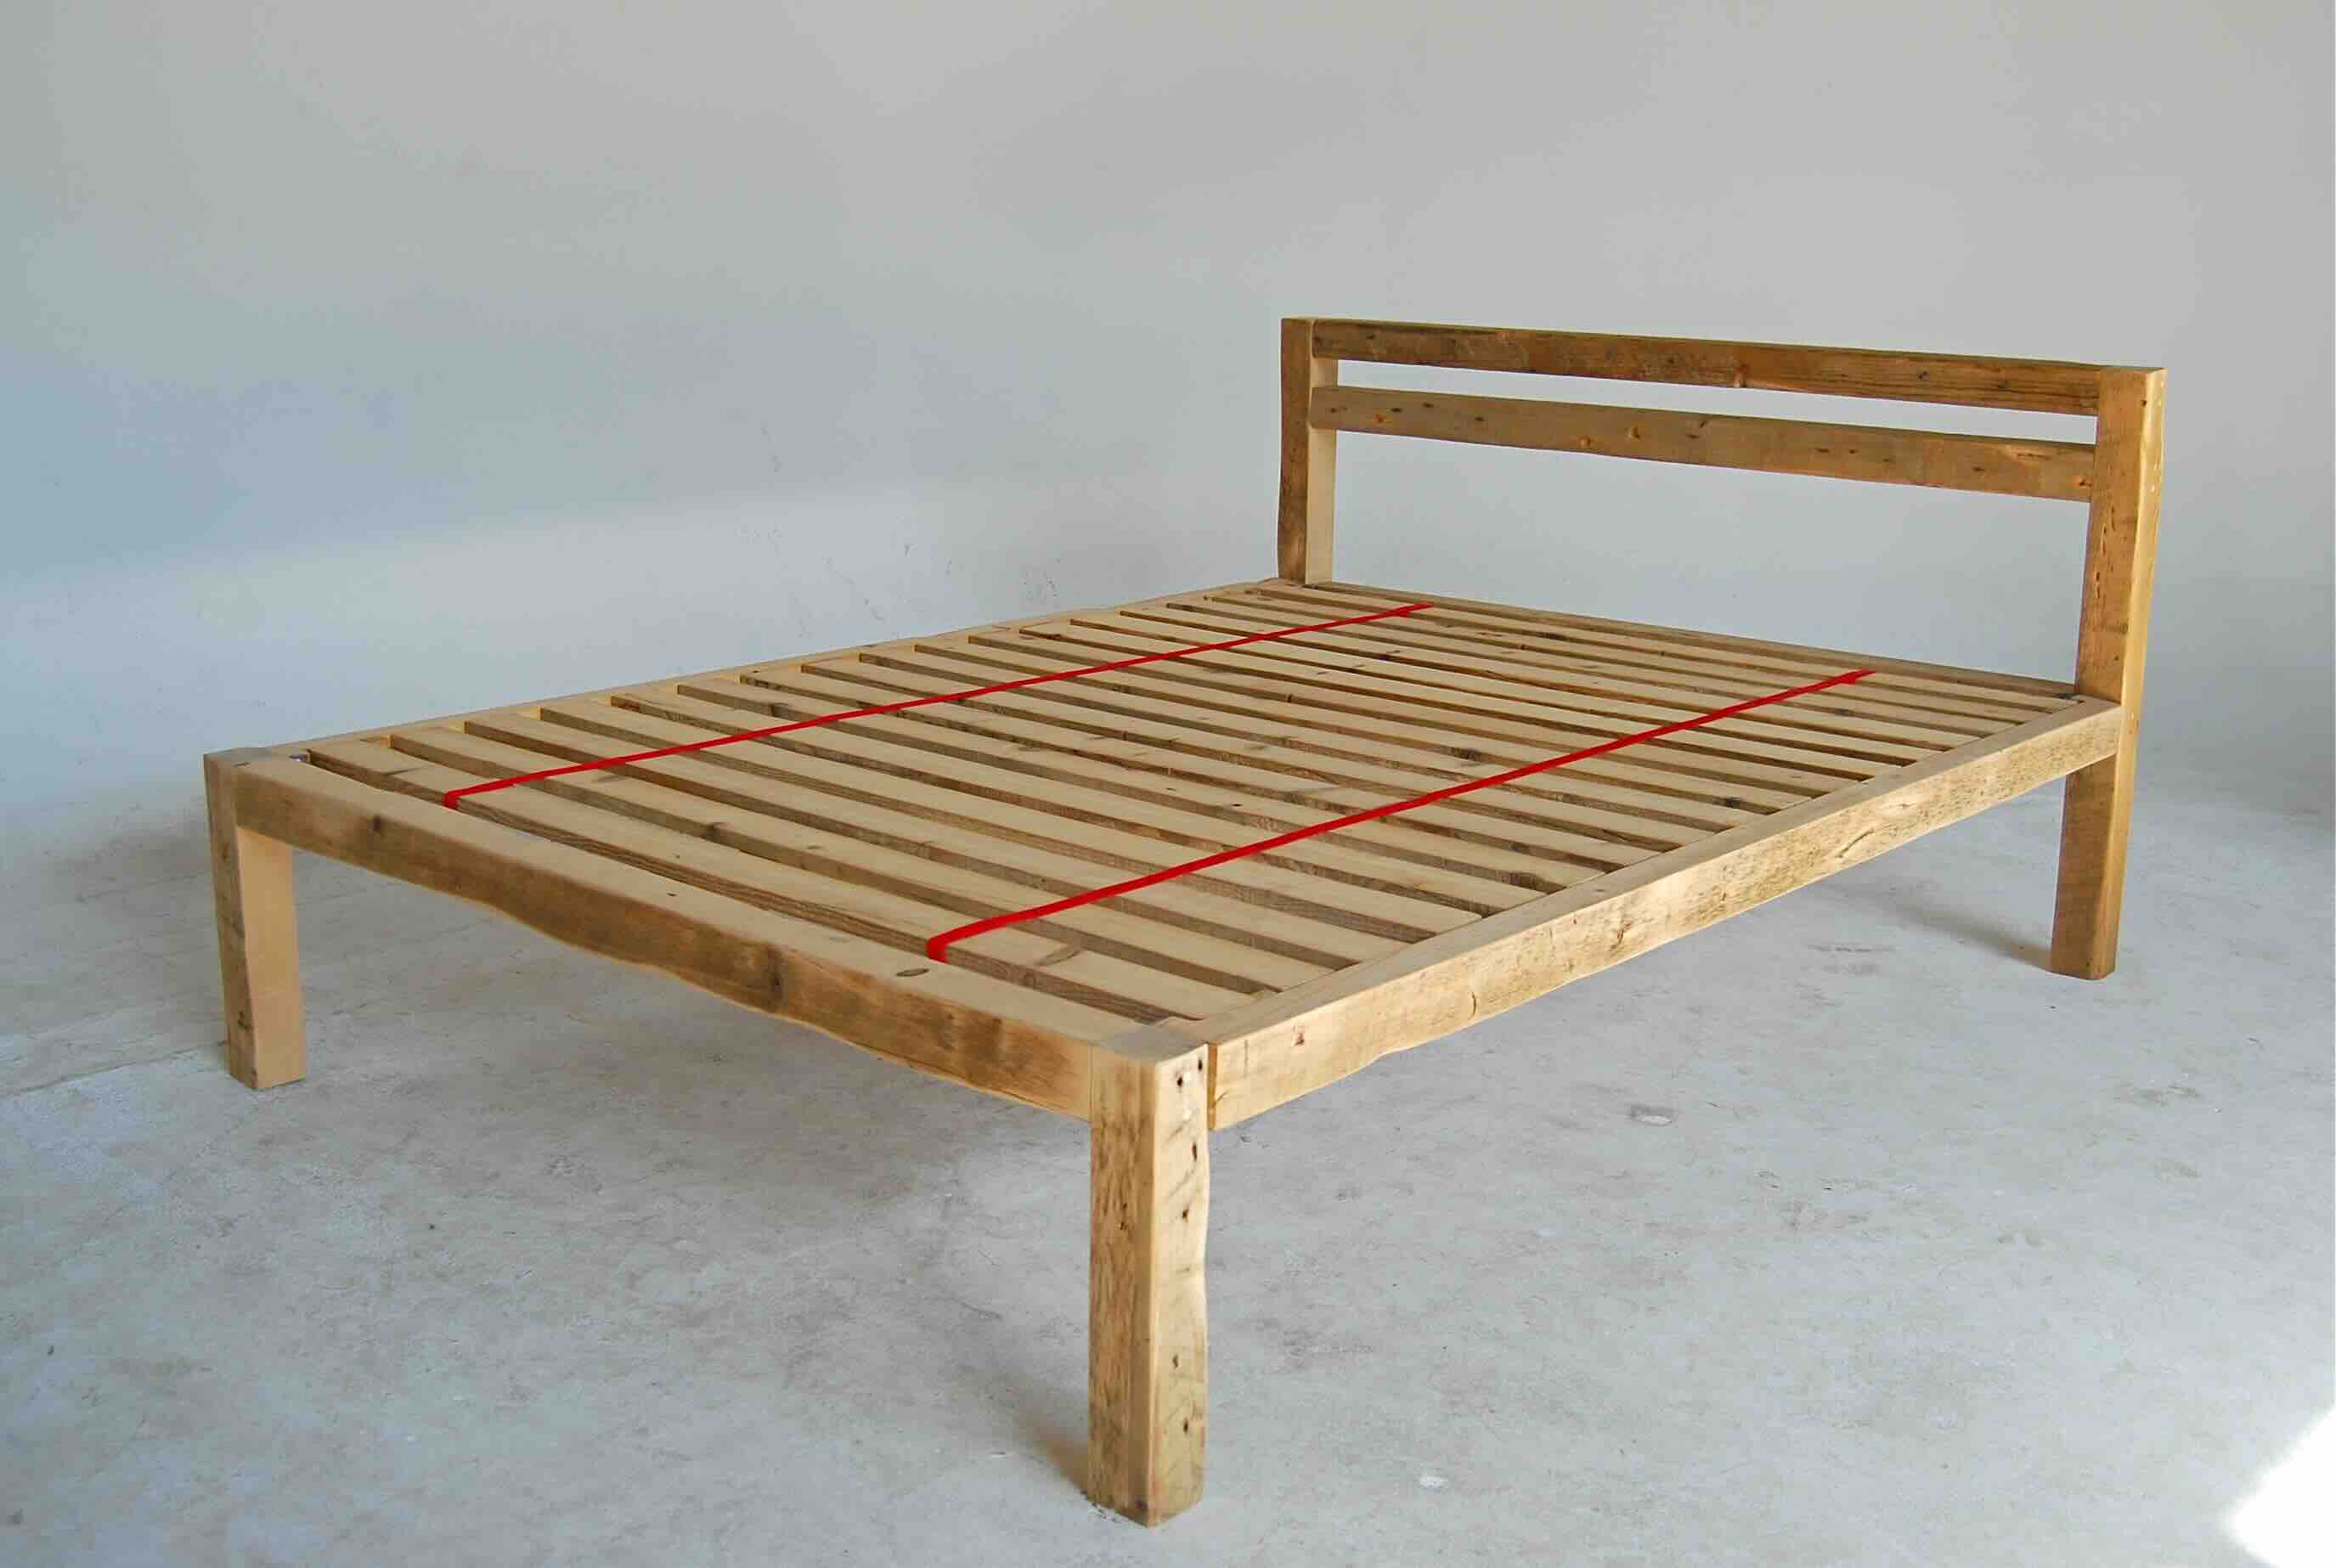
Step 3: Assemble the headboard and footboard
With the frame components cut to the correct size, it’s time to move on to assembling the headboard and footboard of your adjustable bed frame. The headboard and footboard not only provide structural support but also serve as the focal point of your bed. Follow these steps to assemble them:
1. Lay out the pieces: Start by laying out the headboard and footboard pieces on a flat surface. Double-check that all the components are lined up correctly, and ensure that you have all the necessary screws and tools handy.
2. Attach the vertical posts: Take the vertical posts and position them at the corners of the headboard and footboard. Use a drill and screws to attach them securely. Make sure the posts are aligned properly and perpendicular to the ground for a stable structure.
3. Add the horizontal supports: Next, add the horizontal supports between the vertical posts to provide additional stability to the headboard and footboard. Measure and mark the placement of these supports to ensure equal spacing and a clean look. Secure them with screws, drilling them into both the posts and the supports.
4. Install decorative elements (optional): If you want to add decorative elements to your headboard and footboard, now is the time to do so. Whether it’s carved designs, panels, or upholstery, follow the specific instructions for each element to incorporate them seamlessly into the structure. This step will add a personal and unique touch to your adjustable bed frame.
5. Test for stability: Once the headboard and footboard are assembled, test for stability by applying some pressure to ensure they can withstand everyday use. Make any necessary adjustments or reinforce weak areas as needed.
Remember to refer to any specific instructions or plans you have while assembling the headboard and footboard. Take your time and pay attention to detail to create a beautifully crafted centerpiece for your bed.
Once you have successfully assembled the headboard and footboard, you can move on to the next step: building the side rails and center support.
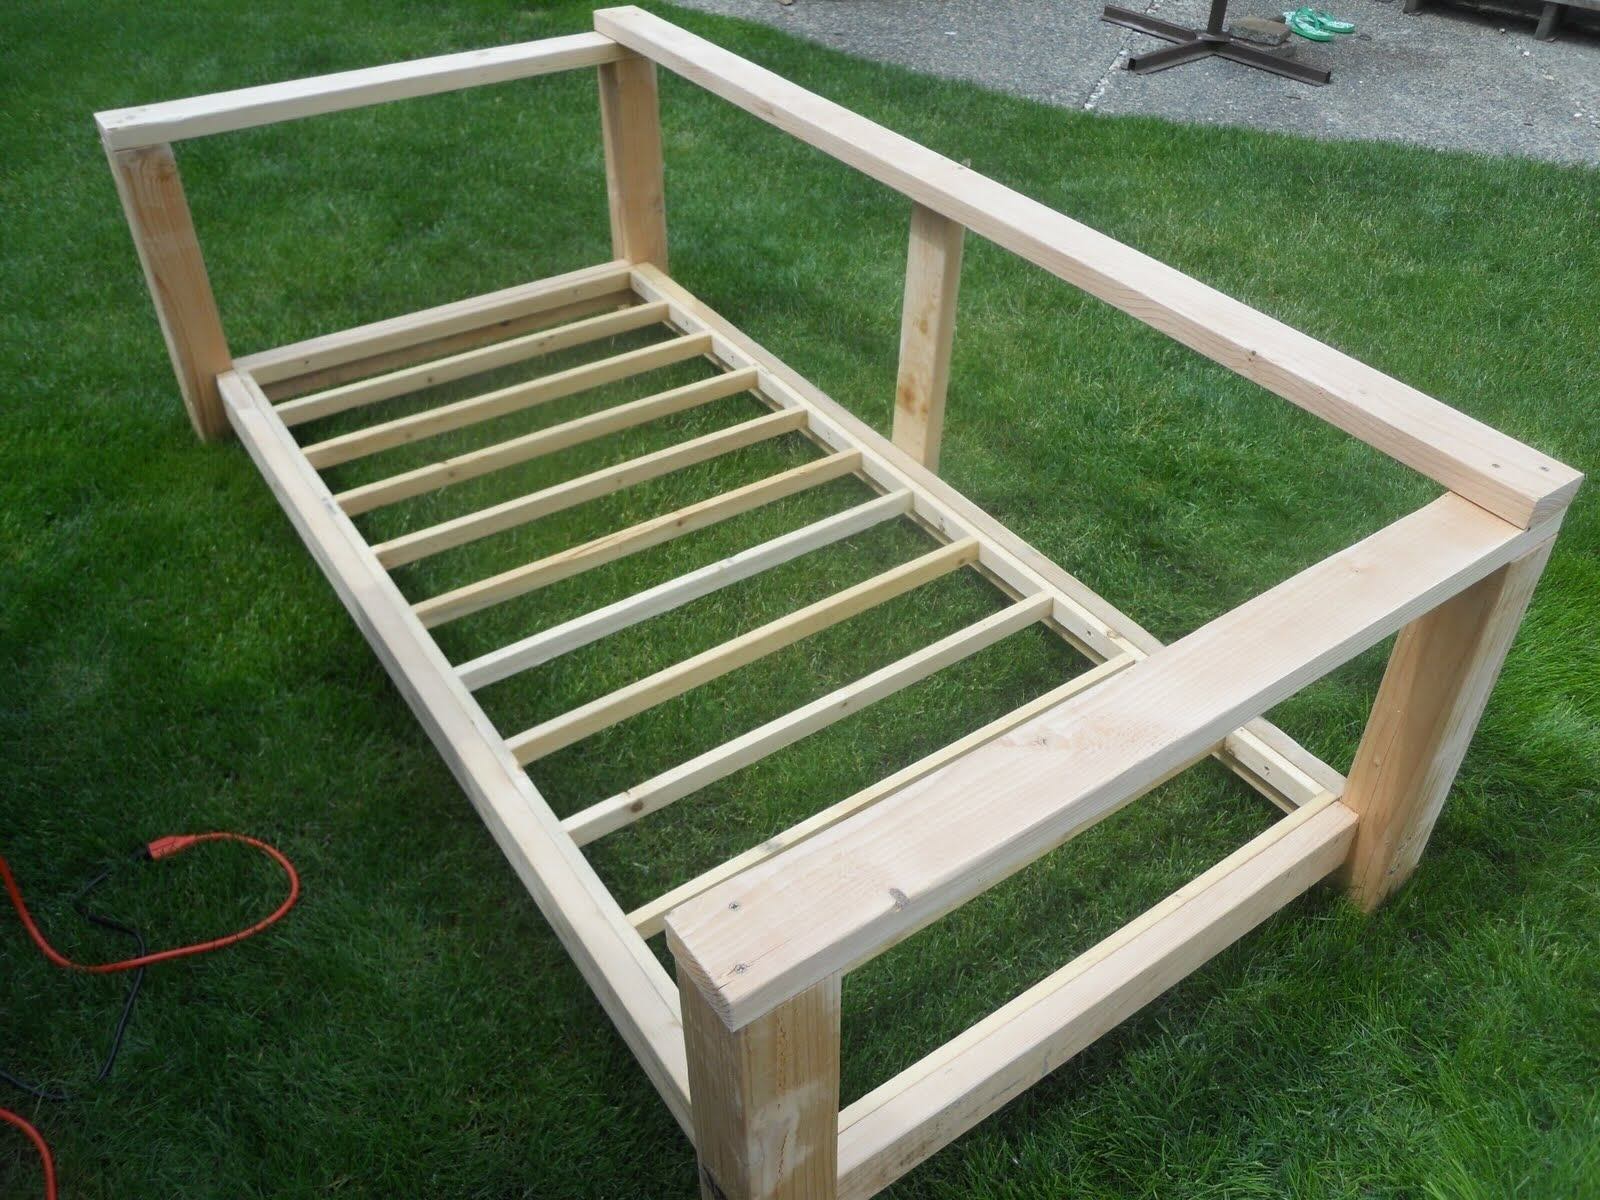
Step 4: Build the side rails and center support
Now that the headboard and footboard are assembled, it’s time to move on to building the side rails and center support of your adjustable bed frame. These components are essential for providing strength, stability, and proper mattress support. Follow these steps to construct them:
1. Measure and mark the side rail dimensions: Begin by measuring the length and width of your mattress. The side rails need to be cut to match these dimensions. Use a measuring tape and pencil to mark the appropriate lengths on the wood.
2. Cut the side rails: Use a circular saw or jigsaw to carefully cut the wood according to the marked dimensions. Take your time and ensure clean, straight cuts for a professional-looking end result.
3. Measure and mark the center support dimensions: Next, measure the distance between the headboard and footboard. This will determine the length of your center support. Mark this measurement on a separate piece of wood.
4. Cut the center support: Following the marked dimensions, cut the center support piece with a circular saw or jigsaw. This piece will provide additional support to the middle of the bed frame.
5. Assemble the side rails and center support: Position the side rails on the inside edges of the headboard and footboard. Secure them in place using screws or dowels, ensuring a tight and sturdy fit. Then, attach the center support to the underside of the side rails, positioning it in the center of the bed frame. The center support should extend from the headboard to the footboard.
6. Test for stability: Once the side rails and center support are in place, test the bed frame for stability. Apply some pressure to different areas of the frame to ensure it can support the weight of the mattress and withstand regular use. Make any necessary adjustments or reinforcements as needed.
By constructing sturdy side rails and a reliable center support, you will ensure that your adjustable bed frame can provide proper support and longevity. With these components in place, your bed frame is now ready for the next step: attaching the side rails to the headboard and footboard.
When building an adjustable bed frame, make sure to use sturdy materials such as metal or hardwood to ensure the frame can support the weight and movement of the adjustable components.
Read more: How To Build A Bed Frame
Step 5: Attach the side rails to the headboard and footboard
With the side rails and center support built, it’s time to attach them securely to the headboard and footboard of your adjustable bed frame. This step is crucial for ensuring stability, structural integrity, and proper alignment. Follow these steps to attach the side rails:
1. Position the side rails: Start by positioning the side rails against the inside edges of the headboard and footboard. Make sure they are properly aligned, with the top edges of the side rails flush with the top edges of the headboard and footboard.
2. Measure and mark the screw points: Use a measuring tape and pencil to mark the screw points on both the side rails and the headboard/footboard. These marks will guide you when attaching the screws for a secure connection.
3. Pre-drill the holes: To prevent the wood from splitting, pre-drill pilot holes at the marked screw points. Use a drill bit that is slightly smaller than the screws you will be using. Pre-drilling will ensure clean and precise holes, making it easier to attach the side rails.
4. Attach the side rails: Place the side rails back in position against the headboard and footboard. Insert screws into the pre-drilled holes and use a power drill to drive them in, securing the side rails to the headboard and footboard. Ensure the screws are tightened firmly but not too tight, as overtightening can cause damage to the wood.
5. Test for stability: Once the side rails are attached, test the bed frame for stability by gently shaking it. Check for any loose connections or wobbling. If necessary, make adjustments by tightening screws or reinforcing weak areas.
By properly attaching the side rails to the headboard and footboard, you will ensure that your adjustable bed frame is sturdy and secure. This step brings your bed frame closer to completion, as we now move on to the next stage: installing the adjustable mechanism.
Step 6: Install the adjustable mechanism
Now that the basic structure of your adjustable bed frame is complete, it’s time to install the adjustable mechanism. This mechanism will enable you to adjust the position of your mattress, providing you with personalized comfort and support. Follow these steps to install the adjustable mechanism:
1. Read the instructions: Before beginning the installation process, carefully read and understand the instructions provided with your adjustable mechanism. Different mechanisms may have specific requirements and procedures, so it’s important to familiarize yourself with the manufacturer’s guidelines.
2. Position the mechanism: Begin by positioning the adjustable mechanism in the center of the bed frame, underneath the area where the mattress will rest. Make sure it is properly aligned and centered before proceeding.
3. Secure the mechanism: Depending on the specific instructions, secure the adjustable mechanism to the side rails or center support of the bed frame. This may involve using screws, bolts, or brackets. Ensure that the mechanism is tightly fastened to prevent any movement or instability during use.
4. Test the adjustable feature: Once the adjustable mechanism is installed, test its functionality. Use the provided controls or levers to adjust the position of the mattress. Ensure that the mechanism operates smoothly and that the mattress remains securely in place at different angles.
5. Double-check stability: After testing the adjustable feature, double-check the stability of the bed frame. Shake it gently to ensure that the mechanism is securely attached and that there are no loose connections. Make any necessary adjustments or reinforcements to ensure maximum stability.
Remember to refer to the specific instructions provided by the manufacturer of your adjustable mechanism. Following these instructions will ensure a proper installation and optimal performance of your adjustable bed frame.
With the adjustable mechanism in place, your bed frame is almost complete. The final step is to finish and paint the bed frame to enhance its appearance and protect the wood. We will cover this step in the next section.
Step 7: Finish and paint the bed frame
As the last step in building your adjustable bed frame, finishing and painting will not only enhance its appearance but also provide protection to the wood surface. Follow these steps to finish and paint your bed frame:
1. Sand the surfaces: Start by sanding the entire surface of the bed frame, including the headboard, footboard, side rails, and center support. This will smooth out any rough edges or imperfections and create a clean and even surface for painting.
2. Apply wood stain (optional): If you prefer a natural look for your bed frame, consider applying a wood stain. Wood stains come in various colors and finishes, allowing you to achieve the desired look while highlighting the natural beauty of the wood grain. Follow the manufacturer’s instructions for application, and make sure to apply an even coat for consistent coloration.
3. Prime the surface: If you plan to paint your bed frame, start by applying a coat of primer. Primer will create a smooth and even base for the paint, ensuring better adhesion and durability. Choose a primer that is suitable for the type of paint you will use. Allow the primer to dry thoroughly before proceeding to the next step.
4. Paint the bed frame: Once the primer has dried, it’s time to apply the paint. Choose a paint color and finish that complements your bedroom decor. Use a paintbrush or a paint sprayer to apply an even coat of paint to the bed frame, making sure to cover all surfaces. Apply multiple coats if necessary for better coverage, allowing each coat to dry completely before applying the next.
5. Apply a protective finish: To protect the painted surface and add a final touch to your bed frame, consider applying a clear protective finish. This can be a clear varnish, polyurethane, or lacquer, depending on your preference. Follow the manufacturer’s instructions for application, and make sure to allow ample drying time between coats.
6. Reassemble the bed frame: Once the paint and protective finish have dried completely, reassemble the bed frame by attaching the headboard, footboard, side rails, and center support as you did in previous steps. Ensure that all connections are secure and that the bed frame is stable.
By finishing and painting your bed frame, you not only protect the wood and add visual appeal but also personalize it to your desired style and taste. With the bed frame now complete, you can enjoy a comfortable and adjustable sleep experience in a bed frame that matches your bedroom decor.
Congratulations! You have successfully built your own adjustable bed frame from scratch. Now, it’s time to enjoy a good night’s sleep in your custom-made sleeping sanctuary.
Conclusion
Building your own adjustable bed frame can be a rewarding and cost-effective project. By following the step-by-step process outlined in this guide, you have the knowledge and skills to create a sturdy and comfortable bed frame that perfectly suits your needs and preferences.
Throughout the construction process, you’ve learned how to gather the necessary materials, measure and cut the frame components, assemble the headboard and footboard, build the side rails and center support, install the adjustable mechanism, and finish and paint the bed frame. Each step plays a crucial role in creating a well-crafted and functional bed frame.
Not only does building your own adjustable bed frame allow you to customize it to your exact specifications, but it also offers the flexibility to adjust the angle of your mattress for enhanced comfort and better sleep quality. Additionally, an adjustable bed frame can provide relief from common sleep issues, such as snoring, acid reflux, or back pain.
Remember to take your time during each step, paying attention to detail and ensuring proper alignment and stability. It’s also important to prioritize safety by wearing appropriate protective gear and using tools correctly.
Once your bed frame is complete, you can enjoy the satisfaction of having created a functional and stylish centerpiece for your bedroom. Personalize the bed frame with bedding and accessories that reflect your unique style, creating a space that is not only comfortable for sleep but also visually appealing.
Now that you have the knowledge and skills to build your own adjustable bed frame, go ahead and embark on this exciting DIY project. You’ll not only save money compared to buying a pre-made bed frame but also have the pride and joy of having created something with your own hands.
So, gather your materials, bring out your tools, and start building your dream adjustable bed frame. Sweet dreams await!
Frequently Asked Questions about How To Build An Adjustable Bed Frame
Was this page helpful?
At Storables.com, we guarantee accurate and reliable information. Our content, validated by Expert Board Contributors, is crafted following stringent Editorial Policies. We're committed to providing you with well-researched, expert-backed insights for all your informational needs.


0 thoughts on “How To Build An Adjustable Bed Frame”