Home>Furniture>Bedroom Furniture>How To Make A Bench Out Of A Bed Frame
Bedroom Furniture
How To Make A Bench Out Of A Bed Frame
Modified: October 28, 2024
Learn how to repurpose a bed frame into a stylish bench for your bedroom with our easy step-by-step guide. Transform your bedroom furniture and create a unique seating area!
(Many of the links in this article redirect to a specific reviewed product. Your purchase of these products through affiliate links helps to generate commission for Storables.com, at no extra cost. Learn more)
Introduction
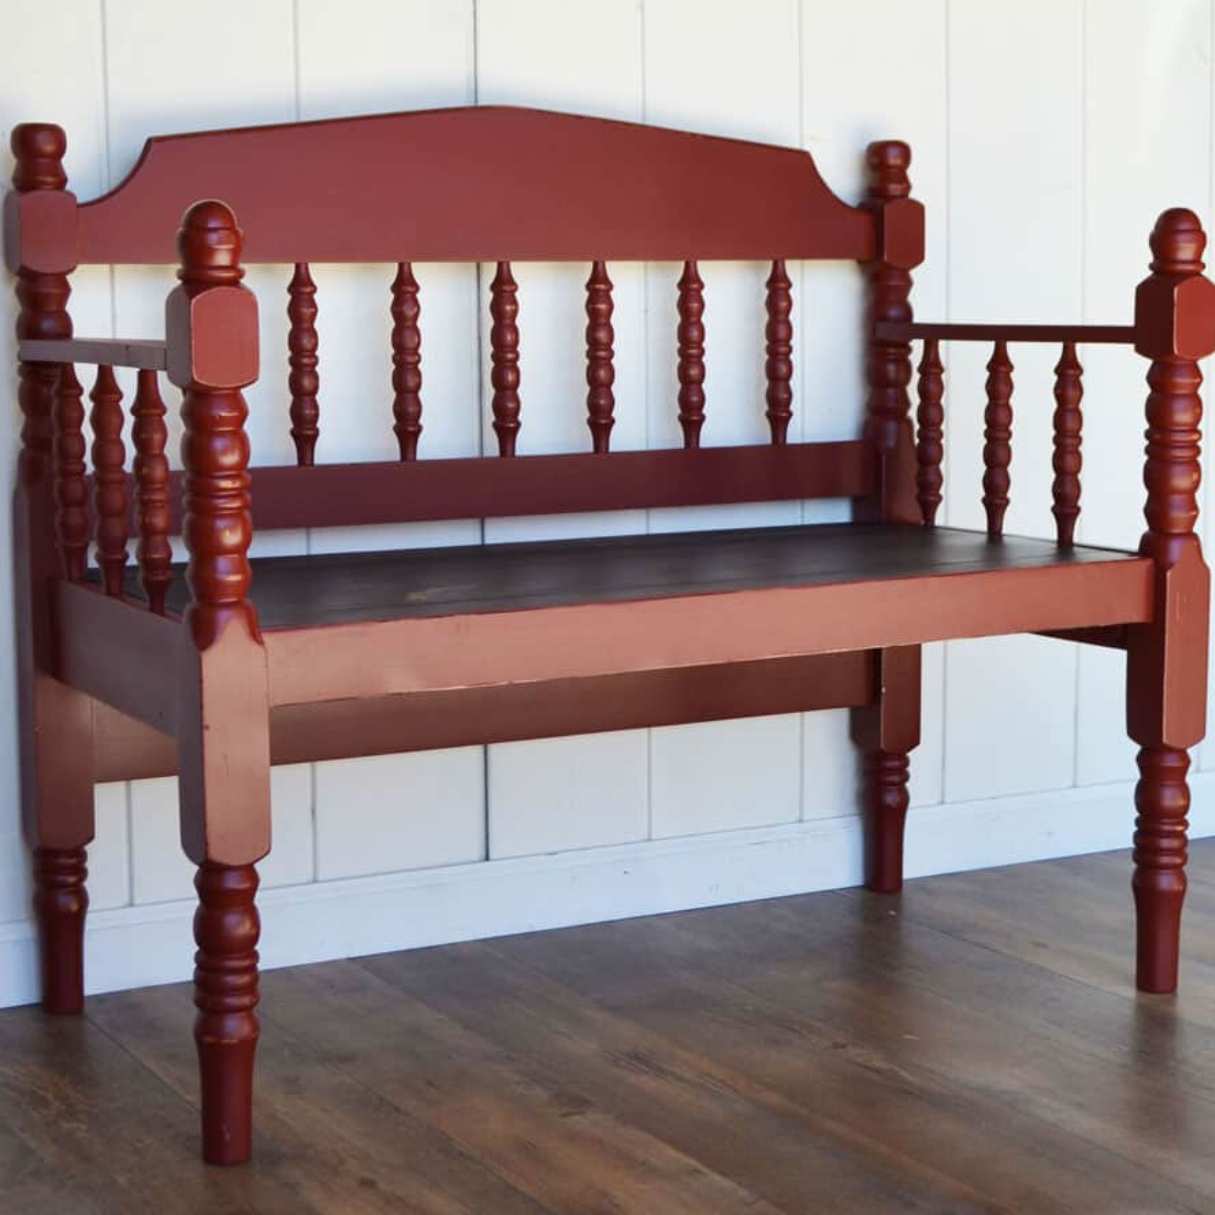
Welcome to the world of DIY furniture! If you have an old bed frame lying around, instead of discarding it, why not repurpose it into a beautiful and functional bench? With a little creativity and effort, you can transform an old bed frame into a unique piece of furniture that adds character and charm to your home.
Turning a bed frame into a bench is not only a sustainable way to repurpose furniture but also a cost-effective option compared to purchasing a brand new bench. Plus, it allows you to customize the design and style according to your taste and the existing décor of your space.
In this step-by-step guide, we will walk you through the process of transforming a bed frame into a bench with ease. So, gather your tools, put on your DIY hat, and let’s get started on this inspiring furniture makeover!
Before we dive into the how-to portion, it’s important to note that this project requires basic woodworking skills and tools. If you are new to DIY projects or feel unsure about certain steps, don’t hesitate to seek help from a more experienced friend or professional.
Now, let’s move on to the first step!
Key Takeaways:
- Transform your old bed frame into a unique and charming bench with DIY creativity, cost-effectiveness, and sustainability. Unleash your inner DIY enthusiast and enjoy the satisfaction of repurposing furniture!
- Repurposing a bed frame into a bench not only saves money but also allows for customization to fit your style and existing decor. Embrace sustainability and unleash your creativity with this rewarding DIY project!
Read more: How To Make A Floor Bed Frame
Step 1: Gather Materials
Before you begin transforming your bed frame into a beautiful bench, it’s essential to gather all the necessary materials. Here’s a list of items you’ll need:
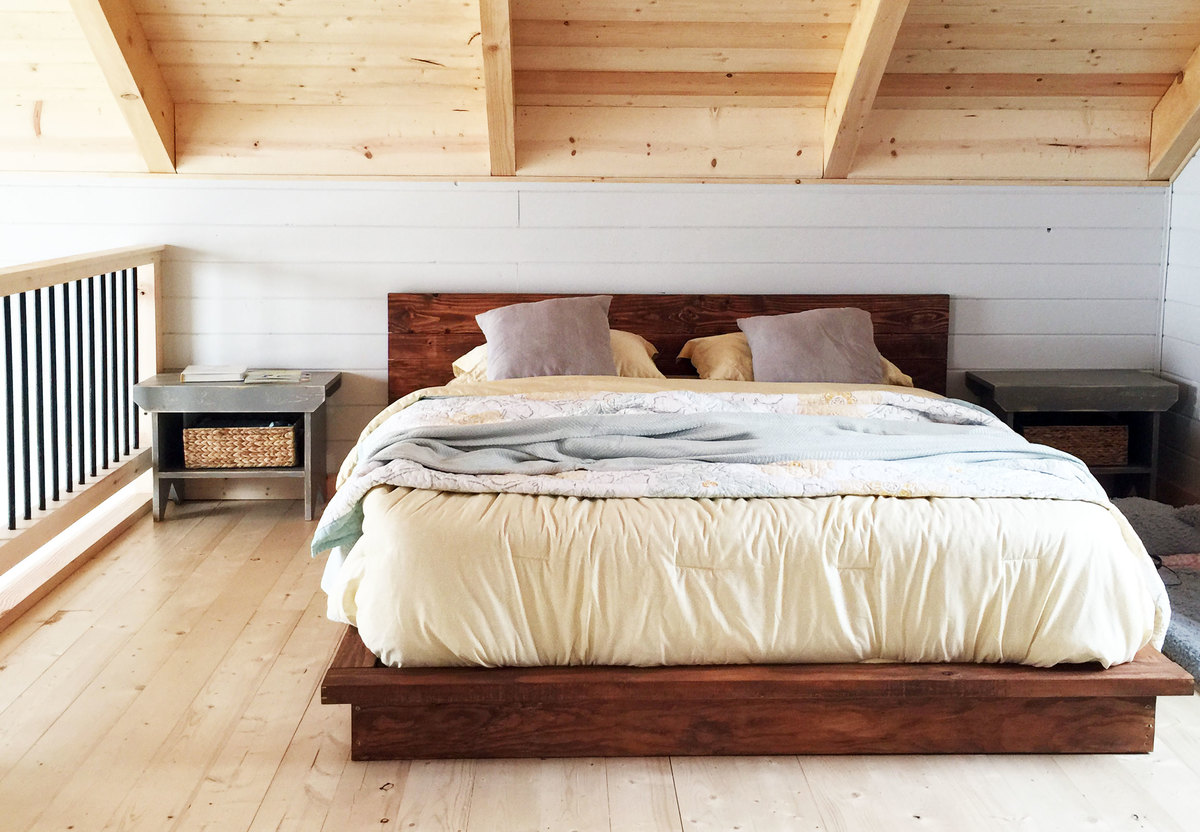
- Bed frame: Look for a bed frame that’s in good condition and made of sturdy materials like wood or metal. Choose a size and style that suits the bench design you have in mind.
- Measuring tape: This will come in handy for taking accurate measurements of the bed frame and other components.
- Saw: Depending on the design and style of your bench, you may need a handsaw or a circular saw for cutting the bed frame pieces.
- Screwdriver or drill: You’ll need a screwdriver or a drill with appropriate bits for dismantling the bed frame and assembling the bench.
- Sandpaper or sanding block: To smooth out any rough edges and prepare the surface for finishing.
- Paint or stain: Choose a color or finish that complements your existing décor or personal preference. Opt for water-based paint or wood stain for an eco-friendly option.
- Paintbrushes or foam rollers: These tools will help you apply the paint or stain evenly on the bench surface.
- Optional: Upholstery fabric, foam cushion, batting, and sewing tools if you plan to add a cushion or upholstered seat to your bench.
Once you have gathered all the necessary materials, you’re ready to move on to the next step. Remember, it’s important to have everything prepared before you start the project to ensure a smoother and more efficient DIY experience.
Now that we have the materials ready, let’s move on to dismantling the bed frame in the next step.
Step 2: Dismantle the Bed Frame
Now that you have gathered all the necessary materials, it’s time to dismantle the bed frame. Follow these steps:
- Remove the mattress and bedding: Start by removing the mattress, pillows, and any bedding from the bed frame. Set them aside in a safe and clean area.
- Locate the screws or bolts: Depending on the type of bed frame, you may find screws or bolts holding the frame together. Look for them at the corners and joints.
- Use a screwdriver or drill: With a screwdriver or drill, unscrew or remove the bolts to detach the headboard, footboard, and side rails from the bed frame. Put the screws or bolts aside in a container for safekeeping.
- Separate the frame pieces: Once the main components are detached, you can separate the individual pieces of the bed frame. Be gentle to avoid any damage or splintering.
By dismantling the bed frame, you are removing any unnecessary parts and preparing the materials for the next steps. It will also make it easier to measure and cut the pieces for your bench. Take your time during this step to ensure you don’t damage any components that you plan to use in the bench construction.
Now that the bed frame is dismantled, let’s move on to the next step, where we will measure and cut the bed frame pieces for the bench.
Step 3: Measure and Cut the Bed Frame Pieces
With the bed frame dismantled, it’s time to measure and cut the pieces that will be used to create the bench. Follow these steps:
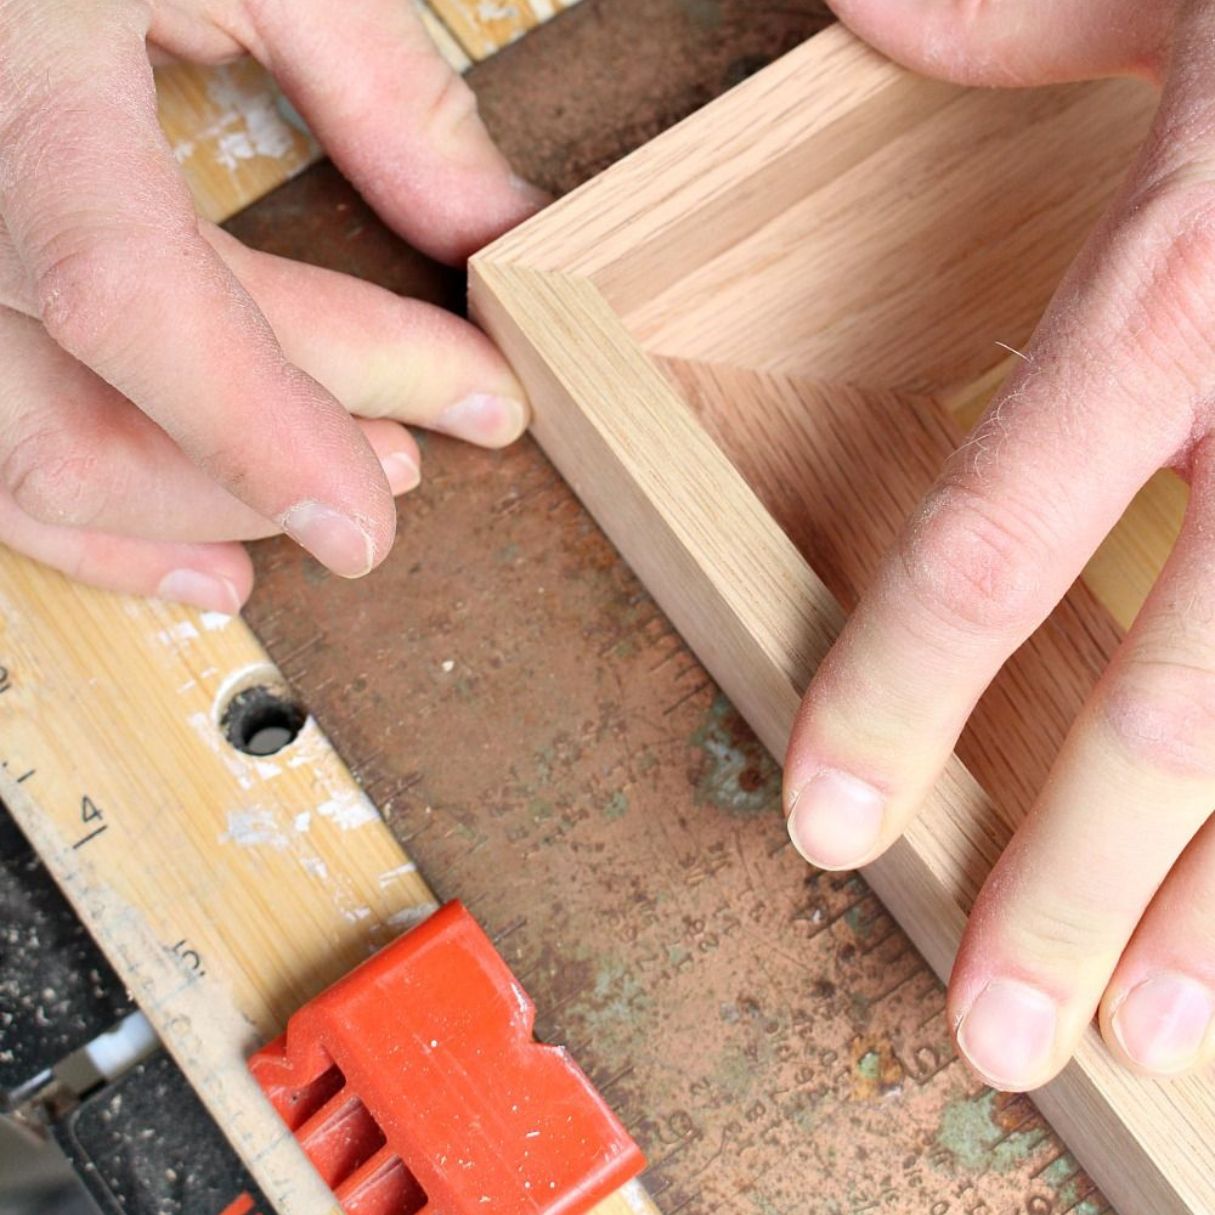
- Take accurate measurements: Use a measuring tape to measure the length and width of the side rails and any other components you plan to use for the bench. Note down these measurements as they will guide you when cutting the pieces.
- Plan the bench design: Consider the design and style you have in mind for the bench. Decide on the dimensions and configuration of the seat and backrest if you are using them. Take into account the overall size of the bed frame pieces and how they will fit together to create a stable and comfortable bench.
- Mark and cut the pieces: Use a saw, such as a handsaw or circular saw, to cut the bed frame pieces according to your measurements and design plan. Take your time and make precise cuts to ensure the pieces fit together seamlessly.
- Smooth the rough edges: After cutting the pieces, use sandpaper or a sanding block to smooth out any rough edges or splinters. This will create a safer and more polished finish for your bench.
Measuring and cutting the bed frame pieces requires precision and attention to detail. Take the time to plan and measure accurately to ensure that the pieces fit together well and create a sturdy and aesthetically pleasing bench.
Now that you have measured and cut the bed frame pieces, it’s time to move on to the next step: assembling the bench base.
Step 4: Assemble the Bench Base
With the bed frame pieces measured and cut, it’s time to assemble the base of the bench. Follow these steps:
- Arrange the side rails: Take the side rails and align them parallel to each other on a flat surface. Make sure they are spaced evenly to accommodate the width of the bench.
- Secure the side rails: Use screws or bolts to attach the side rails together at the corners. Depending on the design and your preference, you can either screw them from the outside, for a more industrial look, or from the inside, for a cleaner finish.
- Add support beams: If your bed frame has additional support beams or slats, you can repurpose them to reinforce the bench base. Attach them horizontally between the side rails, evenly spaced, to provide stability and strength.
- Use brackets or corner braces: For added stability, consider using metal brackets or corner braces at the joints where the side rails and support beams meet. These will help prevent any wobbling or shifting of the bench base.
During the assembly process, double-check that all the components are aligned correctly and securely fastened. This will ensure that your bench base is sturdy and durable, capable of supporting the weight of those who will use it.
Now that the bench base is assembled, we can move on to the next step: attaching the seat slats.
When repurposing a bed frame into a bench, consider using the headboard as the backrest and the footboard as the arms. Cut and sand the pieces to fit and secure them with screws for a sturdy and stylish bench.
Read more: What Makes A Good Bed Frame
Step 5: Attach the Seat Slats
With the bench base complete, it’s time to attach the seat slats. Follow these steps:
- Measure and mark the spacing: Determine the number of slats you’ll need based on the width of the bench base. Divide the space evenly, leaving a small gap between each slat for drainage and ventilation if the bench will be placed outdoors.
- Align the slats: Place the slats horizontally across the bench base, ensuring they are evenly spaced and align with the edges of the base.
- Secure the slats: Use screws or nails to attach the slats to the bench base. Make sure they are securely fastened, ensuring stability and weight-bearing capacity.
- Test for sturdiness: Once all the slats are attached, give the bench a gentle shake to check for any loose or wobbly slats. Tighten any screws or nails if needed.
Attaching the seat slats completes the basic structure of the bench. You can now visualize how it will look and get a sense of its overall functionality.
Next, we’ll move on to Step 6, where we’ll sand and finish the bench to give it a polished and professional appearance.
Step 6: Sand and Finish
Now that the bench is assembled, it’s time to sand and finish the surface for a polished and professional look. Follow these steps:
- Sanding the surface: Use sandpaper or a sanding block to smooth out any rough edges, splinters, or imperfections on the bench. Start with a coarser grit sandpaper and gradually move to finer grits until the surface feels smooth to the touch.
- Clean the bench: After sanding, wipe away any dust or debris from the surface of the bench using a clean cloth or tack cloth.
- Choose a finish: Decide on the type of finish you want for your bench. You can choose from options such as paint, stain, or varnish based on your preference and the desired look you want to achieve.
- Apply the finish: If you choose to paint the bench, apply a primer first and let it dry. Then, apply a coat or two of paint, allowing each coat to dry before adding another. If staining, apply the stain evenly with a brush or cloth, following the manufacturer’s instructions. For varnishing, apply a coat of varnish using a brush or foam applicator, allowing it to dry completely between coats.
- Protect the finish: To protect the bench surface, consider applying a clear sealant or polyurethane finish over the paint or stain. This will provide added durability and resistance to wear and tear.
Sanding and finishing the bench will not only enhance its appearance but also protect the wood from weathering and damage. Take the time to apply the finish carefully and evenly for a professional-looking end result.
Now that you have sanded and finished the bench, it’s time to move on to the final step: adding an optional cushion or upholstery.
Step 7: Add Optional Cushion or Upholstery
In this final step, you have the option to add a cushion or upholstery to your bench to enhance comfort and style. Follow these steps:
- Select the cushion or upholstery fabric: Choose a cushion or upholstery fabric that complements your overall design and color scheme. Consider factors such as durability, ease of cleaning, and personal preference.
- Measure and cut the foam: If you’re adding a cushion, measure the dimensions of the bench seat and cut a piece of foam to fit. Use a serrated knife or electric foam cutter to achieve a clean cut.
- Add batting: For a softer and more plush feel, wrap the foam with a layer of batting. This will also help smooth out any imperfections in the foam.
Adding a cushion or upholstery can transform your bench into a cozy seating area. It provides an opportunity to incorporate patterns, textures, and colors that complement your overall decor theme.
With the optional cushion or upholstery added, your bench is now complete and ready to be enjoyed. Place it in your desired location, whether it’s a cozy corner of your living room, a tranquil spot in your garden, or a stylish addition to your entryway.
Congratulations! You have successfully repurposed a bed frame into a functional and aesthetically pleasing bench. This DIY project not only saved you money but also allows you to showcase your creativity and environmental consciousness.
Remember to always practice safety while working on DIY projects, use appropriate tools and protective gear, and follow the manufacturer’s instructions for any products you use.
Now sit back, relax, and enjoy your newly transformed bed frame bench!
Conclusion
Repurposing an old bed frame into a unique and functional bench is a rewarding DIY project that allows you to unleash your creativity and breathe new life into unused furniture. By following the step-by-step guide outlined above, you can successfully transform a bed frame into a beautiful bench that adds character and charm to your home.
Throughout the process, you learned how to gather the necessary materials, dismantle the bed frame, measure and cut the pieces, assemble the bench base, attach the seat slats, sand and finish the bench, and even add an optional cushion or upholstery for extra comfort and style.
Not only does repurposing furniture like a bed frame into a bench contribute to reducing waste and embracing sustainability, but it also allows you to create a unique piece that fits seamlessly into your living space. Plus, it’s a cost-effective alternative to buying a brand new bench.
Remember, as with any DIY project, it’s important to plan carefully, take accurate measurements, use the right tools, and follow safety precautions. If needed, don’t hesitate to seek guidance and assistance from more experienced individuals.
So why not give it a try and unleash your inner DIY enthusiast? Transform that old bed frame into a stunning bench and enjoy the satisfaction of turning something discarded into a functional and beautiful piece of furniture.
Happy DIYing!
Frequently Asked Questions about How To Make A Bench Out Of A Bed Frame
Was this page helpful?
At Storables.com, we guarantee accurate and reliable information. Our content, validated by Expert Board Contributors, is crafted following stringent Editorial Policies. We're committed to providing you with well-researched, expert-backed insights for all your informational needs.


0 thoughts on “How To Make A Bench Out Of A Bed Frame”