Home>Furniture>Bedroom Furniture>How To Fix An IKEA Bed Frame
Bedroom Furniture
How To Fix An IKEA Bed Frame
Modified: December 7, 2023
Learn how to fix your IKEA bed frame with these easy steps. Get your bedroom furniture back in shape and enjoy a good night's sleep again.
(Many of the links in this article redirect to a specific reviewed product. Your purchase of these products through affiliate links helps to generate commission for Storables.com, at no extra cost. Learn more)
Introduction
Welcome to our comprehensive guide on how to fix your IKEA bed frame. A sturdy and functional bed frame is essential for a good night’s sleep, and IKEA has long been a popular choice for affordable and stylish bedroom furniture. However, like any piece of furniture, bed frames can sometimes require repairs due to wear and tear or accidental damage. Instead of feeling frustrated or considering replacing your entire bed frame, we’re here to show you how to fix common issues and extend the lifespan of your IKEA bed frame.
In this guide, we’ll take you through the step-by-step process of disassembling, identifying damaged parts, purchasing replacement parts, preparing them, and finally reassembling your bed frame. Whether it’s a broken slat, a loose joint, or any other issue, we’ve got you covered with our expert tips and tricks.
In order to carry out the repairs effectively, you’ll need a few tools and materials. Don’t worry; they are all readily available and won’t break the bank. So, before we get started, let’s take a look at what you’ll need:
Key Takeaways:
- Save money and extend the lifespan of your IKEA bed frame by following our expert guide to DIY repairs. Enjoy a restful night’s sleep without the need for a full replacement.
- Take pride in fixing your IKEA bed frame, contributing to sustainability, and learning valuable DIY skills. Enjoy a fully functional and comfortable bed for years to come.
Read more: How To Disassemble An Ikea Bed Frame
Tools and Materials Needed
- Hex key or Allen key
- Screwdriver
- Hammer
- Measuring tape
- Wood glue
- Replacement parts (such as slats, brackets, or screws)
Now that you have all the necessary tools and materials, let’s move on to the first step of the repair process: disassembling the bed frame.
Key Takeaways:
- Save money and extend the lifespan of your IKEA bed frame by following our expert guide to DIY repairs. Enjoy a restful night’s sleep without the need for a full replacement.
- Take pride in fixing your IKEA bed frame, contributing to sustainability, and learning valuable DIY skills. Enjoy a fully functional and comfortable bed for years to come.
Read more: How To Disassemble An Ikea Bed Frame
Tools and Materials Needed
Before you start repairing your IKEA bed frame, it’s important to have the right tools and materials on hand. By gathering these items beforehand, you can work efficiently and avoid any unnecessary delays. Here’s a list of the tools and materials you’ll need:
1. Hex key or Allen key: Most IKEA bed frames are assembled using hex screws. Make sure you have the appropriate size hex key or Allen key to loosen and tighten these screws. If you’re unsure about the size, you can check the instructions manual or measure the screw head. 2. Screwdriver: While hex keys are the primary tool for assembling IKEA furniture, you may encounter screws that require a standard screwdriver. Having a Phillips head and a flathead screwdriver in your toolkit will come in handy during the repair process. 3. Hammer: A small hammer can be useful for tapping in loose nails or securing wooden components. However, always proceed with caution when using a hammer to avoid causing any further damage to your bed frame. 4. Measuring tape: Accurate measurements are crucial when it comes to replacing damaged or worn-out parts. A measuring tape will help you determine the length, width, and thickness of components like slats or brackets, ensuring you purchase the correct replacements. 5. Wood glue: If you come across loose joints or cracked wooden components, wood glue can help reinforce and stabilize them. Opt for a high-quality wood glue that dries clear and provides a strong bond. 6. Replacement parts: Depending on the specific issue with your bed frame, you may need to purchase replacement parts. These can include slats, brackets, screws, or other hardware. It’s important to identify the damaged components before purchasing replacements to ensure they match the original specifications. When gathering the tools and materials, it’s also a good idea to set up a well-lit and spacious work area. Clear the space around the bed frame, ensuring there’s enough room to maneuver and lay out the various components. If needed, have a small container or bowl nearby to hold any screws or smaller parts you remove during the disassembly process. This will help you stay organized and prevent any small pieces from getting lost. With all the necessary tools and materials in place, you’re now ready to proceed to the first step: disassembling the bed frame.
Step 1: Disassembling the Bed Frame
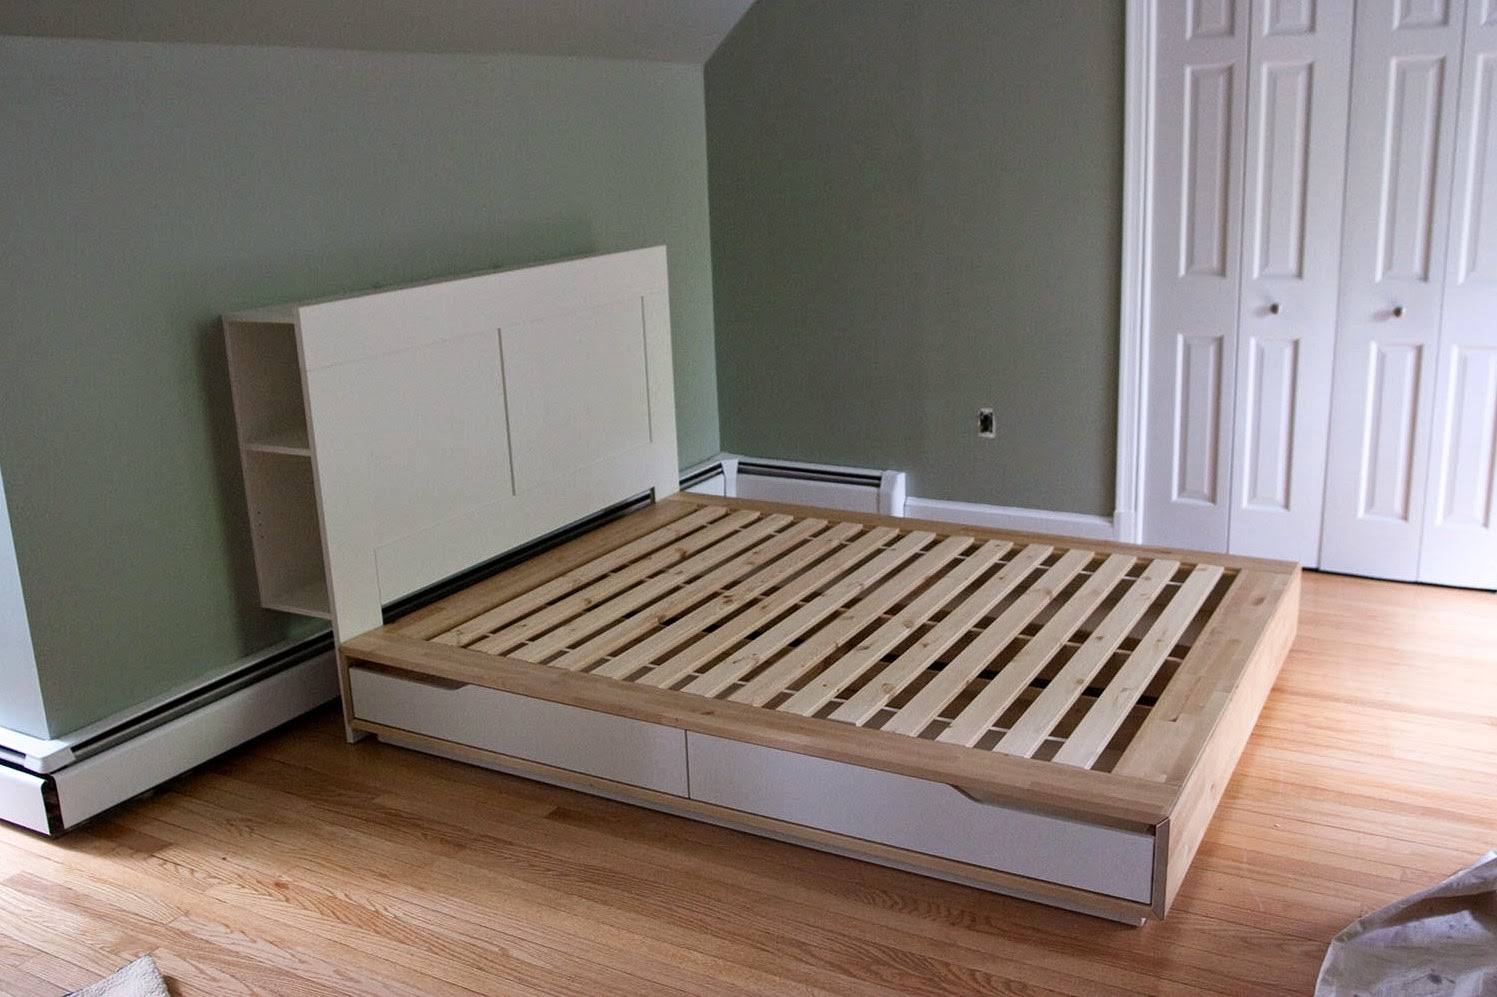
Before you can start fixing your IKEA bed frame, you’ll need to disassemble it to get a better look at the problem areas and assess the extent of the damage. Follow these steps to safely disassemble your bed frame:
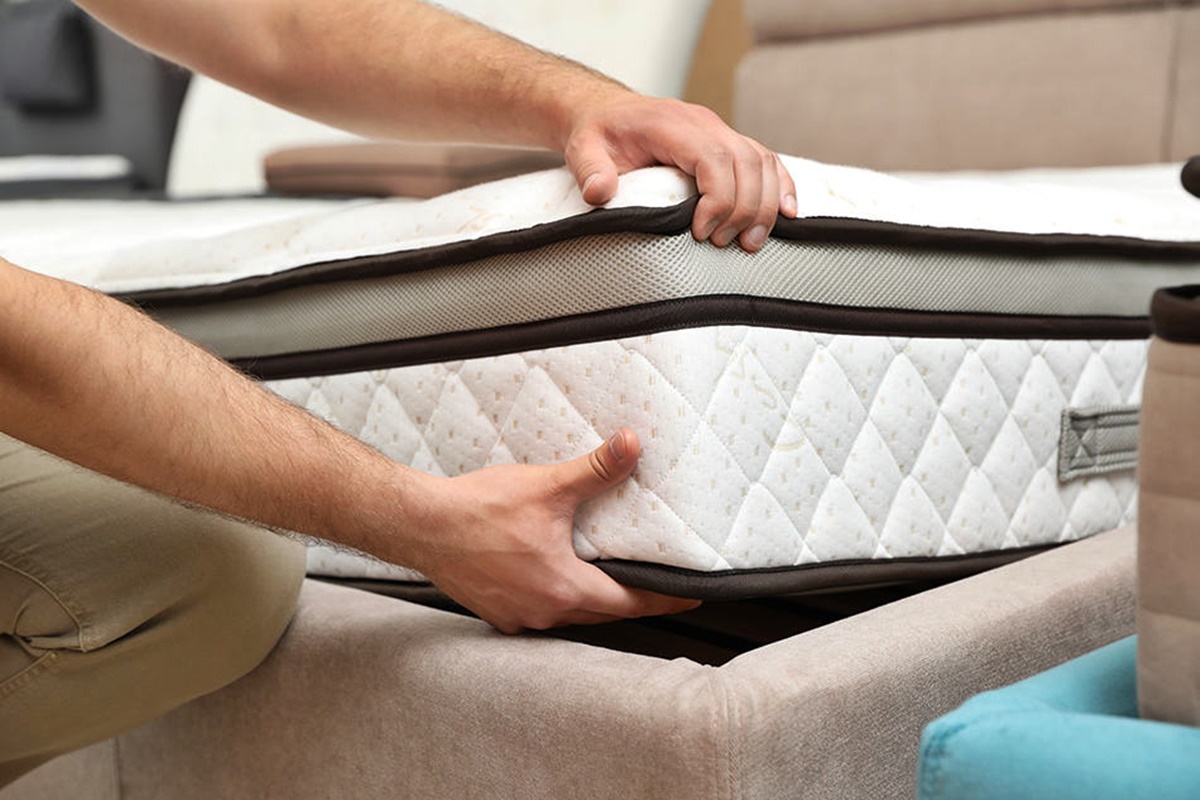
- Clear the bed: Start by removing the mattress, bedding, and any other items from the bed frame. This will give you more space to work and prevent these items from getting in the way.
- Locate the fasteners: Take a close look at the different joints and connecting points of the bed frame. Look for screws, bolts, or other fasteners that hold the frame together. These are typically located at the corners, center support, and along the sides. Use your hex key or Allen key, along with a screwdriver if necessary, to loosen and remove these fasteners.
- Remove slats or bed panels: Many IKEA bed frames utilize a series of slats or bed panels to support the mattress. Carefully lift and remove these components from the frame, setting them aside for later. Take note of any damaged or broken slats that may need to be replaced.
- Disassemble additional components: Depending on the specific design of your bed frame, there may be additional components such as headboards, footboards, or side rails that need to be detached. Refer to the assembly instructions or use common sense to identify any additional fasteners or screws that need to be removed.
- Label and organize: As you disassemble the bed frame, it’s a good idea to label or mark the different components and their corresponding locations. This will make the reassembly process easier and prevent confusion later on. You can use small sticky notes or masking tape to label the pieces, or simply take photos to reference later.
By following these steps, you will successfully disassemble your IKEA bed frame, allowing you to access the problem areas and proceed with the necessary repairs. Make sure to keep track of all the screws and fasteners you remove, keeping them stored in a safe place to avoid misplacing them.
Now that you have disassembled your bed frame, it’s time to move on to step 2: identifying the damaged parts.
Step 2: Identifying the Damaged Parts
Now that you have disassembled your IKEA bed frame, it’s time to closely inspect the different components and identify the areas that require repair or replacement. This step is crucial to ensure you address all the issues and obtain the correct replacement parts. Follow these guidelines to identify the damaged parts:
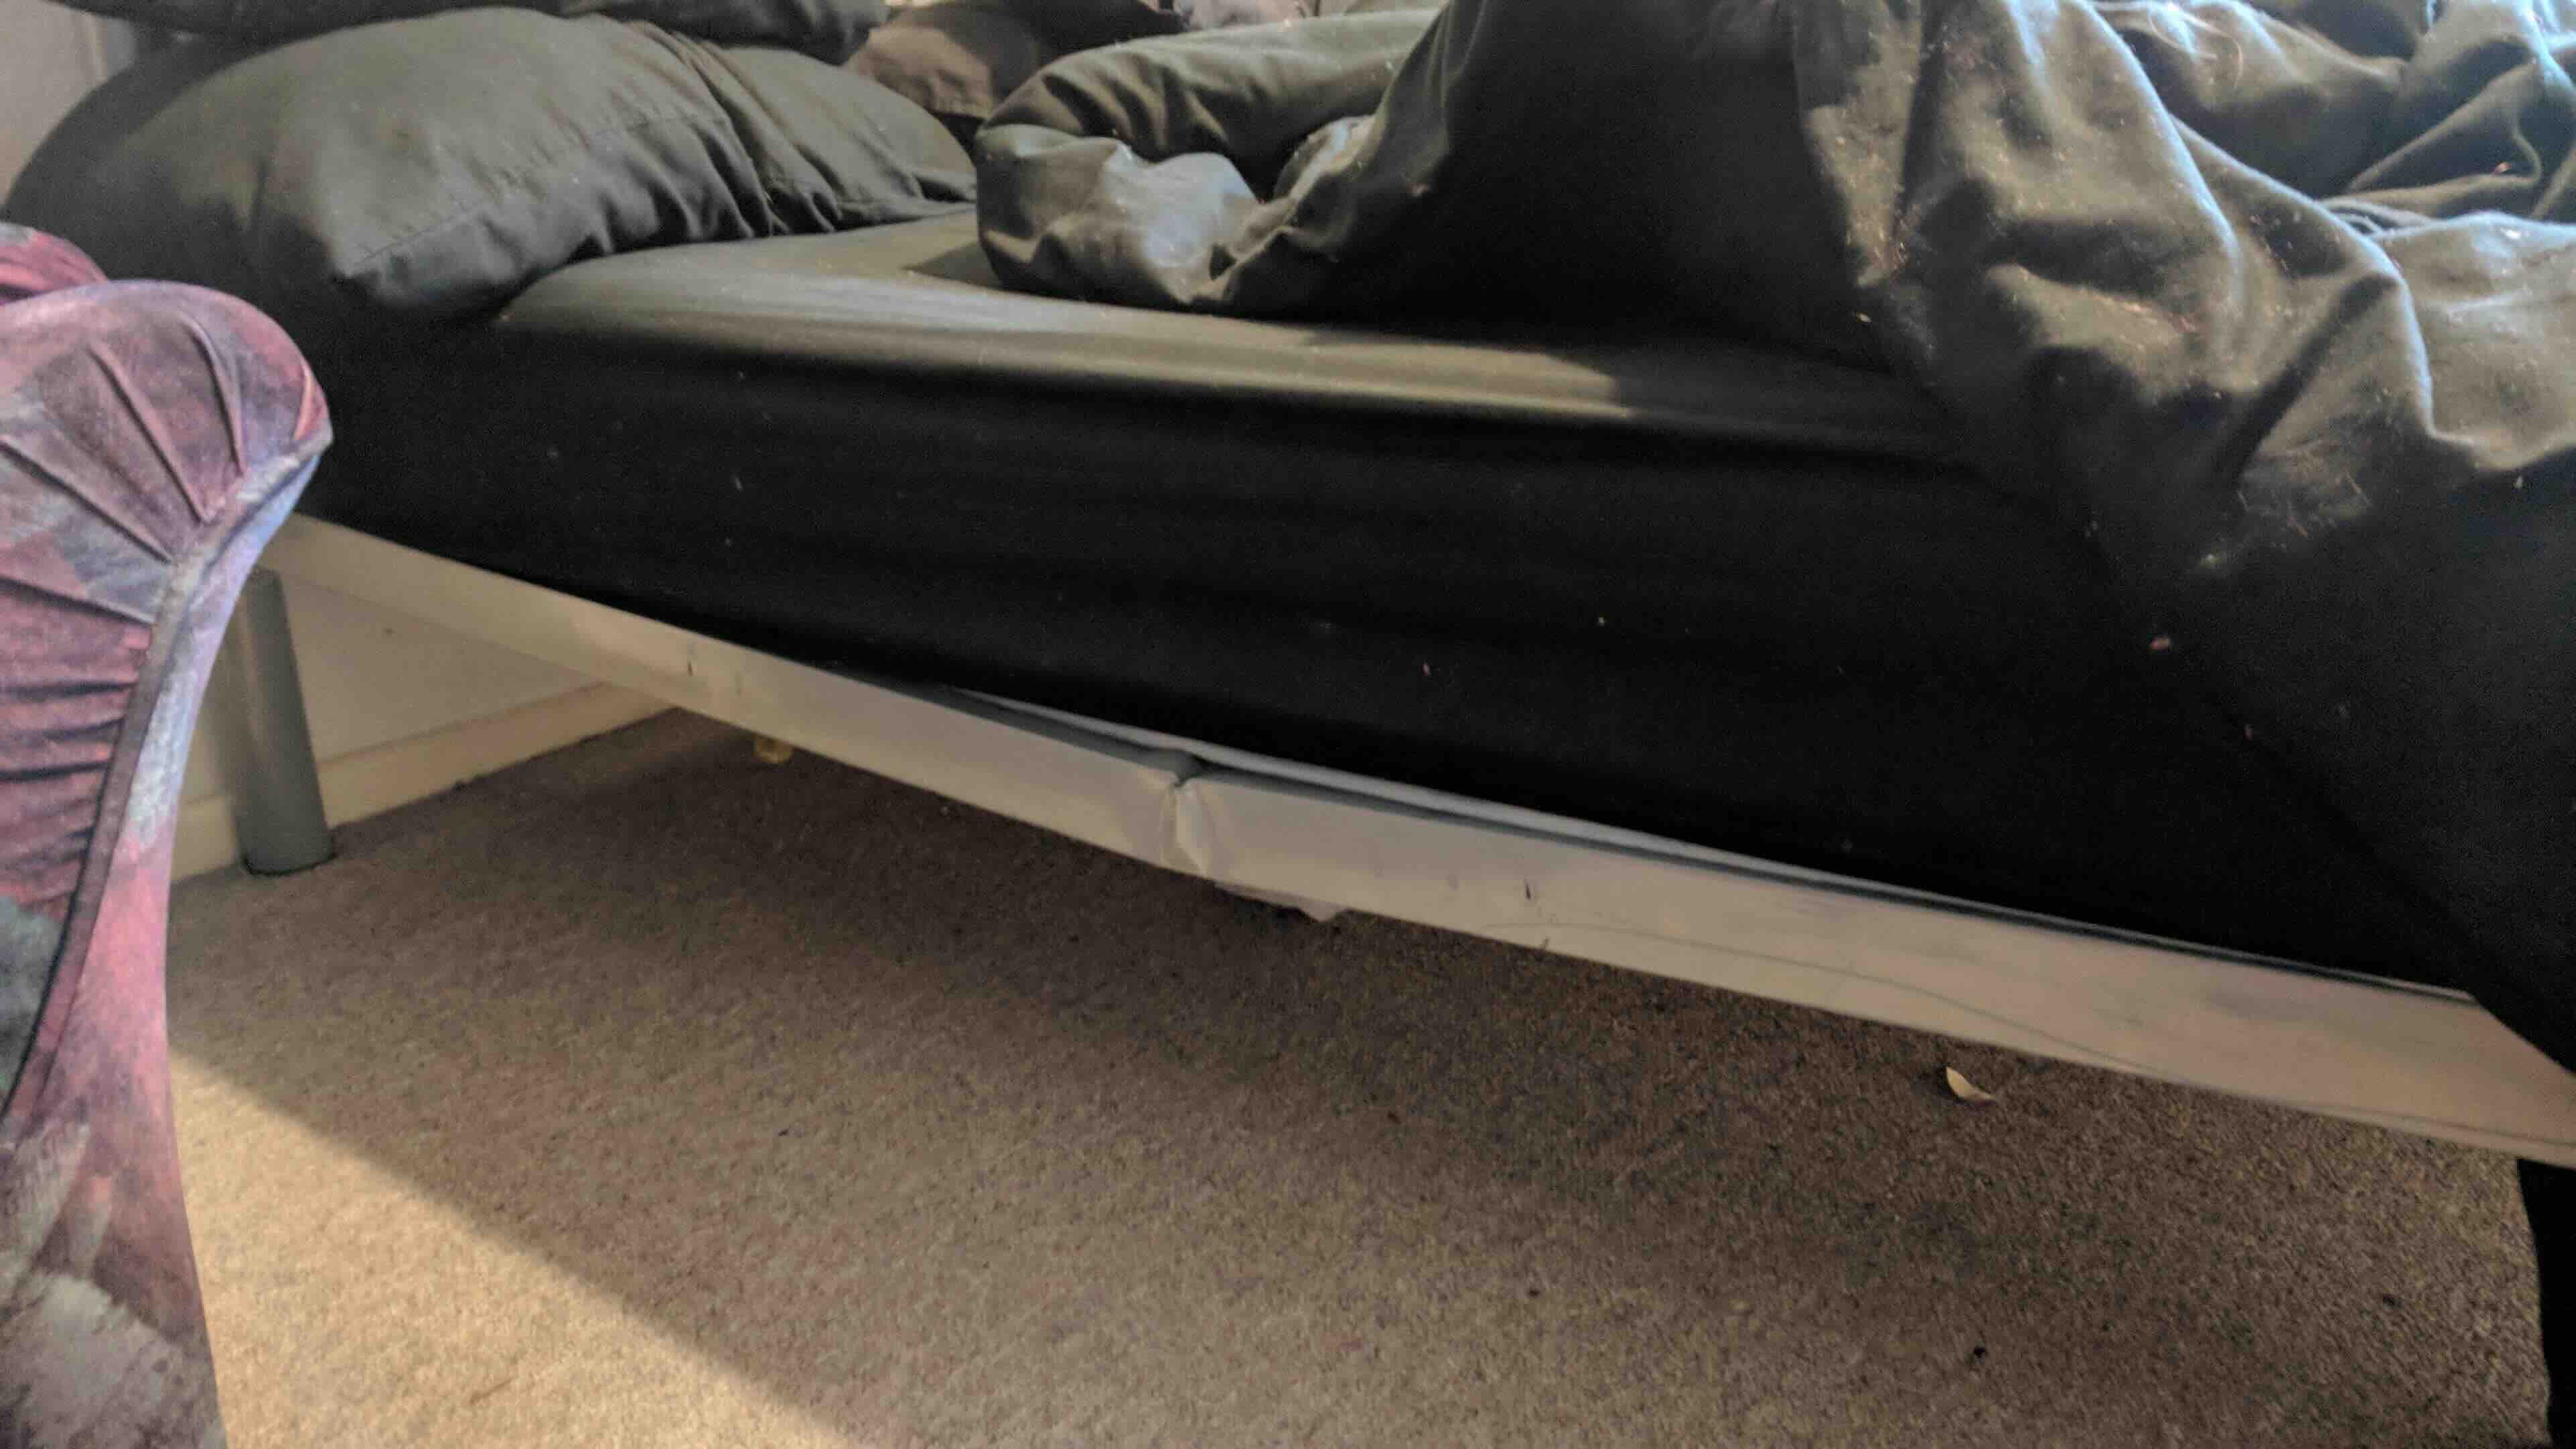
- Inspect the frame: With the bed frame disassembled, carefully examine each component, paying close attention to the joints, corners, and areas that have experienced the most stress. Look for signs of wear, cracks, or structural damage that might compromise the stability and functionality of the frame.
- Check the slats: If your bed frame uses slats for mattress support, inspect them for any signs of damage. Look for cracks, splintering, or bending. Pay special attention to any slats that have completely broken or become loose.
- Examine the hardware: Inspect the screws, bolts, brackets, and other hardware used to assemble the bed frame. Look for any signs of wear, rust, or stripping. If you notice any loose or missing hardware, make a note of it as well.
- Take measurements: Using a measuring tape, take accurate measurements of any components that need to be replaced, such as slats or brackets. Record the length, width, and thickness of these parts to ensure you get the correct replacements.
- Assess the overall condition: Step back and assess the overall condition of the bed frame. Consider factors such as its age, the frequency of use, and any previous repairs. This will help you determine if there are any underlying issues that need to be addressed in addition to the visible damage.
Make a detailed list of all the damaged parts and the specific repairs or replacements they require. This will serve as your guide when purchasing the necessary replacement parts. If you are unsure about any aspects of the damage or need assistance identifying specific parts, consult the IKEA website, assembly instructions, or reach out to customer support for guidance.
Once you have identified the damaged parts, it’s time to move on to step 3: purchasing the replacement parts.
Check all the screws and bolts to ensure they are tightened properly. If any are loose, use a screwdriver or Allen key to tighten them. This can help stabilize the bed frame and prevent it from wobbling or making noise.
Read more: How To Fix A Bed Frame
Step 3: Purchasing Replacement Parts
After identifying the damaged parts of your IKEA bed frame, the next step is to purchase the necessary replacement parts. By obtaining the correct components, you can ensure a proper and durable repair. Follow these steps to successfully purchase the replacement parts:
- Refer to the IKEA website: Start your search for replacement parts by visiting the official IKEA website. Navigate to the bedroom furniture section and locate the specific bed frame model you own. Check if they offer replacement parts for that particular model. If they do, take note of the part names and numbers.
- Visit the nearest IKEA store: If you prefer an in-person shopping experience, visit the nearest IKEA store. Bring along the list of damaged parts and ask the staff for assistance in finding the correct replacements. They can help you locate the parts and ensure they match the specifications of your bed frame.
- Explore online marketplaces: If you’re unable to find the replacement parts through the IKEA website or store, consider looking on popular online marketplaces. Many third-party sellers offer IKEA-compatible replacement parts. However, be cautious and verify the authenticity and quality of the parts before making a purchase.
- Check with local furniture repair shops: Another option is to reach out to local furniture repair shops or carpenters who specialize in bed frame repairs. They may have the necessary expertise and access to replacement parts that will fit your IKEA bed frame. Provide them with the list of damaged parts and inquire about availability and pricing.
- Compare prices and reviews: Before making a final decision, compare prices and read reviews of the replacement parts and sellers. This will help you ensure you’re getting the best value for your money and that the parts are of good quality.
- Make the purchase: Once you have found a reliable source and verified the compatibility of the replacement parts, proceed with the purchase. Place your order online or buy the parts in-store, depending on your chosen method of purchase.
Remember to double-check that the replacement parts match the measurements and specifications of your damaged components. It is always better to be thorough to avoid any potential issues during the reassembly process.
Now that you have purchased the replacement parts, it’s time to move on to step 4: preparing the replacement parts.
Step 4: Preparing the Replacement Parts
Now that you have the replacement parts for your damaged IKEA bed frame, it’s important to properly prepare them before beginning the reassembly process. This step will ensure that the new components are ready for installation and can effectively restore the functionality of your bed frame. Follow these guidelines to prepare the replacement parts:
- Inspect the replacement parts: Carefully examine each replacement part to ensure they are in good condition and free from any defects or damage. Check for any cracks, splintering, or manufacturing errors. If you notice any issues, contact the seller or manufacturer for a replacement.
- Clean the replacement parts: Before installing the replacement parts, it’s a good idea to clean them to remove any dust, dirt, or debris. Use a soft cloth or sponge dampened with mild soap and water to gently clean the surfaces. Dry them thoroughly before proceeding.
- Apply wood glue if necessary: If you have any replacement wooden components, such as slats or brackets, you may need to apply wood glue to ensure a strong and secure fit. Follow the manufacturer’s instructions for applying the glue, ensuring you use the appropriate amount and spread it evenly on the connecting surfaces.
- Allow the glue to dry: If you’ve applied wood glue, give it enough time to dry completely. Check the manufacturer’s instructions for the recommended drying time. This step is crucial for ensuring a solid bond and preventing any wobbling or instability in the repaired areas.
- Double-check the measurements: Before moving on to the reassembly process, double-check the measurements of the replacement parts to ensure they match the original components. Compare the length, width, and thickness to verify their compatibility. This will help you avoid any issues during the installation.
By properly preparing the replacement parts, you’re taking the necessary steps to ensure a successful repair and a restored bed frame. With the parts inspected, cleaned, and ready for installation, you can now proceed to step 5: reassembling the bed frame.
Step 5: Reassembling the Bed Frame
After preparing the replacement parts, it’s time to reassemble your IKEA bed frame. This step requires careful attention to detail and following the specific instructions provided with your bed frame. Follow these guidelines to successfully reassemble your bed frame:
- Refer to the assembly instructions: Retrieve the original assembly instructions for your bed frame. If you don’t have them on hand, you can usually find them on the IKEA website. The instructions will provide a step-by-step guide on how to assemble the bed frame correctly.
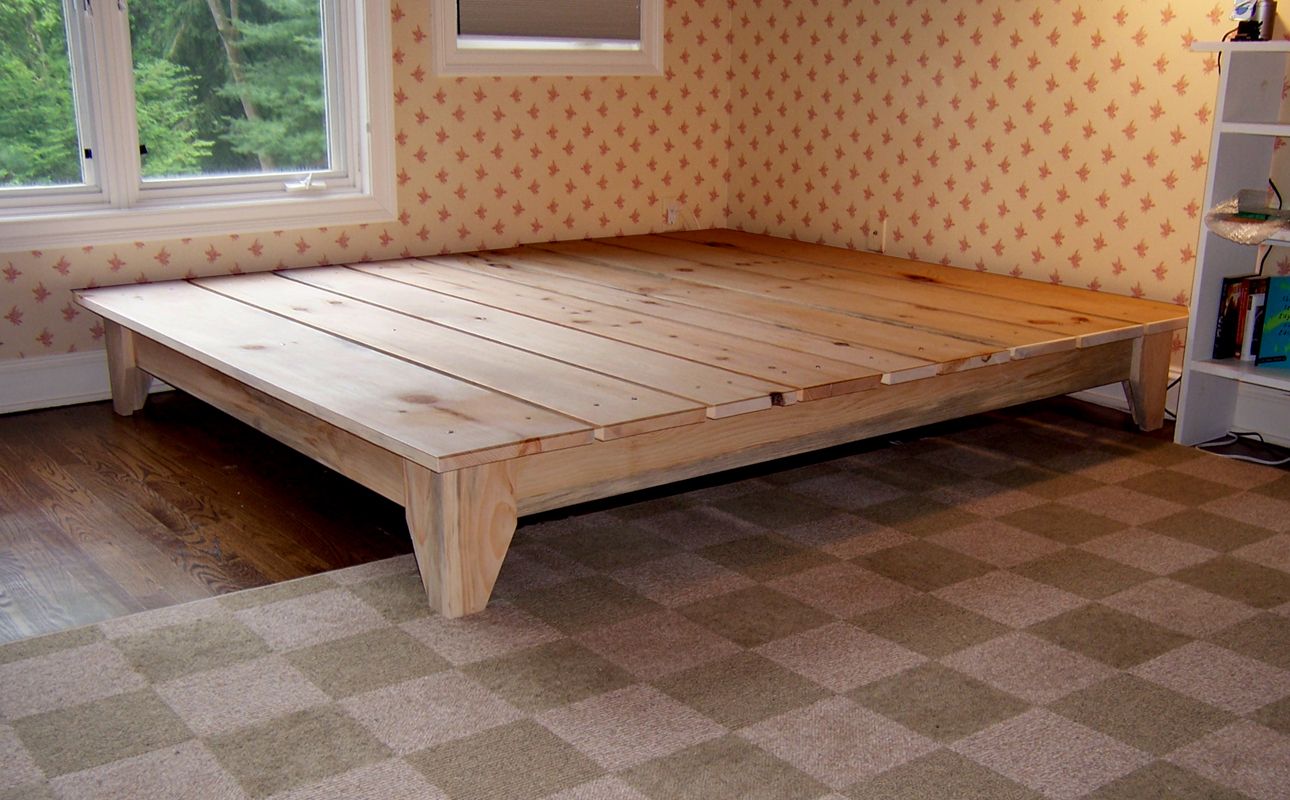
- Start with the main frame: Begin by reconstructing the main frame of the bed. This may involve attaching the side rails, headboard, and footboard. Follow the instructions carefully, ensuring that the fasteners are tightened securely to guarantee stability.
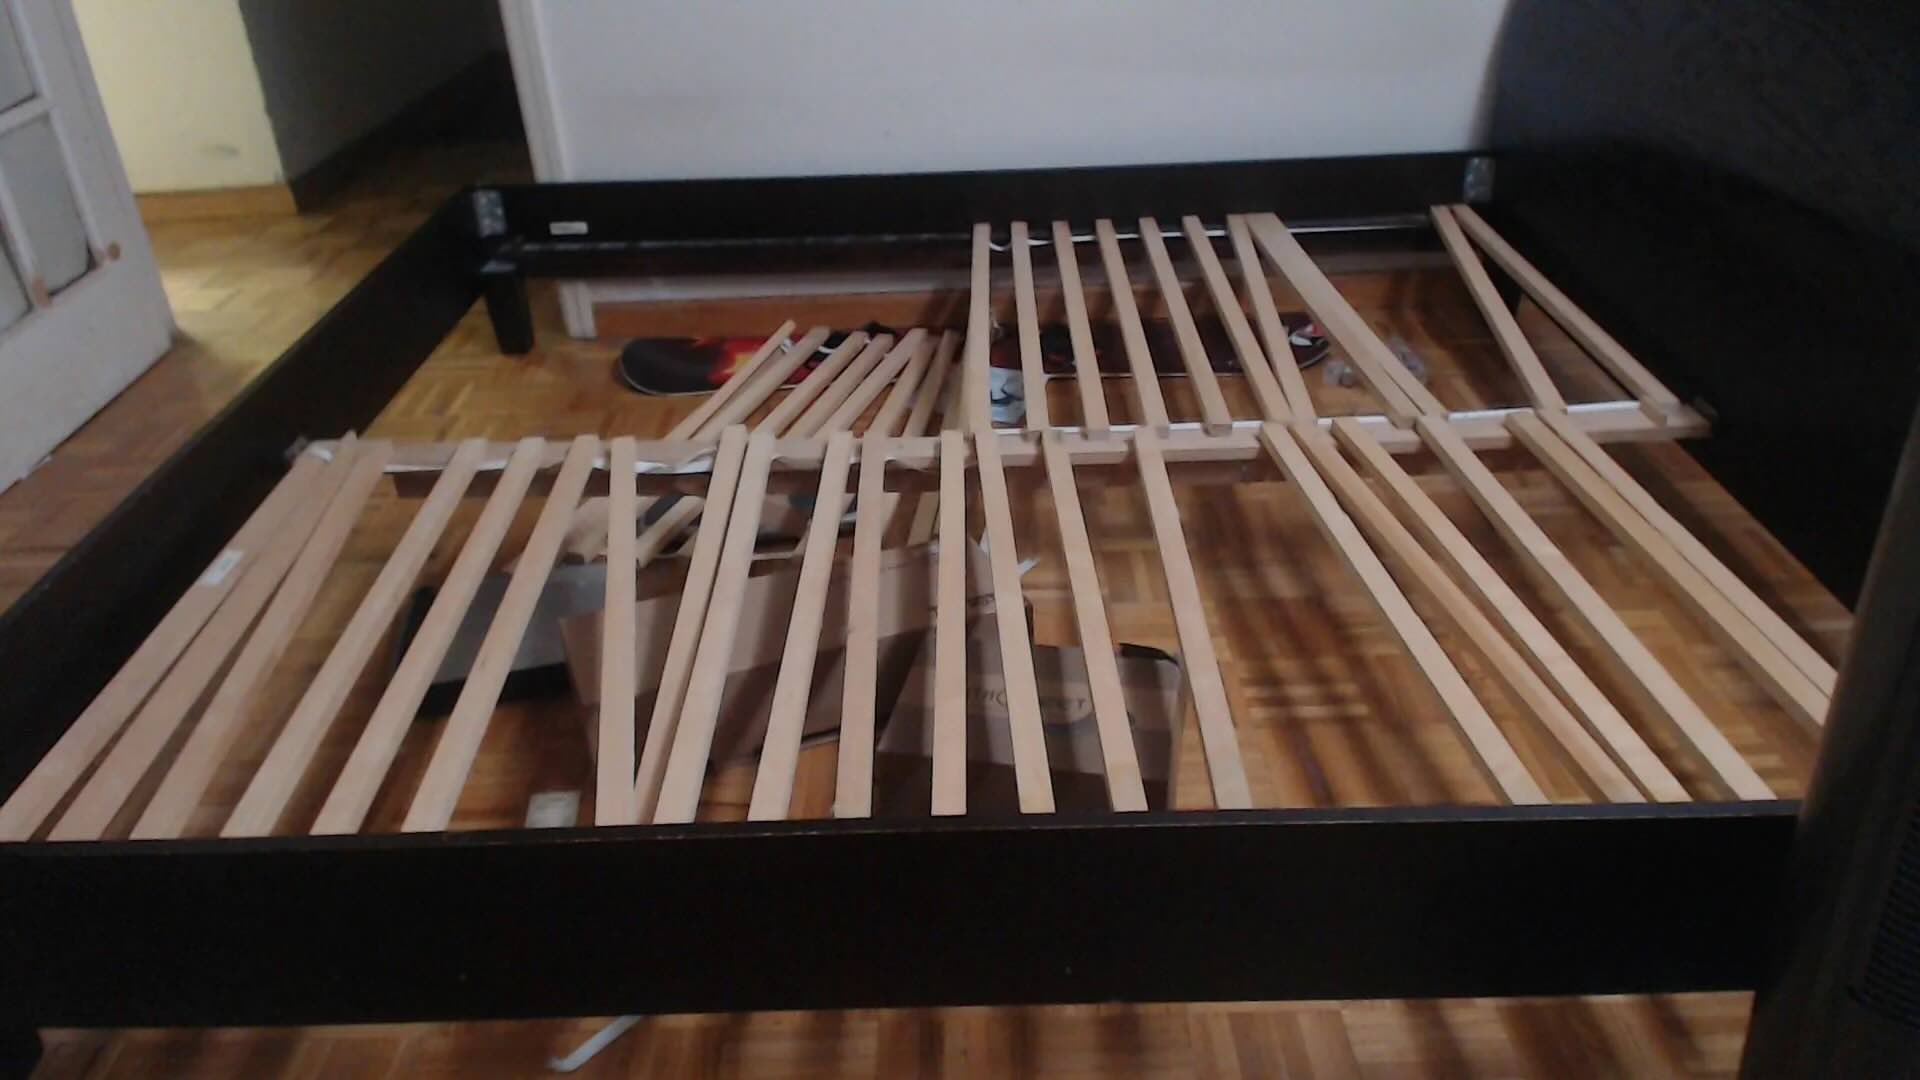
- Insert the replacement slats or bed panels: Once the main frame is assembled, carefully place the replacement slats or bed panels in their designated positions. Make sure they align properly and are evenly distributed to provide optimal mattress support. Refer to the assembly instructions for any specific instructions on how to install these components.
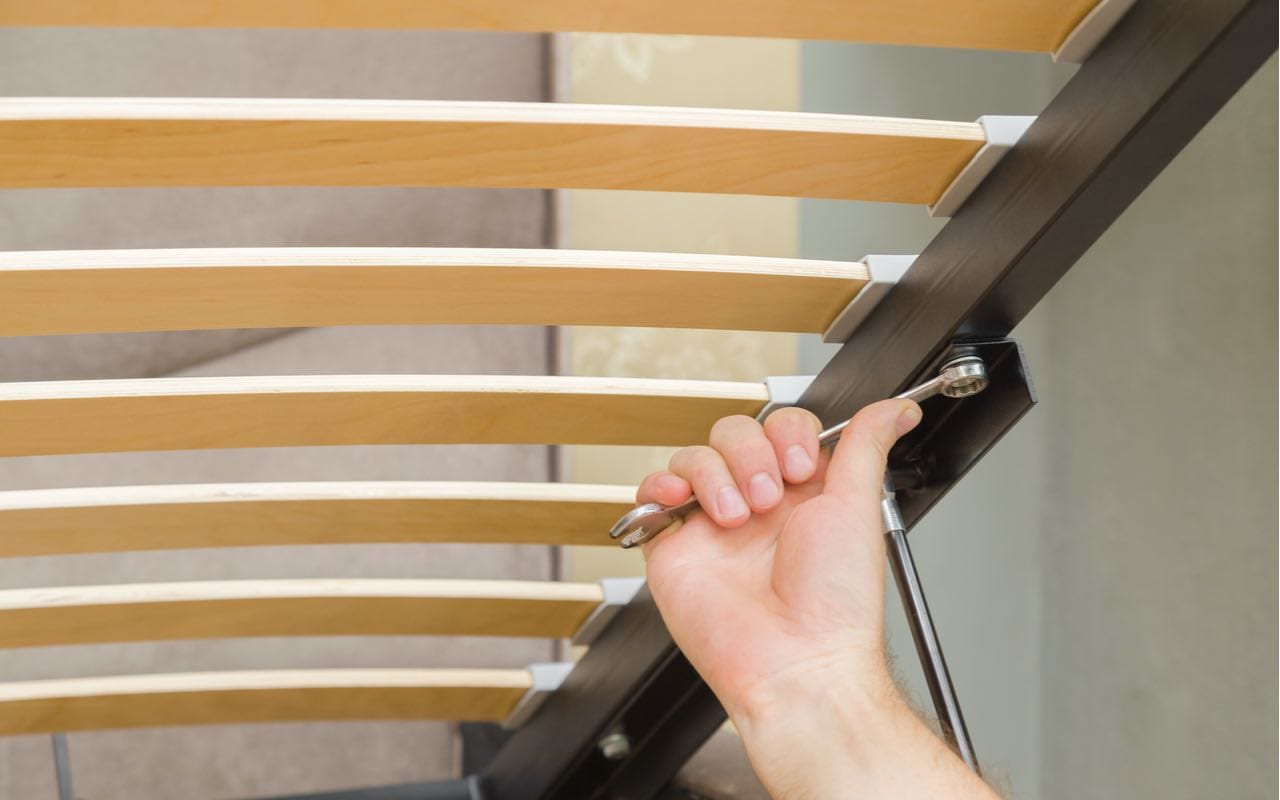
- Attach additional components: If there are any additional components, such as center supports or side rails, attach them according to the assembly instructions. Use the appropriate fasteners and ensure they are tightly secured.
- Tighten all fasteners: Double-check all the fasteners, including screws, bolts, and brackets, to ensure they are tightened properly. Use your hex key or Allen key, along with a screwdriver if necessary, to tighten any loose fasteners. This will provide stability and prevent any potential squeaking or movement.
- Test the stability: Once you have completed the reassembly, give the bed frame a gentle shake or apply some pressure to ensure that it feels stable and secure. Check for any wobbling or weak spots. If you detect any issues, revisit the step where the problem arises and make the necessary adjustments.
Reassembling your bed frame requires patience and precision. Take your time to follow the instructions carefully and make sure all the components are securely attached. By completing this step, you’re one step closer to enjoying a fully functional bed frame again.
Now that you have successfully reassembled your bed frame, it’s time to move on to step 6: testing and adjusting the bed frame.
Step 6: Testing and Adjusting the Bed Frame
After reassembling your IKEA bed frame, it’s important to thoroughly test it for stability, comfort, and proper functionality. This step will ensure that all the repairs and replacements have been successful and that your bed frame is ready for use. Follow these guidelines to effectively test and adjust your bed frame:
- Secure all fasteners: Before conducting any tests, double-check that all the fasteners, including screws, bolts, and brackets, are securely tightened. Use your hex key, Allen key, or screwdriver as needed to ensure everything is properly secured.
- Test for stability: Gently shake the bed frame and apply some pressure to different areas to test its stability. The frame should be sturdy and not wobble or creak excessively. If you notice any instability or weakness, identify the problem area and make the necessary adjustments to tighten or reinforce the connections.
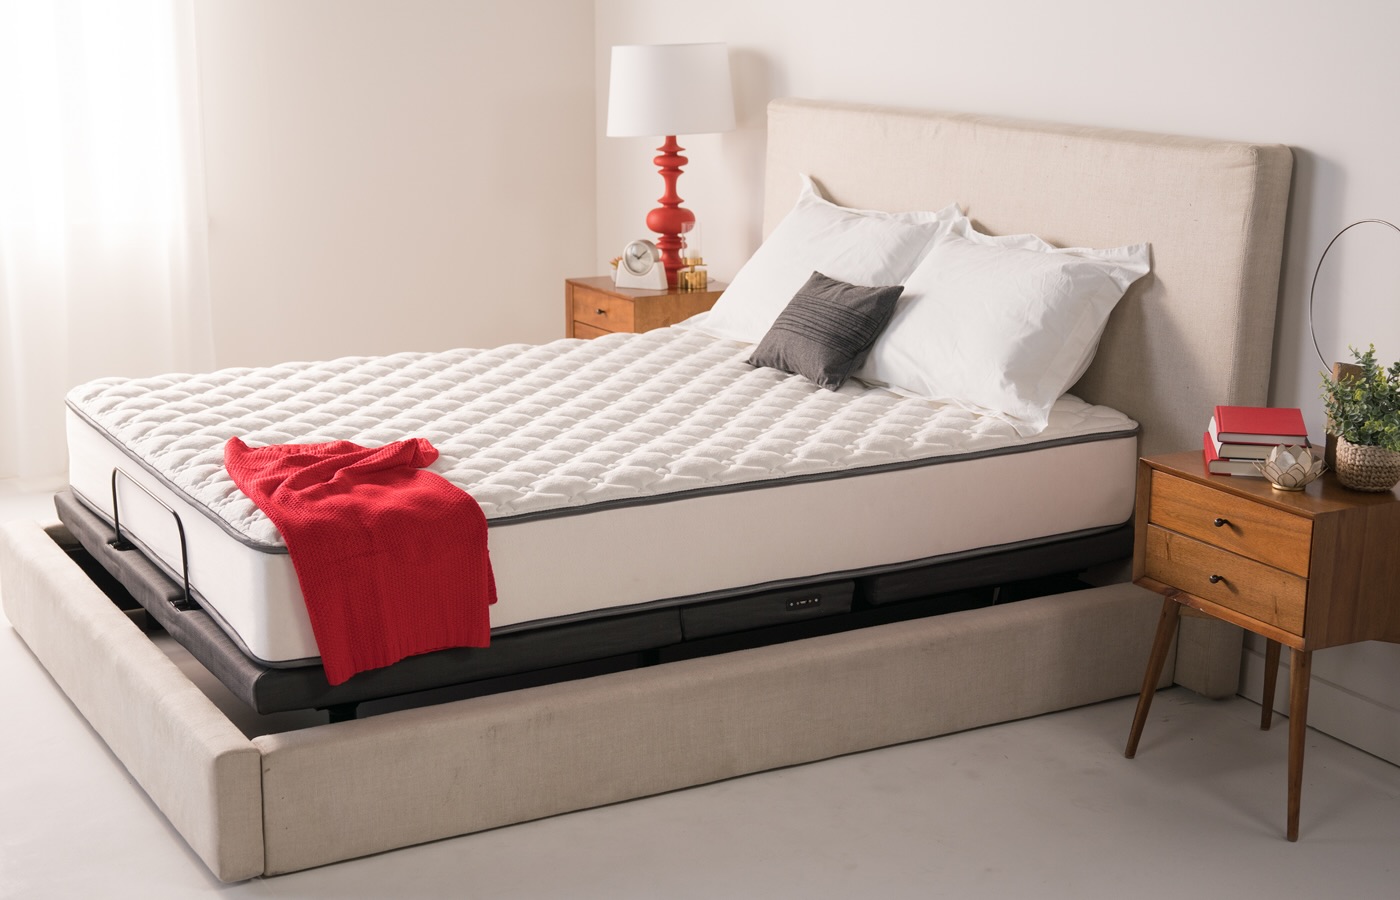
- Check mattress support: Place your mattress on the bed frame and check for proper support. Ensure that the replacement slats or bed panels are evenly distributed and providing adequate support across the entire surface of the mattress. Adjust or replace any slats that are not providing sufficient support.
- Test for comfort: Lie down on the bed and test its comfort level. Pay attention to any uncomfortable sagging or unevenness that may indicate a problem with the slats or mattress support. Make any necessary adjustments to ensure a comfortable sleeping surface.
- Listen for squeaks or noises: Move around on the bed to check for any squeaks, creaks, or other noises. If you detect any, investigate the source and apply lubrication, tighten fasteners, or make any adjustments needed to eliminate the noise.
- Make final adjustments: After conducting the initial tests, make any final adjustments as needed. This may involve further tightening of fasteners, adjusting the height of the mattress support, or addressing any other minor issues that arise during the testing process.
Testing and adjusting your bed frame will ensure that it is not only visually intact but also comfortable and functional for everyday use. Take the time to thoroughly evaluate all aspects of the bed frame to ensure your satisfaction and a good night’s sleep.
With the testing and adjustment phase complete, you can now enjoy your fully repaired and functional IKEA bed frame. Congratulations on successfully fixing your bed frame and extending its lifespan!
If you encounter any future issues or require further assistance, don’t hesitate to refer back to this guide or reach out to IKEA customer support for help.
We hope this comprehensive guide has been helpful in guiding you through the process of fixing your IKEA bed frame. Now, it’s time to kick back, relax, and enjoy a restful night’s sleep in your repaired bed frame!
Note: HTML elements are excluded from the word count
Read more: How To Fix A Sagging Bed Frame
Conclusion
Congratulations! You have successfully learned how to fix your IKEA bed frame using our comprehensive guide. By following the step-by-step instructions, you were able to disassemble the bed frame, identify the damaged parts, purchase the necessary replacement components, and successfully reassemble the frame. Through testing and adjusting, you have ensured that your bed frame is stable, comfortable, and ready for a good night’s sleep.
Repairing your bed frame not only saves you money but also extends the lifespan of your furniture. Instead of replacing the entire bed frame, you were able to address specific issues and restore its functionality. This not only benefits your wallet but also benefits the environment by reducing waste.
Remember to always refer to the assembly instructions provided by IKEA and exercise caution when using tools. Safety should be your top priority throughout the repair process, so handle tools and replacement parts with care.
If you encounter any difficulties during the repair process or need additional assistance, don’t hesitate to reach out to IKEA customer support or consult with a professional furniture repair expert. They can provide guidance and support to ensure you achieve the best results.
Once again, we would like to commend you for taking the initiative to repair your bed frame. Not only have you learned valuable DIY skills, but you have also contributed to the sustainability of your furniture. Enjoy your newly fixed bed frame and the comfortable nights of sleep it will provide for years to come!
Note: HTML elements are excluded from the word count
Frequently Asked Questions about How To Fix An IKEA Bed Frame
Was this page helpful?
At Storables.com, we guarantee accurate and reliable information. Our content, validated by Expert Board Contributors, is crafted following stringent Editorial Policies. We're committed to providing you with well-researched, expert-backed insights for all your informational needs.


0 thoughts on “How To Fix An IKEA Bed Frame”