
Furniture
How To Paint A Lamp Base
Modified: January 18, 2024
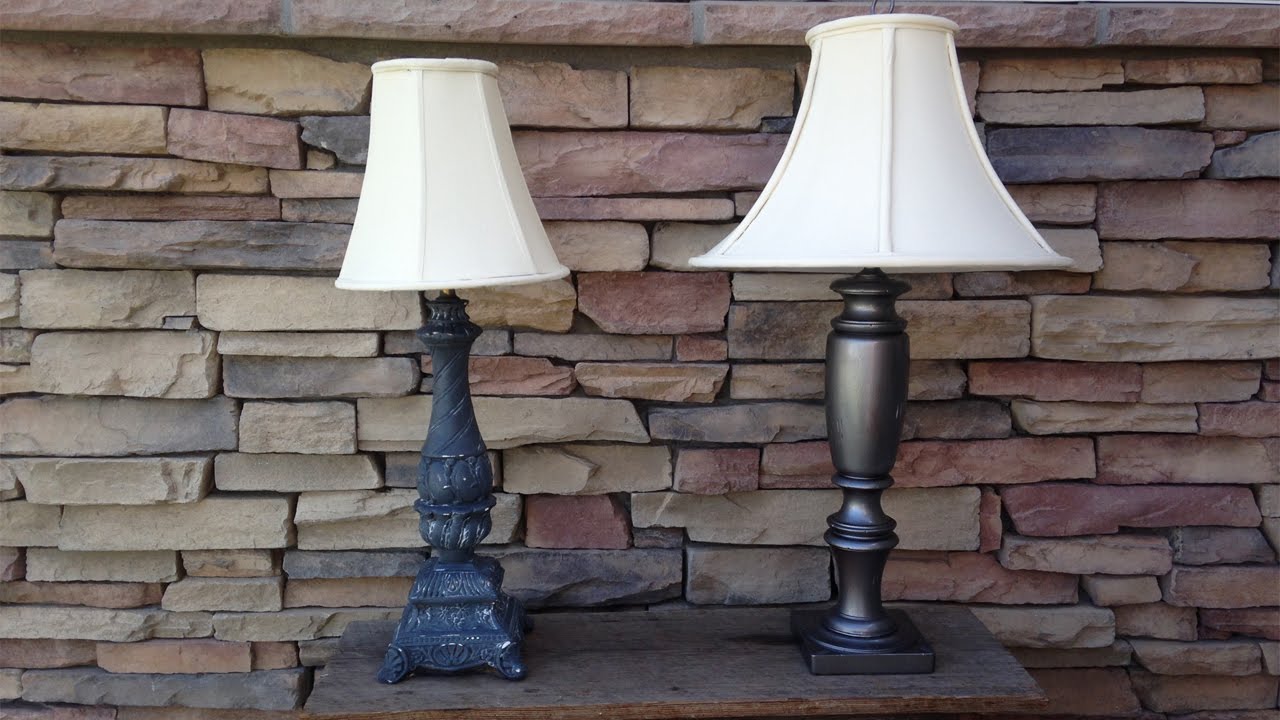
Transform your furniture with this step-by-step guide on how to paint a lamp base. Discover easy techniques to create a stylish and refreshed look for your home.
(Many of the links in this article redirect to a specific reviewed product. Your purchase of these products through affiliate links helps to generate commission for Storables.com, at no extra cost. Learn more)
Introduction
Painting a lamp base is a fantastic way to breathe new life into an old or dull piece of furniture. Whether you have a vintage lamp that needs a fresh coat of paint or you simply want to update the look of your current lamp, this DIY project is a great way to unleash your creativity. Plus, it’s a cost-effective way to transform the aesthetics of your space without investing in brand new furniture.
In this article, we’ll guide you through the process of painting a lamp base from start to finish. We’ll cover the materials you’ll need, the steps for preparing the lamp base, how to prime and paint the base, and how to add a protective finish. So, let’s get started and revitalize your lamp with a stunning new look!
Key Takeaways:
- Revitalize old lamps with a fresh coat of paint using the right materials and techniques. Unleash creativity, save money, and transform your space with this cost-effective DIY project.
- Achieve a professional-looking finish by properly preparing, priming, and painting your lamp base. Experiment with additional layers and protective finishes to add visual interest and ensure longevity.
Read more: How To Paint A Ceramic Lamp Base
Materials Needed
Before you begin painting your lamp base, it’s important to gather all the necessary materials. Here’s a list of items you’ll need:
- Drop cloth or old newspaper to protect your work area
- Sandpaper or sanding block (medium grit)
- Clean cloth or sponge for dusting and cleaning the lamp base
- Primer (specifically formulated for use on the lamp base material)
- Paintbrushes (one for applying the primer and another for painting the base)
- Acrylic or spray paint in your desired color
- Optional: additional paint colors for layering or creating a distressed look
- Clear topcoat or sealer for added protection
- Painter’s tape to protect any areas you don’t want to paint
- Plastic gloves to protect your hands
Having all these materials on hand will ensure a smooth and hassle-free painting process. Make sure to choose paint and primer appropriate for the material of your lamp base, such as metal, ceramic, or wood. Now, let’s move on to the next step: preparing the lamp base.
Preparing the Lamp Base
Before you start painting your lamp base, it’s essential to properly prepare the surface. This step ensures that the paint adheres well and provides a smooth finish. Follow these steps to prepare the lamp base:
- Turn off and unplug the lamp, and remove the lampshade and lightbulb for safety.
- Place a drop cloth or old newspaper underneath the lamp to protect your work area from paint splatters.
- If the lamp base has any loose or peeling paint, use sandpaper or a sanding block to gently remove the old paint. Be sure to wear plastic gloves to protect your hands.
- After sanding, wipe down the lamp base with a clean cloth or sponge to remove any dust or debris.
- If there are any stubborn stains or dirt on the lamp base, you can use a mild detergent solution to clean it thoroughly. Just make sure to rinse off any soap residue and dry the lamp base completely before moving on to the next step.
- If there are any areas you don’t want to paint, such as the lamp socket or cord, cover them with painter’s tape to protect them.
By properly preparing the lamp base, you’ll create a clean and smooth surface for the primer and paint to adhere to. This step also helps to ensure a professional-looking finish. Once you’ve finished preparing the lamp base, you’re ready to move on to the next step: priming.
Priming the Lamp Base
Now that you’ve prepared the lamp base, it’s time to apply a primer. Primer helps to create a smooth base for the paint and improves the adhesion of the paint to the lamp base. Follow these steps to prime the lamp base:
- Choose a primer specifically formulated for the material of your lamp base, such as metal, ceramic, or wood. You can find primers designed for various surfaces at your local hardware store.
- Stir the primer thoroughly to ensure it’s well mixed.
- Using a paintbrush designated for primer application, apply an even coat of primer to the entire lamp base. Make sure to cover all the surfaces, including the top, bottom, and sides of the lamp base.
- Allow the primer to dry completely according to the manufacturer’s instructions. This typically takes anywhere from 1 to 2 hours, but it’s best to check the label for accurate drying times.
- After the primer is dry, assess the coverage. If any areas appear patchy or have insufficient coverage, apply a second coat of primer and let it dry again.
- Once the primer is completely dry and you’re satisfied with the coverage, gently sand the lamp base with a fine-grit sandpaper or sanding block. This step helps to smooth out any imperfections and creates a better surface for the paint to adhere to.
- Wipe down the lamp base with a clean cloth or sponge to remove any dust created from sanding.
Priming the lamp base is an important step in achieving a professional-looking paint finish. It not only improves the adhesion of the paint but also helps to prevent the original color or any stains from bleeding through the new paint. Once the primer is dry and the lamp base is sanded and cleaned, you’re ready to move on to the exciting part: painting the lamp base!
Painting the Lamp Base
Now comes the fun part – painting the lamp base! Follow these steps to achieve a beautifully painted lamp base:
- Start by selecting your desired paint color. Acrylic or spray paint works well for lamp bases, but make sure it is suitable for the material of your lamp base.
- Stir the paint thoroughly to ensure it’s well mixed and ready for use.
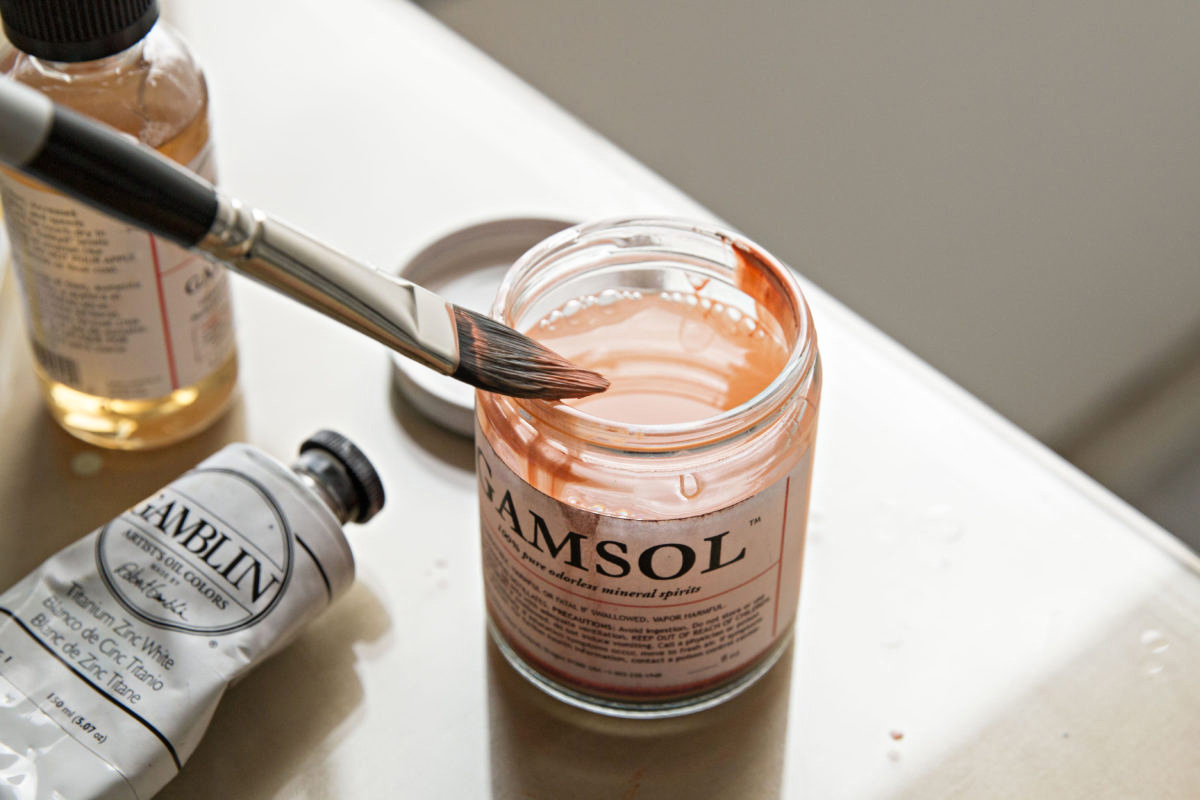
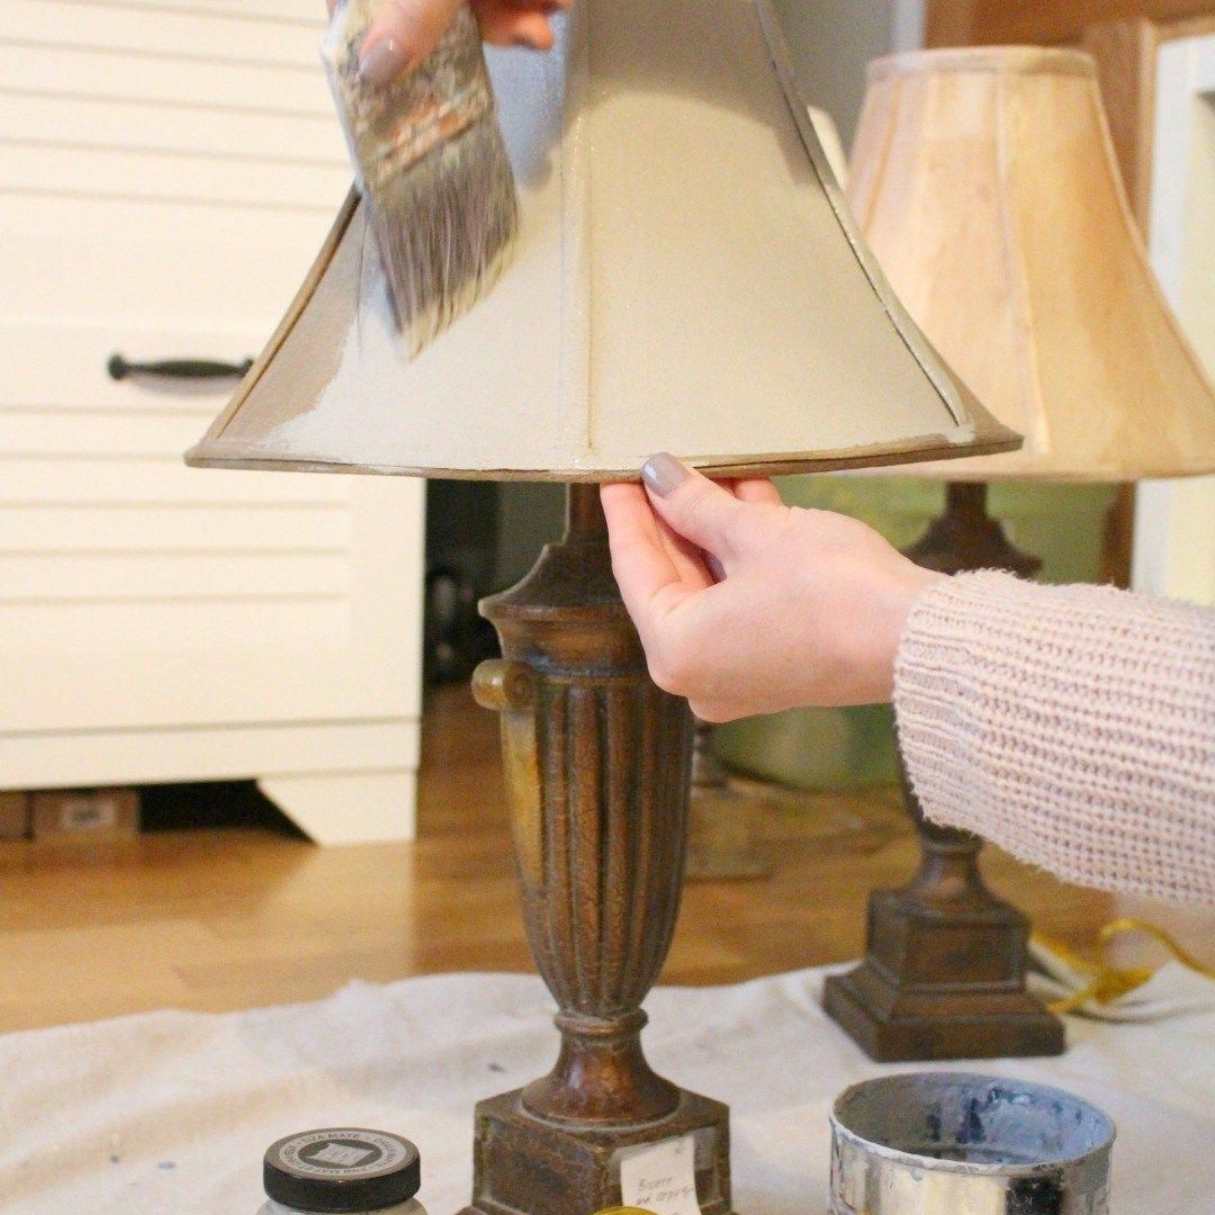
- Using a clean paintbrush designated for painting, apply an even coat of paint to the lamp base. Begin at the top and work your way down, making long, smooth strokes to achieve an even finish.
- Allow the first coat of paint to dry according to the paint manufacturer’s instructions. This typically takes around 1 to 2 hours, but be sure to refer to the label for accurate drying times.
- Assess the coverage after the first coat is dry. If any areas require additional paint or touch-ups, apply a second coat of paint. This will help to ensure a more even and vibrant color.
- Allow the second coat to dry completely. Be patient and avoid handling the lamp base prematurely, as this could smudge the paint or leave marks.
- If you want to add more visual interest to your lamp base, you can experiment with different techniques, such as layering additional paint colors for a unique effect or creating a distressed look. Just make sure to let each layer dry completely before moving on to the next step.
Remember to take your time and apply the paint evenly to achieve a professional finish. Once you’re satisfied with the paint coverage and any additional layers, it’s time to protect your newly painted lamp base with a sealant or protective finish.
Before painting a lamp base, make sure to clean and sand the surface to ensure the paint adheres properly. Use a primer to help the paint stick and finish with a clear sealant for added durability.
Read more: How To Repair A Lamp Base
Adding Additional Layers (optional)
If you want to take your lamp base to the next level and add some extra visual interest, you can consider adding additional layers of paint or experimenting with different techniques. Here are a few ideas to consider:
- Layering: After the base coat has dried, you can apply a second color of paint as a topcoat to create a layered effect. This can be done by using a dry brush technique, where you lightly brush the second color over the base coat, allowing some of the base color to show through. This creates depth and texture on the lamp base.
- Ombre effect: For a trendy ombre effect, choose two or more shades of the same color and paint the lamp base from top to bottom, gradually fading the color from dark to light or vice versa. This creates a subtle gradient effect that adds a touch of sophistication to your lamp.
- Distressed look: If you prefer a rustic or vintage look, you can distress the lamp base by sanding some areas after the paint has dried. Focus on corners, edges, and areas that would naturally wear over time. This technique gives the lamp base a worn-in appearance and adds character.
- Stencil or pattern: If you’re feeling adventurous, you can use stencils or create your own patterns to paint on the lamp base. This allows you to add unique designs or motifs that suit your personal style.
Remember, these additional layers and techniques are optional and depend on your desired outcome. Experiment and have fun to achieve the look that best matches your vision for the lamp base. After adding these additional layers, allow the paint to dry completely before moving on to the next step.
Adding a Protective Finish
Once you’ve painted and added any desired additional layers to your lamp base, it’s important to protect the finish and ensure its longevity. Adding a protective finish not only guards against scratches and wear but also gives your lamp base a polished and professional look. Follow these steps to add a protective finish:
- Choose a clear topcoat or sealer suitable for the material of your lamp base. Look for products specifically designed for paint protection, such as a clear acrylic sealer.
- Ensure that the paint on the lamp base is fully dry and free of any dust or debris before applying the protective finish.
- Using a clean paintbrush, apply a thin and even coat of the protective finish to the entire lamp base. Be careful not to apply too much, as it can result in a cloudy appearance or drips.
- Allow the protective finish to dry according to the manufacturer’s instructions. This can take several hours, so be patient and avoid touching or moving the lamp base during this period.
- If necessary, sand lightly between coats of the protective finish to achieve a smooth and even surface. However, be sure to wipe away any dust before applying subsequent coats.
- Repeat the process of applying thin and even coats of the protective finish until you achieve the desired level of protection and sheen. Two to three coats are generally sufficient.
- Once the final coat is dry, inspect the lamp base for any imperfections or missed spots. If necessary, touch up those areas with an additional coat of the protective finish.
Adding a protective finish not only safeguards your hard work but also enhances the durability of the painted surface. It provides an extra layer of protection against everyday wear and tear, ensuring your lamp base remains beautiful for years to come.
Final Touches
Now that you’ve successfully painted and protected your lamp base, it’s time to add the final touches to complete the transformation. Consider the following steps to ensure your lamp looks its best:
- Inspect the lamp base for any drips, smudges, or areas that need touch-up. Use a small paintbrush to fix any imperfections and ensure a smooth and flawless finish.
- Allow the lamp base to fully cure and dry according to the manufacturer’s instructions. This can take several days, so exercise patience and avoid handling or moving the lamp during this time.
- Reassemble the lamp by attaching the lampshade and inserting a light bulb. Make sure the lamp is properly secured.
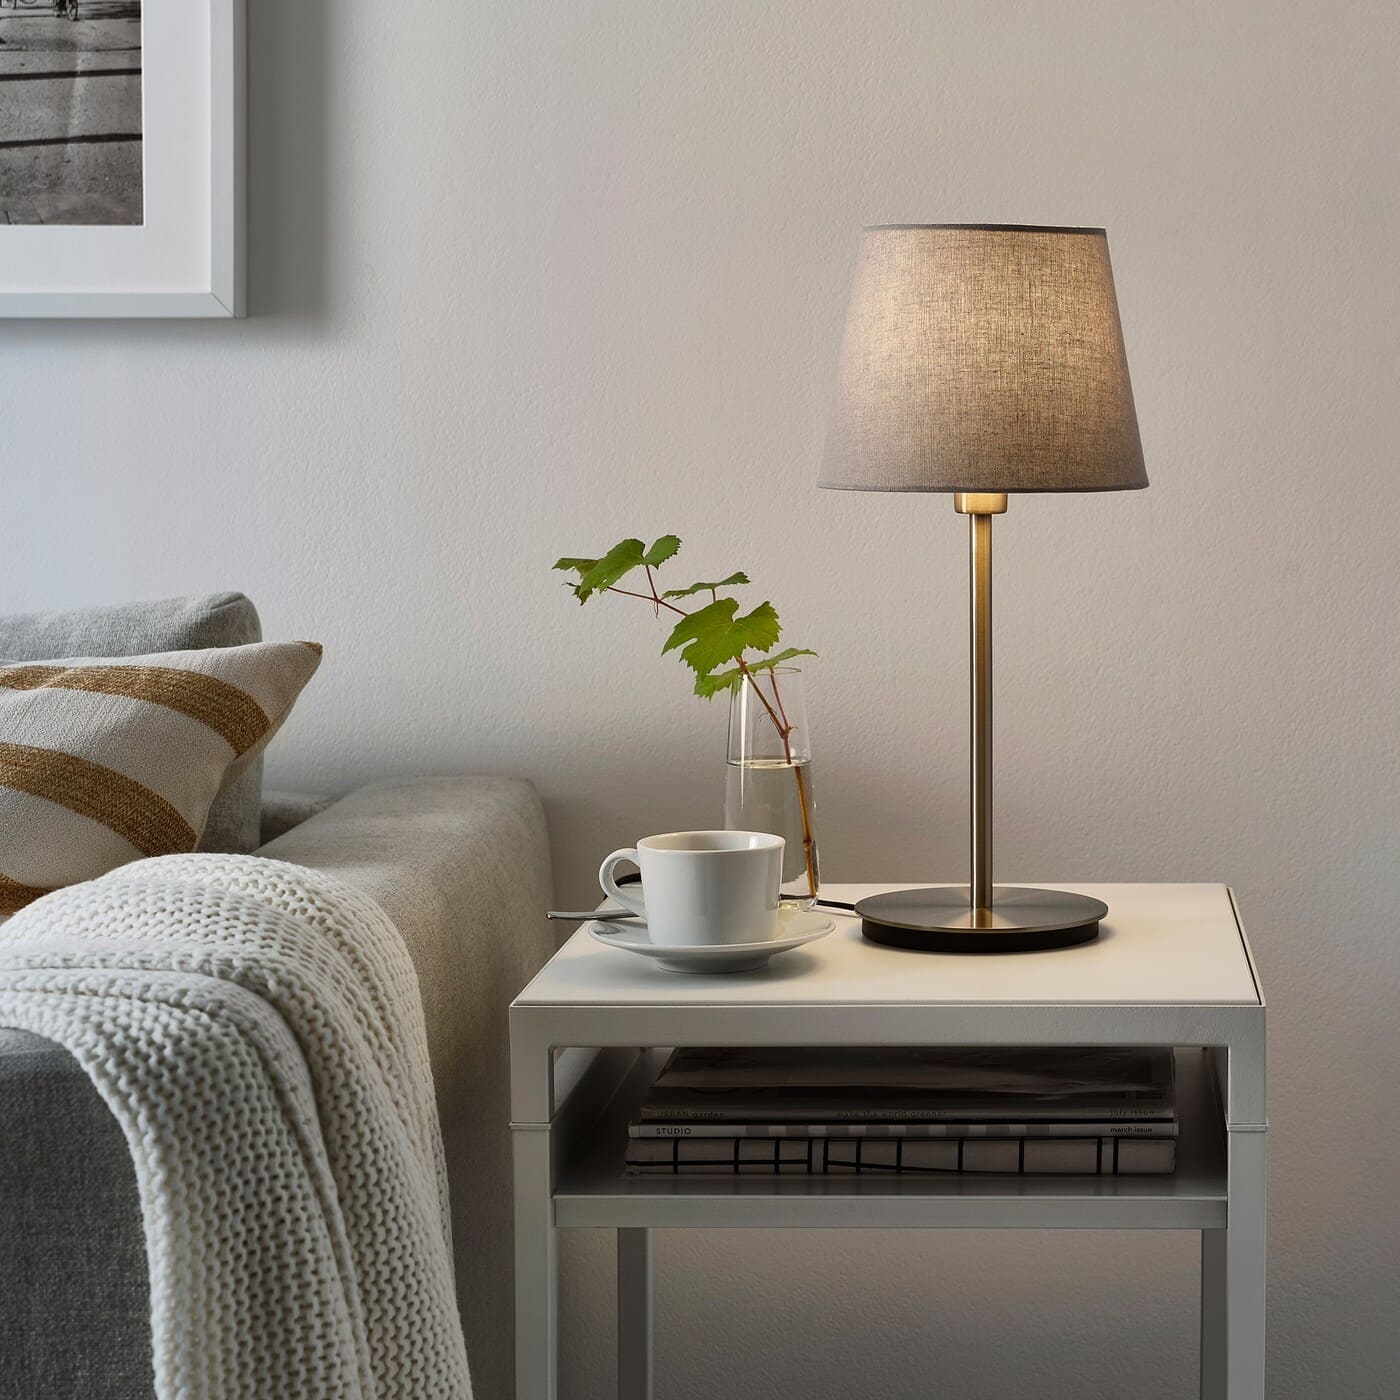
- Place the lamp in its intended location and admire the newly transformed piece. Take a step back and appreciate how the paint has revitalized the overall aesthetics of the lamp.
- Consider rearranging the space, adding complementary decor, or adjusting lighting to highlight the newly painted lamp base.
By paying attention to these final touches, you can ensure that your painted lamp base becomes a stunning focal point in your space. Enjoy the beauty and satisfaction of having transformed an old or dull lamp into a stylish and personalized piece of decor.
Remember, each lamp base and painting project is unique, so feel free to experiment and make adjustments along the way to achieve the desired look. Have fun and let your creativity shine as you embark on this DIY journey!
Conclusion
Congratulations on successfully completing the journey of painting your lamp base! By following the steps outlined in this guide, you have transformed a dull or outdated piece of furniture into a beautiful and personalized accent for your space.
Throughout this process, you’ve learned how to properly prepare the lamp base, apply primer and paint, and add optional layers and techniques to enhance the visual appeal. You’ve also discovered the significance of adding a protective finish to ensure the longevity of your newly painted lamp base.
Now that your lamp is complete, take a moment to admire the fruits of your labor. The new paint brings vibrancy and life to your lamp base, making it a standout feature in any room. It’s amazing how a simple DIY project can make such a significant impact on the overall aesthetics of your space.
Remember, painting a lamp base is just one of the many ways you can breathe new life into old furniture. This hands-on approach allows you to unleash your creativity, personalize your decor, and save money by transforming existing pieces rather than purchasing new ones.
So, the next time you come across a tired or outdated lamp, don’t hesitate to pick up a paintbrush and get creative. With the knowledge and skills you’ve gained from this article, you have the power to transform any piece of furniture into a true reflection of your style and personality.
Happy painting!
Frequently Asked Questions about How To Paint A Lamp Base
Was this page helpful?
At Storables.com, we guarantee accurate and reliable information. Our content, validated by Expert Board Contributors, is crafted following stringent Editorial Policies. We're committed to providing you with well-researched, expert-backed insights for all your informational needs.





0 thoughts on “How To Paint A Lamp Base”