Furniture
How To Paint A Lamp Shade
Modified: September 2, 2024
Learn how to paint a lamp shade and give your furniture a fresh new look. Follow our step-by-step guide and transform your home decor today.
(Many of the links in this article redirect to a specific reviewed product. Your purchase of these products through affiliate links helps to generate commission for Storables.com, at no extra cost. Learn more)
Introduction
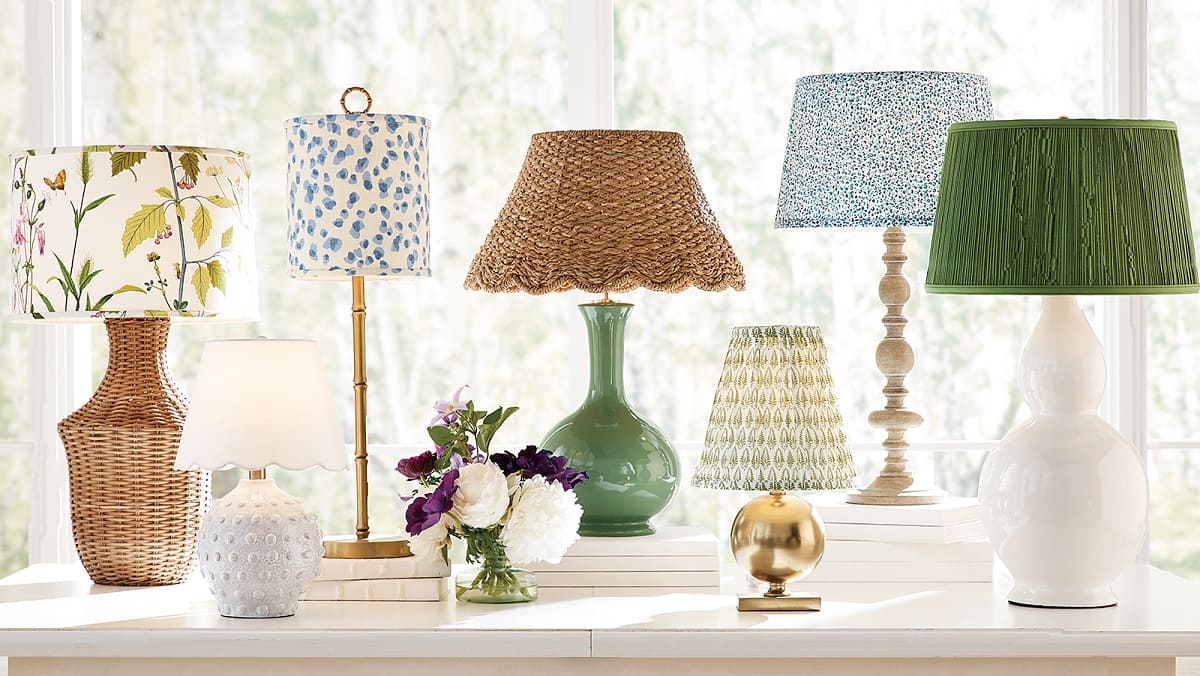
When it comes to updating the look of your home, small changes can make a big impact. One simple and affordable way to transform the ambiance of a room is by painting a lamp shade. Whether you’re looking to match it with your decor or add a pop of color, painting a lamp shade can give it a fresh new look that reflects your personal style.
In this article, we will take you through a step-by-step guide on how to paint a lamp shade. From gathering materials to adding your design, we’ll cover everything you need to know to successfully create a custom-painted lamp shade that will enhance the overall aesthetic of your space.
Before diving into the process, it’s important to note that not all lamp shades are suitable for painting. Generally, fabric and paper lamp shades work best for this project. Avoid painting shades made of plastic or glass, as paint may not adhere properly and could potentially damage the material.
Now that we have that covered, let’s get started on transforming your lamp shade into a beautiful, personalized piece of functional art!
Key Takeaways:
- Transform your lamp shade into a personalized piece of functional art by following a step-by-step guide to painting. Unleash your creativity, experiment with colors and designs, and enjoy the rewarding process of adding your personal touch to your living space.
- With the right materials and techniques, painting a lamp shade can be a fun and cost-effective way to refresh your home decor. From preparing the shade to sealing the paint, each step contributes to creating a unique and eye-catching accent that reflects your personal style.
Read more: How To Put A Lamp Shade On
Step 1: Gather Materials
Before you embark on your lamp shade painting journey, it’s essential to gather all the necessary materials. Having everything you need at hand will not only save you time but also ensure a smooth and hassle-free process. Here’s a list of items you’ll need:
- Lamp shade: Choose a fabric or paper lamp shade that is clean and free from any stains or damage. Make sure it’s the right size and shape for your lamp.
- Drop cloth or newspaper: Protect your work area by laying down a drop cloth or newspaper to catch any paint spills or drips.
- Painter’s tape: Use painter’s tape to cover any areas of the lamp shade that you don’t want to paint, such as the top and bottom edges or any decorative trim.
- Primer: Look for a quality primer that is suitable for your lamp shade material. The primer will help the paint adhere better and provide a smooth surface for your design.
- Paint: Choose acrylic or fabric paint in the colors of your choice. Acrylic paint works well on fabric lamp shades, while fabric paint is specifically designed for fabric surfaces. Consider using multiple colors to create a unique and eye-catching design.
- Paintbrushes: Get a variety of paintbrushes in different sizes and shapes to achieve different effects and detail work.
- Sponge or sponge brush: A sponge or sponge brush can be useful for applying paint in a more textured or blended manner.
- Palette or disposable plate: Use a palette or a disposable plate to mix and blend your paint colors.
- Water and cloth: Keep a container of water and a cloth handy to clean your brushes and correct any mistakes.
- Sealant: To protect your newly painted lamp shade and ensure its longevity, you’ll need a spray sealant or fabric spray to seal the paint. Make sure it’s suitable for the material of your lamp shade.
Having all these materials readily available will make the process of painting your lamp shade more convenient and enjoyable. Once you have gathered everything, you’re ready to move on to the next step: preparing the lamp shade for painting.
Step 2: Prepare the Lamp Shade
Before diving into the painting process, it’s important to properly prepare the lamp shade to ensure the best results. Follow these steps to prepare the lamp shade:
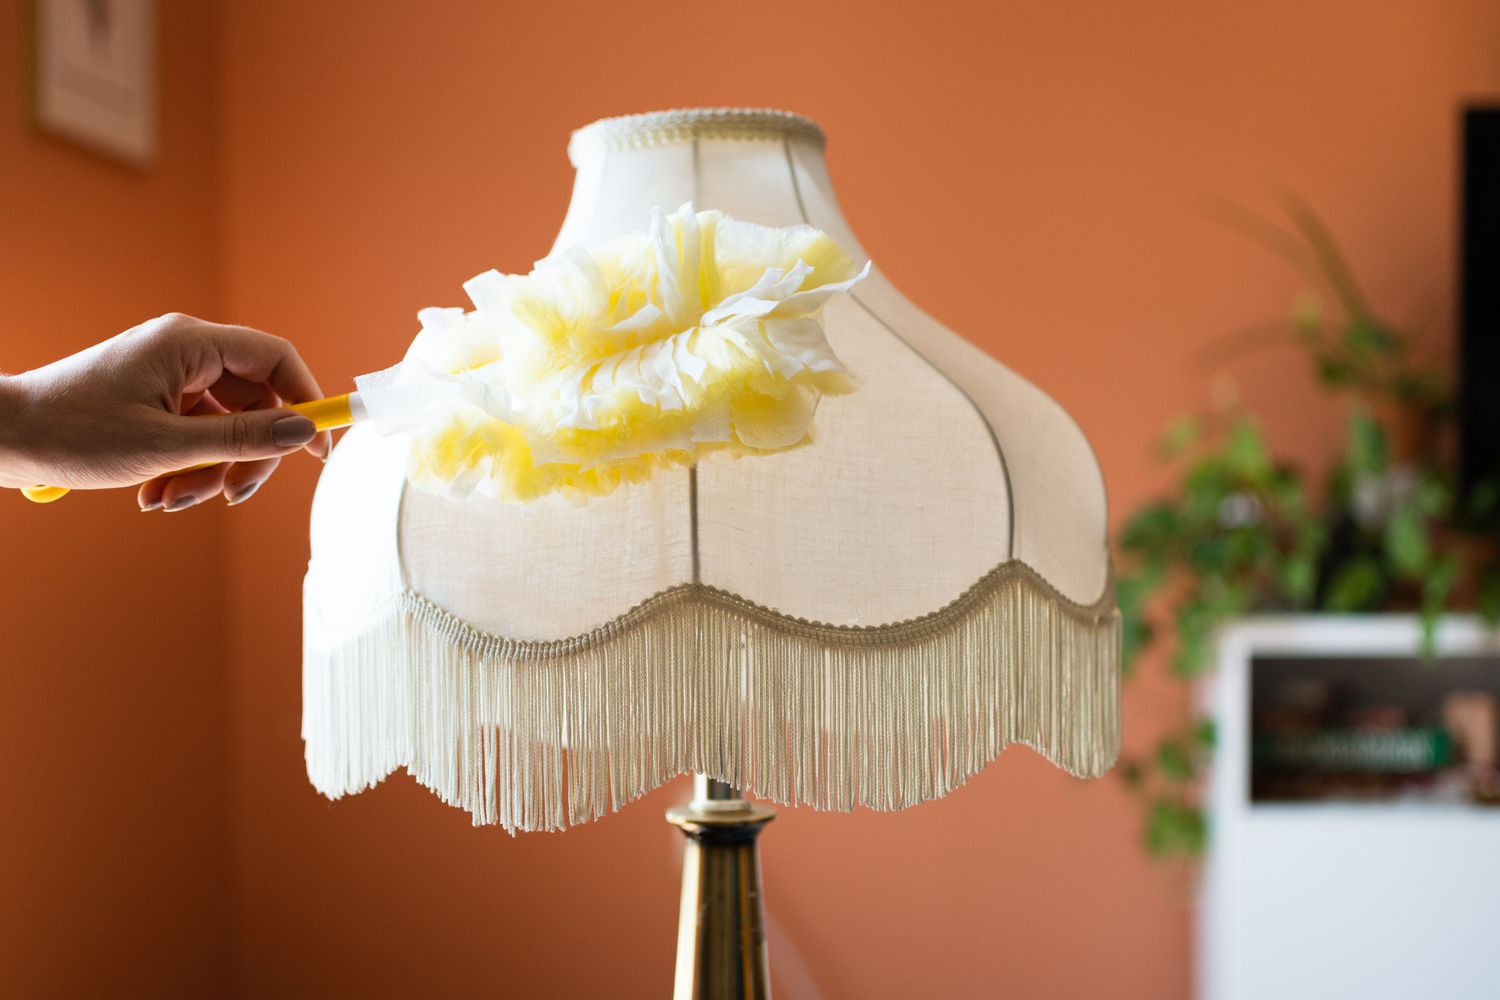
- Clean the lamp shade: Use a soft cloth or brush to gently remove any dust or dirt from the lamp shade. This will help the paint adhere better and create a smoother surface.
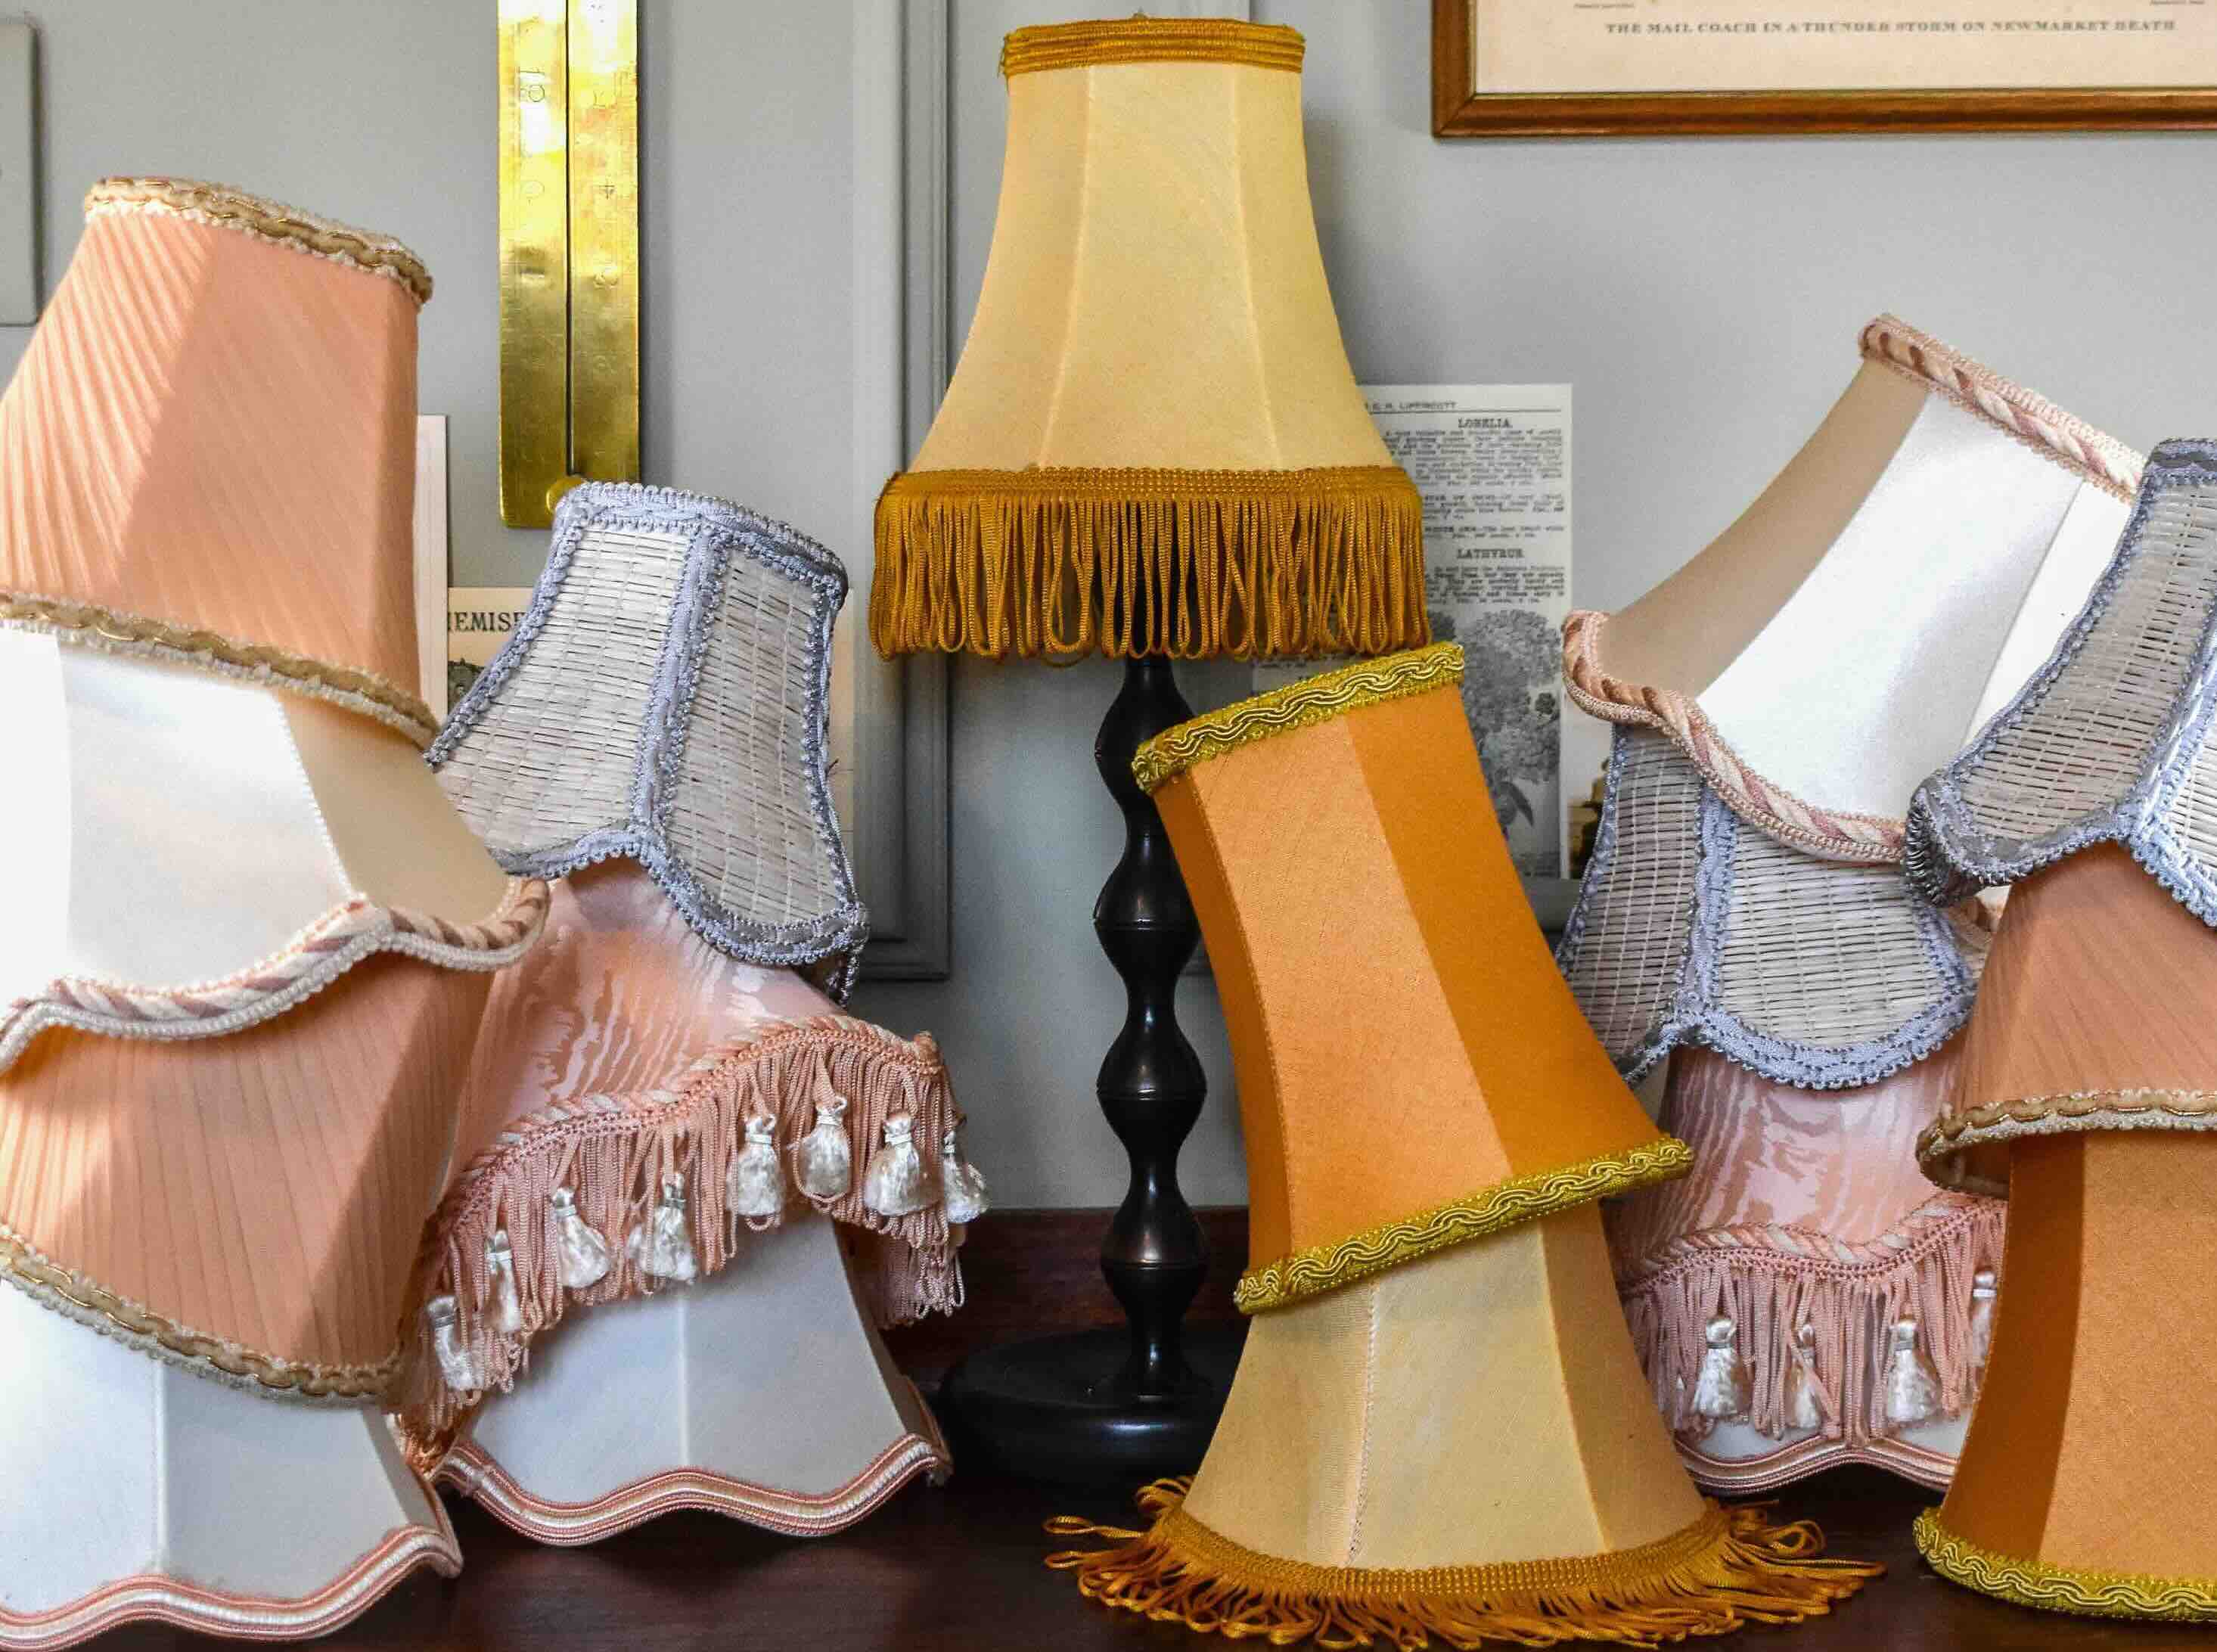
- Remove any decorative elements: If your lamp shade has any removable elements, such as trims, tassels, or beads, take them off before painting. These can be reattached later once the paint is dry.
- Tape off any areas you don’t want to paint: Use painter’s tape to cover any parts of the lamp shade that you want to keep unpainted. This could include the top and bottom edges, any decorative patterns, or the inside of the lamp shade.
- Ensure proper ventilation: If you are painting indoors, make sure the area is well-ventilated. Open windows or use fans to circulate the air and prevent the buildup of fumes from the paint.
- Place the lamp shade on a stable surface: Lay the lamp shade on a flat, stable surface covered with a drop cloth or newspaper. This will protect your work surface and make it easier to paint.
By properly preparing the lamp shade, you’ll create an ideal surface for the paint to adhere to and ensure a smooth painting process. Once you’ve completed these steps, you’re ready to move on to the next exciting phase: choosing your paint and colors!
Step 3: Choose Your Paint and Colors
Choosing the right paint and colors is a crucial step in creating a beautifully painted lamp shade that complements your decor. Consider the following factors when selecting your paint and colors:
- Lamp shade material: The material of your lamp shade will determine the type of paint you should use. Acrylic paint works well on fabric lamp shades, while fabric paint is specifically designed for fabric surfaces. Make sure to choose paints that are suitable for your lamp shade material.
- Color scheme: Think about the color scheme of the room where the lamp will be placed. Do you want the lamp shade to blend in or stand out? Consider the existing colors in the room and choose paint colors that will harmonize with the overall decor.
- Contrast or matching: Decide whether you want the lamp shade to contrast with the base or match it. If the lamp base is a bold color, you might choose a complementary color for the lamp shade. On the other hand, if you prefer a cohesive look, select a shade that closely matches the base color.
- Pattern or design: Determine if you want to create a specific pattern or design on the lamp shade. This could be anything from simple stripes to intricate floral motifs. Sketch out your design ideas or gather inspiration from magazines or online sources.
- Multiple colors: Consider using multiple colors to add visual interest and dimension to your lamp shade. You can create gradient effects, color blocking, or even stencil designs using different paint colors.
Once you have a clear vision of the colors and design you want, gather your chosen paint colors and tools. Remember to have an ample supply of paint for your project, as you may need more than anticipated. Prepare a palette or disposable plate to mix and blend your colors if necessary.
By considering these factors and having a clear vision in mind, you can confidently move on to the next step: applying primer to the lamp shade.
Step 4: Apply Primer
Before applying paint to your lamp shade, it’s essential to apply a primer. Primer not only helps the paint adhere better but also creates a smooth, even surface for your design. Follow these steps to apply primer to your lamp shade:
- Read the instructions: Different types of primer may have specific instructions or recommendations for application. Make sure to read and follow the instructions provided by the manufacturer.
- Prepare your work area: Lay down a drop cloth or newspaper to protect your work surface. Ensure proper ventilation in the room by opening windows or using fans.
- Shake the primer: Shake the primer can or stir the primer thoroughly if it’s in a container. This ensures that the primer is well mixed and ready for application.
- Apply the primer: Using a brush or sponge brush, apply a thin and even layer of primer to the entire surface of the lamp shade. Start from the top and work your way down, ensuring that you cover all areas. Take care not to apply too much primer, as it can prolong the drying time.
- Allow the primer to dry: Follow the drying time specified on the primer can or container. It’s crucial to let the primer completely dry before moving on to the next step.
- Inspect for any imperfections: Once the primer is dry, inspect the lamp shade for any imperfections or areas that may require additional priming. If needed, you can apply a second coat of primer to ensure a smooth base for painting. Allow the second coat to dry completely as well.
By applying primer to your lamp shade, you’re creating a solid foundation for the paint and ensuring that it adheres properly. The primer will also help to prevent the original color of the lamp shade from showing through. Once the primer is dry and any imperfections are corrected, you’re now ready to move on to the exciting part: painting the base color!
Read more: How To Cover A Lamp Shade
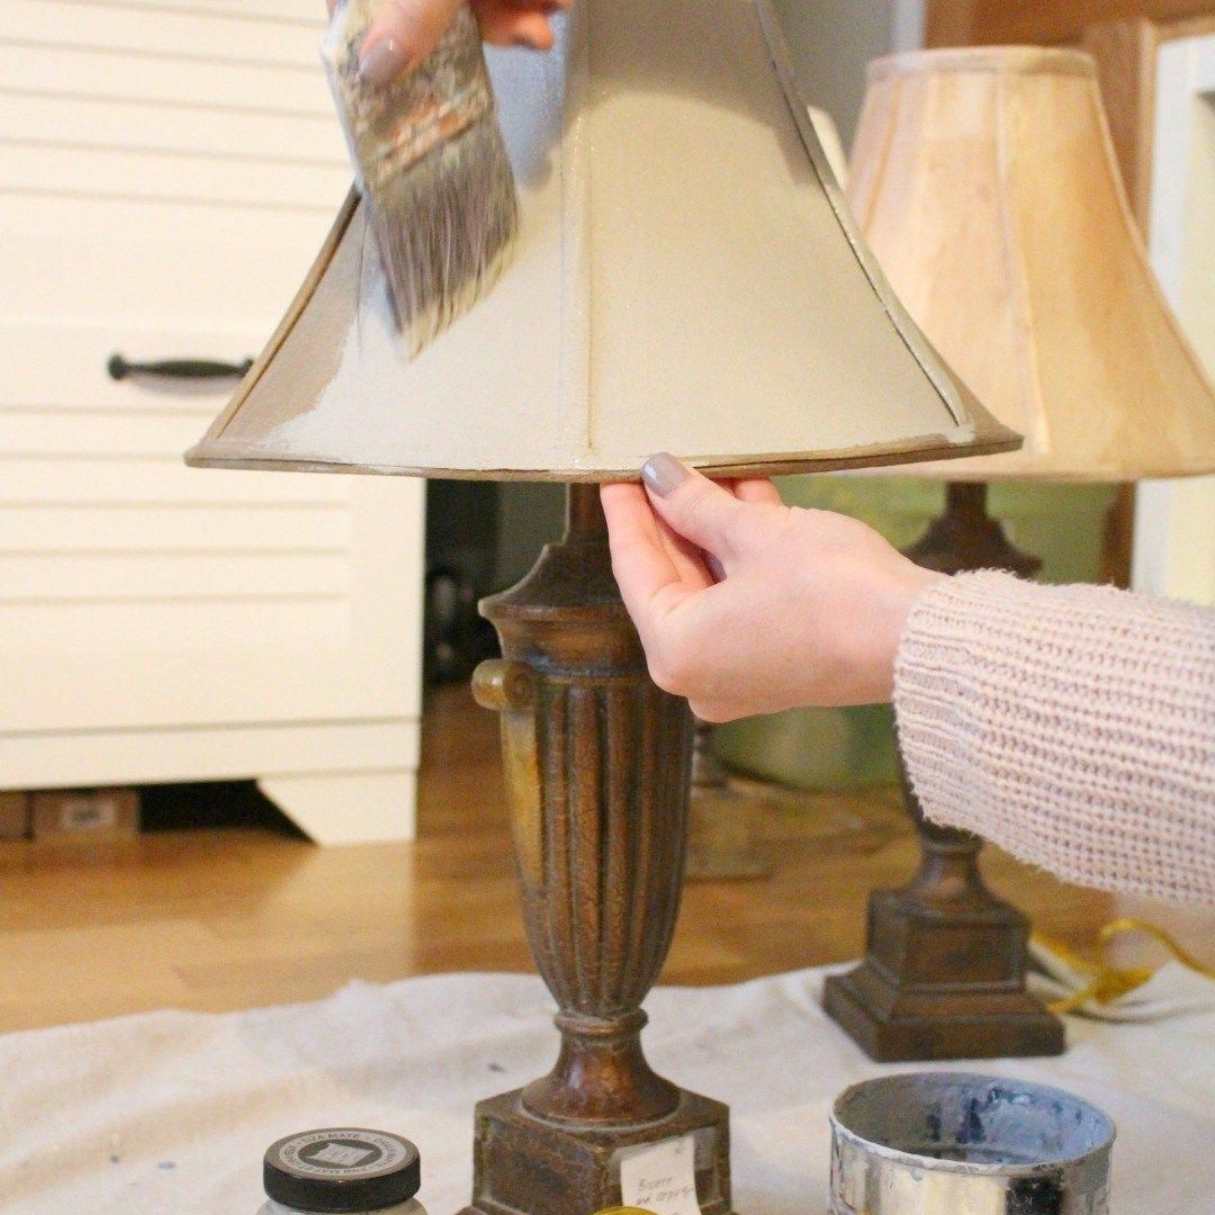
Step 5: Paint the Base Color
Now that you have prepared your lamp shade with primer, it’s time to paint the base color. The base color will serve as the foundation for your design and set the overall tone of the lamp shade. Follow these steps to paint the base color:
- Choose your base color: Select the paint color that will be the primary color of your lamp shade. Consider the color scheme of the room and the effect you want to achieve. Use a paintbrush or sponge brush to apply the base color evenly over the lamp shade. Start from the top and work your way down, ensuring that you cover all areas.
- Apply multiple coats if needed: Depending on the opacity of the paint and the desired intensity of the color, you may need to apply multiple coats. Allow each coat to dry completely before applying the next one. This will ensure a smooth and even base color.
- Blend or layer colors (optional): If you want to create a more textured or layered effect, you can blend different shades of the base color or create an ombre effect. Apply the lighter shade first and gradually add the darker shade to create a seamless transition.
- Allow the paint to dry: It’s crucial to let the base color dry completely before moving on to the next step. Follow the drying time specified on the paint container.
Painting the base color is an exciting step as it lays the foundation for your design. With a well-applied base color, you’re now ready to unleash your creativity and move on to the next step: adding your desired design or pattern to the lamp shade.
When painting a lamp shade, make sure to clean and sand the surface before applying a primer to ensure the paint adheres properly. Use light, even coats of spray paint for a smooth finish.
Step 6: Add Design or Pattern
Now comes the fun part – adding your desired design or pattern to your lamp shade! This is where you can let your creativity shine and make your lamp shade truly unique. Follow these steps to add your design or pattern:
- Plan your design: Before you start painting, it’s helpful to plan out your design on the lamp shade. You can sketch it out on a piece of paper or use painter’s tape to create guidelines on the shade. Planning ahead will help you achieve a cohesive and well-executed design.
- Use different brushes and techniques: Experiment with different brushes and techniques to achieve the desired effect. You can use fine brushes for intricate details or larger brushes for broader strokes. Additionally, consider using sponges for a textured look or stencils for precise patterns.
- Choose complementary colors: Select colors that complement the base color and the overall color scheme of the room. This will help create a cohesive and visually pleasing design. You can create patterns, shapes, or even paint images if you’re feeling ambitious.
- Start painting your design: Begin painting your design, following the guidelines you created earlier. Take your time and work steadily, using light, even strokes. Layer the colors if necessary, allowing each layer to dry before adding more details.
- Correct any mistakes: If you make any mistakes or are unhappy with a certain part of your design, don’t panic! You can easily correct mistakes by using a damp cloth or a cotton swab to gently remove the unwanted paint. Alternatively, you can paint over the area with the base color and start again.
- Allow the paint to dry: Once you have completed your design, allow the paint to dry completely. This is essential to ensure that the colors are set and won’t smudge or smear when you seal the paint.
Adding your design or pattern is an exciting opportunity to showcase your personal style and creativity. Enjoy the process and don’t be afraid to try different techniques or experiment with colors. Once your design is complete and the paint is dry, it’s time to move on to the next step: sealing the paint to protect your beautiful creation.
Step 7: Allow the Paint to Dry
After putting in the effort to paint your lamp shade and add your desired design or pattern, it’s crucial to allow the paint to dry properly. This will ensure that the paint sets and adheres well to the lamp shade’s surface. Follow these steps to allow the paint to dry effectively:
- Find a well-ventilated area: Choose a spot where the lamp shade can be left undisturbed for the drying process. Make sure the area is well-ventilated to allow the paint to dry faster and minimize any potential fumes.
- Avoid touching or moving the lamp shade: To prevent smudging or smearing, refrain from touching or moving the lamp shade while the paint is drying. Even if the paint appears dry to the touch, it may take longer for it to fully cure.
- Follow the recommended drying time: Different types of paint may have varying drying times. Refer to the instructions on the paint container or consult the manufacturer’s guidelines for the recommended drying time. Generally, it’s best to allow the paint to dry for 24-48 hours.
- Consider the humidity: Humidity levels can affect the drying time of paint. If the air is too humid, it may take longer for the paint to dry. In such cases, you can use fans or dehumidifiers to expedite the drying process.
- Perform a touch test: Before proceeding to the next step, perform a gentle touch test on a discreet area of the lamp shade. If the paint feels dry and does not transfer onto your finger, it’s likely ready for the next step.
Properly allowing the paint to dry will ensure that your design stays intact and the lamp shade looks its best. Rushing the drying process can lead to smudges, smears, or even damage to your hard work. Once the paint has dried, you can move on to the final step: sealing the paint to protect and preserve the finish.
Step 8: Seal the Paint
After the paint has dried on your lamp shade and your design is looking fabulous, it’s crucial to seal the paint to protect it and ensure its longevity. Sealing the paint will help prevent any chipping, cracking, or fading over time. Follow these steps to properly seal the paint on your lamp shade:
- Choose the right sealant: Select a sealant that is suitable for the type of paint and material of your lamp shade. For fabric lamp shades, look for a fabric sealant that offers protection against fading and smudging. If you used acrylic paint, an acrylic spray sealer is recommended.
- Read the instructions: Before applying the sealant, carefully read and follow the instructions provided by the manufacturer. This will ensure that you apply the sealant correctly and achieve the desired results.
- Prepare your work area: Lay down a drop cloth or newspaper to protect your work surface. Work in a well-ventilated area to avoid inhaling any fumes from the sealant.
- Apply the sealant: Holding the can approximately 8-10 inches away from the lamp shade, spray a thin, even layer of sealant over the entire surface. Be sure to cover all areas of the paint and pay extra attention to any intricate details or exposed areas.
- Allow the sealant to dry: Follow the recommended drying time specified on the sealant can. It’s important to give the sealant enough time to dry and cure properly before reattaching the lamp shade.
- Optional: Apply additional coats of sealant: Depending on the type of paint, the desired level of protection, and the manufacturer’s recommendations, you may want to apply additional coats of sealant. Allow each coat to dry before applying the next one.
Sealing the paint on your lamp shade is a crucial step to protect your hard work and ensure its longevity. The sealant will provide a protective barrier against wear and tear, allowing your painted design to shine for years to come.
Once the sealant has dried completely, you’re one step away from enjoying your newly painted and protected lamp shade. It’s time to move on to the final step: reattaching the lamp shade to the base.
Read more: How To Dye Lamp Shades
Step 9: Reattach the Lamp Shade
Now that your painted lamp shade is fully dry and protected with a sealant, it’s time to reattach it to the lamp base. Follow these steps to securely reattach your lamp shade:
- Clean the lamp base: Before reattaching the lamp shade, give the lamp base a quick wipe-down to remove any dust or dirt. This will ensure that your freshly painted lamp shade is showcased on a clean surface.
- Align the lamp shade: Carefully align the wire frame or attachment points on the lamp shade with the corresponding parts on the lamp base. Ensure that the shade is evenly positioned and straight.
- Secure the lamp shade: Depending on the style of your lamp, it may have various methods of securing the shade. This could include twisting, tightening screws, or latching mechanisms. Refer to the manufacturer’s instructions or use common sense to secure the lamp shade in place.
- Double-check stability: Once the lamp shade is attached, gently test its stability by giving it a slight wiggle. If it feels loose or unstable, adjust the attachment points or fasteners to ensure a secure fit.
- Test the lamp: Finally, plug in the lamp and switch it on to admire your newly painted lamp shade. Make sure that the light is working properly and that the shade does not block the light or cause any obstruction.
Reattaching the lamp shade is the final step in completing your lamp transformation. Take a moment to appreciate your work and how the painted lamp shade has enhanced the overall aesthetic of the room.
Remember, as with any home improvement project, safety is important. Ensure that the lamp is properly wired, the bulb is suitable for the lamp, and all electrical connections are secure.
With your lamp shade securely reattached, you can now enjoy the refreshed and personalized look it brings to your space. Sit back, relax, and bask in the warm glow of your beautiful, painted lamp shade!
Conclusion
Painting a lamp shade is a creative and cost-effective way to transform the look and feel of a room. By following the step-by-step guide outlined in this article, you’ve learned how to successfully paint a lamp shade and create a personalized piece of functional art. Let’s recap the journey:
- Gathered all the necessary materials, including the lamp shade, paint, brushes, and sealant.
- Prepared the lamp shade by cleaning it, removing any decorative elements, and taping off areas to be left unpainted.
- Selected the desired paint colors and design, considering the color scheme and desired effect.
- Applied primer to ensure better paint adhesion and a smooth surface.
- Painted the base color, allowing for multiple coats if needed to achieve the desired opacity.
- Added a unique design or pattern using different brushes and techniques.
- Allowed the paint to dry completely to avoid smudging or smearing.
- Sealed the paint with a suitable sealant to protect and preserve the finish.
- Reattached the lamp shade to the lamp base, ensuring it is secure and aligned.
By following these steps, you’ve not only transformed a plain lamp shade into a personalized and eye-catching piece but also added your own touch to your home’s decor. Whether you chose to paint a bold design or a subtle pattern, your newly painted lamp shade now serves as a unique accent that reflects your personal style.
Remember, creativity knows no bounds, so feel free to experiment with different colors, designs, and techniques. Don’t be afraid to let your imagination run wild and explore new possibilities. Painting a lamp shade is a fun and rewarding project that allows you to unleash your artistic flair and bring a touch of your personality to your living space.
Now, gather your materials, let your creativity flow, and embark on the exciting journey of painting a lamp shade. Enjoy the process and the transformation it brings to your home!
Frequently Asked Questions about How To Paint A Lamp Shade
Was this page helpful?
At Storables.com, we guarantee accurate and reliable information. Our content, validated by Expert Board Contributors, is crafted following stringent Editorial Policies. We're committed to providing you with well-researched, expert-backed insights for all your informational needs.