Furniture
How To Tighten A Swing Arm Lamp
Modified: December 7, 2023
Learn how to tighten a swing arm lamp with this easy step-by-step guide. Enhance the durability of your furniture with these simple tips.
(Many of the links in this article redirect to a specific reviewed product. Your purchase of these products through affiliate links helps to generate commission for Storables.com, at no extra cost. Learn more)
Introduction
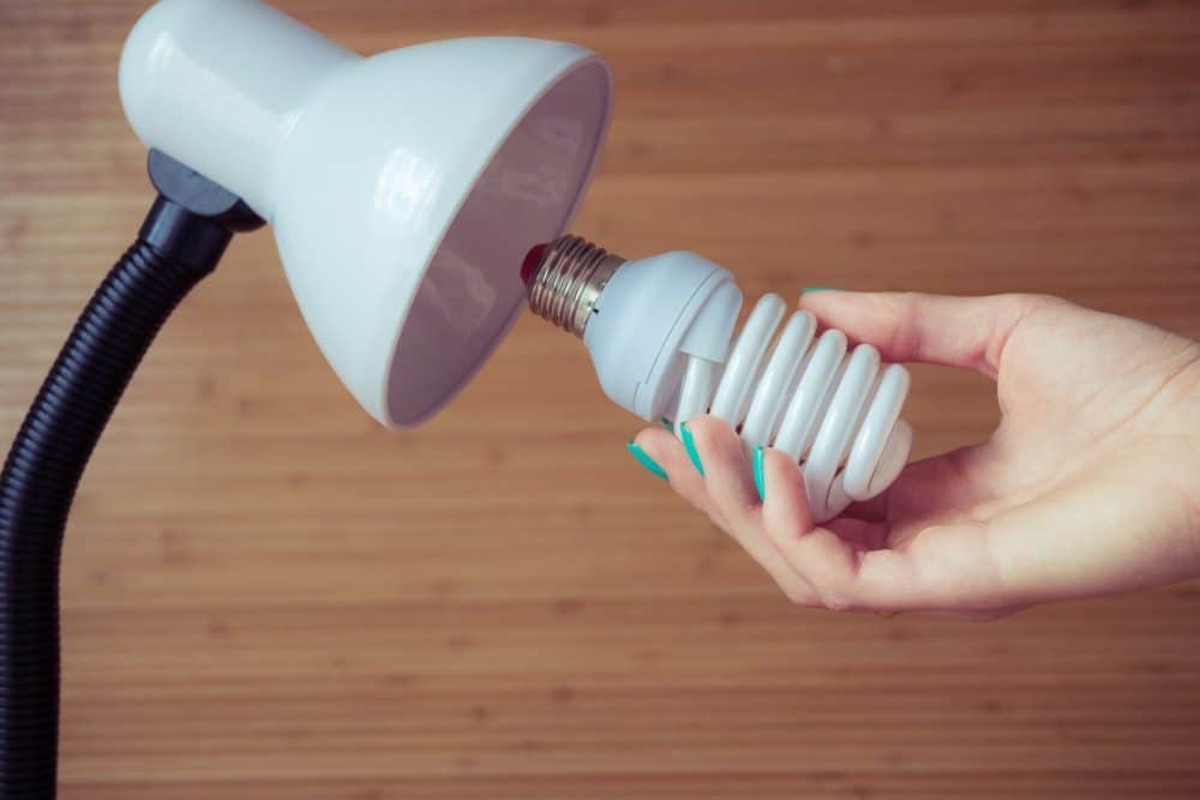
Swing arm lamps are a stylish and functional addition to any home or office space. Their adjustable arms allow for customized lighting angles, making them the perfect solution for task lighting or reading areas. However, over time, the swinging mechanism of these lamps may become loose, leading to a lack of stability and functionality. Fortunately, tightening a swing arm lamp is a relatively simple process that can be done with a few basic tools and some careful adjustments.
In this article, we will guide you through the step-by-step process of tightening a swing arm lamp, ensuring that you can enjoy your well-lit space without any wobbling or instability. By following these instructions, you can restore your lamp’s functionality and prolong its lifespan.
Before we delve into the details, let’s first gain a better understanding of swing arm lamps and how they work, so you can appreciate the mechanics behind the tightening process.
Key Takeaways:
- Keep your swing arm lamp stable and functional by tightening its connections, pivot screw, and lubricating joints if necessary. Regular maintenance ensures long-lasting performance for your well-lit space.
- With basic tools and careful adjustments, you can restore your swing arm lamp’s stability and enjoy its versatile lighting for years to come. Follow the step-by-step guide to tighten and maintain your lamp effectively.
Read also: 13 Amazing Swing Arm Protractor for 2025
Understanding Swing Arm Lamps
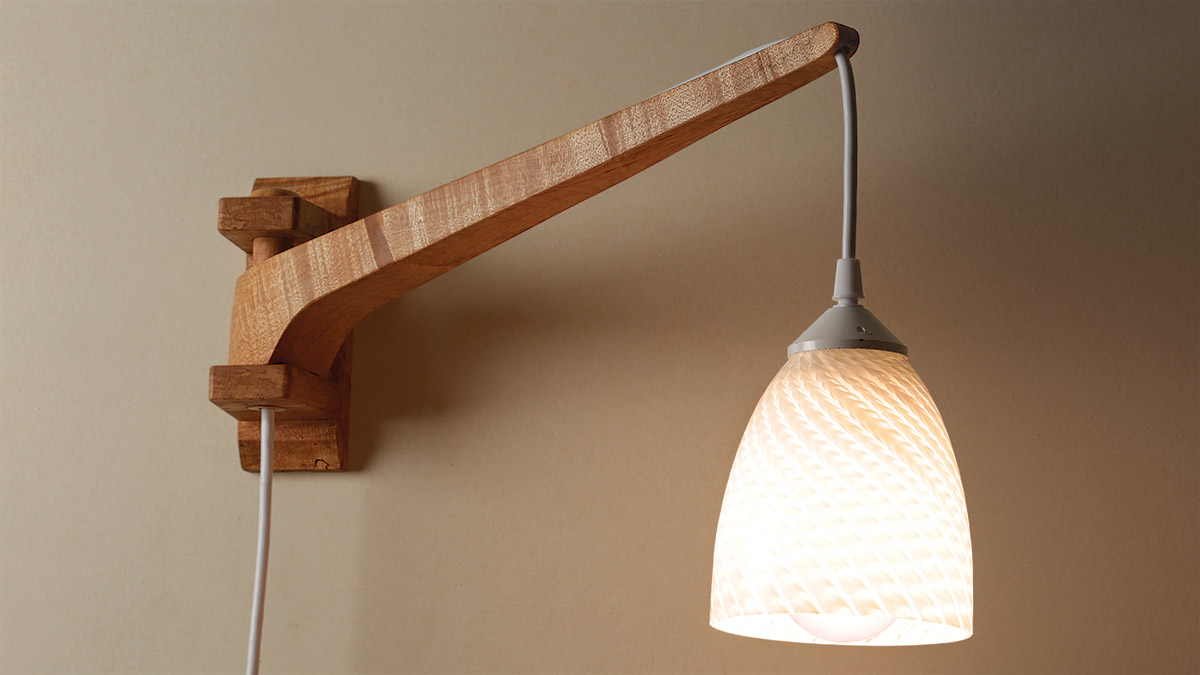
Swing arm lamps, also known as adjustable-arm lamps, are lighting fixtures designed with a flexible arm that can be adjusted to different angles and positions. They are typically mounted on a wall or attached to a desk, providing focused and adjustable lighting for various tasks such as reading, studying, or working on projects.
These lamps consist of three main components: the base, the arm, and the shade. The base is usually fixed and provides stability to the lamp. The arm is attached to the base and allows for horizontal movement, allowing you to position the light at the desired angle. The shade, which houses the light bulb, directs and diffuses the light to the desired area.
Swing arm lamps come in a variety of styles, materials, and finishes, making them versatile and suitable for different interior design themes. Whether you prefer a sleek and modern look or a vintage-inspired design, you can find a swing arm lamp that complements your aesthetic preferences and functional needs.
However, over time, the swinging mechanism of these lamps may become loose, resulting in instability and difficulty in keeping the lamp in the desired position. Factors such as regular use, wear and tear, and poor maintenance can contribute to this issue. If you notice that your swing arm lamp is no longer staying in place or is difficult to adjust, it may be time to tighten the lamp and restore its stability.
Now that we have a better understanding of swing arm lamps, let’s move on to the tools and materials you will need to tighten one.
Tools and Materials Needed
Tightening a swing arm lamp requires a few basic tools and materials. Before you begin, gather the following items:
- Phillips head screwdriver: This tool will be used to tighten screws and fasteners.
- Adjustable wrench: An adjustable wrench is useful for tightening nuts and bolts.
- Lubricant: If the lamp’s joints are stiff or squeaky, a lubricant like WD-40 can help loosen them and improve the lamp’s movement.
- Soft cloth or towel: To protect the lamp’s surface from scratches or damage, have a soft cloth or towel on hand to lay the lamp on while working on it.
These tools and materials are readily available and should be sufficient for most swing arm lamp tightening tasks. Now that you are equipped with the necessary tools, let’s proceed to the step-by-step process of tightening your swing arm lamp.
Step 1: Assess the Swinging Mechanism
Before you start tightening your swing arm lamp, it’s important to assess the swinging mechanism to determine the cause of the looseness and instability. This will help you identify the specific areas that require attention and ensure that you address the underlying issue.
Start by fully extending the arm of the lamp to its maximum reach. Then, gently move the arm from side to side and up and down to feel for any excessive wobbling or looseness. Pay attention to any clicking or grinding sounds, as these may indicate worn-out or damaged components.
Next, check the joints and connections of the swinging mechanism. Look for any visible signs of wear, such as loose screws, bolts, or nuts. Also, examine the pivot point where the arm connects to the base and the joint where the arm connects to the shade. These areas are prone to loosening over time due to frequent movement and should be inspected closely.
If you notice any loose or damaged components, take note of them as they will need to be addressed in the following steps. Understanding the specific areas of concern will help you target your tightening efforts effectively.
Once you have assessed the swinging mechanism and identified any issues, you are ready to move on to the next step in the process: checking the lamp arm connections.
Step 2: Check the Lamp Arm Connections
After assessing the swinging mechanism, the next step in tightening your swing arm lamp is to check the arm connections. These connections are crucial for the lamp’s stability and adjustability, so it’s important to ensure they are tight and secure.
Start by examining the connection between the arm and the base. Look for any visible screws or bolts that may be loose or require tightening. Use a Phillips head screwdriver or an adjustable wrench, depending on the type of fastener, to tighten them. Turn the screw or bolt clockwise until it feels snug, but be careful not to overtighten, as it may damage the connection or strip the threads.
Next, check the connection between the arm and the shade. Depending on the design of your swing arm lamp, there may be a pivot point or an adjustable joint that connects the arm and the shade. Inspect this area for any loose screws, bolts, or nuts. If you find any, use your Phillips head screwdriver or adjustable wrench to tighten them as well.
While checking the connections, also pay attention to the condition of the screws, bolts, or nuts. If you notice any signs of corrosion or damage, consider replacing them with new ones to ensure a secure and reliable connection.
Once you have tightened all the arm connections, give the arm a gentle shake to test its stability. If there is still some wobbling or looseness, proceed to the next step to address the pivot screw.
Continue to step 3 to learn how to tighten the pivot screw of your swing arm lamp.
When tightening a swing arm lamp, make sure to check the pivot points and connections for any loose screws or bolts. Use a screwdriver or wrench to securely tighten any loose parts to ensure stability and safety.
Read more: How To Make Swing Arm Towel Bar
Step 3: Tighten the Pivot Screw
One common cause of looseness in a swing arm lamp is a loose or worn-out pivot screw, which is responsible for allowing the arm to pivot and swing. In this step, we will focus on tightening the pivot screw to improve the stability of your lamp.
Locate the pivot screw, which is usually located at the junction where the arm connects to the base. Use a Phillips head screwdriver to tighten the pivot screw by turning it clockwise. Apply moderate pressure while turning to ensure a secure connection, but be careful not to overtighten.
As you tighten the pivot screw, pay attention to the movement of the arm. If you notice any resistance or difficulty in swinging the arm, stop tightening and loosen the screw slightly until the arm can move freely. The goal is to find the right balance between a secure connection and smooth movement.
After tightening the pivot screw, test the lamp’s stability by moving the arm from side to side and up and down. The arm should stay in place without excessive wobbling or looseness. If the lamp still feels unstable, you may need to proceed to step 4 to lubricate the joints.
Keep in mind that different swing arm lamps may have variations in their pivot screw design or location. If you are unsure about the exact location of the pivot screw in your lamp, refer to the manufacturer’s instructions or seek professional assistance.
With the pivot screw tightened, you have completed a significant step in restoring the stability and functionality of your swing arm lamp. Let’s move on to step 4, which covers lubricating the joints if necessary.
Step 4: Lubricate the Joints (if necessary)
If your swing arm lamp still exhibits stiffness or squeaking when adjusting the arm, lubricating the joints can help improve its movement and functionality. This step is particularly important if you’ve noticed any signs of wear or resistance during the previous steps.
Start by gathering a suitable lubricant, such as WD-40 or a silicone-based lubricant. Avoid using oil-based lubricants, as they can attract dust and dirt, which can lead to further issues down the line.
With the lubricant in hand, carefully apply a few drops or a small amount to the joints of the swing arm lamp. Focus on the pivot point where the arm connects to the base and any other moving parts that require lubrication.
Once you’ve applied the lubricant, move the arm back and forth several times to distribute the lubricant evenly and work it into the joints. This will help loosen any stiffness and reduce friction, allowing for smoother movement.
While lubricating the joints, take the opportunity to inspect them for any signs of damage or excessive wear. If you notice any cracks, broken parts, or severe corrosion, it may be necessary to replace the affected components to ensure the lamp’s long-term functionality and safety.
After lubricating the joints, test the lamp’s movement again to see if it has improved. The arm should now move more smoothly and without any squeaking sounds. If you are satisfied with the results, proceed to the final step to test the lamp’s stability.
If lubricating the joints doesn’t resolve the looseness or stiffness issue, you may want to consider seeking professional assistance or contacting the manufacturer for further troubleshooting or advice.
Now that you have lubricated the joints, it’s time to move on to the final step to ensure the stability of your swing arm lamp.
Step 5: Test the Lamp’s Stability
Once you have tightened the connections, tightened the pivot screw, and lubricated the joints (if necessary), it’s important to perform a final test to ensure the stability of your swing arm lamp. This step will help verify that your efforts have successfully restored the lamp’s functionality and eliminated any wobbling or looseness.
Start by fully extending the arm of the lamp to its maximum reach. Gently move the arm from side to side and up and down to test its stability. The arm should stay in place without any excessive wobbling or sagging.
If you notice any persistent wobbling or instability, recheck the connections and tighten any loose fasteners or pivot screws. If necessary, repeat the lubrication process to ensure smooth movement.
Additionally, test the lamp’s ability to hold its position. Adjust the arm to different angles and positions and see if it maintains its position without slipping or sliding. If it does slip, tighten the pivot screw or joints a bit more to enhance the grip.
Once you are satisfied with the lamp’s stability and functionality, you can confidently enjoy its adjustable lighting capabilities for your tasks or reading areas.
Remember, regular maintenance and periodic checks are essential to keep your swing arm lamp in optimal condition. Over time, friction, wear, and dust accumulation can affect its performance. Consider conducting these tightening and maintenance steps periodically to ensure the long-lasting functionality of your swing arm lamp.
By following this step-by-step guide and investing a little time and effort, you can restore the stability and functionality of your swing arm lamp, allowing you to continue enjoying its versatile lighting for years to come.
With the lamp tested and stable, you have successfully completed the tightening process. Congratulations!
Conclusion
Swing arm lamps are versatile lighting fixtures that provide adjustable and focused illumination for various tasks. Over time, these lamps may become loose and lose their stability, hindering their functionality. However, with a few simple steps, you can tighten your swing arm lamp and restore its stability and adjustability.
Throughout this guide, we have walked you through the process of tightening a swing arm lamp, starting from assessing the swinging mechanism to testing the lamp’s stability. By following these steps and using basic tools such as a Phillips head screwdriver and adjustable wrench, you can address issues such as loose connections, tighten the pivot screw, lubricate the joints if necessary, and ultimately improve the stability of your lamp.
Remember to assess the swinging mechanism and identify any areas of concern before proceeding. Check the lamp arm connections, tighten any loose screws or bolts, and ensure a secure connection between the arm and the base as well as the arm and the shade.
If needed, tighten the pivot screw carefully, finding the right balance between a secure connection and smooth movement. And if your lamp still exhibits stiffness or squeaking, lubricate the joints with a suitable lubricant.
Finally, test the lamp’s stability to ensure that it stays in place without excessive wobbling or sagging. Adjust the arm to different angles and positions to assess its grip and movement.
By completing these steps, you can have a fully functional swing arm lamp that provides you with the adjustable lighting you need for your tasks and reading areas. Remember to perform regular maintenance checks and tighten any loose components to keep your swing arm lamp in optimal condition.
Now, armed with this knowledge and confident in your ability to tighten a swing arm lamp, go ahead and enjoy the well-lit space it provides for your everyday activities.
Frequently Asked Questions about How To Tighten A Swing Arm Lamp
Was this page helpful?
At Storables.com, we guarantee accurate and reliable information. Our content, validated by Expert Board Contributors, is crafted following stringent Editorial Policies. We're committed to providing you with well-researched, expert-backed insights for all your informational needs.