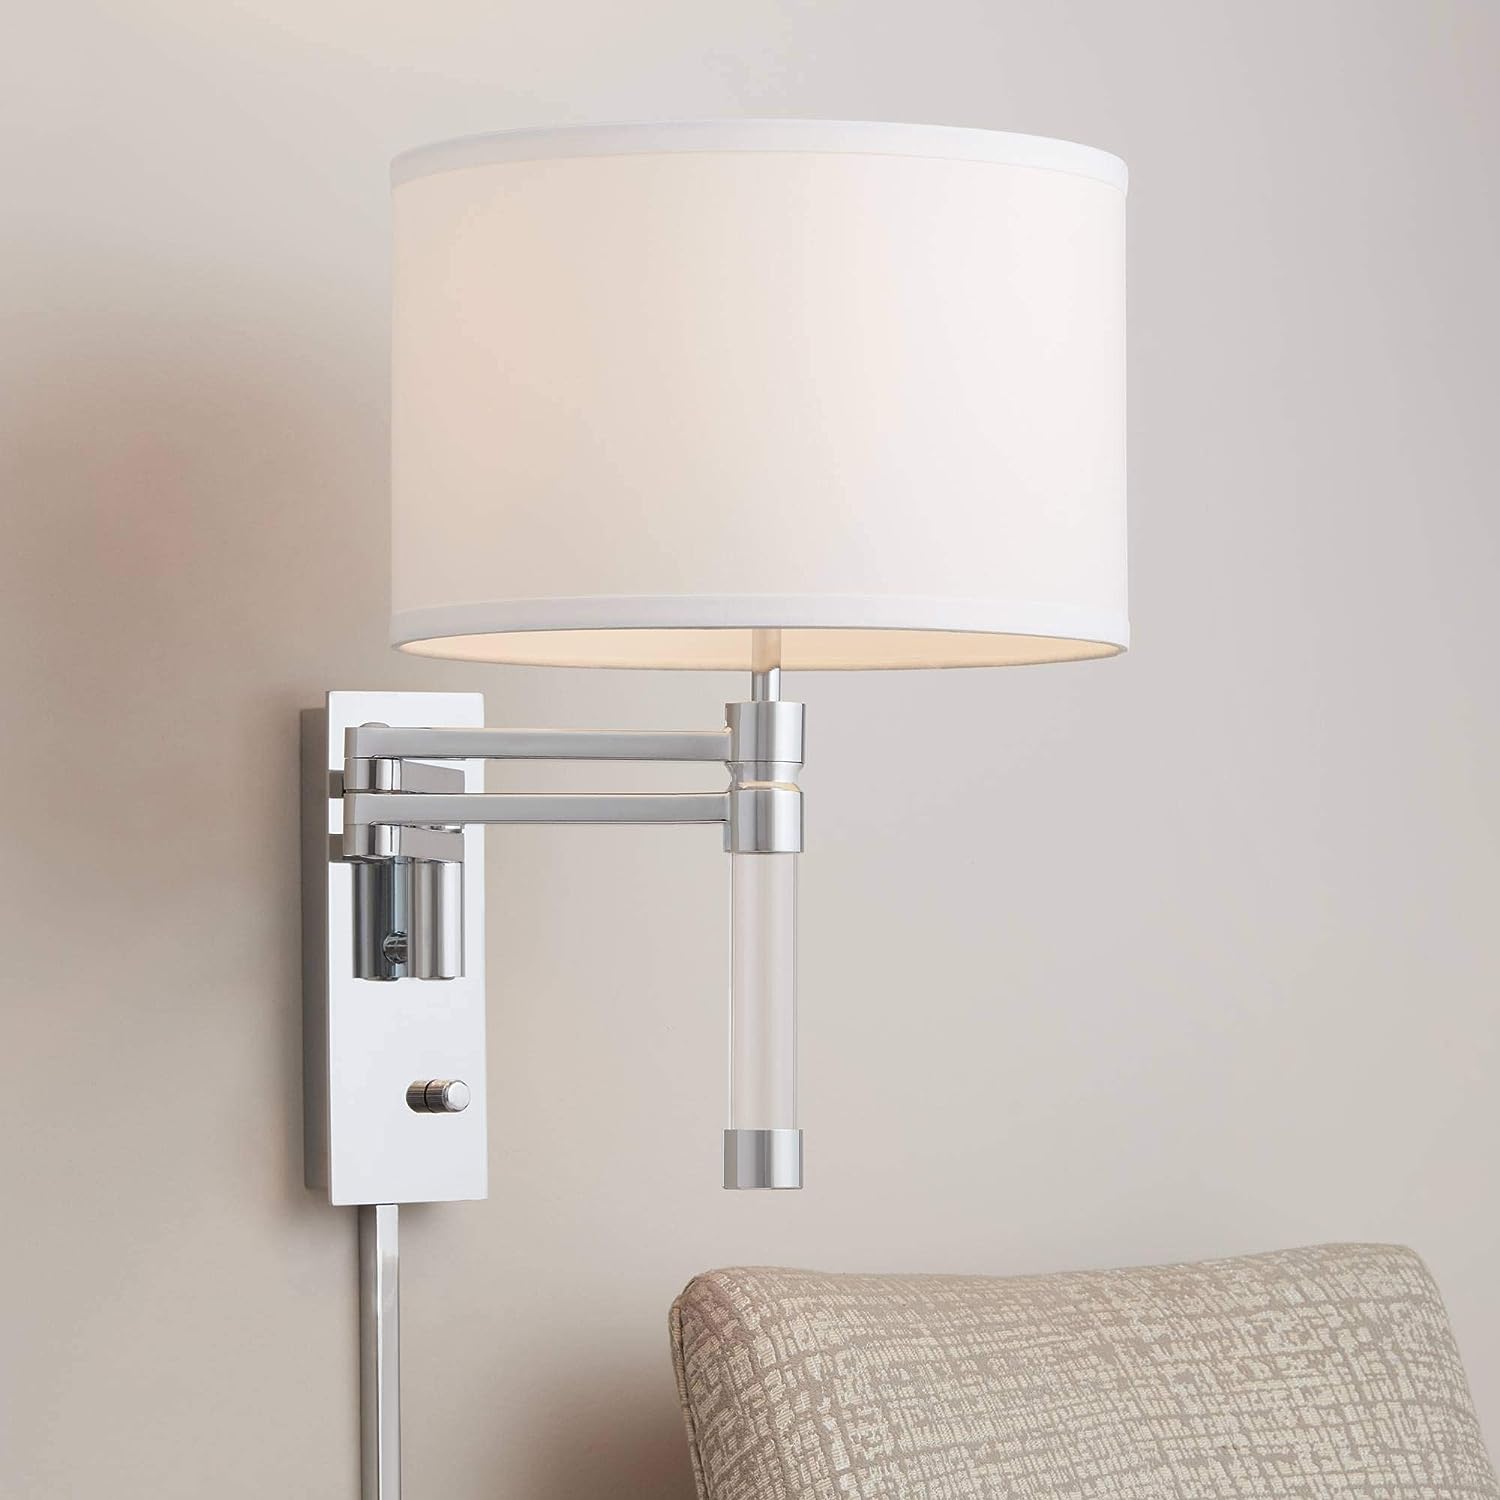
Furniture
How To Tighten A Loose Lamp Socket
Modified: August 28, 2024
Learn how to tighten a loose lamp socket easily with these simple steps. Securely fix your furniture and prevent accidents with this handy DIY guide.
(Many of the links in this article redirect to a specific reviewed product. Your purchase of these products through affiliate links helps to generate commission for Storables.com, at no extra cost. Learn more)
Introduction
Having a loose lamp socket can be a frustrating experience. Not only can it make your lamp unstable, but it can also be a safety hazard. A loose socket can cause flickering lights, difficulty in turning the lamp on or off, and even the potential for electrical shocks.
Fortunately, tightening a loose lamp socket is a relatively simple task that can be done by anyone with a basic understanding of household repairs. In this article, we will guide you through the step-by-step process of tightening a loose lamp socket to ensure that your lamp is secure and functioning properly.
Before we get started, it’s important to understand the common reasons for a loose lamp socket. Over time, the constant use of the lamp can cause the socket’s internal components to loosen. Additionally, vibrations from moving the lamp or accidentally bumping it can also contribute to a loose socket. By identifying the cause, you can take the necessary steps to prevent the issue from recurring in the future.
Key Takeaways:
- Ensure safety by turning off the power and using the right tools to tighten a loose lamp socket. Addressing the issue early prevents further damage and costly repairs in the future.
- Identifying the cause of the loose socket is crucial in preventing future occurrences. Inspect, tighten, and restore stability to enjoy a safe and functional lighting fixture.
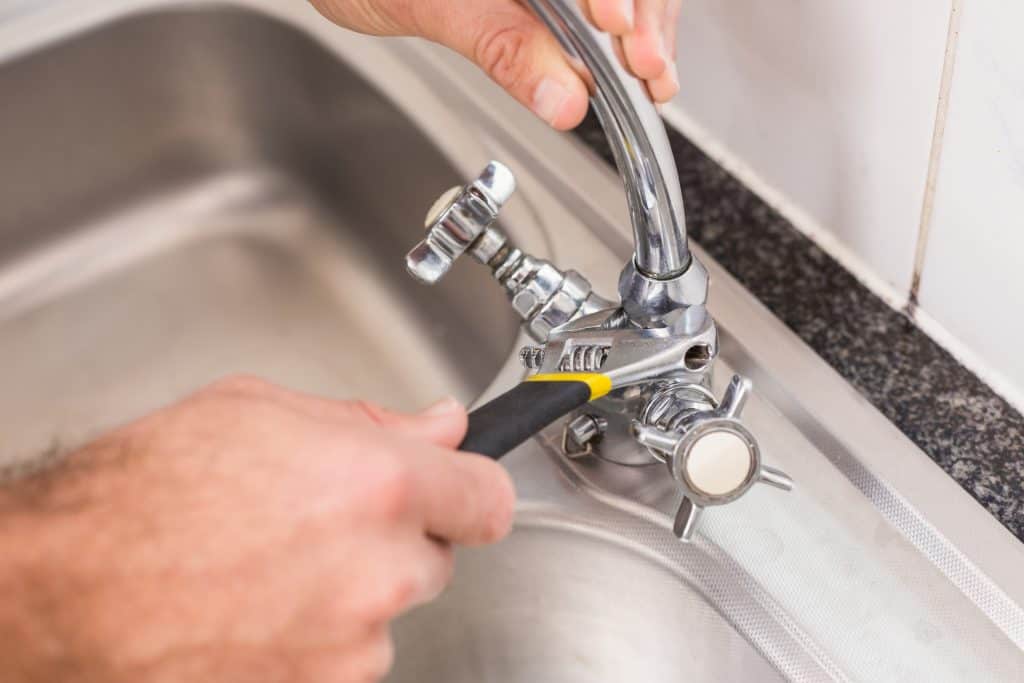
Read more: How To Tighten Loose Faucet Handle
Reasons for a loose lamp socket
There are several reasons why a lamp socket may become loose over time. Understanding these reasons can help you not only tighten the socket but also prevent it from happening again in the future.
1. Wear and tear: The constant use of the lamp can cause the internal components of the socket to wear down over time. This wear and tear can lead to a loose connection between the socket and the bulb.
2. Loose wiring: Sometimes, the wires inside the lamp socket can become loose or disconnected. This can cause the socket to feel wobbly or unstable.
3. Incorrect installation: If the lamp socket was not installed properly in the first place, it may be more prone to becoming loose. This can be the result of a faulty installation or using the wrong type of socket for the lamp.
4. Vibration: Moving or accidentally bumping the lamp can cause the internal components of the socket to loosen over time. This is particularly common in portable lamps that are frequently transported or repositioned.
5. Overheating: If the lamp bulb produces excessive heat or the lamp is left on for long periods of time, the heat can cause expansion and contraction of the socket components, leading to a loose connection.
Remember, identifying the cause of the loose socket is crucial in preventing future occurrences. By addressing the root cause, you can ensure that your lamp remains secure and functional for the long term.
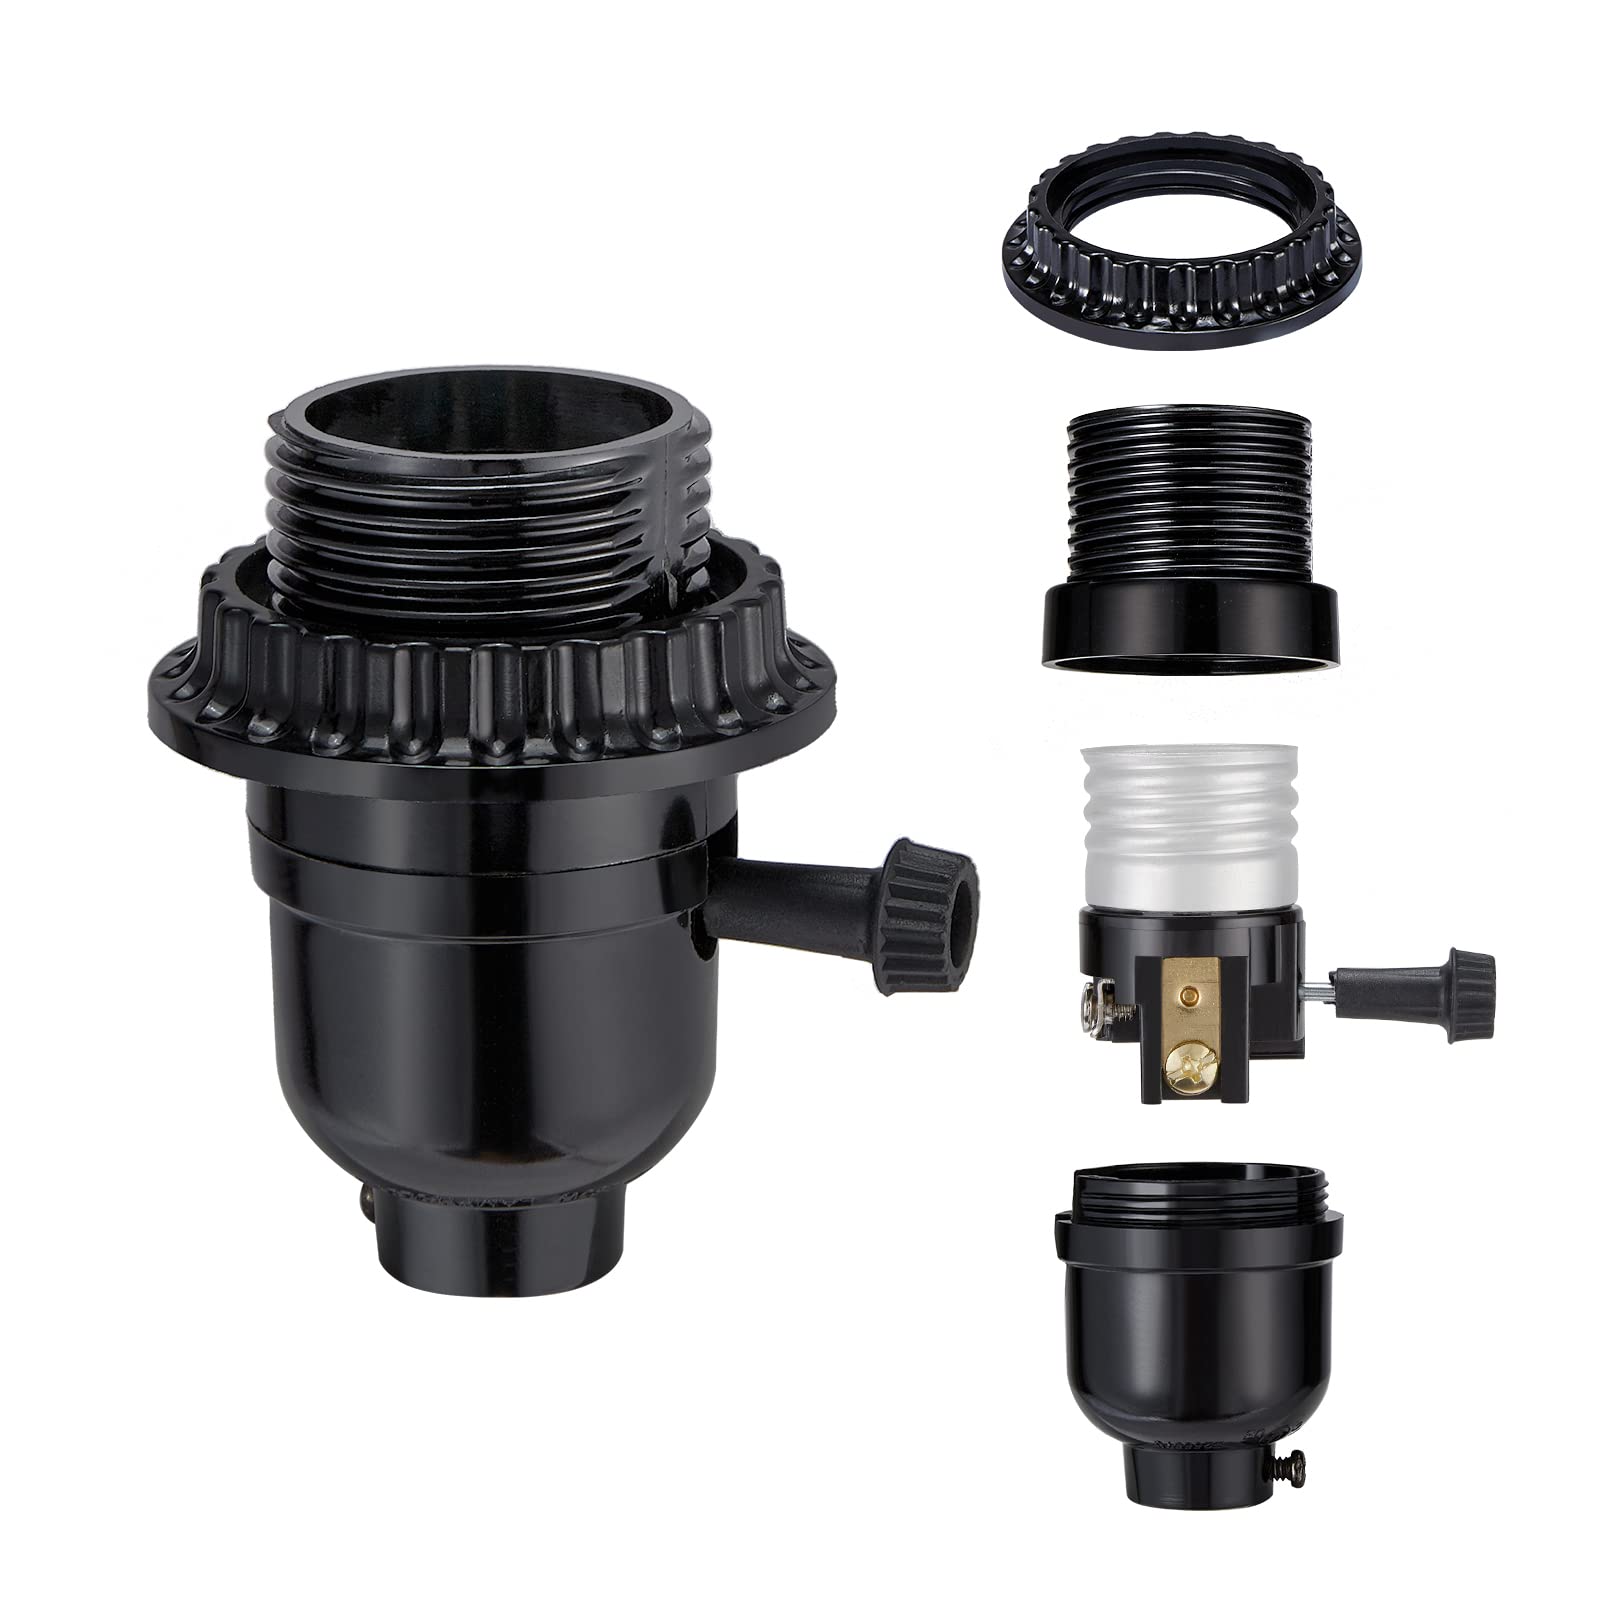
Tools and materials needed
Before you begin tightening a loose lamp socket, it’s important to gather the necessary tools and materials. Having them on hand will make the process smoother and more efficient. Here are the items you will need:
- Flathead screwdriver: This tool will be used to remove the lampshade and access the socket.
- Wire cutter/stripper: In case you need to trim or repair any loose wires.
- Needle-nose pliers: These will come in handy for gripping and adjusting small parts of the socket.
- Electrical tape: Use this to secure any loose wires and protect them from coming into contact with metal parts.
- Replacement socket (optional): If your socket is severely damaged or cannot be tightened, you may need to replace it. Make sure to have a new socket on hand that is suitable for your lamp.
- Bulb: You will need to remove the bulb to access the socket, so it’s a good idea to have a replacement bulb ready in case the old one needs to be replaced.
Remember to prioritize safety and ensure that you have turned off the power before starting any work on your lamp. This will prevent any electrical accidents and keep you safe throughout the process.
Now that you have gathered the necessary tools and materials, you are ready to begin tightening your loose lamp socket!
Step 1: Turn off the power
Before you start working on your lamp socket, it’s crucial to turn off the power to ensure your safety. Below are the steps to follow:
- Unplug the lamp: Locate the power cord and unplug it from the electrical outlet. This will cut off the power supply to the lamp.
- Double-check the switch: Even though the lamp is unplugged, it’s a good idea to check the switch and make sure it is in the off position.
- Consider safety precautions: To further minimize the risk of electric shock, you can go the extra mile by flipping the circuit breaker that controls the lamp’s power supply. This will provide an added layer of safety as you work on the socket.
By taking these precautionary measures, you can confidently proceed with the next steps knowing that the lamp is safely powered off.
It’s important to note that while working on the lamp socket, you should never touch any exposed wires or the metal contacts inside the socket to avoid the risk of electric shock. Safety should always be your top priority when handling any electrical repairs.
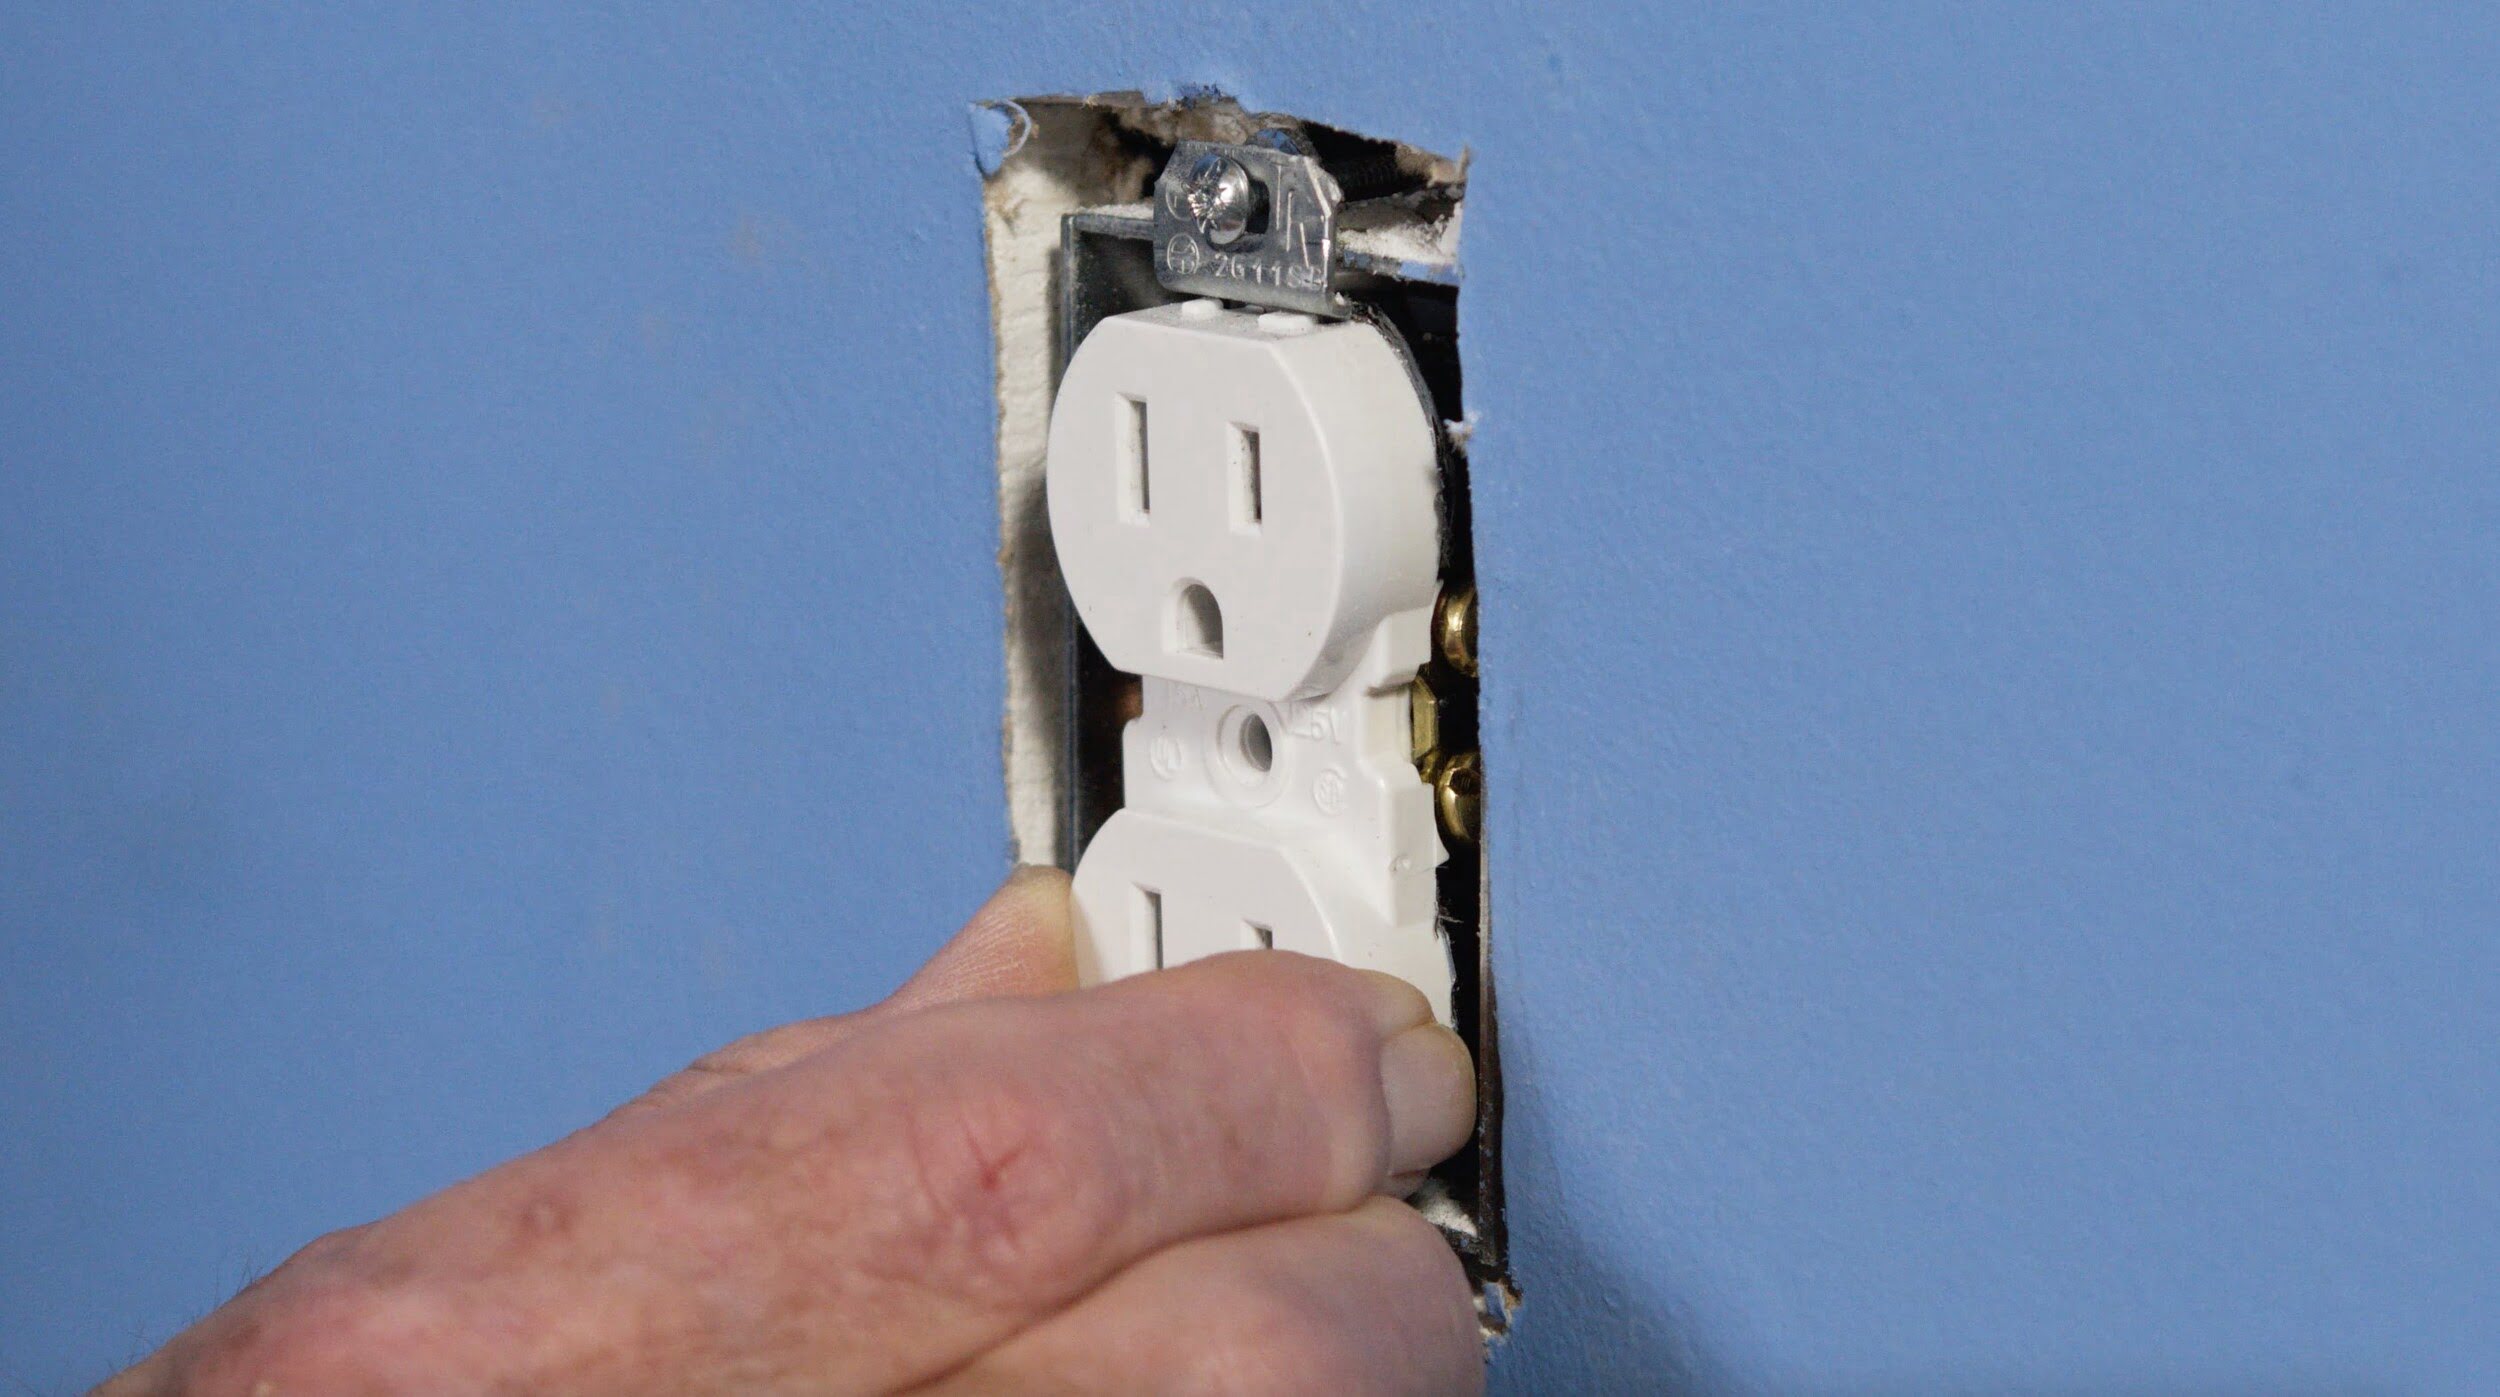
Step 2: Remove the lampshade
Now that the power is turned off, you can begin working on the lamp socket. The next step is to remove the lampshade to gain easy access to the socket. Follow these steps to remove the lampshade:
- Ensure a stable surface: Place the lamp on a flat, sturdy surface to ensure stability throughout the process.
- Locate the attachment method: Lampshades are typically attached to the lamp using a variety of methods. It could be a simple slip-on design, secured with a clip, or fixed in place with a screw or tension rod. Take a close look at the lampshade and determine how it is attached.
- Follow the specific removal method: Depending on the attachment method, carefully remove the lampshade. If it is a slip-on design, gently lift it off the socket. If there is a clip or screw, loosen it and slide the lampshade off.
- Set the lampshade aside: Once the lampshade is removed, place it in a safe location where it won’t get damaged. You’ll need to reinstall it later after tightening the socket.
By removing the lampshade, you have clear access to the lamp socket, making it easier to inspect and tighten if necessary. With the lampshade out of the way, you can continue to the next step in the process.
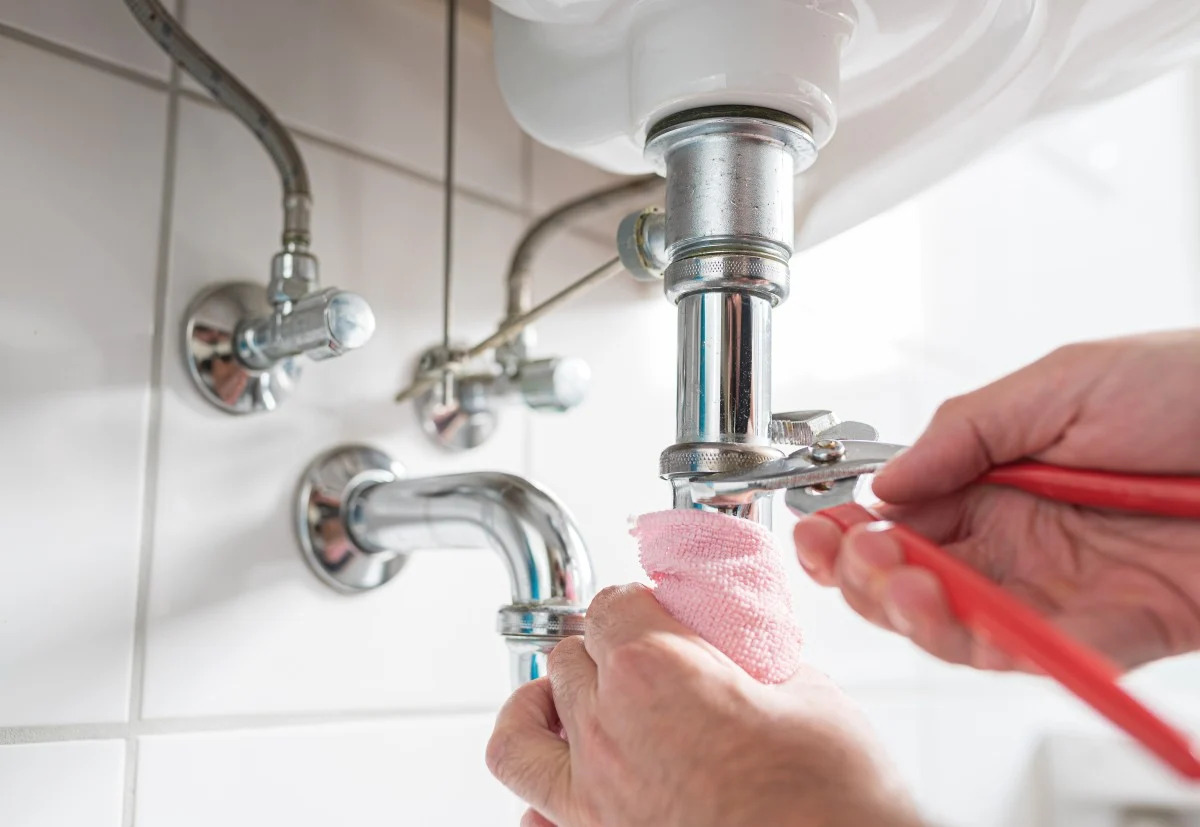
Read more: How To Tighten A Loose Kitchen Faucet Base
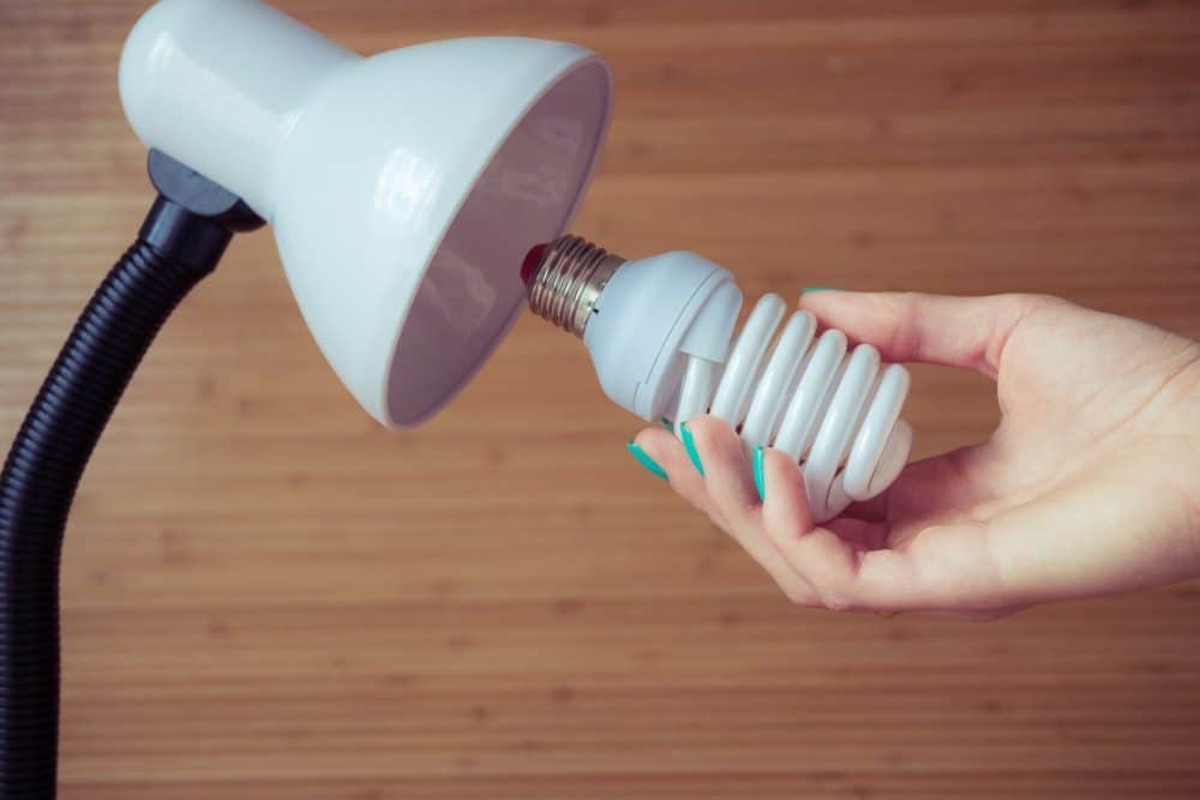
Step 3: Remove the bulb
With the lampshade removed, the next step is to remove the bulb from the socket. By removing the bulb, you will have better access to the socket and be able to inspect it more effectively. Follow these steps to safely remove the bulb:
- Allow the bulb to cool: If the lamp has been recently turned on, give the bulb some time to cool down before attempting to remove it. Hot bulbs can cause burns or break if handled too soon.
- Identify the type of bulb: Take note of the type of bulb used in your lamp. Depending on the design, you may need to twist the bulb counterclockwise or gently pull it straight out. Some bulbs may be held in place by a small metal tab, which needs to be manually released.
- Remove the bulb: Using your hand, carefully twist or pull the bulb out of the socket. Make sure to avoid using excessive force, as this can damage the socket or the bulb.
- Set the bulb aside: Place the removed bulb in a safe location where it won’t be accidentally knocked or damaged. You can also check the bulb for any signs of damage or wear, as this might be an opportunity to replace it if necessary.
By removing the bulb, you have created a clear path to examine and address the loose socket. With the bulb out of the way, you can proceed with the next steps to tighten the socket and ensure a secure connection.
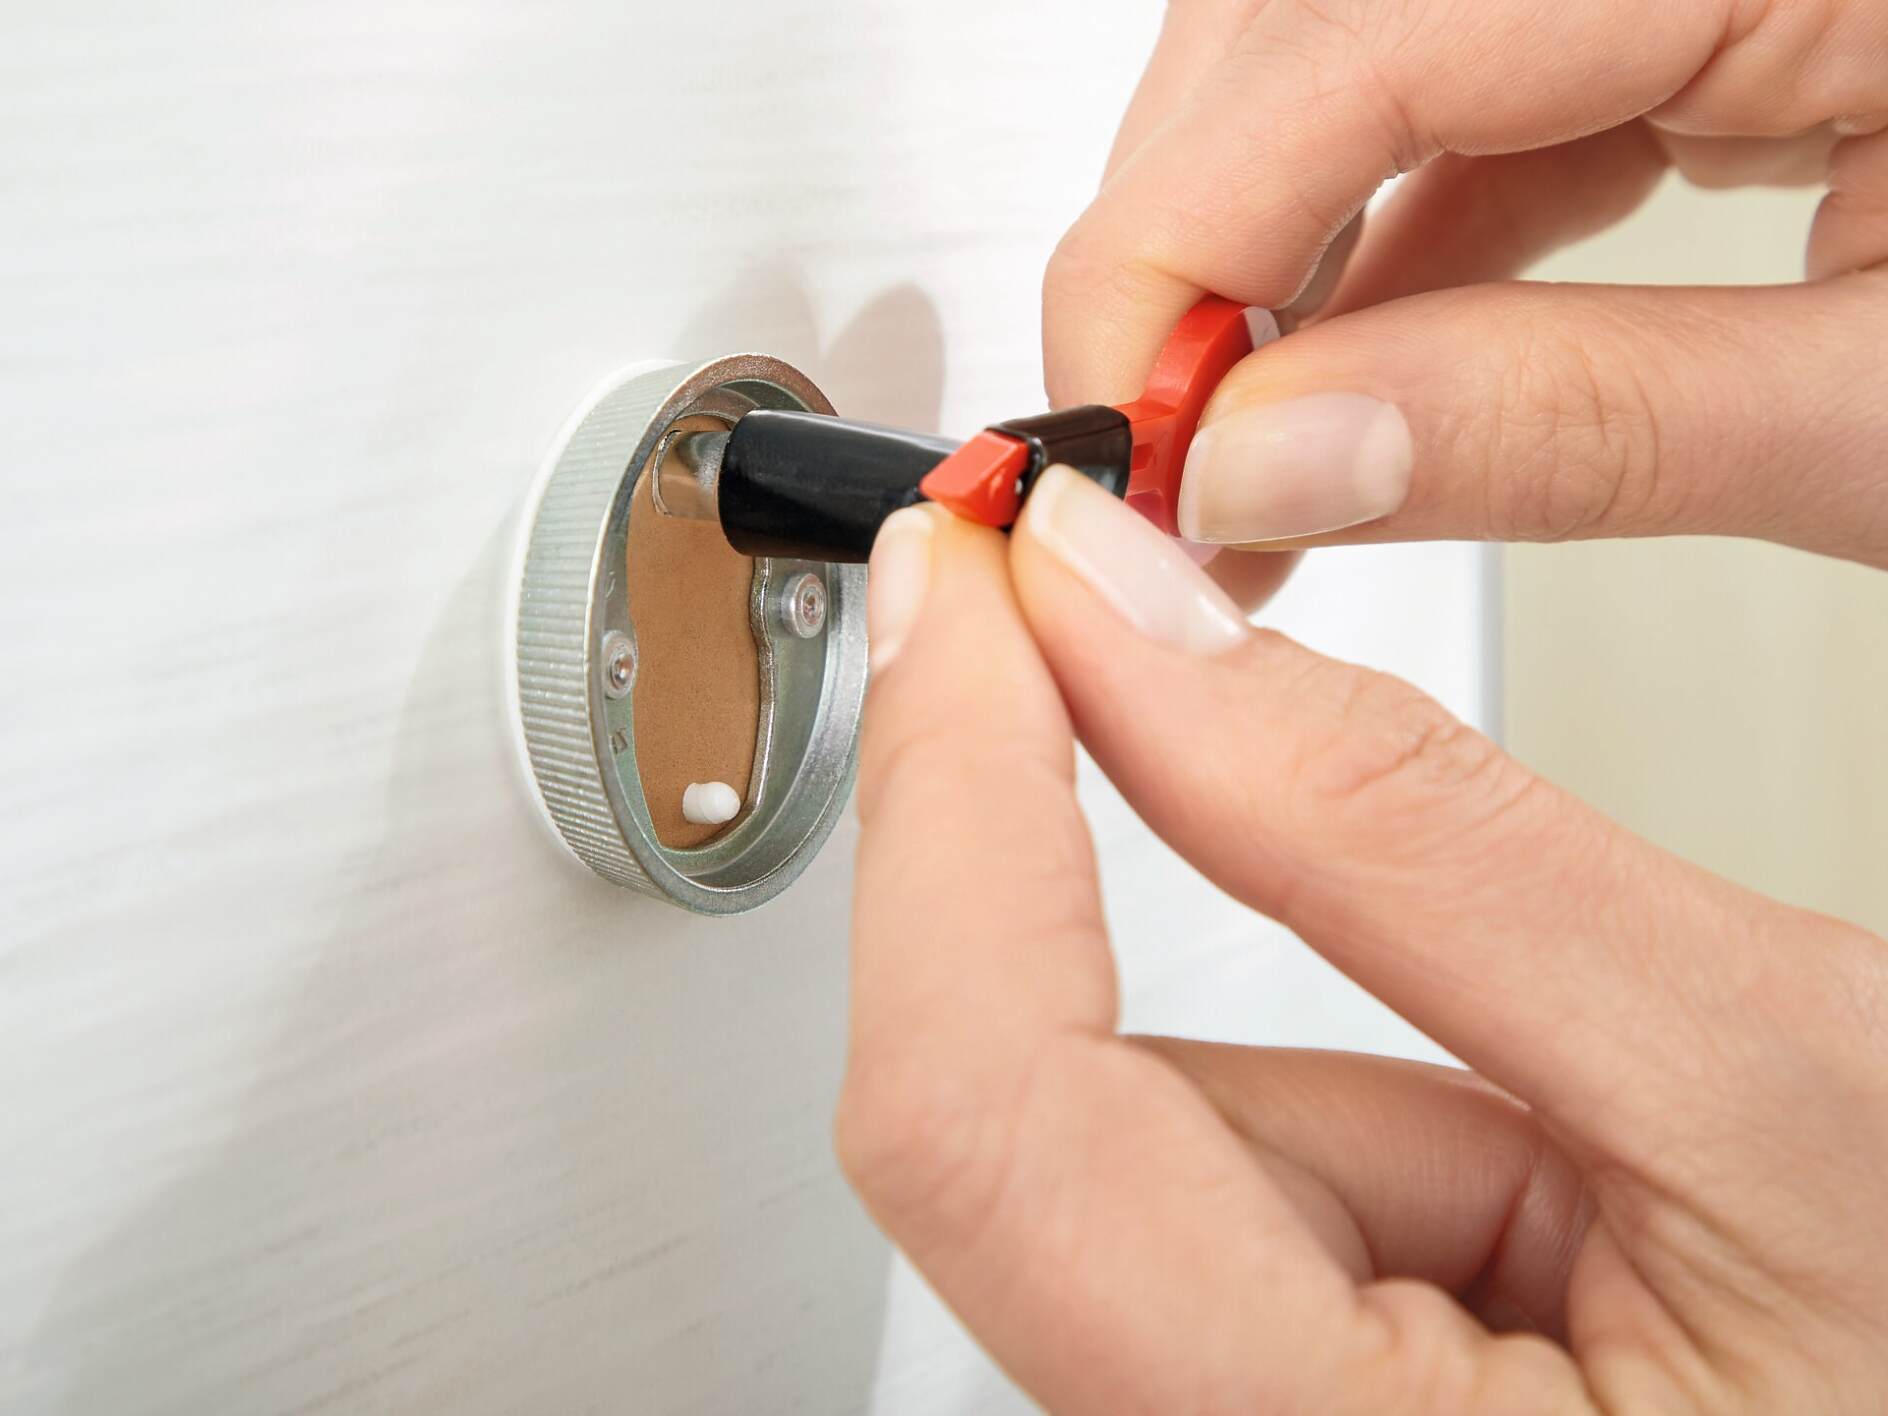
Use a small flathead screwdriver to tighten the set screw on the side of the lamp socket. This will help secure the socket and prevent it from becoming loose.
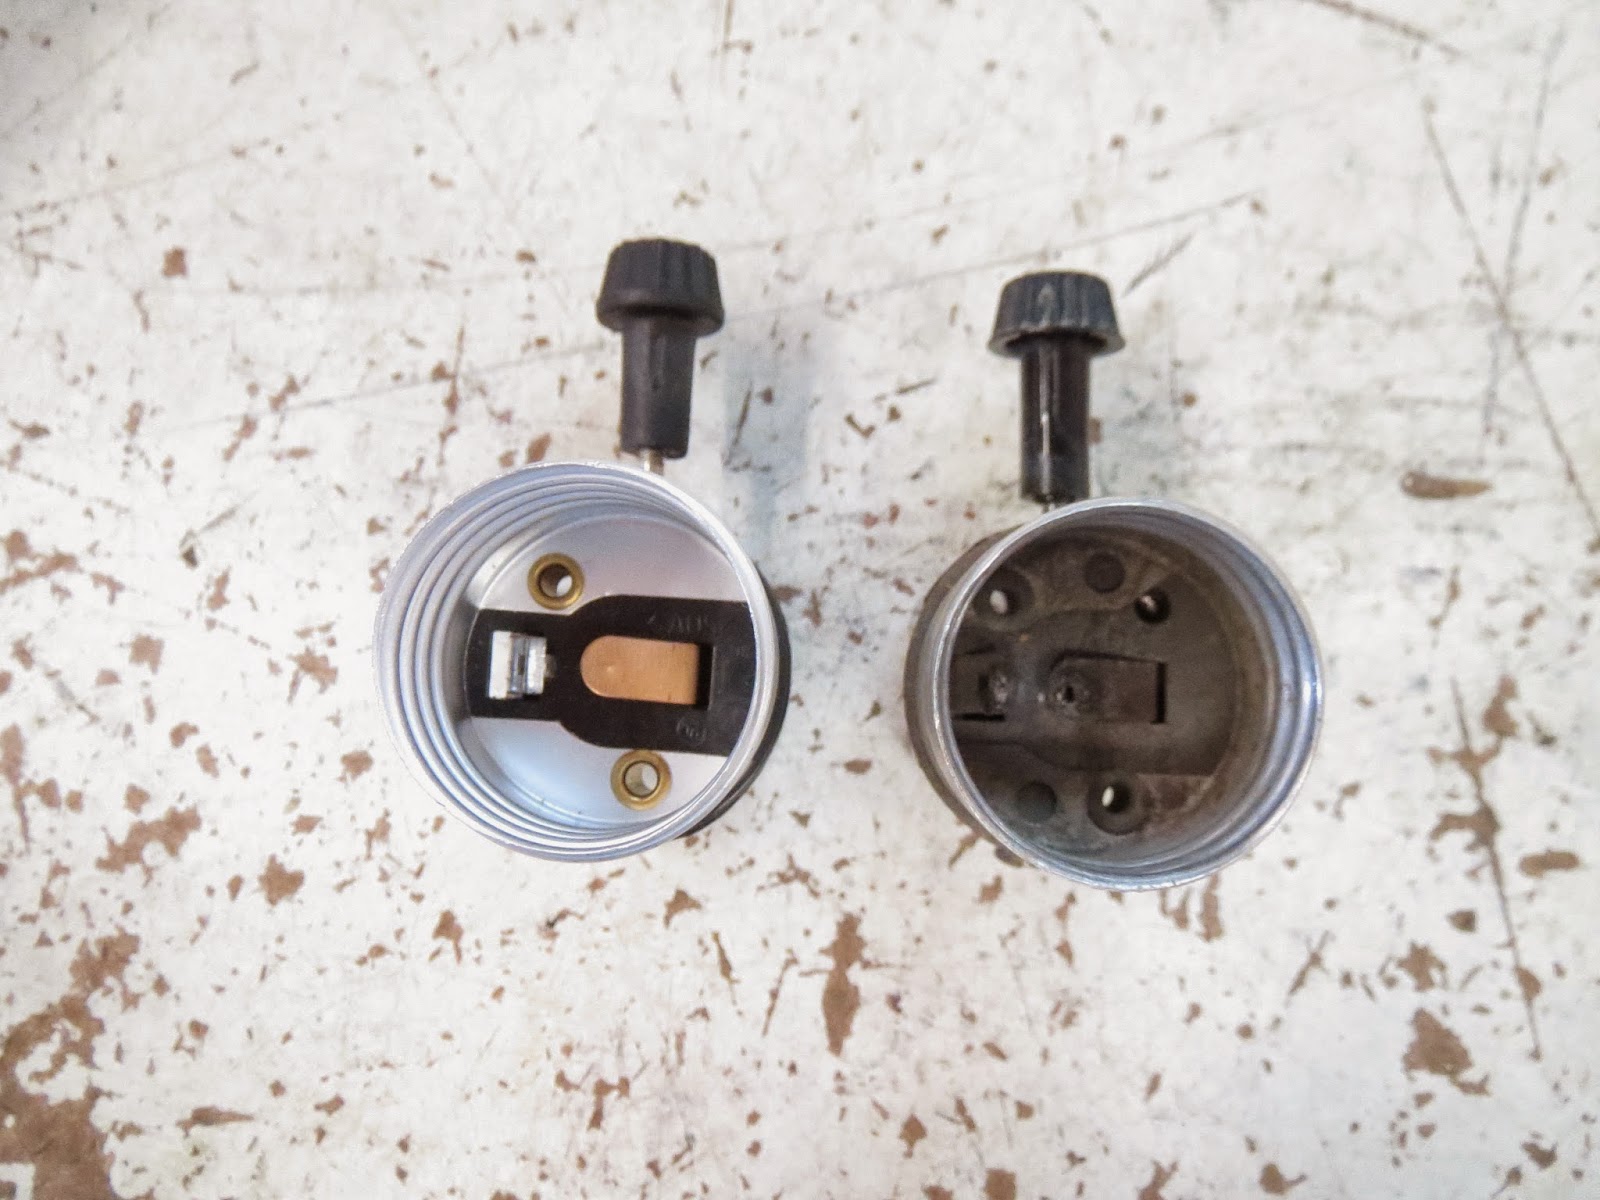
Step 4: Inspect the socket
Now that the bulb is removed, it’s time to inspect the lamp socket for any visible issues or signs of damage. This step will help you determine the cause of the looseness and guide you in the appropriate course of action. Follow these steps to inspect the socket:
- Visual examination: Take a close look at the socket interior and exterior. Look for any visible signs of wear, corrosion, or loose connections. Check for any bent or damaged metal contacts inside the socket as well.
- Check for loose parts: Gently wiggle the socket to see if there is any noticeable movement. Pay attention to the socket base and mounting hardware to check for any loose parts that may be contributing to the problem.
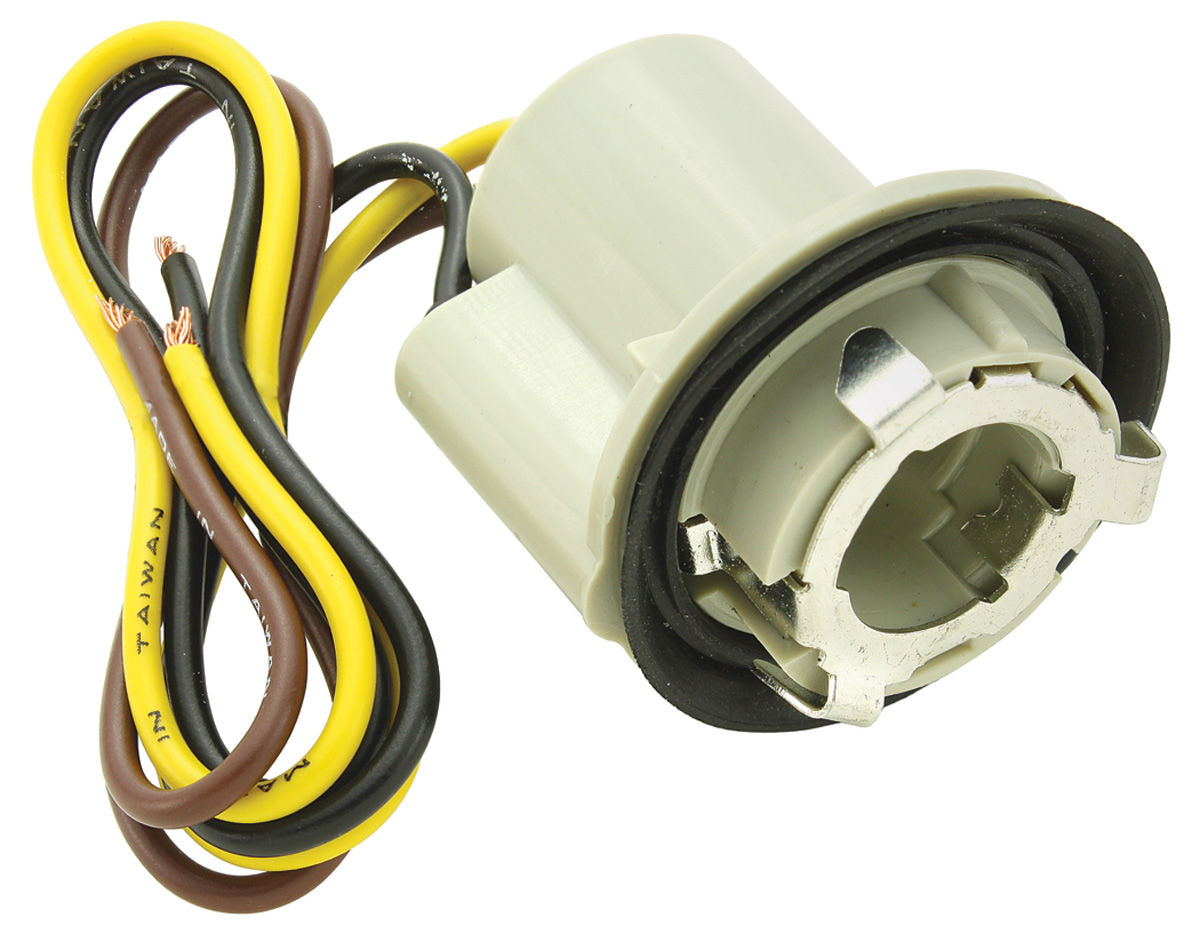
- Examine wiring: Inspect the wires connected to the socket. Look for any frayed or damaged wires that may need to be repaired or replaced. Ensure that the wires are properly connected to the socket terminals.
During the inspection, if you identify any significant damage or if the socket appears to be beyond repair, it may be necessary to consider replacing the socket altogether. However, if the issues are minor or can be easily fixed, you can proceed to the next steps to tighten the socket and restore its functionality.
Remember, be cautious when handling the socket and avoid touching any exposed wires to prevent electric shock. Safety should always be your top priority during the inspection and repair process.
Step 5: Tighten the socket interior
Now that you’ve inspected the socket and identified any visible issues, it’s time to tighten the interior components of the socket. Follow these steps to ensure a secure connection inside the socket:
- Disconnect power source: Double-check that the lamp is unplugged and there is no power running to the socket. This is crucial for your safety when working with electrical components.
- Access the interior: Using a flathead screwdriver, carefully remove any screws or fasteners that secure the socket base to the lamp. This will allow you to access the interior of the socket.
- Inspect the interior: Take a closer look at the interior components of the socket. Look for any loose or disconnected wires, bent metal contacts, or other factors contributing to the looseness.
- Tighten the screws: If you notice any loose screws or connections inside the socket, use a screwdriver or a small wrench to securely tighten them. Ensure that all components are snug, but be careful not to overtighten and risk damaging the socket.
- Reassemble the socket: Once you’ve tightened the interior components, carefully reassemble the socket by securing the base back onto the lamp. Make sure all screws or fasteners are properly tightened.
By tightening the interior components, you are addressing any loose connections or parts that may have contributed to the socket’s looseness. This step will help restore stability and ensure a secure electrical connection within the socket.
Once you’ve completed this step, you can move on to tightening the exterior of the socket to further secure its position.
Step 6: Tighten the socket exterior
After tightening the interior components of the socket, it’s time to focus on securing the socket exterior. This step will help ensure that the socket is firmly attached to the lamp and prevent any further wobbling or looseness. Follow these steps to tighten the socket exterior:
- Disconnect power source: As a safety precaution, make sure that the lamp is still unplugged and there is no power running to the socket.
- Use a flathead screwdriver: Take your flathead screwdriver and locate the exterior socket base. There may be screws or other fasteners securing the socket to the lamp base.
- Tighten the socket base: Using the screwdriver, carefully tighten any screws or fasteners that secure the socket base to the lamp base. Make sure to apply enough pressure to secure the socket firmly, but be careful not to overtighten and risk damaging the lamp or socket.
- Test the stability: After tightening the socket exterior, gently shake the lamp to check for any remaining wobbling or looseness. If the socket feels secure and stable, you have successfully tightened the socket exterior.
Tightening the socket exterior will provide additional support and stability to the lamp socket. This will help prevent any future loosening and create a secure connection between the socket and the lamp base.
Once you’ve completed this step, you can proceed to the final steps of replacing the bulb and reattaching the lampshade to complete the process.
Read more: How To Tighten A Swing Arm Lamp
Step 7: Replace the bulb and lampshade
Now that you have tightened the socket and ensured its stability, it’s time to finish up the process by replacing the bulb and reattaching the lampshade. Follow these steps to complete the repair:
- Choose the right replacement bulb: Select a bulb that is compatible with your lamp and suits your lighting preferences. Make sure to match the wattage and base type of the previous bulb.
- Insert the bulb: Gently insert the new bulb into the socket, making sure it fits securely. If necessary, twist the bulb clockwise to lock it in place. Avoid using excessive force when inserting the bulb to prevent damage.
- Tighten the bulb: Once the bulb is in place, give it a gentle twist to ensure that it is securely seated in the socket. This will help create a solid connection and eliminate any potential flickering or loose contacts.
- Reattach the lampshade: Carefully slide the lampshade back onto the lamp, following the attachment method identified earlier. Secure it with any clips, screws, or tension rods as necessary.
- Test the lamp: Plug the lamp back into the power source and turn it on to test the newly tightened socket. Ensure that the lamp is functioning properly, with no flickering lights or other issues.
By replacing the bulb and reattaching the lampshade, you are completing the repair process and returning your lamp to its functional and aesthetically pleasing state.
Remember to handle the bulb with care and avoid touching the glass with your bare hands, as the oils from your skin can cause damage or reduce the bulb’s lifespan. If the bulb is too hot after testing, allow it to cool down before further adjustment or moving the lamp.
Congratulations! You have successfully tightened the loose lamp socket and restored your lamp to optimal working condition. Enjoy the improved stability and functionality of your lamp for years to come.
Conclusion
Tightening a loose lamp socket is a simple yet crucial task that can prevent safety hazards and ensure the optimal functioning of your lamp. By following the step-by-step guide outlined in this article, you can easily tighten the socket and restore stability to your lamp.
Throughout the process, it is important to prioritize safety by turning off the power and taking precautionary measures. Inspecting the socket, tightening the interior and exterior components, and replacing the bulb and lampshade will help eliminate any looseness and create a secure connection.
Remember to handle electrical components with care, avoid touching exposed wires, and always use the appropriate tools. If you encounter any significant damage or difficulties during the process, it may be best to consult a professional or consider replacing the socket entirely.
By tightening your lamp socket, you can enjoy a safe and functional lighting fixture that enhances the ambiance of your space. Take the time to address any looseness or issues early on, as it can prevent further damage and costly repairs in the future.
Thank you for following this guide. We hope it has been helpful in resolving your loose lamp socket issue. Illuminate your space with confidence, knowing that your lamp is sturdy and properly secured.
Now that you've mastered tightening a loose lamp socket, why stop there? Dive into our comprehensive guide on home maintenance with our next feature on "How to Do Home Repair." This piece is packed with practical tips and tricks to keep every corner of your abode in top shape. From squeaky doors to leaky faucets, you'll find easy-to-follow solutions that ensure your home stays as welcoming and safe as possible. Ready to tackle more DIY projects and transform your space? Let’s get those tools out and get to work!
Frequently Asked Questions about How To Tighten A Loose Lamp Socket
Was this page helpful?
At Storables.com, we guarantee accurate and reliable information. Our content, validated by Expert Board Contributors, is crafted following stringent Editorial Policies. We're committed to providing you with well-researched, expert-backed insights for all your informational needs.