
Furniture
How To Wire A Lamp Holder
Modified: October 20, 2024
Learn how to wire a lamp holder in your furniture. Step-by-step guide for DIY enthusiasts to create unique lighting fixtures.
(Many of the links in this article redirect to a specific reviewed product. Your purchase of these products through affiliate links helps to generate commission for Storables.com, at no extra cost. Learn more)
Introduction
When it comes to home decor and lighting, a well-placed lamp can make a world of difference. Whether you want to add a new touch to your living room or create a cozy reading nook in your bedroom, having the right lamp can instantly transform the ambiance of your space.
But what happens when your lamp holder starts to malfunction or becomes outdated? Instead of buying a brand new lamp, you can save money and give your current one a new lease on life by replacing the lamp holder yourself. This DIY project is not only cost-effective but also rewarding, as you’ll gain a sense of accomplishment and the satisfaction of seeing your beloved lamp come back to life.
In this guide, we’ll walk you through the step-by-step process of how to wire a lamp holder. Don’t worry if you’re not a seasoned DIY enthusiast – this project is beginner-friendly as long as you take the proper safety precautions and follow the instructions carefully.
Before we dive into the steps, let’s gather the tools and materials you’ll need:
- Wire cutters/strippers
- Screwdriver (flathead or Phillips, depending on your lamp)
- New lamp holder
- Wire nuts
- Electrical tape
- Electrical tester
Now that you have everything ready, let’s get started!
Key Takeaways:
- DIY lamp holder replacement saves money and brings a sense of accomplishment. Prioritize safety, gather tools, and follow step-by-step instructions for a successful project.
- Transform your space with a stylish and functional lamp. Replace the lamp holder yourself, enjoy the process, and create a cozy ambiance in your home.
Read more: What Is A Shunted Lamp Holder
Tools and Materials Needed
Before you begin the process of wiring a lamp holder, it’s important to have all the necessary tools and materials at hand. Here’s a list of what you’ll need:
- Wire cutters/strippers: These will be essential for cutting and stripping the wires as needed. Make sure you have a reliable pair that can handle various wire sizes.
- Screwdriver: You’ll need a screwdriver to remove the screws holding the old lamp holder in place and to secure the new lamp holder. Depending on your lamp, you may need either a flathead or a Phillips screwdriver.
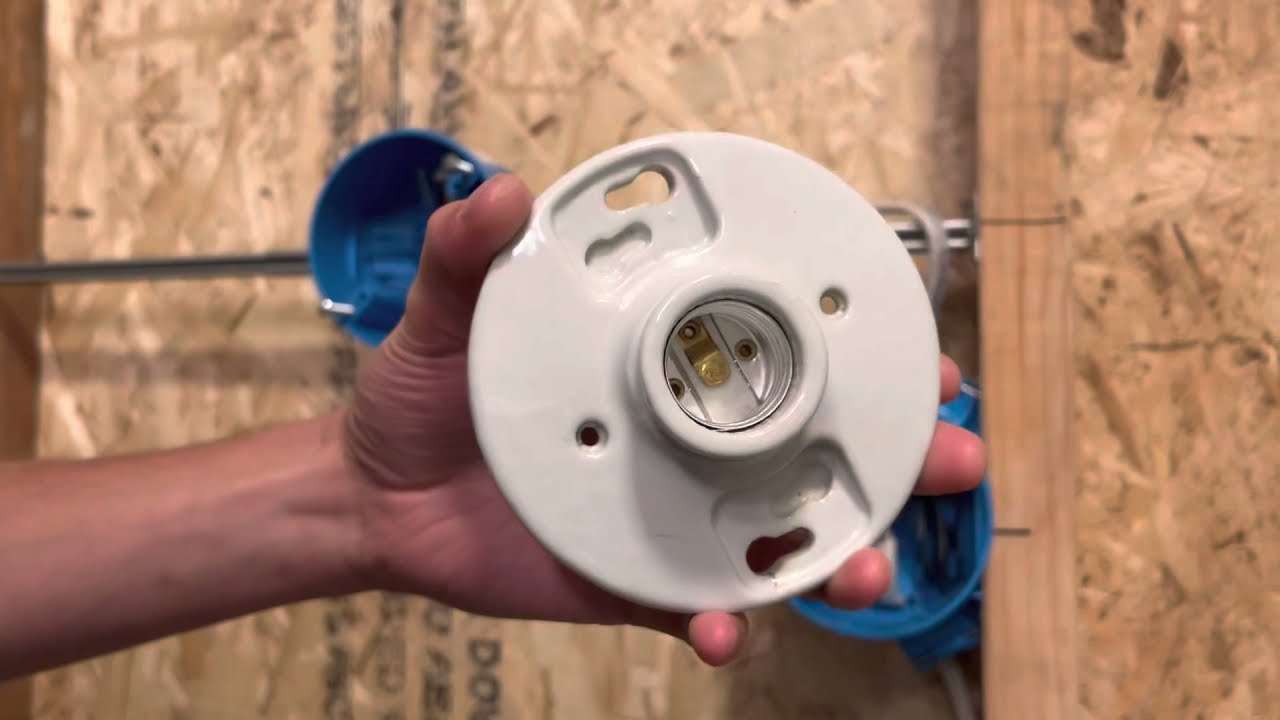
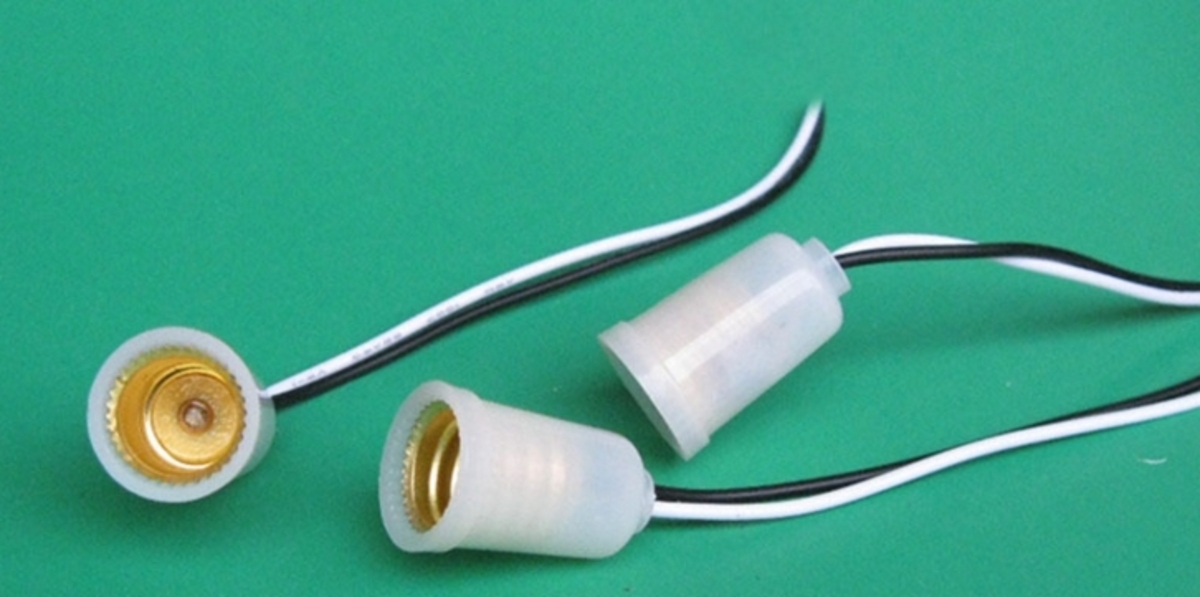
- New lamp holder: This is the main component you’ll be replacing. Choose a lamp holder that is compatible with your lamp’s design and electrical requirements.
- Wire nuts: These small connectors are used to join wires securely. Make sure you have a pack of wire nuts in various sizes to accommodate the wires you’ll be working with.
- Electrical tape: Electrical tape is used to insulate and secure wire connections. It provides an extra layer of protection and helps prevent wires from accidentally coming loose.
- Electrical tester: An electrical tester is crucial for ensuring that the power is off before you begin working on the lamp holder. It will help you avoid any potential electrical hazards.
With these tools and materials on hand, you’re ready to proceed with replacing your lamp holder. Make sure to follow each step carefully and take the necessary safety precautions.
Step 1: Safety Precautions
Before you begin any electrical work, it’s crucial to prioritize safety. Here are some important safety precautions to follow when wiring a lamp holder:
- Turn off the power: Before you start working on the lamp holder, ensure that the power to the lamp is turned off. Locate the circuit breaker in your home’s electrical panel and switch off the breaker that controls the lamp’s circuit. To double-check that the power is off, use an electrical tester to test the wires and ensure there is no electricity running through them.
- Wear protective gear: Protect yourself by wearing safety goggles and gloves. This will shield your eyes from any flying debris and prevent cuts or injuries while handling tools.
- Work on a stable surface: Find a stable work surface to place your lamp on while working. This will prevent any accidental slips or falls while you’re manipulating the wires or securing the lamp holder.
- Keep the area clear: Ensure that the area around your workspace is free of any clutter or obstacles. This will reduce the risk of tripping over objects and help you work more safely and efficiently.
- Don’t overload the circuit: Be mindful of the electrical load on the circuit. Avoid connecting too many appliances or fixtures to the same circuit as your lamp to prevent overload and potential electrical hazards.
- Ask for help if needed: If you’re uncomfortable or unsure about any step in the process, don’t hesitate to ask for assistance from a knowledgeable friend or consult a professional electrician.
By taking these safety precautions, you’ll minimize the risk of accidents or injuries while wiring a lamp holder. Remember, electrical work should always be approached with caution and respect for the potential dangers involved.
Step 2: Gathering the Necessary Parts
Now that you’ve taken the necessary safety precautions, it’s time to gather all the required parts for wiring your lamp holder. Here’s what you’ll need:
- New lamp holder: Select a lamp holder that matches the style and specifications of your lamp. Consider factors such as the type of bulb it supports, the wattage rating, and the design that will complement your existing lamp.
- Wire cutters/strippers: You’ll need these tools to cut and strip the wires. Make sure they are in good condition and capable of handling the wire thickness of your lamp.
- Screwdriver: Choose the appropriate type of screwdriver, either flathead or Phillips, depending on the screws used to secure the lamp holder.
- Wire nuts: These connectors will be used to secure the wires together. Get a pack that contains various sizes to fit different wire gauges.
- Electrical tape: This will be used to wrap around the wire connections for added insulation and security.
- Electrical tester: It’s essential to have an electrical tester to verify that the power is off before you begin working on the lamp holder. This tool will help prevent electrical shocks.
Before starting the wiring process, make sure you have all the necessary parts readily available. Check if the lamp holder you purchased includes any additional components, such as mounting screws or brackets, and ensure they are included in your inventory.
Now that you have everything you need, it’s time to move on to the next step: turning off the power to the lamp.
Step 3: Turning Off Power
Before you begin working on the lamp holder, it’s essential to ensure that the power supply is turned off to eliminate the risk of electric shock. Follow these steps to turn off the power safely:
- Locate the circuit breaker: Identifying the correct circuit breaker is crucial. You’ll want to shut off the power to the specific circuit that supplies electricity to the lamp. Look for the circuit breaker panel in your home – it’s usually located in a utility room, basement, or garage.
- Identify the correct breaker: Most circuit breakers are labeled to indicate which area or room they control. Look for the label corresponding to the room where your lamp is located. If the breakers are not labeled, you may need to do some trial and error by turning off one breaker at a time and checking if the lamp loses power.
- Switch off the breaker: Once you’ve identified the correct circuit breaker, switch it to the “off” position by pushing the switch firmly. You should hear a click or feel a resistance when the breaker is in the “off” position.
- Double-check the power: To ensure the power is truly off, use an electrical tester to test the wires connected to the lamp. Place one probe of the tester on the bare wire and touch the other probe to a grounded object. If there’s no voltage detected, you can proceed with confidence knowing the power is off.
Remember, it’s crucial to take every precaution when working with electricity. Always assume the power is on until you have verified it is off using an electrical tester. This step will protect you from potential electric shocks and ensure your safety as you proceed with the installation of the new lamp holder.
With the power switched off, you’re now ready to move on to the next step: removing the old lamp holder.
Read more: How To Wire A Two-Socket Lamp
Step 4: Removing the Old Lamp Holder
Now that you have turned off the power and ensured your safety, it’s time to remove the old lamp holder. Follow these steps:
- Unplug the lamp: If your lamp is plugged into an electrical outlet, unplug it from the wall. This will prevent any accidental power supply while you work on the lamp holder.
- Remove the lampshade: Take off the lampshade carefully, ensuring you don’t damage it in the process. Set it aside in a safe place so it doesn’t get damaged or dirty while you work on the lamp holder.
- Remove any decorative components: Some lamps may have decorative components like finials or collar nuts. Unscrew or detach these components, if applicable, to access the lamp holder.
- Undo the screws: Locate the screws that are holding the lamp holder in place. They can usually be found at the base of the lamp or underneath any decorative elements. Use a screwdriver (flathead or Phillips, depending on the type of screws) to carefully undo the screws and remove them.
- Disconnect the wires: With the screws removed, you can now access the wires connected to the lamp holder. Identify the wire connections – usually, there will be two or three wires attached to the holder. Take note of which wires are connected where for easy reassembly.
- Unscrew wire nuts: On each wire connection, you’ll find wire nuts securing the wires together. Unscrew the wire nuts counterclockwise to release the wires. Be gentle when detaching the wires to avoid damaging them.
- Remove the old lamp holder: Once the wires have been disconnected, you can now remove the old lamp holder from the lamp base. Gently pull the holder away from the base, being careful not to pull on the wires or cause any damage.
After you’ve removed the old lamp holder, set it aside, and take a moment to clean the lamp base if needed. Remove any dust or debris to ensure a clean workspace for the installation of the new lamp holder.
With the old lamp holder out of the way, you’re ready to move on to the next step: preparing the wires for the installation of the new lamp holder.
When wiring a lamp holder, always make sure to turn off the power at the circuit breaker before starting. This will prevent any accidents or electrical shocks while working on the wiring.
Step 5: Preparing the Wires
With the old lamp holder removed, it’s time to prepare the wires for connecting them to the new lamp holder. Follow these steps:
- Inspect the wires: Take a close look at the wires that were connected to the old lamp holder. Check for any signs of damage, fraying, or discoloration. If you notice any issues, it’s important to replace the damaged wires before proceeding.
- Trim the damaged ends: If you find any damaged portions of the wires, use wire cutters to trim off the affected sections. Cut about a quarter-inch (6mm) off the ends to ensure you have clean, undamaged wire to work with.
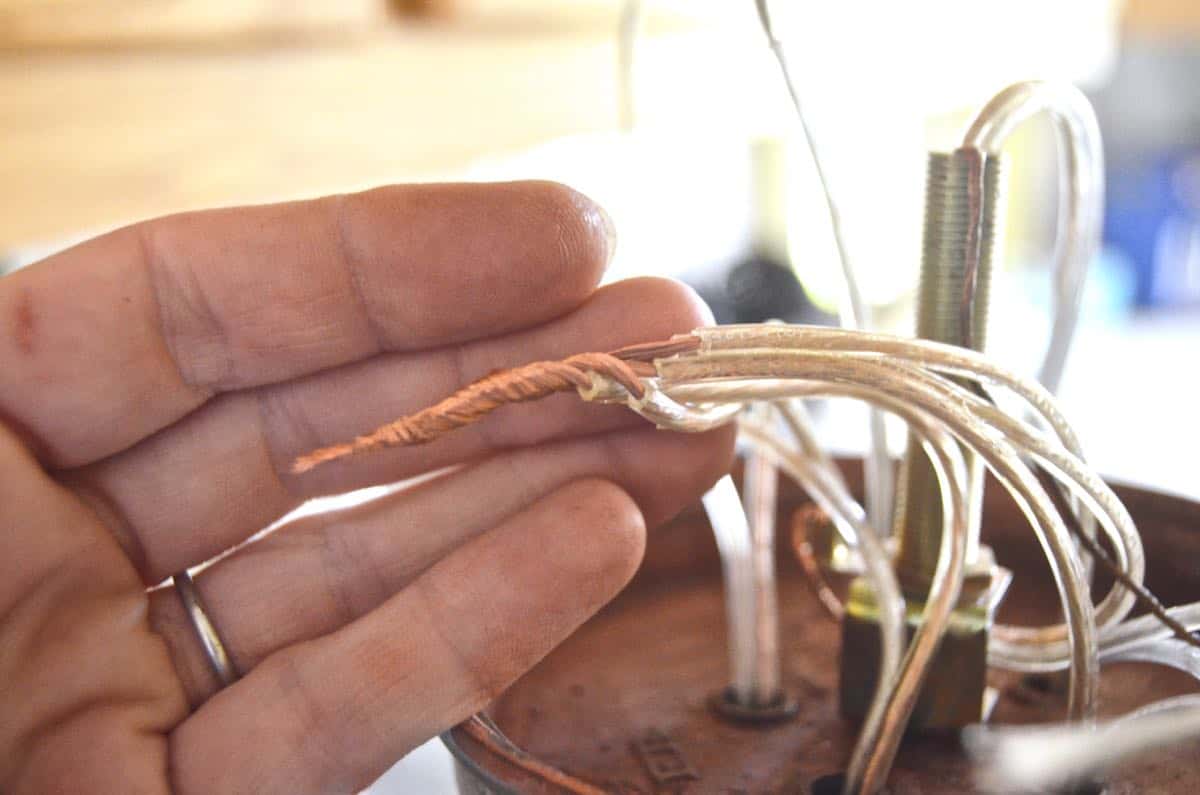
- Strip the wire insulation: Using wire strippers, carefully remove a small portion of the insulation from the end of each wire. Be cautious not to cut into the wire strands. Strip about half an inch (12mm) of insulation from each wire to expose the bare copper.
- Twist the wire strands: After stripping the insulation, gently twist the wire strands together to prevent them from fraying or becoming loose. This will create a solid connection when you attach them to the new lamp holder.
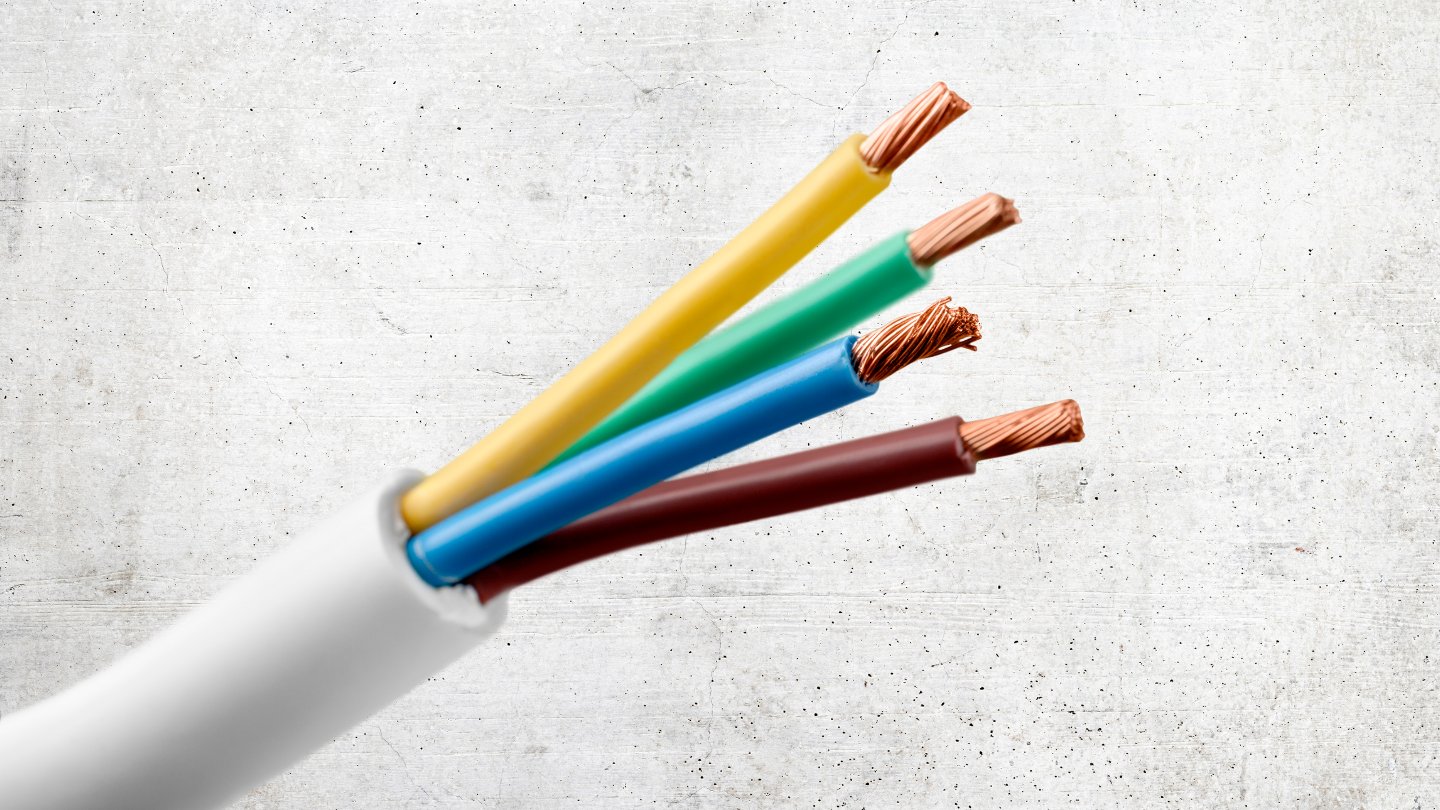
- Label the wires (if necessary): If the wires are not already color-coded or labeled, use tape or markers to distinguish between them. For example, you can label one wire as “hot” (typically black or red) and another as “neutral” (typically white or gray). If there’s a grounding wire, label it as “ground” (usually green or bare copper).
By inspecting and preparing the wires properly, you ensure a clean and secure connection with the new lamp holder. Take your time to double-check that the wires are free from any damage or issues before moving on to the next step.
Once the wires are properly prepared, you’re ready to connect them to the new lamp holder. This will be covered in the next step of the process.
Step 6: Connecting Wires to the New Lamp Holder
Now that you have prepared the wires, it’s time to connect them to the new lamp holder. Follow these steps:
- Identify the wire connections: Take a close look at the new lamp holder and identify the connection points. There are typically three terminals: one for the hot wire (usually labeled “H” or “+”), one for the neutral wire (usually labeled “N” or “-“), and one for the grounding wire (usually labeled with the grounding symbol).
- Matching the wires: Match the appropriate wires from the lamp to the corresponding terminals on the lamp holder. Connect the hot wire from the lamp to the hot terminal on the holder, the neutral wire to the neutral terminal, and the grounding wire (if applicable) to the grounding terminal.
- Twist the wire ends together: Take the stripped end of each wire and twist it together with the corresponding wire terminal on the lamp holder. Make sure the connection is secure and the wires are tightly twisted to prevent them from coming loose.
- Secure the connections: Once the wires are twisted together with the terminals, cover each connection with a wire nut. Twist the wire nut clockwise until it’s firmly in place, securing the wire connection. Ensure that no bare wire is exposed outside the wire nut.
- Wrap with electrical tape (optional): For added security, you can wrap each wire nut connection with electrical tape. This helps insulate the connections and provides extra protection against accidental disconnection.
It’s essential to ensure that each wire is securely connected to the proper terminal on the new lamp holder. Take your time and double-check that each wire is correctly matched before proceeding to the next step.
With the wires successfully connected to the new lamp holder, you’re ready to secure it in place. This will be covered in the next step of the process.
Step 7: Securing the Lamp Holder in Place
Now that the wires are securely connected to the new lamp holder, it’s time to secure the holder in place. Follow these steps:
- Position the lamp holder: Place the new lamp holder in the desired position on the lamp base. Ensure that it aligns properly and is centered. If there are mounting screws or brackets included with the lamp holder, use them to secure the holder tightly to the base.
- Insert and tighten the screws: Using a screwdriver, insert the screws into the designated holes on the lamp holder and tighten them. Depending on the lamp design, you may need either a flathead or Phillips screwdriver. Make sure the lamp holder is securely fastened to the lamp base.
- Double-check the wire connections: After securing the lamp holder, give the wires a gentle tug to ensure they are firmly connected to the terminals. Check that the wire nuts are tight and the connections are secure. If any wires feel loose, go back and tighten the wire nuts to ensure a stable connection.
It’s important to ensure that the lamp holder is properly secured to the lamp base to prevent any movement or instability. This will ensure the safety and longevity of your lamp.
With the lamp holder securely in place, you’re almost done! The final step involves restoring power to the lamp, which will be covered in the next and final step of the process.
Read more: What Gauge Is A Lamp Wire?
Step 8: Restoring Power
Now that you have successfully connected and secured the new lamp holder, it’s time to restore power to the lamp. Follow these steps:
- Double-check the connections: Before restoring power, double-check that all wire connections are secure and properly insulated with wire nuts. Ensure that there are no exposed wires or loose connections that may cause a short circuit or electrical hazard.
- Replace any decorative components: If you removed any decorative components from the lamp earlier, such as finials or collar nuts, now is the time to reattach them. Make sure they are securely fastened, but be careful not to overtighten and potentially damage the lamp base.
- Plug in the lamp (if applicable): For lamps that are plugged into an electrical outlet, you can now plug the lamp back in. Make sure the outlet is in good condition and functioning properly.
- Turn on the power: Proceed to the circuit breaker panel in your home and switch the breaker for the lamp’s circuit back to the “on” position. Listen for any audible clicks or check if the lights in the room come back on to confirm that the power has been restored to the lamp.
- Test the lamp: With the power restored, test the lamp to ensure it is functioning properly. Flip the lamp switch or use the lamp’s on/off mechanism to turn it on. If all connections are secure, the lamp should illuminate as expected.
- Check for any issues: After restoring power and testing the lamp, carefully inspect the lamp holder and surrounding area for any signs of overheating, sparking, or unusual odors. If you notice any abnormalities, immediately turn off the lamp and seek professional assistance to address the problem.
By systematically restoring power and testing the lamp, you can ensure that the new lamp holder is functioning correctly and that the connections are secure. Always prioritize safety and exercise caution when handling electrical components.
Congratulations! You have successfully wired and installed a new lamp holder. Enjoy the renewed functionality and illumination of your lamp.
Remember, if you’re uncomfortable or unsure about any step in the process, it’s best to consult a professional electrician for assistance.
Conclusion
Replacing a lamp holder can be a rewarding DIY project that saves you money and gives your favorite lamp a new lease on life. By following the step-by-step process outlined in this guide and taking the necessary safety precautions, you can successfully wire a new lamp holder and enjoy a fully functional and stylish lighting fixture.
Throughout the process, we emphasized the importance of safety. Always turn off the power, wear protective gear, and work on a stable surface. Take your time to gather the necessary tools and materials and ensure that the wires are properly prepared and securely connected to the new lamp holder.
Remember to double-check all connections before restoring power and testing the lamp. If you encounter any issues or are unsure about any step, don’t hesitate to consult a professional electrician who can provide guidance and expertise.
By replacing the lamp holder yourself, you not only save money but also gain a sense of accomplishment and satisfaction knowing that you successfully completed a DIY project. You’ll also have the freedom to choose a lamp holder that matches your style and complements your existing decor.
So go ahead, gather your tools, and embark on this DIY adventure. With the knowledge gained from this guide and your newfound confidence, you can transform your lamp and create a warm and inviting atmosphere in your home.
Frequently Asked Questions about How To Wire A Lamp Holder
Was this page helpful?
At Storables.com, we guarantee accurate and reliable information. Our content, validated by Expert Board Contributors, is crafted following stringent Editorial Policies. We're committed to providing you with well-researched, expert-backed insights for all your informational needs.


0 thoughts on “How To Wire A Lamp Holder”