Furniture
How To Wire A Two-Socket Lamp
Modified: January 5, 2024
Learn how to wire a two-socket lamp and create a stunning lighting feature for your furniture. Step-by-step instructions and tips from experts.
(Many of the links in this article redirect to a specific reviewed product. Your purchase of these products through affiliate links helps to generate commission for Storables.com, at no extra cost. Learn more)
Introduction
Welcome to our guide on how to wire a two-socket lamp. Whether you’re a DIY enthusiast or just looking to add a touch of personalization to your home decor, knowing how to wire a lamp can be a useful skill. With this simple step-by-step tutorial, you’ll be able to wire a two-socket lamp with ease.
A two-socket lamp can provide twice the amount of light, making it a practical and stylish addition to any room. Whether you want to illuminate a living space, create a cozy reading nook, or add some ambiance to your bedroom, a two-socket lamp offers versatility and functionality.
Before we delve into the wiring process, it’s essential to understand the importance of safety. Working with electricity can be dangerous, so it’s crucial to take the necessary precautions. Make sure to disconnect the lamp from the power source before starting the wiring process and handle all electrical components with care.
Now that we’ve covered the basics, let’s move on to the tools and materials you’ll need for this project.
Key Takeaways:
- Wiring a two-socket lamp is a practical and rewarding DIY project that adds both functionality and aesthetic charm to your living space. Prioritize safety, follow the steps, and enjoy the cozy atmosphere of your beautifully wired lamp.
- Gather the necessary tools and materials, prepare the lamp socket and cord, make secure wire connections, and test the lamp for functionality. With proper care and attention to detail, you can confidently wire your own two-socket lamp and add a stylish touch to your home decor.
Read more: How To Tighten A Loose Lamp Socket
Tools and Materials Needed
Before you get started on wiring your two-socket lamp, it’s important to gather all the necessary tools and materials. Here’s a list of what you’ll need:
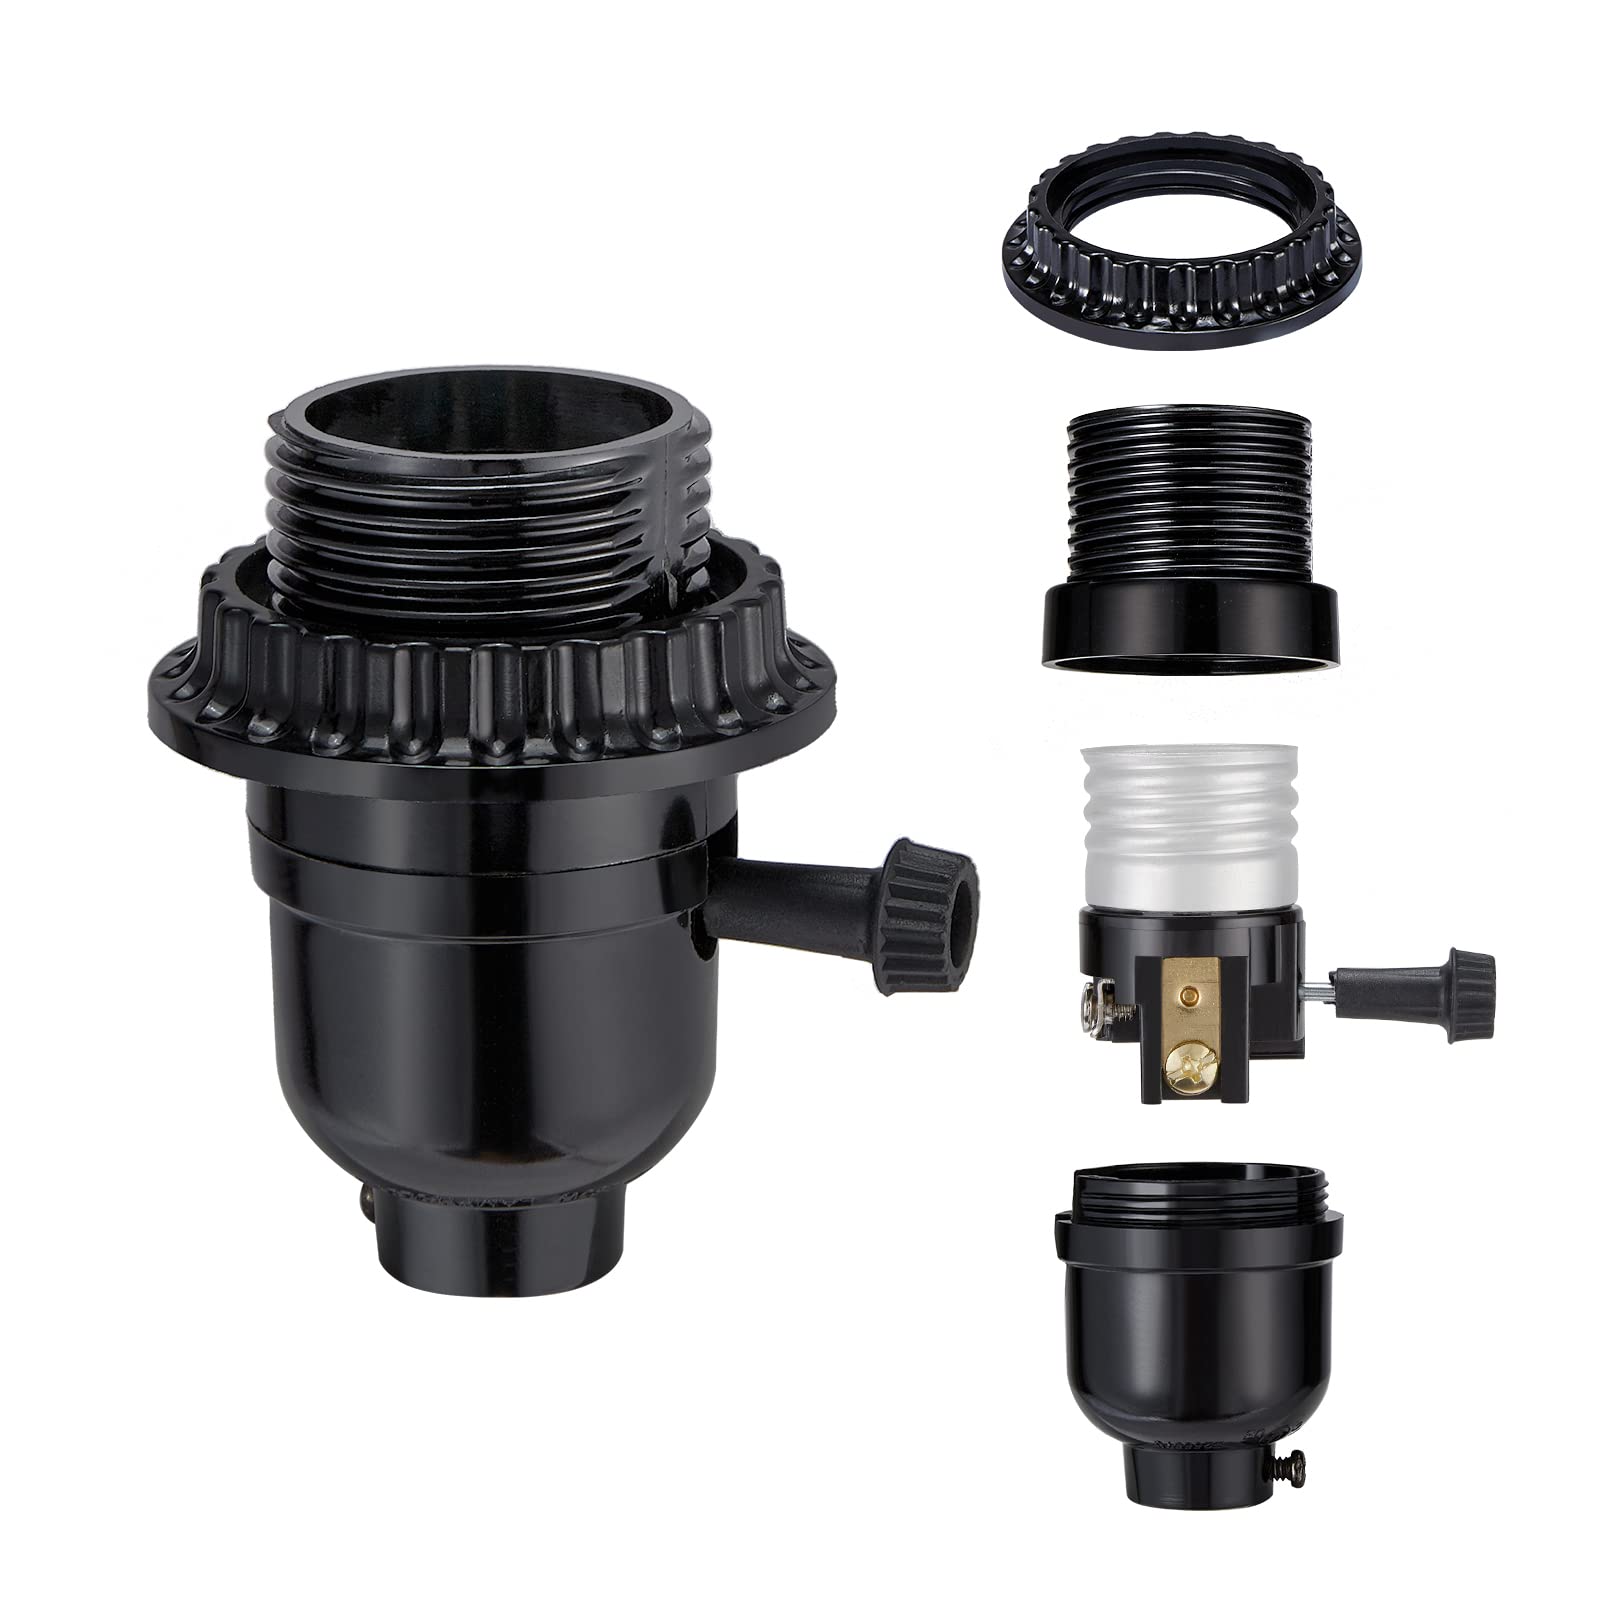
- Lamp socket with two sockets
- Lamp cord
- Wire cutters/strippers
- Electrical tape
- Phillips screwdriver
- Wire nuts
- Utility knife
- Pliers
- Marker or tape for labeling wires
- Optional: Lamp base and lampshade
Make sure to have all these tools and materials ready before you begin the wiring process. This will ensure a smooth and efficient process, allowing you to complete your two-socket lamp project without any delays.
Once you have everything you need, let’s move on to the first step: preparing the lamp socket.
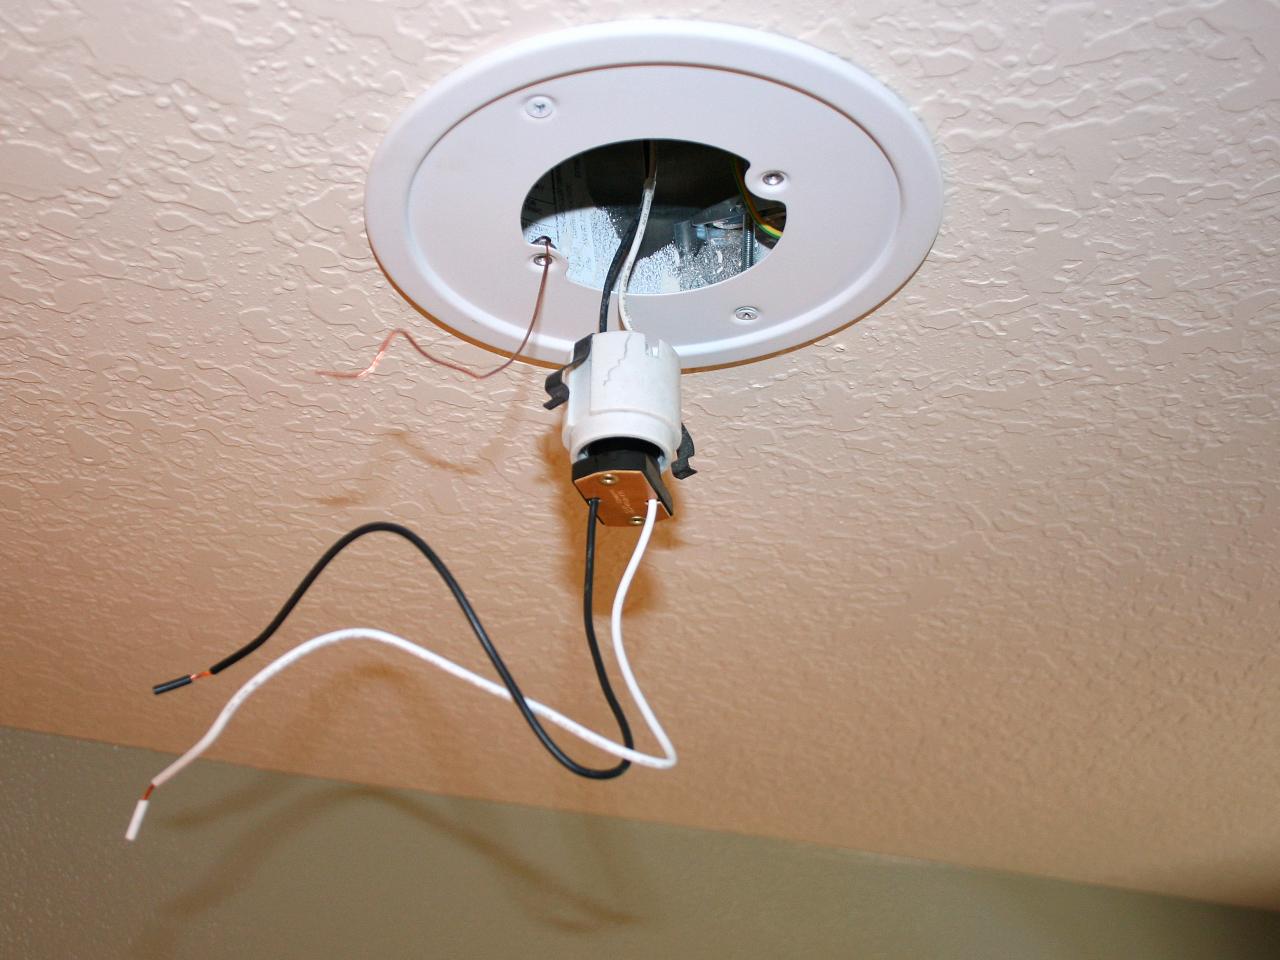
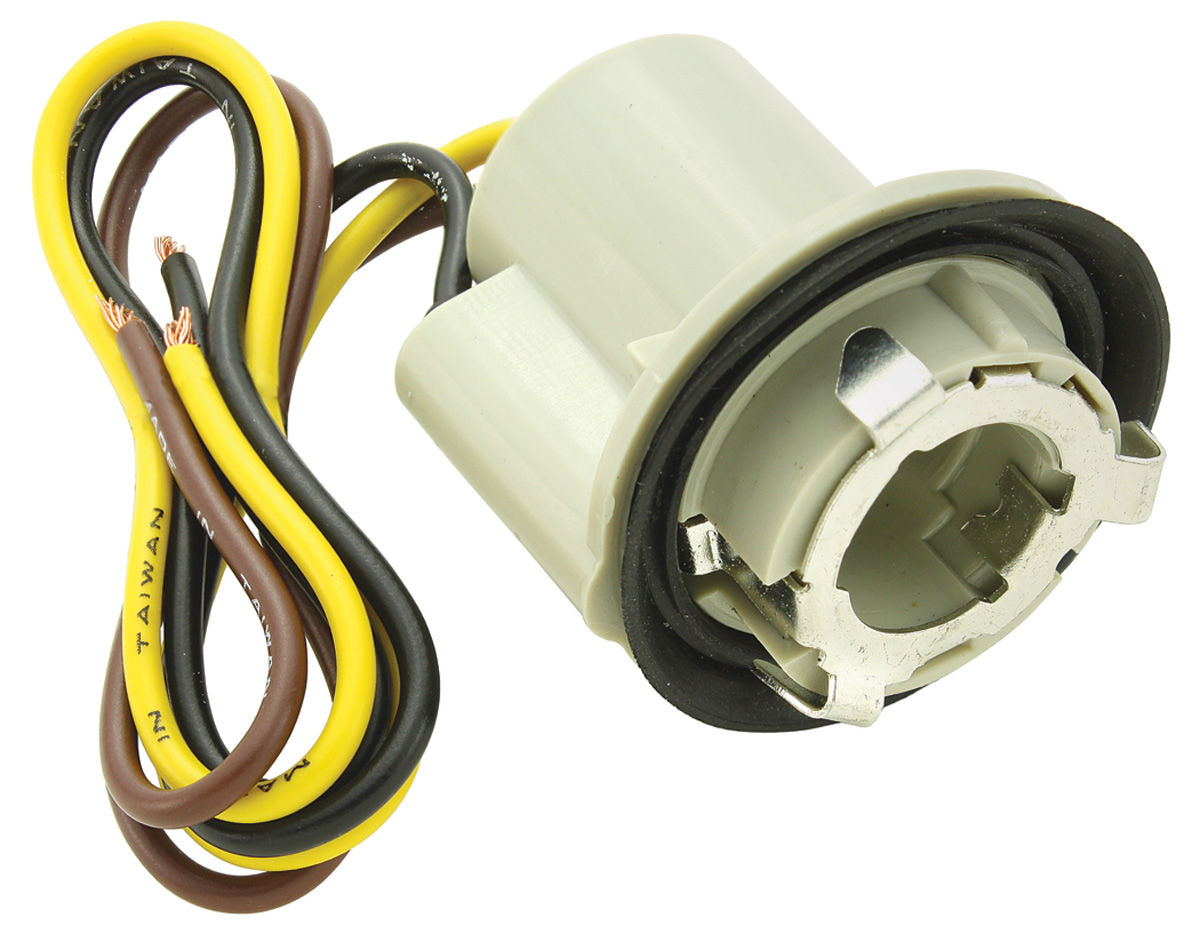
Step 1: Preparing the Lamp Socket
The first step in wiring a two-socket lamp is to prepare the lamp socket. Follow these simple instructions:
- Begin by disconnecting the lamp socket from the power source. This ensures your safety while working on the lamp.
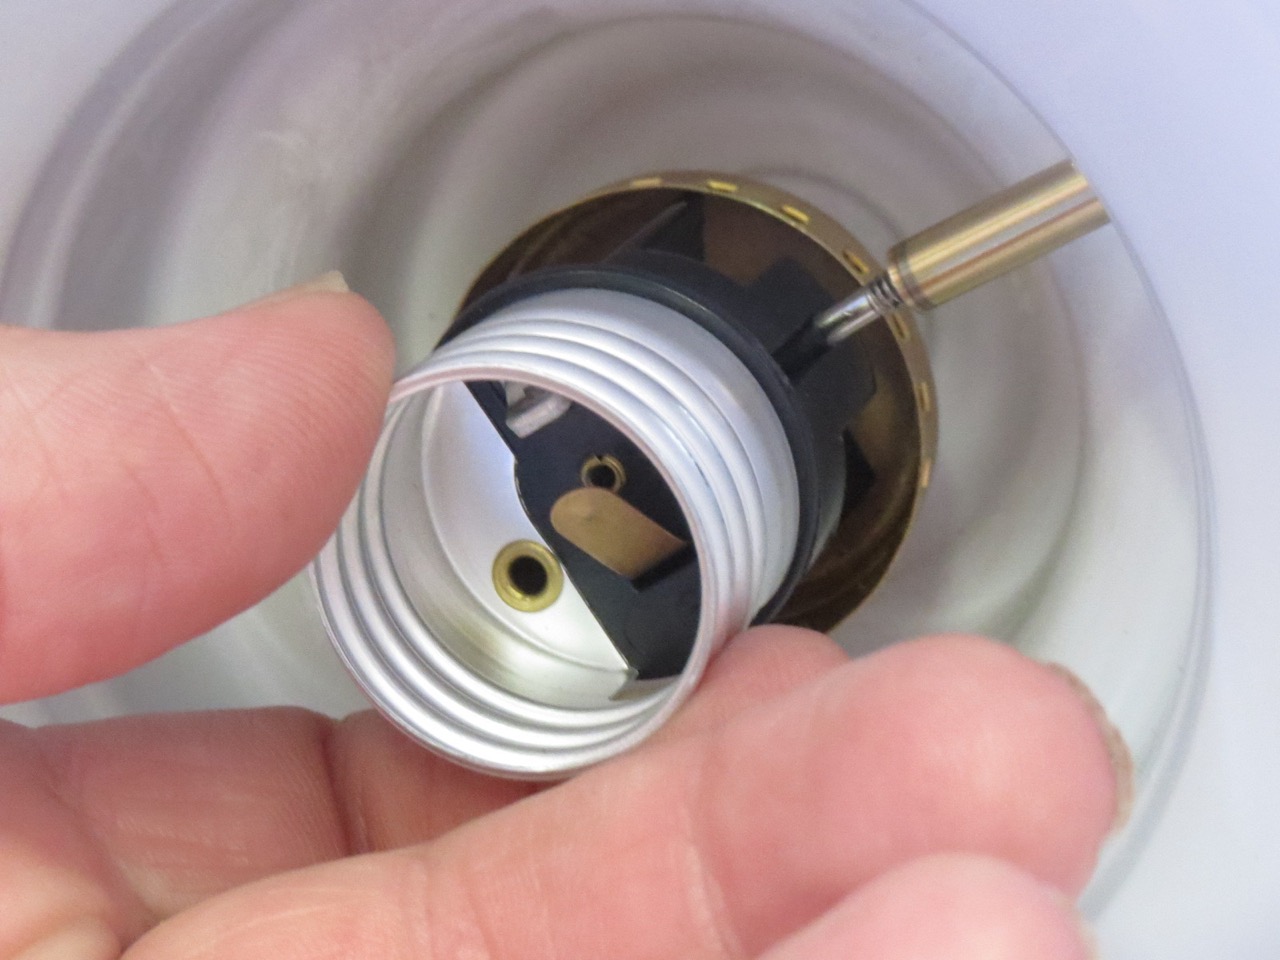
- Using a Phillips screwdriver, remove the screws on the top of the lamp socket. This will allow you to access the wiring terminals inside.
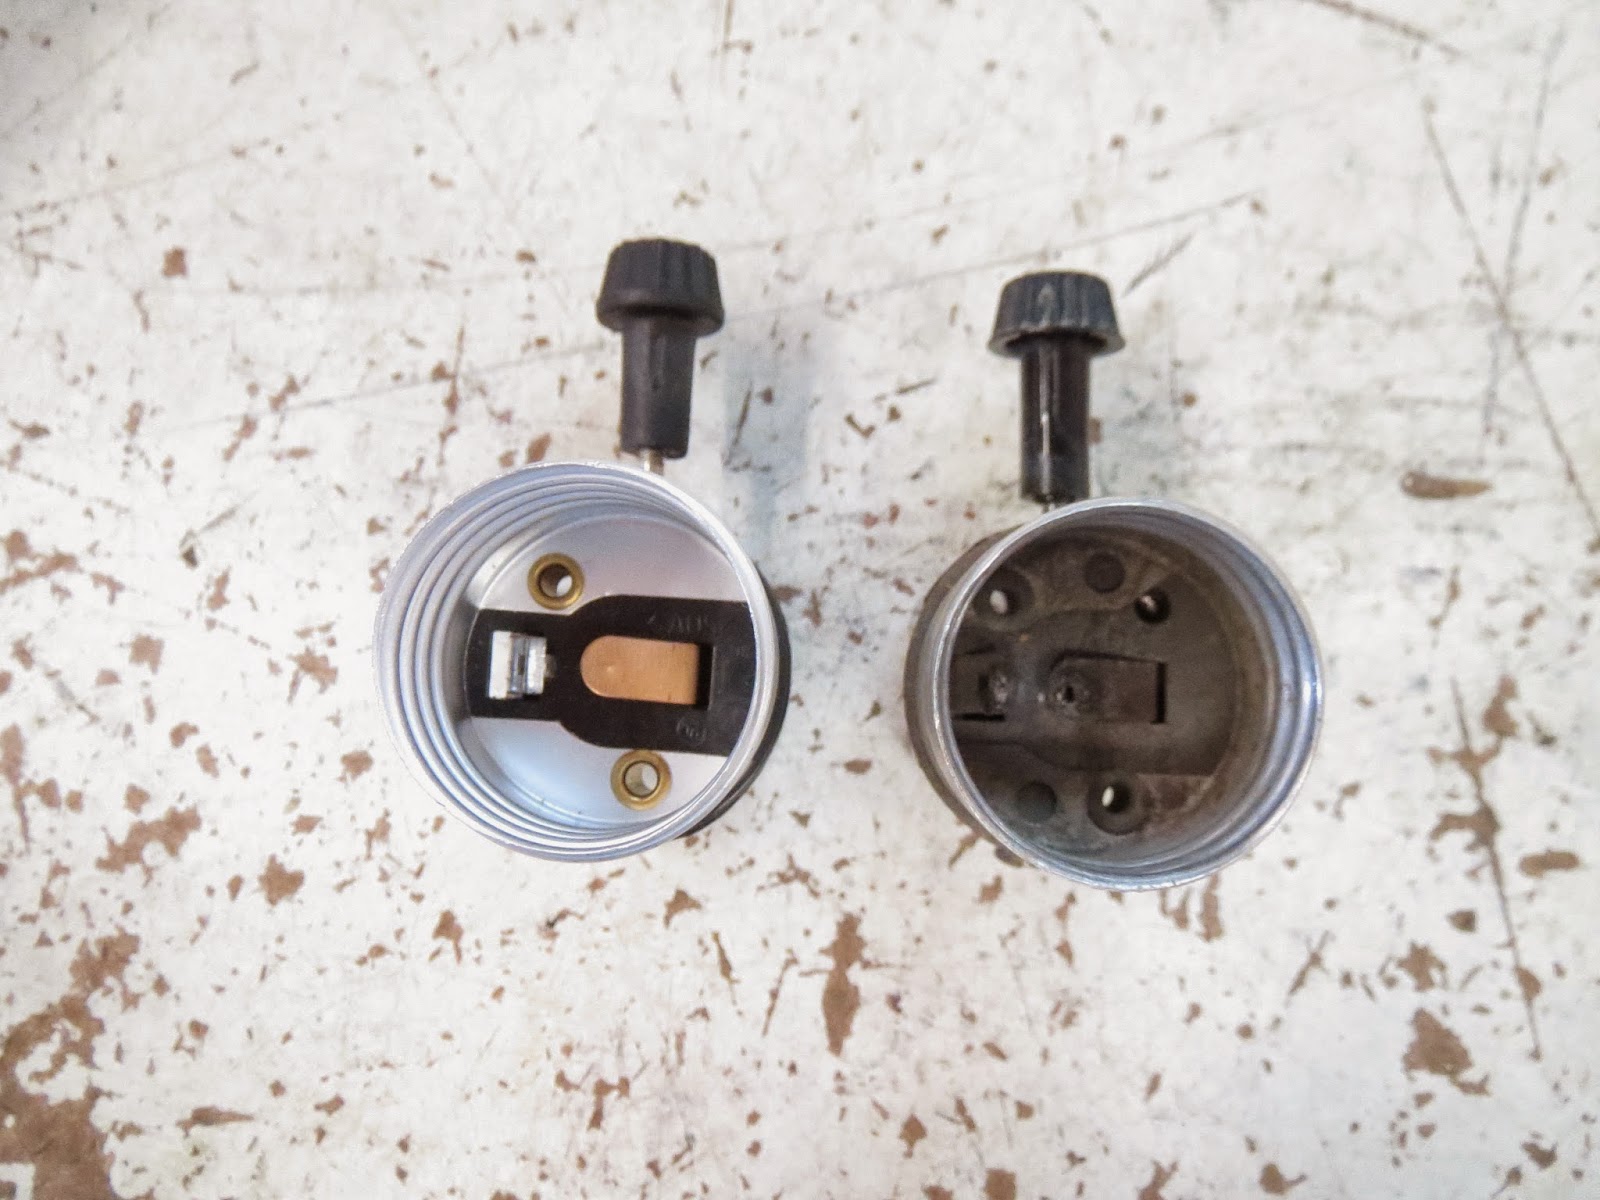
- Take note of the two brass-colored screws and the silver-colored screw inside the socket. The brass screws are for the hot wire connections, and the silver screw is for the neutral wire connection.
- Next, thread the lamp cord through the bottom opening of the lamp socket and pull it out through the top. Make sure to leave enough cord length to comfortably work with.
- Strip about 1/2 inch of insulation from the end of the lamp cord using wire strippers. Be careful not to cut through the individual wires inside.
- Twist the exposed wires of the lamp cord to ensure they are tightly together and secure.
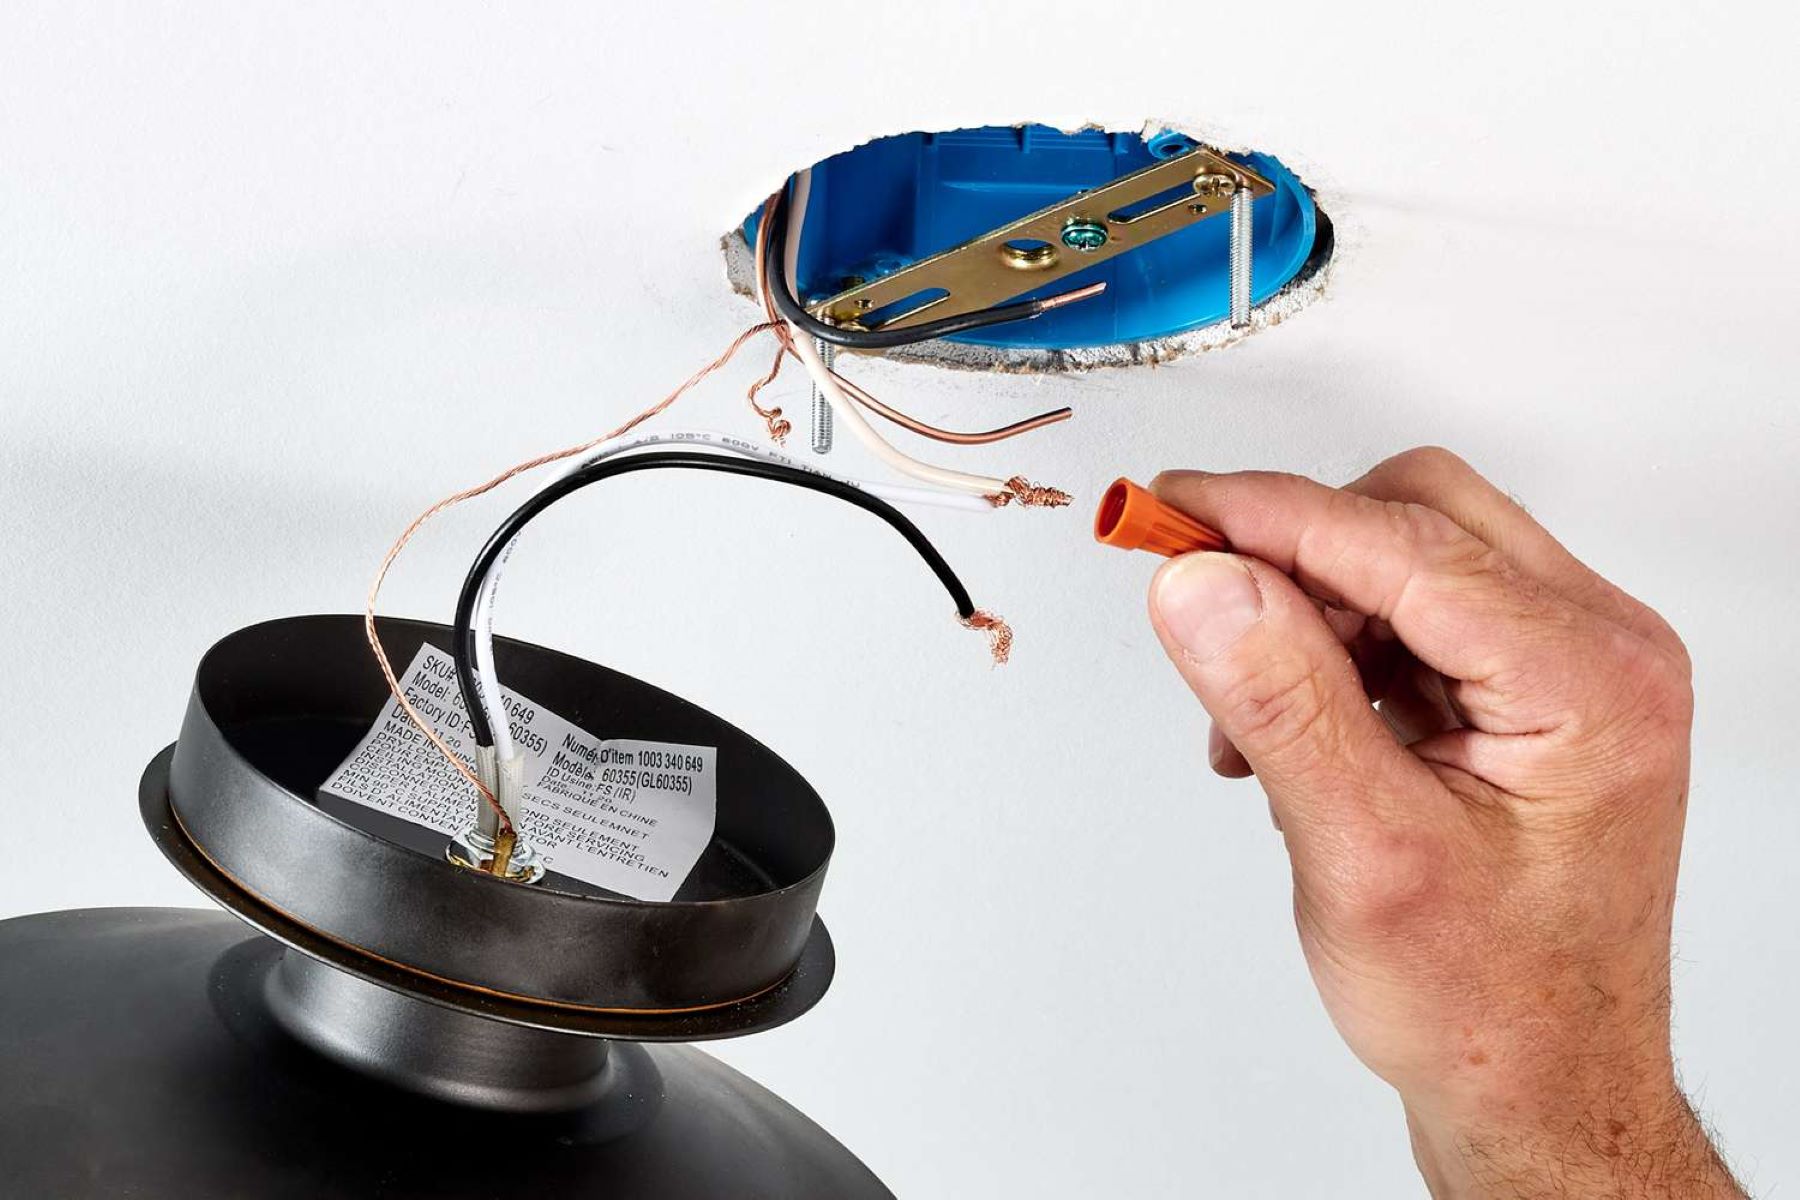
- Now it’s time to connect the lamp cord wires to the lamp socket terminals. Attach the hot wire (usually indicated by its smooth insulation or a ribbed texture) to one of the brass-colored screws. Wrap the wire clockwise around the screw and tighten it securely.
- Attach the neutral wire (usually indicated by its ribbed insulation or a marked stripe) to the silver-colored screw in the same manner, wrapping it clockwise and tightening it securely.
- Once the wires are securely attached, gently tug on them to ensure they are properly secured and won’t come loose.
- Finally, carefully push the excess lamp cord back into the lamp base and screw the lamp socket back into place using the Phillips screwdriver.
You have now successfully prepared the lamp socket for the wiring process. In the next step, we will prepare the lamp cord for connection to the socket.
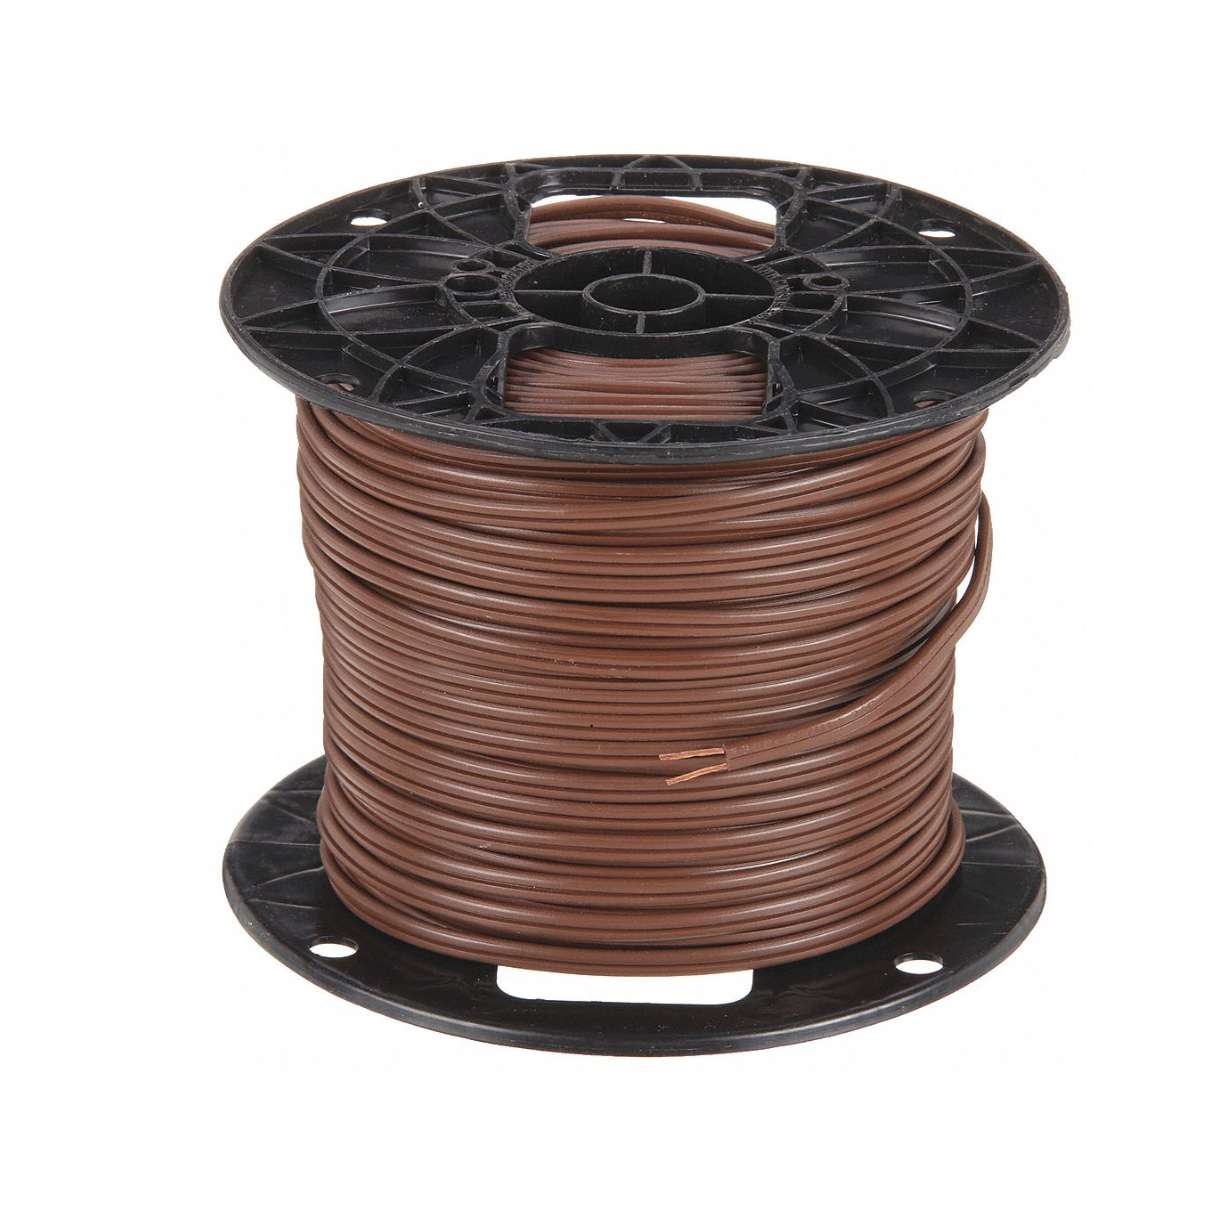
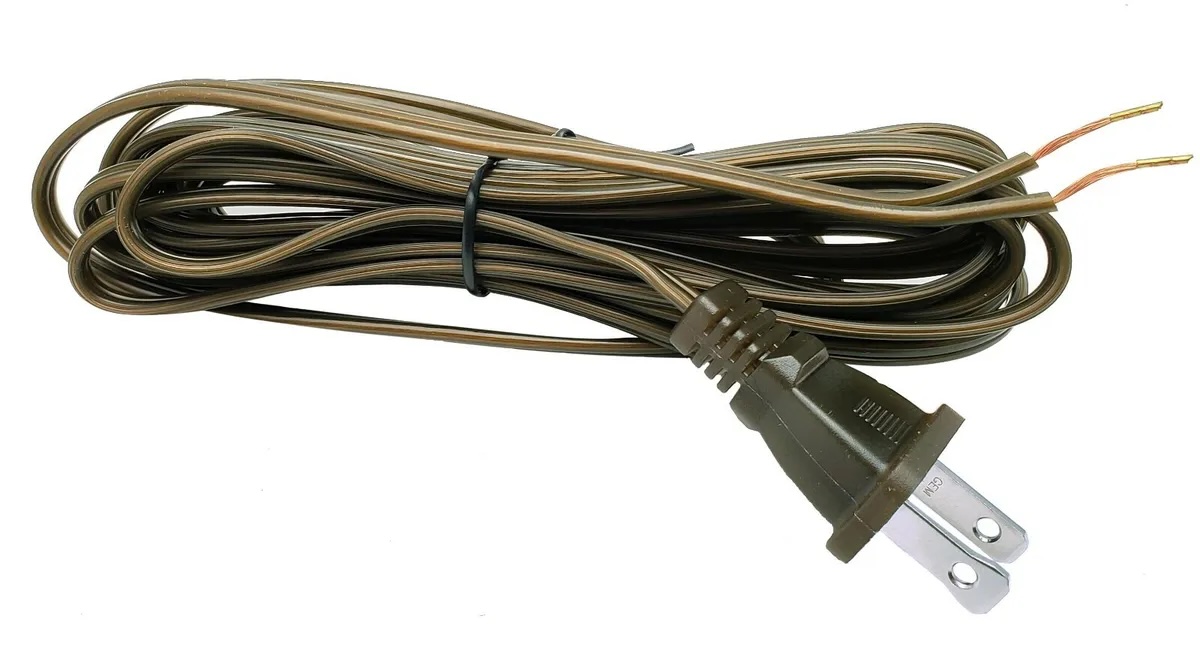
Step 2: Preparing the Lamp Cord
In this step, we will focus on preparing the lamp cord for connection to the lamp socket. Follow these instructions:
- Start by disconnecting the lamp cord from the power source, ensuring your safety during the preparation process.
- Inspect the lamp cord for any damage or frayed areas. If you notice any, it’s essential to replace the cord to ensure safe and reliable operation.
- If your lamp cord has a polarized plug, you’ll notice one prong is larger than the other. The larger prong is the neutral wire, while the smaller prong is the hot wire.
- Measure and cut the lamp cord to the desired length, keeping in mind how much cord you will need to reach the power source and allow for mobility.
- Next, use wire strippers to strip about 1/2 inch of insulation from the ends of the cut lamp cord. Be careful not to damage the individual wires inside.
- After stripping the insulation, you will notice two individual wires inside the lamp cord: a hot wire and a neutral wire. They are typically color-coded, with the hot wire being black or smooth and the neutral wire being white or ribbed.
- Separate the two wires and gently twist the exposed ends of each wire to ensure they are secure and won’t fray during the wiring process.
With the lamp cord properly prepared, we can now move on to connecting it to the lamp socket in the next step.
When wiring a two-socket lamp, make sure to connect the neutral wire to the silver screw and the hot wire to the brass screw on both sockets. This will ensure proper electrical connection and safety.
Step 3: Connecting the Lamp Socket and Cord
Now that we have prepared both the lamp socket and cord, it’s time to connect them together. Follow these steps:
- Start by reattaching the lamp socket to the lamp base, ensuring it is secure and in the proper position.
- Take the prepared lamp cord with the exposed ends and locate the corresponding wiring terminals inside the lamp socket.
- Connect the hot wire (typically black or smooth) to the brass-colored screw on the socket. Wrap it clockwise around the screw, ensuring it is tightly secured.
- Connect the neutral wire (typically white or ribbed) to the silver-colored screw on the socket. Wrap it clockwise around the screw and tighten it securely.
- Once the wires are attached, double-check that they are securely fastened and won’t come loose.
- If your lamp socket has a grounding wire (usually green or bare copper), connect it to the green grounding screw on the socket.
- Use wire nuts to cover the exposed wire connections for added safety and protection.
By making these connections, you have successfully linked the lamp socket and cord, ensuring a secure and functional electrical connection. In the next step, we will focus on securing the wire connections for added safety.
Read more: How To Wire A Ceiling Fan With Two Switches
Step 4: Securing the Wire Connections
Securing the wire connections is a crucial step to ensure the safety and reliability of your two-socket lamp. Follow these instructions:
- Start by carefully inspecting the wire connections to ensure they are properly fastened and free from any loose strands.
- If you notice any loose wires, use pliers to twist them together tightly.
- After securing the wire connections, wrap each one individually with electrical tape. This will provide an extra layer of insulation and reduce the risk of accidental contact.
- Make sure to wrap the electrical tape around the exposed wire connections, extending it a few inches up the lamp cord for added protection.
- Gently tug on the wires to ensure they are securely connected and won’t come loose.
- Once you have secured and wrapped all the wire connections, use a utility knife to trim any excess electrical tape for a neat and tidy finish.
- Inspect the entire wiring assembly to ensure there are no exposed wires or loose connections visible.
By properly securing the wire connections and adding electrical tape, you have taken an important step towards ensuring the safety and longevity of your two-socket lamp. Now, it’s time to move on to the final step: testing the lamp.
Step 5: Testing the Lamp
After completing the wiring process, it’s essential to test the lamp to ensure everything is functioning correctly. Here’s how to do it:
- Before plugging in the lamp, double-check that the lamp switch is in the off position.
- Plug the lamp into a working power outlet.
- Switch on the lamp to test if both sockets illuminate. If they do, congratulations! Your two-socket lamp is wired successfully.
- If only one socket lights up or there is no light at all, turn off the lamp and unplug it from the power outlet.
- Double-check all the wire connections and make sure they are securely attached. Look for any loose or damaged wires.
- If necessary, reattach or tighten any loose wire connections. Replace any damaged wires or faulty components as needed.
- Once you have made adjustments, plug the lamp back in and test it again.
- If the lamp still doesn’t function correctly, it may be necessary to consult a professional electrician for further assistance.
Remember, safety is paramount. If you encounter any issues or are unsure about the wiring process, it is always best to seek professional help.
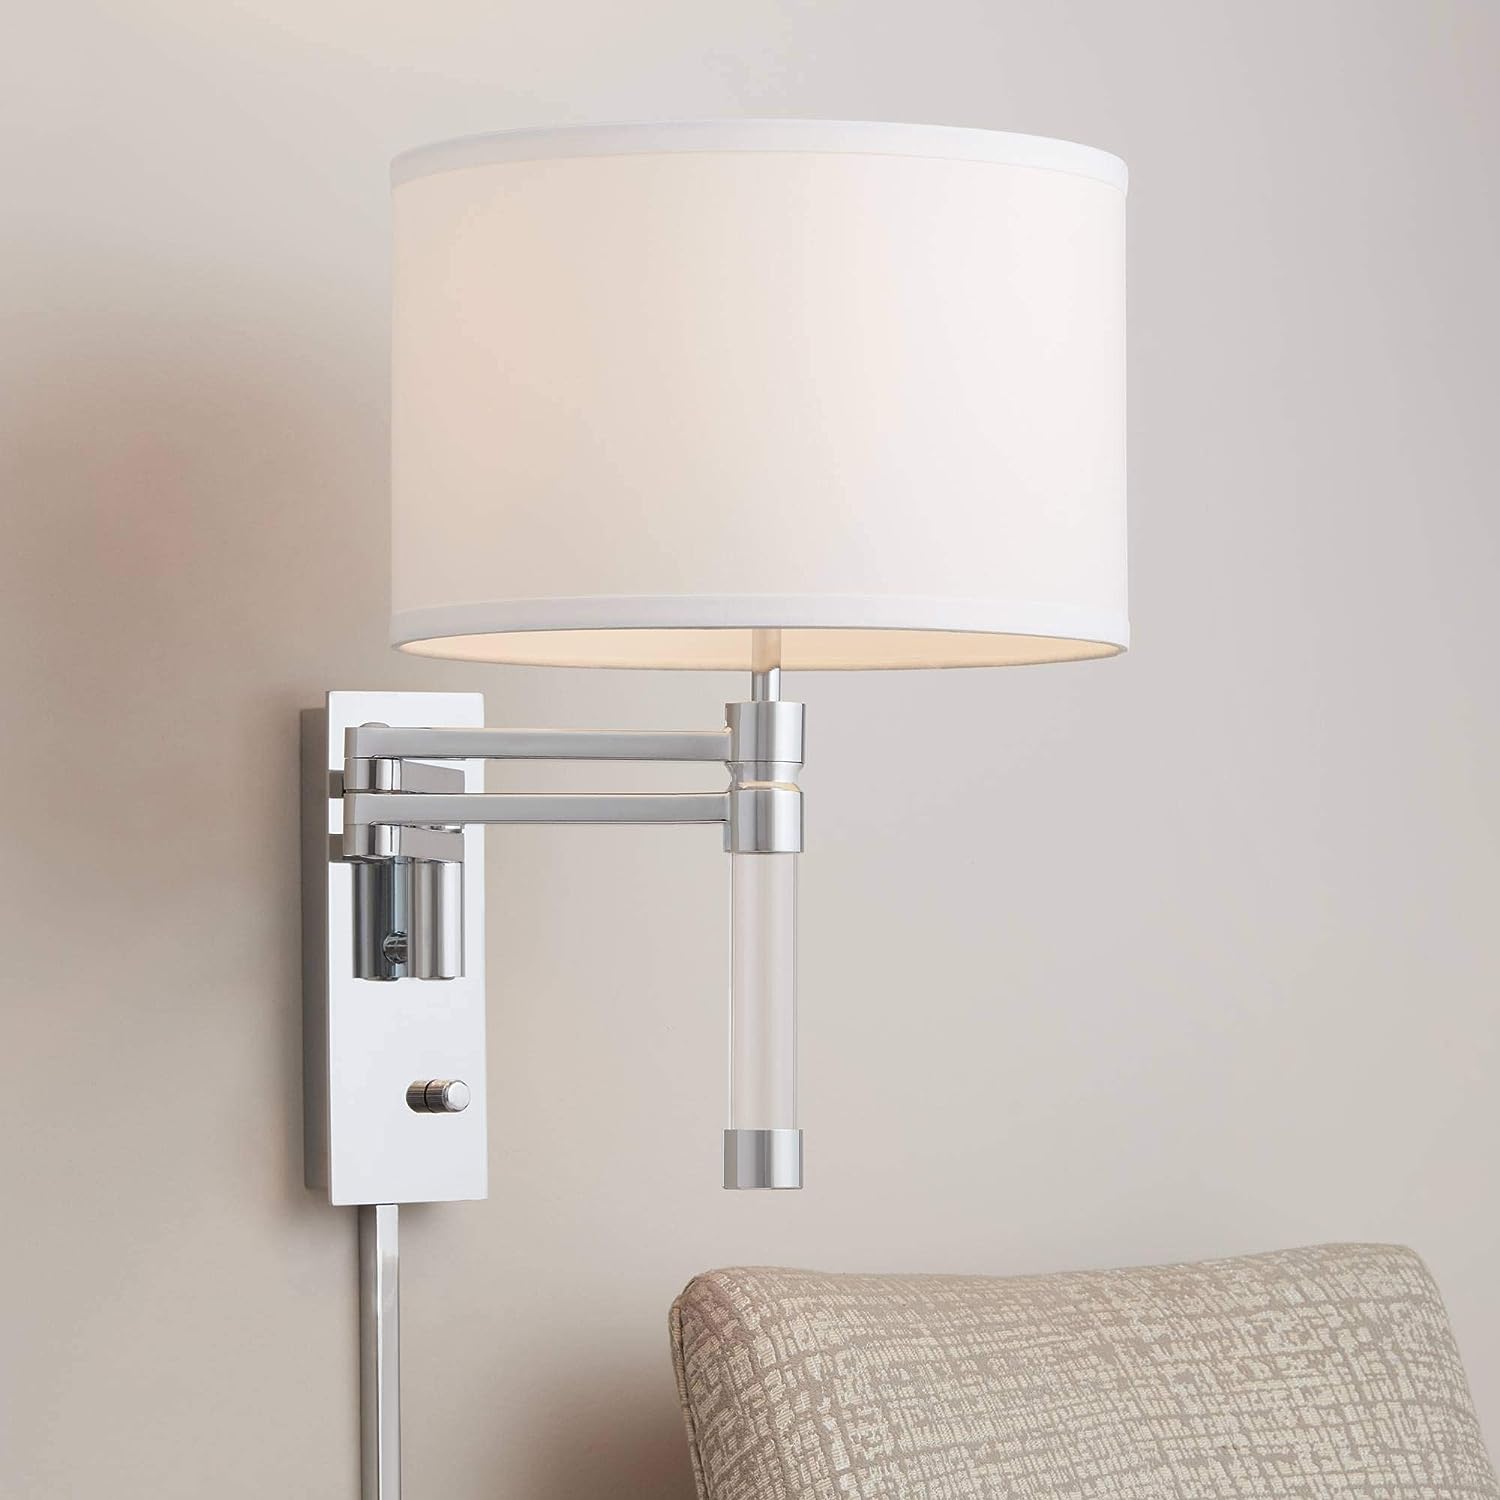
With the lamp successfully tested and functioning, you can now enjoy the warm glow of your beautifully wired two-socket lamp. Feel free to add a lamp base and shade of your choice to complete the look.
Conclusion
Wiring a two-socket lamp can be a rewarding and practical DIY project that adds both functionality and aesthetic charm to your living space. By following the steps outlined in this guide and taking the necessary safety precautions, you can confidently wire your own two-socket lamp with ease.
Throughout this tutorial, we have covered the essential steps of preparing the lamp socket, preparing the lamp cord, connecting the lamp socket and cord, securing the wire connections, and testing the lamp. Each step is crucial in ensuring a safe and reliable electrical connection.
Remember to always prioritize safety by disconnecting the lamp from the power source before working on it and handling all electrical components with care. If you encounter any difficulties or are unsure about any step, it’s best to seek professional assistance.
Now that you have successfully wired your two-socket lamp, feel free to unleash your creativity by choosing a lamp base and shade that perfectly complement your decor. Whether you’re illuminating a cozy reading nook or adding a stylish touch to your living room, your wired two-socket lamp will be a beautiful and functional addition to your home.
Enjoy the cozy atmosphere and the soft glow of your newly wired two-socket lamp. Happy decorating!
Frequently Asked Questions about How To Wire A Two-Socket Lamp
Was this page helpful?
At Storables.com, we guarantee accurate and reliable information. Our content, validated by Expert Board Contributors, is crafted following stringent Editorial Policies. We're committed to providing you with well-researched, expert-backed insights for all your informational needs.