Home>Furniture>Living Room Furniture>How To Install A Samsung TV Stand

Living Room Furniture
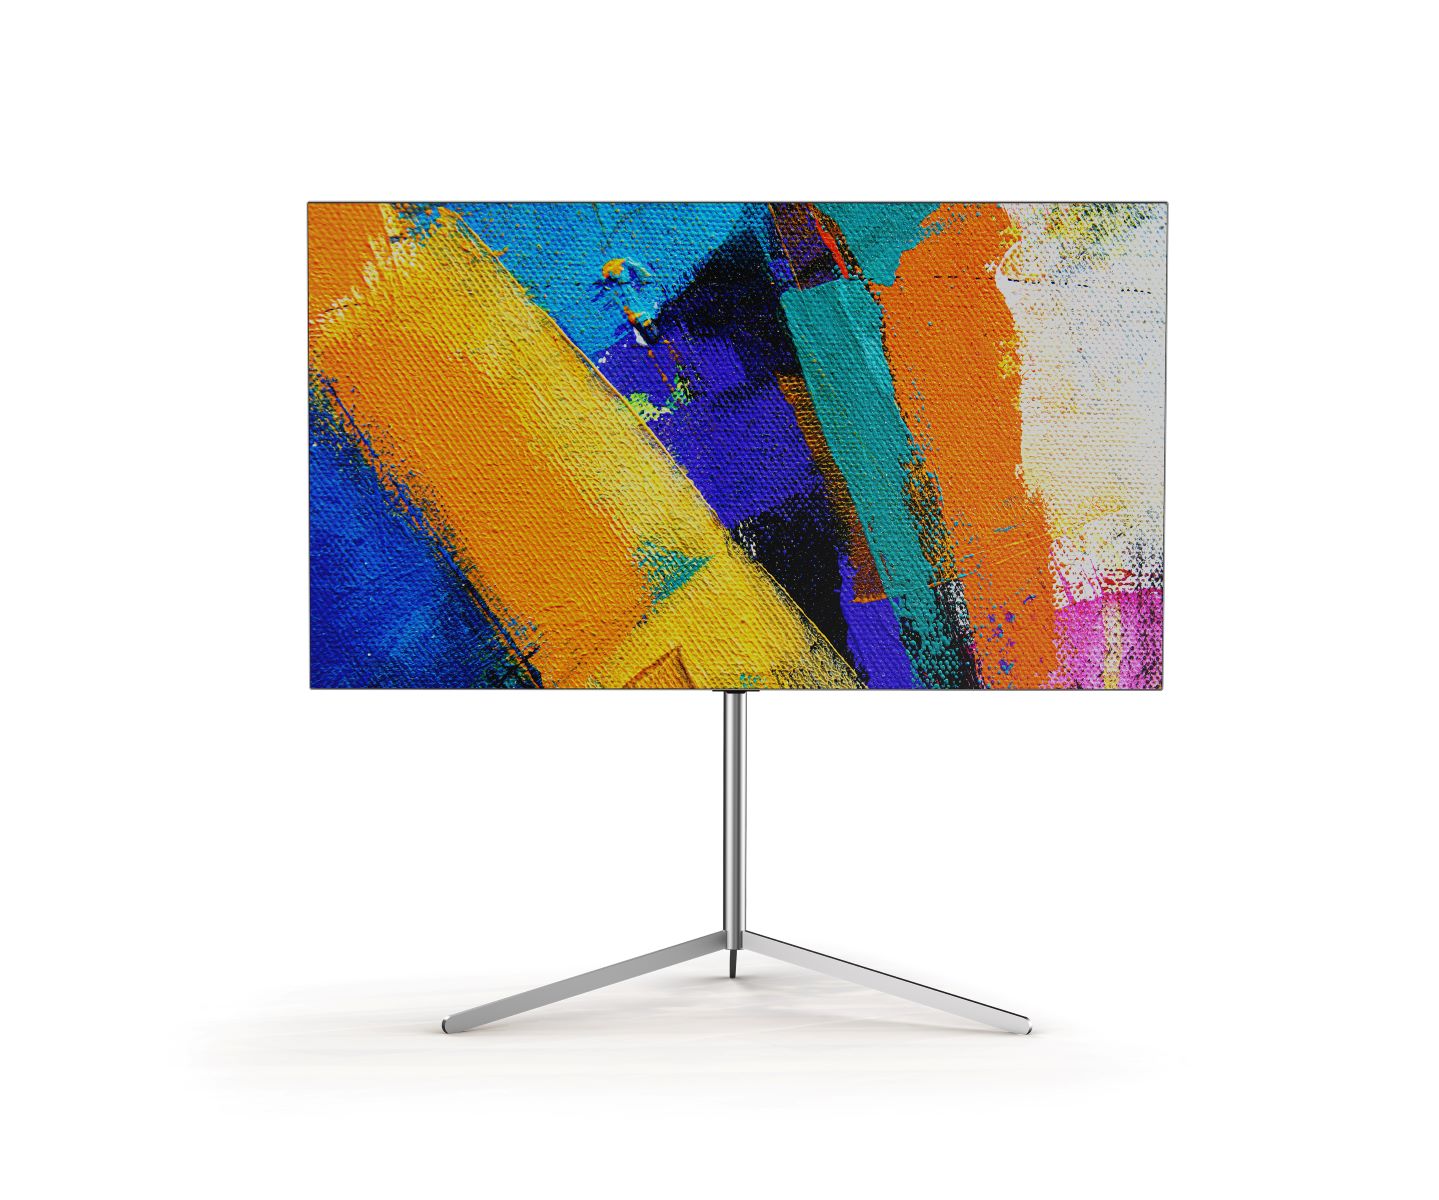
How To Install A Samsung TV Stand
Modified: March 16, 2024
Learn how to easily install a Samsung TV stand in your living room with our step-by-step guide. Enhance your living room furniture setup with this simple installation process.
(Many of the links in this article redirect to a specific reviewed product. Your purchase of these products through affiliate links helps to generate commission for Storables.com, at no extra cost. Learn more)
Introduction
Welcome to the complete guide on how to install a Samsung TV stand! If you have recently purchased a Samsung TV and need assistance in setting up the stand, you’ve come to the right place. Don’t worry, the process is relatively straightforward, and with a few simple steps, you’ll have your TV standing securely in no time.
Installing the TV stand is an essential part of the setup process, as it ensures the stability and proper positioning of your TV. Whether you’ve opted for a sleek and stylish pedestal stand or a sturdy wall mount, this guide will cover everything you need to know to install the stand correctly.
Before we dive into the installation process, it’s important to note that different models of Samsung TVs may have slightly different stand designs and installation methods. However, the fundamental principles remain the same, so this guide will provide you with a general overview of the process that can be applied to most Samsung TV models.
So let’s begin unboxing your TV stand and get ready to install it!
Key Takeaways:
- Easily install your Samsung TV stand by following simple steps: unbox, attach, adjust, secure, connect components, and test stability. Enjoy your favorite shows with confidence in your secure TV setup!
- Ensure a safe and steady TV setup by carefully following the installation steps, securing the stand, connecting additional components, and testing stability. Relax and enjoy your Samsung TV with peace of mind!
Read more: How To Install Vizio TV Stand
Step 1: Unboxing the TV Stand
The first step in installing your Samsung TV stand is to unbox it. Make sure you have a clear and spacious area to work in. Here are the steps to follow:
- Remove all the packaging materials: Carefully open the box and remove any cardboard or foam inserts that may be protecting the stand.
- Inspect the contents: Take a look at the components included in the box. Typically, you will find the stand itself, screws, and any necessary tools or accessories.
- Read the instruction manual: Before proceeding, it’s recommended to read the instruction manual provided with your TV stand. This will provide you with specific guidance for your model and ensure that you don’t miss any important details.
- Organize the components: Lay out all the components in front of you, making sure everything is easily accessible. This will help you keep track of the parts and make the installation process smoother.
Once you have unboxed and organized the TV stand and its components, you’re ready to move on to the next step: attaching the stand to the TV.
Step 2: Attaching the Stand to the TV
Now that you have unboxed the TV stand and organized the components, it’s time to attach the stand to your Samsung TV. Follow these steps:
- Locate the stand attachment points: Turn the TV around carefully to identify the stand attachment points. These are usually located towards the bottom of the TV.
- Match the stand with the attachment points: Take the stand and align it with the attachment points on the TV. Make sure the holes on the stand match the holes on the TV perfectly.
- Secure the stand with screws: Once the stand is aligned, have the screws that came with the TV stand ready. Insert the screws into the holes on the stand and tighten them gently with a screwdriver. Be careful not to overtighten, as this can damage the TV.
- Double-check the stability: After tightening the screws, check the stability of the stand by gently rocking the TV back and forth. Ensure that it feels secure and doesn’t wobble. If it does, go back and double-check that the screws are tightened properly.
Once you have successfully attached the stand to your Samsung TV, it’s time to move on to the next step: adjusting the stand position.
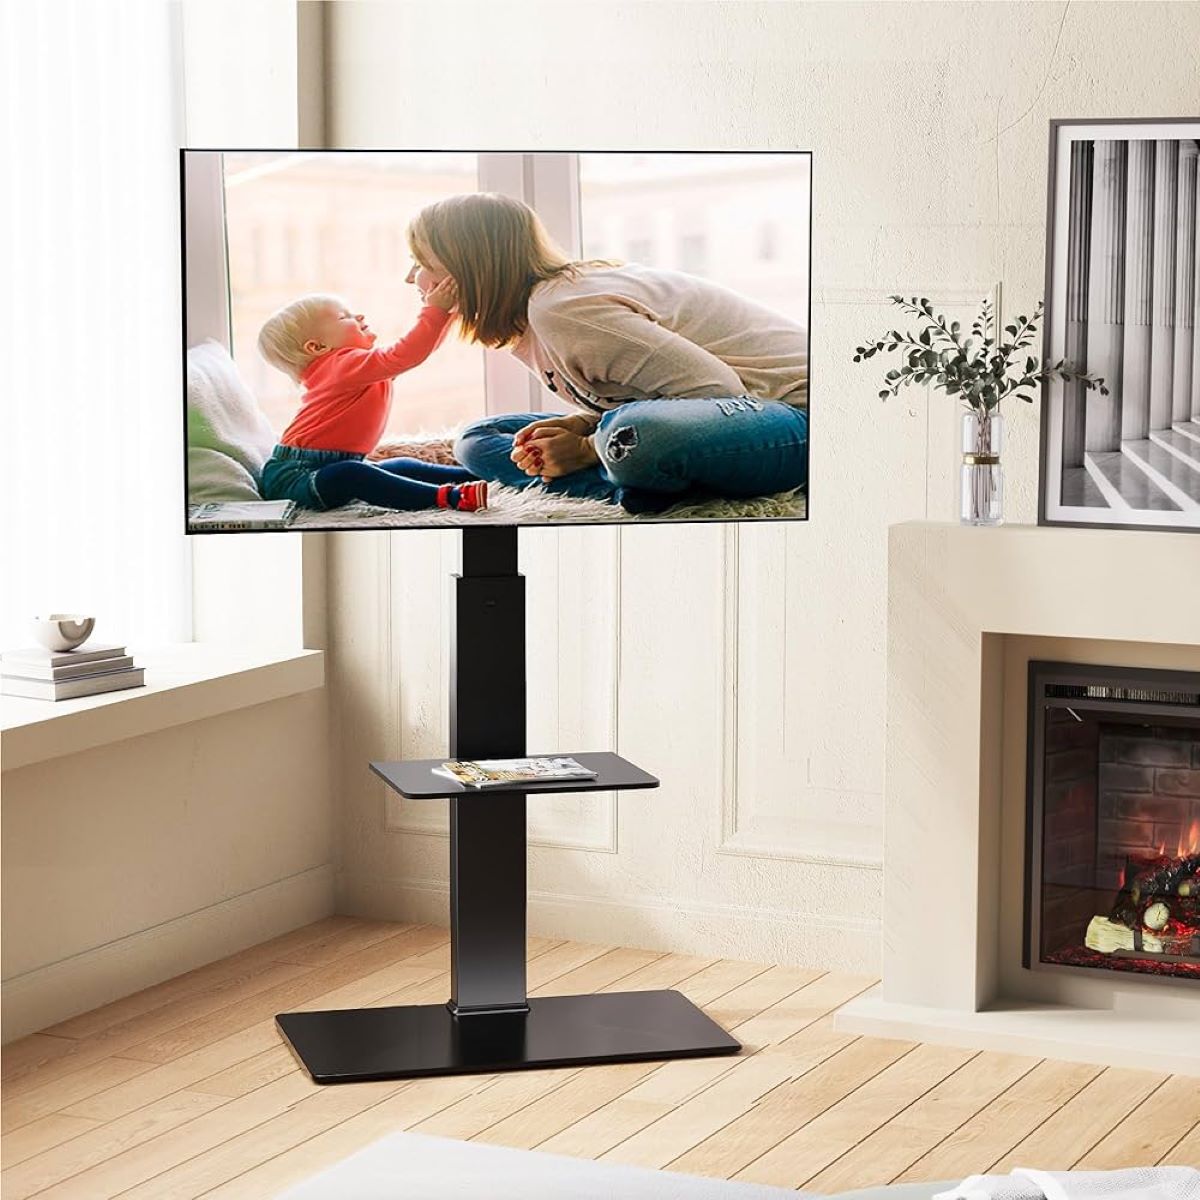
Step 3: Adjusting the Stand Position
Adjusting the position of the TV stand is crucial to ensure optimum viewing experience and to fit your desired placement in the room. Here’s how you can do it:
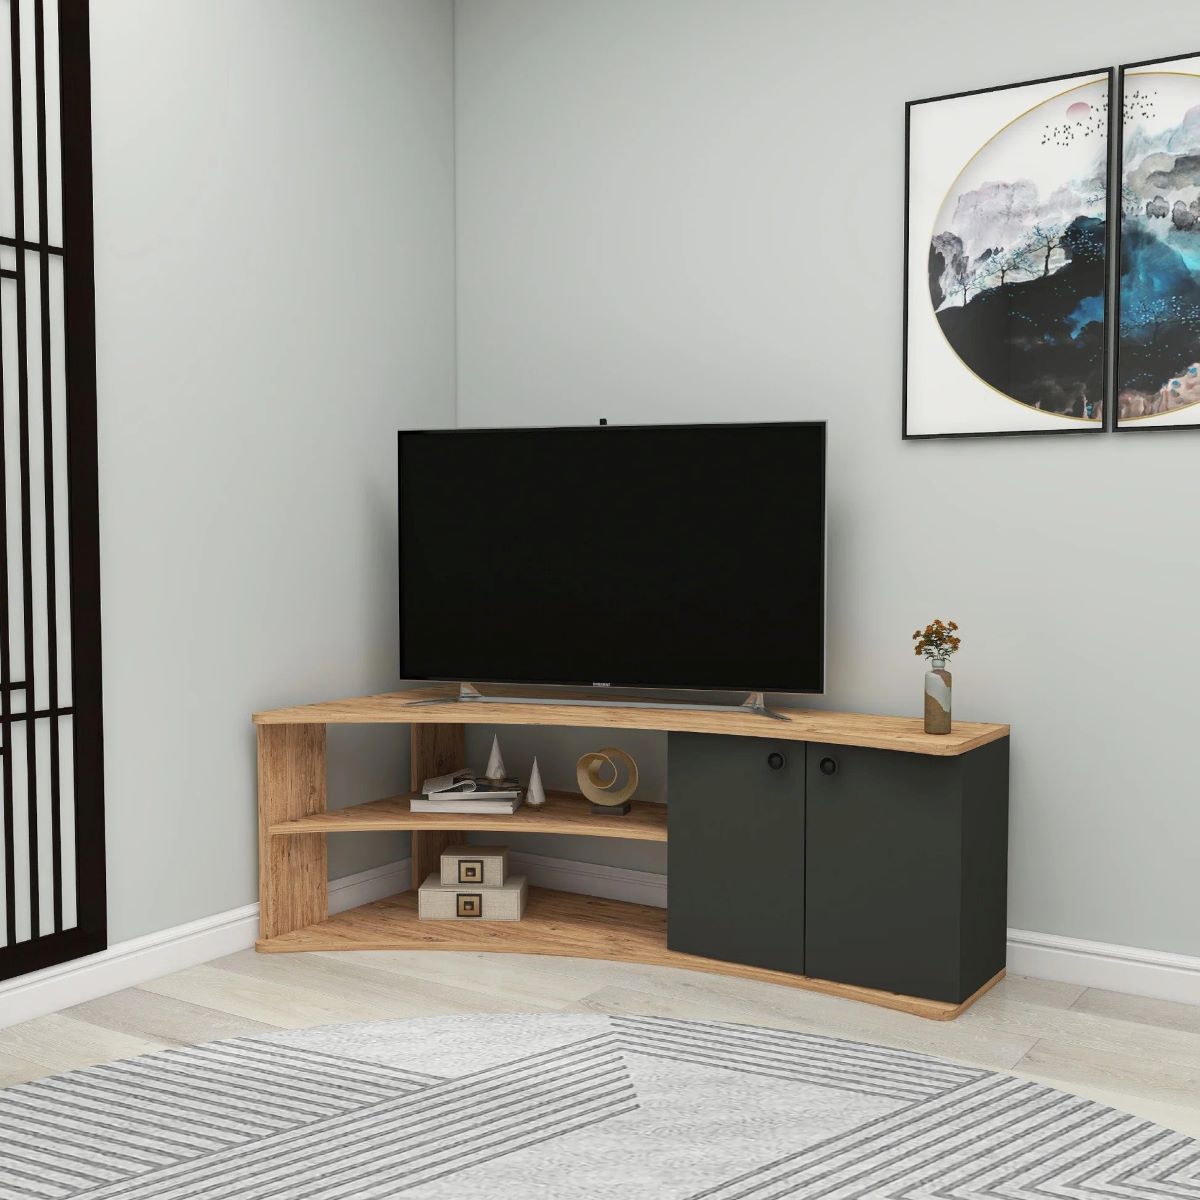
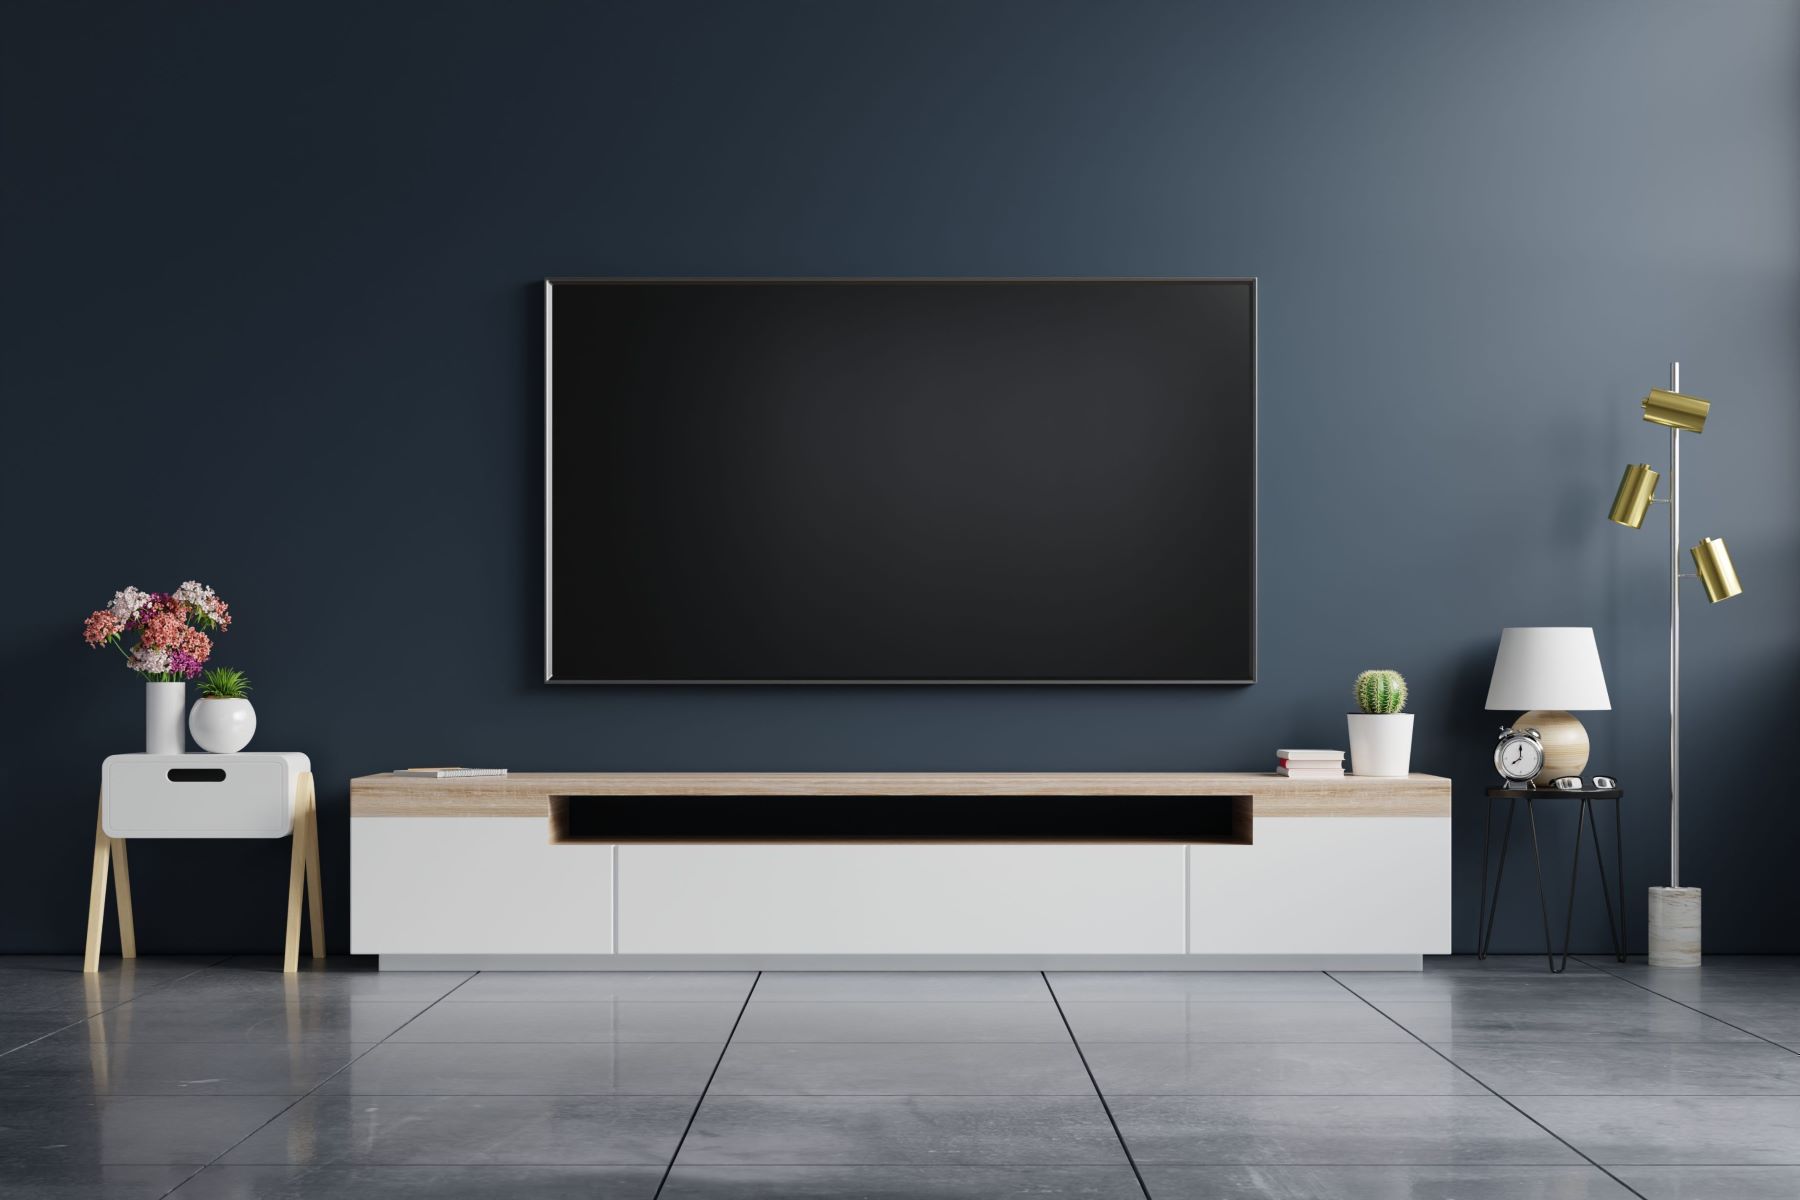
- Decide on the orientation: Determine whether you want your TV to be placed on a flat surface, such as a TV stand or a table, or if you want to mount it on a wall. This will influence the adjustment options available for your specific TV stand model.
- Height adjustment: Some TV stands offer the option to adjust the height. If your stand has this feature, follow the instructions provided in the manual to adjust it according to your preference. This can be particularly useful if you plan to place the TV on a low TV stand or mount it higher on the wall.
- Tilt adjustment: Certain TV stands allow you to adjust the tilt angle of the TV. If you prefer a tilted viewing position, refer to the manual and adjust the tilt of the stand accordingly. This is especially handy if you need to accommodate viewers sitting at different eye levels.
- Swivel adjustment: If your TV stand has a swivel feature, you can adjust the horizontal viewing angle of the TV. This allows you to rotate the TV left or right to optimize the viewing experience from different areas of the room. Consult the manual for instructions on how to use the swivel adjustment mechanism.
Once you have adjusted the position of your TV stand, securely lock the position using the provided mechanisms or locking bolts, if applicable. This will ensure that your TV remains in the desired position and doesn’t accidentally move.
After adjusting the stand position, it’s time to move on to the next step: securing the TV stand.
When installing a Samsung TV stand, make sure to carefully follow the instructions provided in the manual. Use the correct screws and tools, and double-check that the stand is securely attached before placing the TV on it.
Step 4: Securing the TV Stand
Securing the TV stand is an essential step to ensure the stability and safety of your Samsung TV. Here’s how you can do it:
- Locate the safety screws: In order to prevent the TV from accidentally tipping over, most Samsung TVs come with safety screws. These screws are designed to secure the TV stand to the back of the TV.
- Attach the safety screws: Refer to the instruction manual to find the specific location of the safety screw holes on the back of the TV. Align the TV stand with these holes and insert the safety screws to secure the stand in place. Be cautious not to overtighten the screws, as this can cause damage to the TV.
- Verify the stability: Once the safety screws are in place, gently test the stability of the TV by applying light pressure to the top edges. It should remain steady and not tilt or wobble. If you notice any instability, double-check that the safety screws are properly secured.
- Consider additional safety measures: If you have small children or pets at home, it’s recommended to take extra precautions to secure the TV stand. You can use adhesive straps or anchors to attach the TV stand to the wall or the furniture it is placed on. This will provide an extra level of stability and safety.
Once you have securely attached and verified the stability of your TV stand, it’s time to move on to the next step: connecting additional components.
Read more: How To Install LED Lights On TV Stand
Step 5: Connecting Additional Components
Now that you have successfully installed and secured your Samsung TV stand, it’s time to connect any additional components, such as a sound system, gaming console, or streaming devices. Here’s how you can do it:
- Locate the input/output ports: Take a look at the back of your TV to identify the input/output ports. These ports may include HDMI, USB, Ethernet, audio, and others.
- Decide which components to connect: Determine which additional components you want to connect to your TV. Based on your preferences and the available ports, choose the appropriate connections for each component.
- Connect the components: Use the appropriate cables for each component and connect them to the corresponding ports on the back of the TV. Make sure to insert the cables firmly to ensure a secure connection.
- Power on the components: Once the components are connected, plug them into a power source and turn them on. Follow any instructions provided in the manual for each component to complete the setup process.
- Configure the TV settings: Access the TV menu and navigate to the settings section. Here, you can adjust the audio and video settings to optimize the performance of your connected components.
- Test the connections: Once everything is connected and the settings are adjusted, test the connections by playing content from each component. Verify that the audio and video signals are transmitted correctly and that you can control the components using your TV remote.
By following these steps, you can easily connect and integrate additional components with your Samsung TV, enhancing your overall entertainment experience.
After connecting the additional components, it’s time to move on to the final step: testing the stability of the TV stand.
Step 6: Testing the Stability of the TV Stand
Before you settle in to enjoy your favorite shows and movies, it’s important to thoroughly test the stability of your Samsung TV stand. Follow these steps to ensure a safe and secure setup:
- Check for balance: Position yourself directly in front of the TV and visually inspect it. Ensure that the TV is level and not tilted to one side or the other. Adjust any screws or tighten any connections if necessary to achieve a balanced position.
- Give it a gentle shake: Stand to the side of the TV and gently shake it to simulate accidental bumps or movement. Observe how the TV stand responds. If the TV wobbles excessively or feels unstable, double-check that all screws and connections are secure and tightened properly.
- Consider the weight: Take into account the weight of your TV and any additional components that are placed on or connected to the TV stand. Make sure that the stand is rated to support the weight of your TV. If you have any doubts, refer to the user manual or contact the manufacturer for guidance.
- Ensure proper ventilation: While testing the stability, also check that the stand provides adequate ventilation for the TV. It’s important that the TV has sufficient airflow to prevent overheating. Ensure that the vents on the back of the TV are not obstructed by the stand.
- Monitor over time: It’s a good practice to periodically check the stability of your TV stand, especially if you frequently move or adjust the TV’s position. Regularly inspect the screws, connections, and overall stability to identify any potential issues before they become major problems.
By thoroughly testing the stability of your TV stand, you can enjoy your favorite content with peace of mind, knowing that your TV is securely positioned and protected.
With the installation and testing complete, you are now ready to sit back, relax, and enjoy a thrilling entertainment experience with your newly installed Samsung TV stand!
Remember, if you ever need to disassemble the TV stand for any reason, refer to the instruction manual provided by Samsung for proper guidance and step-by-step instructions.
Conclusion
Congratulations on successfully installing your Samsung TV stand! By following the steps outlined in this guide, you have ensured the secure placement, stability, and proper positioning of your TV. Now, you can sit back and enjoy your favorite shows, movies, and games with confidence.
Throughout this guide, we covered the essential steps for installing a Samsung TV stand. We started by unboxing the TV stand and organizing its components. Then, we moved on to attaching the stand to the TV, adjusting its position, and securing it with safety screws.
Next, we discussed how to connect additional components, such as sound systems or gaming consoles, and optimize the TV settings for the best performance. Finally, we emphasized the importance of testing the stability of the TV stand to ensure a safe and steady setup.
Remember, while this guide provides a general overview of the installation process, always refer to the specific instructions provided in your TV stand’s manual. Different models may have slight variations in the installation process.
We hope this comprehensive guide has been helpful in your journey to set up your Samsung TV stand. If you have any further questions or need additional assistance, don’t hesitate to reach out to the Samsung support team or consult professional help.
Now, grab your remote, kick back, and enjoy your Samsung TV with confidence, knowing that your TV stand is securely installed, providing you with the perfect viewing experience.
Frequently Asked Questions about How To Install A Samsung TV Stand
Was this page helpful?
At Storables.com, we guarantee accurate and reliable information. Our content, validated by Expert Board Contributors, is crafted following stringent Editorial Policies. We're committed to providing you with well-researched, expert-backed insights for all your informational needs.


0 thoughts on “How To Install A Samsung TV Stand”