Home>Furniture>Living Room Furniture>How To Assemble A TV Stand

Living Room Furniture
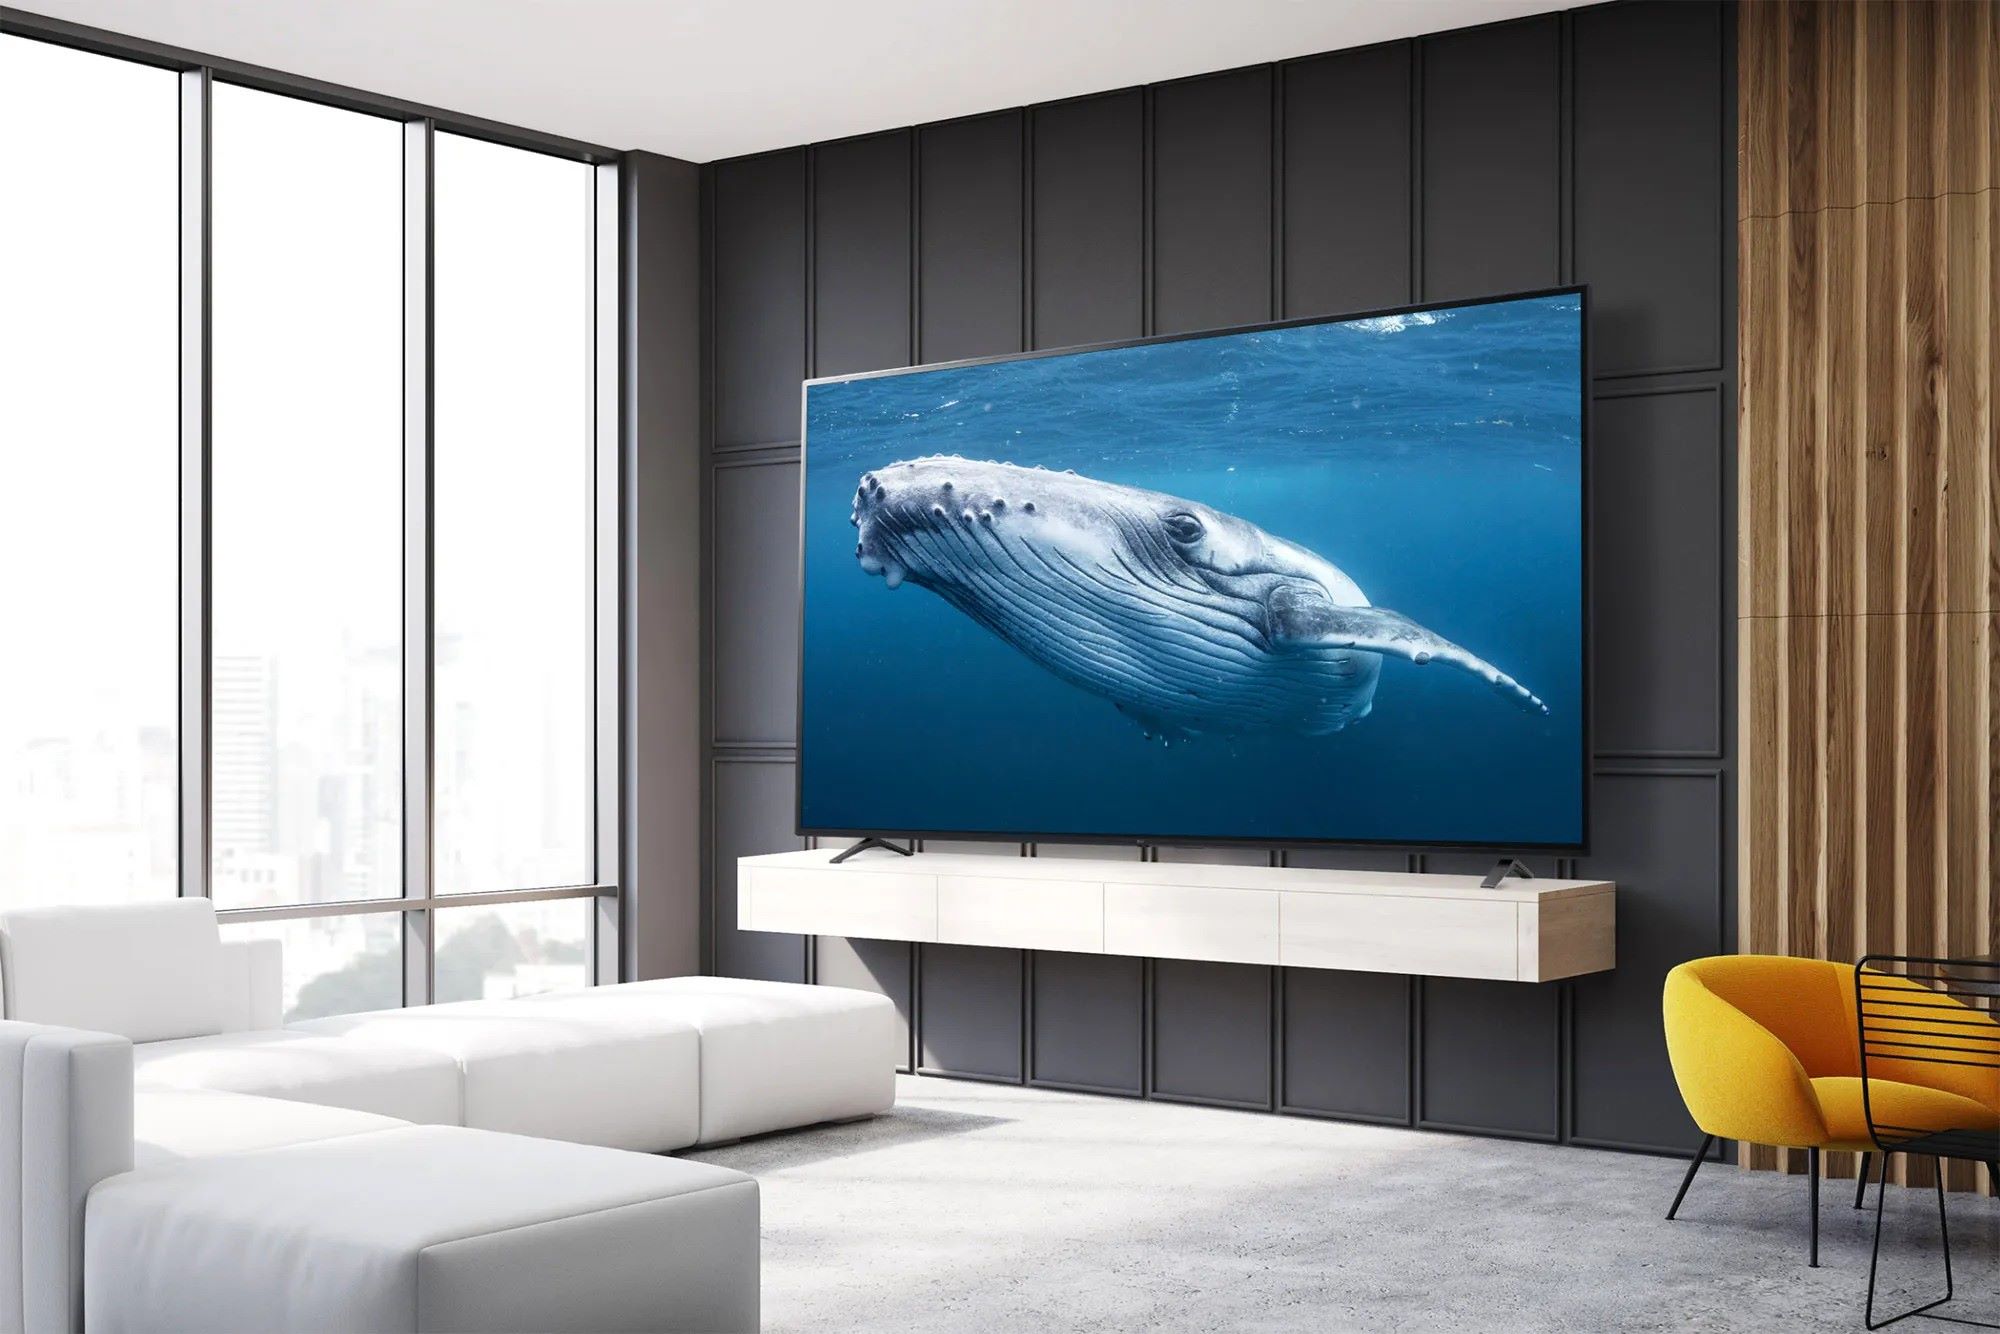
How To Assemble A TV Stand
Modified: November 1, 2024
Learn how to easily assemble your living room furniture with our step-by-step guide for assembling a TV stand. Make your living room stylish and organized.
(Many of the links in this article redirect to a specific reviewed product. Your purchase of these products through affiliate links helps to generate commission for Storables.com, at no extra cost. Learn more)
Introduction
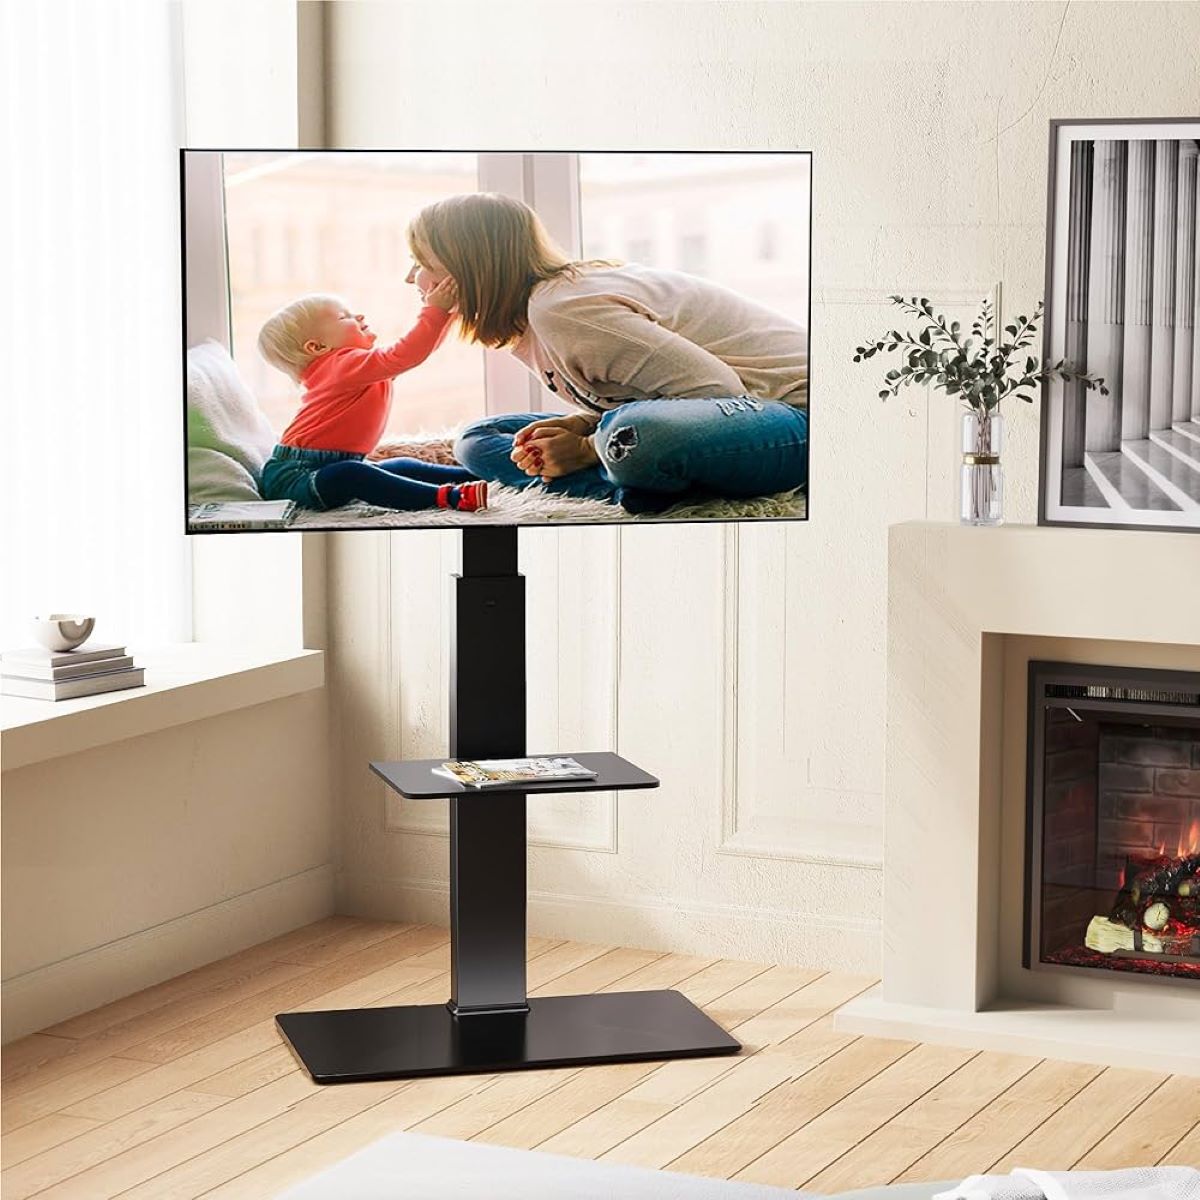
Choosing the perfect TV stand for your living room is an important decision. Not only does it need to support your television securely, but it also serves as a focal point in the room’s decor. Assembling the TV stand may seem like a daunting task, but with the right tools and a step-by-step approach, you can quickly and easily put it together. In this article, we will guide you through the process of assembling a TV stand, ensuring that you have a beautiful and functional addition to your living room.
Before we dive into the assembly process, it’s important to gather the required tools. Having everything on hand will make the task more efficient and frustration-free. You will need a screwdriver, an Allen wrench, a hammer, and possibly a power drill. Additionally, make sure to check the instruction manual provided with your TV stand for any specific tools that might be required.
Next, it’s crucial to carefully check all the components included in the TV stand package. This step will help you ensure that everything is intact and that you have all the necessary parts for assembly. Look for any visible damage or missing pieces, and consult the instruction manual for a detailed list of components.
Understanding the instructions is vital for successfully assembling the TV stand. Take the time to thoroughly read through the manual, noting any specific steps or warnings. It may also be helpful to watch online tutorials or assembly videos for visual guidance. Having a clear understanding of the process will save you time and prevent unnecessary mistakes.
With the tools, components, and instructions in hand, you’re ready to create a workspace for the assembly process. Find an open area with sufficient room to lay out all the parts and maneuver around comfortably. Use a soft, non-abrasive surface, such as a carpet or blanket, to protect the TV stand from scratches.
Now that you have your workspace set up, it’s time to start assembling the TV stand. In the next steps, we’ll guide you through the process, ensuring that each component is securely put together.
Key Takeaways:
- Gathering the right tools, checking components, and understanding instructions are crucial for assembling a TV stand. Prepare your workspace, follow step-by-step assembly, and enjoy a well-organized and secure entertainment setup.
- After assembling the TV stand, organize cables, secure the TV, and perform final tests. Add personal touches, optimize settings, and create a stylish and functional focal point in your living room.
Read more: How To Mount A TV On A TV Stand
Step 1: Gathering the Required Tools
Before you begin assembling your TV stand, gather all the necessary tools. This typically includes a screwdriver, an Allen wrench, a hammer, and possibly a power drill. Some TV stands may require additional tools specified in the instruction manual. Having everything prepared will make the assembly process smoother and more efficient.
Key Takeaways:
- Gathering the right tools, checking components, and understanding instructions are crucial for assembling a TV stand. Prepare your workspace, follow step-by-step assembly, and enjoy a well-organized and secure entertainment setup.
- After assembling the TV stand, organize cables, secure the TV, and perform final tests. Add personal touches, optimize settings, and create a stylish and functional focal point in your living room.
Read more: How To Mount A TV On A TV Stand
Step 1: Gathering the Required Tools
Before you begin assembling your TV stand, it’s important to gather all the necessary tools. Having everything on hand will save you time and ensure that you have everything you need to complete the assembly process. Here are the essential tools you will need:
- Screwdriver: A screwdriver is a versatile tool that is used to tighten screws and bolts. Make sure to have both flat-head and Phillips-head screwdrivers in your toolbox, as they are commonly used in TV stand assembly.
- Allen wrench: Also known as a hex key, an Allen wrench is used to tighten bolts with hexagonal sockets. Many TV stands come with the appropriate Allen wrench included in the package. If not, check the instruction manual for the correct size and purchase one beforehand.
- Hammer: A hammer is useful for tasks that require a bit of force, such as attaching nails or securing certain components of the TV stand. Choose a hammer with a comfortable grip and a weight that suits your strength.
- Power drill (optional): While not always necessary, a power drill can make the assembly process faster and easier. If your TV stand requires drilling holes or inserting screws into a tough material, a power drill with the appropriate drill bits can save you time and effort.
Aside from these tools, it’s also a good idea to have a ratchet or adjustable wrench on hand for tightening bolts or nuts that may be included in your TV stand assembly. Additionally, keep a soft cloth or towel nearby to protect the TV stand’s surface while working.
Before you start assembling, double-check the instruction manual provided with your TV stand. Some models may require specific tools or have recommended tools for a smoother assembly process. It’s always better to be prepared and have all the necessary tools before you begin. This will help you avoid interruptions or delays once you’re in the middle of the assembly.
Once you have gathered all the required tools, you’re ready to proceed to the next step: checking the components of your TV stand.
Step 2: Checking the Components
After gathering the required tools, the next step in assembling your TV stand is to carefully check all the components that come with it. This step is crucial to ensure that everything is intact, nothing is damaged, and you have all the necessary parts for assembly.
Start by opening the package and laying out all the components in front of you. Take the time to inspect each piece, checking for any visible signs of damage or defects. Look for scratches, dents, or any other abnormalities that may affect the structural integrity or appearance of the TV stand.
Refer to the instruction manual provided with your TV stand and cross-reference the listed components with what you have in front of you. This ensures that you have all the necessary parts and nothing is missing. If you find any missing components or suspect that something is incorrect, contact the manufacturer or retailer immediately.
As you examine each component, pay special attention to any connectors, brackets, or fasteners that are included. These items are crucial for the stability and functionality of the TV stand. Ensure that they are in good condition and not damaged in any way.
It’s also a good idea to check that all the required screws, bolts, and other small hardware pieces are included. These pieces may come in separate bags or containers within the package. Count and organize them to make sure that you have the correct quantities and sizes. If any screws or bolts are missing, consult the instruction manual for the specific sizes and purchase them separately.
If you discover any damaged or missing components, do not proceed with the assembly. Contact the manufacturer or retailer to request replacement parts. It’s important to address these issues before starting the assembly process to ensure a smooth and successful construction of your TV stand.
By taking the time to thoroughly check the components, you can avoid frustration and potential setbacks during assembly. You’ll have peace of mind, knowing that everything is in order and ready for the next step.
Once you have confirmed that all the components are intact and accounted for, you’re now ready to move on to the next step: understanding the instructions provided for assembly.
Step 3: Understanding the Instructions
Before diving into the assembly process of your TV stand, it’s essential to take the time to thoroughly understand the instructions provided. The instruction manual serves as your roadmap and provides valuable information on how to properly assemble the stand. Here are some key points to consider when going through the instructions:
1. Read the manual thoroughly: Start by reading the entire instruction manual from beginning to end. Familiarize yourself with the layout and structure of the manual to understand how it is organized. Pay attention to any diagrams, labeled parts, or step-by-step instructions provided. This will give you an overview of the entire assembly process.
2. Identify the different sections and steps: Look for headings or sections that divide the assembly process into manageable steps. Make note of these sections to help you navigate through the manual. Each step is usually accompanied by written instructions, diagrams, or both.
3. Follow the sequence: The manual will typically provide a step-by-step sequence for assembling the TV stand. It’s important to follow these steps in the specified order to ensure the correct assembly. Skipping steps or assembling components out of order can lead to mistakes or the need to disassemble and reassemble parts later on.
4. Pay attention to warnings and cautions: The instruction manual may contain warnings or cautions regarding safety concerns, weight limits, or specific instructions for handling certain components. Take these warnings seriously and follow them diligently to prevent accidents or damage to the TV stand.
5. Utilize diagrams and illustrations: Many instruction manuals include visual representations, such as diagrams or illustrations, to help clarify the assembly process. Pay close attention to these visuals and refer to them alongside the written instructions. They can provide a clear visualization of how the components fit together.
6. Refer to online resources: If the instruction manual lacks clarity or you prefer a visual demonstration, consider searching for online tutorials or assembly videos related to your specific TV stand model. These resources can provide additional guidance and tips for successful assembly.
Take your time to fully understand the instructions before beginning the assembly process. If you have any questions or uncertainties, reach out to the manufacturer’s customer support for clarification. By having a thorough understanding of the instructions, you will be equipped to proceed with confidence and minimize any potential errors.
Once you have a clear understanding of the instructions, you’re now ready to move on to the next step: preparing the workspace for the assembly process.
Read more: How To Paint A TV Stand
Step 4: Preparing the Workspace
Before you begin assembling your TV stand, it’s important to prepare a suitable workspace. By having a clean and organized area to work in, you can ensure a smooth and efficient assembly process. Here are some steps to follow in preparing your workspace:
1. Clear the area: Start by clearing the room or designated area where you plan to assemble the TV stand. Remove any furniture, rugs, or obstacles that may hinder your movement or take up unnecessary space. This will provide you with a clean and open area to work in.
2. Lay down a protective covering: Place a soft blanket, drop cloth, or non-slip mat on the floor where you will be assembling the TV stand. This will protect both the stand’s components and your flooring from any scratches or damage during the assembly process.
3. Gather all the components: Organize all the components of the TV stand together in one area of your workspace. This will allow for easy access and prevent them from getting mixed up or misplaced. Sort the components by type, size, or any other logical order that makes the assembly process more efficient.
4. Have your tools within reach: Place your gathered tools, such as the screwdriver, Allen wrench, hammer, and any other required tools, within reach of your workspace. This will save you time and effort, as you won’t have to search for the tools when you need them during the assembly process.
5. Refer to the instruction manual: Keep the instruction manual nearby throughout the assembly process. Ensure that it is easily accessible, either by placing it directly on your workspace or by having it open on a nearby table or stand. This will allow you to refer to the instructions whenever needed.
6. Ensure proper lighting and ventilation: Adequate lighting is essential for a smooth and accurate assembly process. Make sure that the workspace is well-lit, either by natural light or using artificial sources. Additionally, ensure proper ventilation in the room to prevent discomfort or distractions during the assembly process.
7. Maintain a clutter-free workspace: As you progress with the assembly, regularly remove any packaging materials, empty bags, or unnecessary clutter from your workspace. This will help you maintain focus and prevent any tripping hazards or accidents.
By taking the time to prepare a suitable workspace, you create an environment that promotes efficiency, clarity, and safety during the assembly process. With everything organized and within reach, you can now move on to the next step: assembling the base of the TV stand.
Step 5: Assembling the Base
Now that you have prepared your workspace, it’s time to start assembling the base of your TV stand. The base provides stability and support for the entire structure, so it’s important to follow the instructions carefully. Here are the steps to assemble the base:
1. Identify the base components: Lay out all the base components in front of you, following the instructions or diagrams provided. These components usually include the base plate, legs, and any additional support brackets or screws.
2. Attach the legs: Depending on the design of your TV stand, you may need to attach legs to the base plate. Align the legs with the corresponding holes on the base plate and secure them using the provided screws or fasteners. Make sure the legs are firmly attached and check for any wobbling or instability.
3. Secure additional support brackets: Some TV stands may have additional support brackets to enhance stability. If your stand includes these brackets, follow the instructions to attach them securely to the base plate and legs. Use the recommended screws or fasteners and ensure they are tightened properly.
4. Check for stability: Once the base is assembled, carefully place it on the floor in its intended position. Gently rock the base to check for any wobbling or instability. If you notice any issues, double-check that all screws and fasteners are tightened correctly. Adjust as necessary to ensure a stable and secure base.
5. Verify alignment: Ensure that the base is aligned correctly with any pre-drilled holes or support structures for the next steps in the assembly process. Proper alignment is crucial as it sets the foundation for the rest of the TV stand construction.
6. Clean the base: Before moving on to the next step, take a moment to clean the base of the TV stand, removing any dust or debris that may have accumulated during the assembly process. This will help maintain the overall appearance of the stand and ensure a polished finish.
Remember to refer to the instruction manual provided with your TV stand for specific guidelines and any additional steps or precautions that may be required for your particular model. By following these steps, you will successfully assemble the base of your TV stand, providing a sturdy foundation for the rest of the construction process.
Once the base is assembled, you’re ready to move on to the next step: attaching the support columns of the TV stand.
When assembling a TV stand, make sure to carefully read and follow the instructions provided. Lay out all the parts and hardware before starting, and use a screwdriver or drill with the appropriate bits for the job. Double check all connections and ensure the stand is stable before placing the TV on top.
Step 6: Attaching the Support Columns
With the base of your TV stand assembled, it’s time to move on to the next step: attaching the support columns. The support columns provide height and stability to your TV stand structure. Follow these steps to attach the support columns:
1. Identify the support column components: Lay out all the support column components in front of you, referring to the instruction manual or diagrams provided. These components typically include the main columns, smaller extension columns (if applicable), and any necessary screws or fasteners.
2. Align the support columns: Position the main support columns on the base, ensuring they align with the designated holes or slots. The columns should fit securely and precisely into place, forming a solid connection with the base.
3. Attach the support columns to the base: Using the provided screws or fasteners, secure the support columns to the base. Insert the screws into the designated holes and tighten them using a screwdriver or Allen wrench. Make sure the columns are firmly attached, with no wobbling or instability.
4. Extend the columns (if applicable): If your TV stand includes extension columns to adjust the height, follow the instructions to attach and extend them according to your desired height requirements. Connect the extension columns to the main support columns, securing them with the provided screws or fasteners.
5. Double-check the stability: Once the support columns are attached, check for stability and ensure that they are securely in place. Shake or gently rock the columns to confirm that they are firmly attached to the base. Verify that there are no loose parts or wobbling.
6. Verify alignment: Check the alignment of the support columns with any pre-drilled holes or brackets on the base. Proper alignment is crucial to maintain the structural integrity of the TV stand. Adjust as needed to ensure everything is aligned correctly.
7. Clean and tidy the support columns: Take a moment to clean the support columns, removing any fingerprints, dust, or debris that may have accumulated during the attachment process. This will ensure a clean and polished appearance for your TV stand.
Remember, it’s important to consult the instruction manual provided with your TV stand for specific guidelines and any additional steps or precautions that may be required for your particular model. By following these steps, you will successfully attach the support columns, creating a stable and balanced structure for your TV stand.
Once the support columns are securely attached, you’re ready to move on to the next step: installing the shelf or mounting bracket.
Step 7: Installing the Shelf or Mounting Bracket
Now that the base and support columns of your TV stand are securely assembled, it’s time to proceed with installing the shelf or mounting bracket. This step is crucial for providing a surface to hold your TV, audiovisual equipment, and other accessories. Follow these steps to install the shelf or mounting bracket:
1. Identify the shelf or mounting bracket components: Refer to the instruction manual or diagrams to familiarize yourself with the various components involved in this step. These components may include the shelf, brackets, screws, and any additional attachment hardware.
2. Choose the placement: Determine whether you will be installing a shelf or a mounting bracket for your TV. Consider the position that best suits your viewing preferences and room layout. Ensure that the chosen placement aligns with the support columns and has enough space to accommodate your TV and any other equipment.
3. Align the shelf or mounting bracket: Position the shelf or mounting bracket on the support columns, aligning the pre-drilled holes or slots with the corresponding holes on the columns. Make sure it fits securely in place, with no gaps or unevenness.
4. Secure the shelf or mounting bracket: Using the provided screws or fasteners, attach the shelf or mounting bracket to the support columns. Insert the screws into the designated holes and tighten them using a screwdriver or Allen wrench. Ensure that the shelf or mounting bracket is securely fastened to the support columns.
5. Double-check the stability: Once the shelf or mounting bracket is installed, check for stability by gently pushing on it to verify if it moves or wobbles. If there is any instability, tighten the screws further or reposition the shelf or mounting bracket as needed.
6. Ensure proper weight distribution: If you’re installing a shelf, make sure to distribute the weight evenly across the surface to prevent sagging or potential damage. Check the weight limits specified in the instruction manual and avoid exceeding them.
7. Secure cable management: Consider utilizing cable management options provided by the TV stand, such as cable clips or channels, to keep your cables organized and prevent them from tangling. This will help maintain a neat and clutter-free appearance.
As always, refer to the instruction manual provided with your TV stand for specific guidelines and any additional recommendations for installing the shelf or mounting bracket. By following these steps, you will successfully install the shelf or mounting bracket, creating a functional and organized space for your TV and equipment.
Once the shelf or mounting bracket is securely in place, you’re ready to move on to the next step: organizing the cables.
Read more: How To Fix A TV Stand
Step 8: Organizing the Cables
As the assembly of your TV stand progresses, it’s important to take the time to organize the cables. Cables can quickly become tangled and create a messy appearance. Proper cable management not only improves the overall aesthetics but also ensures smooth functionality and easy access to your devices. Follow these steps to effectively organize the cables:
1. Gather all the cables: Collect all the cables that will be connected to your TV and other devices, such as gaming consoles, DVD players, or soundbars. Separate them based on their purpose (HDMI, power, audio, etc.) for ease of organization.
2. Route the cables: Identify cable routing options provided by the TV stand, such as cable management channels, clips, or openings. Consider the most logical and efficient paths for the cables to minimize their visibility and ensure easy access to connections.
3. Bundle cables: Use cable ties, hook and loop fasteners, or cable sleeves to bundle together groups of cables that are running in the same direction. This not only helps to reduce cable clutter but also prevents tangling and makes it easier to identify and manage specific cables when needed.
4. Label the cables: Attach labels or use color-coded tags to identify each cable’s purpose. This makes it easier to locate and connect the right cables when making adjustments or troubleshooting in the future.
5. Tuck cables behind the TV stand: Whenever possible, route the cables behind the TV stand to keep them hidden from view. Use cable management channels or clips provided by the stand to secure the cables in place and prevent them from hanging loosely.
6. Use cable management accessories: Consider using cable management accessories like cable clips, adhesive cable mounts, or cable covers to further organize and hide the cables. These accessories help to create a clean and professional appearance while keeping the cables securely in place.
7. Ensure proper cable length: When connecting the devices to your TV stand, make sure the cables are of an appropriate length. Avoid excessive slack or tightly pulling the cables, as this can lead to strain or disconnection of the connections.
Remember to periodically check and readjust the cable organization as needed. Over time, cables may shift or become tangled, requiring some maintenance to keep them organized.
By following these steps, you will achieve a neat and organized cable setup, enhancing the overall appearance and functionality of your TV stand. With the cables in order, you’re ready to move on to the next step: securing the TV on the stand.
Step 9: Securing the TV on the Stand
Securing your TV on the stand is a critical step to ensure stability and safety. Properly securing the TV prevents accidental tipping or movement, especially in households with children or pets. Follow these steps to securely mount your TV on the stand:
1. Identify the mounting options: Determine the mounting options available for your TV stand, whether it uses a VESA mounting pattern or a specific mounting bracket designed for your TV model. Refer to the instruction manual or consult the manufacturer’s guidelines for compatibility and specific instructions.
2. Prepare the mounting bracket: If your TV stand requires a mounting bracket, assemble it according to the provided instructions. Ensure that the brackets are securely attached and aligned correctly for your TV size.
3. Position the TV: Carefully lift the TV and place it on the stand. Align the mounting holes on the back of the TV with the mounting brackets or VESA pattern on the stand. Ensure that the TV is centered and level on the stand.
4. Secure the TV: Use the appropriate screws or fasteners provided with the TV or mounting bracket to attach the TV to the stand. Follow the recommended tightening torque specified in the instruction manual to prevent overtightening or damage to the TV.
5. Double-check stability: Gently test the stability of the TV by giving it a slight push or shake. Ensure that it remains securely in place and doesn’t wobble or tilt. If needed, readjust the mounting or tighten the screws further to improve stability.
6. Hide cables: After securing the TV, ensure that the cables remain organized and properly routed. Use cable management options provided by the TV stand to keep the cables hidden and connected securely to the TV and other devices.
7. Verify weight capacity: Ensure that the weight of your TV does not exceed the recommended weight capacity of the TV stand. Exceeding the weight limit can compromise the stability of the stand and potentially cause it to collapse.
It’s essential to consult the instruction manual, manufacturer’s guidelines, or seek professional assistance if you have any doubts or concerns about securing your TV on the stand. Each TV and stand may have specific instructions and requirements for a safe and secure mount.
By following these steps, you can have peace of mind knowing that your TV is securely mounted on the stand, providing a stable and safe viewing experience. With the TV secured, you’re ready to move on to the final step: adding the final touches and testing the TV stand.
Step 10: Final Touches and Testing
As you near the completion of assembling your TV stand, it’s time to add the final touches and conduct some testing to ensure everything is in order. Follow these steps to complete the assembly process:
1. Review the overall appearance: Take a step back and assess the overall appearance of your TV stand. Ensure that all components are secure and aligned properly. Check for any visible damage or imperfections that may have occurred during assembly.
2. Wipe down the TV stand: Use a soft cloth or microfiber cloth to wipe down the entire TV stand, removing any dust, fingerprints, or debris that may have accumulated during the assembly process. This will give your stand a clean and polished look.
3. Arrange accessories: If desired, you can now arrange any additional accessories on your TV stand, such as gaming consoles, media players, or decorative items. Ensure that they are placed in a way that adds to the visual appeal and functionality of your setup.
4. Perform cable and connection tests: Double-check all cable connections to ensure they are securely plugged in and properly functioning. Test each device connected to your TV stand to ensure its functionality and that all connections are working as intended.
5. Calibrate TV settings: Adjust the display and audio settings of your TV according to your personal preferences. Refer to the TV’s instruction manual or consult online resources for optimal settings for your specific model. This step ensures you get the best audiovisual experience from your TV.
6. Check for stability: Give your TV stand a gentle shake or push to verify its stability and resistance to any movement. Ensure that it remains steady and firmly in place, with no wobbling or tipping.
7. Test functionality: Test all the features and functionalities of your TV stand, including any swivel or height adjustment capabilities. Ensure that the TV can be rotated and adjusted smoothly, without any restrictions or issues.
8. Observe for any issues: Monitor the TV stand over the next few days to ensure that everything remains in proper working order. Look out for any signs of instability, loose components, or other issues that may require attention or adjustment.
By following these final steps, you can be confident in the completeness and functionality of your assembled TV stand. Enjoy your newly assembled TV stand and the delightful viewing experience it provides in your living room!
Remember, it’s always important to refer to the instruction manual provided with your TV stand for specific guidelines and any additional recommendations or precautions. Each TV stand model may have unique features and instructions that are essential for a successful assembly process.
Conclusion
Assembling a TV stand may seem like a daunting task, but with the right tools, preparation, and step-by-step approach, it can be a fulfilling and rewarding experience. By following the outlined steps, you can confidently assemble your TV stand and create a beautiful and functional addition to your living room.
From gathering the required tools to checking the components, understanding the instructions, preparing the workspace, and assembling the base and support columns, each step plays a crucial role in ensuring the stability and proper construction of your TV stand. By organizing cables, securing the TV on the stand, and conducting final tests, you establish a safe and visually pleasing setup.
Throughout the process, consult the instruction manual provided with your TV stand for specific guidelines and any additional recommendations. It’s always important to prioritize safety, follow instructions diligently, and seek professional assistance if needed.
Remember to add personal touches to your assembled TV stand by arranging accessories and optimizing the TV settings to suit your preferences. This way, you can create a customized and comfortable entertainment space in your living room.
With a well-constructed and visually appealing TV stand, you can enhance your viewing experience, organize your equipment, and create a stylish focal point in your living room. Enjoy the benefits of your newly assembled TV stand and the countless hours of relaxation and entertainment it will provide.
Lastly, we hope that this comprehensive guide has equipped you with the knowledge and confidence needed to successfully assemble your TV stand. Happy assembling and enjoy your new entertainment centerpiece!
Now that you've mastered assembling a TV stand, why not enhance your living room even further? For those keen on refreshing their space, our guide on how to arrange your furniture provides practical tips on arranging your furniture to maximize both style and comfort. And if you're looking to declutter and organize, our recommendations on using fabric storage cubes effectively will transform any chaotic space into a serene and orderly haven. Dive into these reads and turn your home into a perfectly balanced oasis of tranquility and style.
Frequently Asked Questions about How To Assemble A TV Stand
Was this page helpful?
At Storables.com, we guarantee accurate and reliable information. Our content, validated by Expert Board Contributors, is crafted following stringent Editorial Policies. We're committed to providing you with well-researched, expert-backed insights for all your informational needs.


0 thoughts on “How To Assemble A TV Stand”