Home>Furniture>Living Room Furniture>How To Make A TV Stand Without Legs
Living Room Furniture
How To Make A TV Stand Without Legs
Modified: August 28, 2024
Discover how to create a stylish and practical TV stand without legs for your living room with our step-by-step guide. Enhance your living room furniture with this unique DIY project.
(Many of the links in this article redirect to a specific reviewed product. Your purchase of these products through affiliate links helps to generate commission for Storables.com, at no extra cost. Learn more)
Introduction
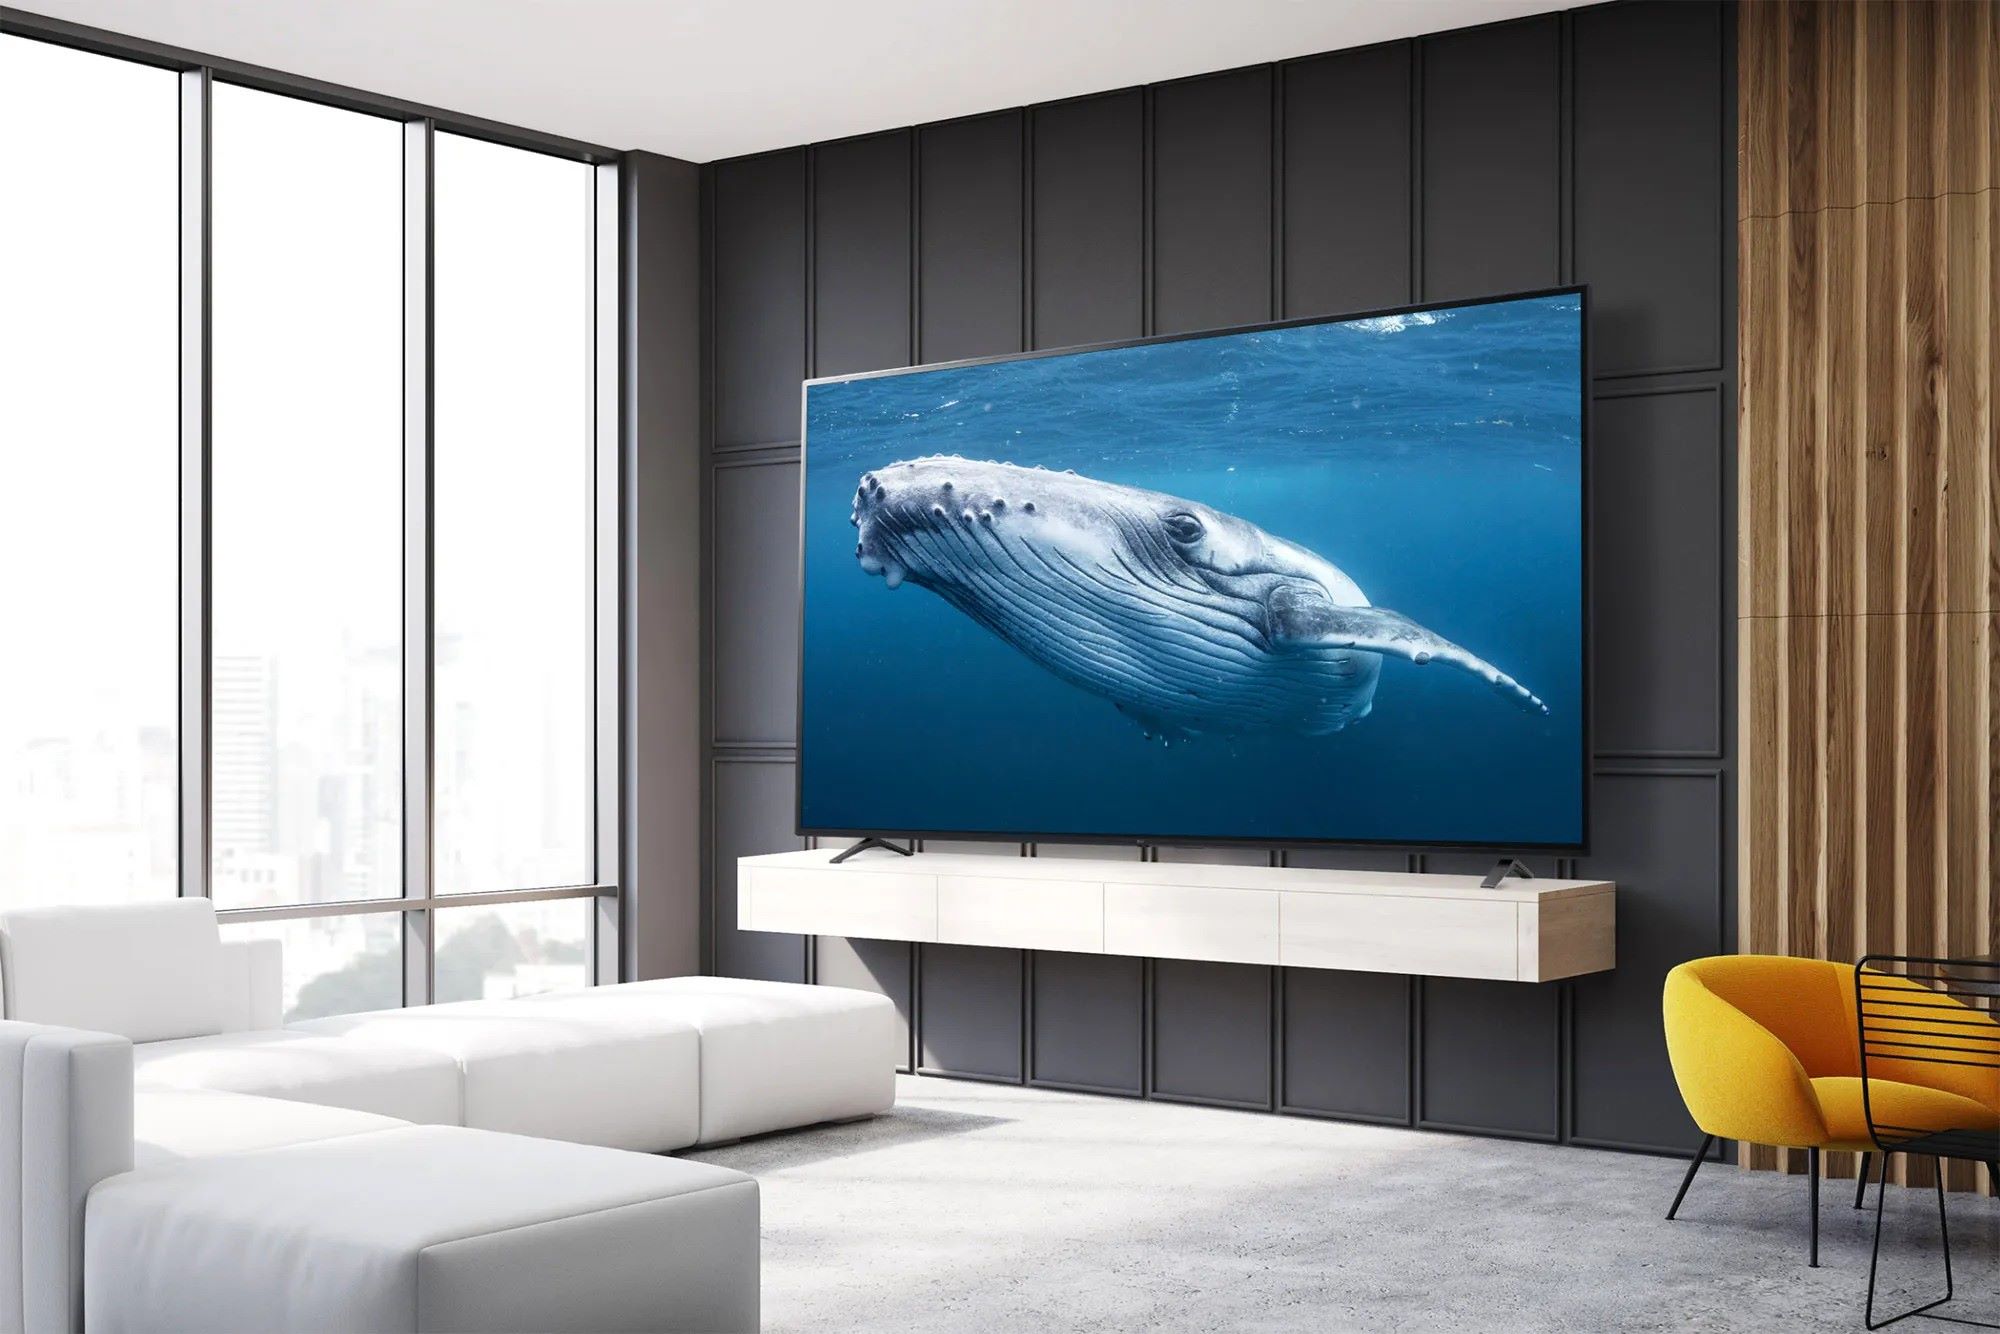
Are you tired of the same old TV stands with legs that take up precious floor space? If you’re looking for a unique and practical solution, you’ve come to the right place. In this article, we will guide you on how to make a TV stand without legs. Not only will this DIY project save you money, but it will also add a touch of creativity to your living room.
By creating a TV stand without legs, you’ll have the freedom to customize its design and dimensions according to your space requirements and personal style. Whether you have a small living room or a spacious entertainment area, this project can be adapted to fit any size TV and complement your existing furniture.
Before we dive into the step-by-step process, let’s take a look at the materials you’ll need for this project.
Key Takeaways:
- Create a unique TV stand without legs using plywood, wood glue, and basic tools. Customize the design to fit your space and style, and impress your friends with your DIY skills!
- Say goodbye to tangled wires and bulky TV stands. Install a cable management system and mount your TV for a sleek, space-saving solution that adds a touch of creativity to your living room.
Read more: How To Remove Sony TV Stand Legs
Materials Needed
To make a TV stand without legs, you will need the following materials:
- 1 sheet of plywood: Choose a high-quality plywood sheet that is thick and sturdy enough to support your TV.
- Saw: A circular saw or jigsaw will work well for cutting the plywood to size.
- Sandpaper: You’ll need sandpaper or a sanding block to smooth the edges and surfaces of the plywood.
- Wood stain or paint: Select a stain or paint of your choice to give the TV stand a finished look.
- Brushes and cloth: Use brushes to apply the stain or paint and a cloth for wiping away excess.
- Wood glue: You’ll need wood glue for securing the different parts of the TV stand.
- Cable management system: Invest in a cable management system to keep the wires and cables neatly organized and hidden.
- Mounting hardware: Depending on your TV’s mounting system, you may need mounting brackets or a wall mount.
These basic materials are readily available at hardware stores or online. Once you have gathered everything you need, you’re ready to start building your TV stand without legs. Let’s move on to the step-by-step process.
Step 1: Measure and Cut the Plywood
The first step in creating a TV stand without legs is to measure and cut the plywood to the desired size. Start by measuring the width and height of your TV, as well as the depth you want for the shelves.
Using these measurements, mark the dimensions on the plywood sheet. Make sure to account for any additional space you want between the TV and the edges of the stand. Once you have marked the dimensions, use a circular saw or jigsaw to carefully cut along the lines.
Take your time while cutting the plywood to ensure clean and precise edges. Safety should always be a priority, so wear protective goggles and gloves while using power tools.
After cutting the main piece for the TV stand, you can also cut additional shelves or compartments if desired. These extra pieces will add functionality and storage space to the stand.
Once you have cut all the necessary pieces, use sandpaper or a sanding block to smooth the edges and surfaces. This will prevent any splinters and make the plywood more visually appealing.
Now that you have successfully measured and cut the plywood, you’re ready to move on to the next step: sanding and finishing.
Step 2: Sand and Finish
Now that you have cut the plywood pieces for your TV stand without legs, it’s time to sand and finish them. Sanding will give the plywood a smooth and polished look, while the finishing step will add protection and enhance its appearance.
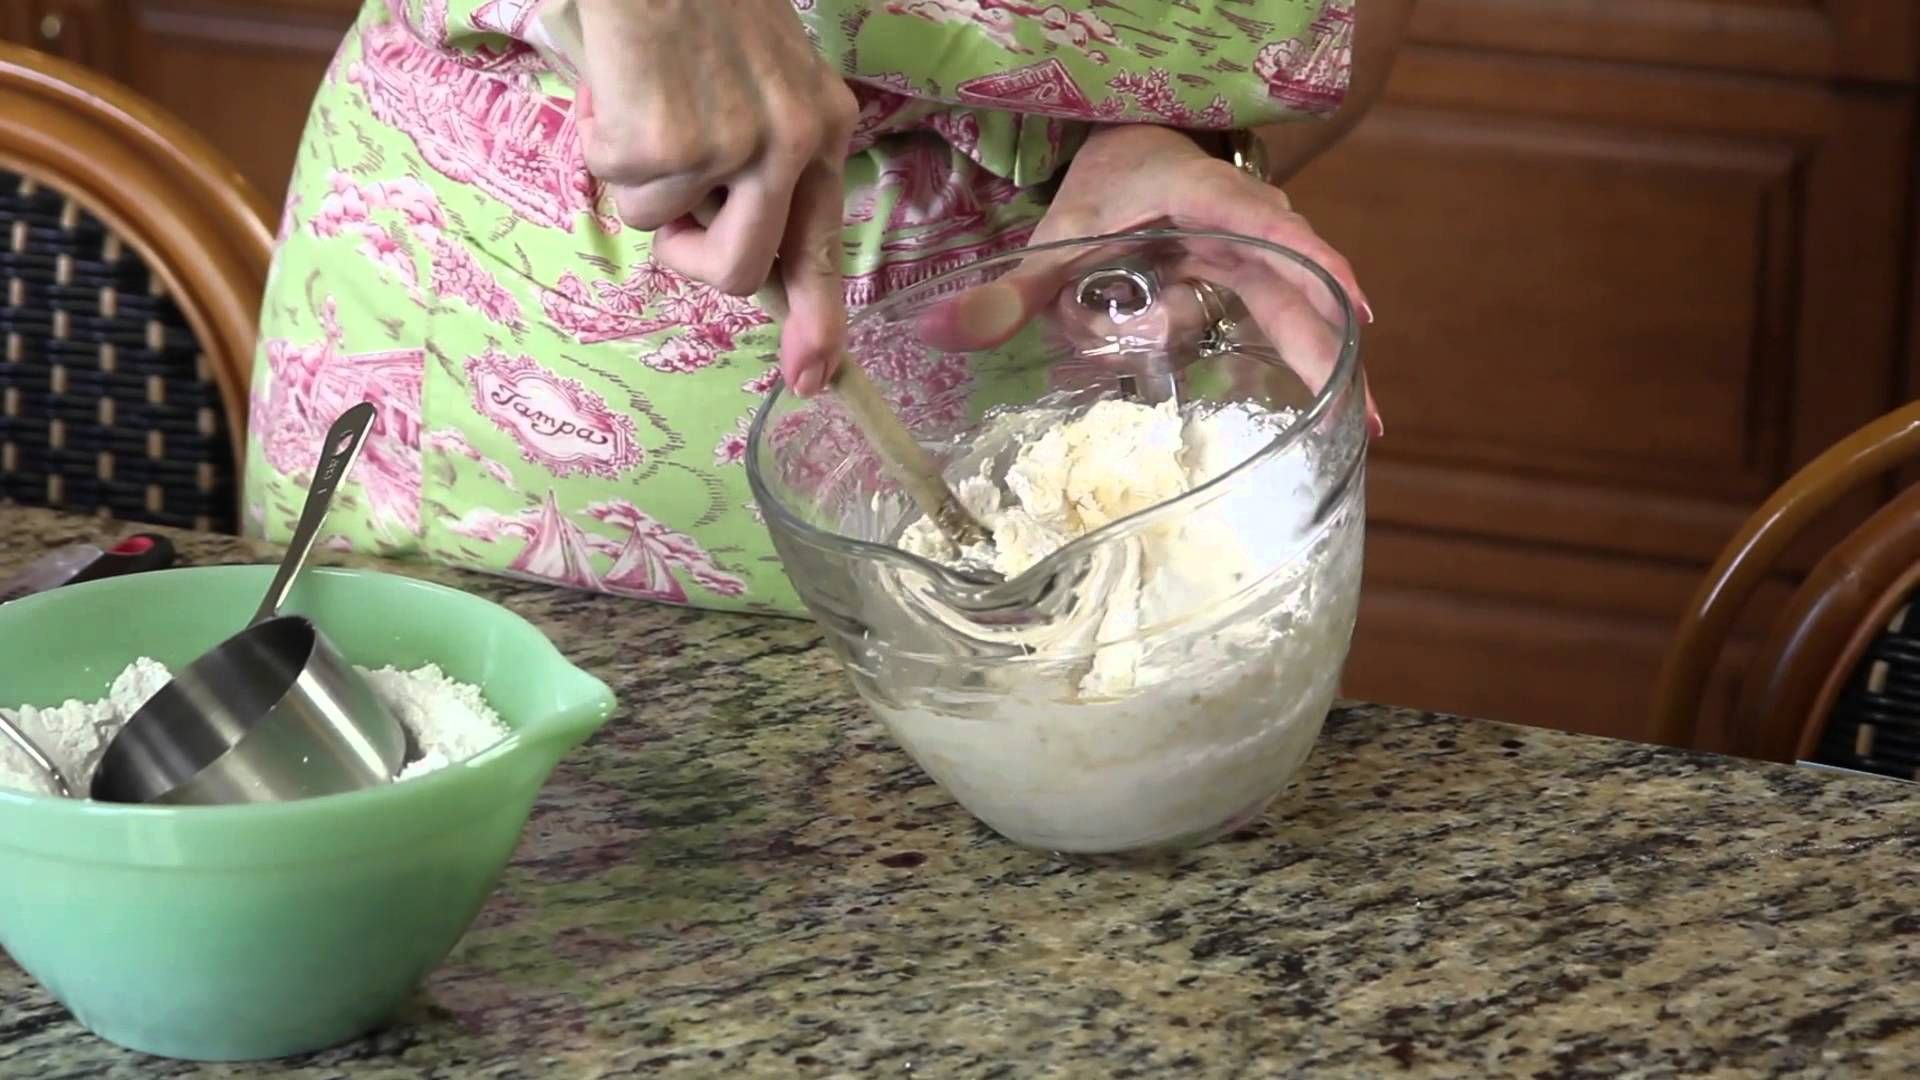
Start by using coarse-grit sandpaper to remove any roughness or imperfections from the plywood. Begin sanding with long, even strokes, following the direction of the wood grain. Be sure to sand all surfaces, including the edges and corners.
After sanding with the coarse-grit sandpaper, switch to a finer-grit sandpaper to create a smooth finish. Continue sanding in the same direction as before until you achieve the desired level of smoothness.
Once you have finished sanding, wipe down the plywood with a damp cloth to remove any dust or debris. Allow the plywood to dry completely before proceeding to the next step.
Now it’s time to apply a finish to the plywood. You have two options: wood stain or paint. If you prefer a natural wood appearance, choose a wood stain that matches your desired aesthetic. Apply the stain with a brush, following the manufacturer’s instructions. For a more vibrant or customized look, opt for paint instead. Apply the paint evenly and allow it to dry between coats, if necessary.
Remember to protect your work area with a drop cloth or newspaper and to work in a well-ventilated space.
Once the stain or paint has dried completely, you can move on to the next step: attaching the vertical supports.
Step 3: Attach the Vertical Supports
With the plywood pieces sanded and finished, it’s time to attach the vertical supports that will provide stability and support to your TV stand without legs.
Start by determining the desired height of your TV stand. Measure and mark the locations where the vertical supports will be attached on the main piece of plywood. Make sure to evenly space out the supports to distribute the weight of the TV.
Next, apply wood glue along the edges of the vertical supports. Position them on the marked locations and press firmly to ensure a strong bond. Use clamps to hold the supports in place until the glue dries.
For added reinforcement, you can also use screws to secure the vertical supports to the plywood. Pre-drill holes to prevent the wood from splitting, then insert screws through the plywood into the supports.
Once the glue has fully dried and the supports are securely attached, remove any excess glue and sand the edges to ensure a seamless appearance.
Now that the vertical supports are in place, you can move on to the next step: attaching the horizontal shelves.
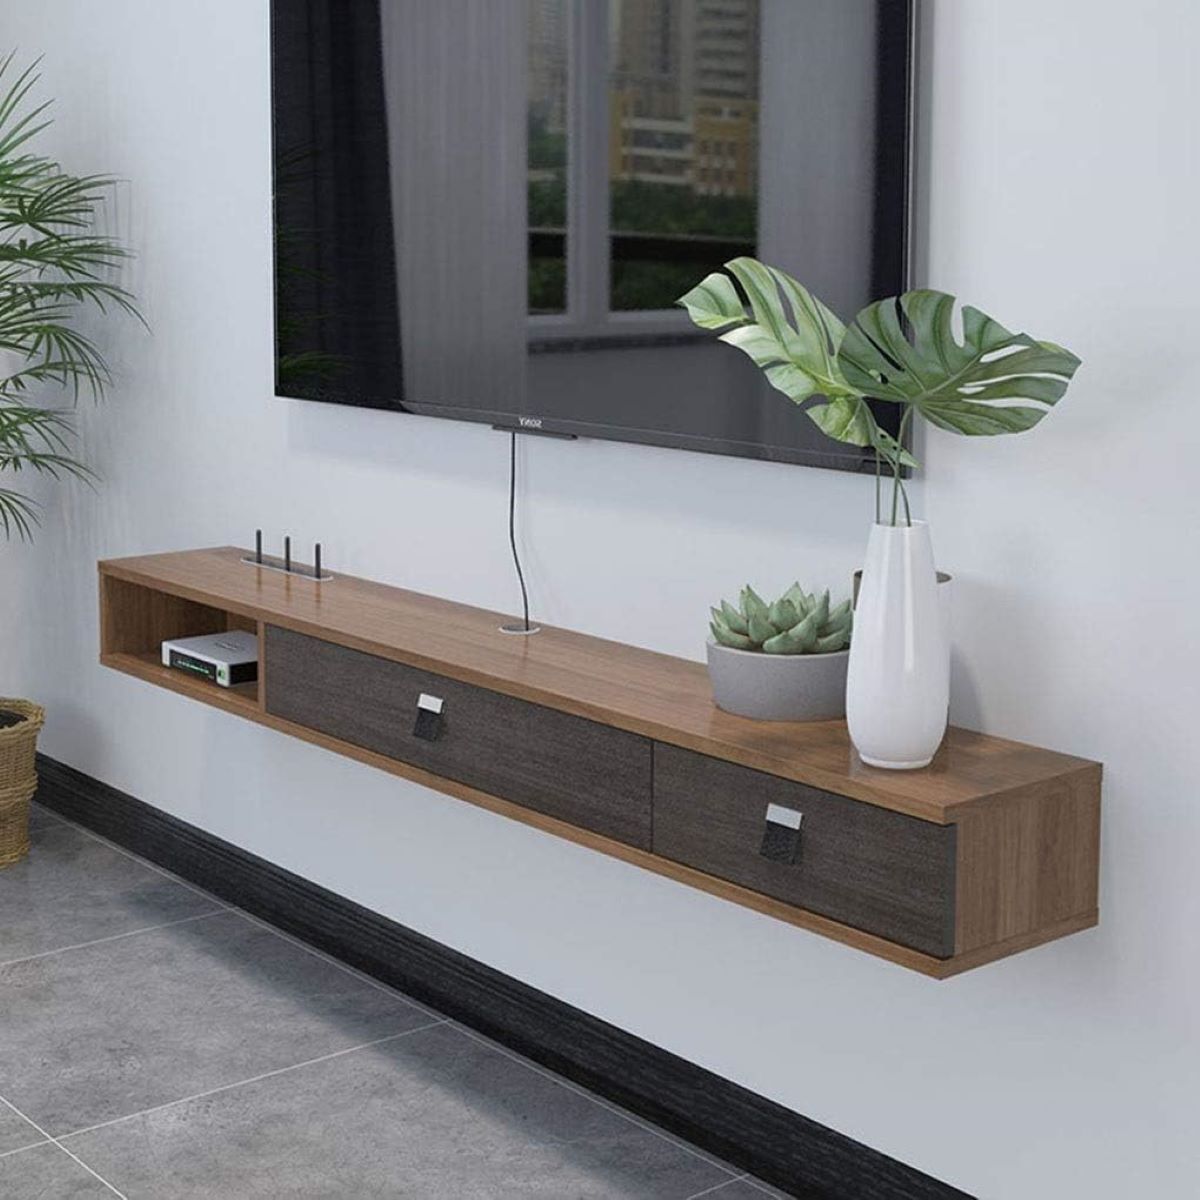
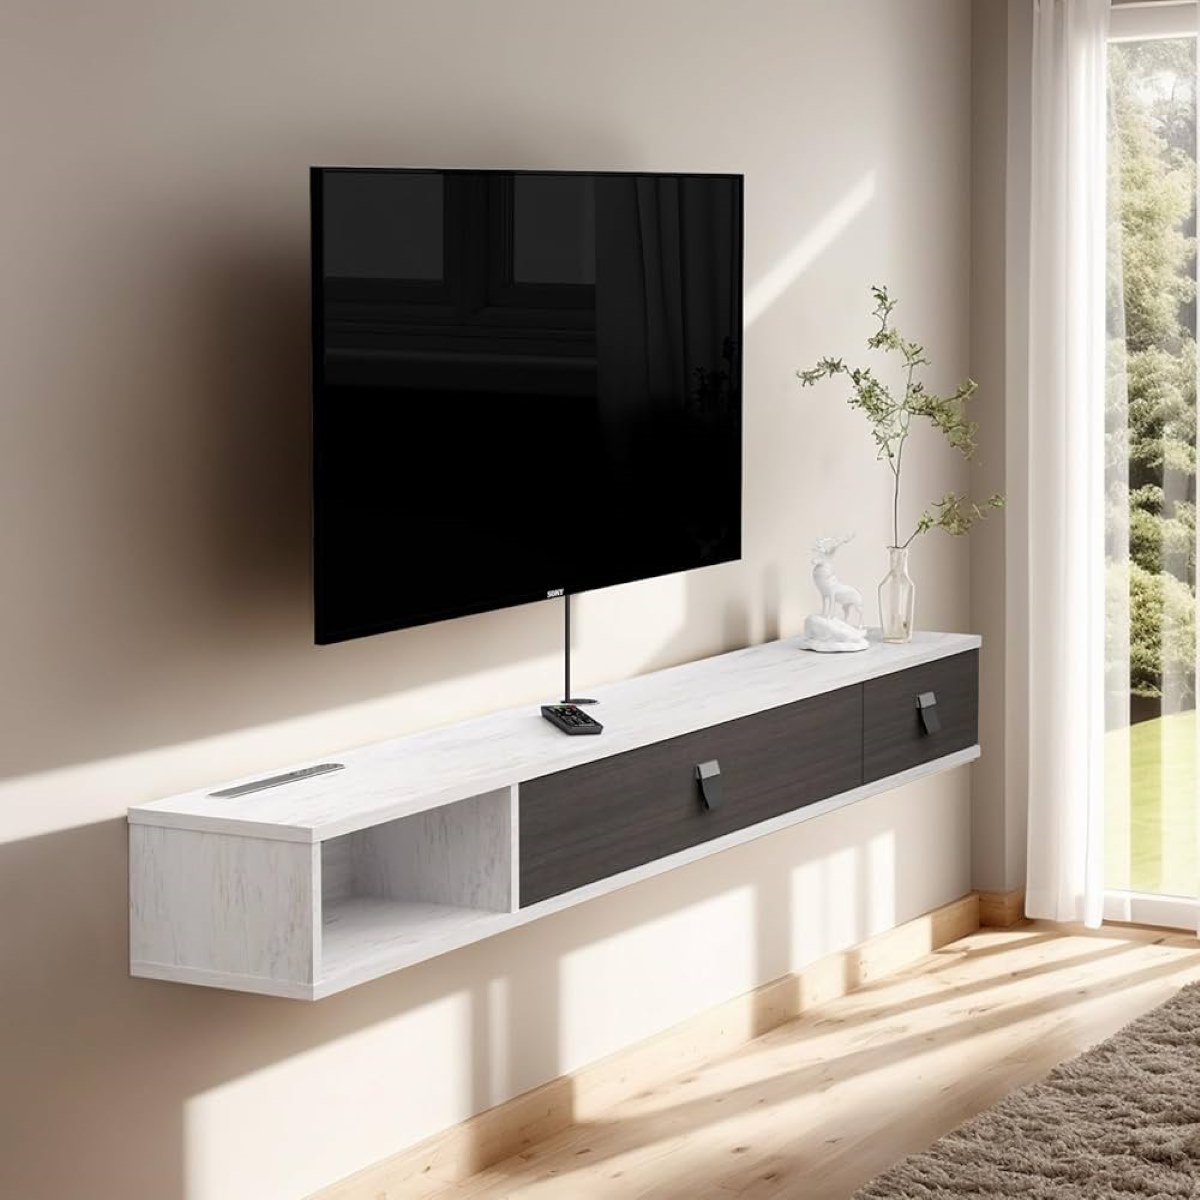
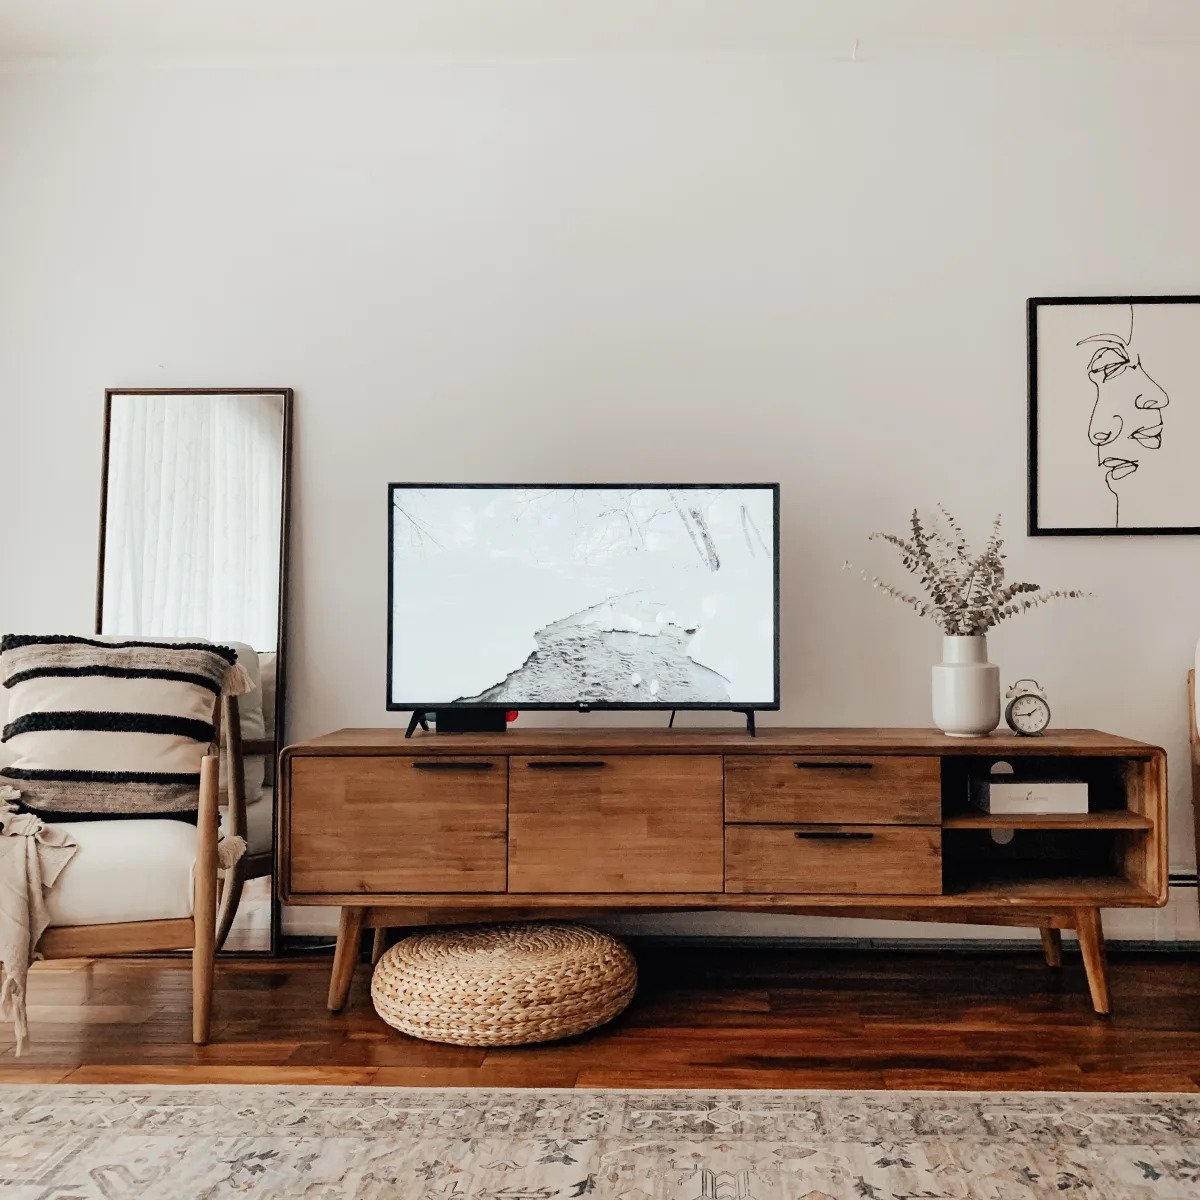
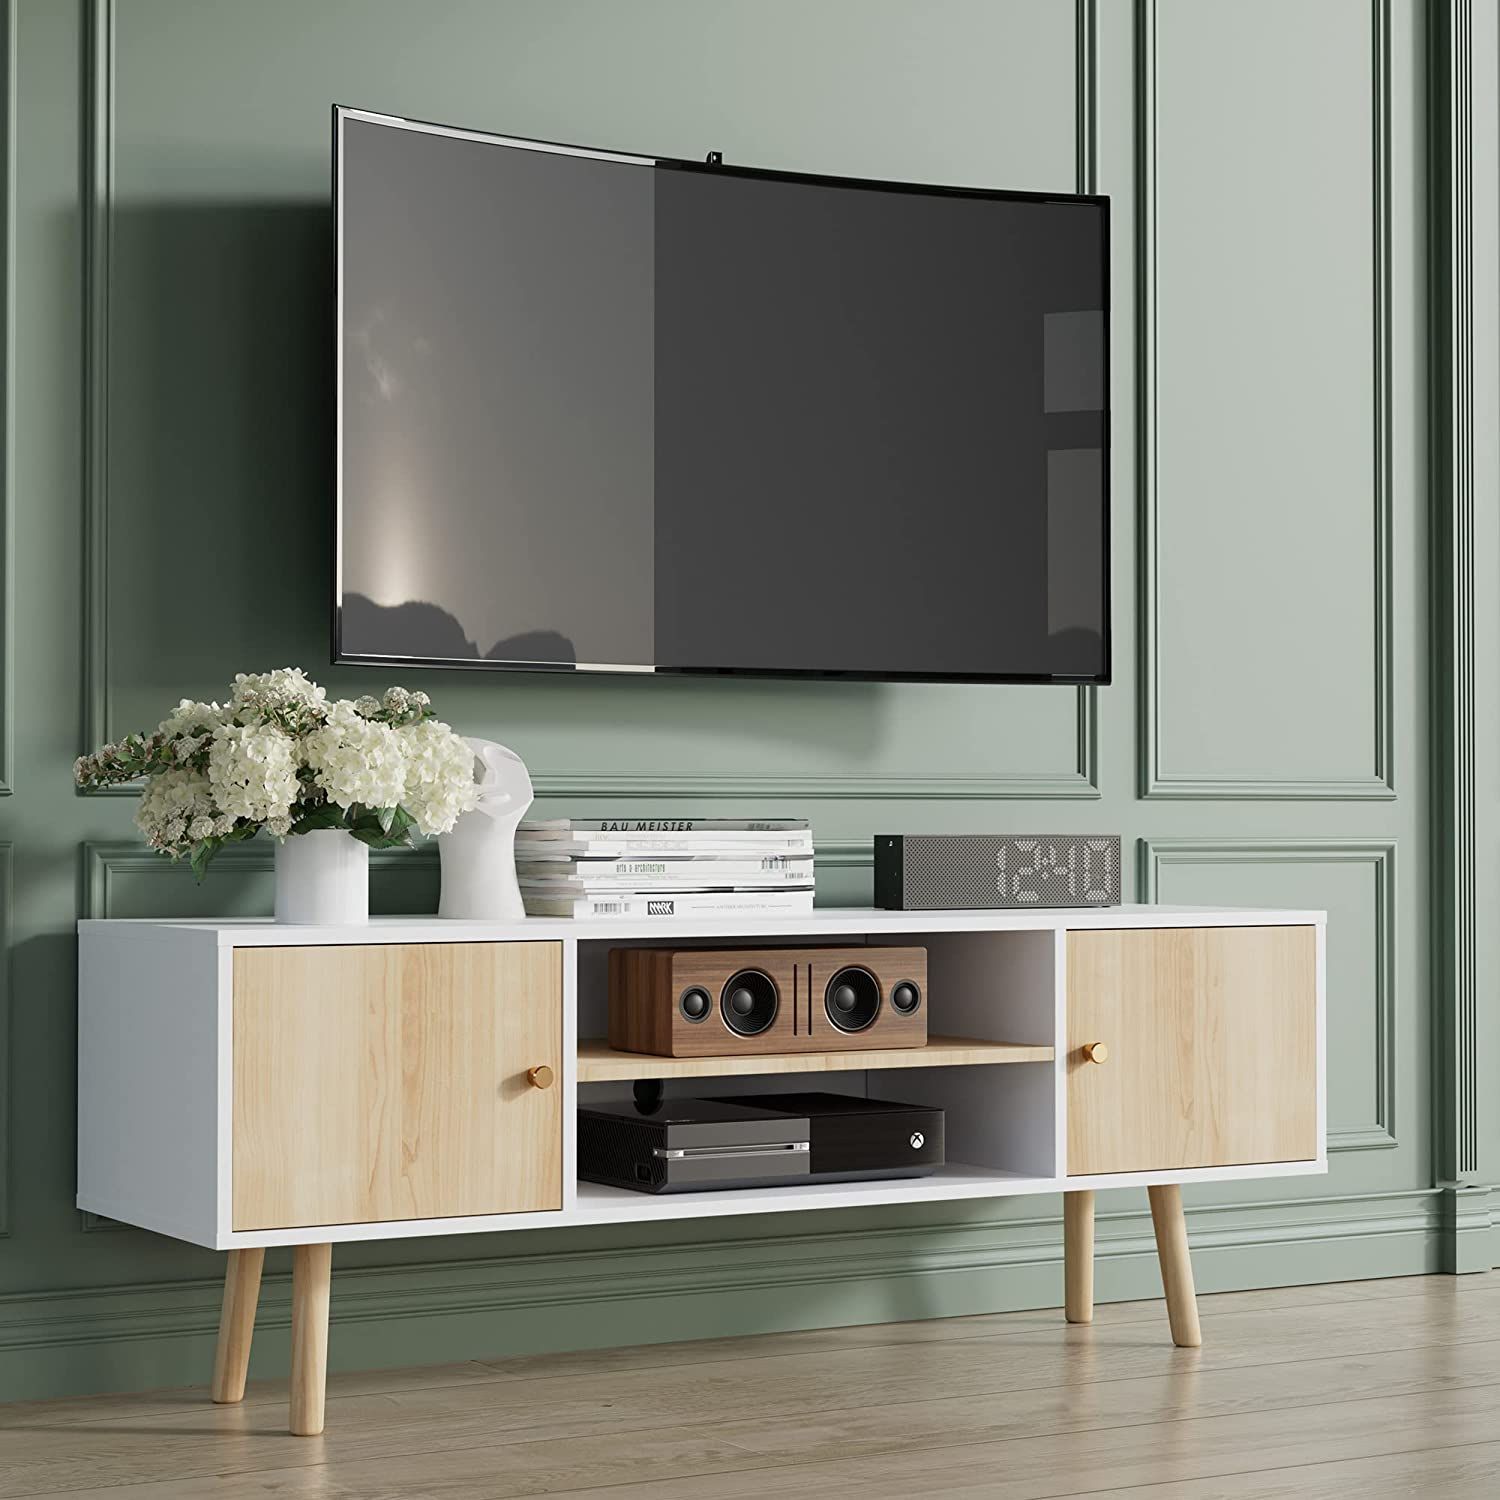
You can make a TV stand without legs by using a wall-mounted shelf or a floating shelf. This will give your TV a sleek and modern look while saving space.
Read more: How To Make A TV Stand Higher
Step 4: Attach the Horizontal Shelves
Now that the vertical supports are securely attached, it’s time to add the horizontal shelves to your TV stand without legs. These shelves will provide additional storage space for your multimedia devices and accessories.
Start by measuring and marking the desired height for each shelf. Make sure to account for the height of your TV and any other components you plan to place on the shelves.
Apply wood glue to the edges of the vertical supports at the marked locations. Carefully position the plywood shelves on top of the glue, making sure they are level and align with the supports. If necessary, use a level to ensure everything is even. Press down firmly to create a secure bond.
Allow the glue to fully dry before moving on to the next step. You can use clamps to hold the shelves in place during the drying process.
If you want to add additional strength and stability to the shelves, you can also screw them into the vertical supports. Pre-drill holes to prevent splitting, then insert screws through the plywood into the supports.
Once the shelves are securely attached, double-check their alignment and make any necessary adjustments. Sand the edges to ensure a smooth finish and wipe away any excess glue.
With the horizontal shelves in place, you’re ready for the next step: installing a cable management system.
Step 5: Install Cable Management System
As technology continues to advance, we find ourselves dealing with more and more cables and wires. To keep your TV stand without legs clean and organized, it’s important to install a cable management system.
Start by planning the layout of your cables and determining the best path to hide them. Look for pre-drilled holes or notches on the back of your TV stand that can accommodate the cables.
If there are no existing holes or notches, you can create them using a drill or a specialized hole saw. Be sure to measure the size of your cables to ensure the holes are large enough to accommodate them.
Once you have the holes in place, gather your cables and thread them through the openings. Use cable ties or clips to secure the cables against the back of the TV stand for a cleaner and more organized look.
For power cords and other cables that may hang down, you can use adhesive hooks or cord organizers to keep them neat and out of the way.
Remember to leave enough slack in each cable so that you can easily access and adjust your devices without pulling on the cords.
By installing a cable management system, you’ll not only improve the aesthetics of your TV stand but also eliminate the hassle of tangled wires and cables.
Now that the cables are managed, you can move on to the final step: mounting the TV.
Step 6: Mount the TV
With the TV stand without legs almost complete, it’s time to mount your TV. Mounting the TV provides a sleek and space-saving solution, and it also ensures that your TV is securely attached to the stand.
Start by determining the best mounting method for your TV. There are various options available, including wall mounts, swivel mounts, and articulating mounts. Choose the one that fits your TV and allows for the desired viewing angle.
Read the instructions provided with the mount and follow the manufacturer’s guidelines for installation. Start by attaching the mounting brackets to the back of your TV using the screws provided. Be sure to align the brackets with the VESA mounting pattern on the TV.
Next, locate the designated mounting area on the vertical supports of your TV stand. Use a level to ensure the placement is straight and aligned with the stand. Mark the screw hole locations and pre-drill the holes if necessary.
Now, attach the TV mount to the vertical supports using the appropriate screws and hardware. Ensure that the mount is securely fastened to the stand to support the weight of the TV.
Carefully lift and place your TV onto the mount, ensuring that it fits securely. Depending on the type of mount you chose, you may need to tighten screws or adjust the tilt and swivel angles to achieve the desired viewing position.
Tidy up any loose cables or wires, making sure they are properly plugged into the TV and connected to any necessary devices.
Finally, test the TV for stability and adjust the angle if needed. Step back and admire your newly mounted TV on your beautifully crafted TV stand without legs.
Congratulations! You have successfully completed all the steps to make a TV stand without legs.
Conclusion
Congratulations on completing your DIY TV stand without legs! You have not only created a practical and space-saving solution for your living room but also added a touch of creativity and customization to your home.
Throughout this article, we learned how to measure and cut the plywood, sand and finish the surfaces, attach the vertical supports and horizontal shelves, install a cable management system, and mount the TV.
By following these steps and utilizing the materials and tools mentioned, you have created a unique and stylish TV stand that fits your personal style and space requirements.
Remember to take safety precautions while working with power tools and follow the manufacturer’s guidelines for any products or materials used.
Now, sit back, relax, and enjoy your favorite shows or movies on your newly built TV stand. Impress your friends and family with your DIY skills and show off your personalized living room furniture.
Feel free to make adjustments or add your own creative touches to the design, making it truly your own. The possibilities are endless when it comes to customization.
Thank you for joining us on this DIY journey. We hope this guide has been informative and inspiring for your future projects. Happy crafting and happy watching!
Frequently Asked Questions about How To Make A TV Stand Without Legs
Was this page helpful?
At Storables.com, we guarantee accurate and reliable information. Our content, validated by Expert Board Contributors, is crafted following stringent Editorial Policies. We're committed to providing you with well-researched, expert-backed insights for all your informational needs.


0 thoughts on “How To Make A TV Stand Without Legs”