Home>Furniture>Living Room Furniture>How To Turn A Dresser Into A TV Stand
Living Room Furniture
How To Turn A Dresser Into A TV Stand
Modified: April 28, 2024
Transform your living room furniture with this step-by-step guide on how to turn a dresser into a stylish and functional TV stand.
(Many of the links in this article redirect to a specific reviewed product. Your purchase of these products through affiliate links helps to generate commission for Storables.com, at no extra cost. Learn more)
Introduction
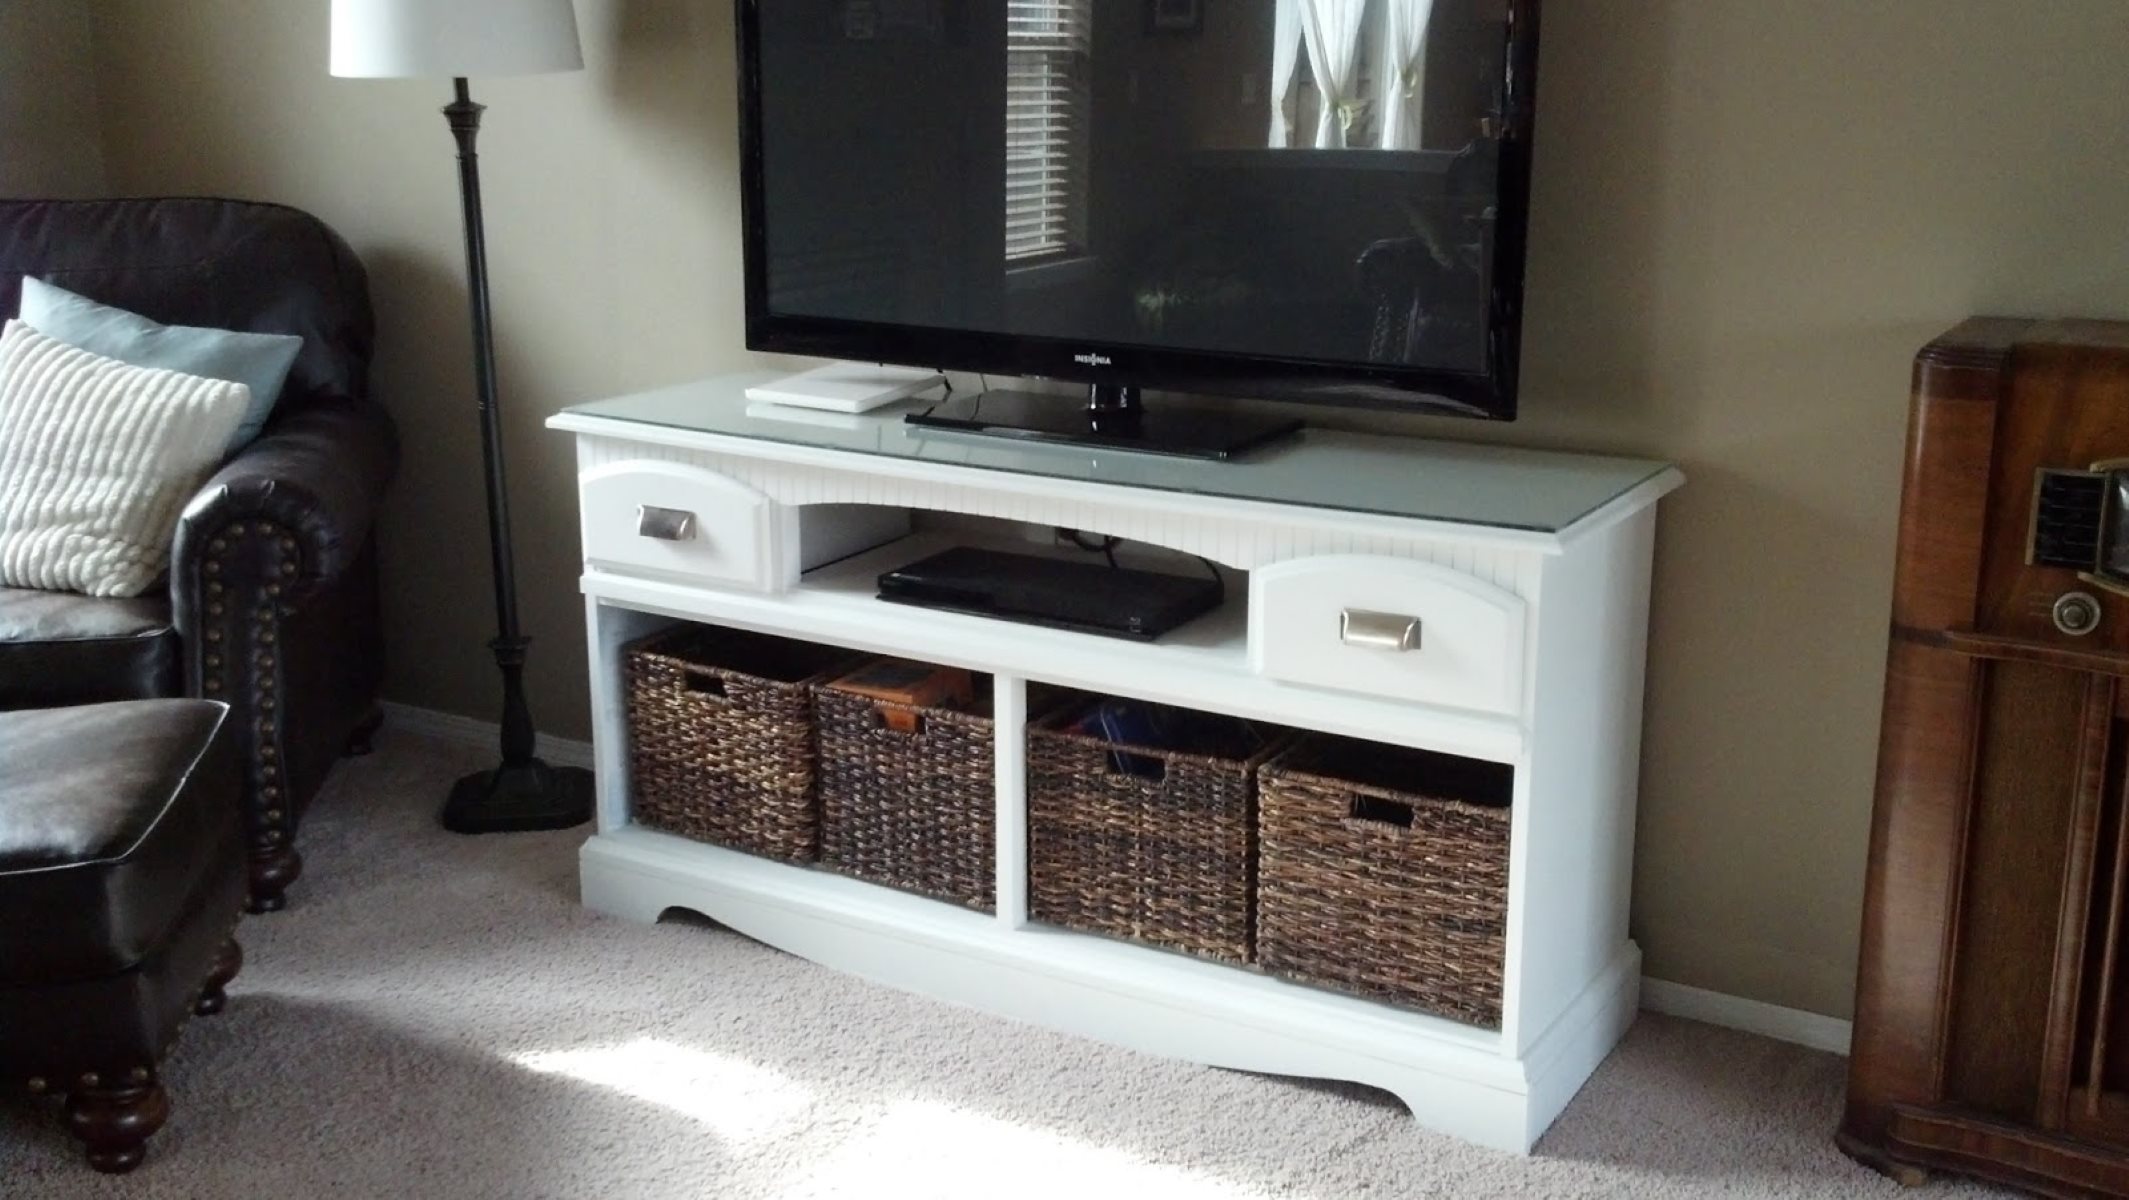
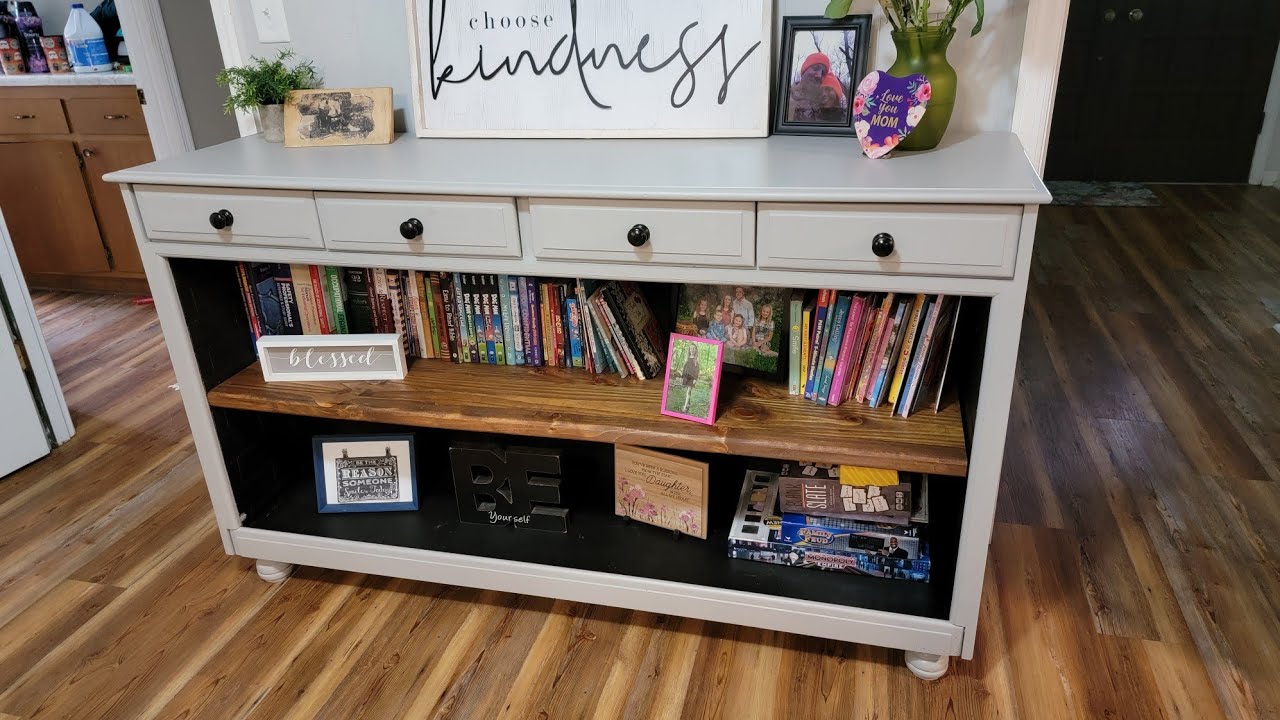
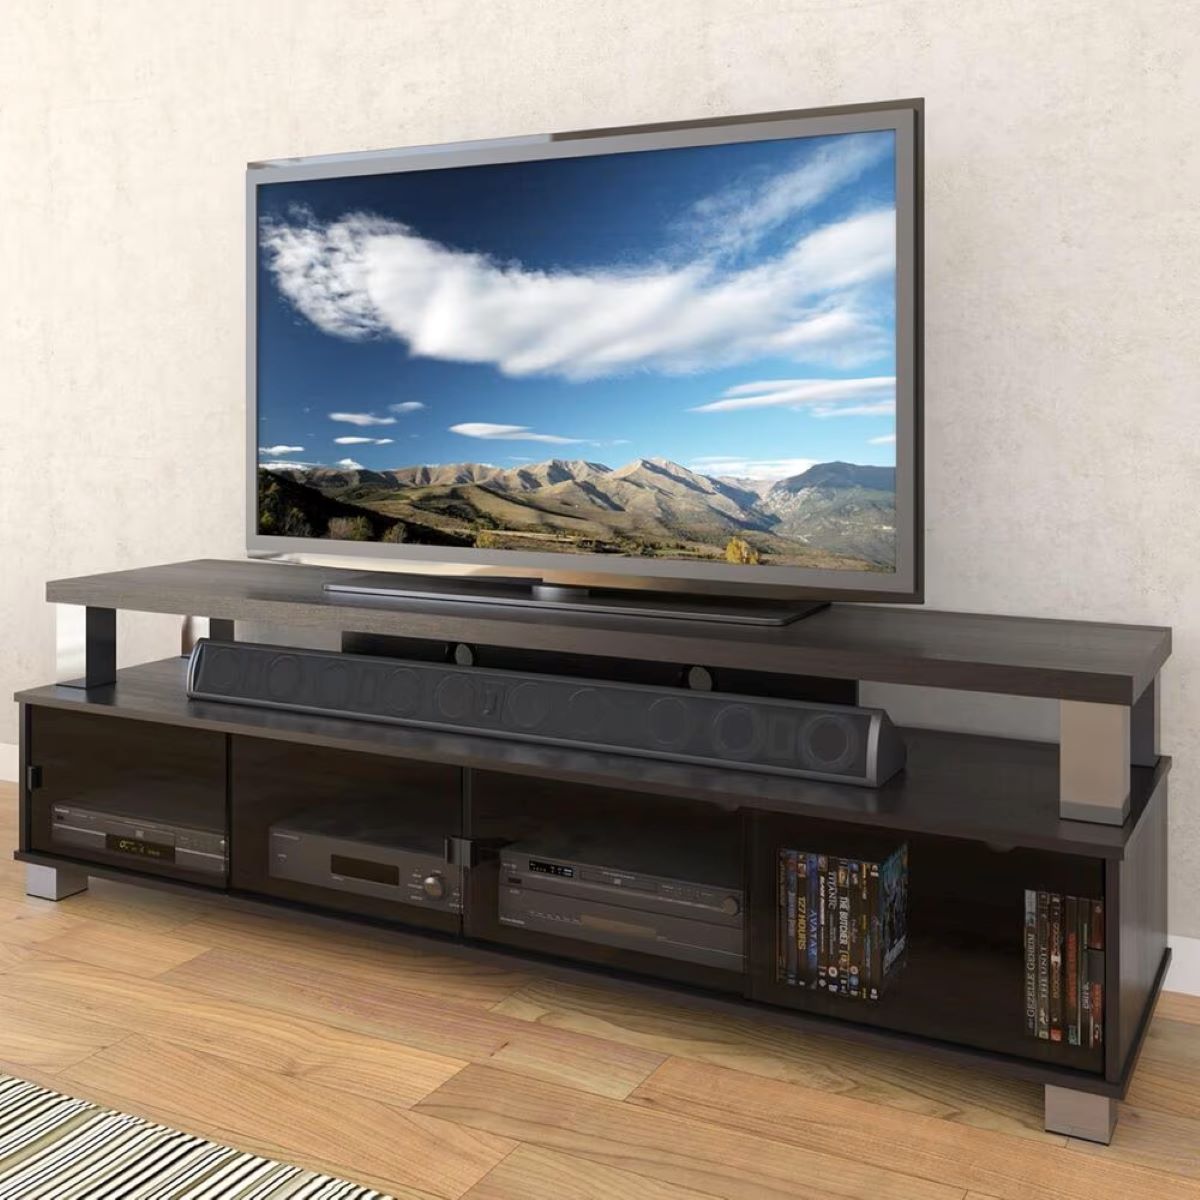
Welcome to the world of creative furniture transformations! If you have an old dresser lying around that is no longer functional or suits your taste, why not give it a new lease on life? One creative idea is to transform it into a stylish and practical TV stand. Not only will this repurposed piece of furniture save you money, but it will also add a unique touch to your living room.
In this step-by-step guide, we will walk you through the process of turning a dresser into a TV stand. So roll up your sleeves, gather your tools, and let’s get started!
Key Takeaways:
- Transforming an old dresser into a TV stand is a fun and budget-friendly way to add a unique touch to your living room while repurposing furniture and reducing waste.
- By following the step-by-step guide, you can easily turn an old dresser into a stylish and functional TV stand, showcasing your creativity and personal style while saving money.
Read more: How To Turn A Dresser Into A TV Stand
Step 1: Gather Materials
Before diving into the transformation process, it’s essential to gather all the necessary materials. Here’s a list of what you’ll need:
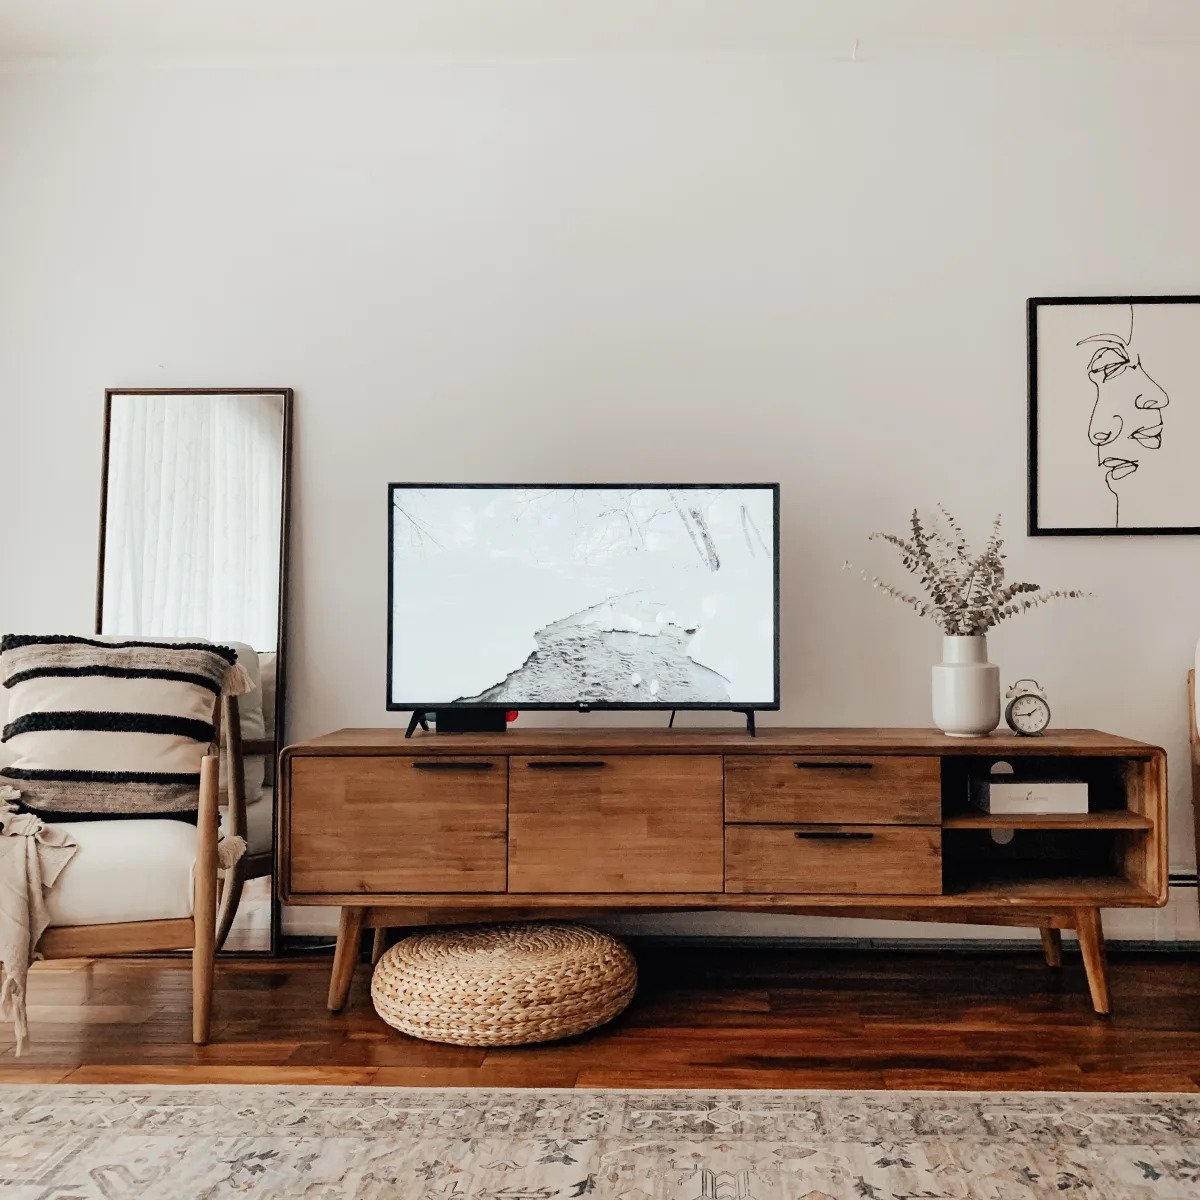
- Dresser: Choose a dresser that is sturdy and in good condition. Consider the size and height of your TV when selecting the dresser.
- TV Mounting Bracket: This is necessary to securely attach your TV to the dresser. Make sure to choose a bracket that is compatible with your TV’s size and weight.
- Tools: You will need basic tools such as a screwdriver, drill, measuring tape, and a level.
- Sandpaper and Primer: These will be used to prep the dresser for painting or staining.
- Paint or Stain: Choose a color or stain that matches your living room decor and personal style.
- Paintbrushes and Rollers: Use these to apply the paint or stain evenly.
- Drawer Hardware: If desired, consider replacing the existing drawer hardware with new knobs or handles for a fresh look.
- Cable Management Solutions: Look for cable ties, clips, or sleeves to help organize and conceal the TV cables.
Once you have gathered all the necessary materials, you’ll be ready to move on to the next step: preparing the dresser for the transformation.
Step 2: Prepare the Dresser
Before you start transforming your dresser into a TV stand, it’s important to properly prepare the surface. Follow these steps to ensure a smooth and clean foundation:
- Clear the Dresser: Remove any items or personal belongings from the dresser. Emptying the drawers will allow you to work more efficiently and avoid any accidents.
- Clean the Dresser: Dust and wipe down the dresser with a damp cloth. Make sure to remove any dirt, grime, or residue that may affect the final result.
- Fill Holes and Repair Damage: Inspect the dresser for any holes, scratches, or other damage. If necessary, use wood filler or putty to repair and fill in any imperfections. Once dry, sand the filled areas until smooth.
- Remove Back Panel (Optional): Some dressers have a back panel that can hinder cable management. If you plan to run cables through the back of the dresser, you may choose to remove this panel using a screwdriver.
- Measure and Mark: Take measurements of the TV’s width and height to ensure it will fit properly on the dresser. Use a pencil to mark the desired placement of the TV on the top surface of the dresser. This will help guide you during the later steps.
Preparing the dresser will provide a clean canvas for the transformation and help you achieve the desired end result. Once the dresser is prepped, you can move on to the next step: removing the drawers and hardware.
Step 3: Remove Drawers and Hardware
Now that the dresser is properly prepared, it’s time to remove the drawers and hardware to make way for the TV and other electronic components. Follow these steps:
- Empty the Drawers: Remove any items from the drawers and set them aside. You can use this opportunity to declutter and organize the contents.
- Remove the Drawers: Start by opening all the drawers fully. Look for screws or other fasteners holding the drawers in place. Unscrew or remove any of these fasteners to detach the drawers from the dresser.
- Label the Hardware: To avoid confusion later on, it’s helpful to label the hardware that was originally attached to the drawers. Use small labels or bags to keep the screws, knobs, or handles organized and clearly marked for each drawer.
- Remove the Hardware: Use a screwdriver to remove the knobs, handles, or pulls from the drawer fronts. Make sure to keep these hardware pieces and screws in a safe place for later reinstallation or replacement.
- Set Aside the Drawers: Depending on your preference, you can either store the drawers elsewhere or repurpose them for other uses like storage in a different room or as decorative shelves.
By removing the drawers and hardware, you create empty spaces within the dresser that can be utilized for cable management and housing electronic devices. With this step complete, you’re ready to move on to cutting openings for cables in the next step.
Step 4: Cut Openings for Cables
Now that the drawers and hardware have been removed, it’s time to create openings in the dresser to allow for proper cable management. Follow these steps to cut openings for cables:
- Plan the Cable Openings: Determine where your electronic devices will be placed on the dresser. Mark the areas where the cables will need to pass through. Consider the size and number of cables you’ll be working with to ensure the openings are large enough.
- Measure and Mark: Use a measuring tape and pencil to measure and mark the dimensions of the cable openings. Take into account the thickness of the cables. Make sure to double-check your measurements for accuracy.
- Cut the Openings: Use a jigsaw or a drill with a hole saw attachment to cut out the marked areas for the cable openings. Take your time and follow the marked lines carefully to achieve clean and precise cuts. If needed, use sandpaper to smooth out any rough edges.
- Test the Fit: Once the openings are cut, test the fit of the cables through the openings. Ensure that the cables can pass through easily without any obstructions or strain on the cables themselves.
Cutting openings for cables in the dresser will allow you to connect your electronic devices without the mess of tangled cords. With this step complete, you can move on to the next step: sanding and priming the dresser.
Read more: How To Mount A TV On A TV Stand
Step 5: Sand and Prime the Dresser
Now that the necessary openings for cables are cut, it’s time to prepare the dresser for painting or staining. Follow these steps to sand and prime the dresser:
- Sanding: Use sandpaper or an electric sander to sand the entire surface of the dresser. The goal is to create a smooth and even surface by removing any existing paint, varnish, or imperfections.
- Clean the Surface: After sanding, wipe down the dresser using a clean cloth to remove any sawdust or debris. Ensure the surface is clean and ready for priming.
- Apply Primer: Use a high-quality primer designed for use on wood furniture. Apply the primer evenly on the dresser’s surface using a paintbrush or roller, following the manufacturer’s instructions. Priming ensures better adhesion for the paint or stain and helps to seal the wood.
- Allow Primer to Dry: Let the primer dry completely according to the recommended drying time on the product label. Ensure proper ventilation during the drying process.
- Sand the Primer (Optional): For an even smoother finish, you can lightly sand the primed surface using fine-grit sandpaper. This step is optional but can help in achieving a professional-looking result.
- Clean the Surface Again: After sanding, wipe down the dresser once more to remove any dust or debris generated from sanding.
Sanding and priming the dresser creates a clean and smooth surface, ensuring better adherence of the paint or stain. With these steps completed, you are ready to move on to Step 6: painting or staining the dresser according to your desired look and style.
When turning a dresser into a TV stand, make sure to measure the height and width of your TV to ensure it will fit on top. Consider adding holes in the back for cords and reinforcing the top for extra support.
Step 6: Paint or Stain the Dresser
Now that the dresser is sanded and primed, it’s time to bring it to life with paint or stain. Follow these steps to paint or stain the dresser:
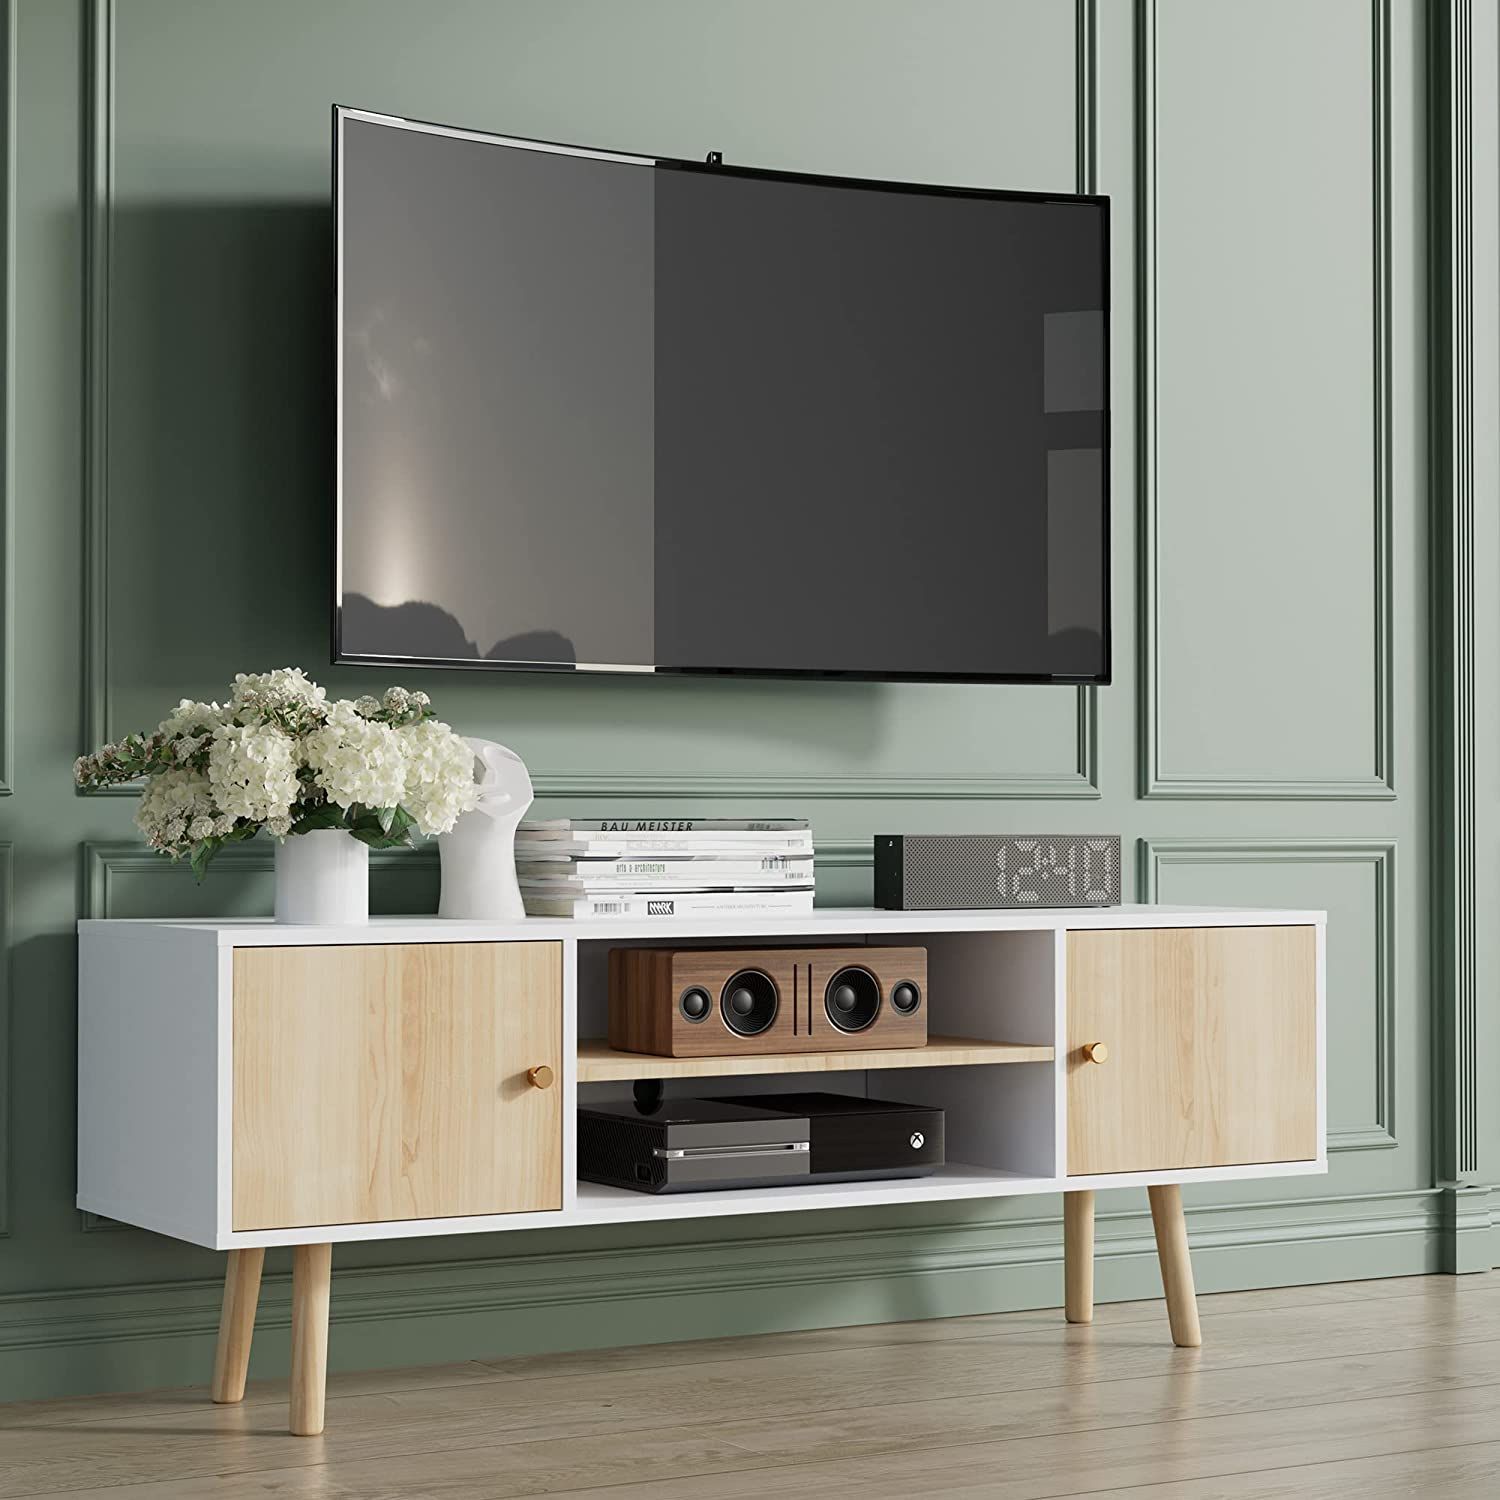
- Choose Your Finish: Decide whether you want to paint the dresser or go for a natural wood look with stain. Consider your overall interior design and personal preferences when making this decision.
- Prepare the Paint or Stain: If you choose to paint, make sure to stir the paint thoroughly to ensure an even consistency. For staining, follow the instructions on the stain product and stir as necessary.
- Apply the Paint or Stain: Use a brush or roller to apply the paint or stain evenly on the surface of the dresser. Apply multiple coats if needed, allowing each coat to dry before applying the next one. Follow the manufacturer’s recommended drying time.
- Allow the Final Coat to Cure: Once the desired finish is achieved, allow the final coat of paint or stain to cure according to the recommended time. This will ensure a durable and long-lasting finish.
- Consider Adding a Protective Topcoat: If desired, you can apply a clear protective topcoat to the dresser to safeguard the paint or stain from wear and tear. This step is optional but can provide added durability.
Painting or staining the dresser allows you to personalize the piece and seamlessly integrate it into your living room decor. With this step complete, you’re now ready to move on to Step 7: installing the TV mounting bracket.
Step 7: Install TV Mounting Bracket
Now that the dresser is painted or stained to your liking, it’s time to install the TV mounting bracket. Follow these steps to securely attach the bracket:
- Locate Studs: Use a stud finder to locate the wall studs behind the dresser. Mounting the TV bracket onto the studs will provide maximum stability and support.
- Mark the Position: Holding the TV bracket against the wall, mark the position of the screw holes on the studs using a pencil.
- Drill Pilot Holes: Using a drill and an appropriate-sized drill bit, carefully drill pilot holes at the marked positions on the studs. Make sure the pilot holes are slightly smaller in diameter than the screws that came with the TV bracket.
- Attach the Bracket: Line up the TV bracket with the pilot holes and attach it to the wall using the screws provided. Use a level to ensure the bracket is straight and level.
- Verify Stability: Once the bracket is securely attached to the wall, test its stability by applying gentle pressure and ensuring there is no wobbling or movement. Adjust and tighten the screws if necessary.
- Attach the TV: Refer to the instructions that came with your TV mounting bracket to safely attach the TV to the bracket. Make sure to follow the manufacturer’s guidelines and weight capacity limits.
Installing a TV mounting bracket allows you to securely and safely place your TV on the dresser. With Step 7 complete, you’re ready to move on to Step 8: reattaching the drawers and hardware.
Step 8: Reattach Drawers and Hardware
With the TV mounting bracket securely installed, it’s time to reattach the drawers and hardware to the dresser. Follow these steps to complete this step:
- Replace Drawer Slides (if necessary): Inspect the drawer slides and tracks to ensure they are in good condition. If any slides are damaged or not functioning properly, replace them before reattaching the drawers.
- Align and Position the Drawers: Carefully align each drawer with its corresponding tracks. Slowly slide them back into place, making sure they fit snugly and glide smoothly.
- Attach Drawer Handles or Knobs: Reinstall the drawer handles or knobs using the screws that were previously labeled. Ensure they are tightened securely but not overly tightened to avoid damaging the drawer fronts.
- Test Drawers: Slide each drawer in and out to test for smooth operation. If any drawers are sticking or misaligned, adjust the slides or tracks accordingly until they function properly.
Reattaching the drawers and hardware is an important step in restoring the functionality and aesthetics of the dresser. With Step 8 complete, you’re now ready to move on to Step 9: organizing and concealing the cables.
Read more: How To Decorate A Dresser With A TV
Step 9: Organize and Conceal Cables
Now that the dresser is ready, it’s time to tackle the task of organizing and concealing the cables. Follow these steps to achieve a clean and streamlined look:
- Use Cable Ties or Clips: Gather and bundle the cables together using cable ties or clips. This will help keep them organized and prevent tangling.
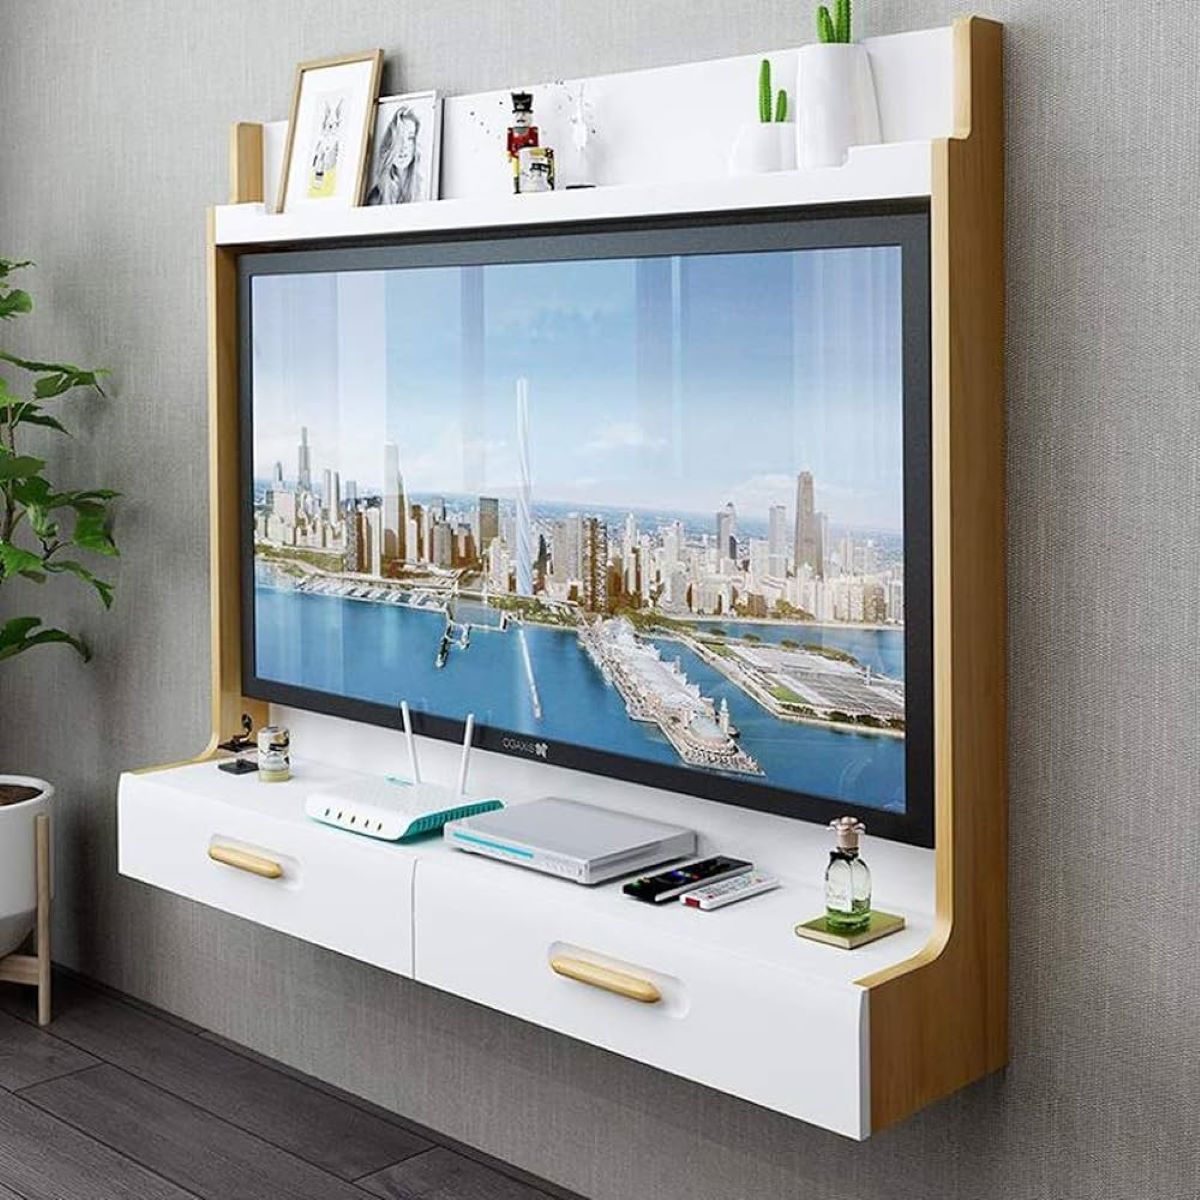
Thread the bundled cables through the openings you previously cut in the dresser. Ensure they are properly aligned and not twisted or strained. Use cable clips, sleeves, or adhesive hooks to secure the cables along the back or inside of the dresser. This will help keep them neatly in place and prevent them from dangling or getting in the way. If there are still visible cables, consider using cable management boxes or tubes to further conceal them. These solutions can be placed behind the TV or along the back of the dresser to keep the cords out of sight. Make any necessary adjustments to the cable management solutions to ensure they are hidden from view and the cables are neatly arranged. Double-check that the cables are not being strained or pinched in the process.
By organizing and concealing the cables, you will maintain a clean and clutter-free appearance for your TV stand. With Step 9 complete, you’re almost there! It’s time for the final step: placing the TV on the dresser.
Step 10: Place TV on the Dresser
Congratulations! You’ve made it to the final step of transforming your dresser into a TV stand. Now it’s time to carefully place your TV on the dresser. Follow these steps:
- Ensure a Stable Surface: Double-check that the dresser is positioned on a stable surface, such as a level floor. This will ensure the TV remains secure and balanced.
- Enlist Assistance (if needed): If your TV is large or heavy, it’s a good idea to have someone assist you in lifting and placing it onto the dresser. This will help prevent any accidents or mishaps.
- Position the TV: Align the TV with the mounting bracket and carefully lower it onto the bracket. Follow the manufacturer’s instructions for securely attaching the TV to the bracket.
- Ensure Proper Weight Distribution: Make sure the weight of the TV is evenly distributed on the dresser. Avoid placing any additional heavy objects on the dresser that may cause it to become unstable.
- Adjust the TV Placement: Once the TV is in place, adjust its position so that it is centered on the dresser and at a comfortable viewing height. Step back and assess the overall aesthetic and functionality.
With the TV securely placed on the dresser, take a moment to admire your hard work and the transformation you’ve accomplished. Your repurposed dresser turned TV stand is now ready to be enjoyed in your living room!
By following these ten steps, you can turn an old dresser into a stylish and functional TV stand, adding a unique touch to your living room while saving money and repurposing furniture. Enjoy your new TV stand and the cozy ambiance it brings to your home!
Conclusion
Transforming a dresser into a TV stand is a creative and cost-effective way to repurpose furniture and add a unique flair to your living room. By following the ten steps outlined in this guide, you’ve successfully taken an old dresser and turned it into a functional and stylish piece that can hold your TV and other electronic devices.
Throughout the process, you’ve learned how to gather the necessary materials, prepare the dresser, remove the drawers and hardware, cut openings for cables, sand and prime the surface, paint or stain the dresser, install a TV mounting bracket, reattach the drawers and hardware, organize and conceal the cables, and finally, place the TV on the dresser. Each step has contributed to the overall transformation, resulting in a beautiful and functional TV stand.
Not only does repurposing furniture contribute to sustainability and reduce waste, but it also allows you to showcase your creativity and personal style. The finished TV stand adds a touch of character to your living room and provides a practical solution for housing your entertainment system.
Remember, as you embark on your own dresser-to-TV stand transformation, feel free to put your own spin on the project. Play around with different paint colors, consider unique hardware options, and add personal touches that reflect your individual taste and style.
So, grab those tools and let your creativity soar. You’ll be amazed at what you can accomplish by giving an old dresser a new purpose. Enjoy your newly transformed TV stand and the joy it brings to your living space!
Frequently Asked Questions about How To Turn A Dresser Into A TV Stand
Was this page helpful?
At Storables.com, we guarantee accurate and reliable information. Our content, validated by Expert Board Contributors, is crafted following stringent Editorial Policies. We're committed to providing you with well-researched, expert-backed insights for all your informational needs.


0 thoughts on “How To Turn A Dresser Into A TV Stand”