Home>Furniture>Living Room Furniture>How To Build A Rolling TV Stand
Living Room Furniture
How To Build A Rolling TV Stand
Modified: March 16, 2024
Looking for a versatile and convenient solution to organize your living room furniture? Learn how to build a rolling TV stand that adds functionality and style to your space.
(Many of the links in this article redirect to a specific reviewed product. Your purchase of these products through affiliate links helps to generate commission for Storables.com, at no extra cost. Learn more)
Introduction
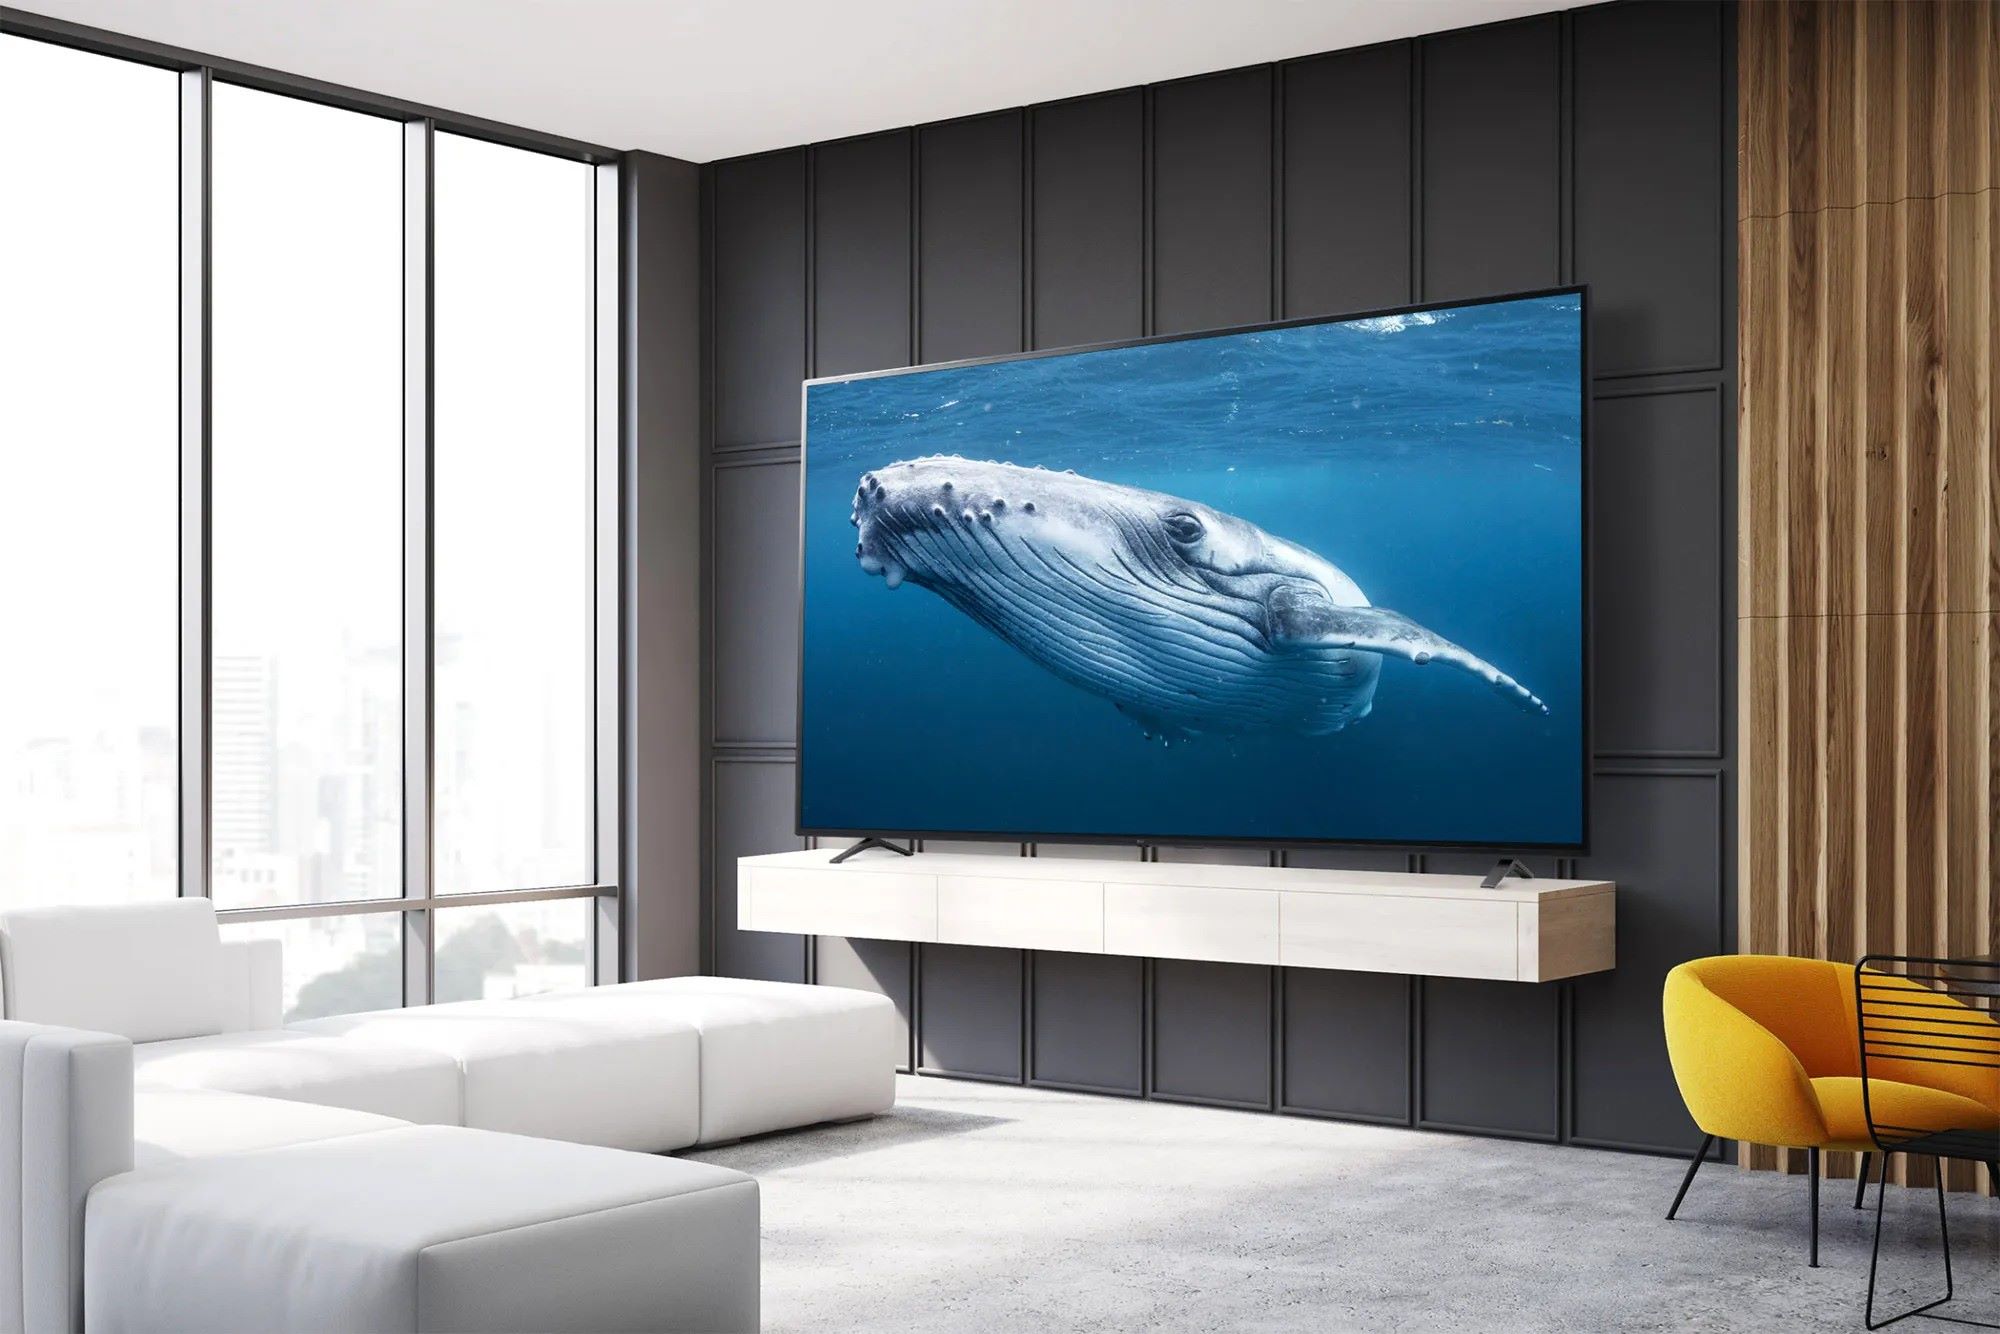
Are you tired of constantly rearranging your living room furniture to find the perfect viewing angle for your TV? If so, it might be time to consider building a rolling TV stand. A rolling TV stand offers both convenience and versatility, allowing you to easily move your TV to different locations in your home without the hassle of lifting and carrying heavy equipment.
In this comprehensive guide, we will walk you through the step-by-step process of building your own rolling TV stand. Not only will this project give you a sense of satisfaction, but it will also save you money compared to purchasing a pre-made stand from a furniture store. Plus, you have the freedom to customize the design and dimensions to suit your specific needs and style.
Before we dive into the details, let’s talk about why a rolling TV stand is a worthwhile investment. Firstly, it provides the flexibility to change the layout of your living space effortlessly. Whether you want to watch your favorite show in the comfort of your bedroom or enjoy a movie night in the cozy confines of your den, a rolling TV stand allows you to easily move your TV wherever you desire. Additionally, it can be an excellent solution for small spaces, as it maximizes the use of available floor area and eliminates the need for a dedicated TV station.
Furthermore, a rolling TV stand is a great option for those who love entertaining guests. Whether it’s a game day gathering or a movie marathon with friends, having a mobile TV stand allows you to set up the ultimate viewing experience in any room. You can effortlessly roll the stand to create the perfect seating arrangement for everyone to enjoy.
No matter your motivation for building a rolling TV stand, rest assured that this guide will provide you with all the guidance and information you need. So let’s get started on this exciting DIY project that will transform your TV viewing experience!
Key Takeaways:
- Building a rolling TV stand offers customization, cost savings, and mobility. You can create a unique piece of furniture that fits your style, saves money, and allows you to easily move your TV to different locations.
- DIY rolling TV stand project provides a sense of accomplishment and skill development. By building it yourself, you gain satisfaction, pride, and valuable woodworking skills for future projects.
Read more: How To Build A TV Stand With Fireplace
Materials Needed
Before you begin building your rolling TV stand, it’s essential to gather all the necessary materials. Having everything within reach will ensure a smooth and efficient construction process. Here’s a list of materials you will need:
- Plywood or solid wood boards: These will be the main components of your TV stand. Choose a high-quality and sturdy option that can support the weight of your TV.
- Castor wheels: Look for wheels that are durable and have a locking mechanism to keep the stand in place when needed. The number of wheels will depend on the size and weight of your TV.
- Screws and nails: These will be used to secure the wooden pieces together. Make sure to choose the appropriate size and type for your project.
- Wood glue: This will provide additional strength and stability to the joints of your TV stand.
- Sandpaper: You will need different grits of sandpaper to smooth the surfaces and edges of the wood.
- Paint or stain: Choose a finish that complements your living room decor and protects the wood from damage.
- Brushes and rollers: These tools will be used to apply paint or stain.
- Measuring tape: Accurate measurements are crucial for a well-built TV stand. Invest in a good-quality measuring tape to ensure precise cuts.
- Saw: Depending on your preference and the type of material you’re using, you may need a circular saw, jigsaw, or handsaw to cut the wood to size.
- Screwdriver and hammer: These basic tools are essential for assembling the TV stand.
- Level: A level will help you ensure that your TV stand is straight and properly balanced.
Once you have obtained all the necessary materials, you will be ready to embark on your DIY project. Make sure to set up a well-ventilated and well-lit workspace, equipped with all the required tools. Now that you have everything prepared, let’s move on to the first step: planning and measurements.
Step 1: Planning and Measurements
Before you begin cutting wood or assembling any parts, it is crucial to spend time on proper planning and taking accurate measurements. This step will ensure that your rolling TV stand fits your TV perfectly and meets your specific requirements.
Start by determining the size of your TV stand. Measure the width, depth, and height of your TV to establish the dimensions for your stand. Consider any additional components you may want to incorporate, such as soundbars or gaming consoles, and account for them in your measurements.
Next, think about the overall design and features you envision for your TV stand. Will it have open shelves for media equipment or closed cabinets for storage? Do you want the stand to have additional room for decorative elements like plants or picture frames? Sketch out your ideas or look for inspiration online to guide your design choices.
Once you have a clear idea of the size and design of your TV stand, it’s time to take precise measurements. Use a measuring tape to measure the length, width, and height of the stand, as well as the dimensions of any compartments or shelves you plan to incorporate. It is essential to double-check your measurements to avoid any mistakes that could lead to an ill-fitting or unstable stand.
Consider the height of your TV in relation to the seating area. You want to ensure that the TV is at eye level when seated comfortably. Take this into account when determining the overall height of the stand.
Additionally, think about any cable management solutions you want to incorporate. Measure where the cables will need to pass through the stand to hide them from view. You can create discreet holes or channels to keep the cables organized and prevent them from tangling.
By investing time in proper planning and taking accurate measurements, you set yourself up for success in the construction process. This step ensures that your TV stand will not only fit your TV perfectly but also accommodate any additional components and functional features you desire. Once you are confident in your measurements, you can move on to the next step: cutting the wood.
Step 2: Cutting the Wood
Now that you have completed the planning and measurement phase, it’s time to move on to cutting the wood for your rolling TV stand. This step involves preparing the necessary wooden pieces that will form the structure of your stand.
Start by gathering the plywood or solid wood boards according to your measurements. Ensure that the wood is of good quality and thickness to provide stability and support for your TV. If needed, you can have the wood cut to size by a professional at a local hardware store for added convenience.
Before you start cutting, it’s important to mark the measurements on the wood accurately. Use a pencil and a measuring tape to transfer the dimensions from your plan onto the wood. Double-check your markings to ensure precision.
When cutting the wood, it’s essential to follow proper guidelines to achieve clean and accurate cuts. Depending on the type of equipment you have, you can use a circular saw, jigsaw, or handsaw for this step. Take your time and cut along the marked lines carefully.
Remember to take safety precautions while cutting the wood. Wear protective goggles to shield your eyes from any flying debris, and use clamps to secure the wood in place for stability. Follow the user manual for your specific cutting tool to ensure safe and correct usage.
If your design includes additional components like shelves or compartments, you will need to cut pieces of wood to the appropriate size. Measure and mark these pieces before cutting and ensure that they align perfectly with the main structure of your TV stand.
Once you have finished cutting the wood, give the edges a light sanding to ensure they are smooth and free of any splinters. Sanding will provide a clean finish and prevent any sharp edges that may accidentally cause injury.
By properly preparing and cutting the wood, you are one step closer to completing your rolling TV stand. The accurate dimensions and clean-cut edges will result in a sturdy and visually appealing structure. Now that you have the wooden pieces ready, it’s time to move on to the next step: assembling the frame.
Step 3: Assembling the Frame
Now that you have cut the wood pieces for your rolling TV stand, it’s time to start assembling the frame. This step involves joining the wooden pieces together securely to form a solid structure that will support your TV.
Start by laying out the main components of the frame, such as the top, bottom, and side panels. Ensure that they are oriented correctly according to your design and measurements.
Next, apply wood glue along the edges of the wooden pieces that will be joined together. This adhesive will help strengthen the bond and provide stability to the frame. Be sure to spread the glue evenly, avoiding excess that may seep out when the pieces are pressed together.
Once the glue is applied, carefully align the pieces and press them together firmly. Use clamps or other suitable tools to hold the pieces in place while the glue sets. Follow the drying time specified on the wood glue product, usually 24 hours, to ensure a strong and secure bond.
In addition to glue, you may also use screws or nails for added reinforcement. Pre-drill holes in the appropriate locations to prevent the wood from splitting. Then, insert screws or nails into the holes and secure them tightly. Make sure to countersink the screws or nails so that they are flush with the surface of the wood.
Repeat this process for all the joints in the frame, ensuring that each connection is secure and stable. Pay close attention to corners and edges to guarantee a sturdy structure that can withstand the weight of your TV.
Once you have completed the frame assembly, check for any wobbling or instability. Make any necessary adjustments or reinforcements to ensure that your rolling TV stand is solid and level.
Remember to wipe away any excess glue that may have squeezed out during the assembly process. This will give your TV stand a cleaner and more professional appearance.
By carefully assembling the frame and ensuring that all the joints are secure, you are building a solid foundation for your rolling TV stand. This step is critical in maintaining the stability and durability of your finished project. With the frame complete, it’s time to move on to the next step: attaching the wheels.
When building a rolling TV stand, make sure to use sturdy and durable materials to support the weight of the TV. Consider adding locking wheels to keep the stand in place when needed.
Read more: How To Build A Cheap TV Stand
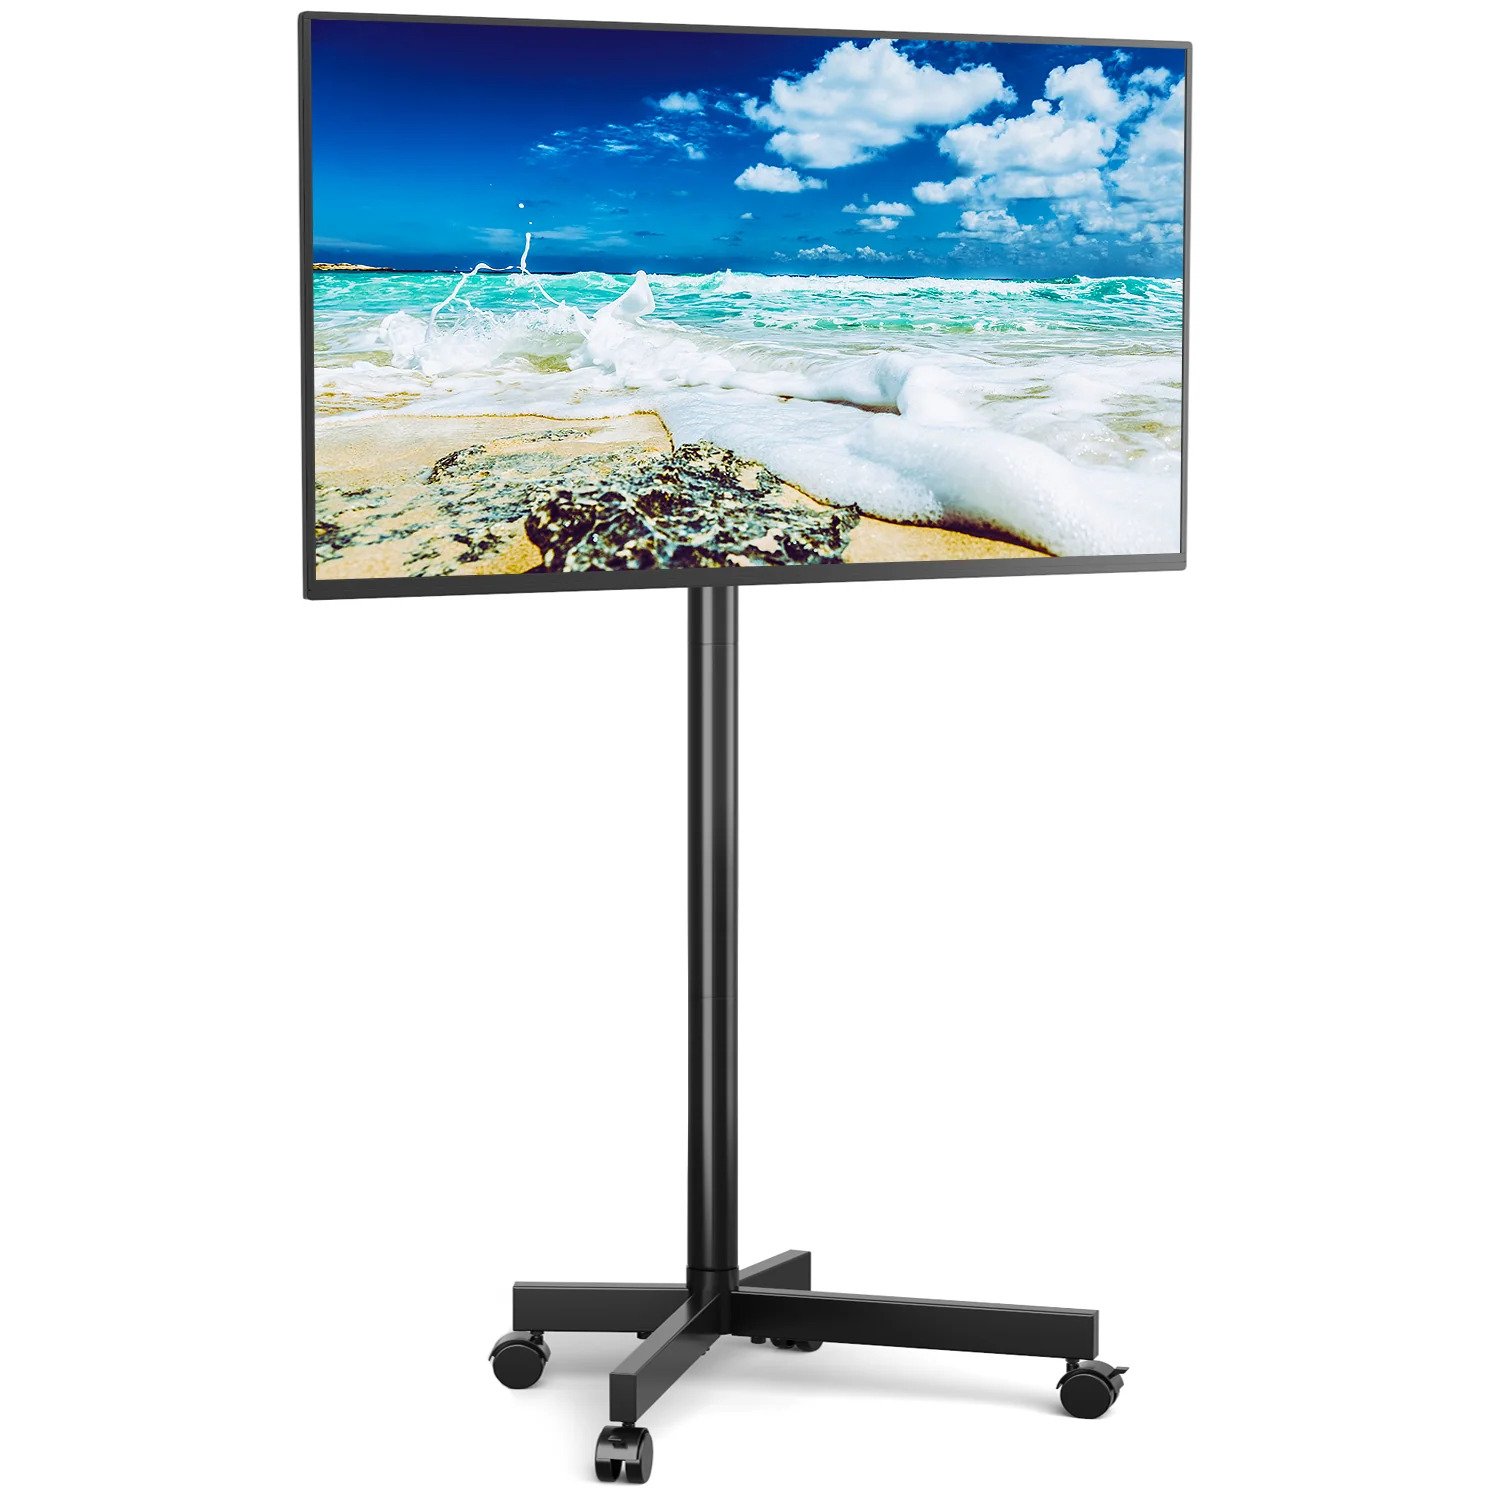
Step 4: Attaching the Wheels
Adding wheels to your rolling TV stand will provide the mobility and flexibility you desire. This step involves attaching the wheels securely to the frame, allowing you to easily move your TV stand around your living space.
Start by deciding on the type of wheels you want to use. There are various options available, such as swivel casters, locking casters, and ball-bearing wheels. Each type offers different benefits, so choose the one that best suits your needs.
Swivel casters allow for easy maneuverability in any direction, providing smooth movement across different surfaces. Locking casters, on the other hand, offer stability when the TV stand is in use, preventing any unintended movement.
Ball-bearing wheels are an excellent choice for heavy TVs, as they offer enhanced weight-bearing capacity and reduce friction during movement. Consider the weight of your TV and choose wheels with an appropriate load capacity to ensure stability and durability.
When it comes to attaching the wheels, begin by marking the positions where you want the wheels to be mounted on the frame. Make sure to evenly space them for balanced weight distribution.
Using screws or bolts that are compatible with the wheels, secure each wheel to the frame. If needed, pre-drill pilot holes to prevent the wood from splitting. Make sure the wheels are tightly fastened to ensure they can support the weight of the TV and provide smooth movement.
If your TV stand will be positioned on carpeted floors, consider using larger wheels or adding caster cups to prevent sinking. Caster cups provide stability and distribution of weight, protecting your carpet and ensuring smooth movement.
Once all the wheels are securely attached, give them a test run. Roll the TV stand around to ensure the wheels move smoothly and the stand remains stable. If any adjustments are necessary, tighten the bolts or screws as needed.
With the wheels successfully attached, you have transformed your TV stand into a mobile unit that can be easily moved to different areas of your home. Now it’s time to move on to the next step: mounting the TV.
Step 5: Mounting the TV
Now that your rolling TV stand is equipped with wheels, it’s time to mount your TV securely onto the stand. Properly mounting the TV will ensure that it is positioned at the ideal height and angle for optimal viewing.
Before you start, make sure you have the appropriate TV mounting brackets that are compatible with your TV. These brackets will provide a sturdy and safe attachment for your TV to the stand.
First, determine the desired placement of your TV on the stand. Consider factors such as the viewing distance, the height at which you want your TV to be positioned, and any ergonomic considerations.
Once you have decided on the placement, use a measuring tape to mark the exact spot where the TV bracket will be mounted. Make sure to align the bracket with the center of the TV stand for balance and stability.
Next, carefully attach the TV mounting bracket to the back of your TV following the manufacturer’s instructions. Typically, this involves securing the bracket using the provided screws and ensuring a snug fit.
With the TV mounting bracket securely attached to the TV, it’s time to mount the TV onto the stand. Have a friend or family member assist you in lifting and positioning the TV onto the bracket.
Align the mounting holes on the TV bracket with the corresponding holes on the TV stand. Insert the appropriate screws or bolts into the holes and tighten them securely. Double-check that the TV is level and secure on the stand.
Once the TV is mounted, test the stability by gently shaking the TV. If there is any wobbling or instability, recheck the tightness of the screws or bolts and make any necessary adjustments.
Ensure that all cables and wires are properly connected to the TV and are neatly arranged. You can use cable management solutions to keep cables organized and hidden from view.
With the TV securely mounted on the rolling stand, you can now enjoy the convenience of moving your TV to different locations without the hassle of mounting and dismounting it each time. Now, it’s time to move on to the next step: adding shelves or storage.
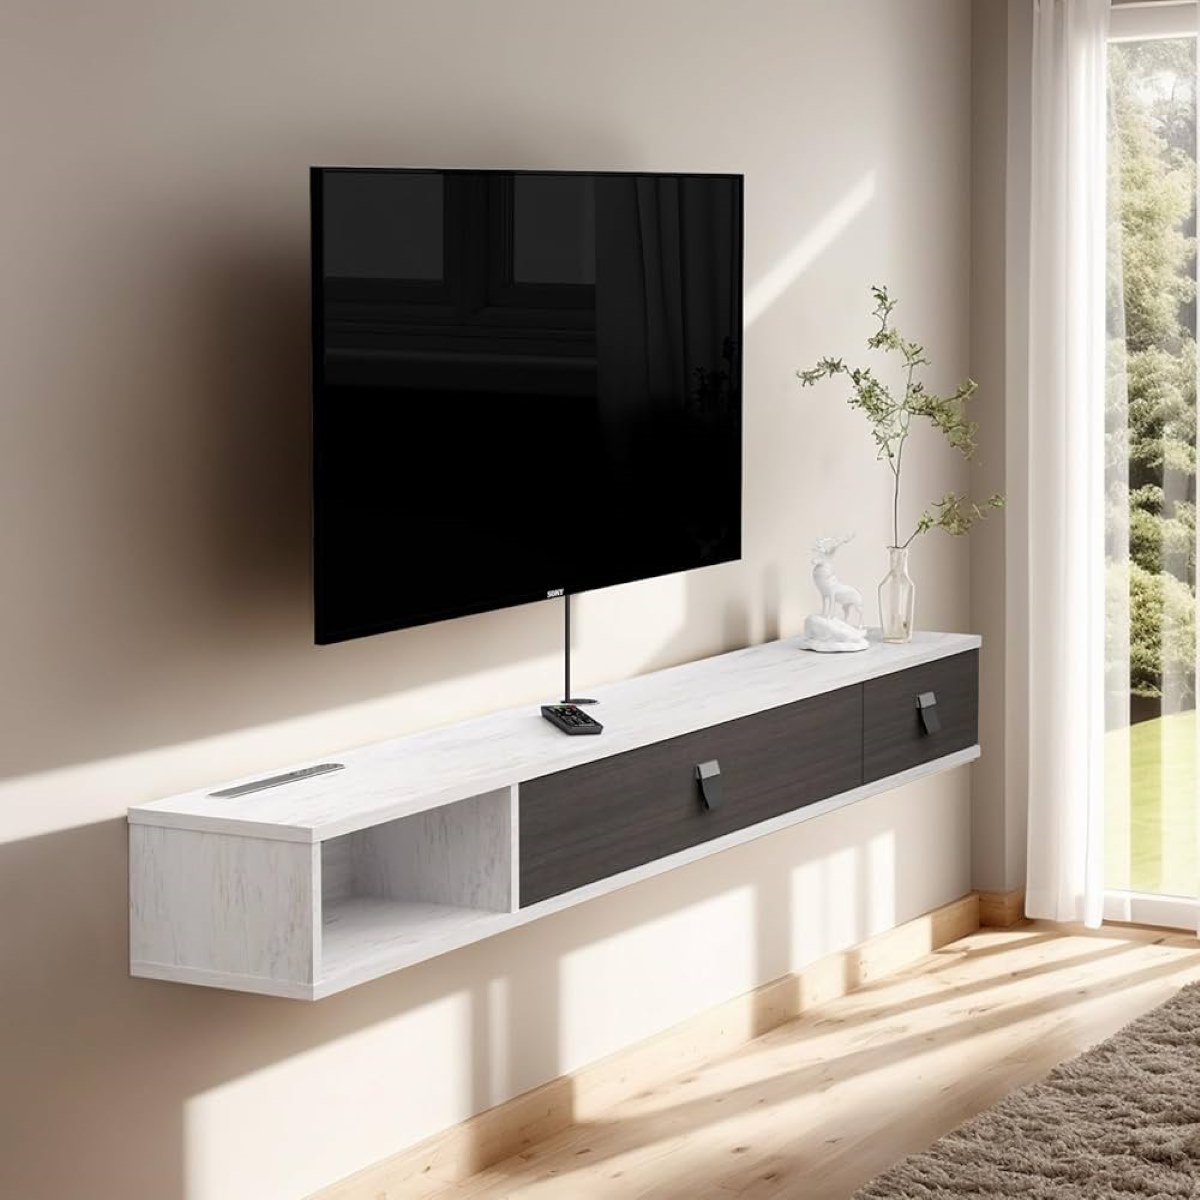
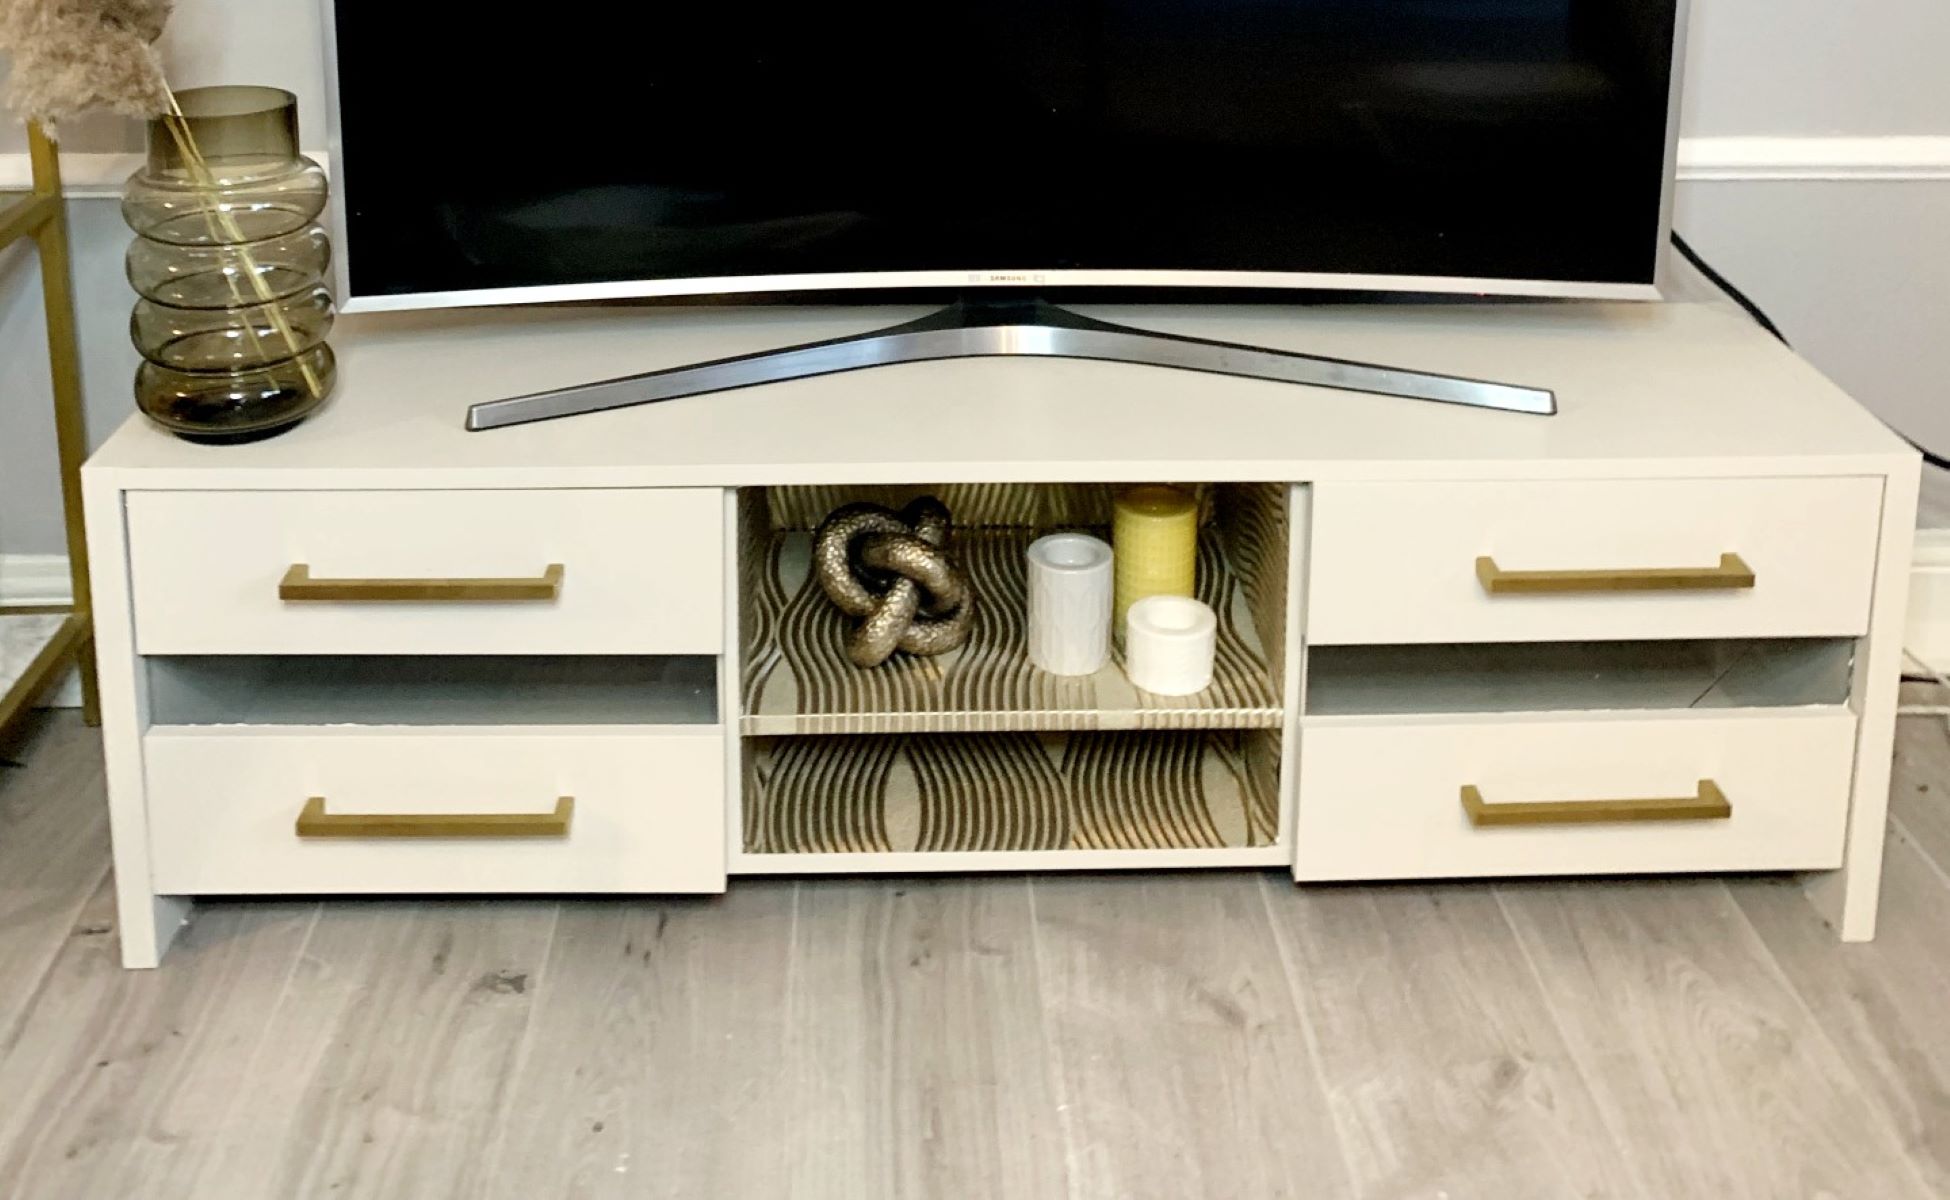
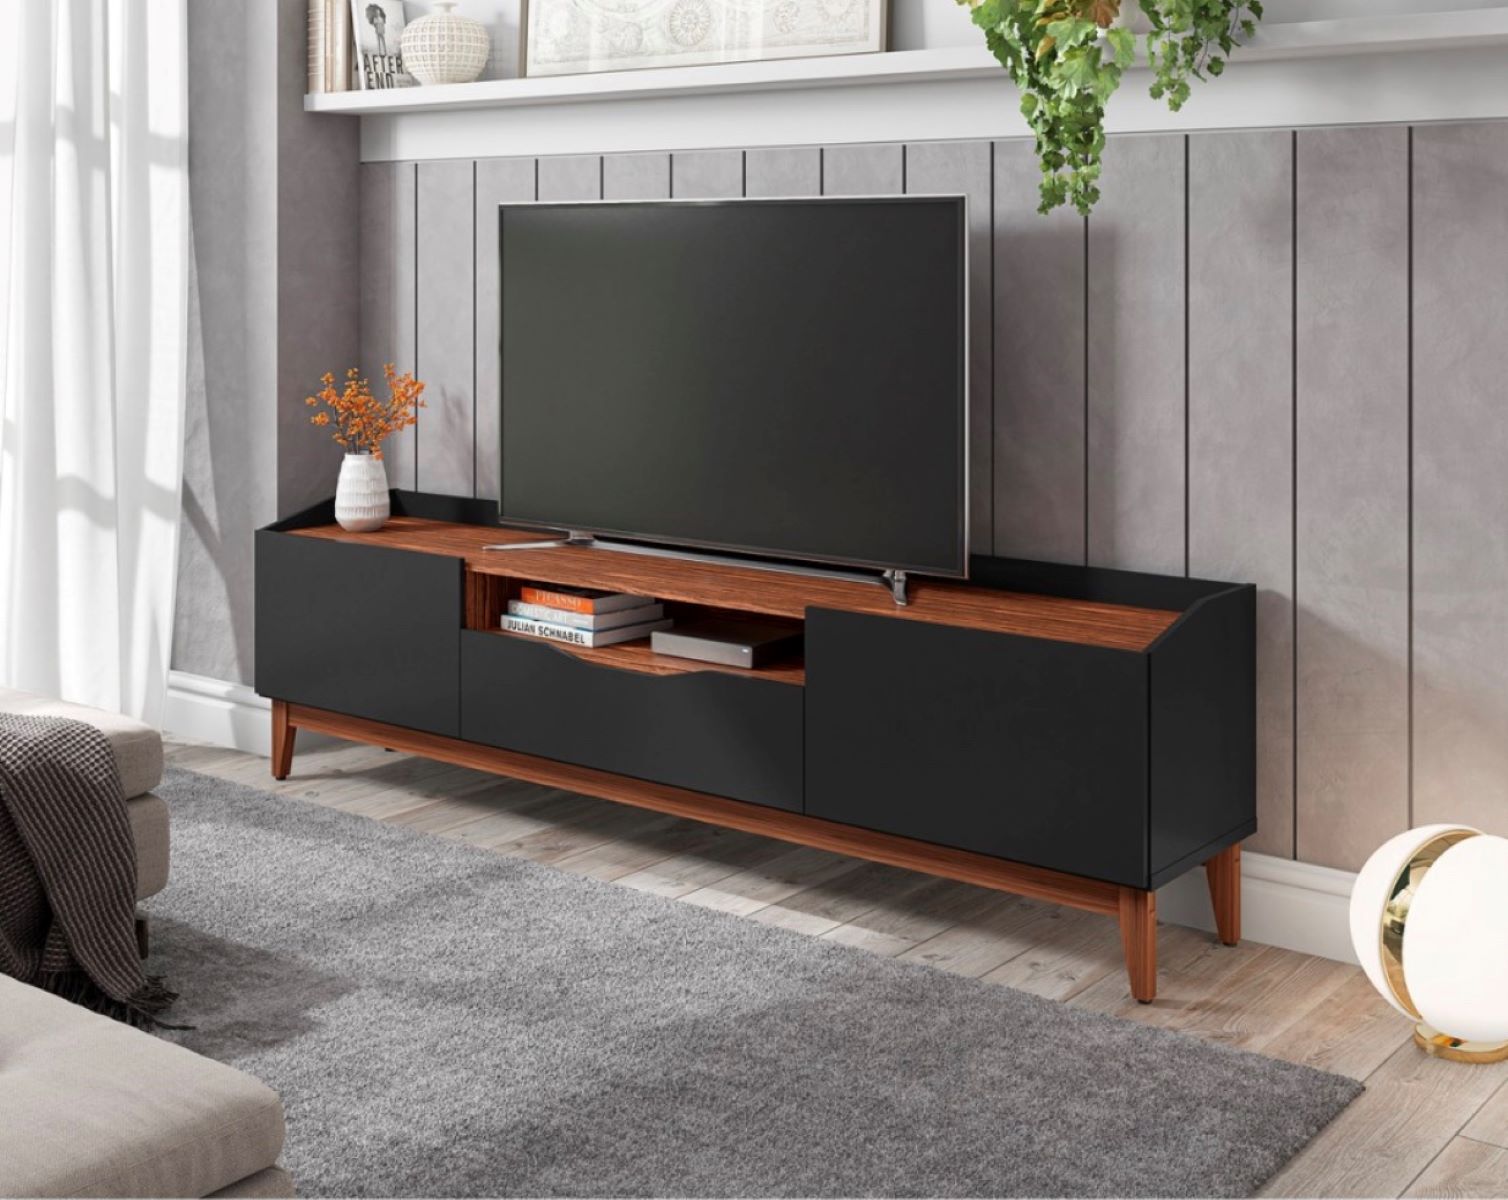
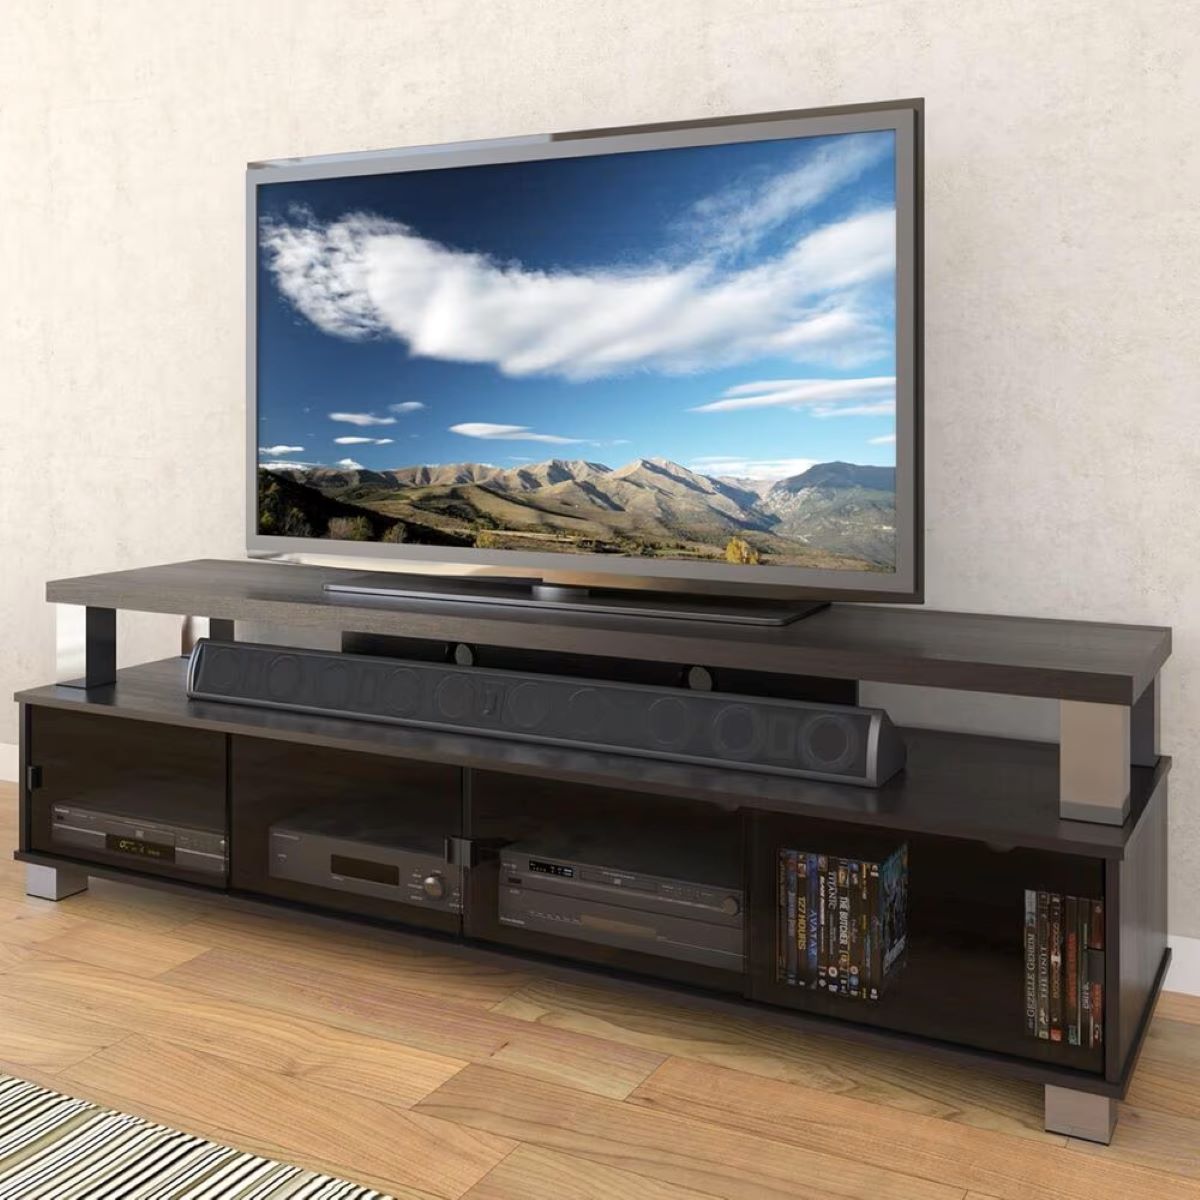
Step 6: Adding Shelves or Storage
Adding shelves or storage compartments to your rolling TV stand can greatly enhance its functionality and provide additional space for organizing media equipment, accessories, and other items. This step allows you to customize your TV stand to meet your specific storage needs.
Start by determining the desired number and size of shelves or storage compartments you want to incorporate into your TV stand. Consider the dimensions of your TV stand and the available space before finalizing your design.
If you choose to add shelves, measure and mark the desired locations for the shelf supports on the vertical side panels of the stand. Take into account the height and spacing needed for each shelf to accommodate your media equipment or decorative items.
Once you have marked the locations for the shelf supports, attach them to the side panels using screws or nails. Make sure the supports are level and securely fastened to provide stability for the shelves.
After the shelf supports are in place, cut the shelves to the appropriate size using the measurements you have determined. Sand the edges of the shelves to ensure they are smooth and free from splinters.
Place the shelves on top of the supports and adjust their positions as needed. Ensure that they are level and securely resting on the supports. If desired, you can secure the shelves to the supports with screws or brackets for added stability.
If you prefer storage compartments instead of shelves, measure and mark the locations for the compartments within the TV stand frame. You can create separate compartments by adding dividers or install slide-out drawers for easy access to stored items.
Once the storage compartments are marked, cut the necessary pieces of wood to create the desired compartments. Attach the pieces using screws, nails, or other appropriate fasteners, ensuring they are securely connected to the frame.
Consider adding doors or covers to the storage compartments to keep items hidden and dust-free. Hinges and knobs can be installed to provide easy access to the contents inside.
With the shelves or storage compartments in place, you have transformed your rolling TV stand into a versatile piece of furniture that not only supports your TV but also offers ample space for organizing your media equipment and other belongings. Now onto the final step: sanding and finishing.
Step 7: Sanding and Finishing
The final step in building your rolling TV stand is sanding and finishing the wooden surfaces. This process is essential for creating a smooth and polished look while protecting the wood from damage.
Start by sanding the entire surface of your TV stand, including the frame, shelves, and any other exposed areas. Use sandpaper with a medium grit to remove any rough edges, imperfections, or splinters. Sand in the direction of the wood grain for the best results.
Sanding serves several purposes. It not only gives the surface a smooth and refined finish but also prepares it for the application of paint or stain. Sanding helps the paint or stain adhere better to the wood, resulting in a more even and professional-looking finish.
After sanding with a medium grit, switch to fine-grit sandpaper to achieve a smoother surface. This step will give your TV stand a polished and refined appearance. Take your time and sand each surface thoroughly, paying attention to detail.
Once you have finished sanding, wipe off any dust or residue from the surfaces using a clean cloth or a tack cloth. This will ensure that the paint or stain adheres smoothly and evenly.
Now it’s time to apply the finish of your choice. You can either use paint or wood stain to protect and enhance the natural beauty of the wood.
If you choose to paint your TV stand, select a paint color that complements your living room decor. Apply a coat of primer before painting to ensure better adhesion and coverage. Once the primer is dry, apply the paint evenly using a brush or roller. Allow sufficient drying time between coats, following the manufacturer’s instructions, and sand lightly between coats for a smooth finish.
If you prefer to showcase the natural beauty of the wood, you can use wood stain. Apply the stain using a brush or cloth, following the grain of the wood. Allow it to penetrate for the recommended time, and then wipe off any excess stain with a clean cloth. Apply multiple coats as needed for the desired depth of color and allow ample drying time between coats.
Once the paint or stain is completely dry, you can further protect and enhance the finish by applying a clear sealant or varnish. This will provide an extra layer of protection against moisture, scratches, and other wear and tear.
By sanding and finishing your rolling TV stand, you not only improve its appearance but also ensure that it is protected and durable. The smooth surface and chosen finish will give your TV stand a professional and polished look while extending its lifespan. With the sanding and finishing complete, your rolling TV stand is now ready to showcase your TV and enhance your living space!
Read more: How To Build A Corner TV Stand
Conclusion
Congratulations on successfully building your very own rolling TV stand! By following the step-by-step process outlined in this guide, you have created a functional and stylish piece of furniture that will enhance your TV viewing experience. Let’s recap the key points and benefits of the DIY approach to building a rolling TV stand.
Building a rolling TV stand yourself allows you to customize the design and dimensions to perfectly suit your needs and style. You have the flexibility to choose the materials, add shelves or storage compartments, and select the finish that matches your living room decor.
The mobility of a rolling TV stand is a significant advantage. You can easily move your TV to different locations, whether it’s in your living room, bedroom, or even outdoors. This provides the freedom to create the perfect viewing environment for various occasions without the hassle of rearranging your furniture.
Another benefit of a DIY rolling TV stand is the cost savings. Building your own stand is often more affordable than purchasing a pre-made one from a furniture store. Additionally, you can choose high-quality materials that fit your budget, ensuring durability and longevity.
Furthermore, the satisfaction of building something with your own hands is invaluable. The sense of accomplishment and pride that comes from completing a DIY project is immeasurable. You can truly take pride in the fact that you have created a unique and functional piece of furniture for your home.
Lastly, the DIY approach allows you to develop essential skills and expand your woodworking knowledge. Through this project, you have learned about measurements, cutting wood, assembling frames, and applying finishes. These skills can be applied to future woodworking endeavors and will continue to benefit you in the long run.
Remember, building a rolling TV stand is not only a practical solution for your TV viewing needs but also a creative and rewarding project. You have personalized your TV stand to match your style preferences and have the satisfaction of knowing that you built it yourself.
Enjoy the convenience, versatility, and mobility that your rolling TV stand brings to your home. Now sit back, relax, and enjoy your favorite shows and movies from any corner of your living space!
Frequently Asked Questions about How To Build A Rolling TV Stand
Was this page helpful?
At Storables.com, we guarantee accurate and reliable information. Our content, validated by Expert Board Contributors, is crafted following stringent Editorial Policies. We're committed to providing you with well-researched, expert-backed insights for all your informational needs.


0 thoughts on “How To Build A Rolling TV Stand”