Home>Furniture>Living Room Furniture>How To Remove A Samsung TV Stand
Living Room Furniture
How To Remove A Samsung TV Stand
Modified: March 16, 2024
Discover the easiest way to remove a Samsung TV stand in your living room. Upgrade your living room furniture with this step-by-step guide.
(Many of the links in this article redirect to a specific reviewed product. Your purchase of these products through affiliate links helps to generate commission for Storables.com, at no extra cost. Learn more)
Introduction
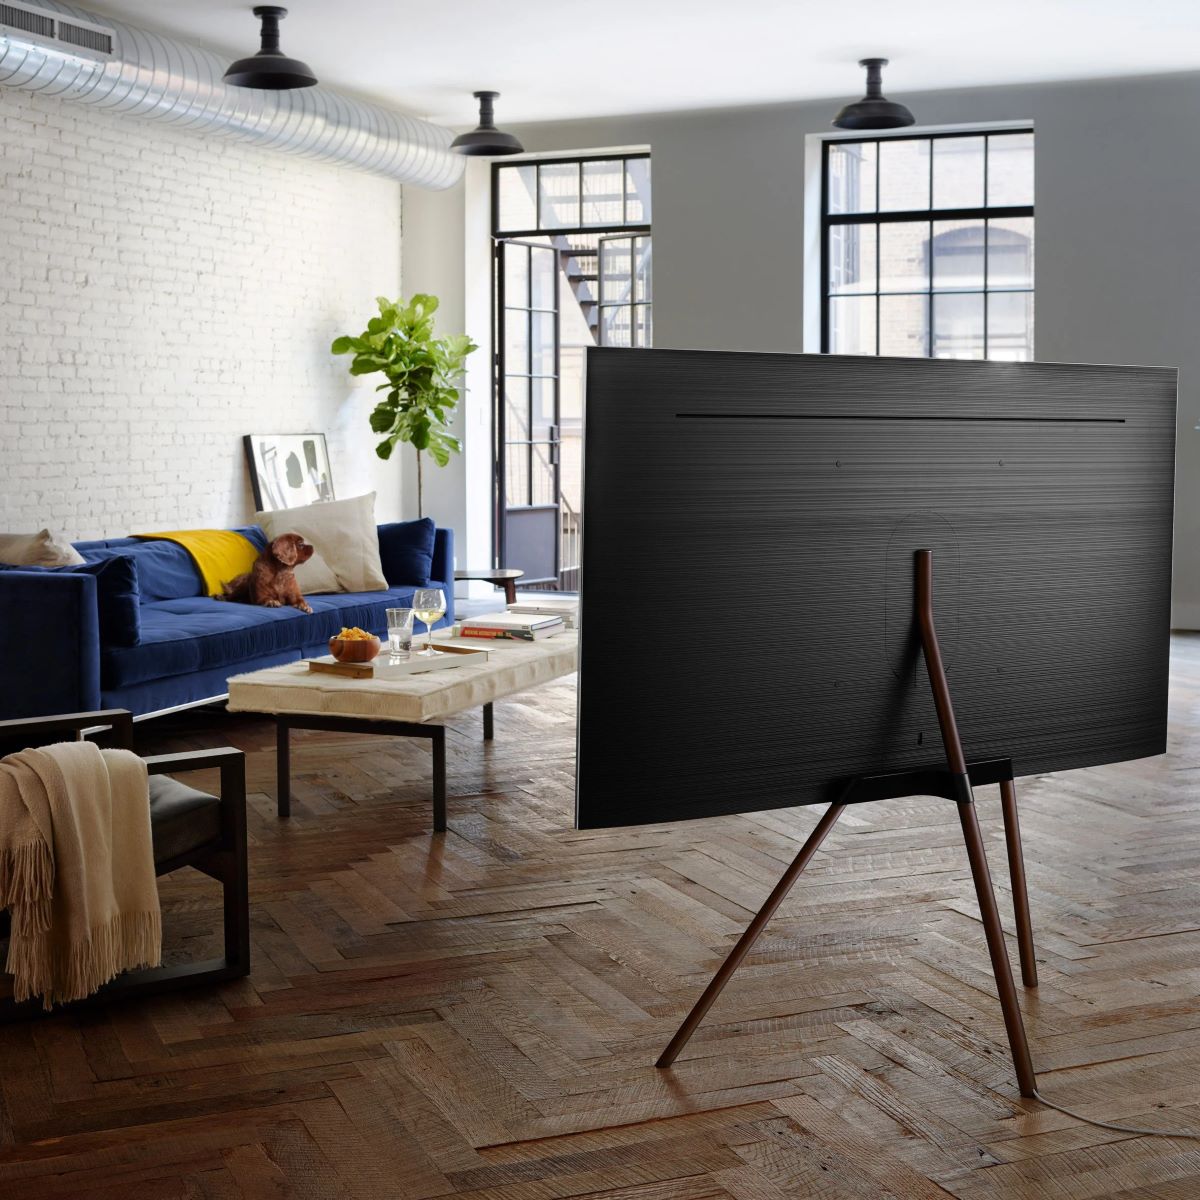
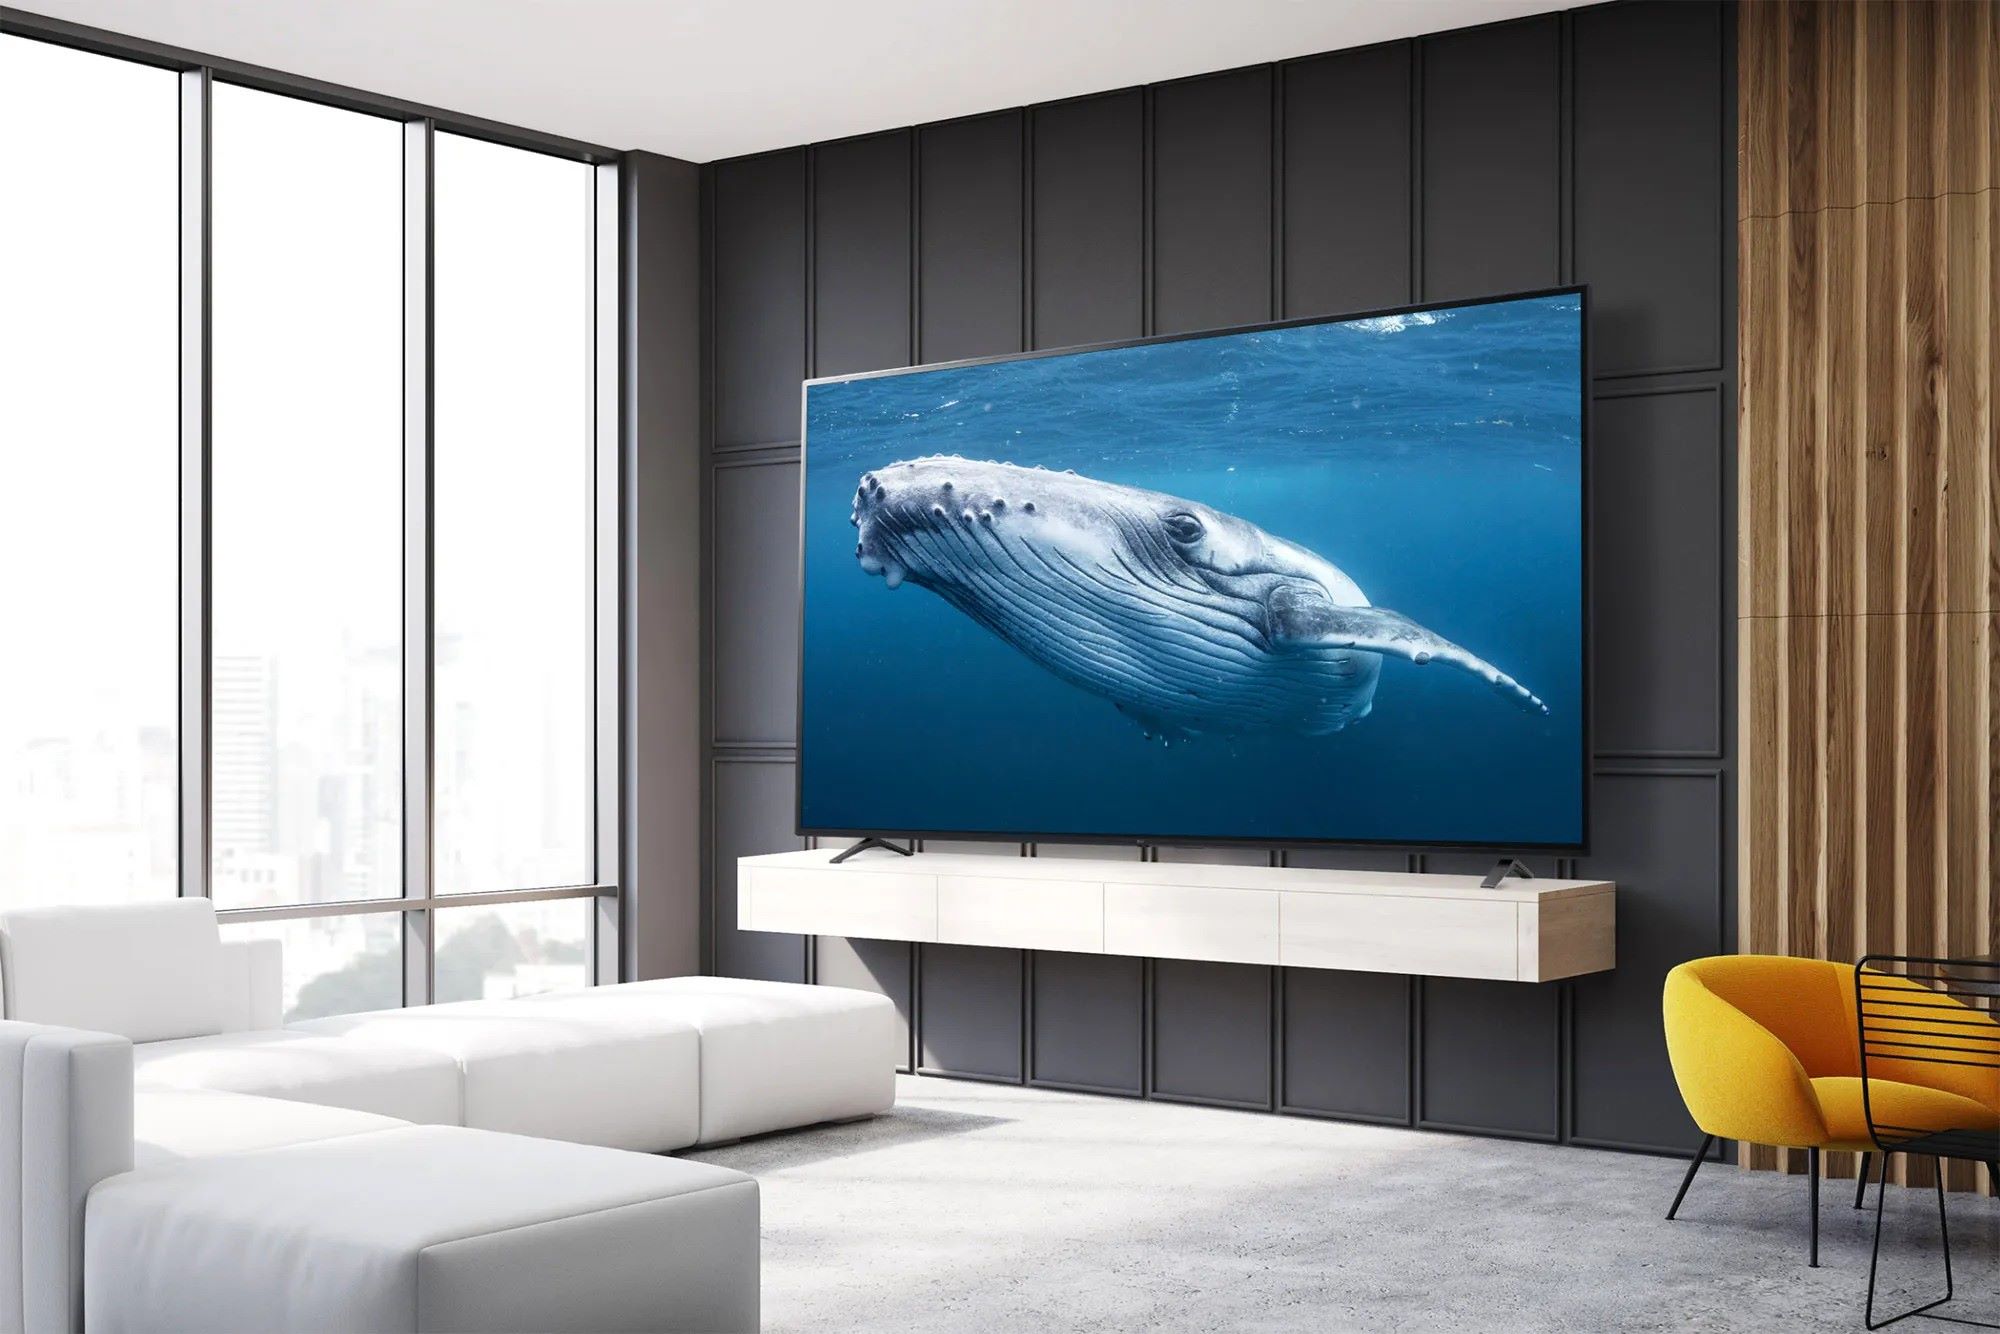
Welcome to our comprehensive guide on how to remove a Samsung TV stand. If you’re looking to mount your Samsung TV on the wall or simply want to change the TV stand, you’ve come to the right place. This step-by-step tutorial will walk you through the process, ensuring that you can safely and effectively remove the stand without any hassle.
Whether you’re an avid DIY enthusiast or just starting to experiment with home improvement projects, removing a Samsung TV stand is a relatively easy task that requires minimal tools and expertise. By following our instructions, you’ll be able to free up space in your living room and achieve the sleek and modern look you desire.
Before we jump into the steps, it’s important to note that the specific instructions may vary depending on the model of your Samsung TV. However, the general principles we discuss here should apply to most Samsung TV models. It’s always a good idea to consult your TV’s user manual for any model-specific instructions or consult with Samsung’s support if you encounter any difficulties.
Without further ado, let’s get started on removing your Samsung TV stand!
Key Takeaways:
- Removing a Samsung TV stand is a simple DIY task that requires basic tools and careful handling. Following the step-by-step guide ensures a safe and hassle-free process, opening up new possibilities for your TV setup.
- After removing the TV stand, take the time to clean and organize the area for a clutter-free and visually appealing entertainment space. Consider exploring different mounting options and cable management solutions to enhance the functionality and aesthetic appeal of your TV setup.
Read more: How To Install A Samsung TV Stand
Step 1: Gather the necessary tools
Before you begin removing the Samsung TV stand, it’s essential to gather all the necessary tools. Having the right tools on hand will make the process smoother and prevent any frustration along the way. Here are the tools you’ll need:
- Phillips screwdriver: Most Samsung TV stands are secured with Phillips screws, so having a screwdriver that fits snugly in the screw heads is crucial.
- Flathead screwdriver: In some cases, you may encounter flathead screws or clips that secure the TV stand. Having a flathead screwdriver with different sizes will come in handy.
- Soft cloth or towel: To protect the screen and prevent scratches, it’s a good idea to have a soft cloth or towel nearby. This will be used to lay the TV on during the removal process.
- Extra pair of hands: While not a tool in the traditional sense, having someone to assist you can be incredibly helpful. They can hold the TV steady and provide support while you remove the stand.
Make sure you have all these tools readily available before you start removing the Samsung TV stand. Having everything in one place will save you time and energy.
Once you have gathered the necessary tools, you’re ready to move on to the next step: preparing the workspace.
Step 2: Prepare the workspace
Before you begin the process of removing the Samsung TV stand, it’s important to prepare the workspace to ensure a smooth and safe operation. Here are some steps to follow:
- Find a clear and spacious area: Choose a well-lit and spacious area in your living room or wherever you plan to work. Make sure you have enough room to maneuver around the TV and stand without any obstructions.
- Protect the floor: Lay a soft blanket or a non-slip mat on the floor to provide a cushioned surface and prevent any damage to the TV or the floor.
- Remove any cables or devices: Take the time to disconnect any cables or devices that are connected to your TV. This includes HDMI cables, power cords, gaming consoles, or any other peripherals. Carefully unplug them from the TV and set them aside in a safe place.
- Clean the TV screen: While not essential to the actual removal process, now is a good time to clean the TV screen. Use a microfiber cloth and a screen cleaner solution to gently wipe away any dust or smudges. This will ensure a clear and pristine view once the TV stand is removed.
By preparing the workspace, you create an environment that is conducive to a smooth and safe removal process. Taking these simple steps will help protect your TV and prevent any accidents or damage during the removal.
With the workspace prepared, you’re now ready to move on to the next step: locating the securing screws.
Step 3: Locate the securing screws
Now that you have gathered the necessary tools and prepared the workspace, it’s time to locate the securing screws that hold the Samsung TV stand in place. The location of these screws may vary depending on the model of your TV, but here are some general guidelines to help you find them:
- Examine the back of the TV: Turn the TV around so that the back is facing you. Take a close look at the bottom section of the TV where the stand is attached. Look for any visible screws or screw holes that connect the stand to the TV.
- Check the base of the stand: If you don’t find any screws on the back of the TV, inspect the base of the stand. There may be screws or clips that secure the stand to the base. Some stands have a separate plate or bracket that attaches to the TV with screws.
- Refer to the user manual: If you’re having trouble locating the securing screws, consult the user manual that came with your Samsung TV. The manual will have detailed diagrams and instructions specific to your TV model.
It’s important to note that the number and position of the securing screws can vary from model to model. Some TVs may have two screws, while others may have four or more. Additionally, the screws may be located on the bottom or on the sides of the TV.
Take your time and carefully inspect the TV and the stand to locate the securing screws. Once you have identified their location, you’re ready to move on to the next step: removing the screws.
Step 4: Remove the screws
With the securing screws located, it’s time to remove them to detach the Samsung TV stand from the TV. Follow these steps to safely remove the screws:
- Using the appropriate screwdriver: Depending on the type of screws used, whether Phillips or flathead, select the appropriate screwdriver from your toolkit.
- Turn the screws counterclockwise: Insert the screwdriver into the screw heads and gently turn them counterclockwise. Apply steady, even pressure to loosen and remove the screws. Be careful not to overtighten or strip the screws.
- Set aside the screws: As you remove each screw, set it aside in a safe place. It’s a good idea to keep them all together to avoid misplacing any of them.
- Repeat for all securing screws: Depending on the number of securing screws, repeat the process until all the screws are removed. Take your time and be patient to ensure that all screws are properly removed.
It’s essential to be cautious when removing the screws to avoid accidentally dropping them or scratching the TV. Take your time and work methodically to ensure a smooth and hassle-free process.
Once all screws have been removed, you’re ready to move on to the next step: detaching the TV stand from the TV.
To remove a Samsung TV stand, locate the screws on the back of the TV near the stand. Use a screwdriver to loosen and remove the screws, then gently lift the TV off the stand.
Read more: How To Remove LG TV Stand
Step 5: Detach the TV stand from the TV
Now that you have removed the securing screws, it’s time to detach the Samsung TV stand from the TV itself. Follow these steps to safely detach the stand:
- Hold the TV firmly: With the help of an extra pair of hands, carefully hold the TV to ensure it doesn’t topple over or fall while removing the stand.
- Gently lift the TV: Lift the TV slightly off the surface it’s resting on. Take care not to strain yourself or put excessive pressure on the TV.
- Slide out the stand: Look for any release buttons or hooks on the TV stand. Press the buttons or disengage the hooks to free the stand from the TV.
- Slowly lower the TV: Once the stand is detached, slowly lower the TV back onto the surface with the screen facing up. Be gentle to avoid any damage to the TV.
It’s important to note that some Samsung TV models may have different mechanisms for detaching the stand. Refer to your TV’s user manual for specific instructions if you encounter any difficulties during this step.
After detaching the stand from the TV, you can set the stand aside or store it in a safe place. If you plan to mount your TV on the wall, make sure to follow the manufacturer’s instructions for proper installation.
Now that the TV stand is removed, you’re ready to move on to the next step: safely removing the TV stand from the base.
Step 6: Safely remove the TV stand from the base
With the Samsung TV stand detached from the TV, it’s time to safely remove the stand from the base. Follow these steps to complete this process:
- Inspect the base: Take a moment to examine the TV stand base and identify any securing screws or clips that are keeping it attached. These are usually located on the underside or the back of the base.
- Remove the securing screws: Using your screwdriver, turn the screws counterclockwise to loosen and remove them. Set the screws aside in a safe place, making sure not to misplace them.
- Gently detach the stand: Once the securing screws are removed, carefully lift the TV stand away from the base. Depending on the design, you may need to slide or twist the stand to detach it completely.
- Set aside the stand: Once the stand is detached from the base, set it aside in a safe and secure location. You can keep it for future use or properly dispose of it, following local regulations.
It’s important to handle the TV stand with care to avoid any damage to yourself or surrounding objects. The stand may be heavy or have sharp edges, so use caution when removing it from the base.
Now that the TV stand has been safely removed from the base, you can proceed to the final step: cleaning and organizing the area.
Step 7: Clean and organize the area
After successfully removing the Samsung TV stand, it’s important to take the time to clean and organize the area. By doing so, you’ll have a clean and clutter-free space to enjoy your TV.
- Remove any dust or debris: Use a microfiber cloth or a duster to remove any dust or debris that may have accumulated around the TV stand and the base. Wiping down the area will help maintain a clean and tidy look.
- Untangle and organize cables: Take a moment to untangle and organize any cables that were previously connected to your TV. Use cable management solutions, such as zip ties or cable clips, to keep the cables neatly arranged and prevent them from getting tangled in the future.
- Reconnect devices: If you disconnected any devices during the TV stand removal process, now is the time to reconnect them. Follow the appropriate instructions for each device, ensuring a secure and proper connection.
- Consider cable management options: To further enhance the aesthetics of your TV setup, you may want to explore additional cable management options. These can include using cable covers, routing cables behind furniture or walls, or using a TV stand with built-in cable management features.
- Organize accessories: If you have any TV accessories, such as a soundbar or gaming console, take a moment to organize them in a way that is convenient and visually pleasing. Consider using shelves or storage units to keep everything tidy and easily accessible.
By cleaning and organizing the area, you’ll be able to fully enjoy your newly freed-up space and create a visually appealing setup. A clean and well-organized entertainment area not only looks great but also helps maintain a sense of order and reduces clutter.
Congratulations! You have successfully removed the Samsung TV stand and completed the entire process. Now you can sit back, relax, and enjoy your TV in its new setup.
Remember, should you encounter any difficulties or have specific concerns, it’s always recommended to refer to your TV’s user manual or seek assistance from Samsung’s support team.
Happy TV viewing!
Conclusion
Congratulations on successfully removing the Samsung TV stand! By following the steps outlined in this guide, you have accomplished the task with ease and have opened up new possibilities for your TV setup.
Removing a TV stand may seem like a daunting task at first, but with the right tools and a clear understanding of the process, it can be a straightforward and relatively simple undertaking. Whether you’re looking to mount your TV on the wall or replace the stand with a more suitable option, this guide has provided you with the necessary steps to achieve your goal.
Remember to take your time, exercise caution, and refer to your TV’s user manual if you encounter any difficulties or need model-specific instructions. Safety should always be a top priority when working with electronic devices.
Now that you have removed the TV stand, you can enjoy a clean, clutter-free living space and design your entertainment area to suit your preferences. Consider exploring different mounting options, cable management solutions, and accessories to enhance the functionality and aesthetic appeal of your TV setup.
We hope this guide has been informative and helpful in guiding you through the process of removing a Samsung TV stand. If you have any further questions or need additional assistance, don’t hesitate to reach out to Samsung’s support team or consult other reliable sources.
Thank you for following along, and happy viewing!
Frequently Asked Questions about How To Remove A Samsung TV Stand
Was this page helpful?
At Storables.com, we guarantee accurate and reliable information. Our content, validated by Expert Board Contributors, is crafted following stringent Editorial Policies. We're committed to providing you with well-researched, expert-backed insights for all your informational needs.


0 thoughts on “How To Remove A Samsung TV Stand”