Home>Furniture>Living Room Furniture>How To Mount A Floating TV Stand

Living Room Furniture
How To Mount A Floating TV Stand
Modified: March 16, 2024
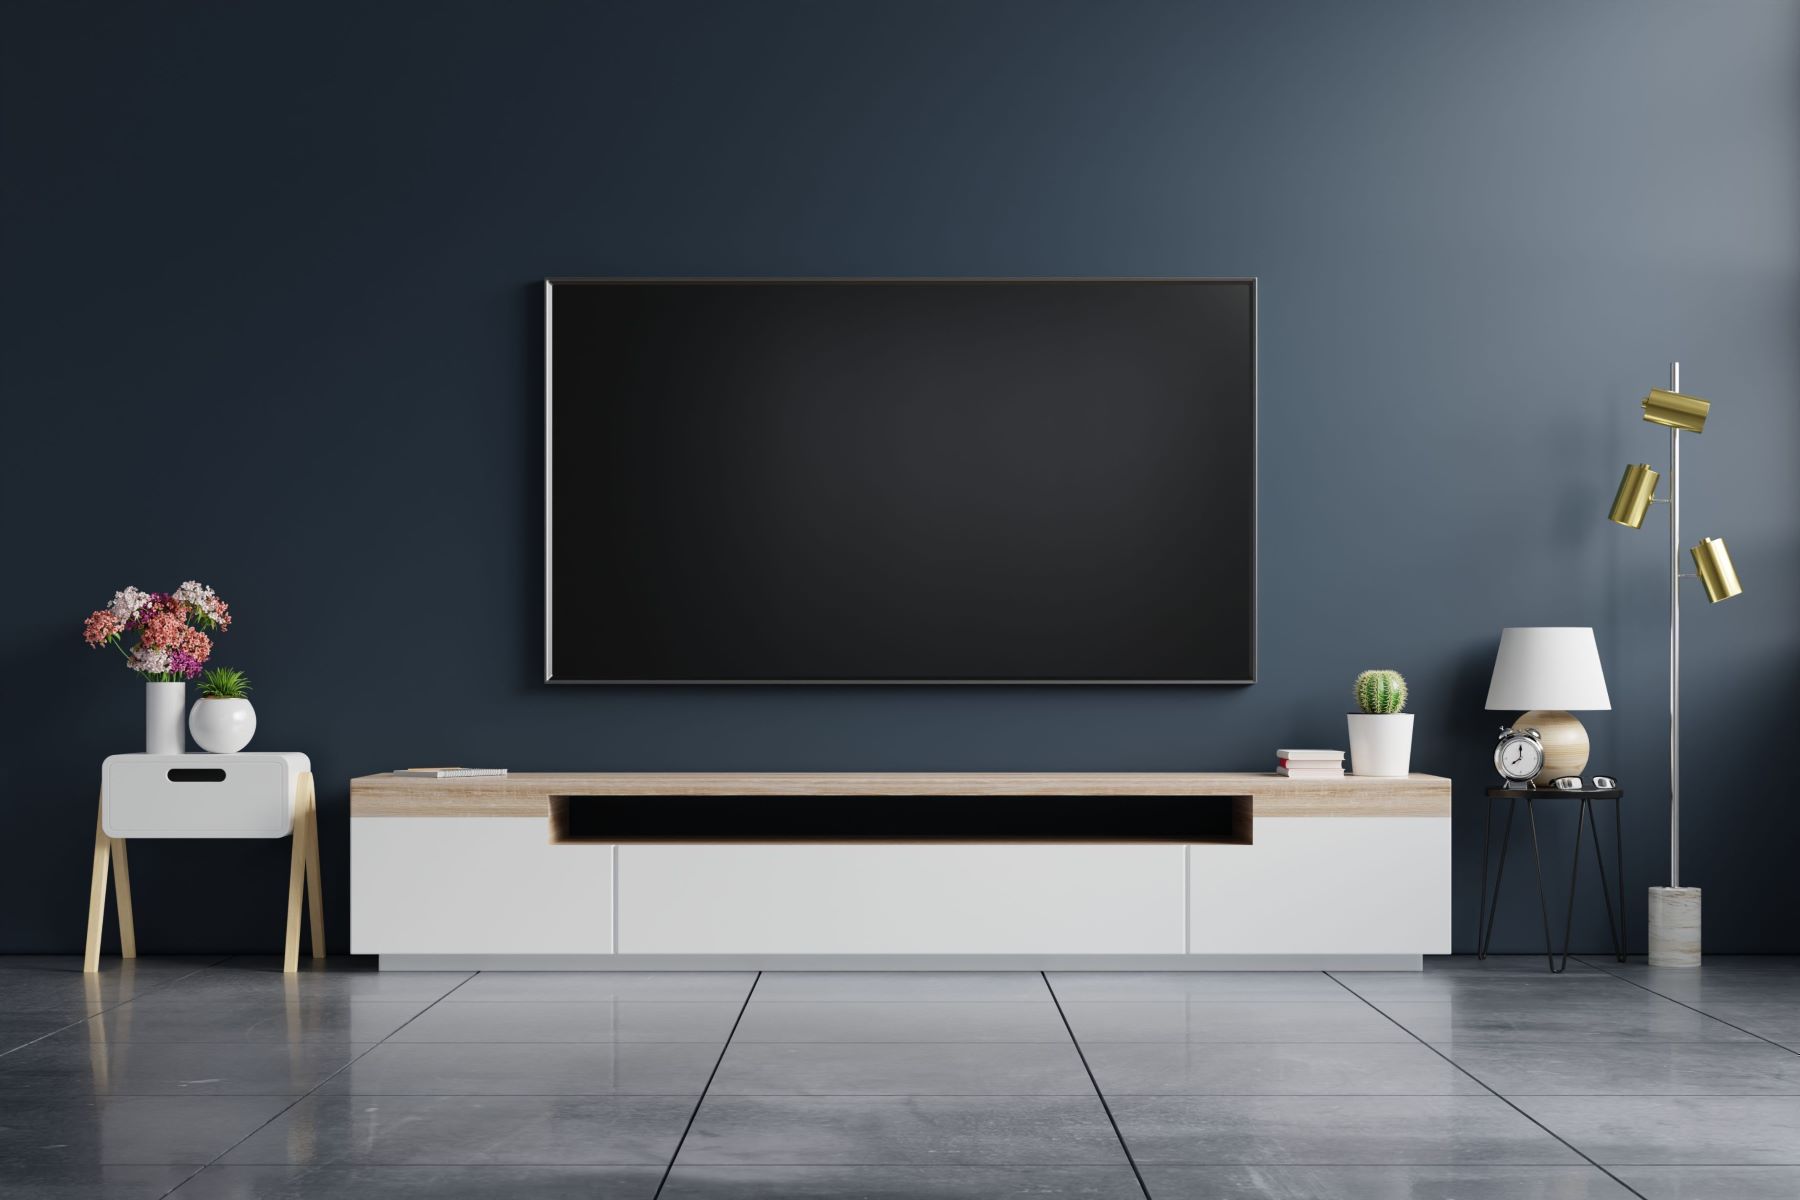
Learn how to mount a floating TV stand in your living room with our step-by-step guide. Create a sleek and modern look with this space-saving solution for your living room furniture.
(Many of the links in this article redirect to a specific reviewed product. Your purchase of these products through affiliate links helps to generate commission for Storables.com, at no extra cost. Learn more)
Introduction
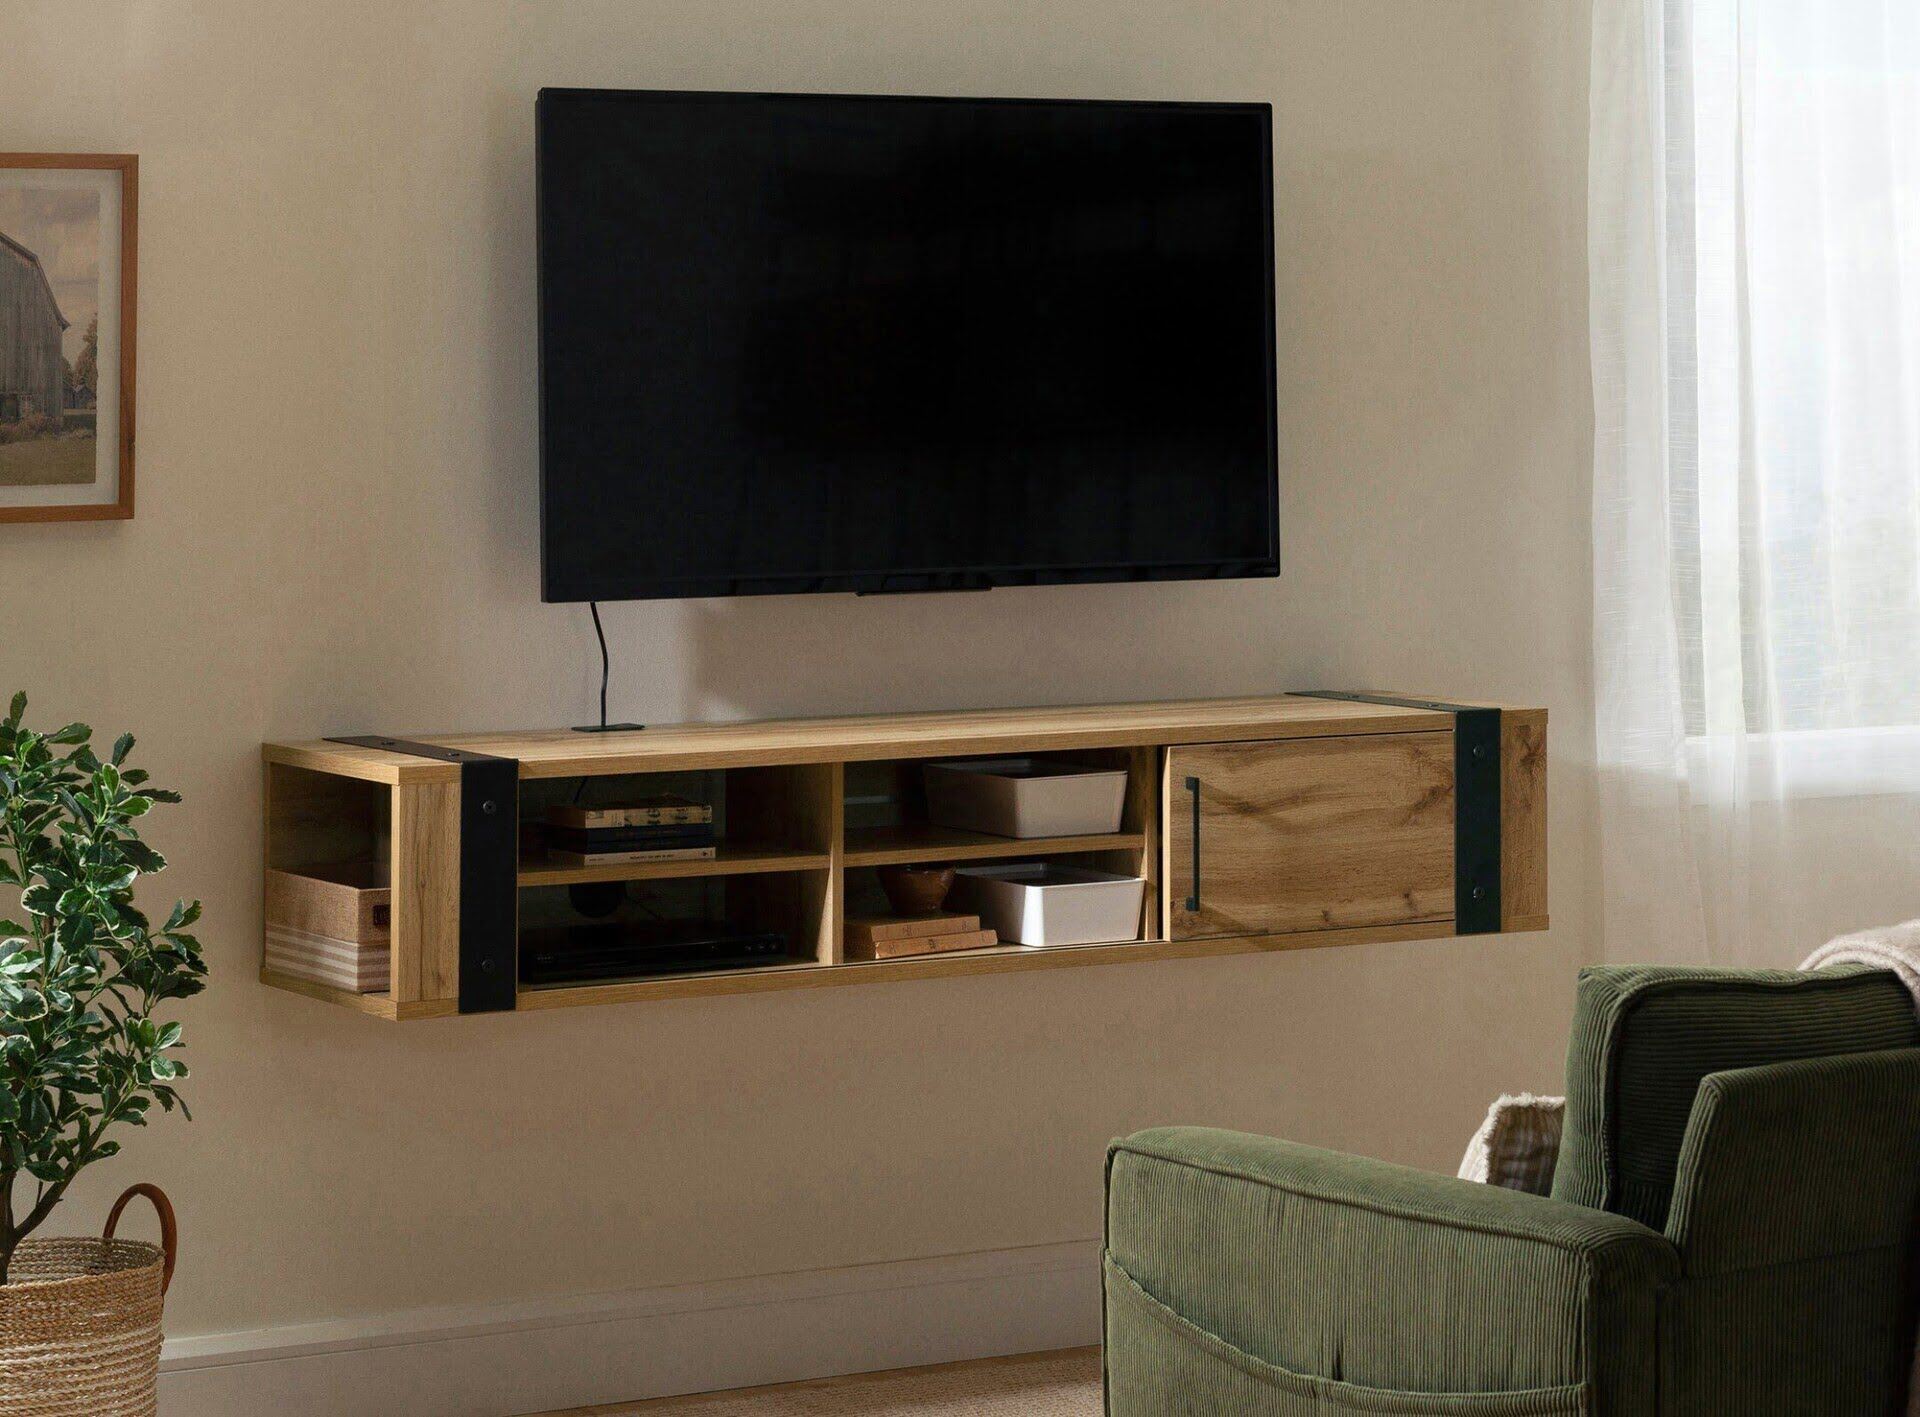
When it comes to designing your living room, one of the most important aspects is finding the perfect furniture pieces. A floating TV stand can be a stylish and functional addition to your space, but mounting it securely is crucial to ensure both safety and aesthetic appeal. In this guide, we will walk you through the steps to mount a floating TV stand properly.
Before we dive into the details, it’s important to note that mounting a floating TV stand may require some DIY skills and knowledge of basic tools. If you’re not comfortable with this, it’s always a good idea to consult a professional to ensure a seamless installation process.
Now, let’s get started with gathering the necessary tools and materials so you can tackle this project with confidence.
Key Takeaways:
- Mounting a floating TV stand requires essential tools like a stud finder, measuring tape, and level for a secure and aligned installation.
- Determining the ideal placement, securing the TV stand, and confirming stability are crucial steps for a successful floating TV stand installation.
Read more: How To Mount A TV On A TV Stand
Step 1: Gather the necessary tools and materials
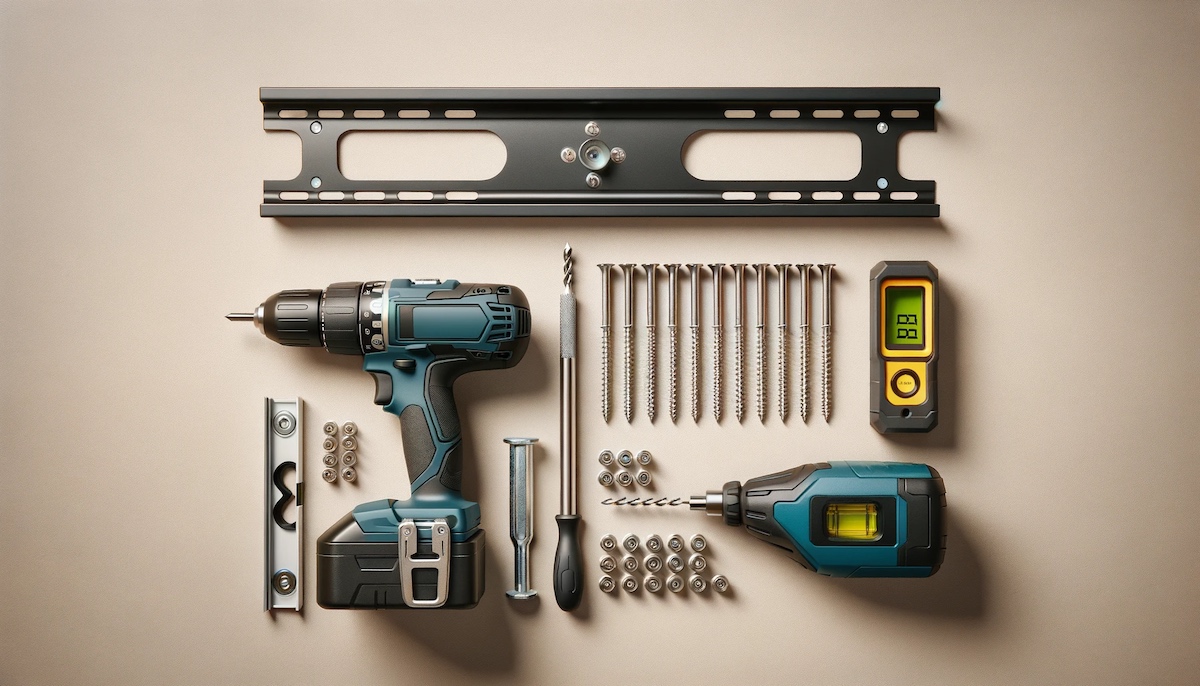
Before you begin the process of mounting your floating TV stand, it’s important to have all the tools and materials on hand to make the installation smooth and efficient. Here are some essential items you’ll need:
- Stud finder: This tool will help you locate the studs in your wall, which are crucial for a secure installation.
- Measuring tape: Accurate measurements are key to ensure proper alignment and positioning of the TV stand.
- Level: A level will help you make sure that your TV stand is straight and properly aligned.
- Power drill: You’ll need a power drill to install the mounting hardware and securely attach the TV stand.
- Screws and anchors: These will be used to securely fasten the mounting hardware to the wall.
- Wrench or screwdriver: Depending on the type of TV stand you have, you may need a wrench or screwdriver to tighten the bolts and screws.
- Assistant: Having an extra pair of hands can be immensely helpful during the installation process, especially when mounting the TV stand on the wall.
Once you have gathered all the necessary tools and materials, you can move on to the next step, which involves determining the ideal placement for your TV stand.
Step 2: Determine the placement of the TV stand
Before you start mounting your floating TV stand, it’s crucial to decide on the ideal placement for it in your living room. Here are a few factors to consider:
- Wall space: Take a look at your living room and identify the wall space where you want to mount the TV stand. Consider the size and weight of your TV, as well as any other decorative elements or furniture in the room that may impact the placement.
- Viewing angle: Determine the optimal viewing angle from your seating area. You’ll want to make sure that your TV stand is positioned at a height and angle that allows for comfortable viewing without straining your neck.
- Cable management: Consider the location of your power outlets and cable connections. It’s important to plan how you will manage and hide the cables for a clean and organized look.
- Room layout: Take into account the overall layout and flow of your living room. Consider how the TV stand will fit in with the rest of the furniture and decorations, ensuring that it complements the overall aesthetic of the space.
Once you have determined the ideal placement for your TV stand, it’s time to move on to the next step and start locating and marking the mounting positions on the wall.
Step 3: Locate and mark the mounting positions
Now that you have decided on the placement of your floating TV stand, it’s time to locate and mark the mounting positions on the wall. Follow these steps to ensure accuracy:
- Use a stud finder: Start by using a stud finder to locate the studs in the wall. Studs are the vertical beams behind the wall that provide the necessary support for the TV stand. Mark the positions of the studs with a pencil.
- Measure and mark: Measure the width and height of your TV stand and mark the corresponding measurements on the wall where you want the top corners of the TV stand to be positioned.
- Double-check: Use a level to double-check that the markings for the top corners of the TV stand are perfectly aligned horizontally. This will ensure that your TV stand will be straight and properly aligned once mounted.
- Mark the mounting holes: Using the mounting brackets or hardware that came with your TV stand, align them vertically along the wall with the top corners of the TV stand. Mark the positions of the mounting holes on the wall.
By properly locating and marking the mounting positions on the wall, you are ensuring that your TV stand will be installed securely and accurately. With the mounting positions marked, you can now move on to the next step of installing the mounting hardware.
Step 4: Install the mounting hardware
With the mounting positions marked on the wall, it’s time to install the necessary hardware to securely mount your floating TV stand. Follow these steps for a successful installation:
- Pre-drill pilot holes: Using a drill bit slightly smaller than the diameter of the screws or anchors, pre-drill pilot holes at the marked mounting hole positions. This will make it easier to insert the screws or anchors into the wall.
- Insert anchors or screws: Depending on the type of wall and hardware you are using, insert the appropriate anchors or screws into the pre-drilled pilot holes. Make sure they are inserted securely and flush with the wall.
- Attach mounting brackets: Align the mounting brackets with the anchors or screws and secure them in place using the provided screws or bolts. Check the manufacturer’s instructions for specific guidance on attaching the brackets.
- Double-check alignment: Use a level to double-check that the mounting brackets are perfectly aligned horizontally and vertically. This will ensure that your TV stand will be level and well-balanced once mounted.
By properly installing the mounting hardware, you are laying the foundation for a secure and stable floating TV stand. Once the hardware is in place, it’s time to move on to the next step and attach the brackets to the TV stand.
When mounting a floating TV stand, make sure to use a stud finder to locate the wall studs for secure installation. Always follow the manufacturer’s instructions and use the appropriate hardware for your specific wall type.
Read more: How High Should A Floating TV Stand Be
Step 5: Attach the brackets to the TV stand
Now that you have installed the mounting hardware on the wall, it’s time to attach the brackets to the TV stand. This step will ensure that your TV stand is securely connected to the wall-mounted hardware. Follow these steps:
- Position the TV stand: Place your TV stand in the desired location, aligning it with the mounting brackets on the wall. Make sure the brackets and the holes on the TV stand align properly.
- Secure the brackets: Once the TV stand is in position, use the provided screws or bolts to secure the brackets to the TV stand. Ensure that they are tightened securely to prevent any movement or instability.
- Double-check alignment: Use a level to check the alignment of the TV stand. Ensure that it is level and properly balanced. Make any necessary adjustments to align it perfectly.
By attaching the brackets to the TV stand, you are ensuring a solid and secure connection between the stand and the wall-mounted hardware. With the brackets in place, you can now proceed to mount the TV stand on the wall.
Step 6: Mount the TV stand on the wall
With the brackets securely attached to the TV stand, it’s time to mount the TV stand on the wall. Follow these steps to ensure a successful installation:
- Enlist an assistant: Mounting a TV stand on the wall can be challenging to do alone. Enlist the help of an assistant to handle the lifting and positioning of the TV stand.
- Lift and position the TV stand: Carefully lift the TV stand and position it onto the mounting brackets attached to the wall. Make sure the brackets on the TV stand align perfectly with the wall-mounted brackets.
- Secure the TV stand: Once the TV stand is in position, use the provided screws or bolts to secure the stand to the wall-mounted brackets. Ensure that they are tightened securely to prevent any movement or instability.
- Double-check alignment: Use a level to verify that the TV stand is level and properly aligned. Make any necessary adjustments to ensure that it is straight and well-positioned.
By mounting the TV stand on the wall, you are taking the final steps towards completing the installation process. With the TV stand in place, it’s time to move on to the next step and secure it in position.
Step 7: Secure the TV stand in place
Now that you have mounted the TV stand on the wall, it’s important to secure it in place to ensure stability and safety. Follow these steps to securely fasten the TV stand:
- Tighten the screws or bolts: Use a wrench or screwdriver to tighten the screws or bolts that connect the TV stand to the mounting brackets. Ensure that they are tightened securely to prevent any wobbling or movement.
- Verify stability: Carefully test the stability of the TV stand by gently pushing or shaking it. It should feel firm and should not move or wobble excessively. If you notice any instability, double-check the installation and tighten the screws or bolts if necessary.
- Check weight capacity: Refer to the manufacturer’s guidelines to ensure that the TV stand can support the weight of your TV. Avoid exceeding the weight limit as it may compromise the stability and safety of the installation.
By securing the TV stand in place, you are ensuring that it remains stable and sturdy, providing a safe and reliable support for your TV. With the TV stand securely fastened, you can move on to the final step of confirming stability and making any necessary adjustments.
Step 8: Confirm stability and adjust if necessary
After securing the TV stand, it’s crucial to confirm its stability and address any issues or adjustments that may be required. Follow these steps to ensure a stable and properly aligned TV stand:
- Double-check alignment: Use a level to verify that the TV stand is still level and properly aligned. Make any necessary adjustments by loosening the screws or bolts, realigning the TV stand, and then retightening the screws or bolts.
- Test stability: Carefully test the stability of the TV stand by applying slight pressure or gently shaking it. Ensure that it doesn’t wobble or move excessively. If you notice any instability, revisit the installation process and make necessary adjustments.
- Address cable management: Take the time to neatly organize and manage the cables connected to your TV stand. Use cable clips or cable management solutions to keep them hidden and prevent any tangling or clutter.
- Periodic checks: Regularly inspect the TV stand to ensure that it remains stable and secure over time. Periodically tighten the screws or bolts if necessary to maintain stability.
By confirming the stability of the TV stand and making any necessary adjustments, you are ensuring a long-lasting and reliable mounting solution for your floating TV stand. With the installation complete, you can now enjoy the aesthetic appeal and functionality it brings to your living room.
Read more: How To Mount A TV Stand On The Wall
Conclusion
Mounting a floating TV stand can be a rewarding project that enhances the look and functionality of your living room. By following the steps outlined in this guide, you can achieve a secure and aesthetically pleasing installation.
From gathering the necessary tools and materials to confirming stability and making adjustments, each step plays a crucial role in ensuring a successful mounting process. Remember to exercise caution and seek professional assistance if needed, particularly if you are not experienced with DIY projects.
By properly mounting your floating TV stand, you can enjoy a space-saving solution that adds a modern and sleek touch to your living room. With careful planning and attention to detail, you can create an enjoyable and organized entertainment area for all your viewing needs.
Now that you have the knowledge and guidelines to mount a floating TV stand, it’s time to bring your vision to life. Get started on this exciting project and transform your living room into a comfortable and stylish space where you can relax and enjoy your favorite shows and movies.
Frequently Asked Questions about How To Mount A Floating TV Stand
Was this page helpful?
At Storables.com, we guarantee accurate and reliable information. Our content, validated by Expert Board Contributors, is crafted following stringent Editorial Policies. We're committed to providing you with well-researched, expert-backed insights for all your informational needs.



0 thoughts on “How To Mount A Floating TV Stand”