Home>Furniture>Living Room Furniture>How To Build A Corner TV Stand
Living Room Furniture
How To Build A Corner TV Stand
Modified: May 6, 2024
Looking to optimize your living room furniture? Learn how to build a corner TV stand with our step-by-step guide, perfect for maximizing space and enhancing your home decor.
(Many of the links in this article redirect to a specific reviewed product. Your purchase of these products through affiliate links helps to generate commission for Storables.com, at no extra cost. Learn more)
Introduction
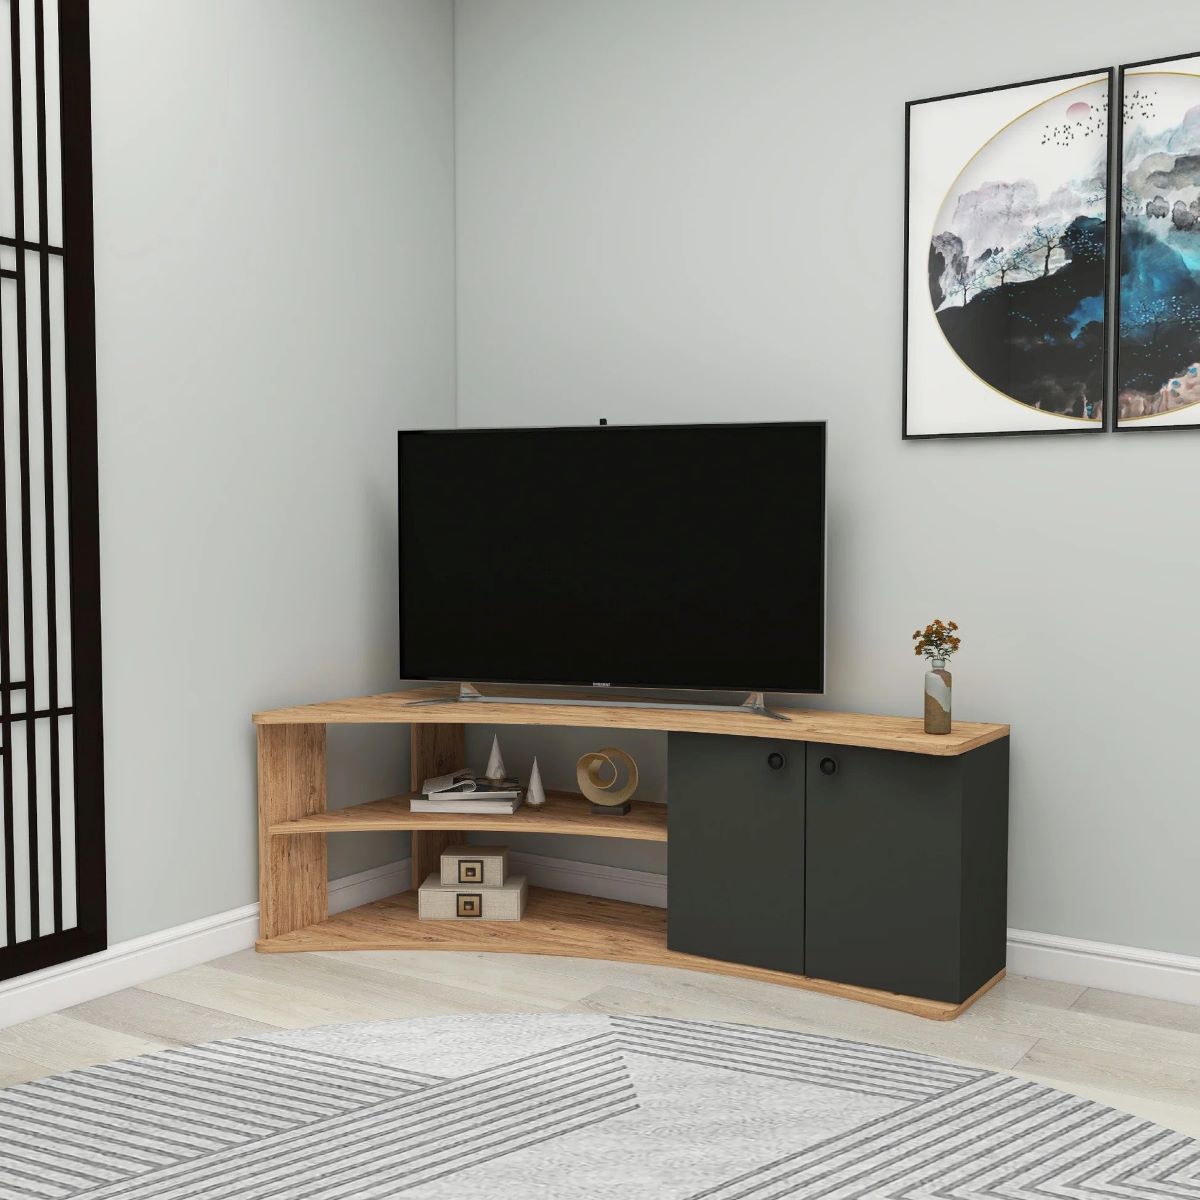
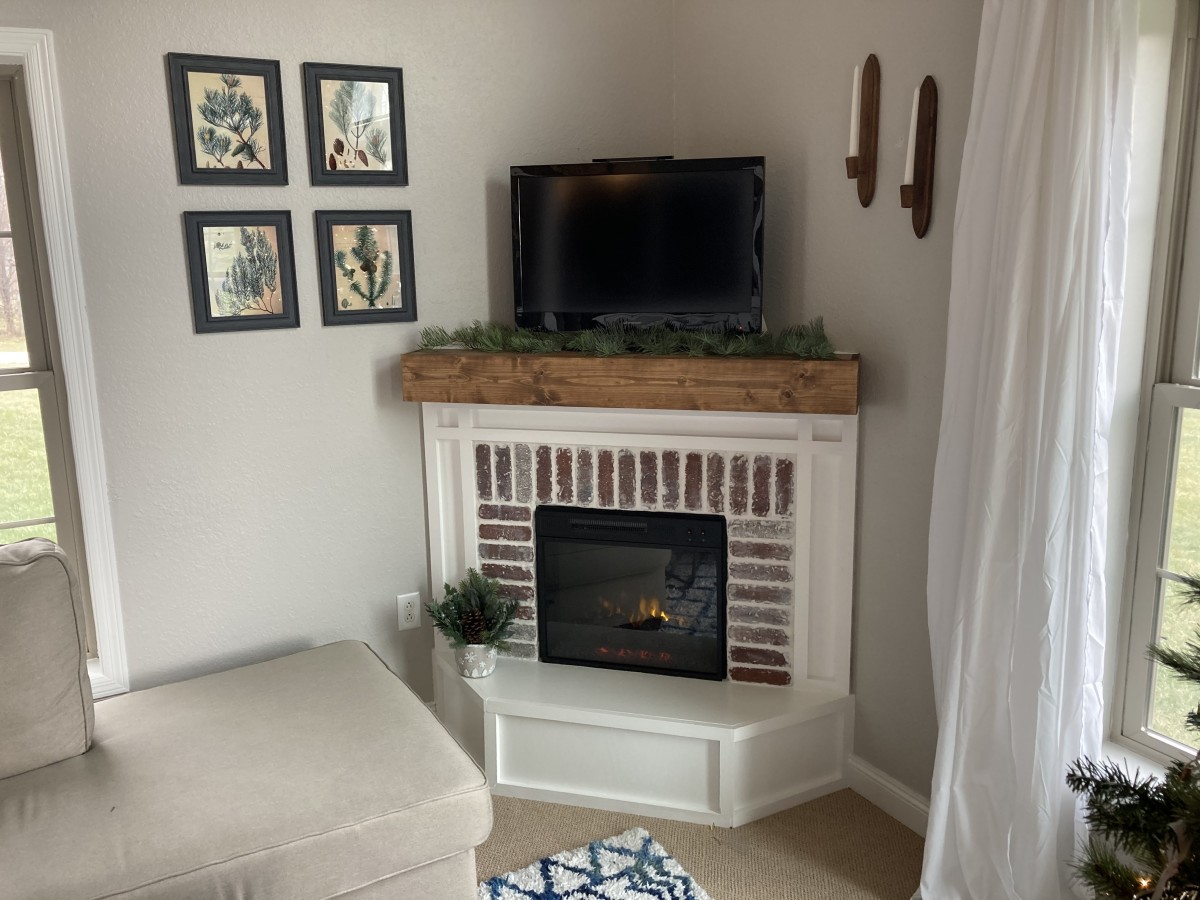
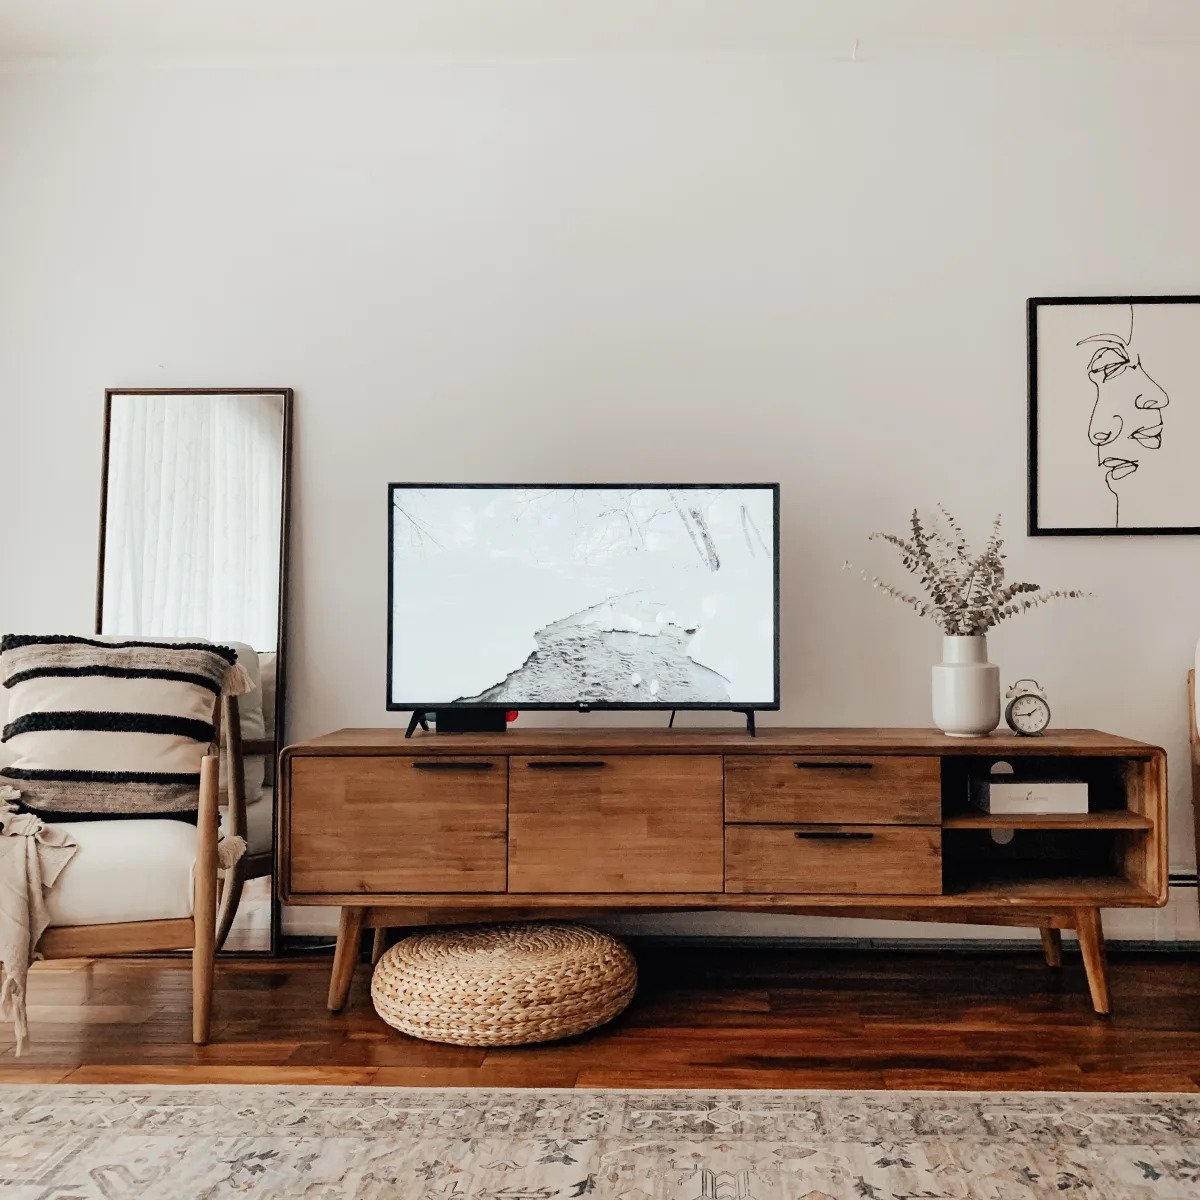
When it comes to designing the perfect living room, a corner TV stand is a versatile and practical addition. Not only does it allow you to make efficient use of space, but it also adds a stylish touch to your decor. Building your own corner TV stand can be a rewarding and cost-effective project, whether you are a seasoned DIY enthusiast or a novice woodworker.
In this guide, we will take you through the step-by-step process of building a corner TV stand from scratch. From selecting the right wood to adding the finishing touches, we will provide you with all the information you need to create a sturdy and aesthetically pleasing piece of furniture.
Before we dive into the construction process, it is worth noting that building a corner TV stand requires some basic woodworking skills and tools. If you are a beginner, it is advisable to start with simpler woodworking projects to gain confidence before taking on this more advanced task. Additionally, make sure to follow proper safety precautions and wear appropriate protective gear as you work.
Now, let’s get started on building your very own corner TV stand!
Key Takeaways:
- Building a corner TV stand is a fun and rewarding DIY project that requires careful wood selection, precise measurements, and attention to detail. It’s a great way to add a personal touch to your living room decor while maximizing space.
- Safety is crucial when building a corner TV stand, so be sure to use the right tools, take your time with each step, and prioritize accuracy. Embrace the process and have fun creating a unique piece of furniture!
Read more: How To Measure A Corner TV Stand
Step 1: Choosing the Right Wood
Choosing the right wood is crucial for the success and longevity of your corner TV stand. You want a wood that is sturdy, durable, and visually appealing. There are several options to consider:
- Hardwood: Hardwoods such as oak, walnut, or cherry are excellent choices for building furniture. They are known for their strength and durability, and they offer a beautiful natural finish. Hardwoods also tend to be more expensive, so keep that in mind when selecting your wood.
- Plywood: Plywood is a more affordable option that is made up of thin layers of wood glued together. It is strong and resistant to warping, making it a practical choice for a TV stand. Plywood also comes in various finishes, including veneer, which can mimic the look of hardwood.
- MDF: Medium-density fiberboard, or MDF, is made from wood fibers and resin pressed together. It is a cost-effective option that is smooth, flat, and easy to work with. However, MDF is not as strong as hardwood or plywood, so it may not be the best choice if you have a particularly heavy TV.
Consider the overall style and aesthetic of your living room when choosing the wood for your TV stand. If you want a rustic feel, opt for a hardwood like oak or pine. For a more modern look, consider using plywood with a sleek veneer finish.
Remember to take accurate measurements of your TV and any other electronic components that will be placed on the stand. This will help you determine the appropriate dimensions for your TV stand and ensure that it can accommodate all your devices.
Once you have selected the right wood for your project, you can move on to the next step: measuring and cutting the wood.
Step 2: Measuring and Cutting the Wood
Now that you have chosen your wood, it’s time to start measuring and cutting the pieces for your corner TV stand. Accurate measurements are crucial to ensure that all the components fit together properly.
Here are the steps to follow:
- Measurements: Begin by measuring the dimensions of your TV stand. Take into account the height, width, and depth that you desire for your stand. Consider leaving some extra space for cables and ventilation.
- Mark the Wood: Use a pencil and a measuring tape to mark the measurements on the wood. Make sure to clearly mark the cuts you will be making for each piece.
- Cutting the Wood: To cut the wood, you can use a handsaw, circular saw, or a compound miter saw. Make sure to follow the marked lines precisely to achieve clean and accurate cuts. Remember to wear safety goggles and take your time to complete each cut carefully.
- Sanding the Edges: After cutting the wood, you may notice rough or uneven edges. Use sandpaper or a sanding block to smooth out these edges. This will give your TV stand a polished and professional finish.
As you cut the wood, label each piece to avoid confusion later on. This will make the assembly process much easier.
It is important to note that if you are not comfortable or experienced with cutting wood, you can also have the wood cut to size at a hardware store or lumberyard. They often provide cutting services, which can save you time and ensure accurate cuts.
With the wood cut to the appropriate dimensions, you are now ready to move on to the next step: sanding and smoothing the wood.
Step 3: Sanding and Smoothing the Wood
After cutting the wood for your corner TV stand, it’s time to move on to sanding and smoothing the surfaces. Sanding is an essential step in the construction process as it helps create a smooth and polished finish.
Here are the steps to follow:
- Gather the Supplies: You will need sandpaper or a sanding block, ranging from coarse to fine grit. Start with a coarser grit to remove any rough surfaces, and gradually move to finer grits for a smoother finish.
- Sanding Process: Begin by sanding the cut edges and surfaces of the wood. Move the sandpaper in a back-and-forth or circular motion, applying even pressure. It’s advisable to sand in the direction of the wood grain for the best results. Continue sanding until the surfaces feel smooth to the touch.
- Round the Edges (Optional): If you prefer a rounded edge look, you can use sandpaper to soften the sharp edges or corners of the wood. This can add a more polished and finished appearance to your TV stand.
- Clean the Wood: Once you have finished sanding, it’s important to clean the wood to remove any dust or debris. Use a damp cloth or vacuum with a brush attachment to thoroughly clean all surfaces. This will ensure optimal paint or stain adherence in the next steps.
Sanding not only enhances the aesthetics of your TV stand but also helps to prepare the wood for staining or painting. A smooth surface will allow the finish to adhere better and create a professional-looking result.
Remember to take breaks and pace yourself during this process. Sanding can be time-consuming, but the end result will be well worth the effort.
With the wood sanded and smoothed, you are now ready to move on to the next step: assembling the base of the TV stand.
Step 4: Assembling the Base of the TV Stand
Now that you have prepared the wood for your corner TV stand, it’s time to start assembling the base. This step involves joining the pieces together to create a solid foundation for the stand.
Here are the steps to follow:
- Organize the Pieces: Lay out the cut wood pieces according to the design of your TV stand. This will help you visualize the assembly process and ensure that all the necessary components are ready.
- Join the Pieces: Start by attaching the sides of the base to the back piece. Use screws or wood glue to secure the joints. Make sure to align the edges and corners properly for a sturdy construction. Repeat this process for the front piece, creating a rectangular or square-shaped base.
- Add Support: To add stability to the base, you can install support beams or braces in the center. These can be cut to size and attached to the underside of the base using screws or brackets.
- Check for Levelness: Use a level to ensure that the base is even and not tilting in any direction. Adjust the joints if necessary to achieve a level base.
- Secure the Base: Once you are satisfied with the alignment and stability of the base, reinforce the joints by adding additional screws or applying more wood glue. This will ensure that the base remains solid and can support the weight of the TV and other components.
Take your time during the assembly process to ensure that each joint is secure and properly aligned. It may be helpful to use clamps to hold the pieces in place while you work.
With the base of your TV stand assembled, you are one step closer to completing your project. The next step will focus on building the top shelf of the TV stand.
When building a corner TV stand, make sure to measure the space accurately to ensure a perfect fit. It’s important to use sturdy materials and secure the stand to the wall for stability.
Read more: How To Build A TV Stand With Fireplace
Step 5: Building the Top Shelf
With the base of your corner TV stand complete, it’s time to move on to building the top shelf. The top shelf will provide a sturdy surface for your TV and any other accessories or decor items you wish to display.
Here are the steps to follow:
- Measure the Dimensions: Determine the desired dimensions for the top shelf of your TV stand. Consider the size and weight of your TV and any additional items you plan to place on the shelf.
- Cut the Top Shelf Piece: Using the appropriate measurements, cut the wood for the top shelf. You can use a circular saw, handsaw, or compound miter saw for this step. Make sure the edges are straight and smooth.
- Add Support Brackets: To provide additional support for the top shelf, attach support brackets to the underside of the shelf. Measure and mark the placement of these brackets to ensure they are evenly distributed. Secure them with screws or wood glue.
- Attach the Top Shelf: Place the top shelf on the assembled base of the TV stand. Align it properly, ensuring that it is centered and level. Secure the top shelf to the base by driving screws through the brackets into the base structure.
- Reinforce the Joints: To strengthen the connection between the top shelf and the base, add more screws or apply additional wood glue to reinforce the joints. This will provide added stability and durability to your TV stand.
Take your time and double-check the alignment and stability of the top shelf before securing it to the base. It’s important to ensure that the shelf is level and securely attached to prevent any accidents or damage to your TV.
Once the top shelf is successfully installed, you can proceed to the next step: attaching the shelves and dividers to your TV stand.
Step 6: Attaching the Shelves and Dividers
In this step, we will focus on attaching the shelves and dividers to your corner TV stand. These components will provide storage space and help organize your media devices, DVDs, and other items.
Here are the steps to follow:
- Measure and Cut: Determine the desired dimensions for the shelves and dividers. Measure and mark the wood accordingly. Use a saw to cut the pieces to the appropriate size, ensuring clean and straight edges.
- Attach Shelf Supports: Measure and mark the desired positions for the shelves inside the TV stand. Attach shelf supports or brackets to the sides of the TV stand according to your measurements. These supports will hold the shelves in place.
- Install the Shelves: Place the cut shelves onto the supports. Ensure they fit snugly and are level. Secure the shelves to the supports using screws or by applying wood glue along the seams.
- Add Dividers (Optional): If desired, you can install dividers to further compartmentalize the shelves. Measure and cut the dividers to the desired size and attach them securely to the shelves using screws or wood glue.
- Reinforce the Joints: To strengthen the connection between the shelves, dividers, and the sides of the TV stand, add additional screws or apply more wood glue to reinforce the joints. This will provide stability and durability to your TV stand.
Make sure to double-check the alignment and measurements as you attach the shelves and dividers. It’s important that they are level and securely fastened to prevent any wobbling or instability.
With the shelves and dividers successfully attached, your corner TV stand is taking shape. The next step will focus on creating back support for the stand.
Step 7: Creating Back Support
Adding a back support to your corner TV stand is an important step that will provide stability and prevent the stand from wobbling or leaning. The back support also helps to conceal any cables or wires that run behind your TV stand.
Here are the steps to create the back support:
- Measure and Cut: Measure the distance between the top and bottom of the back of your TV stand. This will determine the height of the back support piece. Cut a piece of plywood or MDF to match this height.
- Attach the Back Support: Position the cut piece against the back of the TV stand, ensuring it is centered and level. Secure it to the stand using screws or nails. Make sure to leave some space at the bottom for ventilation if needed.
- Optional Cutouts: Depending on your needs, you may choose to create cutouts or holes in the back support to allow for cable management. Measure and mark the locations of the cutouts, and use a hole saw or jigsaw to create the openings.
- Paint or Finish: Before moving forward, you have the option to paint or finish the back support piece to match the rest of the TV stand. Use a brush or spray paint to apply the desired finish. Allow it to dry completely before proceeding.
Ensure that the back support piece is securely attached to the TV stand, providing adequate support and stability. It should fit snugly against the back of the stand without any gaps or wobbling.
With the back support in place, your corner TV stand is almost complete. The final step will focus on the finishing touches, including painting or staining the stand.
Step 8: Finishing Touches and Painting
Finishing touches such as painting or staining will not only enhance the appearance of your corner TV stand but also provide protection and durability. This step is where you can add your personal style and make the stand blend seamlessly with your living room decor.
Here are the steps to follow for the finishing touches:
- Prepare the Surface: Before painting or staining, make sure the surface of your TV stand is clean and free of any dust or debris. Use a damp cloth or vacuum to remove any remaining sawdust or particles.
- Choose the Finish: Decide whether you want to paint or stain the TV stand. Paint offers more color options and can easily match your existing decor. Stain, on the other hand, enhances the natural beauty of the wood grain.
- Apply Primer (If Painting): If you choose to paint, apply a primer coat to the TV stand surface. This will help the paint adhere better and provide an even finish. Follow the manufacturer’s instructions for the specific primer you are using.
- Paint or Stain: Use a brush, roller, or sprayer to apply the paint or stain to the TV stand. Start from the top and work your way down, making sure to cover all surfaces evenly. Apply multiple coats for a more vibrant and uniform finish, allowing sufficient drying time between each coat.
- Seal the Finish: If you want extra protection and durability, consider applying a clear topcoat after the paint or stain has dried. This will seal the finish and provide added resistance to scratches and stains.
Remember to work in a well-ventilated area and follow proper safety precautions when using paint or stain. Allow the finish to fully cure before moving or using the TV stand.
With the final touches applied, your corner TV stand is now complete! Set it up in your living room, arrange your TV and other electronics, and enjoy your newly crafted furniture piece.
Congratulations on successfully building your own corner TV stand! It’s a testament to your DIY skills and a wonderful addition to your living space.
Now sit back, relax, and enjoy your favorite shows and movies in style!
Read more: How To Build A Cheap TV Stand
Conclusion
Building your own corner TV stand is a rewarding and fulfilling project that allows you to create a functional and stylish piece of furniture for your living room. By following the step-by-step process outlined in this guide, you have learned how to choose the right wood, measure and cut the pieces, sand and smooth the surfaces, assemble the base, build the top shelf, attach the shelves and dividers, create back support, and add the finishing touches through painting or staining.
Throughout the construction process, it is important to prioritize safety by using appropriate tools and protective gear. Take your time with each step, ensuring accurate measurements and secure joints to guarantee the stability and durability of your TV stand.
By building your own corner TV stand, you have the freedom to design it according to your specific needs and personal style. Whether you choose a sleek and modern aesthetic or a warm and rustic look, the end result will be a one-of-a-kind piece that complements your living room decor.
Not only does building your own TV stand provide a sense of accomplishment, but it can also save you money compared to purchasing a pre-made stand. Additionally, you have the satisfaction of knowing that your creation is tailored to your preferences and built to last.
Remember to enjoy the process and have fun with the project. Each step is an opportunity to unleash your creativity and showcase your woodworking skills. Embrace any imperfections as they give character to your handmade TV stand.
Now that you are equipped with the knowledge and skills to build your own corner TV stand, gather your tools, select the wood that suits your style, and embark on this DIY adventure. Soon enough, you will have a stunning and functional piece of furniture that will be the centerpiece of your living room for years to come.
Happy building!
Excited about your new corner TV stand? Keep that DIY spirit alive with more projects that will transform your living space. Dive into our selection of woodworking projects, where creativity meets functionality. Ready to take your skills up a notch? Our furniture making guide will set you on the right path. Both articles are packed with tips and tricks to help you create stunning pieces that are sure to impress.
Frequently Asked Questions about How To Build A Corner TV Stand
Was this page helpful?
At Storables.com, we guarantee accurate and reliable information. Our content, validated by Expert Board Contributors, is crafted following stringent Editorial Policies. We're committed to providing you with well-researched, expert-backed insights for all your informational needs.

0 thoughts on “How To Build A Corner TV Stand”