Home>Furniture>Office Furniture>How To Build Bookshelves For Kids
Office Furniture
How To Build Bookshelves For Kids
Modified: December 7, 2023
Learn how to build stylish and functional bookshelves for kids with our easy-to-follow guide. Create the perfect office-furniture solution for your little ones.
(Many of the links in this article redirect to a specific reviewed product. Your purchase of these products through affiliate links helps to generate commission for Storables.com, at no extra cost. Learn more)
Introduction
Welcome to our comprehensive guide on how to build bookshelves for kids! As children grow and develop, it’s important to provide them with a functional and organized space to store their books and belongings. Building custom bookshelves allows you to tailor the design to fit your child’s needs and style, while also creating a fun and engaging addition to their room.
In this article, we will walk you through the step-by-step process of building bookshelves for kids. Whether you’re a seasoned DIY enthusiast or a beginner, this guide is designed to provide you with all the information you need to successfully complete this project.
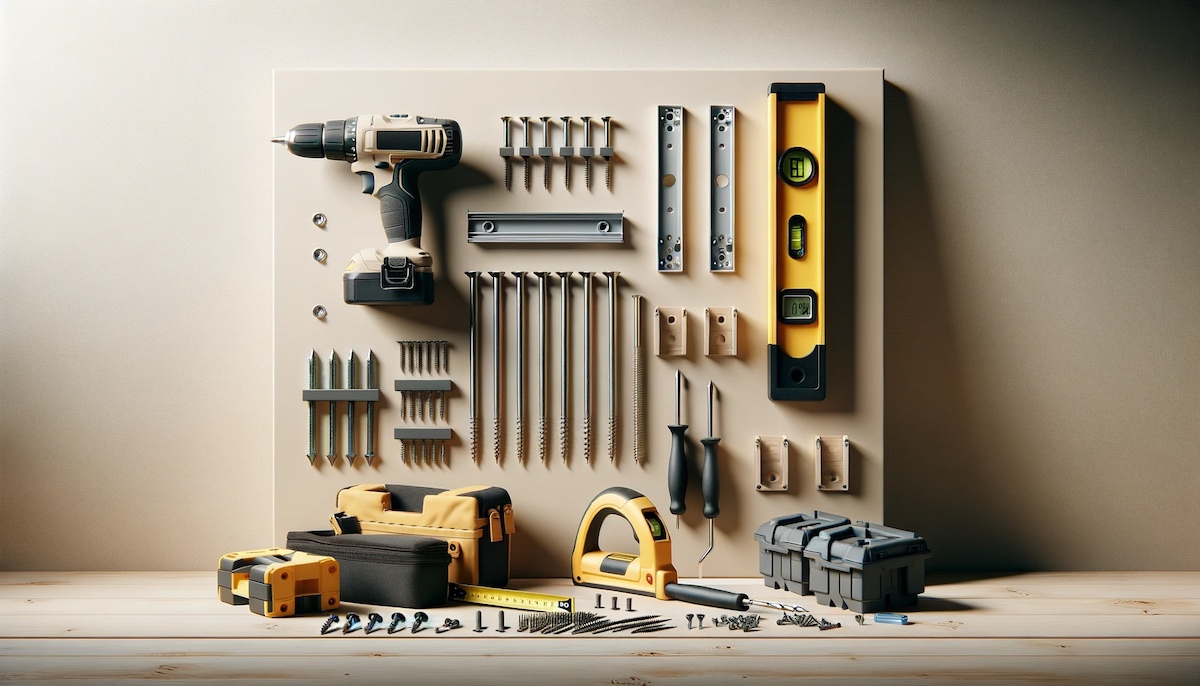
Before we dive into the details, it’s important to gather the necessary tools and materials to ensure a smooth and efficient construction process. Let’s take a look at what you’ll need:
Key Takeaways:
- Create personalized and safe bookshelves for kids by considering their interests, room size, and safety features. Enjoy the DIY process and prioritize functionality and child-friendly design.
- Prioritize precision, safety, and creativity when building bookshelves for kids. Tailor the design, measure accurately, and ensure sturdy construction for a fun and engaging addition to their room.
Read more: How To Build A Wall Of Bookshelves
Tools and Materials Needed
Before you get started on building bookshelves for your kids, it’s important to gather all the necessary tools and materials. Here’s a list of what you’ll need:
- Circular saw
- Drill
- Measuring tape
- Pencil
- Screwdriver
- Sander
- Safety goggles
- Ear protection
- Wood glue
- Wood screws
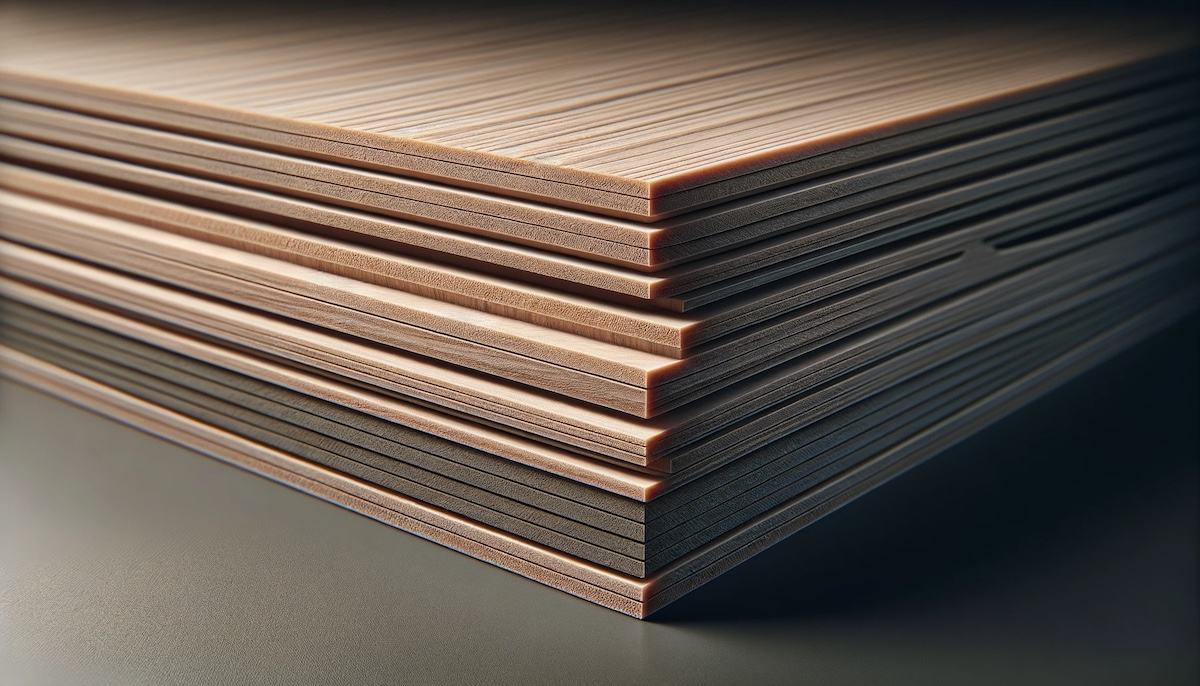
- Wood boards
- Sandpaper
- Paint or stain (optional)
- Paintbrush or roller (optional)
Ensure that you have all the tools listed above before you begin. This will make the construction process much smoother and more efficient.
If you don’t already have these tools in your arsenal, don’t worry! You can easily find them at your local hardware store or online. Investing in quality tools will not only make the bookshelf construction easier, but they will also come in handy for future DIY projects.
Now that you have the necessary tools and materials, let’s move on to the next step – choosing the right design for your kids’ bookshelves.
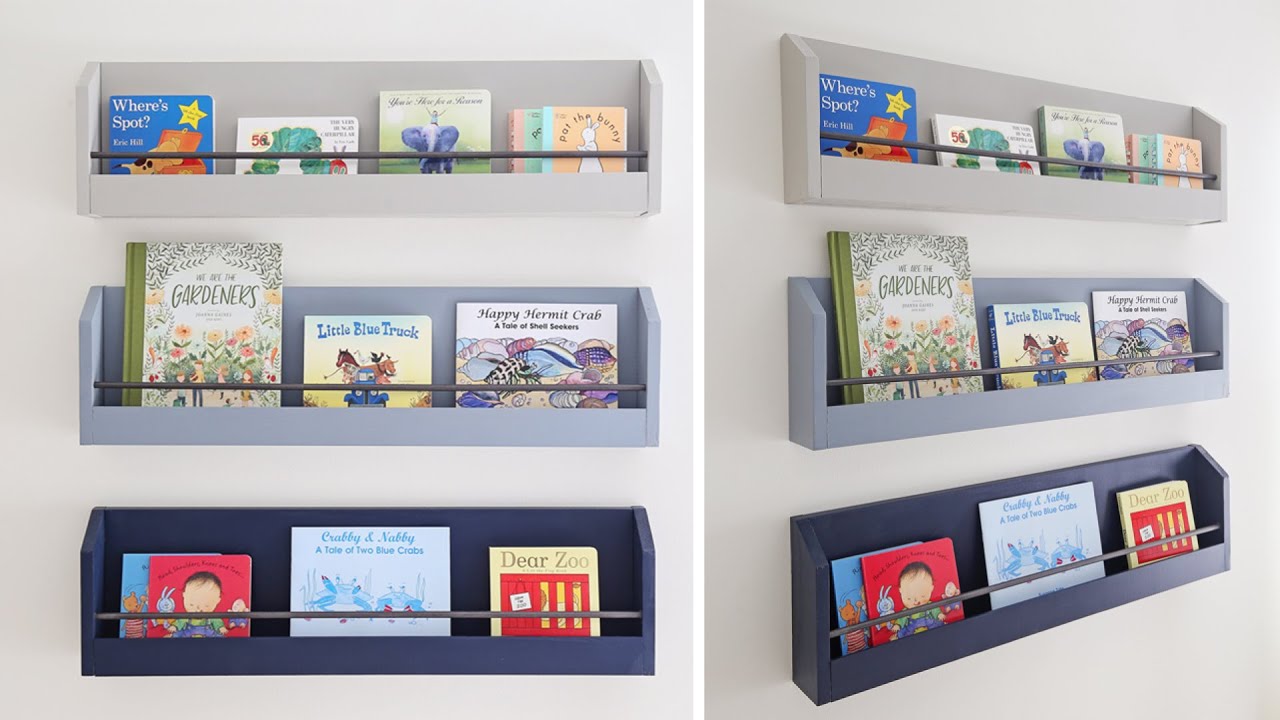
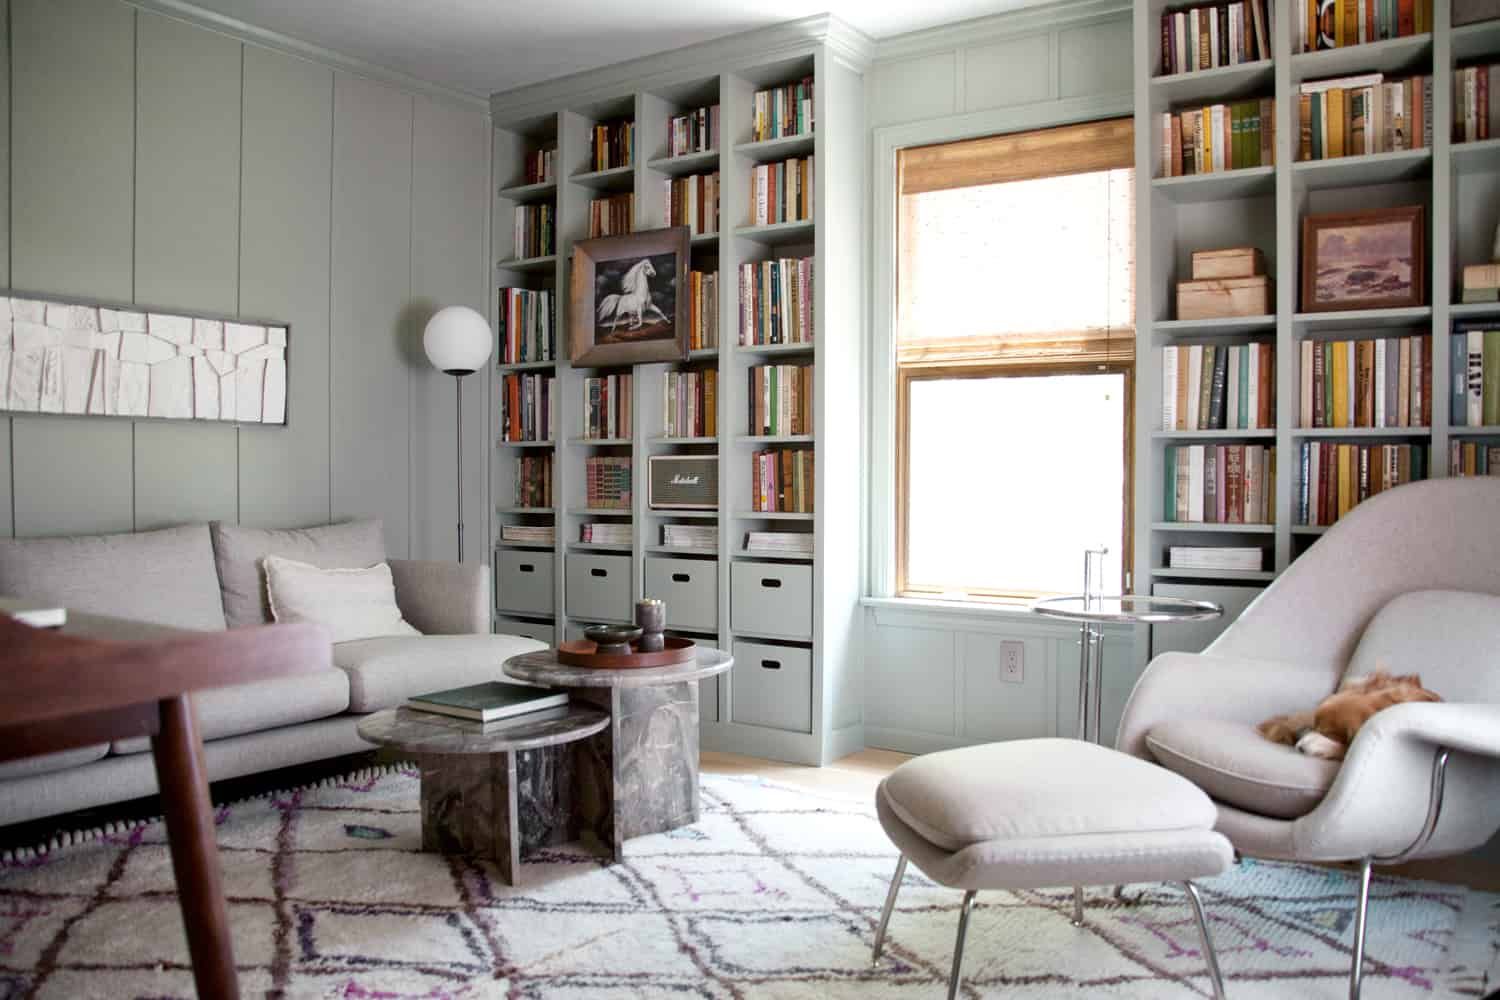
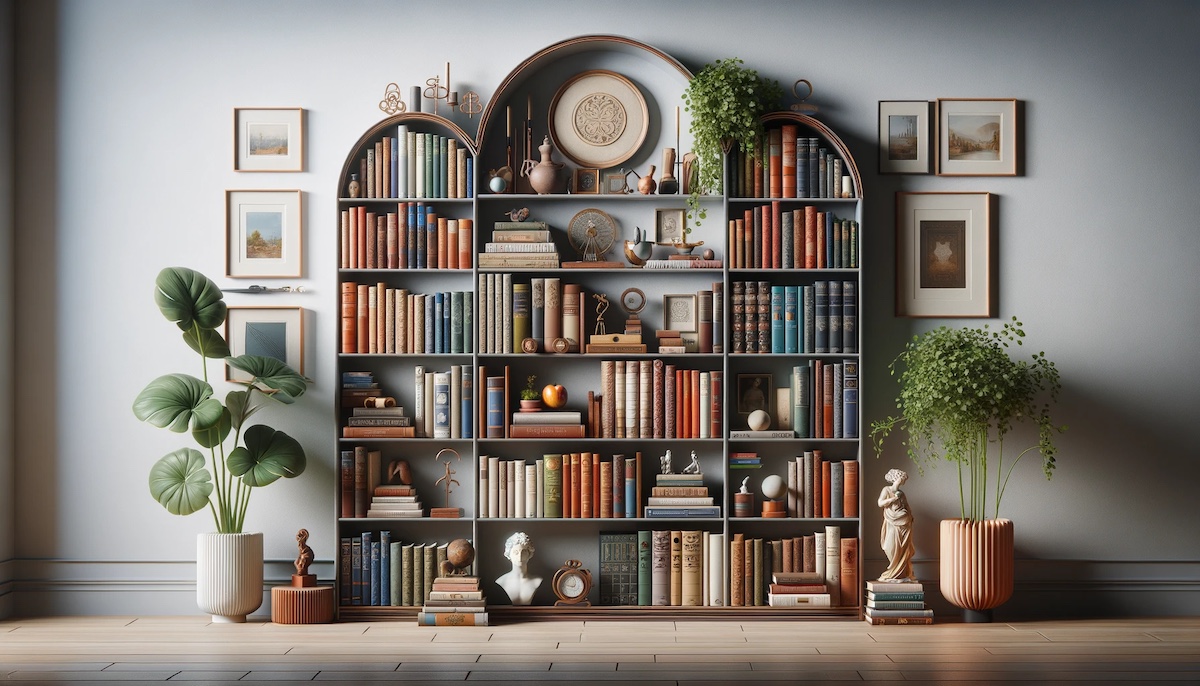
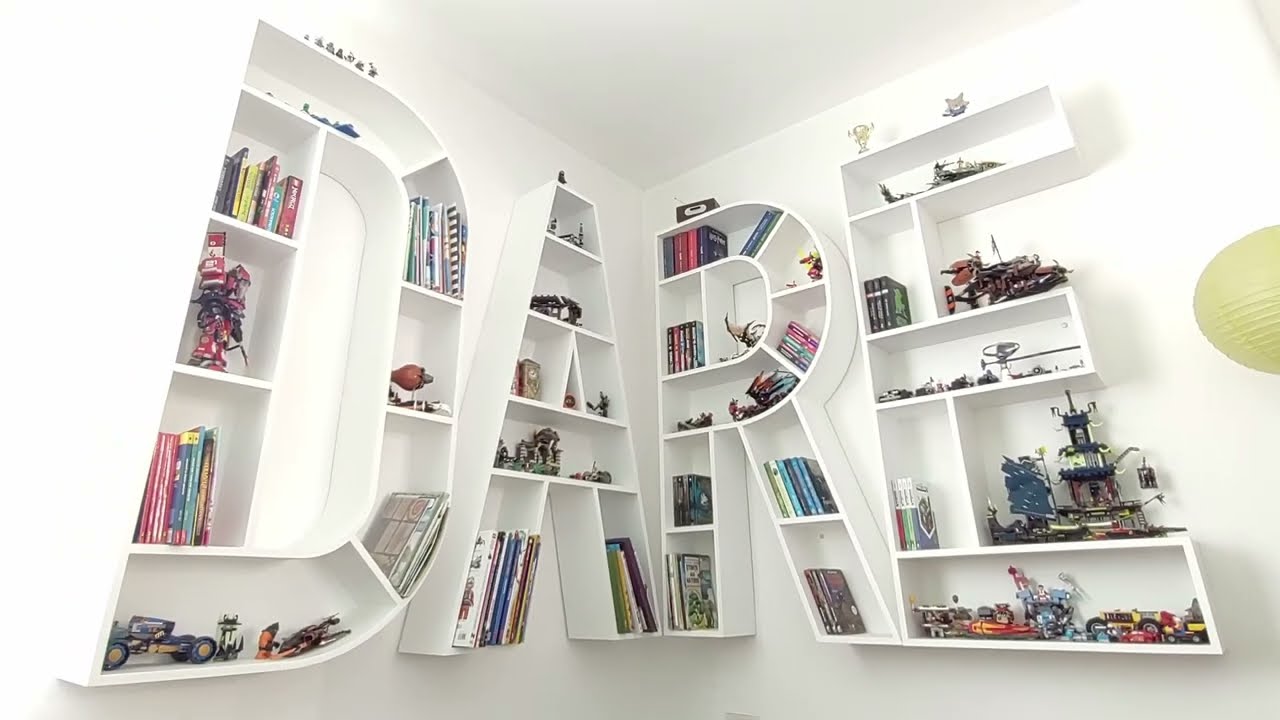
Choosing the Right Design
When it comes to selecting a design for your kids’ bookshelves, the options are endless. It’s important to choose a design that not only matches your child’s personality and interests but also complements the overall aesthetics of their room. Here are a few factors to consider when selecting the right design:
- Size and Space: Measure the available space in your child’s room to determine the appropriate size for the bookshelves. Consider the height, width, and depth that will best fit the area.
- Storage Needs: Assess how many books, toys, and other items your child needs to store. Decide if you want open shelves, cubbies, or a combination of both.
- Functionality: Think about how you want your child to interact with the bookshelves. Will they simply be for storage, or do you want them to also include additional features like a built-in reading nook or display space?
- Style and Theme: Consider your child’s interests and the overall theme of their room. Choose a design that reflects their personality, whether it’s a playful and colorful design for a young child or a more sophisticated and modern design for an older child.
Take your time to research and gather inspiration from various sources like magazines, websites, or even Pinterest. It’s helpful to create a vision board or sketch out your ideas to visualize how the bookshelves will look in your child’s room.
Once you’ve decided on the design, it’s time to move on to the next step – measuring and planning the construction process.
Measuring and Planning
Before you begin cutting any wood or assembling the bookshelves, it is crucial to take accurate measurements and create a detailed plan. This will ensure that the bookshelves fit perfectly into your child’s room and minimize any potential mistakes. Here’s how to do it:
- Measure the Space: Use a measuring tape to determine the height, width, and depth of the area where the bookshelves will be installed. Ensure you consider any obstacles such as baseboards, outlets, or windows that may affect the dimensions.
- Create a Sketch or Blueprint: Transfer the measurements onto paper or use a digital design tool to create a detailed sketch or blueprint of the bookshelves. This will serve as your guide throughout the construction process.
- Determine Shelf Placement: Decide on the number of shelves and their spacing based on the height of the items you want to store. Ensure the shelves are evenly distributed and provide enough space for different-sized books and toys.
- Plan for Support: Consider how the bookshelves will be supported. Determine if you need to attach them to the wall for added stability or if they will stand freely. If attaching to the wall, locate the studs and mark them on your blueprint.
- Consider Finishing Options: Decide if you want to paint or stain the bookshelves. This is also the time to select appropriate colors or stains that match your child’s room decor.
By carefully measuring and planning, you will have a clear roadmap for constructing the bookshelves. This will save you time and ensure a successful outcome. Once you have your measurements and plan ready, it’s time to move on to the next step – cutting the wood pieces.
Cutting the Wood Pieces
Now that you have your measurements and plan in hand, it’s time to start cutting the wood pieces for your kids’ bookshelves. Follow these steps for a precise and accurate cut:
- Gather your Materials: Double-check that you have all the necessary wood boards and the appropriate saw for cutting. Ensure you have a clean, well-lit workspace.
- Take Safety Precautions: Always wear safety goggles and use ear protection when operating power tools. Keep your fingers away from the blade and be mindful of your surroundings.
- Measure and Mark: Use your measurements and plan to mark the dimensions of each wood piece directly on the boards. Use a pencil or marking tool to make clear and precise lines.
- Cut with the Saw: Place the wood on a stable surface and guide the saw along the marked lines. Apply even pressure and keep a steady hand to ensure a straight cut. Take your time and work at a comfortable pace.
- Double-Check the Cuts: After cutting each piece, double-check the dimensions to ensure accuracy. Make any necessary adjustments if required.
Remember to measure twice and cut once to minimize errors. It’s always better to have extra wood in case of mistakes or to replace damaged pieces. Take your time during this step to ensure precise cuts and smooth edges. Once you have all the wood pieces cut, it’s time to move on to the next step – sanding and smoothing.
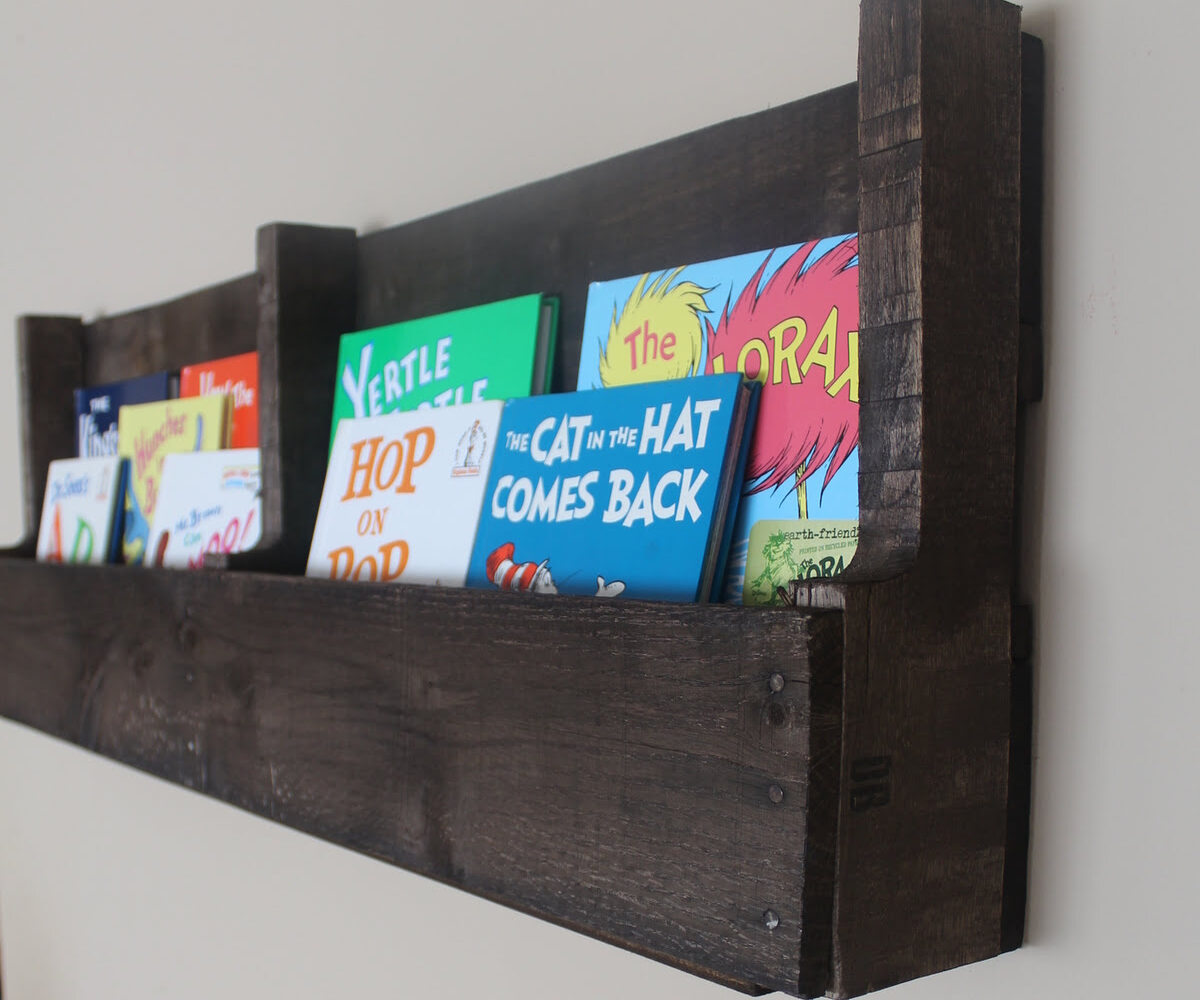
When building bookshelves for kids, make sure to secure them to the wall to prevent tipping. Use child-friendly materials and consider adding colorful or themed elements to make them more appealing to kids.
Read more: How To Build Bookshelves Easily
Sanding and Smoothing
After cutting the wood pieces for your kids’ bookshelves, it’s important to sand and smooth out the surfaces to create a polished and professional finish. Follow these steps to achieve a smooth and splinter-free surface:
- Gather your Materials: You will need a sander, sandpaper with various grits (such as 80, 120, and 220), and a clean cloth to wipe away dust.
- Safety First: Put on safety goggles and a dust mask to protect yourself from flying wood particles.
- Sand the Edges: Start by sanding the edges of each wood piece. Hold the sander firmly and move it along the edges in a smooth and consistent motion. This will remove any rough cuts and splinters.
- Sand the Surfaces: Use the appropriate grit sandpaper (start with 80 grit and gradually move to finer grits) to sand the entire surface of each wood piece. Sand in the direction of the wood grain to achieve a smooth finish.
- Smooth the Corners: Pay attention to the corners and tight spots, using a sanding block or folded sandpaper to reach them. This will ensure all areas are properly smoothed.
- Remove Dust: After sanding, wipe away the dust with a clean cloth or vacuum it off. This will give you a clean surface for the next step, whether it’s painting, staining, or applying a clear finish.
Make sure to take your time during the sanding process to achieve the desired smoothness. Check the surfaces with your hands to ensure there are no rough patches or sharp edges. Once you’ve completed sanding and smoothing, it’s time to move on to the next step – assembling the bookshelves.
Assembling the Bookshelves
Now that you have your wood pieces sanded and smoothed, it’s time to start assembling the bookshelves for your kids. Follow these steps to ensure a sturdy and well-constructed final product:
- Lay Out the Pieces: Arrange the wood pieces according to your plan and make sure all the components are easily accessible.
- Apply Wood Glue: Apply a thin layer of wood glue to the edges that will be joined together. This will provide extra strength and stability to the bookshelves.
- Align and Clamp: Carefully align the edges and corners of the wood pieces, ensuring that they are squared and level. Use clamps to hold the pieces in place while the glue dries. Follow the instructions on the wood glue bottle for recommended drying time.
- Secure with Screws: Once the glue has dried, reinforce the joints by drilling pilot holes and screwing in wood screws. This will add extra support and ensure the bookshelves are sturdy and durable.
- Check for Stability: Double-check that all screws are tightened and the bookshelves are stable. Wiggle the structure gently to ensure there is no wobbling or movement.
During the assembly process, it’s important to take your time and ensure precise alignment and secure connections. Use a level to ensure that the bookshelves are straight and not leaning to one side. If needed, make adjustments before moving on to the next step.
Congratulations! Now that you’ve successfully assembled the bookshelves, it’s time to add the finishing touches to enhance their appearance and protect the wood.
Adding Finishing Touches
With the bookshelves assembled, it’s time to add the finishing touches to make them visually appealing and durable. Consider these steps to enhance the overall appearance of the bookshelves:
- Fill Nail Holes: If you used nails during the assembly process, fill any visible nail holes with wood filler. Smooth out the surface with a putty knife and let it dry according to the manufacturer’s instructions.
- Sand for a Smooth Finish: Give the bookshelves a final light sanding to remove any imperfections or rough spots that may have occurred during assembly. Use a fine-grit sandpaper and wipe away the dust with a clean cloth.
- Paint or Stain: Decide on the finish you want for your bookshelves. You can choose to paint them in a color that complements the room’s decor or apply a wood stain to showcase the natural beauty of the wood grain. Apply the paint or stain following the manufacturer’s instructions, allowing proper drying time between coats if needed.
- Apply a Protective Finish: To protect the bookshelves and make them easy to clean, consider applying a clear topcoat such as polyurethane or varnish. This will add a layer of protection against wear and tear.
- Attach Backing: Depending on your design, you may want to attach a backing to the bookshelves for added stability and to prevent items from falling behind. Use a thin plywood board cut to the appropriate size and secure it to the back of the bookshelves with nails or screws.
Remember to follow the manufacturer’s instructions for drying time and any additional steps required for the specific paint or stain you’re using. Take your time during this phase, as the finishing touches can greatly elevate the overall look of the bookshelves.
With the finishing touches applied, your kids’ bookshelves are now ready to be placed in their room and filled with books, toys, and other cherished items. However, before you do that, let’s discuss some safety considerations to ensure the well-being of your children.
Safety Considerations
When building bookshelves for kids, it’s essential to prioritize their safety. Here are some important safety considerations to keep in mind:
- Secure to the Wall: To prevent tipping hazards, it’s crucial to anchor the bookshelves securely to the wall. Use brackets or straps designed for this purpose, ensuring they are installed properly according to the manufacturer’s instructions.
- Smooth and Rounded Edges: Ensure that all edges and corners of the bookshelves are smooth and rounded to minimize the risk of injury. Use sandpaper or a router to soften any sharp edges.
- Sturdy Construction: Double-check that the bookshelves are structurally sound and stable. Test their stability by applying gentle pressure and ensuring they do not wobble or tip over. Reinforce weak areas if necessary.
- Children-Friendly Materials: Use child-safe materials, such as non-toxic paints or stains, to minimize any potential harm if your child comes into contact with them. Seal the wood properly to reduce the risk of splinters.
- Age-Appropriate Design: Consider the age and developmental stage of your child when designing the bookshelves. Avoid placing small items within reach of young children to prevent choking hazards.
- Open and Close Safety: If your bookshelves have doors or drawers, ensure that they operate smoothly and have safety features in place, such as soft-closing mechanisms or childproof locks.
- Regular Maintenance: Periodically inspect the bookshelves for any signs of wear and tear, loose screws, or other potential hazards. Make any necessary repairs promptly to maintain their safety.
By considering these safety precautions, you can create a secure and child-friendly environment with your newly built bookshelves.
Now that we’ve covered the safety considerations, let’s wrap up this guide and summarize the key takeaways.
Read more: How To Build Bookshelves Around A Fireplace
Conclusion
Congratulations on completing the construction of bookshelves for your kids! Building custom bookshelves not only provides a functional storage solution but also allows you to add a personal touch to their room. By following the steps outlined in this guide, you have created a sturdy and visually appealing piece of furniture.
Remember, selecting the right design, measuring accurately, and considering safety precautions are all essential elements in the construction process. Taking the time to choose the right materials, cut and sand with precision, and add finishing touches will result in a high-quality bookshelf that will stand the test of time.
As you place the bookshelves in your child’s room and fill them with books, toys, and other cherished items, always prioritize safety. Secure the bookshelves to the wall to prevent tipping hazards, ensure smooth and rounded edges, and regularly inspect and maintain the bookshelves for any potential safety issues.
Building bookshelves for your kids is not just about creating a functional piece of furniture; it’s about creating a space that fosters their love for reading, organization, and self-expression. Let the bookshelves become a centerpiece in their room, showcasing their favorite books and cherished belongings.
We hope this guide has provided you with the necessary knowledge and inspiration to embark on this rewarding DIY project. Enjoy the process of building bookshelves for your kids and relish in the joy of seeing them enjoy their very own reading nook. Happy building!
Frequently Asked Questions about How To Build Bookshelves For Kids
Was this page helpful?
At Storables.com, we guarantee accurate and reliable information. Our content, validated by Expert Board Contributors, is crafted following stringent Editorial Policies. We're committed to providing you with well-researched, expert-backed insights for all your informational needs.


0 thoughts on “How To Build Bookshelves For Kids”