Home>Storage Ideas>Storage Shelves>Floating Storage Shelves: An Easy DIY Guide

Storage Shelves
Floating Storage Shelves: An Easy DIY Guide
Modified: December 6, 2023
Here is an awesome one-stop guide covering all your queries on building your very own shelf. Plan on creating your DIY floating shelf RIGHT NOW!
(Many of the links in this article redirect to a specific reviewed product. Your purchase of these products through affiliate links helps to generate commission for Storables.com, at no extra cost. Learn more)
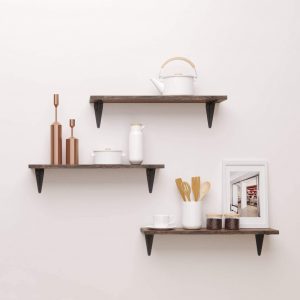
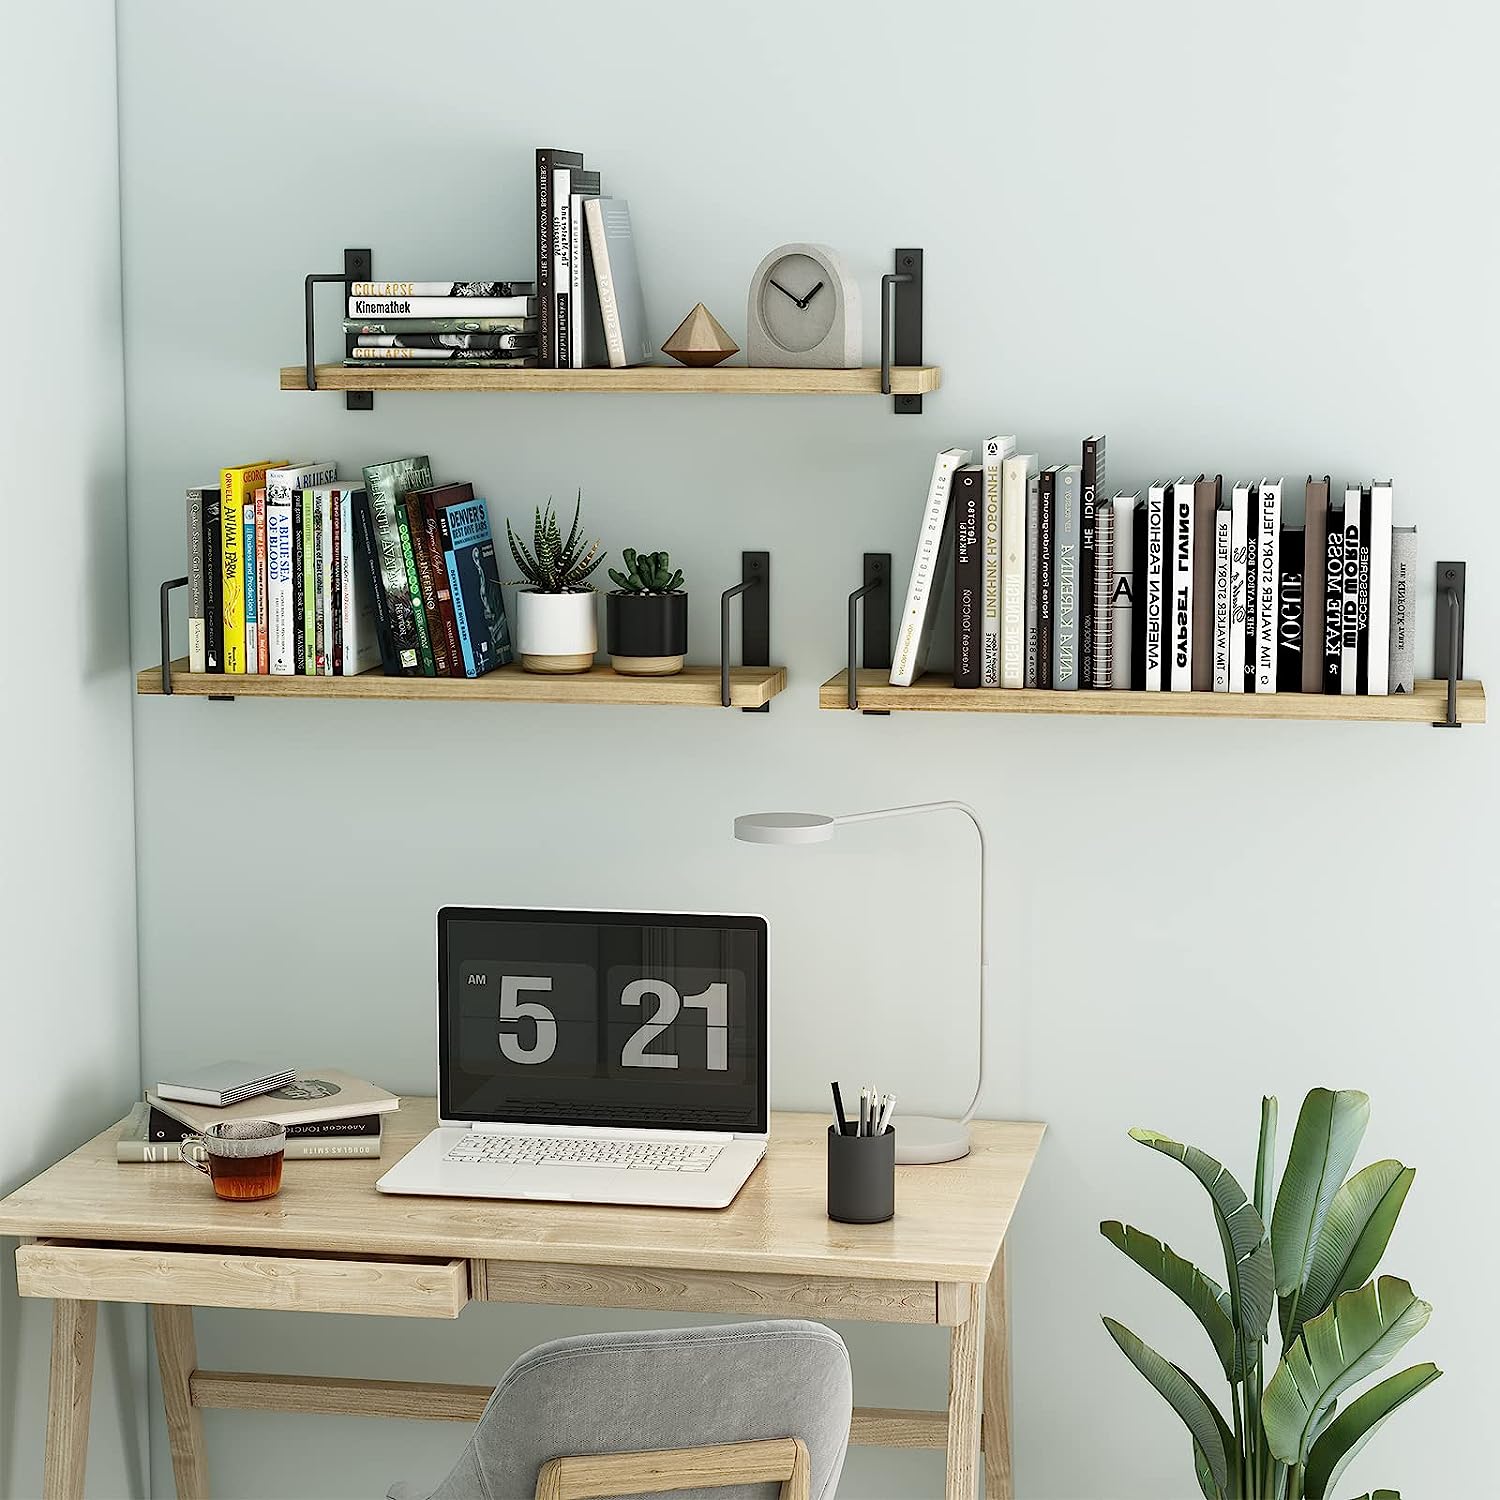
A floating shelf is a great way to not only store items and essentials, but also to add a bit of a minimalist flair to your home’s interior decor. Floating shelves have a very easy-to-maintain design. The beauty and functionality of floating shelves are what make them an essential part of a houses’ décor. The list of benefits of floating shelves is pretty long, and we will focus on that later in the article but the most important task is how to build your own floating shelf.
Today we will guide you on how to create to your own floating shelf with just a handful of materials. Our DIY guide on building your very own floating shelf is easy to understand and follow. The primary reason why you should go for building your own floating shelf is because they’re super easy to build and offer a lifetime of functionality that you could definitely use more of around the house. Since these shelves have no visual support, you’ll only need a few materials to get the end result.
This DIY project is highly recommended for people who are comfortable with using power tools as well as taking on a small house chore to redecorate their house. Those not comfortable with drills don’t need to worry as our detailed guide will take you step by step and provide tips on creating your own floating shelves without any hassle.
Floating Shelves Supplies
It’s quite natural that the thought of buying a floating storage shelf from a box store will creep into your mind when starting your DIY floating shelf. The thing to remember here is that that the lack of variety and not having shelves which fit your house color scheme is the reason you should create your own shelf.
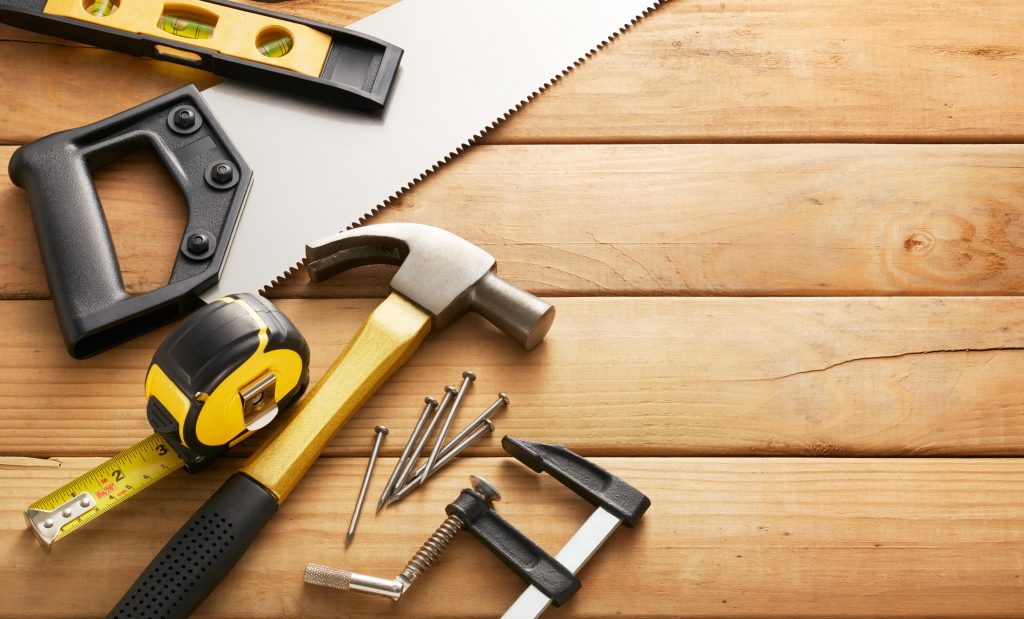
The first thing you need to do is to get hold of all the materials and tools that you’ll need to execute your DIY project. The supplies mentioned below will help you craft your very own floating wood shelf.
Read more: DIY Guide To Installing Floating Shelves
Step 1: Gathering The Required Equipment
When starting out with any DIY project, the first step is to gather all your tools and materials in one place. This will allow you to work effectively and also help you complete the task in the minimum amount of time. Once all the materials are in place, just follow the next steps on this guide and you’ll find the process super easy to execute.
Required Tools
- Circular Saw
- Hammer
- Cordless drill
- Glue
- Level
- Ratchet set
- Straightedge
- Safety goggle
- Measuring tape
- Wood chisel
- Wood glue
- Stud finder
- Table saw
- ½” paddle bit (for newbies)
- Sandpaper (medium grit)
- Stain or paint
Required Materials For Wooden Floating Storage Shelf
Note: Don’t get confused seeing all these tools and don’t start thinking you won’t be able to create your shelf without these tools. Remember that all these tools might not be needed today but are a great asset if you have them in your house and could be used later in some other DIY projects.
Step 2: Cut Your Board To The Desired Size
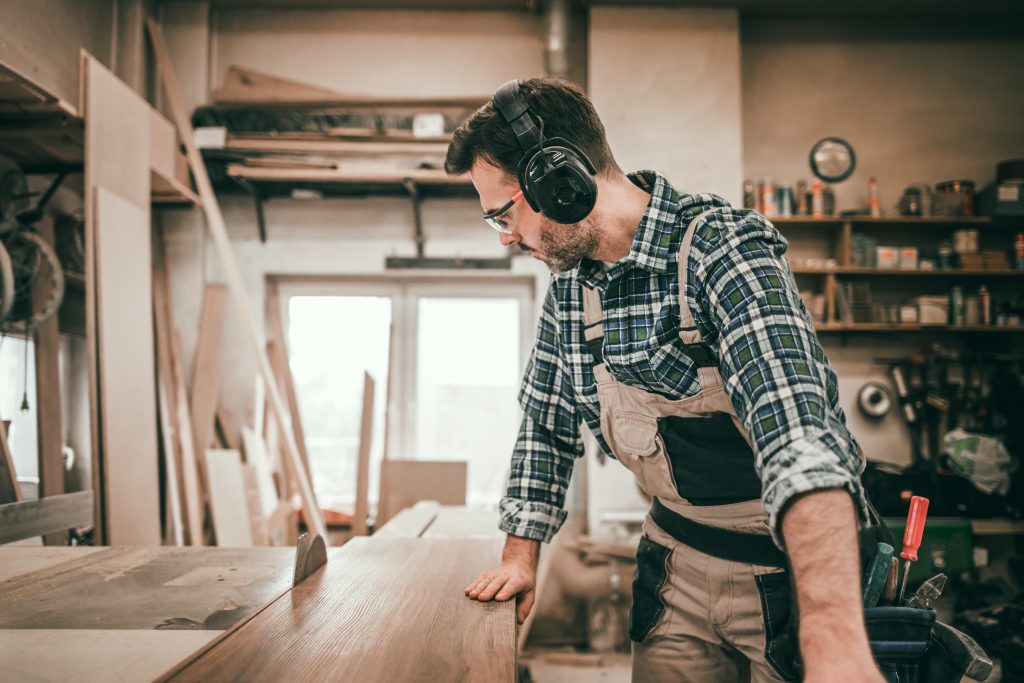
We strongly recommend to buy a slightly larger piece of wood and cut it after measuring the space. You can place the large piece of wood against the wall and figure out how big you want the shelf to be. This step provides you with the chance to visualize how your floating storage shelf would look so that you can resize it according to your needs. Once you have a clear picture, cut the wood with the edge guided circular saw. This customization would not be possible if you already have a small wood piece, so we suggest you buy a bigger one and resize it accordingly.
Step 3: Mark Out Holes For The Shelf On The Wall
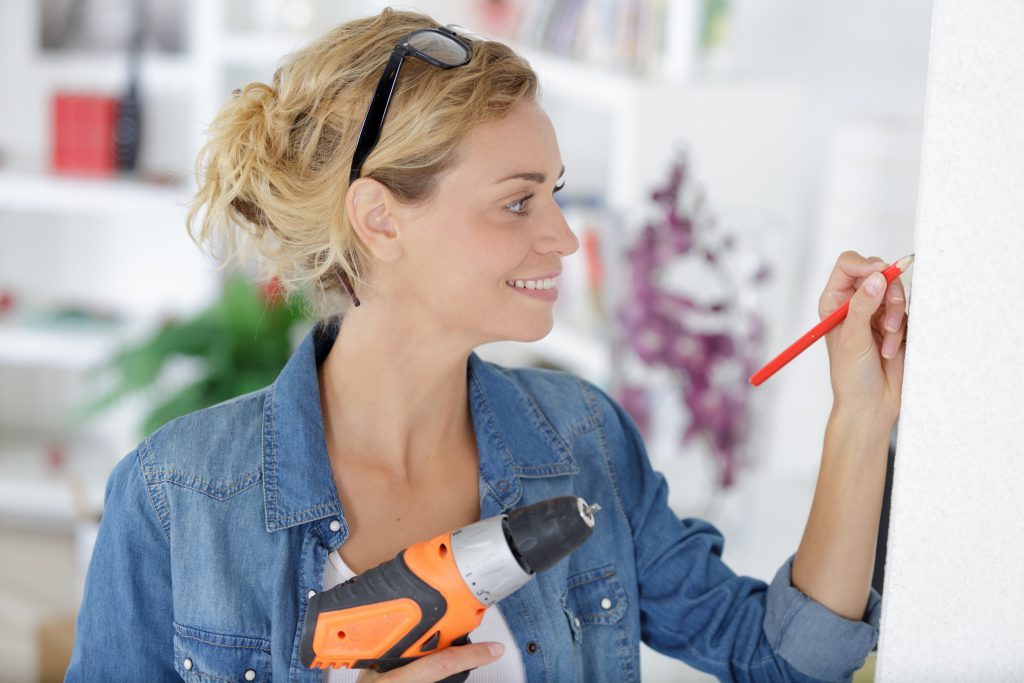
Once the size of the shelf is confirmed, the next step is to mark out the holes in the wall. You would need to make sure that you do this step correctly because even the smallest of mistakes here could jeopardize your whole project. The step can be made much more manageable by drawing a level line and marking it with masking tape. The level would help you create a perfect horizontal line that is parallel to the floor.
Step 4: Drill Holes
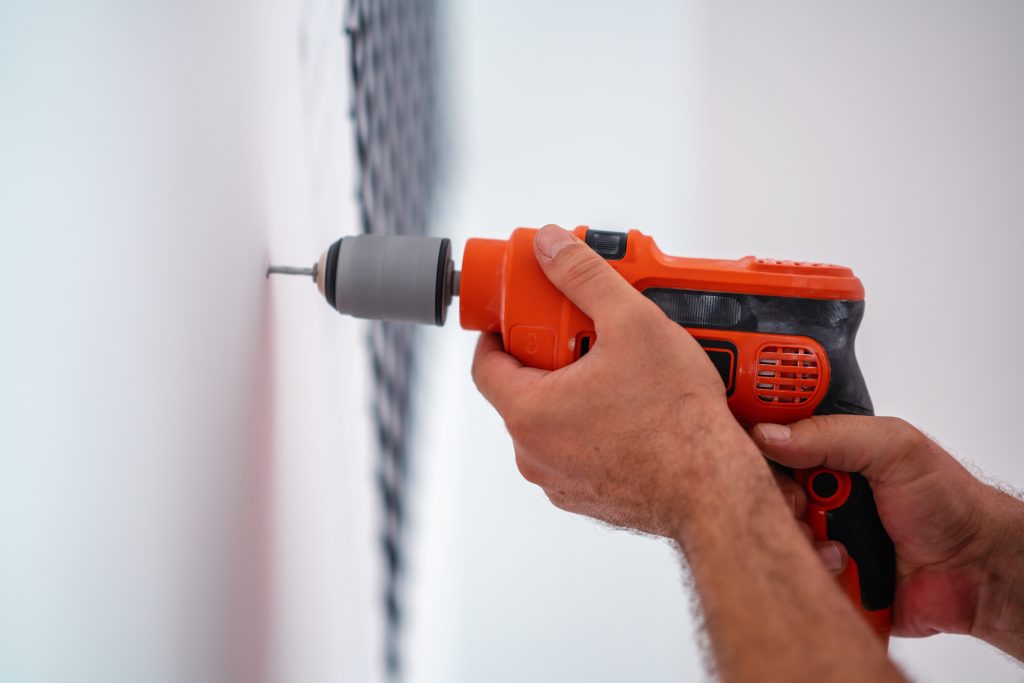
Now with the help of the hand drill, drill holes in the wall. Many people out there are not comfortable using a hand drill. Or they are not sure if they will be able to create straight holes using the paddle bit. The paddle bit works as a guide and helps you create perfect holes. The holes created in the wall will fit the hardware you have.
Step 5: Measure, Mark, Drill

Once you’ve made holes in the wall, the next step is to repeat the process on the wooden board. Begin by measuring the exact distance between the holes on your wall with the measuring tape. Once done, mark the exact same distance on the back of the wooden shelf and drill a hole in the shelf. Make sure you drill keeping the supporting brackets in mind and only drill to a certain depth. You can use a piece of tape to help you drill to the desired length.
Step 6: Sand And Stain Or Paint
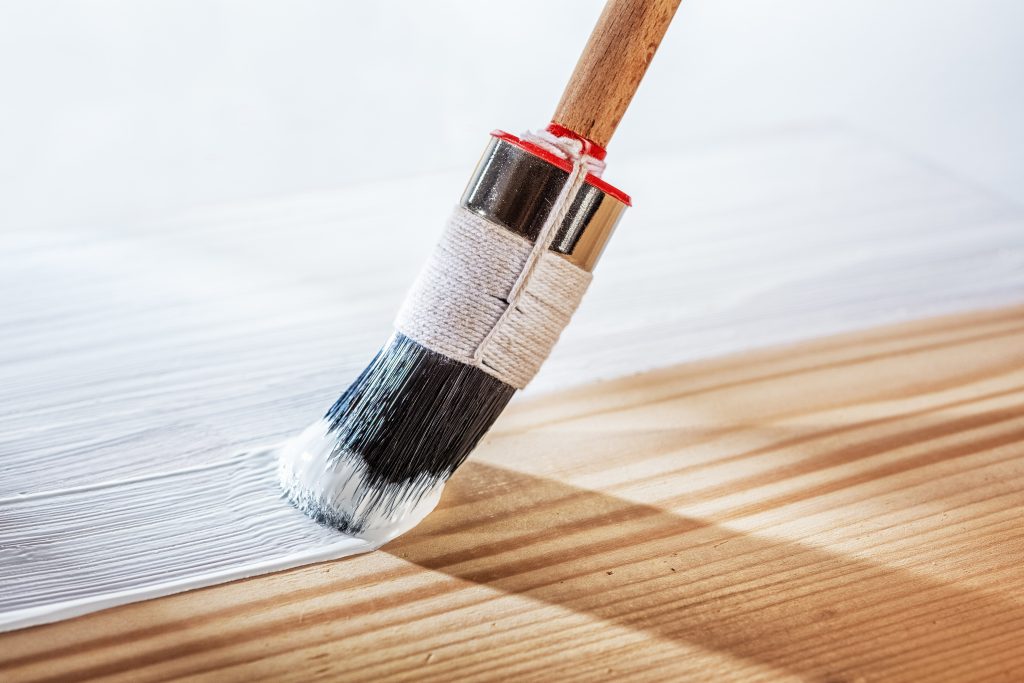
Once you are done with the tricky part, it’s time to color to your pine board. The first step is to sand out any rough edges with the help of the sandpaper. Once you are done with sanding (preferably in a well-ventilated room), you can either go for staining or painting.
Painting the wood will give a more customized look than the store-bought shelves, which might be one of the main reasons you may have chosen to make a DIY shelf in the first place. You can paint them with any color you like depending on your color scheme and house décor. The other option is to stain the board, which will bring out the features of the wood. Those who want to give a glossier look to their shelf should apply a coat of polyurethane lacquer. A pro tip for perfect staining is to always remove off excess and let each coat dry completely to get the perfect finish.
We recommend doing this part beforehand as it could be a bit time-consuming, and if you are painting the board, it will take some time to dry out.
Step 7: Hanging The Shelves
Let’s go over all the steps we have done so far; we are done with the drilling, painting, and placing the adjustable brackets in the wall. The adjustable brackets come with an installation guide, so you simply need to follow those and set them up on your walls. The last step here is to place the wooden shelf in the invisible bracket. Once done, you need just to step back, admire, and enjoy the finished result of your work.
Store Brought Support Bracket VS. Wooden Bracket
We are not here to just guide you on how to create your own DIY floating shelf but also answer some of your questions. The question that might be at the back of your mind right now is why we didn’t go for wooden supports. The real reason why we choose store-bought brackets instead of wooden supports is that they are adjustable, a bit easier to install, invisible, and carry more shelf weight.
The adjustability in these supports allows you to compensate for any error you made during the marking process. It also allows you to adjust the rod and the height of the bracket slightly. Another reason is that wood supports can be time-consuming, and if you are not precise, it could go horribly wrong. In short, if you are a newbie in the world of DIY, then store-bought brackets are the ones for you.
What About Other Floating Storage Shelves?
Remember that all the steps we have discussed are about wooden floating storage shelves and that shelves made out of other material might differ. The few things common in all of these would be marking out holes, drilling, assembling, and finally placing the shelf on the installed hardware.
People who don’t have much idea about other floating shelves should go on the internet and search about them. There are several types of floating shelves, and you are bound to find one which would fit perfectly in your house interior.
DIY Floating Storage Shelf Ideas
The storage shelf we discussed is basically for beginners, and if you are looking for something more than just plain wooden shelf, here are a few ideas to trigger the creative person in you.
Read more: Install Simple Closet Shelves
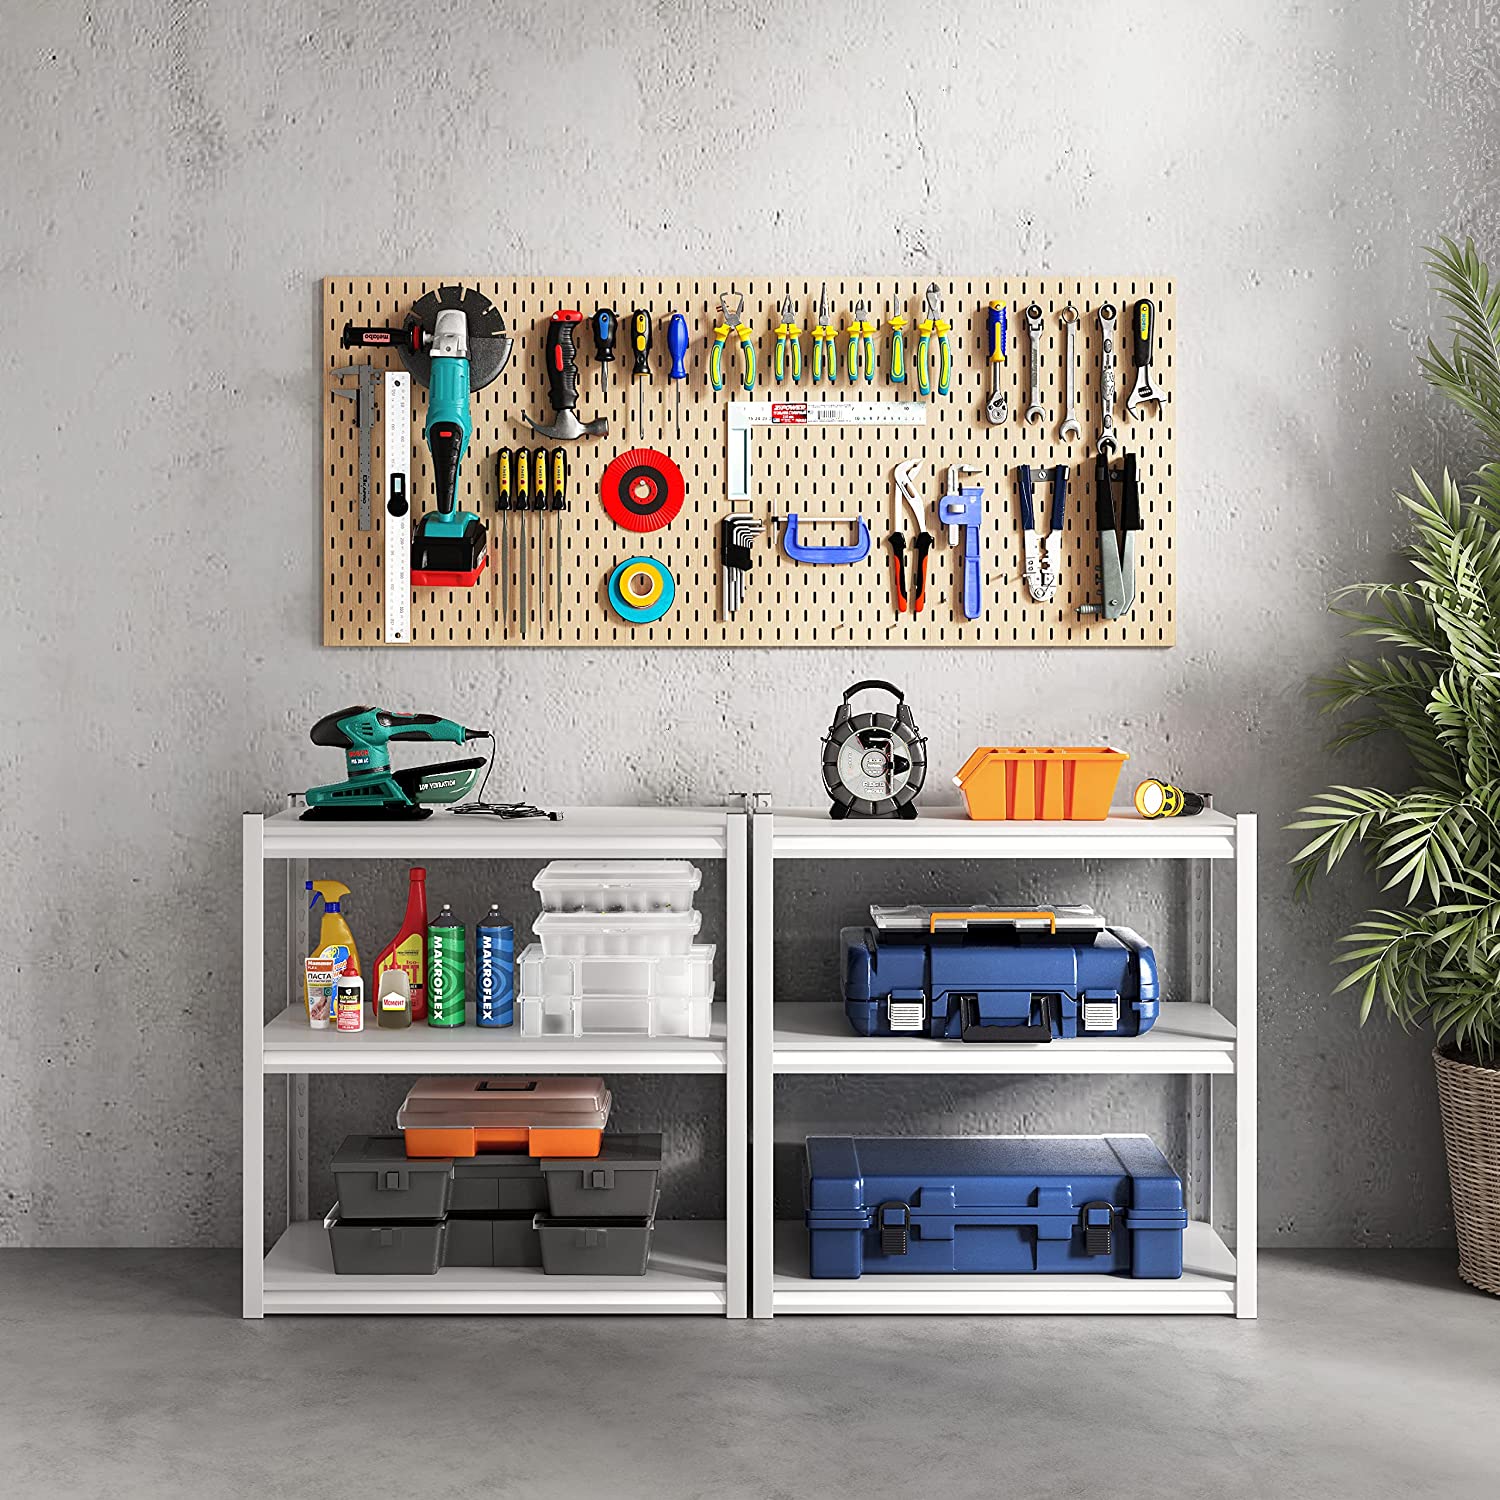
Pegboard Shelves:
DIY pegboards are a great way to accommodate your plants, mirrors, photos, and vases. The large wooden wall is a great option to cover up your empty wall space.
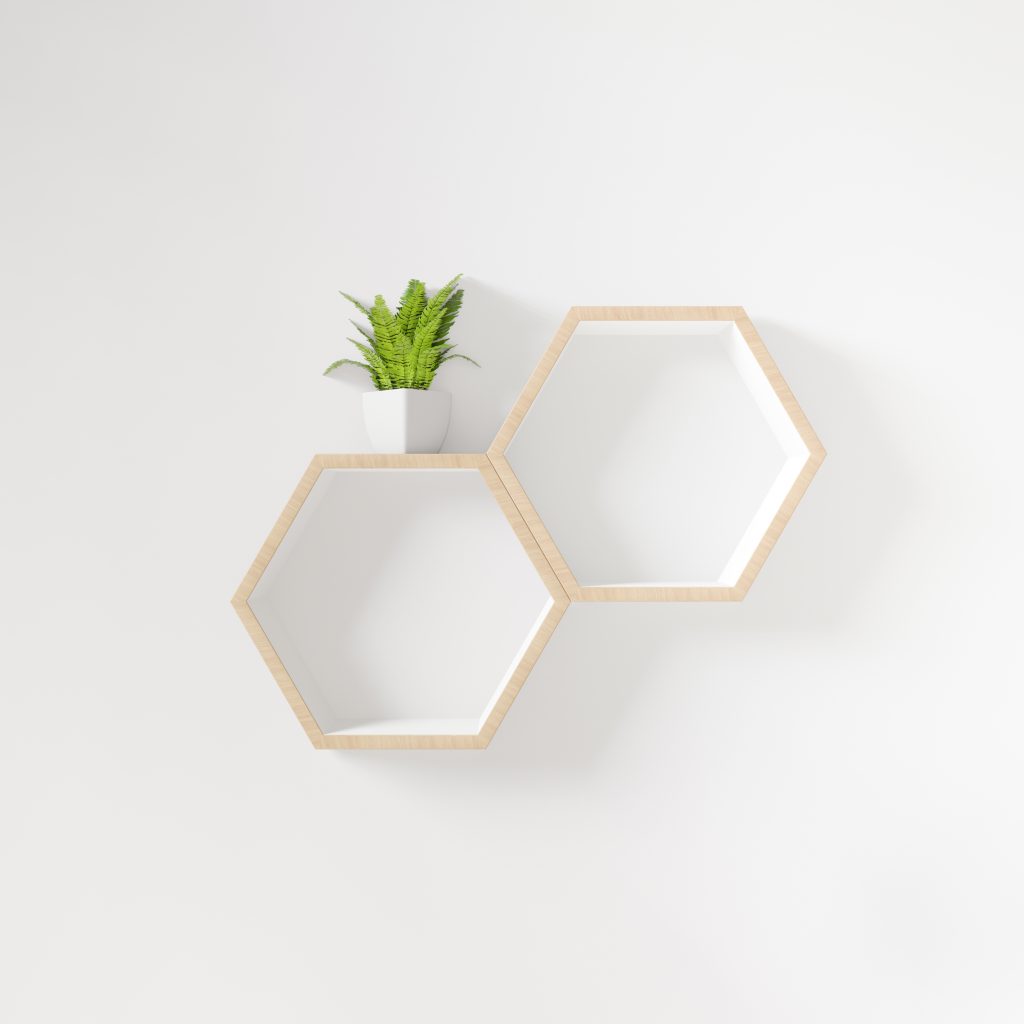
Hexagon Shelves:
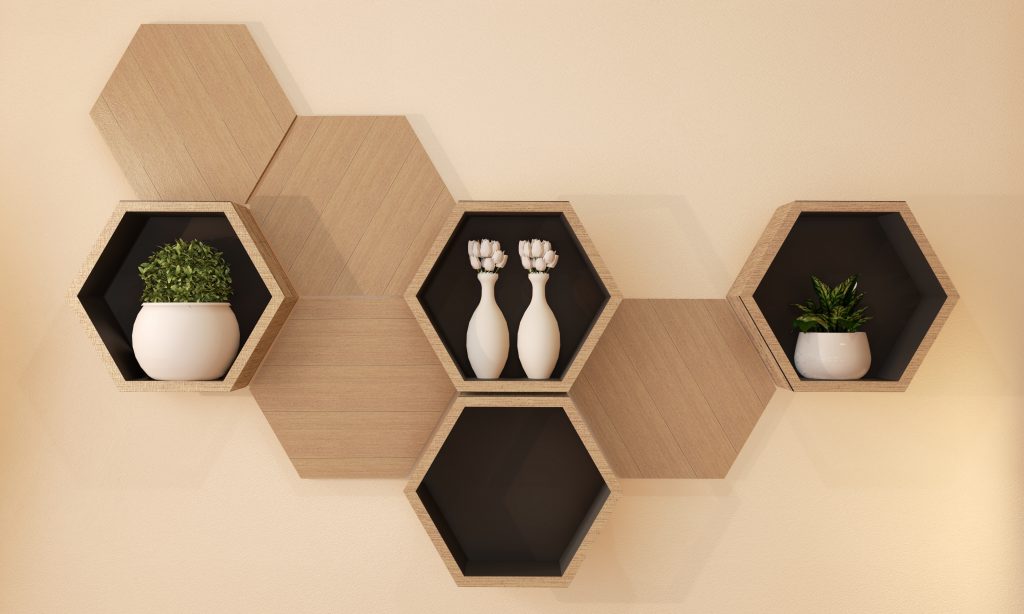
These are shelves made out of popsicles and would be a great addition in your living space. Check out some tutorials on the internet which guide you on how to make one for yourself.
Industrial Pipe Shelves:
These are similar to simple wooden shelves, but the supports are made out of industrial pipes. It’s a trick to make a shelf out of an industrial pipe, and if you are up for a challenge, do check out this DIY shelf.
Rope Shelf:
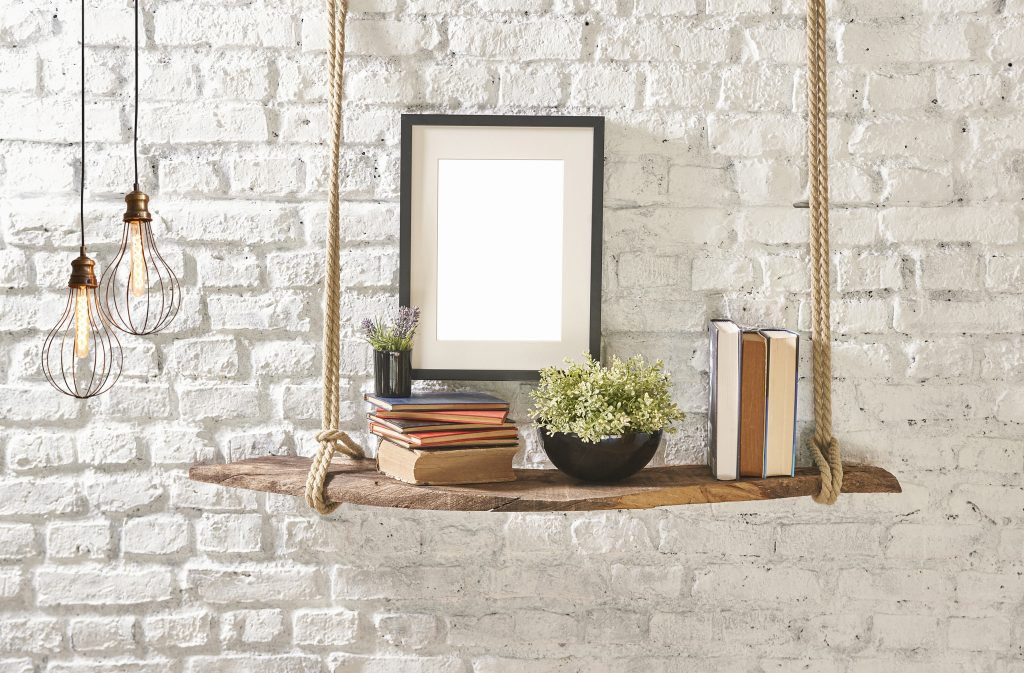
Our personal favorite is the rope shelf because it adds a new dimension to your space. This is something you normally wouldn’t imagine, and if you are up for it, definitely try to make one for yourself. It is an ideal shelf to place a small potted plant, books, and a photo frame.
Read more: How To Put Shelves In Closet
Belted Shelves:
Another floating shelf you might have never thought of is one that could be made out of something as simple as a belt. You can use your old belts to make these shelves, and the rustic vibe it gives is simply stunning.
Corner Shelves:
We bet you have some empty corners in your living spaces – these spaces are perfect for installing a floating corner shelf. You can go for an all-white theme and stuff it up with succulents.
Repurposed Crate Shelves:
Now, this is something we call recycling at its best. Simply give your old crate a coat of your favorite paint, punch a hole in its backside and simply place it on a wall. You now have a completely new storage shelf to store your beauty products, books, or other stuff. It’s so simple that you don’t need a DIY guide, if you do, check out a tutorial on the internet.
Tetris Shelves:
This super cool shelf is perfect for an uber-cool living space. It is very similar to a box-type floating shelf but with a twist. The trick here is that you need to make Tetris shaped wooden boxes and color the insides with a different color. Once you install some in your house, you would feel like living in a world of Tetris.
Read more: How Deep Are Pantry Shelves
Benefits Of Floating Storage Shelves
After all the things we have gone through, from guiding you on how to create your DIY shelf to giving ideas on various DIY floating shelves. It’s important we shed some light on the benefits of floating storage shelves as well. The benefits will hopefully start the desire in you to build your very own DIY shelf. A few benefits of floating shelves are as follows:
- The wall would look more beautiful and unique as floating shelves are more distinctive than traditional shelves.
- The annoying brackets which usually kill the design and vision of the wall are typically absent in floating shelves.
- Highly durable because they are reliable and long-lasting. The brackets on which the shelf is placed is screwed under the shelf panels as well as the wall, making a strong dual lock that keeps them in place.
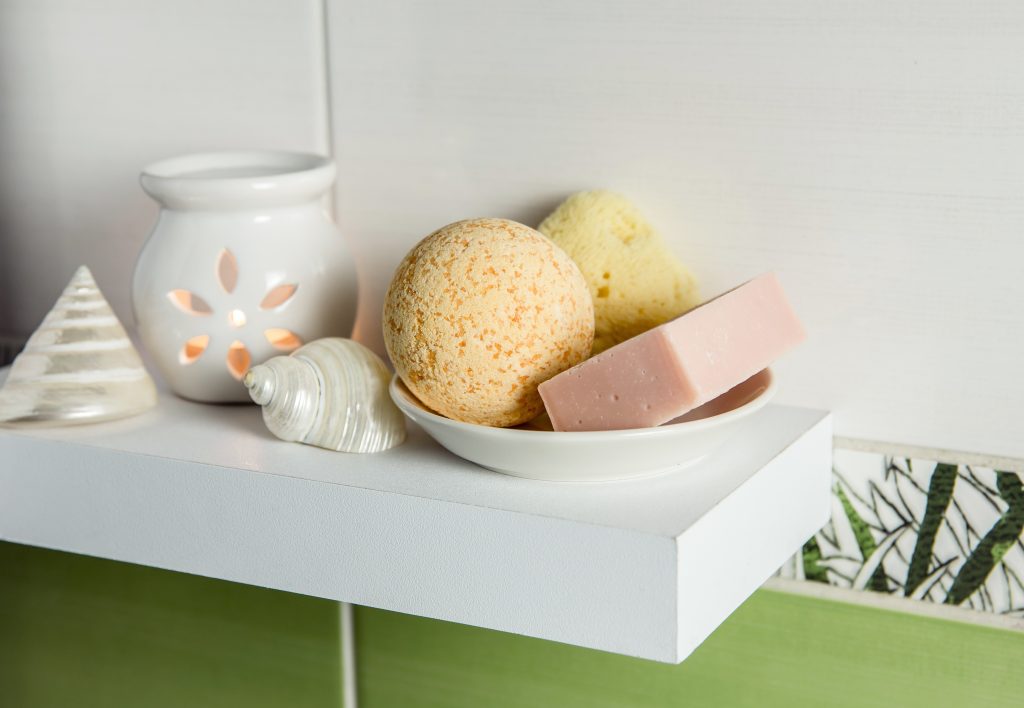
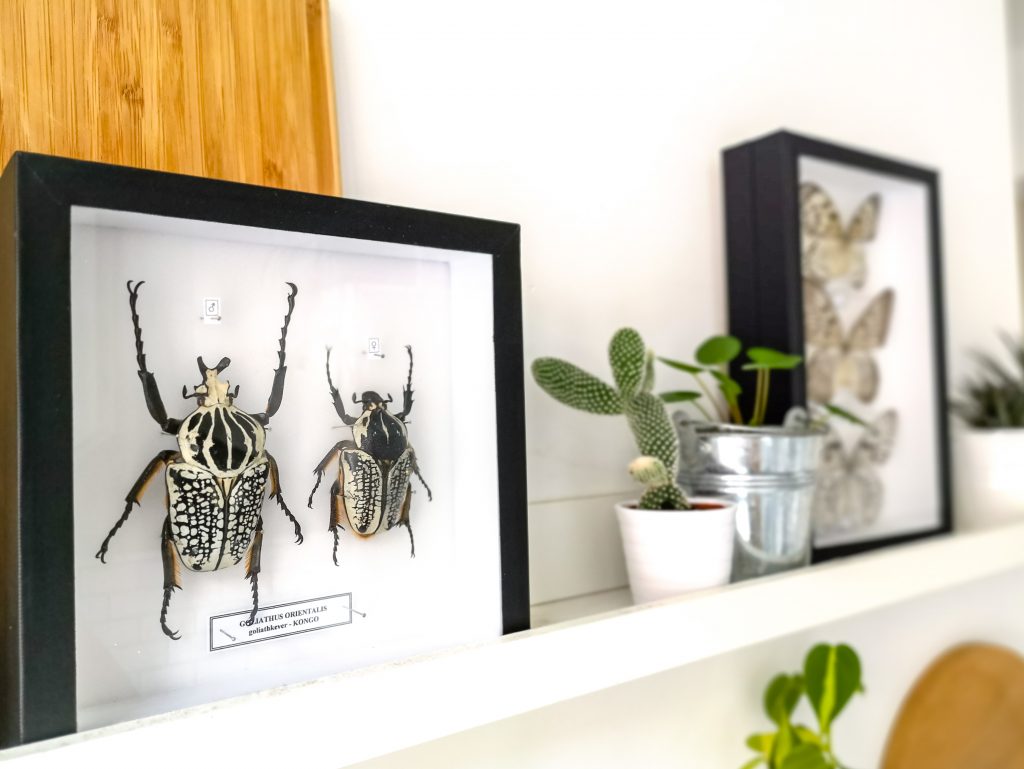
- Multi-purpose storage option as you can place anything on these from crockery to book. From plants to decorative items, you can put anything which is not too heavy and fits with the aesthetics of the room.
More Benefits To Consider
- Provide for a cleaner look as your wall will look less cluttered as they take up less space. It also allows you to showcase the other décor in your living space truly.
- The extra space around floating shelves makes for a look that feels lighter to the eyes and also creates an airier ambiance. It works as a great illusion, especially if it’s a small space.
- Floating shelves require less space and are the perfect option to decorate a tiny nook in your house or office. A major advantage here is that they take up zero floor space.
- They can be used anywhere in the house. Storing your linen in the washroom, displaying décor in your living room, and working as a spice rack in your kitchen are some of the purposes floating shelf can serve.
- A store-bought floating shelf is quite easy to install. The only two tools you require are a power drill and a leveler.
The simple and elegant design makes floating storage shelves a must-have item in your house. We hope this guide inspires you to make a DIY floating shelf for your house.
Frequently Asked Questions
1. Are Floating Shelves Sturdy?
Although floating shelves are made from only two parts and have no visible support, they are surprisingly quite strong and sturdy. These strong, floating shelves can support anything you put on them!
Read also: 13 Best Cubbies Storage Shelves For 2025
2. Can Floating Shelves Hold Much Weight?
Yes, floating shelves supported with heavy-duty brackets can easily support a weight up to 150 lbs. Regular brackets are designed to support shelves of the size of about 24 inches and above.
3. How Do You Keep A Floating Shelf From Sagging?
Stop your floating shelves from sagging by adding reinforcements. You can even repair it with wood corbels and help support the weight of the shelves from the bottom up. There are various techniques you can use to do so.
4. Are Floating Shelves Strong Enough For Books?
Yes, they are strong enough. But if the floating shelves are really deep it can hold only a few books. If the floating shelves are built with strong materials, make sure to install brackets so that the books do not fall out from the shelves.
5. Do Floating Shelves Need Studs?
Yes, floating shelves must be installed on wall studs. This is done to add support to the base of the shelves.
Read also: 12 Best Storage Shelving For 2025
6. Can You Put Floating Shelves On Dry Walls?
If you have additional support you may install floating shelves on drywall. Generally, floating shelves are installed on wall studs with brackets. While installing on drywall, additional support such as molly plug or wall anchors may be required.
7. Can You Hang Floating Shelves Without Nails?
It is very risky but in certain cases, adhesive mounting strips may help. But for heavy floating shelves, nails are necessary.
Was this page helpful?
At Storables.com, we guarantee accurate and reliable information. Our content, validated by Expert Board Contributors, is crafted following stringent Editorial Policies. We're committed to providing you with well-researched, expert-backed insights for all your informational needs.
0 thoughts on “Floating Storage Shelves: An Easy DIY Guide”