Home>Furniture>Outdoor Furniture>How To Cover Up A Concrete Patio
Outdoor Furniture
How To Cover Up A Concrete Patio
Modified: March 7, 2024
Learn how to transform your concrete patio into a stylish outdoor oasis with the help of our expert tips and outdoor furniture suggestions.
(Many of the links in this article redirect to a specific reviewed product. Your purchase of these products through affiliate links helps to generate commission for Storables.com, at no extra cost. Learn more)
Introduction
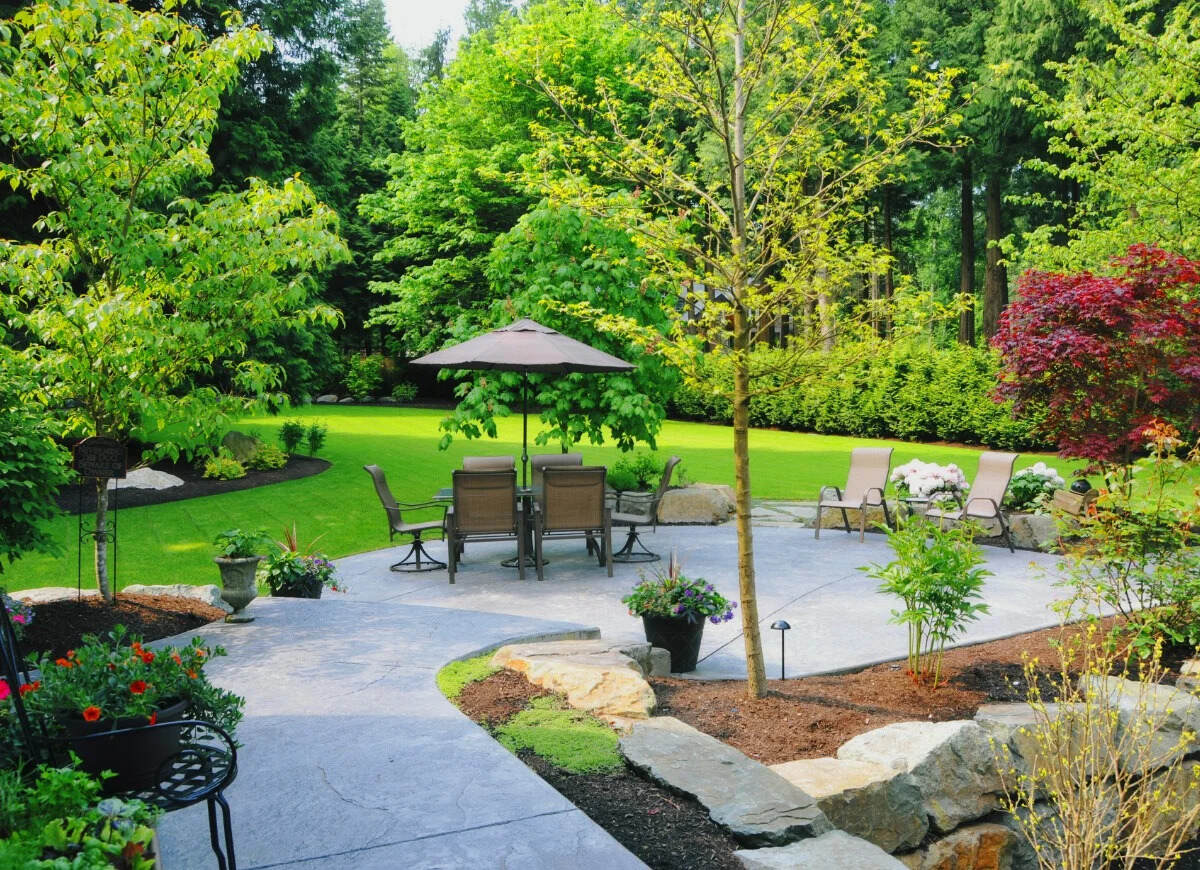
Welcome to our comprehensive guide on how to cover up a concrete patio. If you have a plain and boring concrete patio that you want to transform into a beautiful outdoor living space, you’ve come to the right place. Whether you want to add some personality, improve the aesthetics, or simply make the patio more comfortable, there are various covering options available to help you achieve your desired result.
A concrete patio is a versatile space that can be used for relaxing, entertaining, and enjoying outdoor activities. However, the plain and unfinished look of concrete may not always align with your vision for an inviting outdoor area. By covering up the concrete, you can create a more visually appealing and functional space that suits your style and needs.
In this guide, we will walk you through the process of preparing, choosing, and installing a covering material for your concrete patio. We’ll provide you with expert tips and step-by-step instructions to help you achieve a professional-looking result.
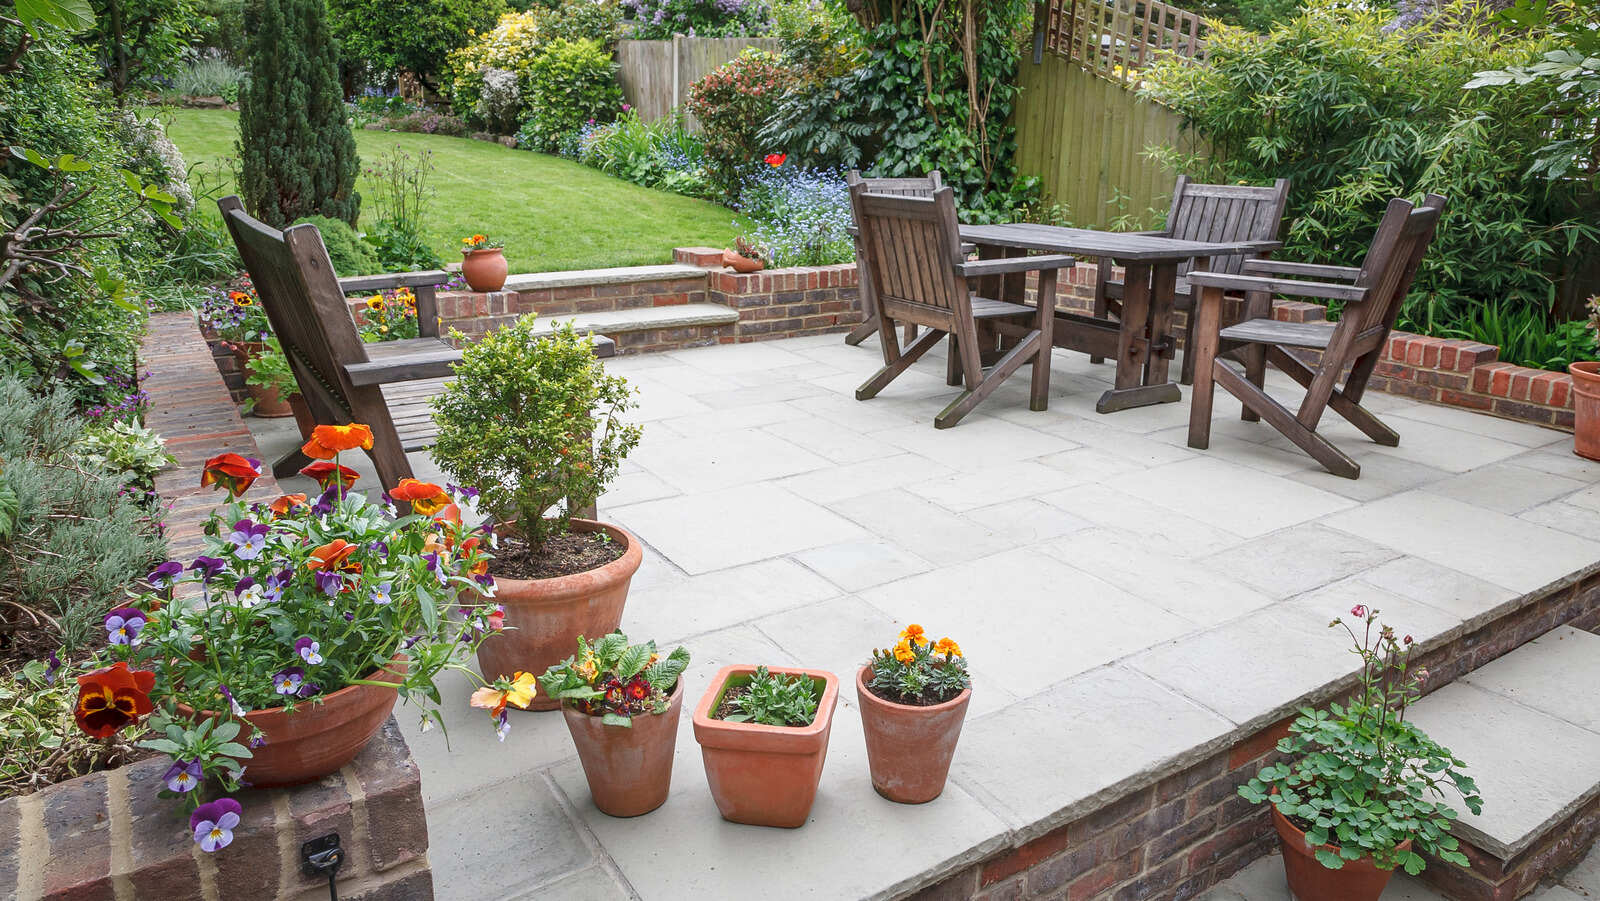
Before diving into the details, it’s important to note that the covering options for a concrete patio are vast and diverse. The right choice depends on your preferences, budget, and the desired outcome. Some popular covering materials include pavers, tiles, natural stone, stamped concrete overlays, outdoor rugs, and even outdoor furniture arrangements. Each option offers a unique set of benefits and considerations.
So, whether you’re looking to improve the appearance, add some warmth and texture, or enhance the functionality of your concrete patio, this guide will provide you with the knowledge and inspiration you need to get started. Let’s begin by discussing the preparation steps necessary before applying a covering material.
Key Takeaways:
- Transform your plain concrete patio into a stunning outdoor oasis by choosing from a variety of covering options such as pavers, tiles, natural stone, stamped concrete overlays, outdoor rugs, or outdoor furniture arrangements.
- Properly prepare, measure, install, and seal your chosen covering material to create a durable and visually appealing outdoor living space that reflects your personal style and enhances your outdoor experience.
Read more: How To Smooth A Concrete Patio
Preparing the Concrete Patio for Covering
Before you can start covering up your concrete patio, it’s crucial to prepare the surface properly. This will ensure better adhesion of the covering material and a longer-lasting result. Here are the steps to follow:
- Clean the surface: Begin by removing any dirt, debris, or loose materials from the concrete patio. Use a broom or leaf blower to sweep away surface dirt, and a pressure washer to remove stains, grime, and mold. Allow the patio to dry completely before moving on to the next step.
- Repair cracks and imperfections: Inspect the concrete surface for any cracks, chips, or uneven areas. These can affect the appearance and durability of the covering material. Fill any cracks or gaps with a concrete patching compound, following the manufacturer’s instructions. Smooth out the repaired areas and allow them to cure properly.
- Etch or grind the surface: If the concrete patio has a smooth and sealed finish, it’s essential to create a rough texture to enhance the bonding of the covering material. You can achieve this by either etching the surface with an acid-based etching solution or grinding it with a concrete grinder. This step will help the covering material adhere better and ensure a long-lasting result.
- Remove any existing coatings: If your concrete patio has an old paint or sealer, it’s important to remove it before applying a new covering material. Use a paint stripper or concrete grinding tool to strip away the existing coating. This will provide a clean and bare surface for the new cover.
- Check the slope: Ensure that your concrete patio has proper slope and drainage. The surface should be slightly sloped away from your house to prevent water pooling or seepage. If needed, adjust the slope by filling low areas with leveling compound or creating drainage channels.
By following these steps, you’ll ensure that your concrete patio is properly prepared for the covering material. Taking the time to clean, repair, and prep the surface will result in a smoother installation process and a more durable and attractive end result. Now that the preparation is done, let’s move on to the next step – choosing the right covering material for your concrete patio.
Choosing the Covering Material
When it comes to covering up your concrete patio, there are numerous options to choose from. The choice of covering material can greatly impact the overall look, functionality, and maintenance requirements of your outdoor space. Here are some popular options to consider:
- Pavers: Pavers are a versatile and durable choice for covering a concrete patio. These interlocking stones come in various sizes, shapes, colors, and patterns, allowing you to create a customized look. They are easy to install and can be arranged in different designs, such as herringbone or basket weave.
- Tiles: Outdoor tiles are another popular option for covering a concrete patio. They come in a wide range of materials, including ceramic, porcelain, and natural stone. Tiles offer a stylish and elegant look and can withstand outdoor elements. However, they may require regular maintenance and sealing to keep them looking their best.
- Natural Stone: If you’re looking to add a touch of luxury and natural beauty to your patio, natural stone is an excellent choice. Options such as slate, travertine, or flagstone provide a unique and timeless aesthetic. However, natural stone can be more expensive and may require professional installation.
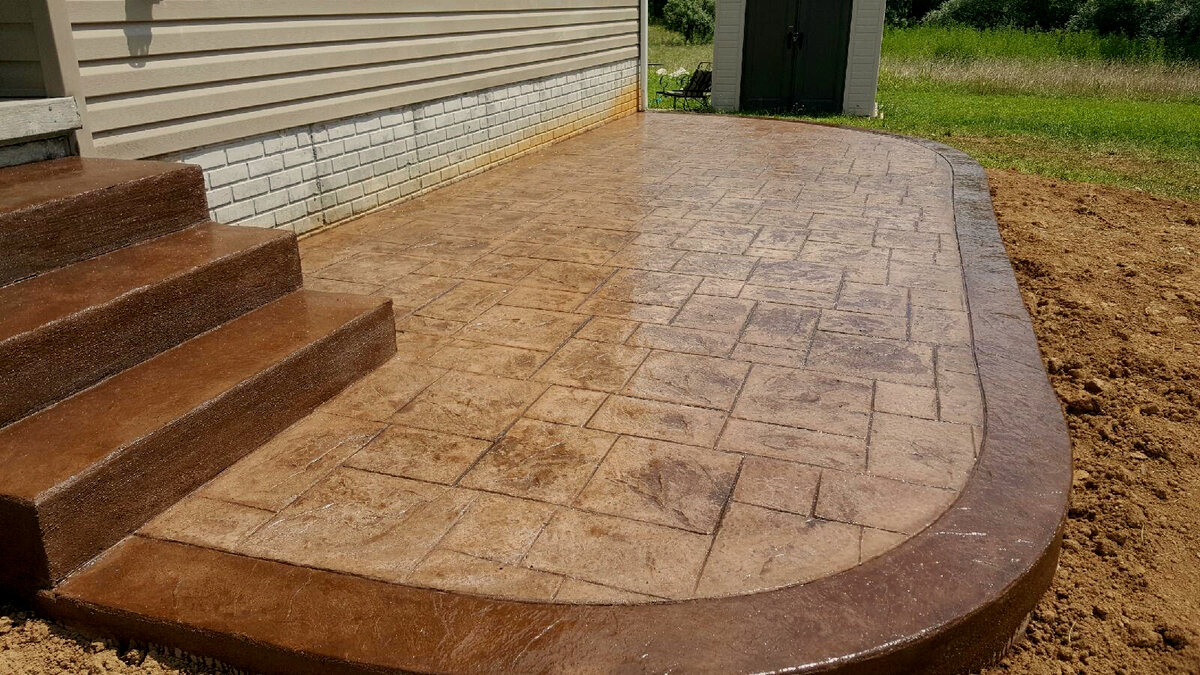
- Stamped Concrete Overlays: For those who want to simulate the look of natural stone or other high-end materials, stamped concrete overlays are a great alternative. These overlays are applied over the existing concrete patio and can mimic the appearance of pavers, tiles, or even wood. They offer durability and a wide range of design options.
- Outdoor Rugs: If you’re looking for a quick and cost-effective way to cover your concrete patio, outdoor rugs are a great option. They come in various sizes, patterns, and materials, offering both comfort and aesthetics. Outdoor rugs are easy to install and can be easily replaced or cleaned when needed.
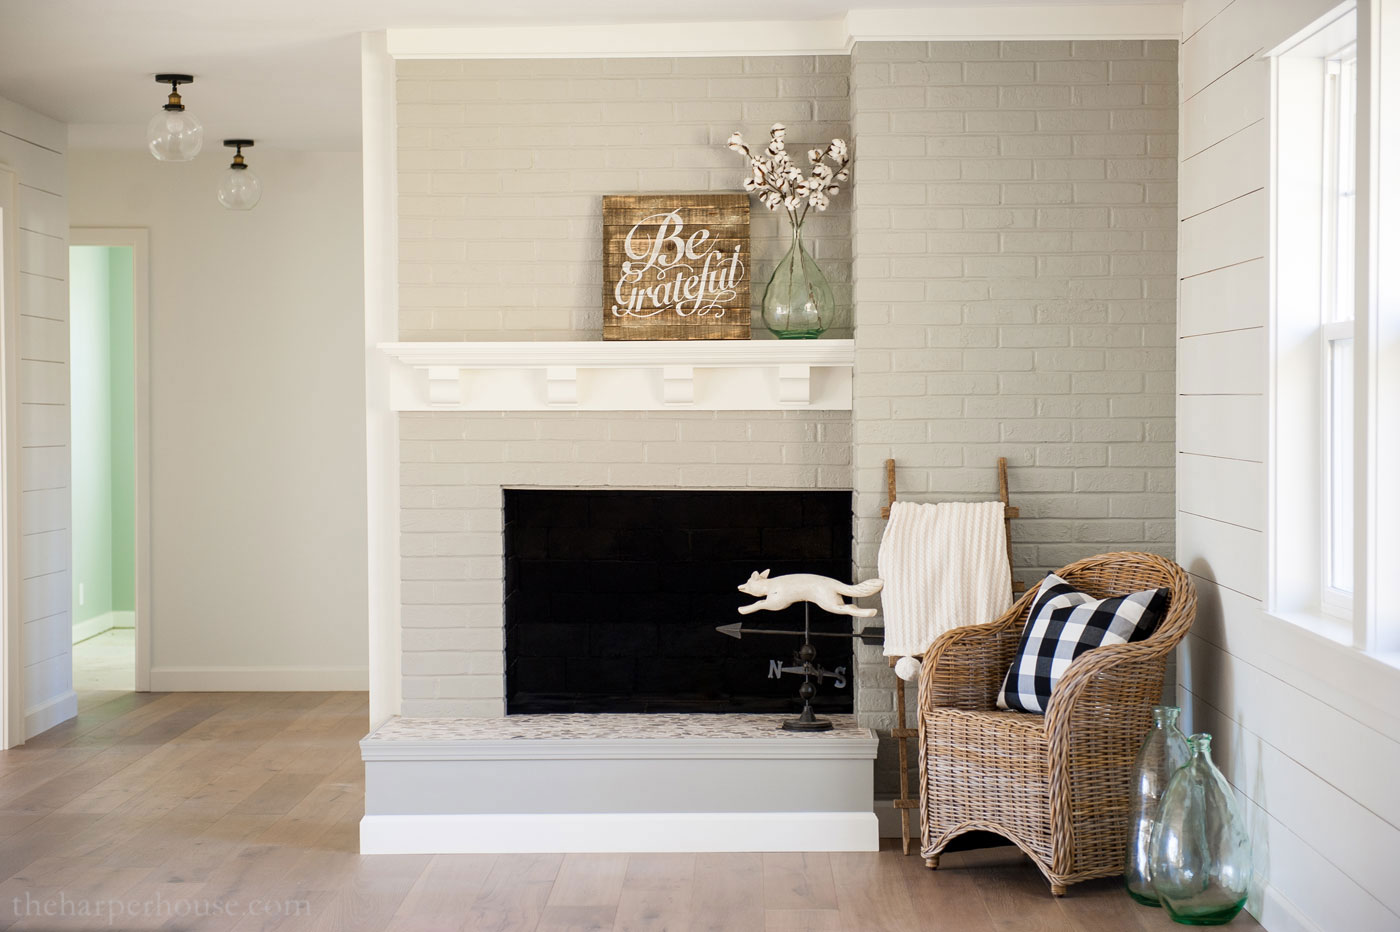
- Outdoor Furniture Arrangements: If you prefer a more casual and flexible approach, you can create a cozy and inviting outdoor space by arranging outdoor furniture on your concrete patio. Investing in comfortable seating, tables, and accessories can transform the look and functionality of the area.
When choosing the covering material, consider factors such as your budget, the desired look, durability, maintenance requirements, and the climate in your area. Take the time to research and explore different options to find the one that suits your preferences and lifestyle.
Once you have chosen the covering material, you can move on to the planning and measuring stage. This step is crucial to ensure you have the right amount of materials and a well-designed layout for your covered patio. Let’s dive into the planning process in the next section.
Planning and Measuring
Before you start covering your concrete patio, it’s essential to carefully plan the layout and measure the area. Proper planning and accurate measurements will help you determine the amount of covering material you need and ensure a seamless installation process. Here are some steps to follow:
- Sketch the layout: Begin by sketching out a rough layout of your patio area. This will help you visualize how the covering material will be laid out and make any necessary adjustments in advance. Consider the shape and size of your patio, any existing features or obstacles, and the desired pattern or design.
- Take accurate measurements: Use a tape measure to measure the length and width of your patio area. It’s important to measure both the overall dimensions and any specific sections of your patio that may require additional attention, such as corners, steps, or irregular shapes. Write down the measurements and double-check for accuracy.
- Account for extra material: When calculating the amount of covering material needed, it’s always a good idea to account for some extra material. This will allow you to have spare pieces in case of any mistakes or future repairs. Check the manufacturer’s recommendations for the specific covering material you have chosen to determine the recommended amount of extra material to purchase.
- Consider the pattern and design: Depending on the type of covering material you have chosen, you may have options for different patterns or designs. Think about how you want the final result to look. For example, with pavers or tiles, you can choose a classic grid pattern or get creative with a diagonal or herringbone design. Take into consideration any focal points or areas where you want to highlight certain features.
- Consult with professionals if needed: If you’re unsure about the planning or measuring process or if you have a complex patio layout, it’s always a good idea to consult with professionals. They can provide expert advice, guidance, and even create a detailed plan that ensures the best results for your covered patio.
Planning and measuring are essential steps to set the foundation for a successful installation of the covering material. Taking the time to sketch the layout, measure accurately, and consider the design will save you time, money, and frustration in the long run.
With the planning and measuring complete, it’s time to move on to the next stage – cleaning and repairing the surface of your concrete patio in preparation for the covering material. We will explore this step in detail in the following section.
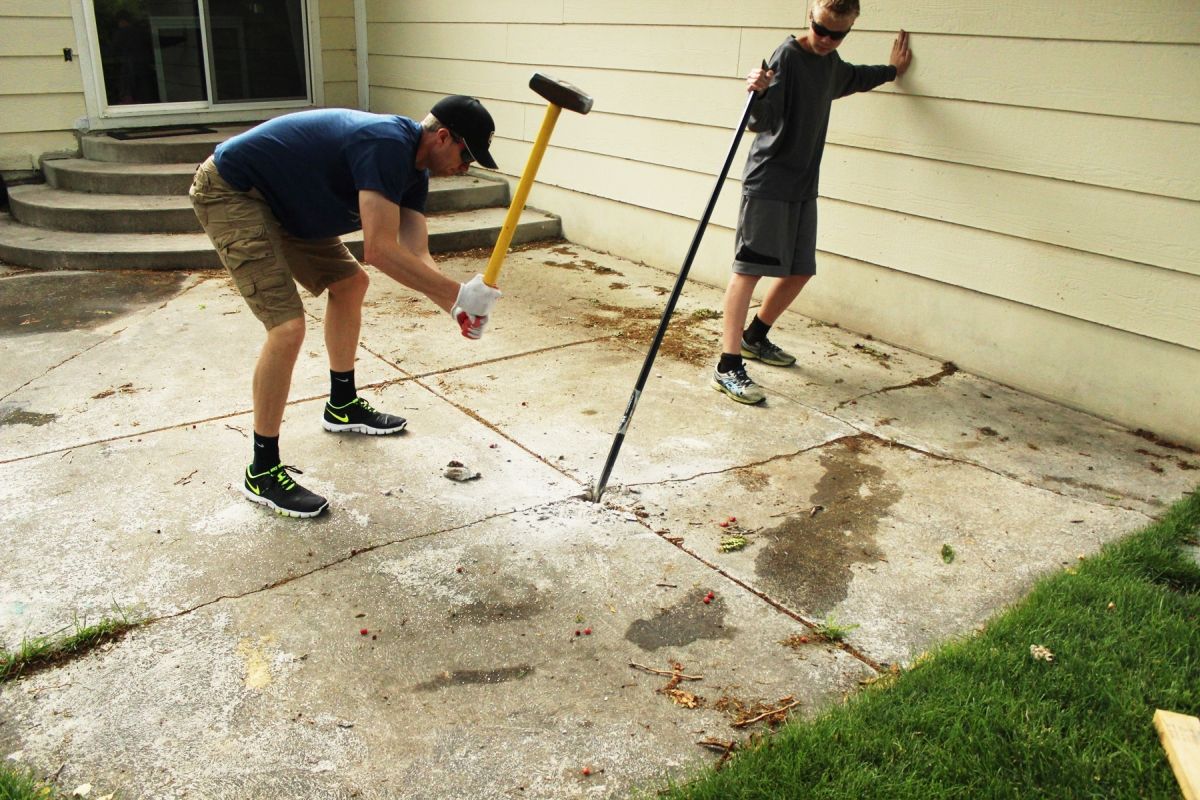
Cleaning and Repairing the Patio Surface
Before applying a covering material to your concrete patio, it’s crucial to thoroughly clean and repair the surface. This will ensure better adhesion and a smooth, even finish. Here are the steps to follow:
- Sweep or blow away debris: Begin by removing any loose dirt, leaves, or debris from the patio surface. Use a broom or leaf blower to sweep or blow them away. This will create a clean canvas for the next steps.
- Pressure wash the patio: Use a pressure washer to clean the concrete surface thoroughly. Start from one end and work your way across, using broad, sweeping motions. Pay attention to the corners and edges as well. This will remove any stubborn dirt, stains, or mildew that may have accumulated over time.
- Treat stains or discoloration: If there are any stubborn stains or discoloration on the patio, you may need to apply a stain remover or a mixture of water and mild detergent. Scrub the affected areas with a stiff brush and rinse them with water. Repeat this process until the stains are minimized or completely removed.
- Repair cracks and damage: Inspect the patio surface for any cracks, chips, or other damage. If you come across any, it’s essential to repair them before proceeding. Clean the damaged area with water and a stiff brush, then fill it with a suitable concrete patching compound. Smooth the surface with a trowel, following the manufacturer’s instructions, and allow it to dry completely.
- Remove efflorescence: Efflorescence is a white, powdery substance that can appear on the surface of concrete over time. If you notice any efflorescence on your patio, it’s important to remove it before covering the surface. Scrub the affected areas with a solution of water and vinegar, or a commercial efflorescence remover, using a stiff brush. Rinse the patio thoroughly with water afterward.
By cleaning and repairing your patio surface, you ensure that the covering material will adhere properly and provide a more durable and attractive finish. Taking the time to remove debris, pressure wash, treat stains, repair damage, and eliminate efflorescence will result in a cleaner and more inviting outdoor space.
With the patio surface cleaned and repaired, it’s time to prepare it for the application of the covering material. In the next section, we will explore the importance of applying a primer or base coat and how it enhances the adhesion and longevity of the cover. Stay tuned!
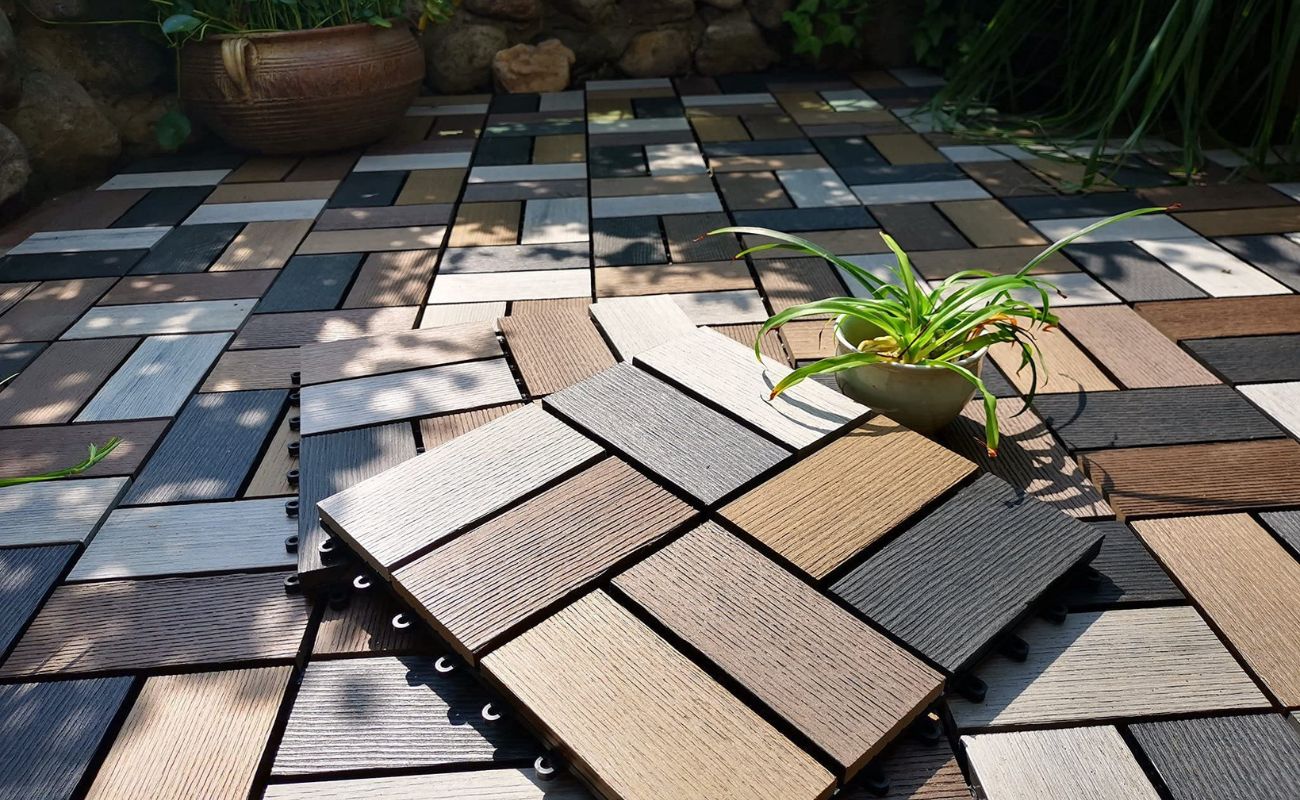
Consider using outdoor rugs, interlocking deck tiles, or concrete paint to cover up a concrete patio. These options can add color and texture while providing a more comfortable surface for outdoor activities.
Read more: How To Cover Outdoor Concrete
Applying a Primer or Base Coat
Once you have cleaned and repaired your patio surface, the next step before applying the covering material is to apply a primer or base coat. This layer not only helps improve adhesion but also enhances the longevity and durability of the cover. Here’s how you can apply a primer or base coat:
- Choose the right primer: Depending on the type of covering material you have chosen, there may be specific primers or base coats recommended by the manufacturer. Ensure that you select the appropriate primer that is compatible with both the concrete surface and the covering material.
- Prepare the area: Before applying the primer, make sure the patio surface is clean, dry, and free of any debris or contaminants. Use a broom or leaf blower to remove any loose dirt or dust. If necessary, you can give the surface a light scrub with a mild detergent mixed with water to ensure it’s thoroughly clean.
- Apply the primer or base coat: Follow the manufacturer’s instructions for mixing and applying the primer or base coat. Using a roller or a paintbrush, apply a thin and even layer of primer to the entire patio surface. Work in small sections to ensure proper coverage and smooth application. Allow the primer to dry completely according to the manufacturer’s recommended drying time.
- Sand the surface (if required): Depending on the type of primer or base coat you have used, you may need to lightly sand the surface after it has dried. This step helps smooth out any imperfections and creates a better bonding surface for the covering material.
Applying a primer or base coat is an important step in the process of covering your concrete patio. It creates a strong bond between the surface and the covering material, helping to prevent peeling, cracking, and other issues down the line. Additionally, the primer or base coat can provide added protection against moisture and other outdoor elements, improving the longevity of your patio cover.
With the primer or base coat applied, you’re now ready to move on to the exciting part – installing the covering material. In the next section, we will explore the various options and techniques for installing the cover on your patio. Let’s dive in!
Installing the Covering Material
Now that you’ve prepared the concrete patio by cleaning, repairing, and applying a primer or base coat, it’s time to move on to the exciting step of installing the covering material. The method of installation will depend on the type of covering material you have chosen. Here are some general steps to guide you through the process:
- Follow the manufacturer’s instructions: Before you begin the installation process, carefully read and follow the manufacturer’s instructions for your specific covering material. Each material may have different requirements and techniques, so it’s essential to have a clear understanding of the recommended installation process.
- Layout the covering material: Start by laying out the covering material on the patio surface according to your desired pattern or design. Ensure that the material is aligned properly and evenly spaced. Use spacers or guidelines to help maintain consistent spacing between pavers or tiles.
- Cut the covering material (if necessary): If you need to fit the covering material around edges, corners, or obstacles, you may need to make cuts. Use appropriate tools, such as a wet saw for tiles or a diamond blade for pavers, to make accurate and clean cuts. Take safety precautions and wear protective gear when cutting the covering material.
- Apply adhesive or mortar (if required): Depending on the type of covering material, you may need to apply adhesive or mortar to secure it in place. Follow the manufacturer’s instructions for the specific adhesive or mortar recommended for your chosen material. Use a trowel to apply the adhesive or mortar evenly, ensuring proper adhesion.
- Set the covering material: Once the adhesive or mortar is applied, carefully place the covering material on the patio surface. Press it firmly into place to ensure proper bonding. Check for any unevenness or gaps and make any necessary adjustments to ensure a level and seamless installation.
- Allow the covering material to set: After the installation, allow the covering material to set according to the manufacturer’s recommended drying or curing time. Avoid walking or putting heavy objects on the newly installed covering material during this time to prevent disturbances or damage.
It’s important to note that the installation process may vary depending on the covering material you have chosen. For more complex or specialized materials, it may be beneficial to seek professional installation or guidance. By following the recommended installation techniques and taking your time, you can achieve a beautiful and durable cover for your concrete patio.
With the covering material installed, you’re almost there! The final step is to seal and finish the covered patio, which we will explore in the next section. Stay tuned!
Sealing and Finishing the Covered Patio
After installing the covering material on your concrete patio, it’s important to seal and finish the surface to enhance its durability, protect against stains and weathering, and add the final touches to your outdoor space. Here’s how you can seal and finish your covered patio:
- Clean the surface: Before sealing the patio, make sure the covering material is clean and free of any debris or residues. Remove any excess adhesive, mortar, or grout that may have been left behind during the installation process. Use a brush or a broom to sweep away any loose particles.
- Choose a suitable sealer: Select a sealer that is specifically designed for your type of covering material. There are sealers available for various materials, such as pavers, tiles, or natural stone. Consider factors such as the level of protection, appearance enhancement, and maintenance requirements when choosing a sealer.
- Prepare the patio surface: Follow the manufacturer’s instructions for prepping the patio surface before applying the sealer. This may involve cleaning the surface with a mild detergent, removing any stains or residues, and allowing the patio to dry completely. Some sealers may require the application of a primer or base coat, so make sure to follow the recommended steps.
- Apply the sealer: Use a roller or a brush to apply the sealer evenly across the patio surface. Work in small sections, starting from one end and moving towards the other. Make sure to apply a thin and even coat, and avoid overlapping or puddling. Allow the sealer to dry according to the manufacturer’s instructions.
- Apply additional coats (if needed): Depending on the type of sealer and the desired level of protection, you may need to apply multiple coats. Follow the recommended drying times between coats and apply additional coats as necessary to achieve the desired results.
- Consider additional finishes: Depending on your personal preference and the type of covering material, you may choose to apply additional finishes to enhance the appearance and functionality of your covered patio. For example, you can apply a non-slip coating, add a protective surface or color enhancer, or even consider decorative additions such as outdoor rugs or furniture.
Sealing and finishing your covered patio is an important step to protect your investment and keep it looking its best for years to come. A proper sealer will help repel stains, prevent water penetration, and guard against the damaging effects of the sun and other outdoor elements. Additionally, adding any additional finishes can further enhance the overall aesthetic appeal of your outdoor space.
With the patio sealed and finished, you can now sit back, relax, and enjoy your transformed outdoor living area. By following these steps and taking proper care of your covered patio, you can create an inviting and functional space that will be enjoyed for years to come.
As we conclude this guide, we hope that it has provided you with valuable insights and guidance on how to cover up a concrete patio. Remember to always follow the manufacturer’s instructions and seek professional assistance if needed. With a little creativity and the right materials, you can transform your plain concrete patio into a stunning outdoor oasis.
Happy patio covering!
Conclusion
Covering up a concrete patio can completely transform your outdoor space, creating a more inviting and visually appealing area for relaxation and entertaining. Whether you choose pavers, tiles, natural stone, stamped concrete overlays, outdoor rugs, or even outdoor furniture arrangements, the possibilities are endless when it comes to adding personality and style to your patio.
Throughout this guide, we’ve discussed the importance of preparing the concrete patio by cleaning, repairing, and applying a primer or base coat. We’ve also explored the various options for covering materials and the steps involved in planning, measuring, and installing them.
Additionally, we’ve highlighted the significance of sealing and finishing your covered patio to ensure its longevity and protect against stains and weathering. By following these steps, you can create a beautiful and durable outdoor living space that can be enjoyed for years to come.
Remember, it’s essential to choose the right covering material that suits your style, preferences, and budget. Each option has its own unique set of benefits and considerations. Take the time to research and explore different materials, and consult with professionals if needed, to make an informed decision.
Lastly, don’t forget to maintain and care for your covered patio. Regular cleaning, periodic resealing, and timely repairs will help preserve its beauty and functionality. With proper maintenance, your covered patio will continue to be a source of joy and relaxation for you and your loved ones.
So, what are you waiting for? Take the first step in transforming your concrete patio into an outdoor oasis. Start planning, gather your materials, and get ready to create a space that reflects your personal style and enhances your outdoor living experience.
Thank you for reading this comprehensive guide on how to cover up a concrete patio. We hope it has inspired and empowered you to embark on this exciting project. Now go out there and create the patio of your dreams!
Frequently Asked Questions about How To Cover Up A Concrete Patio
Was this page helpful?
At Storables.com, we guarantee accurate and reliable information. Our content, validated by Expert Board Contributors, is crafted following stringent Editorial Policies. We're committed to providing you with well-researched, expert-backed insights for all your informational needs.


0 thoughts on “How To Cover Up A Concrete Patio”