Home>Furniture>Outdoor Furniture>How To Build Patio Covers
Outdoor Furniture
How To Build Patio Covers
Modified: March 24, 2024
Learn how to build patio covers for your outdoor furniture and create a stylish and functional space to relax and entertain.
(Many of the links in this article redirect to a specific reviewed product. Your purchase of these products through affiliate links helps to generate commission for Storables.com, at no extra cost. Learn more)
Introduction:
Welcome to the world of outdoor living! Enhancing your outdoor space with a patio cover not only adds value to your home but also provides a comfortable spot to relax and entertain. Whether you’re looking to shield yourself from the sun, create a cozy outdoor dining area, or simply add aesthetic appeal to your backyard, building a patio cover can be a rewarding DIY project.
In this article, we will guide you through the process of building a patio cover, from planning and choosing the right materials to installing the roof and adding the finishing touches. So roll up your sleeves, grab your tools, and let’s get started!
But before diving into the nitty-gritty of construction, it’s important to note that building codes and regulations vary by location. Be sure to check with your local building authority to obtain any necessary permits and ensure compliance with the applicable regulations.
With that said, let’s begin the journey of creating the outdoor oasis of your dreams!
Key Takeaways:
- Building a patio cover is a fun DIY project that adds value to your home. Plan carefully, choose the right materials, and add finishing touches for a functional and beautiful outdoor space.
- Consider functionality, size, style, and budget when building a patio cover. Choose durable materials, design for your home’s architecture, and add personal touches for a cozy and inviting outdoor oasis.
Read more: How To Build A Covered Patio
Planning Your Patio Cover:
Before you start swinging a hammer, it’s essential to have a plan in place for your patio cover project. Taking the time to carefully consider your needs and preferences will help you design a structure that fits seamlessly into your outdoor space. Here are some key considerations:
- Functionality: Determine how you envision using your patio cover. Are you looking for a shaded area for lounging, a space for outdoor dining, or both? Understanding the intended function will guide your design choices.
- Size and Scale: Measure the dimensions of your patio area to determine the appropriate size for your cover. Consider the height, width, and depth of the structure to ensure it provides adequate coverage and blends well with the existing architecture of your home.
- Style and Aesthetics: Think about the overall look you want to achieve. You can opt for a simple and sleek modern design, a rustic and natural vibe, or a more elaborate and ornate structure. Keep in mind the existing aesthetic of your home and outdoor space for a cohesive look.
- Materials: Research different materials available for patio covers, such as wood, aluminum, or vinyl. Each material has its own advantages and considerations, including durability, maintenance requirements, and cost. Choose one that aligns with your preferences and budget.
- Budget: Set a budget for your patio cover project and prioritize your expenses accordingly. This will help you make informed decisions when selecting materials and determining the level of complexity for your design.
Once you have a clear vision for your patio cover, consider creating a sketch or using design software to visualize your ideas. This will help you communicate your vision to contractors or assist you in the construction process if you’re tackling the project yourself.
Remember, the planning stage is crucial to ensure a successful and enjoyable patio cover project. Take your time to map out your ideas, and soon you’ll be on your way to creating a functional and visually stunning outdoor space!
Choosing the Right Materials:
When it comes to building a patio cover, selecting the right materials is key to ensuring durability, longevity, and visual appeal. Consider the following factors when choosing materials for your project:
- Wood: Wood is a popular choice for patio covers due to its natural beauty and versatility. Cedar, redwood, and pressure-treated lumber are commonly used for their resistance to rot and insects. However, wood requires regular maintenance, including sealing and staining.
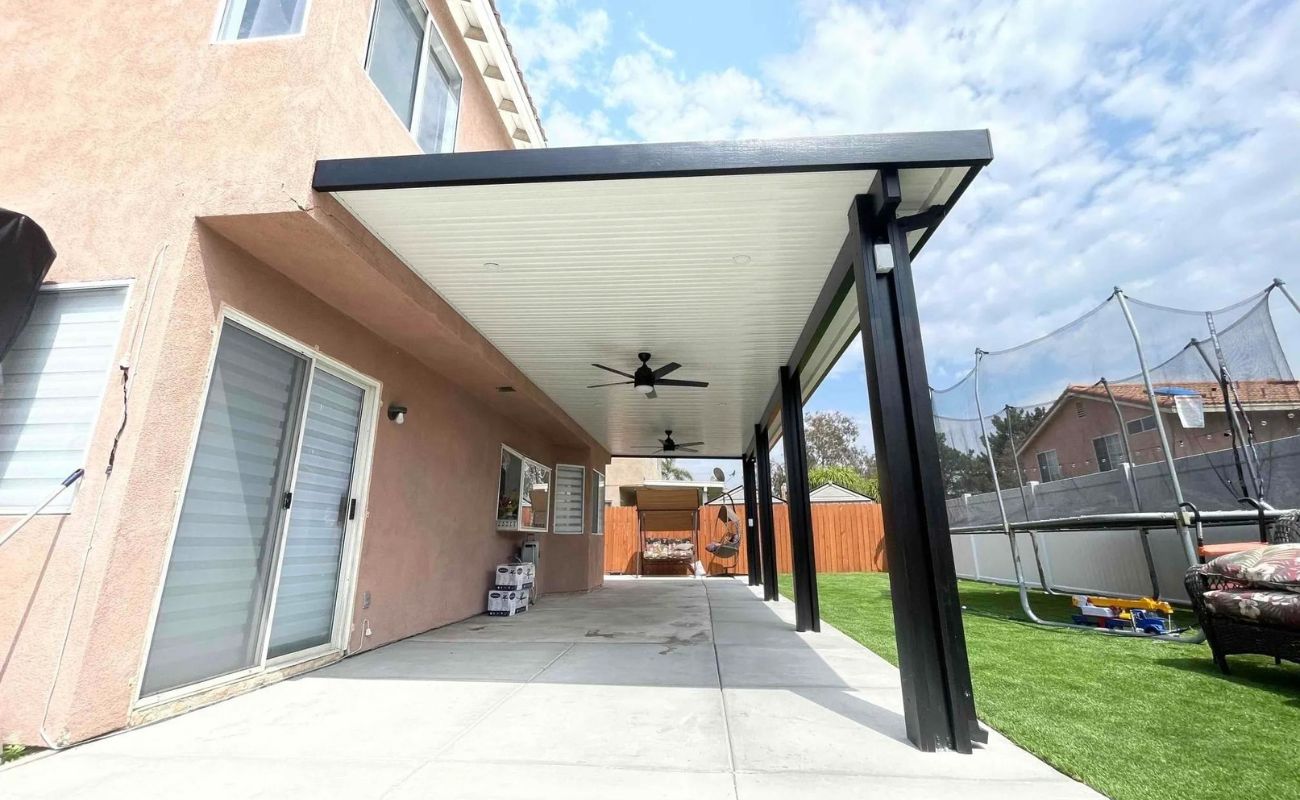
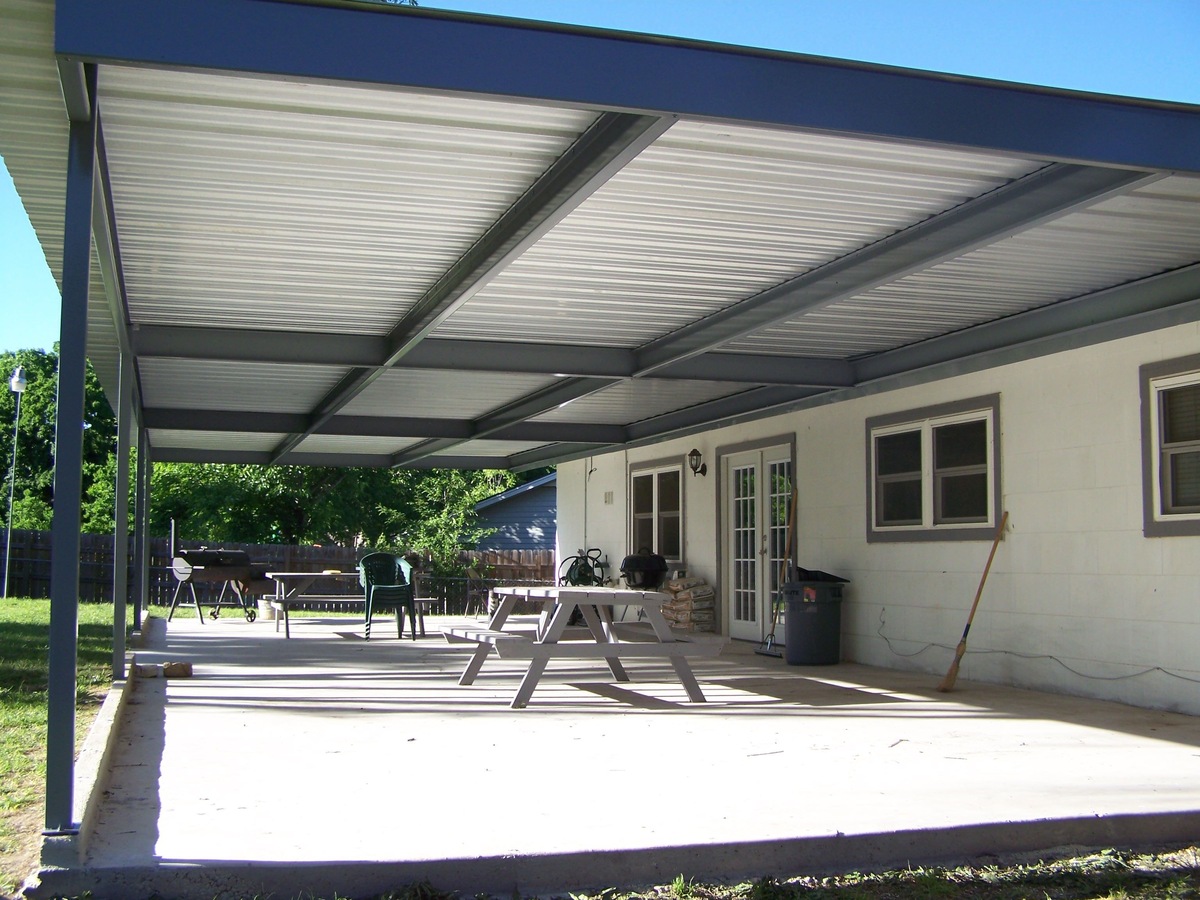
- Aluminum: Aluminum is a lightweight and durable material that requires minimal maintenance. It is resistant to rust and corrosion, making it ideal for outdoor structures. Aluminum patio covers come in a variety of finishes and can be customized to suit your design preferences.
- Vinyl: Vinyl patio covers are low maintenance and resistant to fading, cracking, and peeling. They are available in various styles and colors, allowing you to achieve a sleek and modern look. Vinyl covers are also easy to clean, requiring simple soap and water to remove dirt and stains.
- Polycarbonate: Polycarbonate panels are a popular choice for patio cover roofs. They offer the benefits of natural light transmission while blocking harmful UV rays. Polycarbonate panels come in different colors and thicknesses, giving you flexibility in design and customization.
- Fabric: For a more flexible and economical option, consider a fabric patio cover. These covers provide shade and protection from the elements while allowing airflow. Fabric options include canvas, shade cloth, and retractable awnings.
When selecting materials, also consider the climate and weather conditions in your area. If you live in an area with high winds or heavy snowfall, you may need sturdier materials that can withstand these elements.
Additionally, keep in mind your desired maintenance level. If you prefer minimal upkeep, choose materials that are durable and require little maintenance, such as aluminum or vinyl. If you enjoy the natural patina of wood and are willing to invest time and effort into its maintenance, wood can be a beautiful choice.
Ultimately, the right materials for your patio cover will depend on your personal preferences, budget, and the specific requirements of your outdoor space. Take the time to research and compare different options to make an informed decision.
Next, we’ll delve into the exciting process of designing your patio cover!
Designing your Patio Cover:
Now that you’ve planned and selected the right materials, it’s time to dive into designing your patio cover. A well-designed patio cover will not only provide shade and protection but also enhance the overall aesthetics of your outdoor space. Consider the following tips when designing your patio cover:
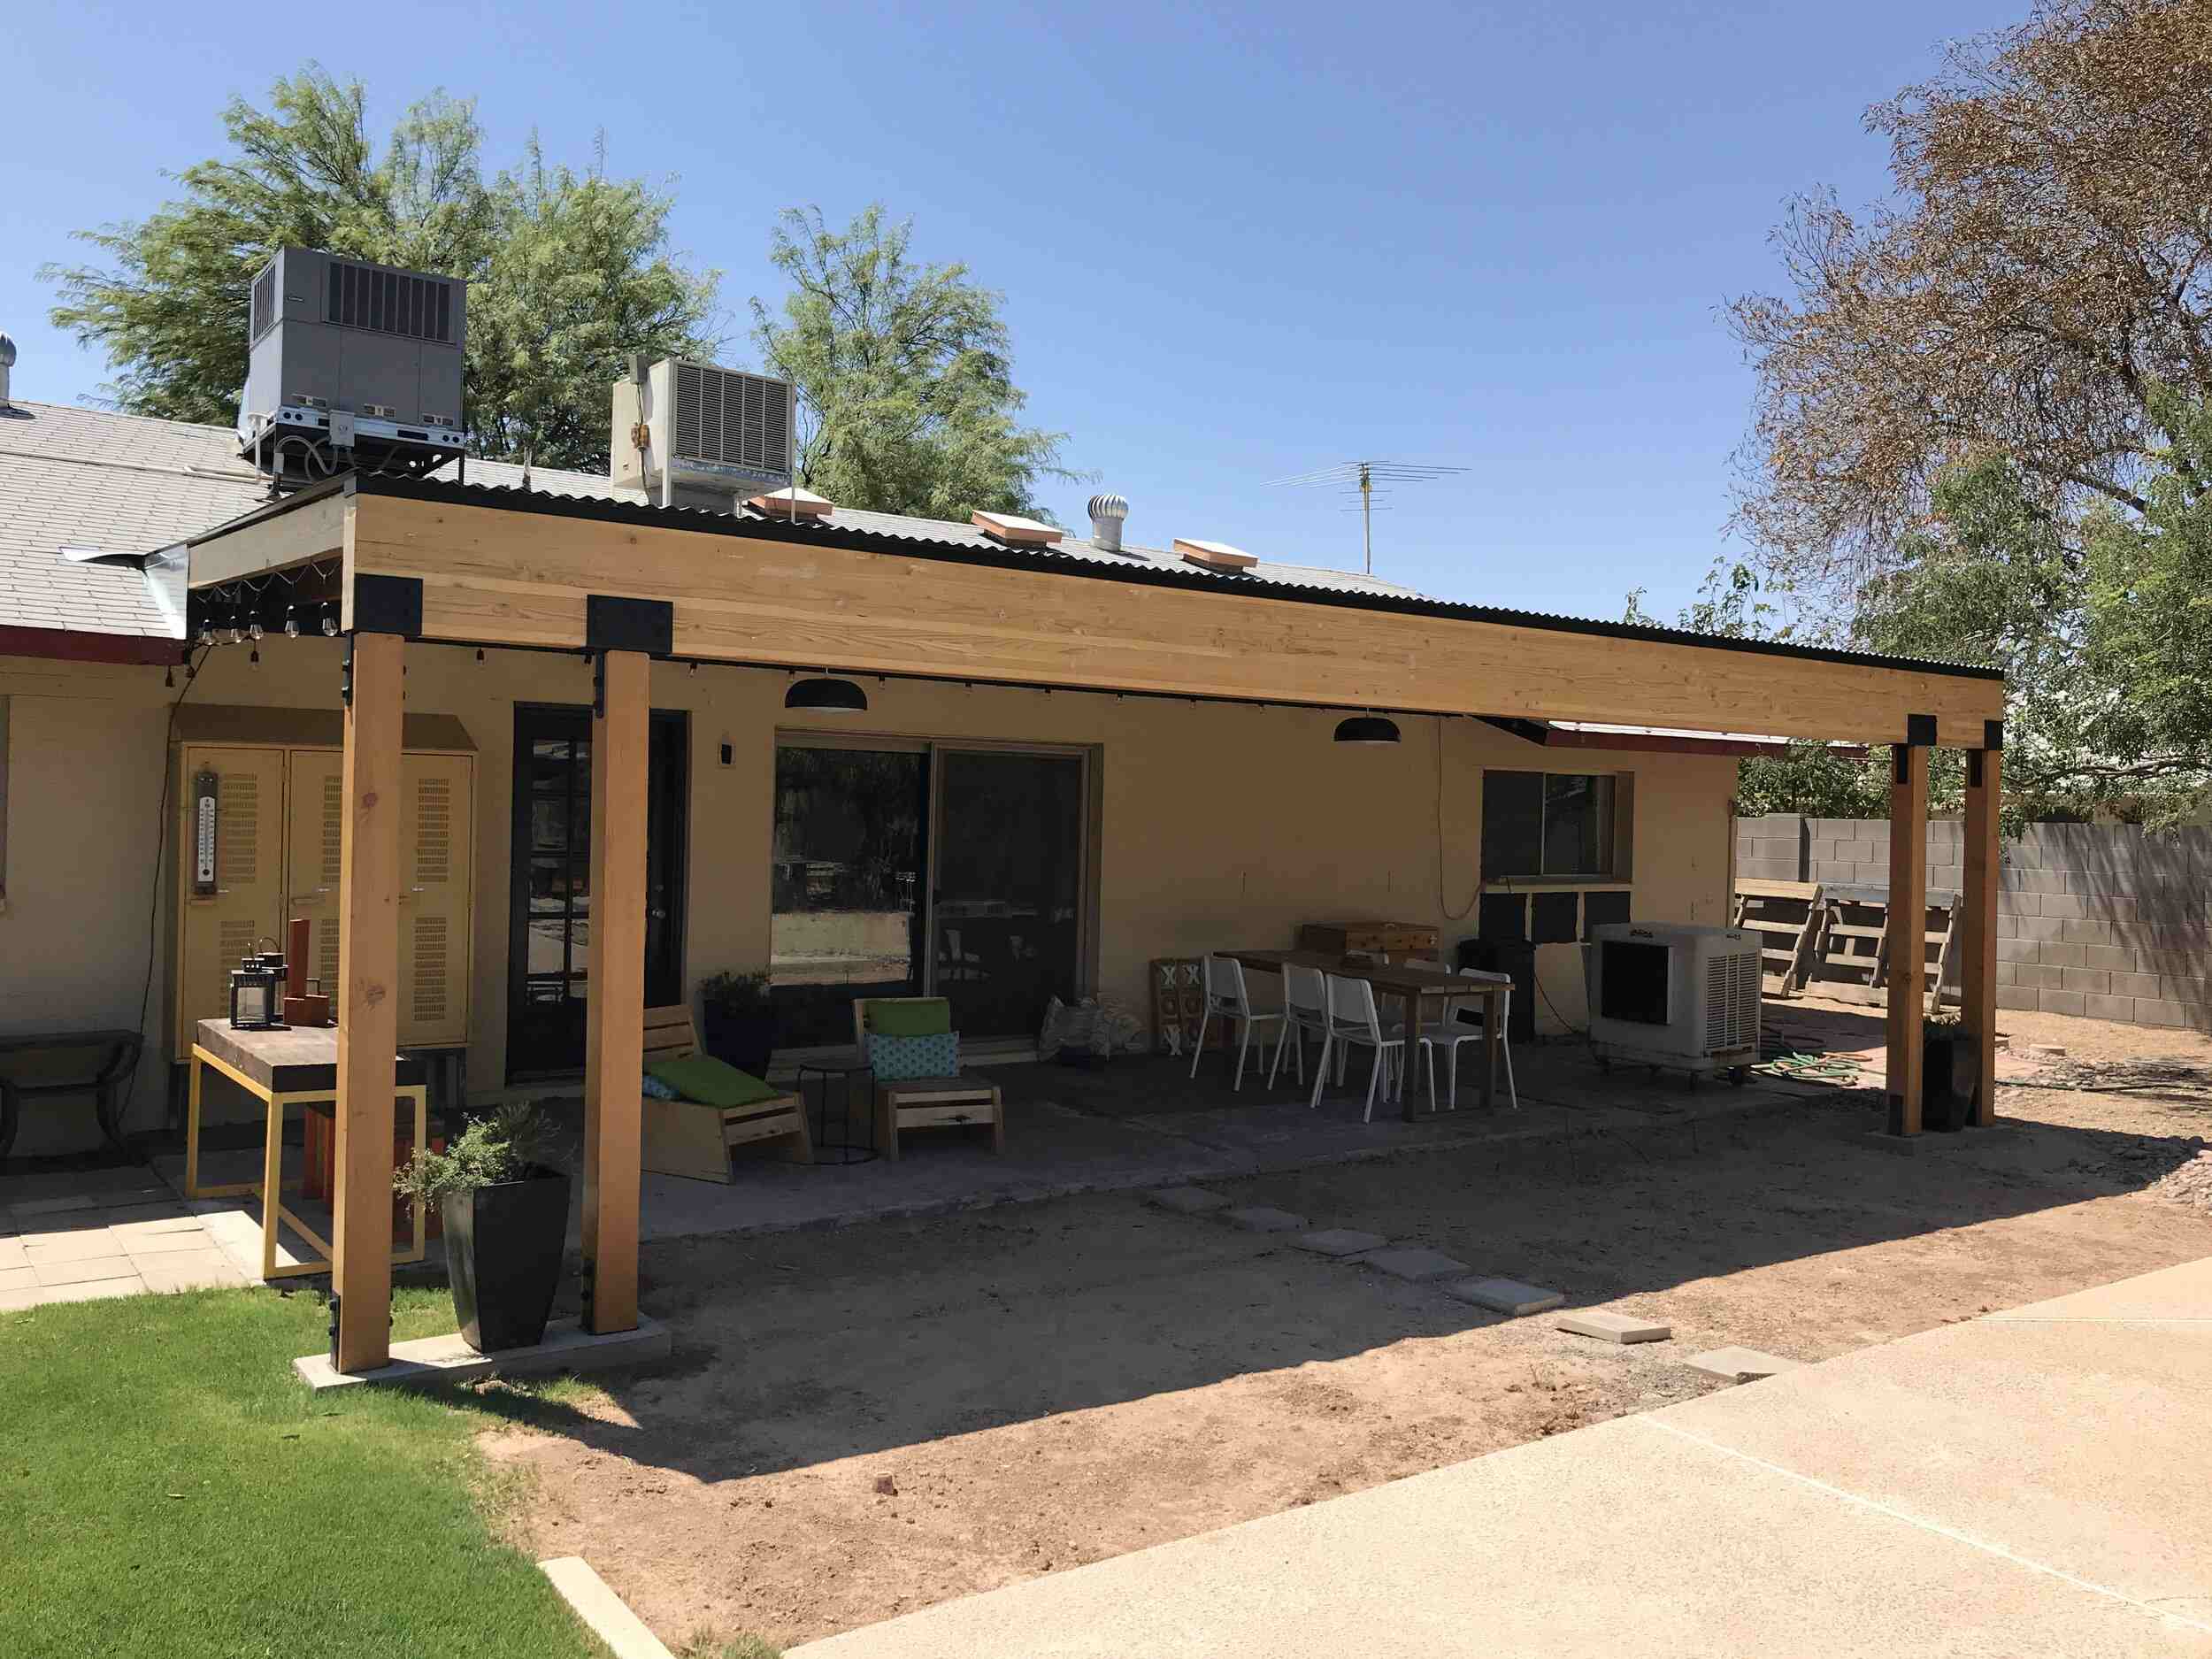
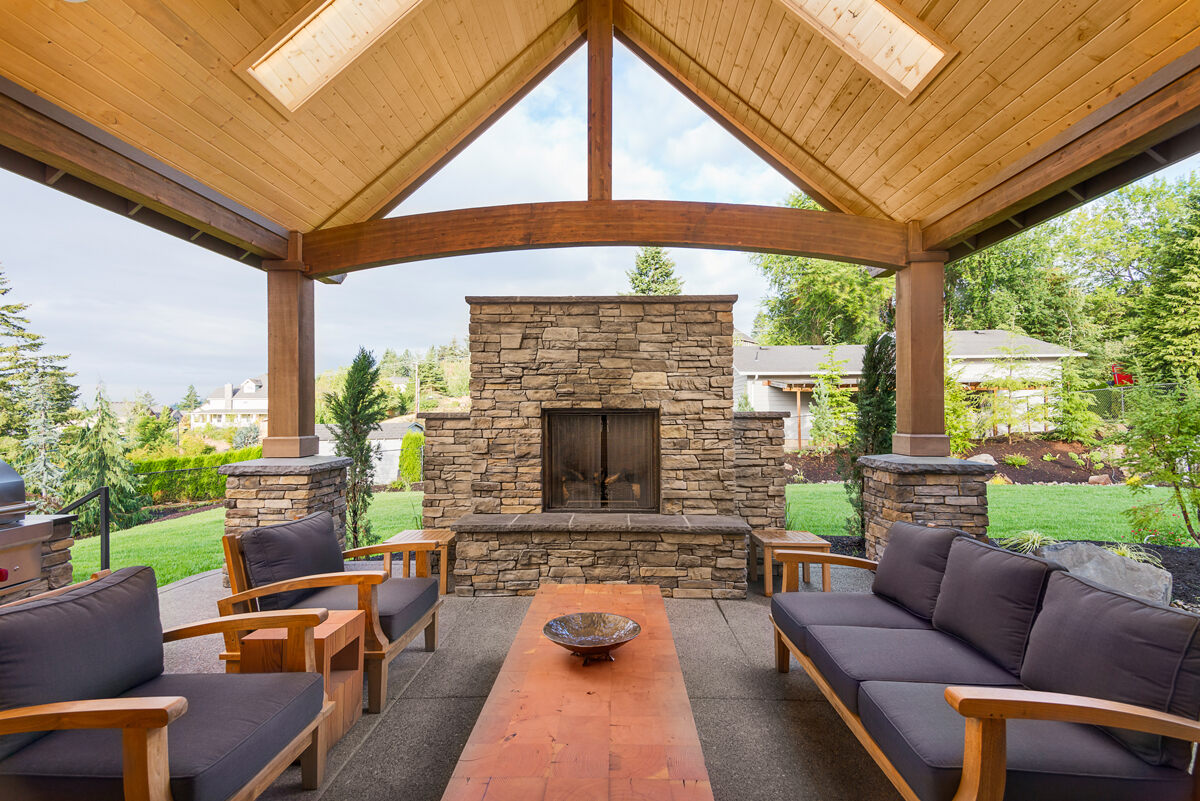
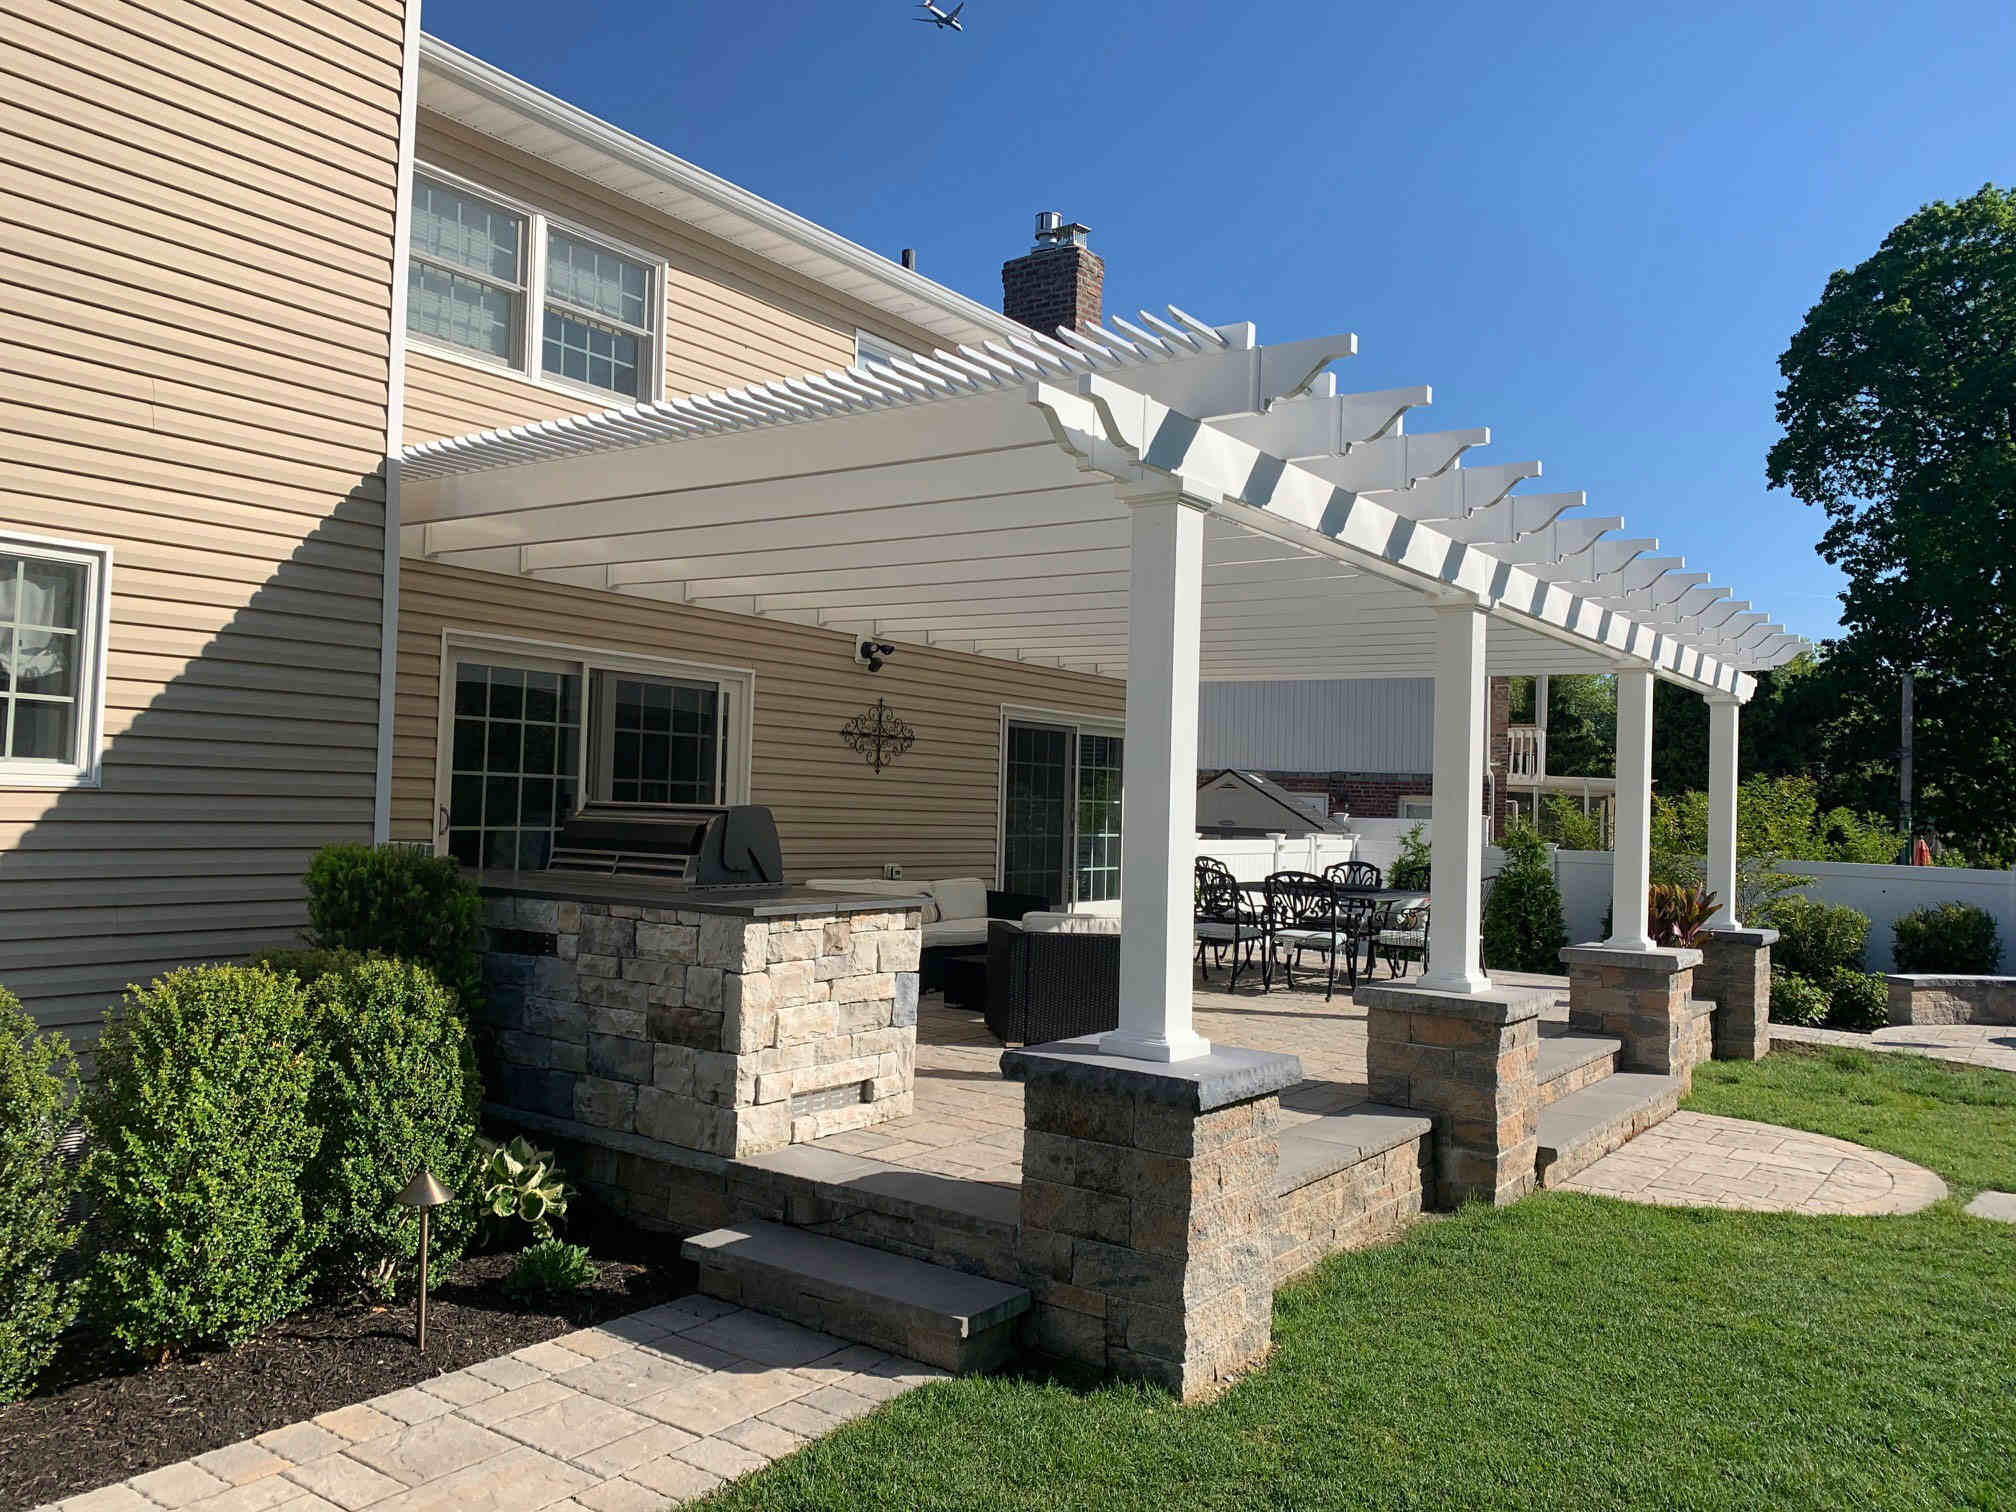
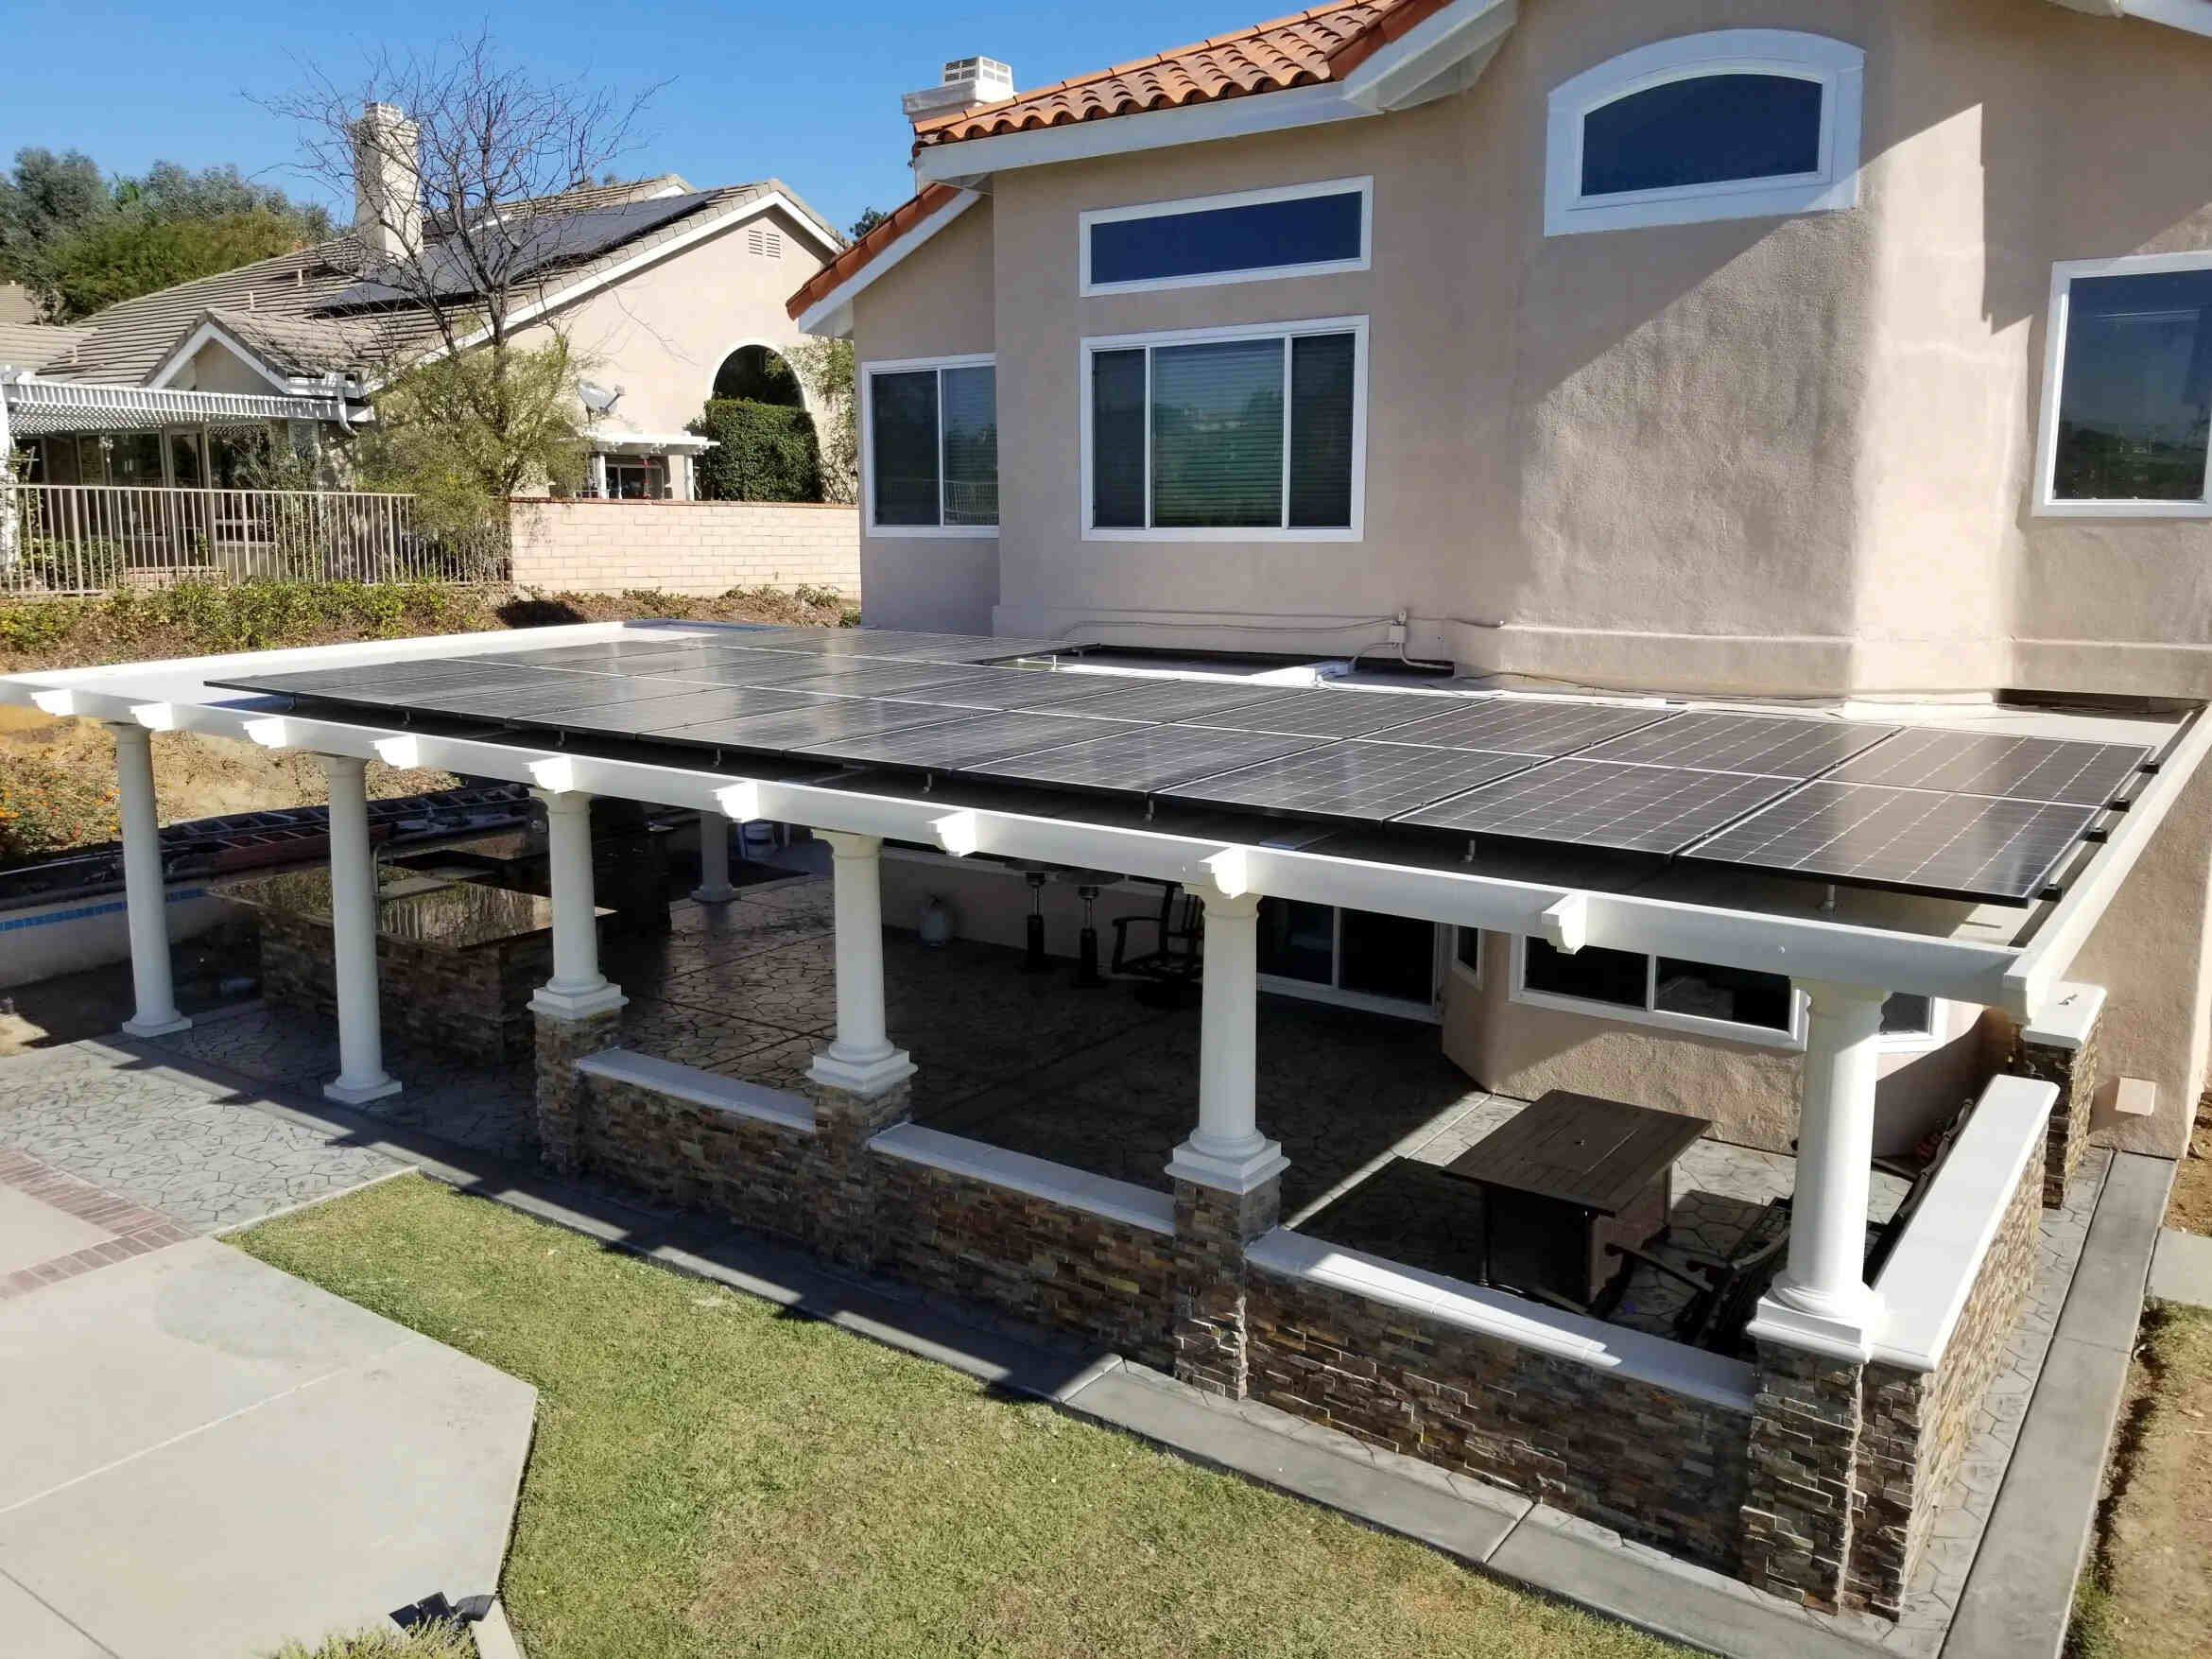
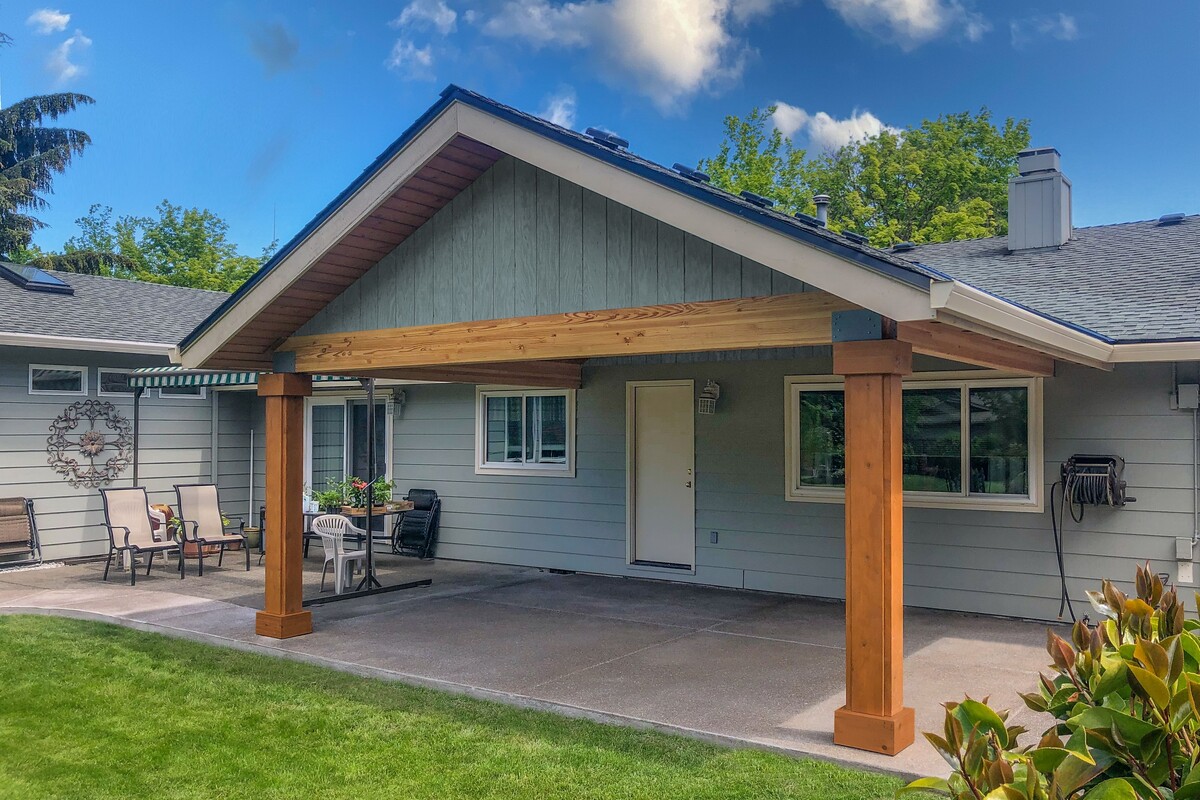
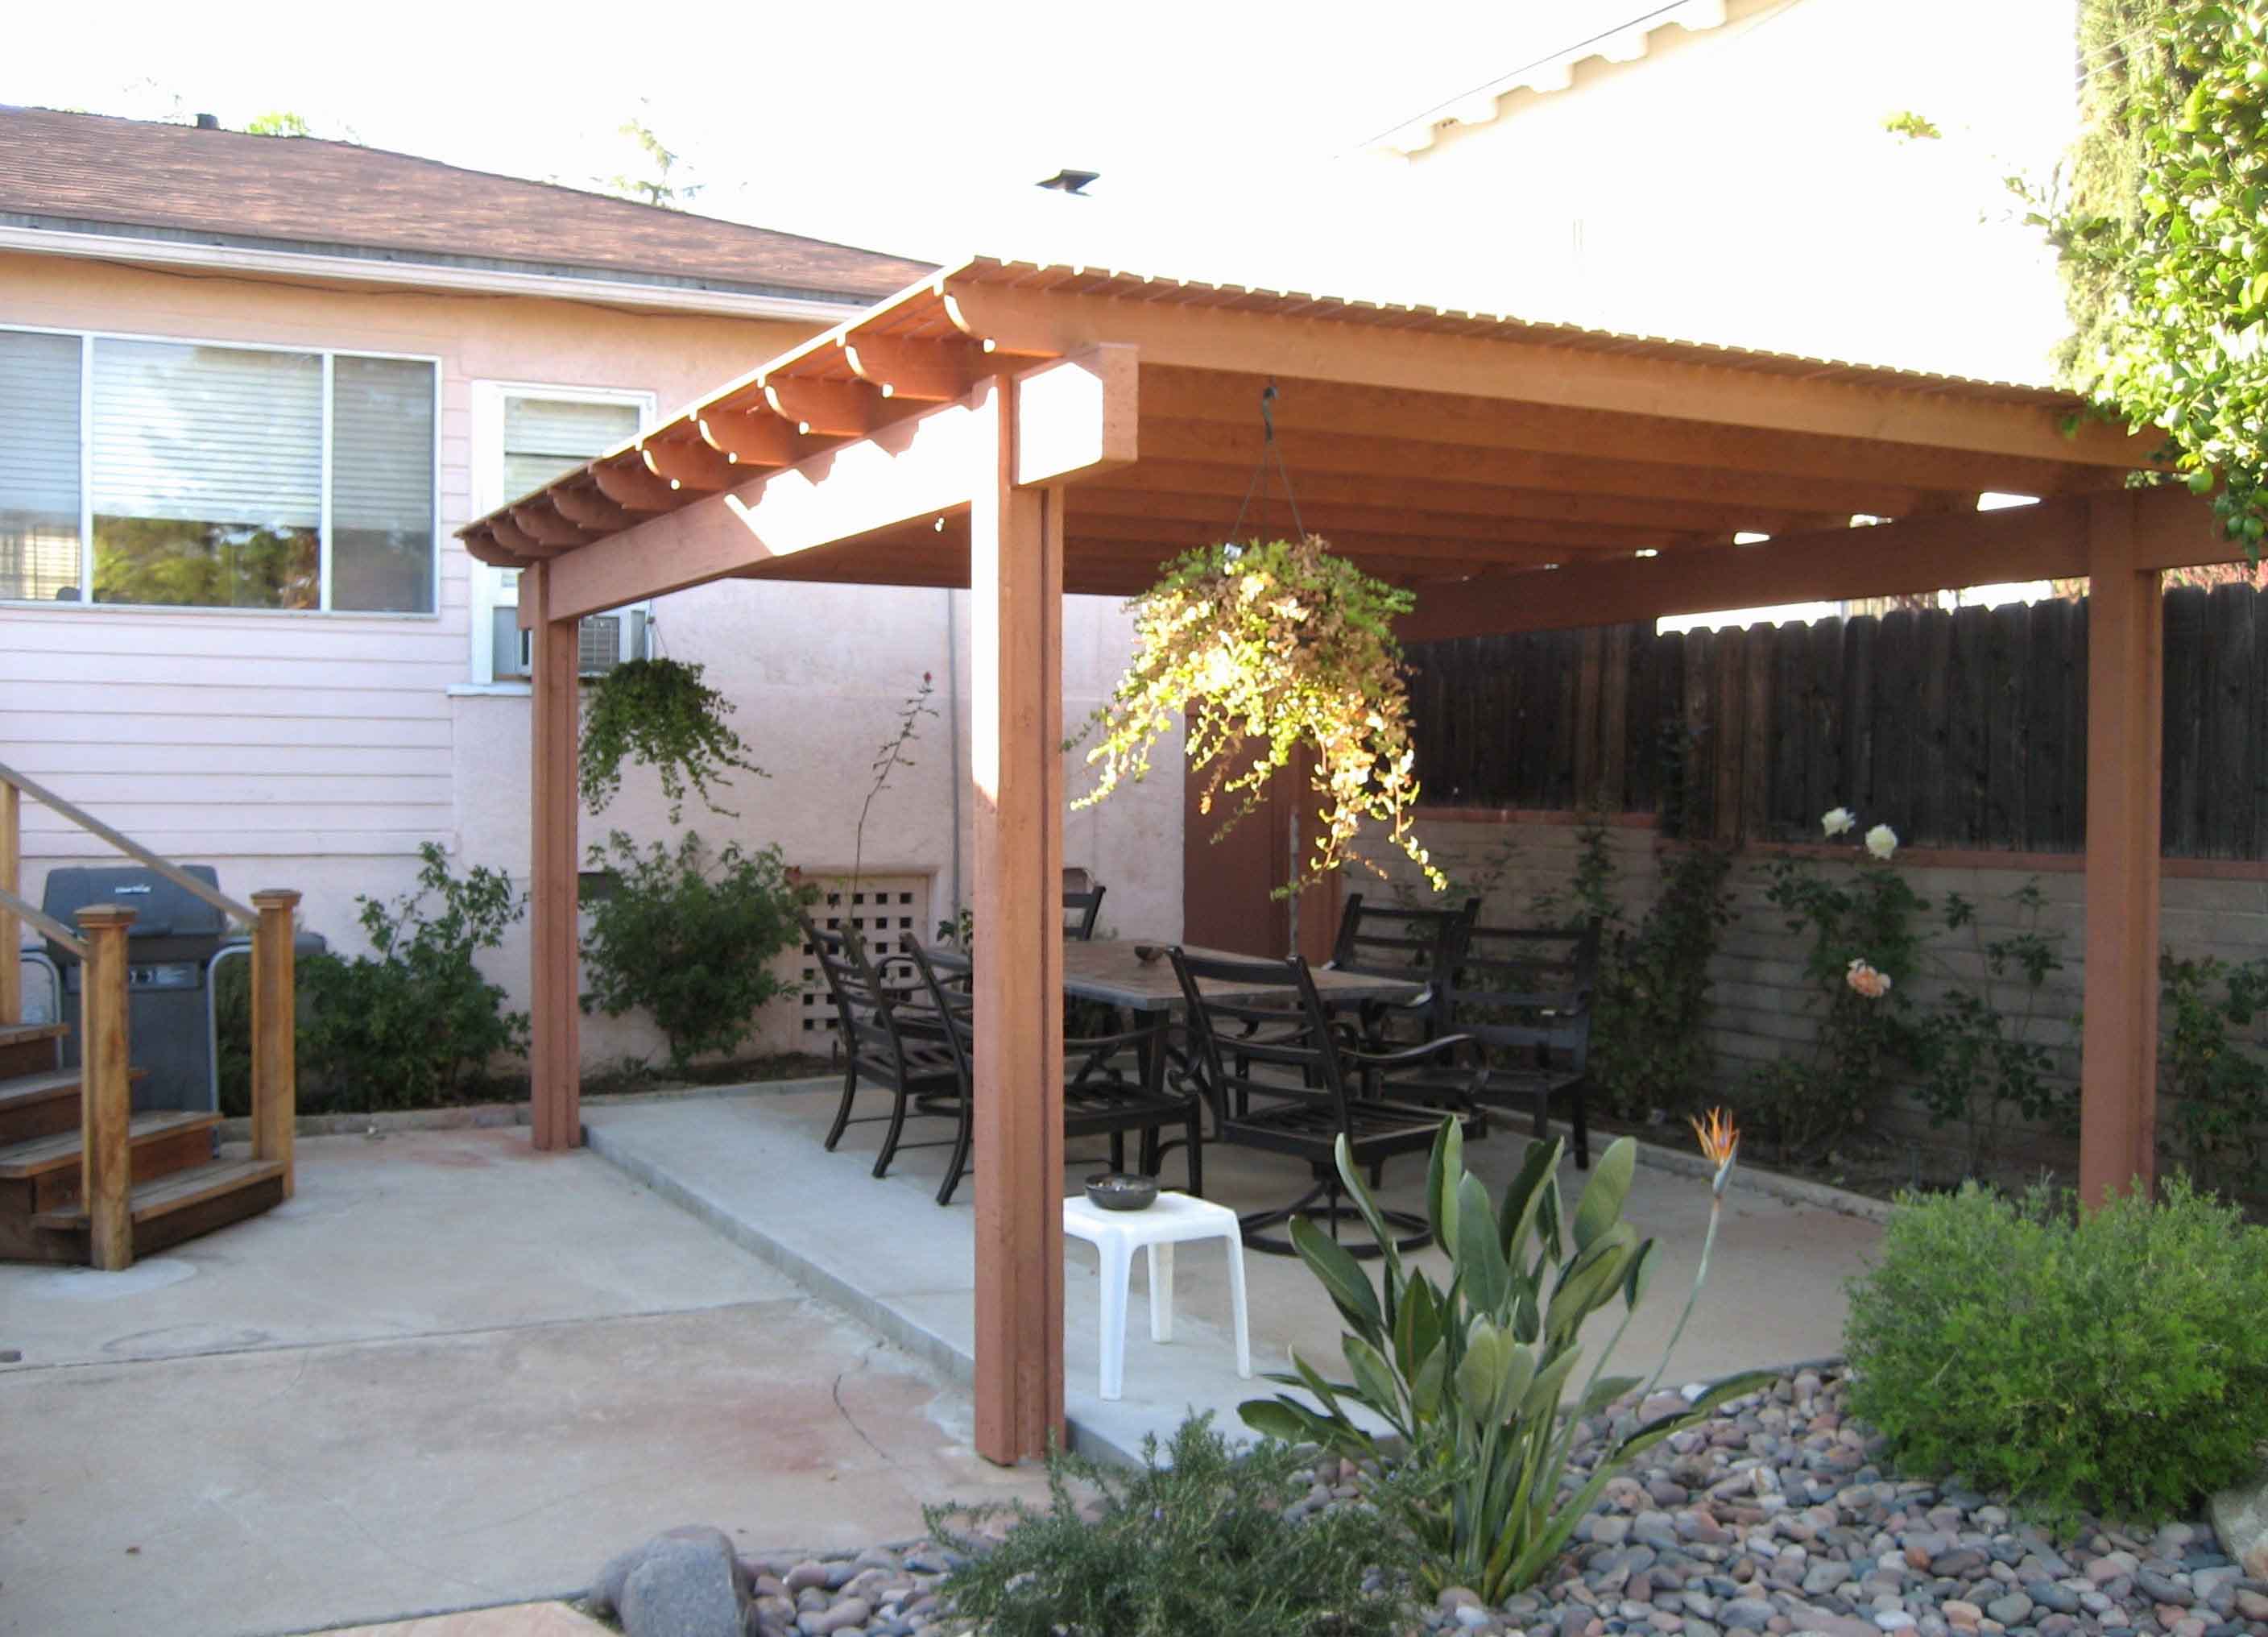
- Roof Style: Choose a roof style that complements the architecture of your home and suits your personal preference. Popular options include gable, hip, flat, or pergola-style roofs. Each has its own unique look and functionality.
- Column and Support Options: Determine the number, size, and style of columns or supports for your patio cover. These structural elements not only provide stability but also add visual interest. They can be made of the same material as your roof or opt for contrasting materials for a design statement.
- Lighting and Electrical Considerations: If you plan on spending evenings on your patio, consider incorporating lighting into your design. This can include overhead lights, sconces, or even string lights for a cozy ambiance. Plan for electrical outlets if you intend to power appliances or entertainment equipment.
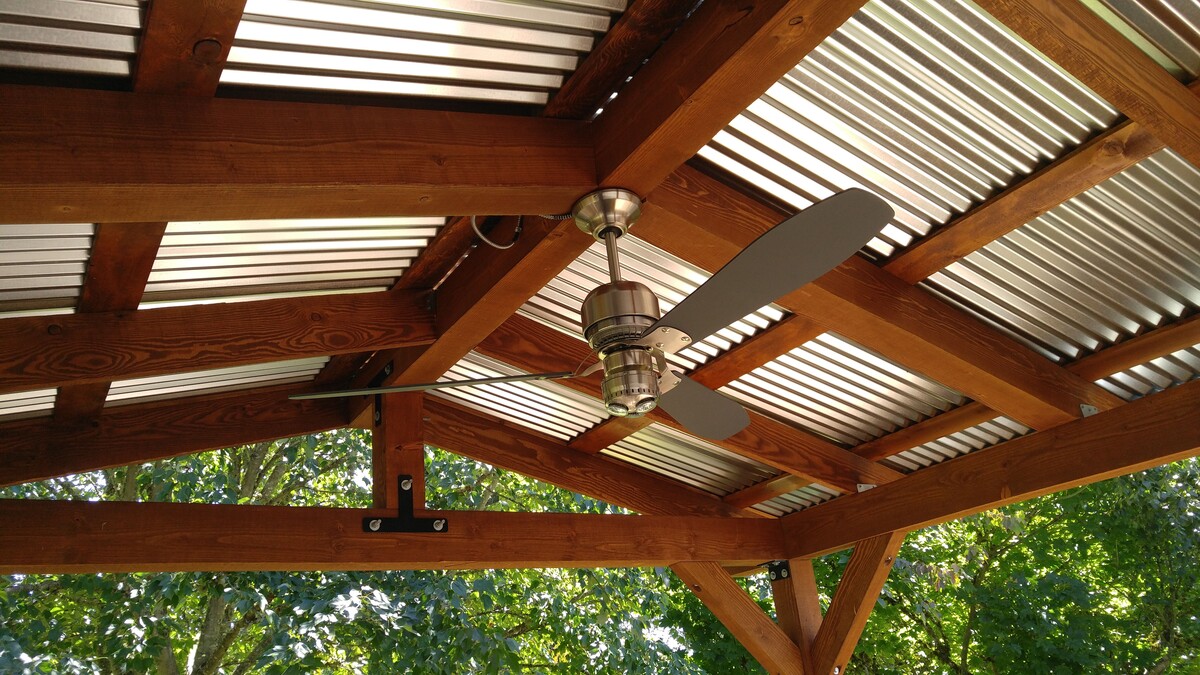
- Additional Features: Think about any additional features you’d like to incorporate into your patio cover design. This could include ceiling fans for added cooling, built-in speakers for entertainment, or even a fireplace or outdoor kitchen area.
- Permits and Regulations: Check with your local building authority to determine any specific regulations or permits required for your patio cover design. It’s important to ensure compliance with local codes and safety standards.
When designing your patio cover, consider the overall aesthetic of your outdoor space. Strive for a cohesive look by incorporating design elements that complement the existing architecture or landscaping features. Take inspiration from magazines, online resources, or consult with a professional to help bring your vision to life.
Once you’ve finalized your design, create detailed sketches or use design software to communicate your ideas effectively. These visual representations will guide you during the construction process and provide clarity when seeking professional assistance.
Now that you have a well-designed patio cover, it’s time to prepare the site for construction. Let’s explore the next step in the process: preparing the site.
Preparing the Site:
Before you can start building your patio cover, it’s essential to properly prepare the site. Preparing the site involves clearing and leveling the area and ensuring a solid foundation for your structure. Here are the steps to follow:
- Clear the Area: Remove any existing obstructions, such as plants, rocks, or debris, from the site. This will provide a clean slate for construction and prevent any potential damage to the patio cover.
- Mark the Boundaries: Use stakes and string to mark the boundaries of the patio cover. This will help you visualize the size and shape of the structure and ensure accurate measurements during construction.
- Level the Ground: Use a level or transit to ensure that the ground is even and level. This is crucial for a stable and properly constructed patio cover. If necessary, you may need to add or remove soil to achieve an even surface.
- Consider Drainage: Assess the natural drainage patterns of the area. Ensure that the site is properly graded to prevent water from pooling around the patio cover. If needed, install a French drain or a proper drainage system to redirect water away from the structure.
- Utilities: Identify any underground utilities, such as water or electrical lines, in the area where you plan to build the patio cover. It’s important to know their locations to avoid any potential damage during construction.
- Excavation: If your patio cover requires digging holes for footings or posts, carefully excavate the area according to your design specifications. Ensure that the holes are of adequate depth and size to support the weight of the structure.
Once the site is cleared and leveled, and any necessary excavations are complete, it’s time to move on to the next step: installing the foundation for your patio cover. A solid foundation is crucial to ensure the stability and longevity of your structure.
Now that the site is prepared, let’s move on to the exciting phase of installing the foundation for your patio cover!
When building patio covers, make sure to use durable and weather-resistant materials to ensure longevity and protection from the elements. Additionally, consider consulting with a professional to ensure proper installation and structural integrity.
Read more: How To Build A Freestanding Patio Cover
Installing the Foundation:
The foundation of your patio cover is essential for providing stability and support to the structure. The type of foundation you choose will depend on factors such as soil conditions, local building codes, and the design of your patio cover. Here are some common methods for installing the foundation:
- Concrete Footings: Concrete footings are a popular choice for patio cover foundations. Dig holes in the designated locations, ensuring they are below the frost line and wide enough to accommodate the size of the footings. Place rebar inside the holes for added strength, and pour concrete to fill the holes. Allow the footings to cure and harden before proceeding with the construction.
- Concrete Slab: If you prefer a solid and level surface for your patio cover, consider pouring a concrete slab as the foundation. Excavate the area to the required depth, add a layer of compacted gravel, and install reinforcements if necessary. Pour and level the concrete, taking care to account for any slope or drainage requirements.
- Concrete Piers: Concrete piers are another option for foundation support. Dig holes at specific intervals along the perimeter of your patio cover, ensuring they are below the frost line. Place pre-cast or poured concrete piers in the holes, ensuring they are leveled and aligned. Allow the piers to cure before proceeding with the construction.
When installing the foundation, ensure that it is level and aligned according to the design specifications. Use a level and string lines to check for accuracy. If necessary, make adjustments before proceeding to the next phase of construction.
Remember to follow local building codes and regulations when installing the foundation. It is crucial to ensure that your patio cover meets the necessary structural requirements to ensure safety and longevity.
With the foundation in place, your patio cover is starting to take shape! The next step is to build the base structure, which will provide the framework for your patio cover. Let’s move on to the exciting process of constructing the base structure!
Building the Base Structure:
With the foundation set, it’s time to start building the base structure of your patio cover. The base structure provides the framework and support for the roof and helps ensure the stability of the entire structure. Here’s a step-by-step guide on how to build the base structure:
- Measure and Cut: Begin by measuring and marking the dimensions of the base structure on the ground, using the design plans as a guide. Use a saw or other appropriate tools to cut the necessary lengths of lumber or other materials for the posts, beams, and joists.
- Install the Posts: Dig post holes along the perimeter of the base structure, ensuring they align with the design plans and are at the proper depth as determined by local building codes. Insert the posts into the holes, ensuring they are plumb, and fill the holes with concrete to secure them in place. Allow the concrete to cure before proceeding.
- Attach the Beams: Once the posts are securely in place, attach the beams horizontally across the top of the posts. Use appropriate hardware, such as brackets or screws, to secure the beams to the posts, ensuring they are level and aligned. The number of beams required will depend on the size of your patio cover and the design plans.
- Add the Joists: Install the joists vertically between the beams to provide additional support for the roof. Space the joists evenly, ensuring they are securely attached to both the beams and the posts. The number and positioning of the joists will depend on the size and design of your patio cover.
- Fasten and Reinforce: Use appropriate fasteners, such as nails or screws, to secure the connections between the posts, beams, and joists. Reinforce the connections with additional hardware, such as angle brackets or hurricane ties, for added strength and stability.
- Inspect and Adjust: Once the base structure is assembled, carefully inspect all connections and ensure they are secure and tight. Use a level to check for any structural irregularities and make any necessary adjustments to ensure the base structure is level and aligned.
It is crucial to follow the design plans and local building codes when constructing the base structure. Additionally, consider consulting with a professional or experienced contractor for guidance, especially if you are uncertain about any aspect of the construction process.
With the base structure complete, your patio cover is starting to come together! The next step is to install the roofing material, which will provide the necessary protection and aesthetic appeal. Let’s move on to the exciting process of installing the roof!
Installing the Roofing Material:
Now that the base structure is in place, it’s time to install the roofing material for your patio cover. The roofing material not only provides protection from the elements but also adds to the overall aesthetic appeal of your outdoor space. Here are some common roofing materials for patio covers:
- Polyurethane Panels: Polyurethane panels are lightweight, durable, and offer excellent insulation and weather resistance. They come in various thicknesses and can be easily installed using screws and sealants.
- Polycarbonate Sheets: Polycarbonate sheets are known for their transparency and ability to filter UV rays while still allowing natural light to enter. They are available in different colors and thicknesses and can be installed using screws or snap-on systems.
- Metal Roofing: Metal roofs, such as aluminum or steel, are durable, long-lasting, and low maintenance. They are available in various styles and colors, and their installation typically involves screwing the metal panels to the base structure.
- Shingles or Tiles: Shingles or tiles can be used for patio covers if you want to match the roofing material used on your house. This option provides a seamless look and can be installed using similar techniques as traditional roofing systems.
- Fabric Covers: Fabric covers, such as canvas or shade cloth, offer a lightweight and easily customizable option for patio covers. They can be stretched over the base structure and secured with hooks or other fasteners.
When installing the roofing material, make sure to follow the manufacturer’s instructions and use appropriate tools and techniques. Here are some general tips:
- Start at the Bottom: Begin installing the roofing material from the bottom edge of the base structure and work your way up. This will ensure that each piece overlaps properly and provides adequate water drainage.
- Secure Properly: Use appropriate fasteners, such as screws or nails, to secure the roofing material to the base structure. Make sure to space the fasteners according to the manufacturer’s recommendations for optimal strength and stability.
- Create Overlaps: If using panels or sheets, make sure to overlap each piece to prevent water from seeping through. Use sealants or gaskets between the overlaps to provide a watertight seal.
- Consider Pitch and Drainage: Design the roof with a slight slope to allow for proper water drainage. This will help prevent water from pooling on the surface of the roof and potentially causing damage over time.
- Follow Safety Precautions: Work carefully and use proper safety equipment, such as gloves and goggles, when installing the roofing material. If necessary, enlist the help of a professional for challenging or complex installations.
By following these guidelines and taking your time to install the roofing material correctly, you can ensure a durable and aesthetically pleasing patio cover that will provide years of enjoyment.
With the roofing material installed, your patio cover is almost complete! The final step is to add the finishing touches to enhance its functionality and beauty. Let’s explore this exciting stage!
Adding Finishing Touches:
With the main construction of your patio cover complete, it’s time to put the finishing touches that will add those final details and enhance the functionality and aesthetics of your outdoor space. Here are some ideas to consider:
- Paint or Stain: If you used wood materials for your patio cover, consider giving it a fresh coat of paint or stain to protect it from the elements and enhance its appearance. Choose a color that complements your outdoor decor and personal style.
- Decorative Elements: Add decorative elements to enhance the visual appeal of your patio cover. Consider installing wall-mounted planters, hanging lights or lanterns, or even a decorative ceiling fan to create a cozy and inviting atmosphere.
- Furniture and Accessories: Select outdoor furniture and accessories that fit the style and function of your patio cover. Whether you’re looking for a comfortable seating area, a dining set, or a lounging space, choose high-quality furniture that can withstand outdoor conditions.
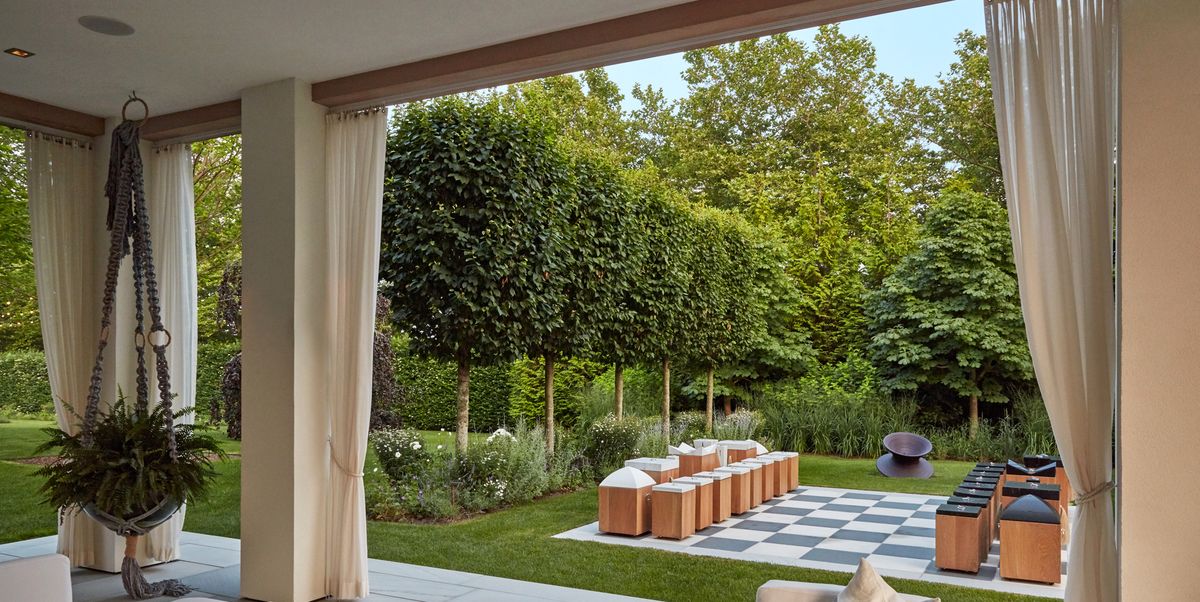
- Shade Solutions: If your patio cover does not provide complete shade, consider adding retractable awnings, outdoor curtains, or shade sails to further protect you from the sun’s rays during hot summer days.
- Outdoor Kitchen or Bar: If you love entertaining, consider incorporating an outdoor kitchen or bar area into your patio cover. Install a built-in grill, countertops, a sink, and storage space to create a functional outdoor cooking and entertaining space.
- Outdoor Heating: Extend the usability of your patio cover into cooler seasons by adding outdoor heating solutions, such as a fire pit, patio heater, or even an outdoor fireplace. This will allow you to enjoy your outdoor space year-round.
Remember to consider both functionality and aesthetics when adding finishing touches to your patio cover. The goal is to create a space that not only serves its intended purpose but also reflects your personal style and adds value to your outdoor living area.
Lastly, don’t forget to maintain your patio cover regularly. Clean the roof, remove debris, and inspect for any necessary repairs or maintenance. By taking care of your patio cover, you can ensure its longevity and continued enjoyment for years to come.
Congratulations! You’ve successfully completed building your patio cover and added the finishing touches. Now, it’s time to sit back, relax, and enjoy your beautiful outdoor space.
If you need assistance with any other outdoor furniture-related topics or have further questions, feel free to reach out. From all of us at the Outdoor Furniture Experts, we wish you many memorable moments in your newly built patio cover!
Read more: How To Build A Wood Patio Cover
Conclusion:
Building a patio cover is a rewarding project that can transform your outdoor space into a functional and inviting area for relaxation and entertainment. With careful planning, the right materials, and proper construction techniques, you can create a beautiful and durable patio cover that suits your needs and enhances the value of your home.
During the planning phase, consider the functionality, size, style, and budget of your patio cover. Take the time to research and select the right materials for your project, such as wood, aluminum, vinyl, or fabric. Design the structure to complement your home’s architecture and incorporate any additional features or elements that will enhance your outdoor experience.
Before beginning construction, ensure that the site is properly prepared, the foundation is solid, and the base structure is built with care and precision. Pay attention to the details when installing the roofing material, ensuring a secure and weather-resistant covering.
As the finishing touches are added, consider paint or stain for wood surfaces, decorative elements, comfortable furniture and accessories, and solutions for shade and outdoor heating. Regular maintenance and care will keep your patio cover looking its best and extend its longevity.
Remember to check with local building authorities for any required permits or regulations and consult professionals or experienced contractors if needed.
Building your patio cover is an opportunity to express your personal style and create an outdoor oasis for relaxation and enjoyment. Whether you’re hosting summer barbecues, sipping coffee on a cool morning, or simply lounging in the shade, your patio cover will provide years of comfort and beauty.
So, gather your tools, follow these guidelines, and embark on the journey of creating your dream outdoor space. From all of us at the Outdoor Furniture Experts, we wish you success and many delightful moments in your newly constructed patio cover!
Frequently Asked Questions about How To Build Patio Covers
Was this page helpful?
At Storables.com, we guarantee accurate and reliable information. Our content, validated by Expert Board Contributors, is crafted following stringent Editorial Policies. We're committed to providing you with well-researched, expert-backed insights for all your informational needs.


0 thoughts on “How To Build Patio Covers”