Home>Furniture>Outdoor Furniture>How To Build A Wood Patio Cover
Outdoor Furniture
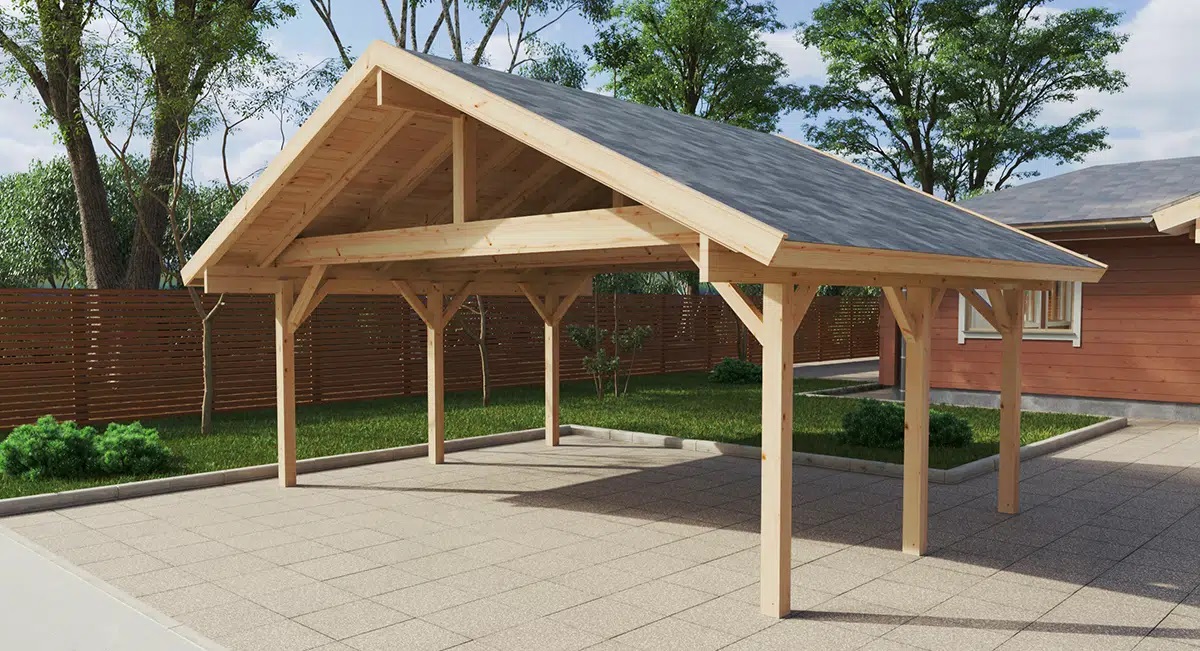
How To Build A Wood Patio Cover
Modified: March 7, 2024
Learn how to build a stunning wood patio cover to enhance your outdoor space. Create a cozy and stylish area with the perfect outdoor furniture.
(Many of the links in this article redirect to a specific reviewed product. Your purchase of these products through affiliate links helps to generate commission for Storables.com, at no extra cost. Learn more)
Introduction
Welcome to our comprehensive guide on how to build a wood patio cover! If you’re looking to add functionality, style, and value to your outdoor space, a wood patio cover is an excellent choice. Not only does it provide shade and protection from the elements, but it also creates a cozy and inviting atmosphere for entertaining or simply enjoying the outdoors.
Building a wood patio cover may seem like a daunting task, but with the right planning, materials, and tools, it can be a rewarding and satisfying DIY project. Whether you’re a seasoned DIY enthusiast or a beginner, this step-by-step guide will walk you through the process, ensuring that you have all the necessary knowledge to successfully create a beautiful and functional wood patio cover.
Before we dive into the construction process, it’s important to note that building codes and regulations may vary depending on your location. Make sure to check with your local authorities and obtain any necessary permits before starting the project. Additionally, if you’re not confident in your carpentry skills or if the project seems too complex, it’s always a good idea to consult with a professional contractor.
In this guide, we’ll cover everything from planning and design to installation and maintenance, providing you with the detailed information you need to bring your wood patio cover vision to life. So, let’s get started on creating a space that will not only enhance the beauty of your outdoor area but also provide you with years of enjoyment and relaxation!
Key Takeaways:
- Building a wood patio cover involves careful planning, precise construction, and thoughtful finishing touches. It provides shade, protection, and a cozy outdoor space for relaxation and entertainment.
- Regular maintenance is crucial for preserving the beauty and functionality of a wood patio cover. Cleaning, inspecting, and protecting the structure ensures long-lasting enjoyment of the outdoor space.
Read more: How To Build A Covered Patio
Step 1: Planning and Designing Your Wood Patio Cover
Before you start constructing your wood patio cover, it’s important to take the time to carefully plan and design the structure. This will ensure that you create a patio cover that suits your needs, complements your existing outdoor space, and meets any local building regulations. Here are some key steps to consider during the planning and designing phase:
- Assess your needs: Determine how you plan to use your patio cover. Are you looking for a space to relax, entertain, or dine? Knowing how you’ll use the area will help you determine the size, layout, and features of your wood patio cover.
- Measure the space: Take accurate measurements of the area where you plan to build the patio cover. Consider factors such as existing structures, trees, and other landscape features that may affect the placement and size of your patio cover.
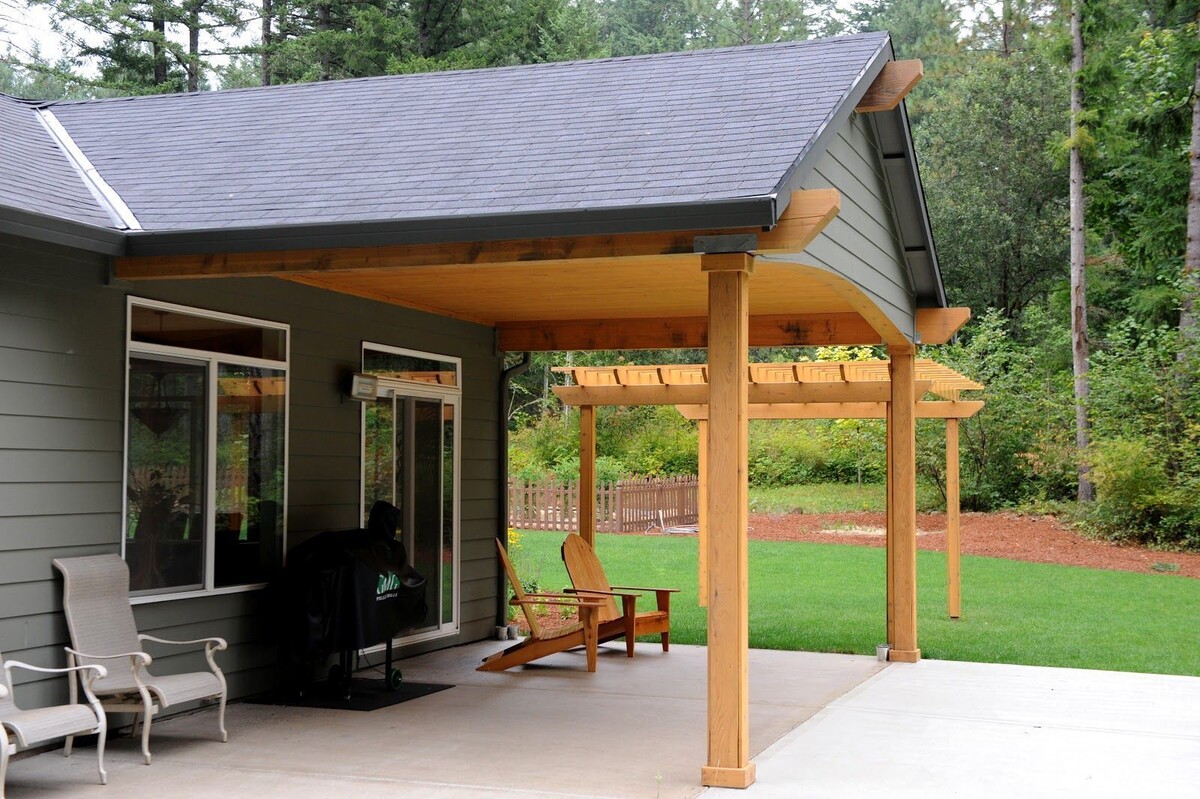
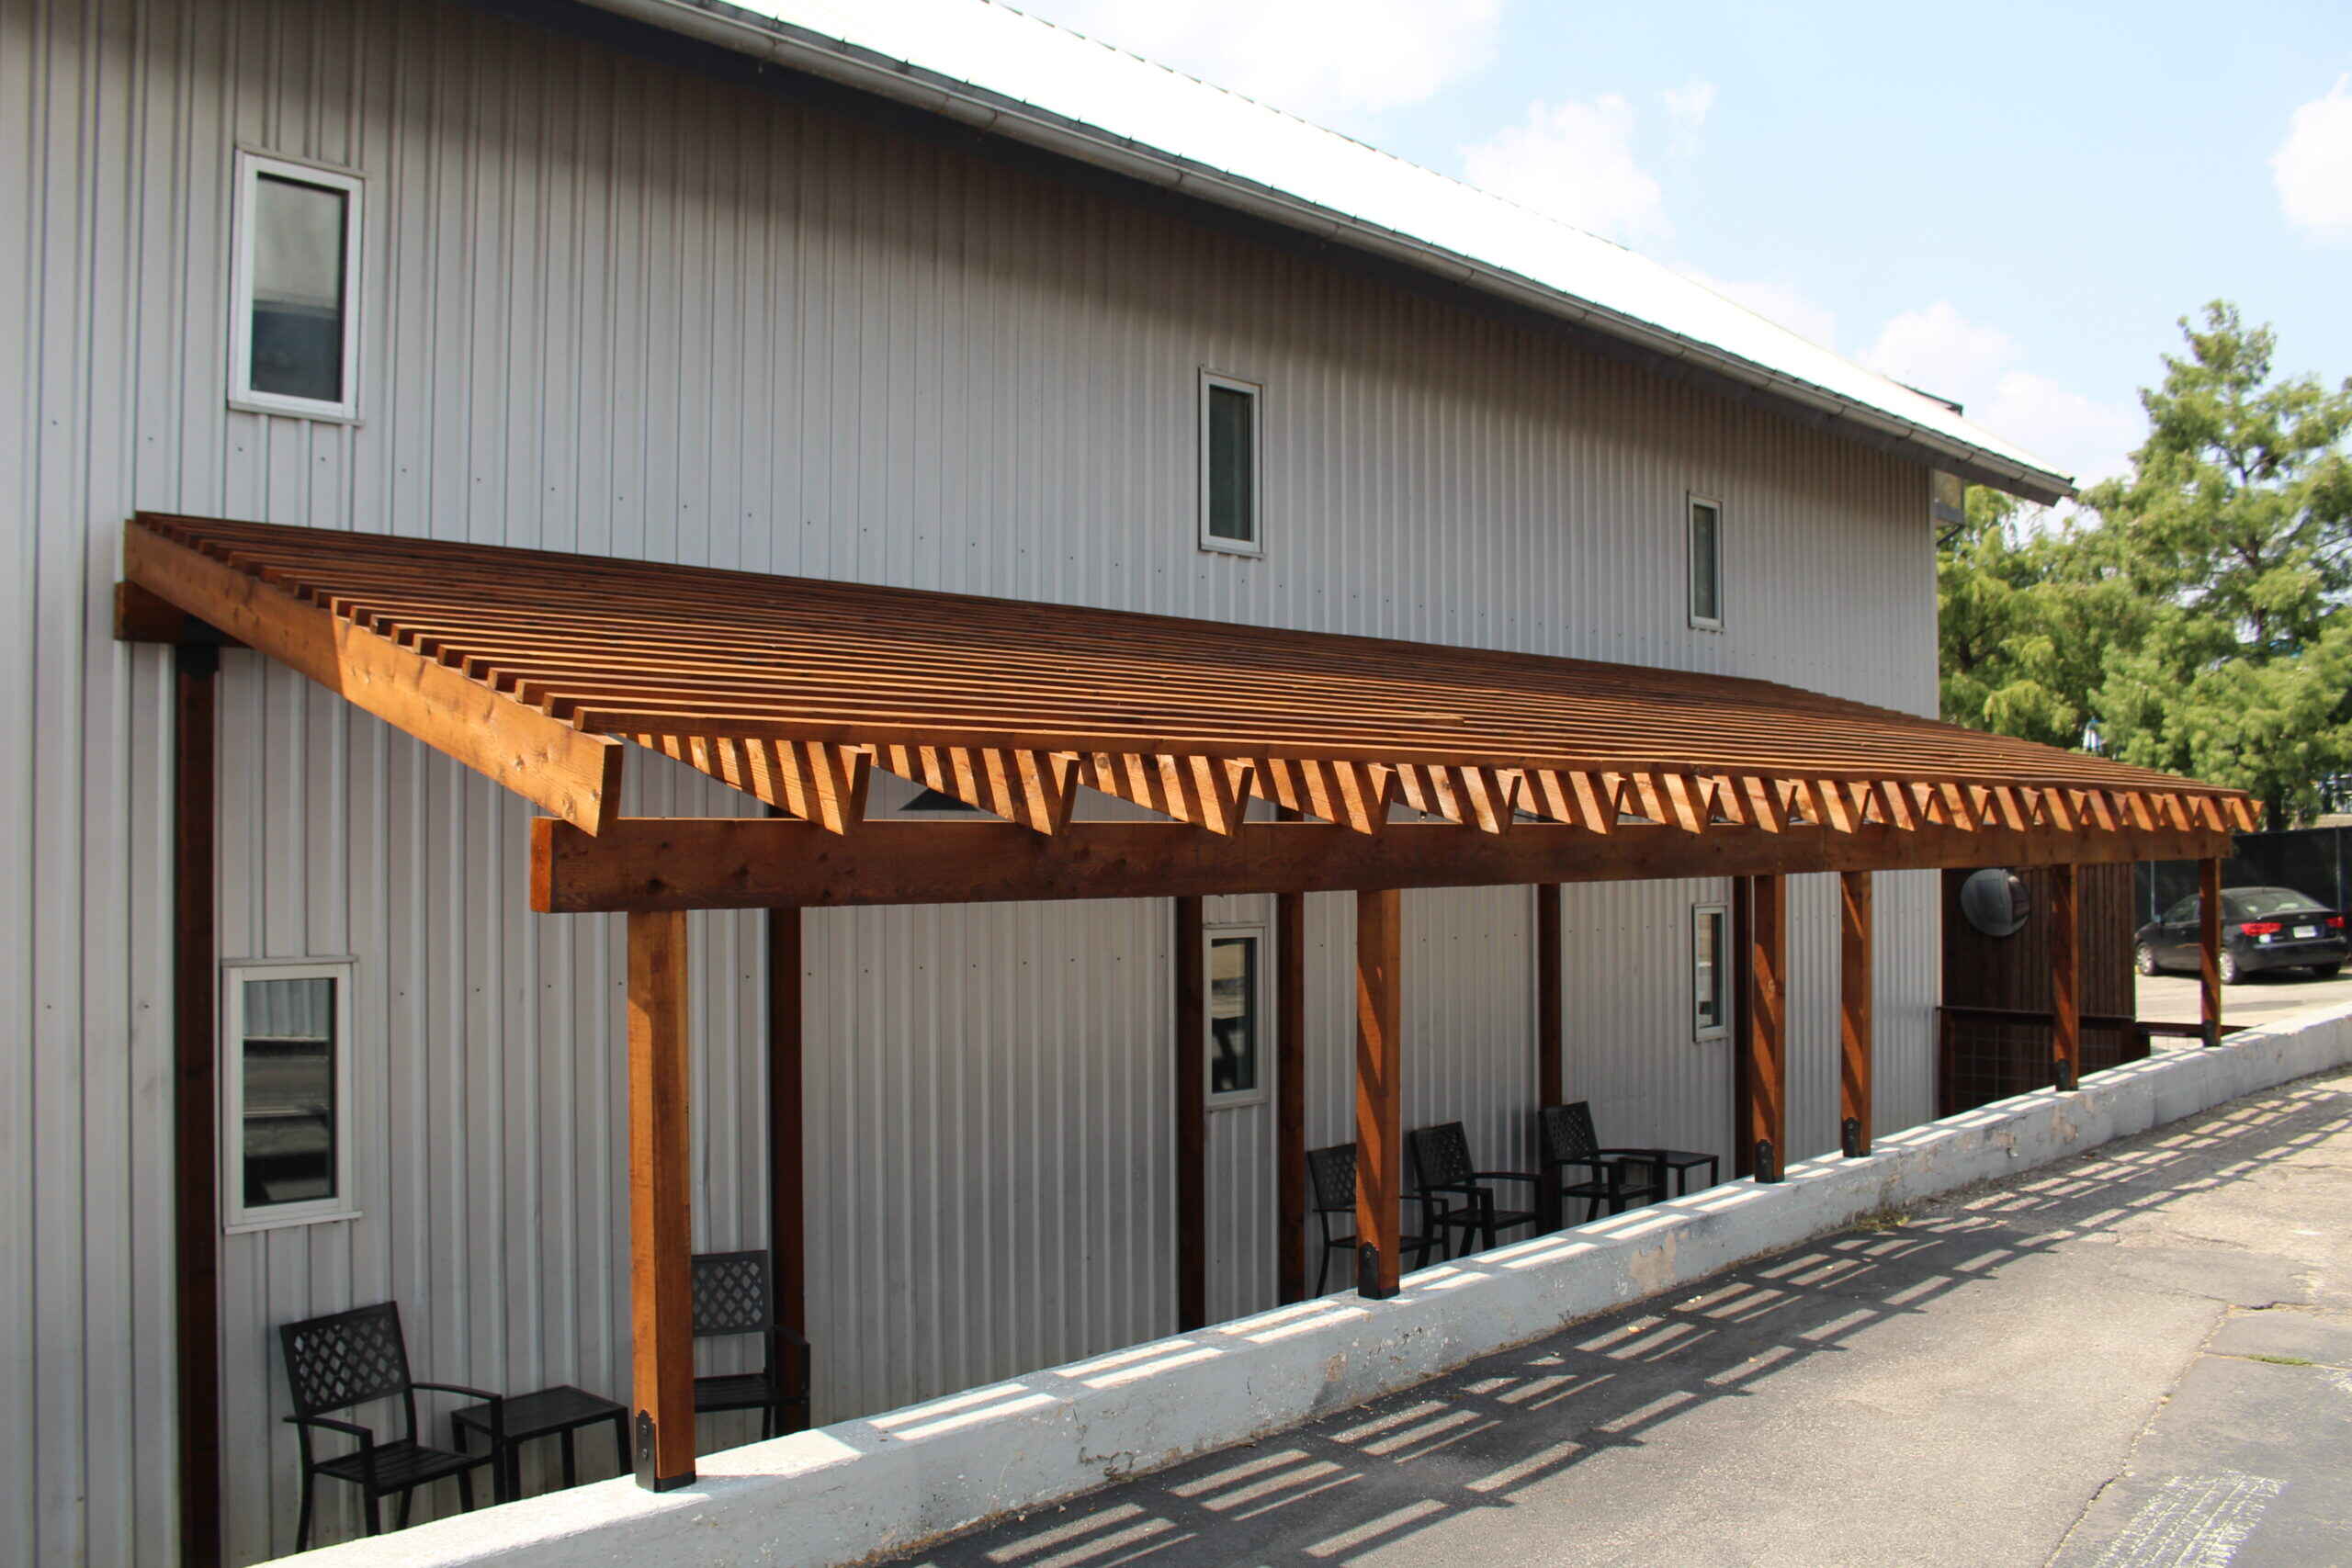
- Choose a design style: Decide on the design style that best suits your outdoor space and personal preferences. Whether you prefer a traditional, modern, rustic, or contemporary look, there are various design options to choose from, including gable, pergola, or pavilion styles.
- Create a blueprint: Sketch a rough blueprint of your wood patio cover, including the dimensions, roof style, and any additional features such as built-in seating or lighting. This will help you visualize the final result and serve as a guide during the construction process.
- Consider materials: Research different wood options for your patio cover and choose a durable and weather-resistant type of wood, such as cedar or redwood. Additionally, think about the roofing materials that will best suit your needs, whether it’s traditional shingles, metal panels, or translucent polycarbonate sheets for added natural light.
- Check building codes: Consult with your local building department to ensure you comply with any regulations or permits required for constructing a wood patio cover. They can provide guidance on setback requirements, height restrictions, and other considerations specific to your area.
- Estimate budget: Determine your budget for the project, taking into account the cost of materials, tools, and any professional assistance you may require. It’s important to have a clear budget in mind to avoid any unexpected expenses during construction.
By carefully planning and designing your wood patio cover, you’ll be able to create a functional and visually appealing outdoor space that will not only enhance your enjoyment of your backyard but also add value to your property. Once you’ve completed the planning phase, you can move on to gathering the necessary materials and tools for construction.
Step 2: Gathering Materials and Tools
In order to build a wood patio cover, you’ll need to gather the necessary materials and tools before you start the construction process. Having everything ready will make the project run smoothly and efficiently. Here’s a list of the essential materials and tools you’ll need:
Materials:
- Pressure-treated lumber or cedar for the frame: Choose a wood type that is durable and resistant to rot and insects. Pressure-treated lumber is a popular choice for its longevity, while cedar offers a natural beauty.
- Roofing materials: Depending on your design and preferences, you’ll need roofing materials such as shingles, metal panels, or polycarbonate sheets. Ensure that you choose materials that are suitable for outdoor use and can withstand the weather conditions in your area.
- Concrete footings or deck blocks: These will be used as the foundation for your wood patio cover. The type and quantity of footings or blocks will depend on the size and weight of your patio cover.
- Fasteners: Purchase galvanized or stainless steel screws, nails, or bolts to secure the wood pieces together. These should be resistant to rust and corrosion.
- Waterproofing and sealant: Apply a waterproofing coating or sealant to protect the wood from moisture and extend its lifespan. Choose a product specifically designed for outdoor use.
- Decorative elements: Consider adding decorative elements such as trim, lattice panels, or post caps to enhance the visual appeal of your wood patio cover.
Tools:
- Tape measure: A measuring tape is essential for taking accurate measurements of your space and wood pieces.
- Level: Use a level to ensure that your patio cover is properly balanced and aligned.
- Saw: Depending on the size of your project, you may need a circular saw or a miter saw to cut the wood pieces to the desired length.
- Drill: A power drill will be necessary for drilling pilot holes and driving screws into the wood.
- Hammer: A hammer will come in handy for driving nails or adjusting wood pieces.
- Safety equipment: Always prioritize safety and wear protective gear such as safety glasses, gloves, and a dust mask when working with wood and power tools.
By gathering all the necessary materials and tools upfront, you’ll save time and avoid interruptions during the construction process. Now that you have everything you need, it’s time to move on to preparing the site for the construction of your wood patio cover.
Read more: How To Build A Freestanding Patio Cover
Step 3: Preparing the Site for Construction
Before you can start building your wood patio cover, it’s essential to properly prepare the site where it will be constructed. Preparing the site ensures a stable foundation and a smooth construction process. Here are the key steps to follow when preparing the site:
- Clear the area: Begin by removing any existing structures, plants, or debris from the area where your wood patio cover will be built. This includes clearing away grass, rocks, or other obstacles that may impede construction.
- Check for utility lines: Contact local utility companies to mark the location of any underground utility lines, such as gas, water, or electrical lines. This will ensure that you do not accidentally dig into or damage any utility lines during construction.
- Level the ground: Use a shovel and a rake to level the ground where the patio cover will be installed. Ensure that the ground is as flat and even as possible to provide a stable base for the patio cover.
- Mark the layout: Use stakes and string to mark the perimeter of the patio cover. This will help you visualize the size and placement of the structure and ensure that it aligns with your initial plans.
- Prepare the footings: If you’re using concrete footings, dig holes at each corner of the marked layout. The depth and size of the holes will depend on local building codes and the size of your patio cover. Follow the instructions for the specific footing type you’re using and ensure that they are level and properly aligned.
- Install deck blocks (if applicable): If you’re using deck blocks instead of concrete footings, place them at each corner of the marked layout. Ensure that the blocks are level and properly positioned to support the weight of the patio cover.
- Add gravel or compacted soil: For added stability, fill the holes or place gravel under each footing or deck block. Compact the soil or gravel to create a solid foundation.
Preparing the site is a crucial step in the construction process, as it ensures that your wood patio cover will have a solid and stable foundation. Take the time to complete this step accurately, as it will contribute to the overall longevity and structural integrity of your patio cover.
Now that the site is prepared, it’s time to move on to the construction of the patio cover frame in Step 4.
Step 4: Constructing the Patio Cover Frame
With the site prepared, it’s now time to start constructing the frame of your wood patio cover. The frame provides the structural support for the entire structure and serves as the backbone of your patio cover. Here’s a step-by-step guide to help you build the patio cover frame:
- Measure and cut the frame pieces: Using your measurements and the design blueprint, mark and cut the pressure-treated lumber or cedar pieces for the frame. Ensure that the cuts are accurate and precise.
- Assemble the front and back beams: Lay out the front and back beams on the ground, parallel to each other, and measure the distance between them. Cut additional support beams to fit between the front and back beams, evenly spaced. Attach the support beams to the front and back beams using galvanized screws or bolts.
- Attach the side beams: Measure and cut the side beams to the appropriate length. Attach the side beams to the front and back beams, ensuring they are level and properly aligned.
- Add additional support beams: Depending on the size and design of your patio cover, you may need additional support beams running perpendicular to the side beams. Measure, cut, and attach these beams to provide extra stability to the frame.
- Square the frame: Use a level and a square to ensure that the frame is square and properly aligned. Adjust the position of the beams if needed.
- Secure the frame: Once the frame is square and aligned, secure all connections with galvanized screws or bolts, ensuring that the frame is securely fastened together.
During the construction process, it’s essential to regularly check for levelness, squareness, and overall stability. Making adjustments as you go will result in a stronger and more stable wood patio cover.
Keep in mind that the specific construction methods and measurements may vary depending on your design and personal preferences. Always refer to your design blueprint and adjust accordingly. Additionally, if you’re unsure about any part of the construction process, consult with a professional or experienced builder for guidance.
With the frame constructed, you can now proceed to Step 5: Installing the support beams.
Step 5: Installing the Support Beams
Installing the support beams is a crucial step in the construction of your wood patio cover. These beams provide additional strength and stability to the structure, ensuring that it can withstand external elements and the weight of the roofing material. Follow these steps to properly install the support beams for your patio cover:
- Determine the placement of the support beams: Measure and mark the locations where the support beams will be installed on the frame of your patio cover. The placement will depend on the design and intended function of your patio cover.
- Cut the support beams: Using pressure-treated lumber or cedar, cut the support beams according to your measurements. Ensure that the cuts are precise and accurate.
- Attach the support beams: Position the first support beam atop the front or back beams of the frame. Use a level to ensure that it is level and aligned with the frame. Secure the support beam to the frame using galvanized screws or bolts. Repeat this process for each support beam, evenly spacing them along the length of the frame.
- Secure the support beams to the frame: Double-check the alignment and levelness of each support beam. Make any necessary adjustments to ensure a proper fit. Secure the beams to the frame by driving screws or bolts through the support beams and into the frame.
- Reinforce the connections: To enhance the stability and strength of the support beams, consider adding additional support braces or brackets at the points where the beams connect to the frame. This will help distribute the load evenly and minimize any potential movement or warping over time.
It’s important to ensure that the support beams are securely attached to the frame and properly aligned. This will provide a strong and stable foundation for the roofing material to be installed in the next step.
Remember to refer to your design blueprint for specific measurements and spacing requirements for the support beams. Additionally, if you’re unsure about any aspect of the installation process, consult with a professional for guidance.
Once the support beams are installed, you’re ready to move on to Step 6: Attaching the rafters and joists.
Step 6: Attaching the Rafters and Joists
Attaching the rafters and joists is a critical step in the construction of your wood patio cover. These components form the framework for supporting the roofing material and provide the shape and structure of your patio cover. Follow these steps to properly attach the rafters and joists:
- Measure and mark the placement of the rafters: Determine the spacing and placement of the rafters along the support beams. The spacing will depend on the design and intended load-bearing capacity of your patio cover. Mark the locations on the support beams where the rafters will be attached.
- Cut the rafters and joists: Using pressure-treated lumber or cedar, cut the rafters and joists according to your measurements. Ensure that the cuts are accurate and precise.
- Attach the rafters: Position the first rafter against the support beam and line it up with the marked location. Use a level to ensure that the rafter is plumb and secure it to the support beam using galvanized screws or nails. Repeat this process for each rafter, evenly spacing them along the length of the support beam and ensuring they align with the marked locations.
- Attach the joists: Position the first joist perpendicular to the rafters, aligning it with the marked location on the support beam. Use a level to ensure that the joist is level and secure it to the rafters using galvanized screws or nails. Repeat this process for each joist, evenly spacing them along the length of the support beam.
- Reinforce the connections: To enhance the stability and strength of the rafters and joists, consider adding additional support brackets or braces at the points where they connect to the support beams. This will help distribute the load evenly and minimize any potential movement or sagging over time.
During the installation process, ensure that the rafters and joists are securely attached and properly aligned. This will provide a strong and stable framework for supporting the roofing material. Use a level to check for plumb and levelness, making any necessary adjustments to ensure an accurate fit.
Refer to your design blueprint for specific measurements and spacing requirements for the rafters and joists. If you’re unsure about any aspect of the attachment process, consult with a professional or experienced builder for guidance.
With the rafters and joists attached, you’re ready for the next step: Step 7: Installing the roofing material.
When building a wood patio cover, make sure to use pressure-treated wood to prevent rot and decay. It’s also important to properly seal and weatherproof the wood to protect it from the elements.
Read more: How Much To Build A Covered Patio
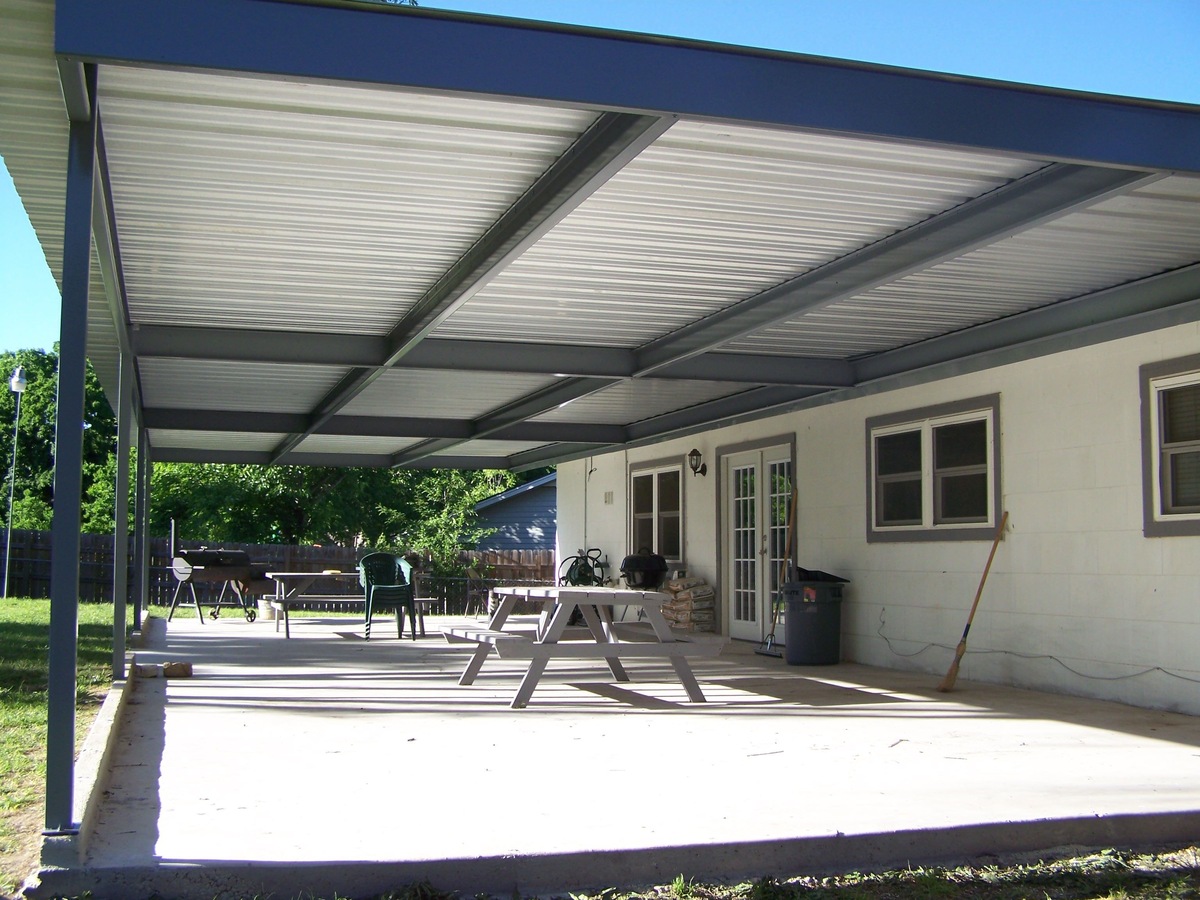
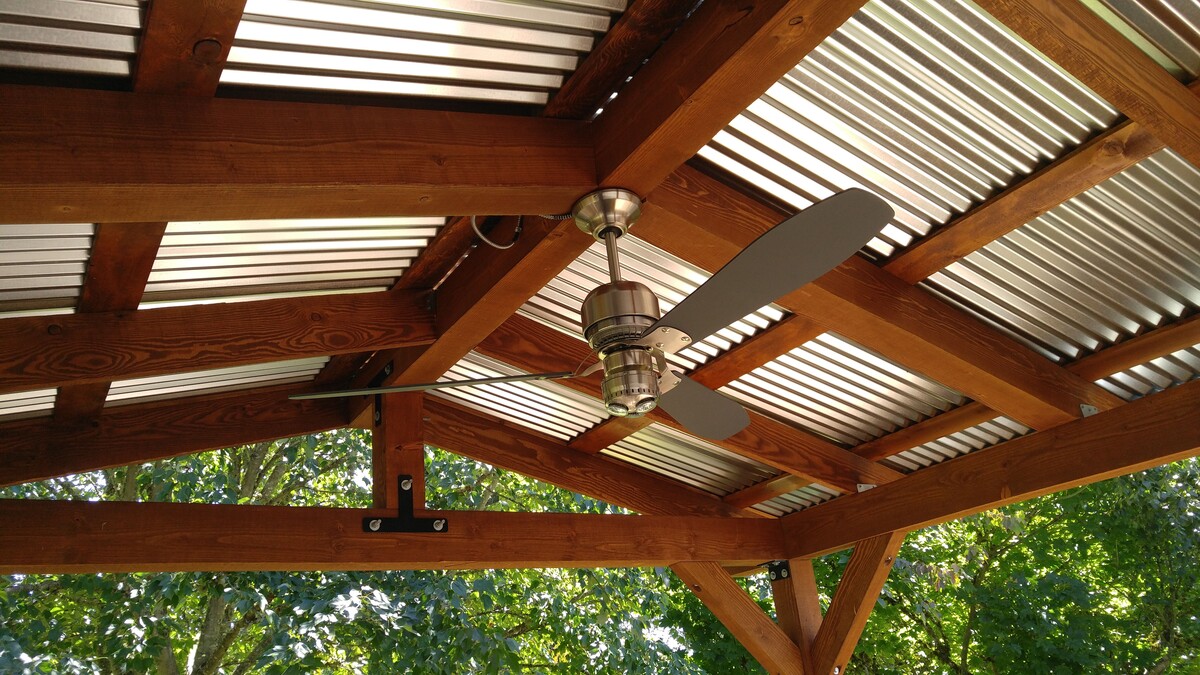
Step 7: Installing the Roofing Material
Now that the frame of your wood patio cover is complete, it’s time to install the roofing material. The roofing material not only provides protection from the elements but also adds style and visual appeal to your patio cover. Follow these steps to properly install the roofing material:
- Choose the roofing material: Consider the climate, aesthetics, and functionality when selecting the roofing material for your patio cover. Popular options include traditional shingles, metal panels, or translucent polycarbonate sheets for added natural light. Ensure that the chosen material is suitable for outdoor use and provides adequate weather resistance.
- Measure and cut the roofing material: Using appropriate tools for the selected roofing material, measure and cut the pieces according to your patio cover dimensions. Follow the manufacturer’s instructions and safety guidelines when cutting and handling the material.
- Start at one end: Begin installing the roofing material at one end of the patio cover. Secure it in place by nailing or screwing it to the rafters or support beams, following the recommended spacing provided by the manufacturer.
- Overlap the seams: Ensure that each row of roofing material overlaps the previous row to create a watertight seal. Use the manufacturer’s guidelines for the recommended overlap measurement.
- Continue to the other end: Proceed to install the roofing material row by row, moving from one end of the patio cover to the other. Use appropriate fasteners, such as roofing nails or screws, to securely attach the material to the rafters or support beams.
- Cut around obstacles: If there are any obstacles, such as vents or chimneys, carefully cut the roofing material to fit around them. Use appropriate tools and techniques to achieve a clean and precise cut.
- Ensure proper drainage: Pay special attention to the slope and angle of the roofing material to ensure proper drainage of water. This will help prevent water pooling and potential damage to the patio cover structure.
During the installation process, prioritize safety by using appropriate protective gear, such as gloves, safety glasses, and a dust mask, when working with roofing materials. Take care to follow the manufacturer’s instructions for safe handling and installation.
Remember that the specific installation process may vary depending on the chosen roofing material. Always refer to the manufacturer’s guidelines and instructions for the best results and to ensure the longevity of your patio cover.
Congratulations! Your wood patio cover is now taking shape. In the next step, Step 8, we’ll discuss adding finishing touches and decorations to enhance the aesthetics and functionality of your patio cover.
Step 8: Adding Finishing Touches and Decorations
With the main construction of your wood patio cover complete, it’s time to add the finishing touches and decorations to enhance its aesthetics and functionality. These final details will elevate the overall look and feel of your outdoor space. Follow these steps to add the finishing touches to your patio cover:
- Seal and paint/stain the wood: Apply a weatherproof sealant or paint/stain to protect the wood from moisture, UV rays, and other outdoor elements. Choose a product suitable for outdoor use and follow the manufacturer’s instructions for proper application.
- Add trim and molding: Install trim and molding to give your patio cover a polished and finished look. This can include decorative trim pieces along the edges, fascia boards, or crown molding on the supporting beams.
- Install lighting fixtures: Consider adding lighting fixtures to your patio cover for ambiance and functionality. Options include string lights, recessed lights, or hanging lanterns. Ensure that the chosen fixtures are rated for outdoor use and follow proper electrical installation guidelines.
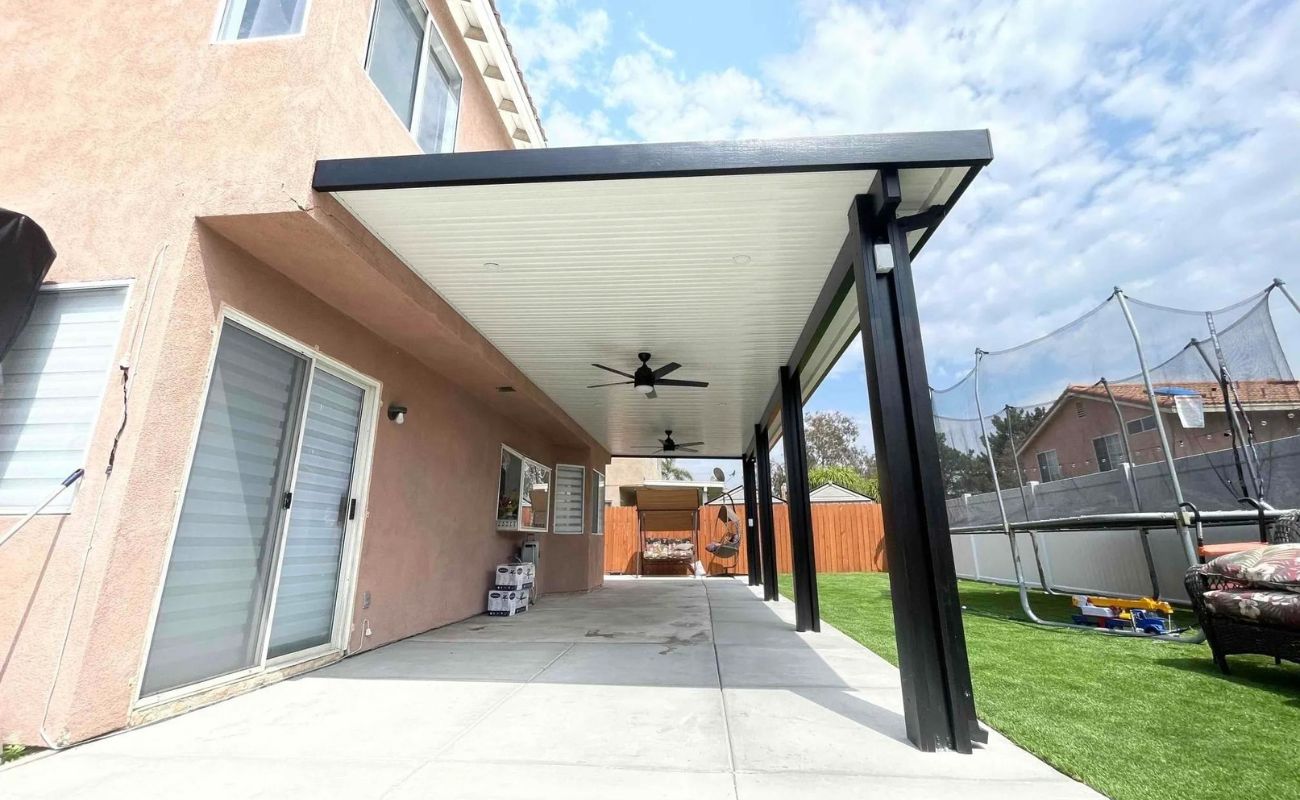
- Create shade options: If your patio cover does not provide sufficient shade, consider adding retractable awnings, sun sails, or pergola-style shade coverings. These options allow you to adjust the amount of shade as needed and provide versatility to your outdoor space.
- Add decorative elements: Personalize your wood patio cover by adding decorative elements that match your style and preferences. This can include hanging plants, outdoor artwork, or decorative screens. These elements will enhance the visual appeal and create a welcoming atmosphere.
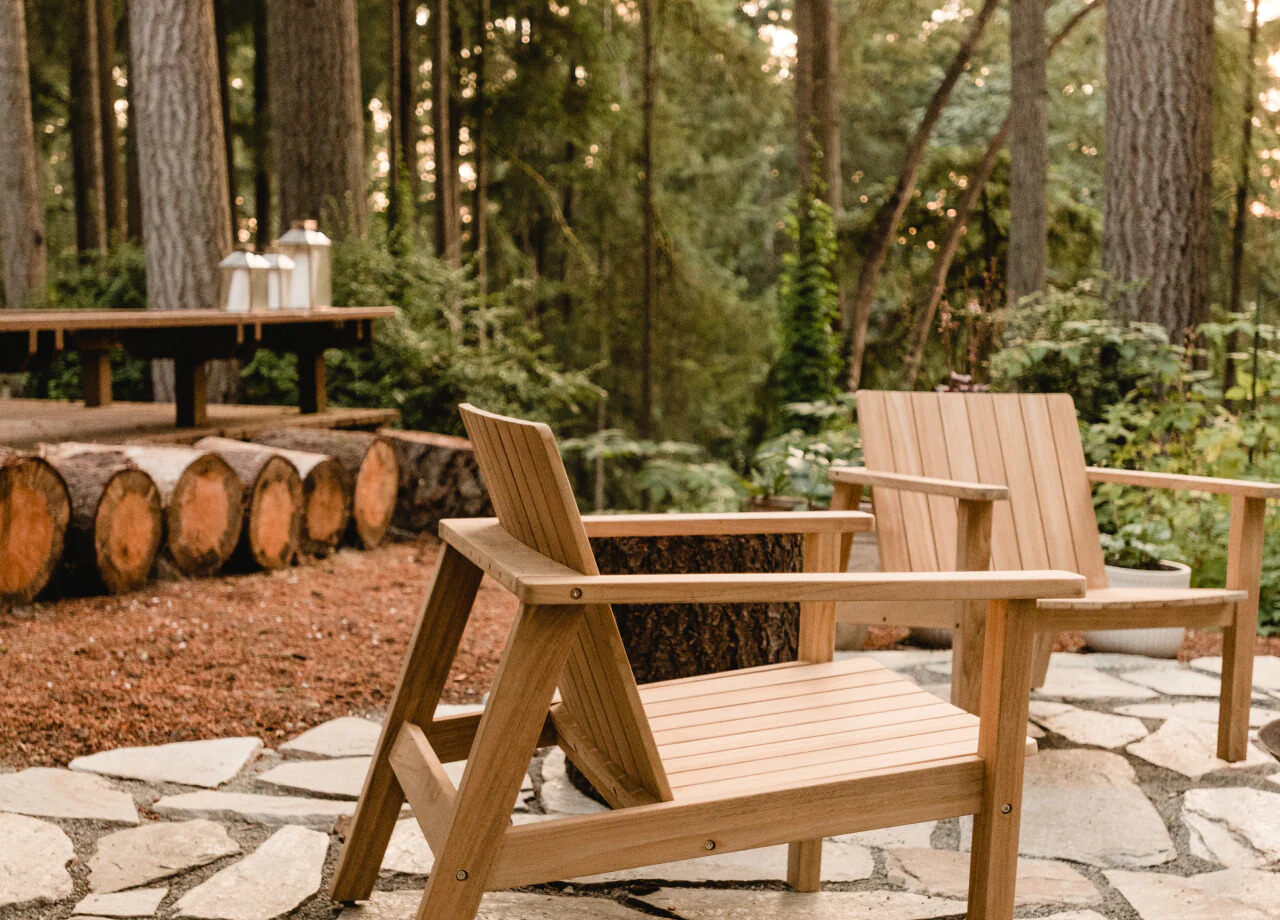
- Incorporate furniture and accessories: Complete your patio cover by furnishing it with comfortable outdoor furniture and accessories. Consider adding seating options such as lounge chairs, a dining table and chairs, or a cozy outdoor sofa. Don’t forget to include outdoor-friendly cushions, pillows, and rugs to create a cozy and inviting space.
When adding the finishing touches, take into account the overall design and theme of your outdoor space. Create a cohesive look by coordinating colors, materials, and styles. Also, consider the practicality and durability of the chosen elements, as they will be exposed to outdoor conditions.
By adding these finishing touches and decorations, your wood patio cover will become a welcoming and functional outdoor area where you can relax, entertain, and enjoy the beauty of your surroundings.
Now that your wood patio cover is complete, it’s important to maintain and care for it properly. Step 9 will provide you with maintenance and care tips to ensure the longevity and beauty of your patio cover.
Step 9: Maintenance and Care Tips for Wood Patio Covers
Now that your wood patio cover is complete, it’s important to take proper care of it to ensure its longevity and beauty. Regular maintenance will help prevent damage caused by weather, insects, and general wear and tear. Follow these maintenance and care tips to keep your wood patio cover in excellent condition:
- Clean regularly: Regularly sweep away leaves, debris, and dirt that accumulate on the patio cover. Use a soft-bristle brush or broom to avoid scratching the wood surface.
- Inspect for damage: Inspect your patio cover for any signs of damage, such as loose or cracked boards, loose fasteners, or signs of rot or decay. Address any issues immediately to prevent further damage.
- Treat for insects: Wood patio covers are susceptible to insects such as termites and carpenter ants. Treat the wood with an appropriate insect repellent or preservative to deter these pests from causing damage.
- Reapply sealant or paint/stain: Over time, the weatherproof sealant or paint/stain on your patio cover will wear off. Reapply it every few years to protect the wood from moisture and UV rays.
- Check for water pooling: Ensure that water drains properly from your patio cover to prevent water pooling, which can lead to rotting. Adjust the pitch or add additional drainage if necessary.
- Trim surrounding vegetation: Trim any overhanging branches or vegetation near your wood patio cover to prevent damage from falling debris and excessive shade that may promote moisture buildup.
- Protect from extreme weather conditions: During severe weather conditions such as heavy rain, snow, or strong winds, consider temporarily covering your patio cover with a tarp or other protective covering to prevent potential damage.
- Regularly inspect and maintain the roofing material: If you have a roofing material such as shingles or metal panels, regularly inspect for any damage or loose pieces. Replace or repair as needed to ensure proper protection.
- Keep the area around the patio cover clean: Regularly clean the area around your patio cover to prevent the buildup of dirt, leaves, and debris. This will help maintain a clean and inviting outdoor space.
By following these maintenance and care tips, you’ll be able to preserve the beauty and functionality of your wood patio cover for years to come. Regular upkeep will ensure that you continue to enjoy your outdoor space and protect your investment.
With these nine steps, you’ve successfully built and learned how to maintain a beautiful wood patio cover. Congratulations on completing this DIY project and enhancing your outdoor living experience!
Is there anything else I can assist you with?
Conclusion
Congratulations on completing the construction of your wood patio cover! By following the step-by-step guide, you have created a functional and visually appealing outdoor space that will enhance your enjoyment of your backyard for years to come.
Throughout the process, you learned how to plan and design your patio cover, gather the necessary materials and tools, prepare the site for construction, construct the frame, install support beams, attach rafters and joists, install the roofing material, add finishing touches and decorations, and maintain and care for your patio cover.
Not only does a wood patio cover provide shade and protection from the elements, but it also adds value and beauty to your outdoor area. It creates a welcoming space where you can relax, entertain, and create lasting memories with family and friends.
Remember, regular maintenance and care are essential to ensure the longevity and durability of your wood patio cover. By following the maintenance tips provided, you can prevent damage and preserve the beauty of your patio cover for years to come.
Whether you’re enjoying a peaceful afternoon reading a book, hosting a barbecue with friends, or simply taking in the sights and sounds of nature, your wood patio cover will serve as the perfect backdrop for these memorable moments.
We hope this comprehensive guide has provided you with the knowledge and confidence to tackle your wood patio cover construction project. Remember, if you need assistance or are unsure about any step, consult with a professional to ensure a successful outcome.
Now it’s time to sit back, relax, and enjoy your newly constructed wood patio cover. Cheers to creating a beautiful outdoor space that will bring you joy and relaxation for years to come!
Frequently Asked Questions about How To Build A Wood Patio Cover
Was this page helpful?
At Storables.com, we guarantee accurate and reliable information. Our content, validated by Expert Board Contributors, is crafted following stringent Editorial Policies. We're committed to providing you with well-researched, expert-backed insights for all your informational needs.


0 thoughts on “How To Build A Wood Patio Cover”