Home>Garden Essentials>How To Plant Herb Seeds
Garden Essentials
How To Plant Herb Seeds
Modified: March 15, 2024
Learn how to plant herb seeds in your garden and enjoy fresh, homegrown herbs all year round with our step-by-step guide.
(Many of the links in this article redirect to a specific reviewed product. Your purchase of these products through affiliate links helps to generate commission for Storables.com, at no extra cost. Learn more)
Introduction
Welcome to the wonderful world of gardening! If you’re someone who enjoys adding fresh flavors and aromatic herbs to your dishes, then planting herb seeds is a great way to bring nature’s goodness into your own backyard. Not only does it allow you to enjoy the satisfaction of growing your own food, but it also ensures that you have a constant supply of flavorful herbs at your fingertips.
In this article, we will guide you through the process of planting herb seeds, step by step. Whether you’re a seasoned gardener or a complete beginner, this guide will provide you with all the information you need to get started.
Planting herb seeds is not only a rewarding experience, but it’s also a cost-effective way to have an abundance of fresh herbs throughout the year. Plus, herbs are relatively low maintenance, making them perfect for both small and large gardens alike.
So, let’s roll up our sleeves, grab our gardening tools, and embark on this exciting journey of planting herb seeds!
Key Takeaways:
- Planting herb seeds is a fun and rewarding way to grow your own flavorful herbs at home. With the right supplies, soil preparation, and care, you can enjoy a bountiful herb garden all year round!
- By choosing the right seeds, providing proper care, and harvesting at the right time, you can savor the fresh flavors of homegrown herbs in your culinary creations. Happy gardening and bon appétit!
Read more: How Many Herb Seeds To Plant In A Pot
Step 1: Gather Supplies
Before you begin planting herb seeds, it’s essential to gather all the necessary supplies. Having everything you need on hand will help streamline the process and ensure a successful outcome. Here’s a list of essential supplies you’ll need:
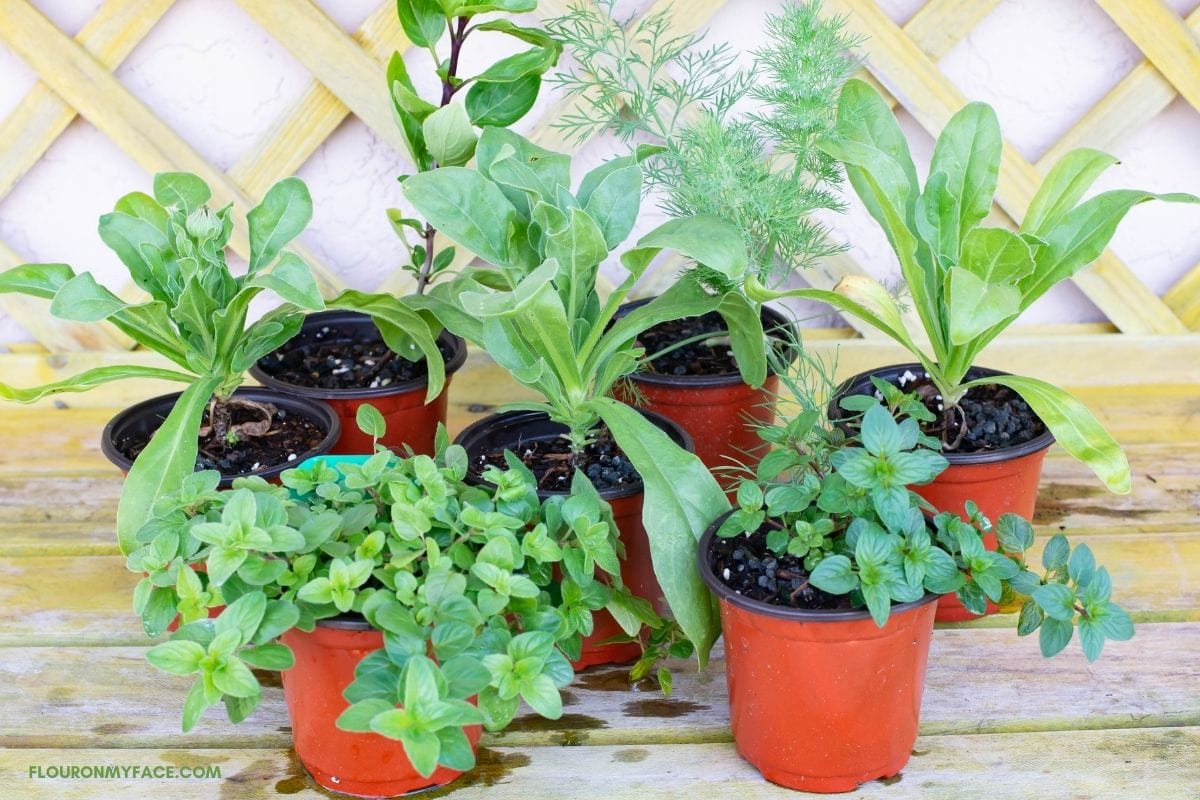
- Herb Seeds: Choose the herbs you want to grow based on your preferences and the growing conditions in your area. Some popular choices include basil, parsley, mint, rosemary, and thyme. Select high-quality seeds from a reputable supplier.
- Pots or Seed Trays: Opt for small pots or seed trays that have drainage holes at the bottom to prevent waterlogging. Ensure that the containers are clean and sterilized before use.
- Potting Soil: Use a well-draining potting soil mix specifically formulated for herbs. A good quality soil will provide the necessary nutrients and ensure proper drainage.
- Watering Can or Spray Bottle: For gentle and precise watering of the seeds.
- Labels and Marker: To keep track of the different herb varieties, label each pot or seed tray.
- Plastic Wrap or Clear Dome: To create a mini greenhouse effect and maintain proper humidity levels.
- Grow Lights or Natural Light Source: If you’re starting seeds indoors, ensure you have access to adequate lighting. Grow lights are a great option if you don’t have a sunny spot in your home.
- Plant Fertilizer: Depending on the specific requirements of the herb varieties you’re growing, you might need a suitable fertilizer to provide essential nutrients.
- Gardening Gloves and Hand Trowel: To protect your hands and assist with planting.
Take inventory of these supplies and make a trip to your local garden center or order online to ensure that you have everything you need before you start planting. Once you have all your supplies gathered, you’re ready to move on to the next step – preparing the soil!
Step 2: Prepare the Soil
Preparing the soil is a crucial step in ensuring the success of your herb seeds. Proper soil conditions provide a fertile and well-draining environment for the seeds to germinate and grow. Here’s how you can prepare the soil:
- Clear the Area: Remove any weeds, rocks, or debris from the planting area. This will give your herbs ample space and prevent competition for nutrients.
- Loosen the Soil: Use a garden fork or a hand trowel to loosen the soil to a depth of about 6-8 inches. This helps improve drainage and allows the roots to penetrate easily.
- Add Organic Matter: Incorporate organic matter, such as compost or well-rotted manure, into the soil. This enriches the soil, improves its structure, and provides essential nutrients for healthy plant growth. Mix the organic matter evenly into the soil.
- Check pH Levels: Some herbs prefer slightly acidic soil, while others thrive in neutral to slightly alkaline conditions. It’s a good idea to test the pH levels of your soil using a pH testing kit. Adjust the pH, if necessary, by adding amendments like lime or sulfur.
- Level the Soil: Rake the soil gently to create a smooth and level surface. This will make it easier to plant the seeds at the appropriate depth.
Remember, herbs generally prefer well-draining soil. If you have heavy clay soil, consider adding perlite or sand to improve drainage. On the other hand, if your soil is sandy, adding organic matter will help retain moisture.
By taking the time to prepare the soil properly, you’re giving your herb seeds the best possible start. Once the soil is prepared, it’s time to move on to the next step – choosing the right seeds for your herb garden!
Step 3: Choose the Right Seeds
Choosing the right herb seeds is crucial for a successful and productive herb garden. Consider factors such as your climate, available space, and personal preferences when selecting your seeds. Here’s how you can choose the right seeds:
- Consider Your Climate: Different herbs have different temperature preferences. Some are tolerant of cold weather, while others thrive in warmer climates. Research the specific requirements of each herb variety you’re interested in and ensure they are suitable for your local climate.
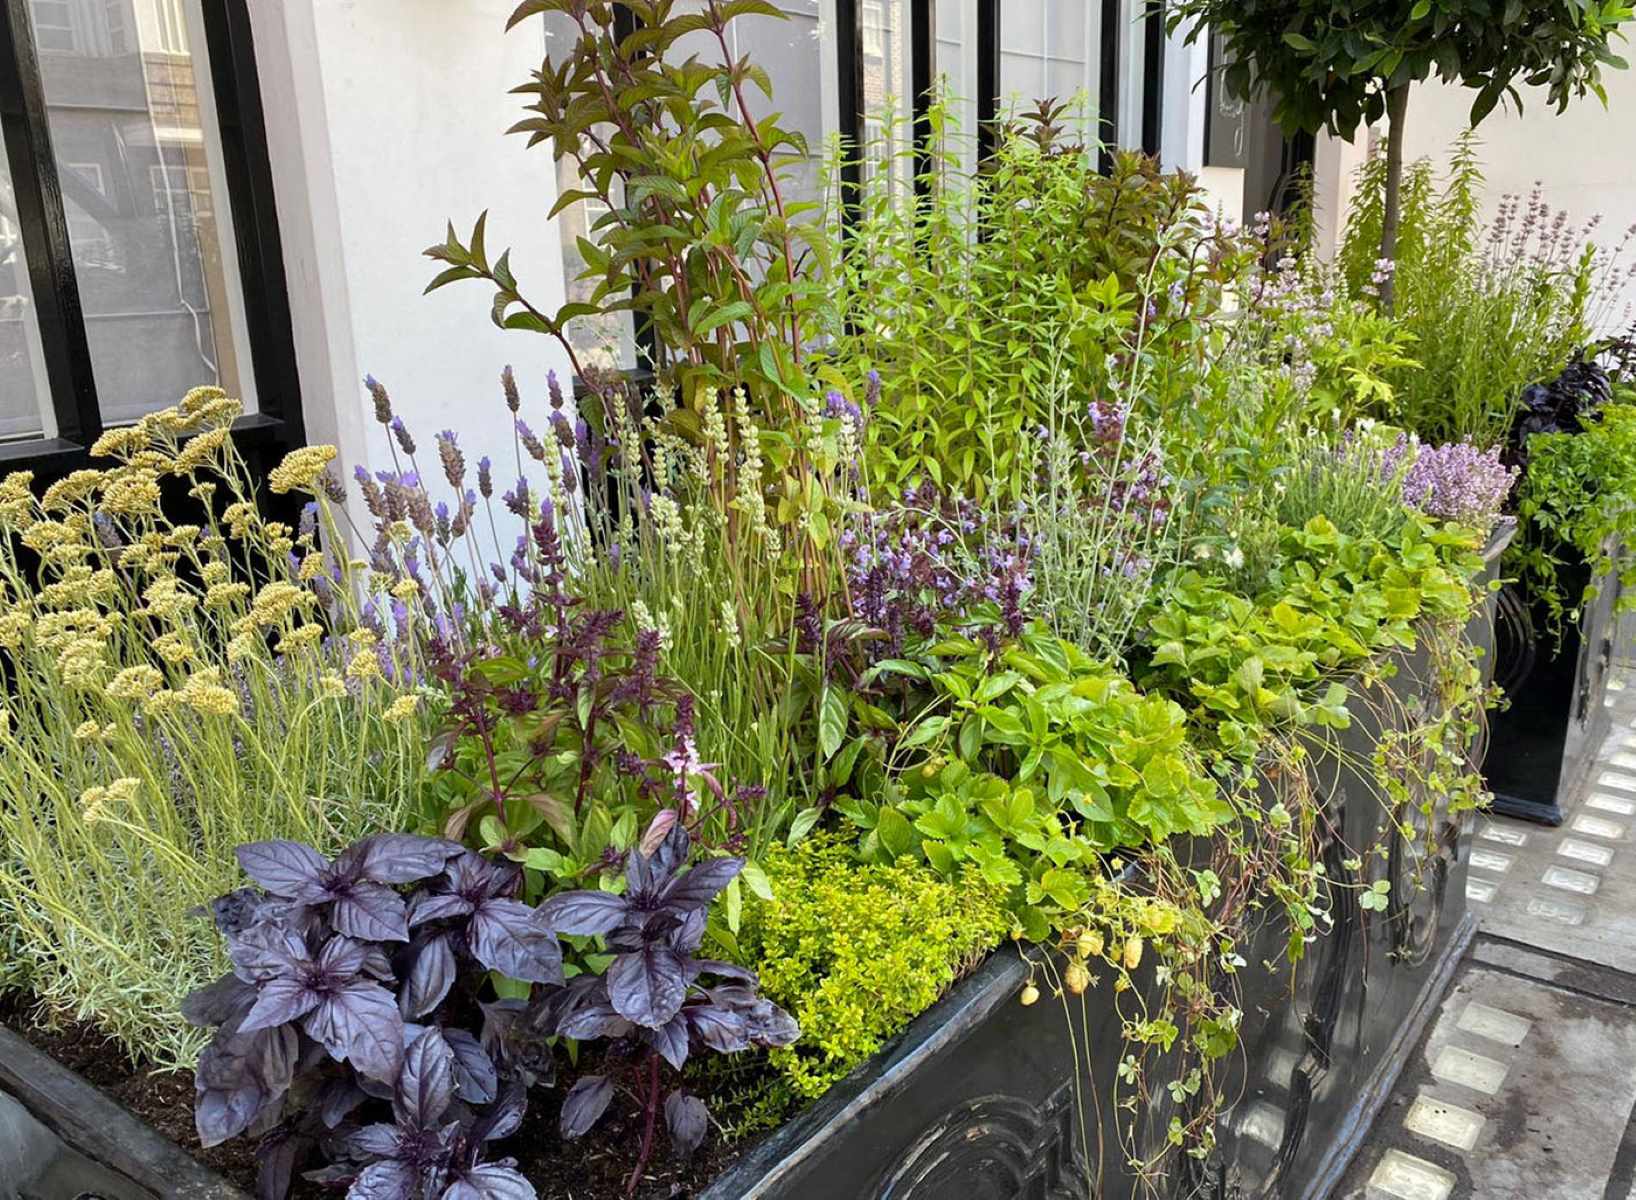
- Assess Available Space: Take into account the available space in your garden or the size of the pots you’ll be using. Some herbs, like mint and oregano, tend to spread rapidly, while others, such as basil and parsley, are more compact. Plan accordingly to ensure each herb has enough space to grow.
- Account for Sunlight Requirements: Most herbs prefer full sun, which means they need at least 6 hours of direct sunlight each day. However, some herbs, like cilantro and chives, can tolerate partial shade. Evaluate the sunlight conditions in your garden and choose herbs accordingly.
- Consider Your Usage: Think about how you plan to use the herbs in your cooking or medicinal purposes. Are you looking for culinary herbs to enhance your dishes, or do you need herbs for their medicinal properties? This will help you narrow down your choices and select the herbs that align with your needs.
- Research Growing Difficulty: Some herbs are easier to grow from seed than others. If you’re a beginner gardener, consider starting with herbs that are known for their ease of cultivation, such as basil, chives, or mint. As you gain experience, you can experiment with more challenging herb varieties.
- Quality of Seeds: Choose high-quality seeds from reputable sources. Look for seeds that are fresh, properly stored, and have a good germination rate. Organic and non-GMO seeds are also available if you prefer to grow your herbs naturally.
By carefully considering these factors, you can select the right herb seeds that will thrive in your garden and provide you with an abundance of fresh ingredients for your culinary and medicinal endeavors.
Now that you have chosen the perfect seeds, it’s time to move on to the exciting part – planting the seeds and watching them grow!
When planting herb seeds, make sure to read the seed packet for specific instructions on planting depth and spacing. Most herbs prefer well-draining soil and plenty of sunlight. Keep the soil consistently moist but not waterlogged.
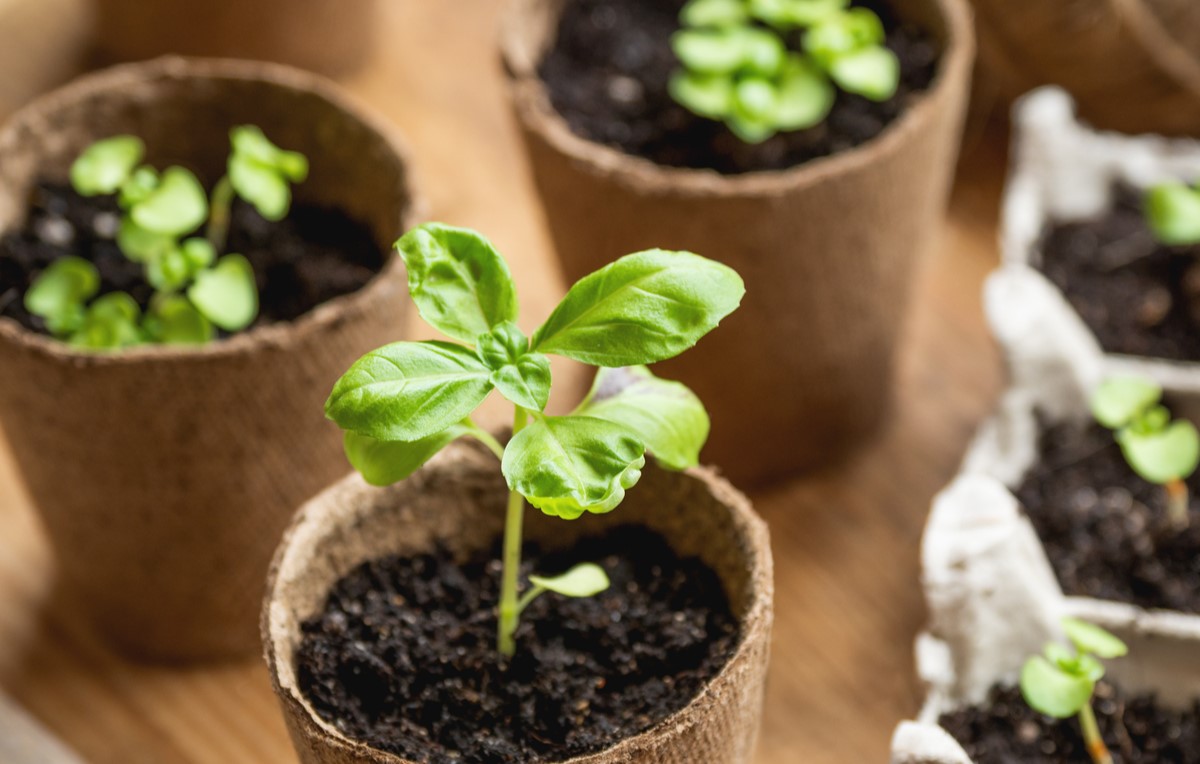
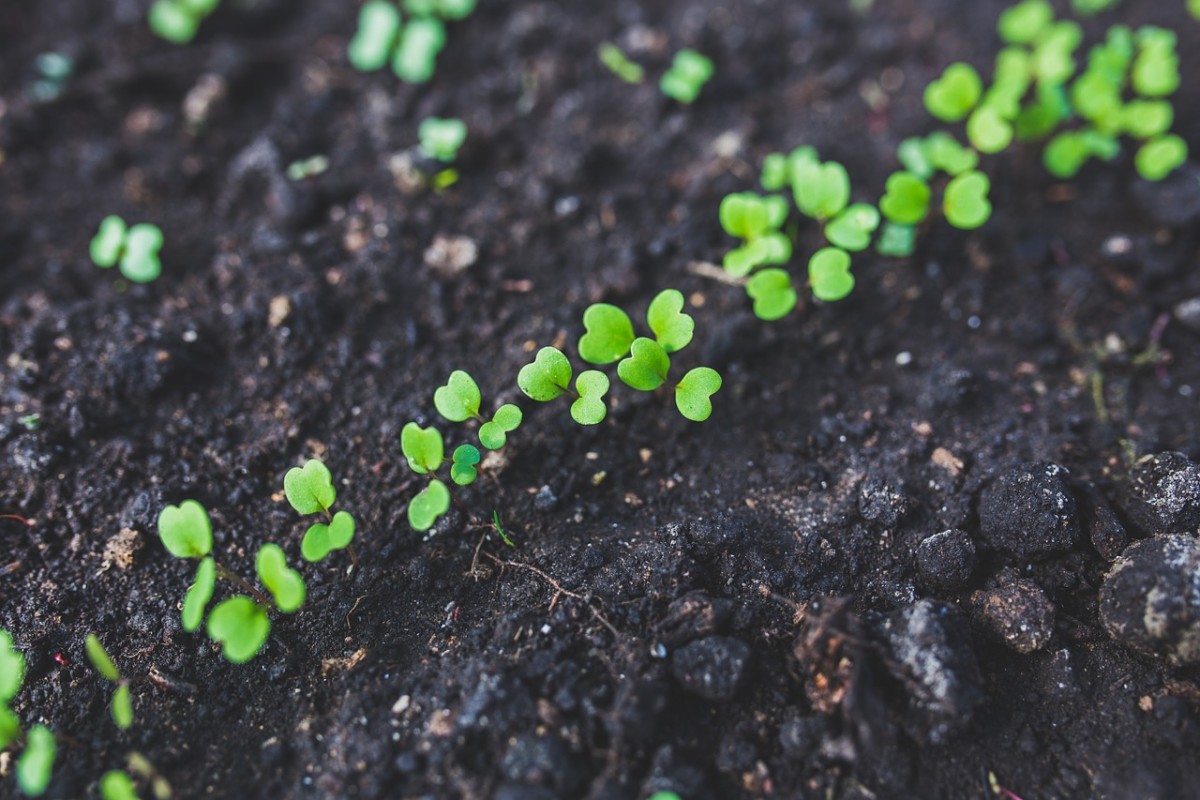
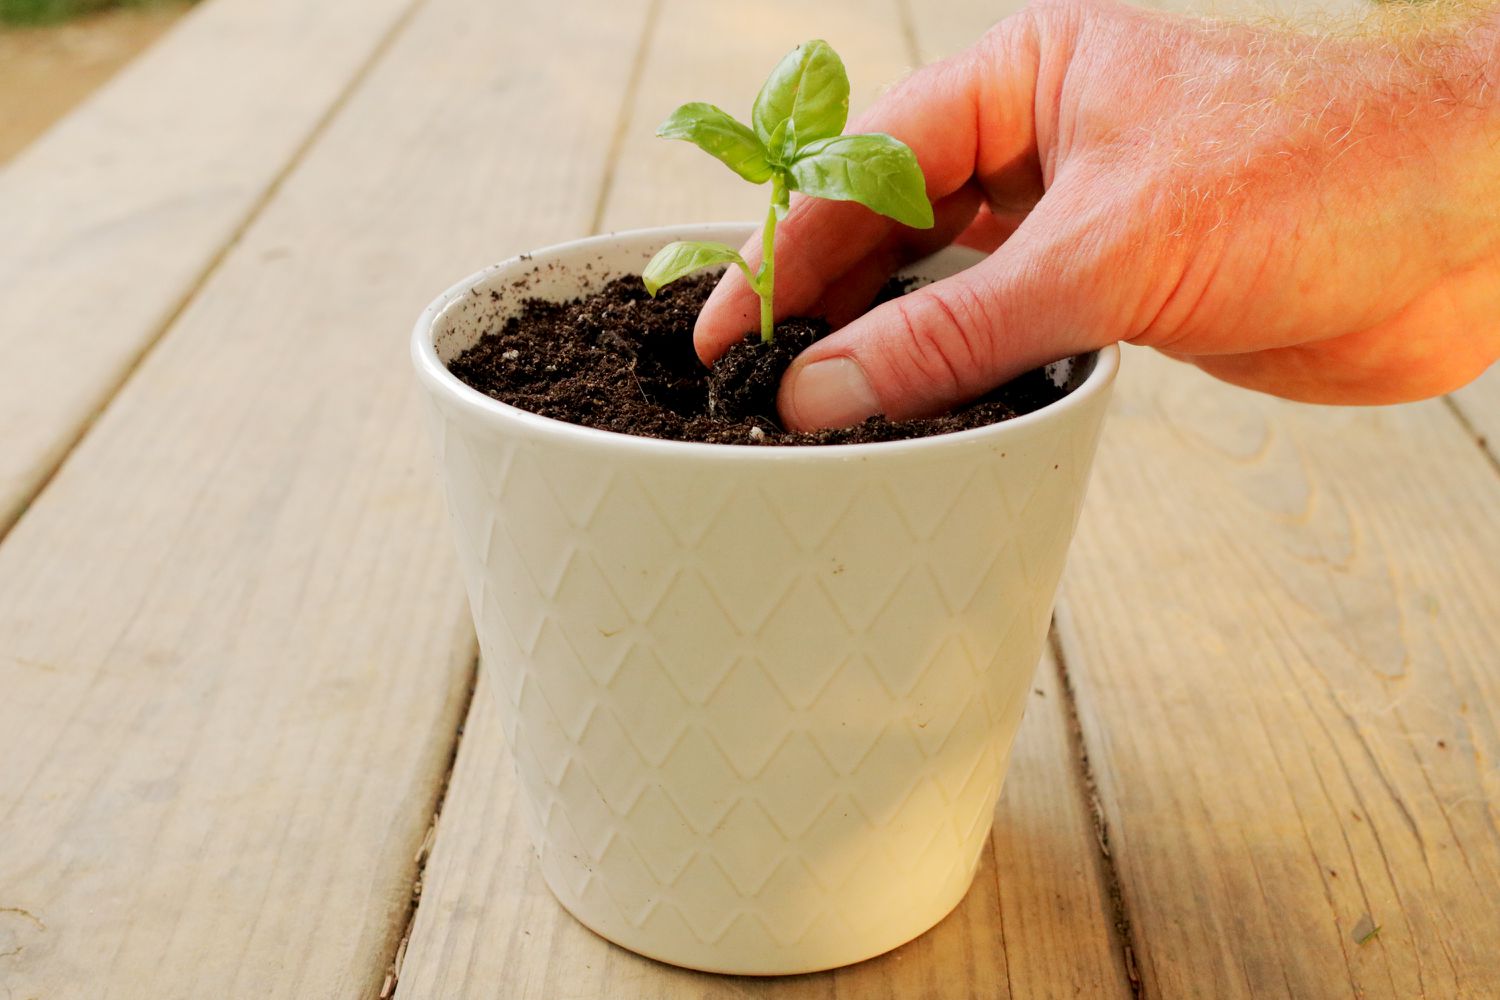
Step 4: Planting the Seeds
Now that you’ve gathered all your supplies, prepared the soil, and chosen the right herb seeds, it’s time to plant them and kickstart the growth process. Follow these steps to ensure a successful planting:
- Read the Seed Packet: Each herb seed packet comes with specific instructions on planting depth, spacing, and germination time. Read the packet carefully and note any specific recommendations for the herb variety you’re planting.
- Moisten the Soil: Before planting, make sure the soil is slightly damp. This will provide a favorable environment for the seeds to germinate.
- Sow the Seeds: Using your finger or the tip of a pencil, create shallow holes in the soil based on the recommended planting depth. Typically, herb seeds are sown at a depth of ¼ to ½ inch. Space the holes according to the recommended spacing for the particular herb variety.
- Place the Seeds: Drop one or two seeds into each hole, ensuring they are evenly spaced. If the seeds are very tiny, you can sprinkle them gently on the surface of the soil, followed by a light covering of soil.
- Cover and Pat Down: Cover the seeds with a thin layer of soil or vermiculite. Gently pat down the soil to ensure good seed-to-soil contact.
- Water: Give the newly planted seeds a gentle watering. Avoid using a strong stream of water that might displace the seeds. Instead, use a watering can or a spray bottle to moisten the soil without disturbing the seeds.
- Provide Warmth and Moisture: To promote germination, cover the pots or seed trays with plastic wrap or a clear dome to create a mini greenhouse effect. This helps to maintain consistent moisture levels and warmth. Remove the cover once the seeds have germinated.
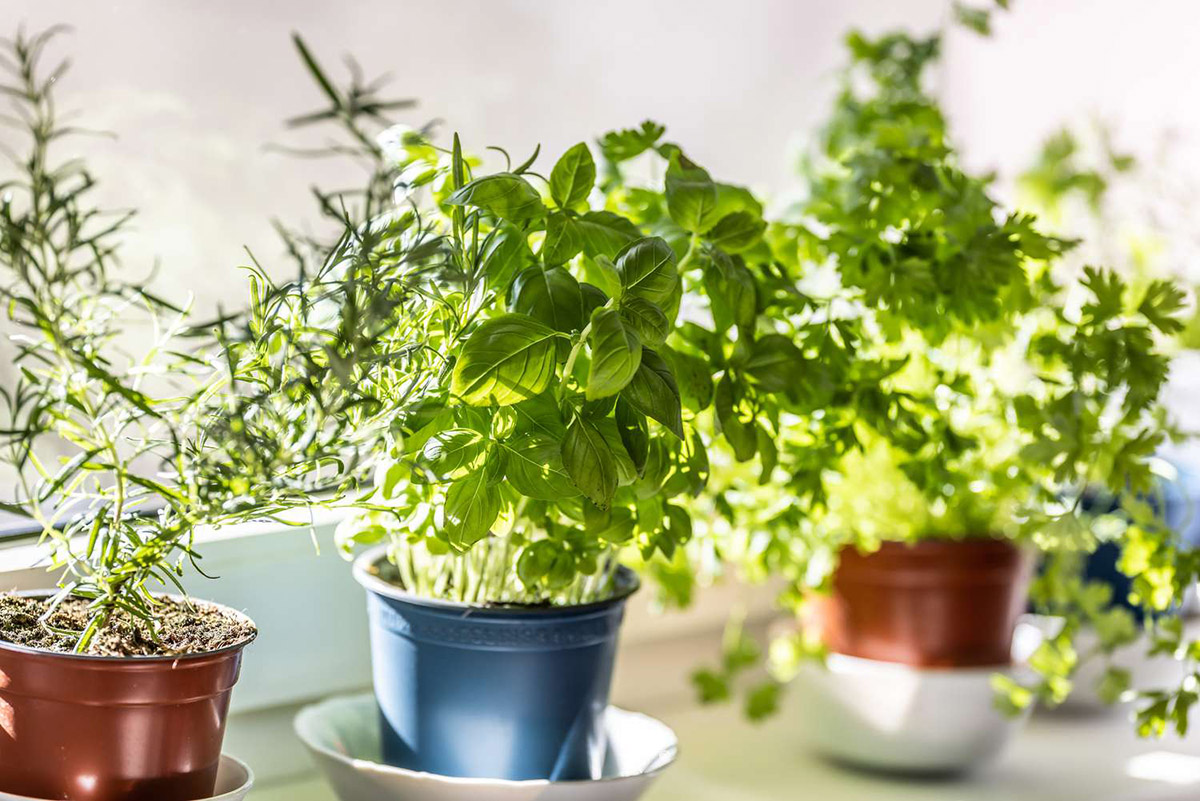
- Place in a Suitable Location: Find a suitable location for your herb seeds. Most herbs require plenty of sunlight, so ensure they are placed in an area that receives at least 6-8 hours of direct sunlight per day. If you’re starting seeds indoors, place them near a sunny window or under grow lights.
Remember to label each pot or seed tray with the name of the herb variety and the date of planting. This will help you keep track of the different herbs in your garden.
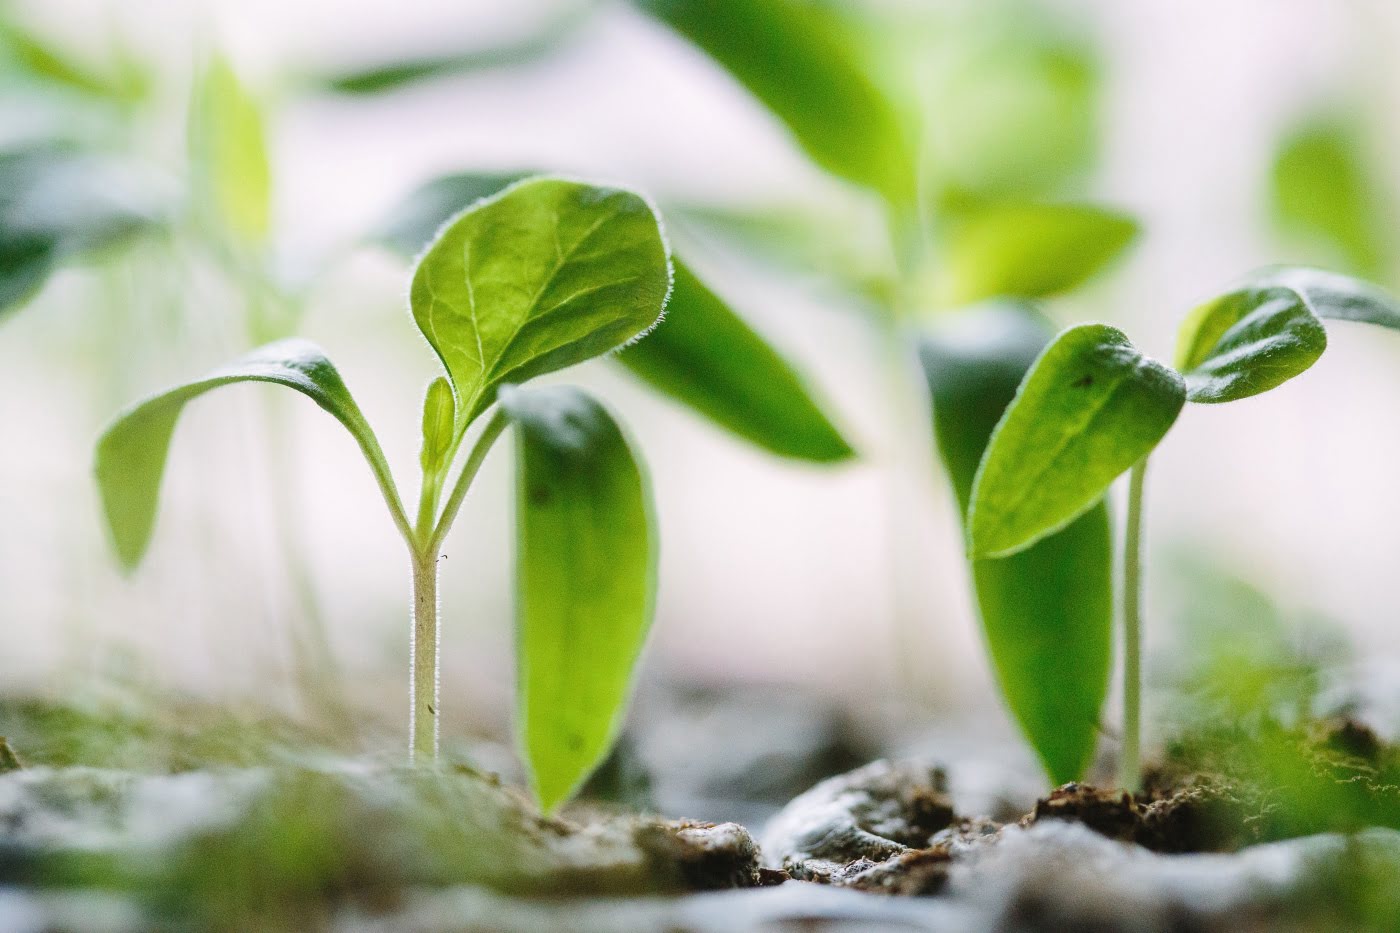
Now, all that’s left to do is to provide the proper care and attention as your herb seeds sprout and grow into healthy plants. Let’s move on to the next step – watering and care!
Read more: When To Plant Herbs From Seed
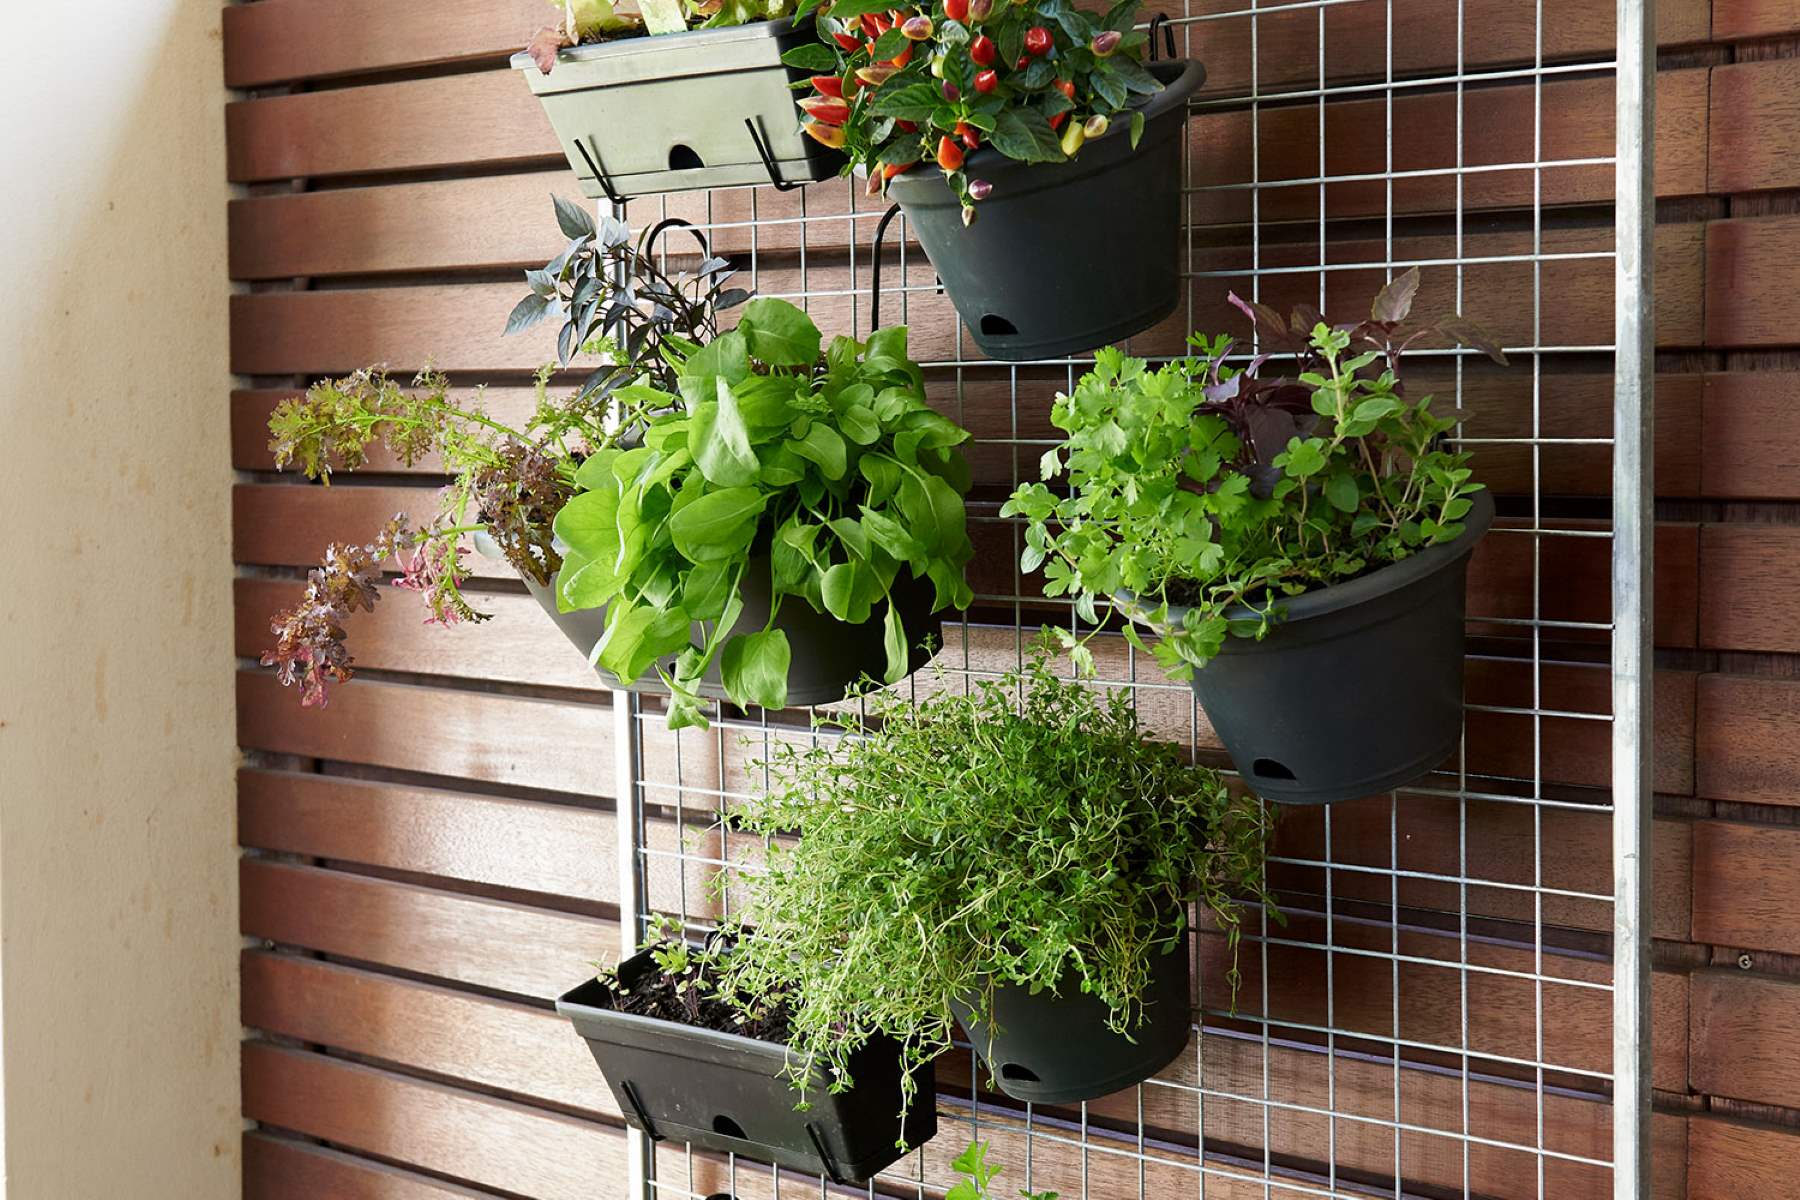
Step 5: Watering and Care
Proper watering and care are essential for the healthy growth and development of your herb plants. Here’s what you need to do to ensure they thrive:
- Watering: Herbs generally prefer slightly moist soil, so water them regularly. Check the soil moisture by sticking your finger about an inch deep into the soil. If it feels dry, it’s time to water. Avoid over-watering as it can lead to root rot. Instead, aim for consistent moisture and allow the soil to dry slightly between waterings.
- Light Requirements: Most herbs require 6-8 hours of direct sunlight per day. If you’re growing them indoors, place them near a sunny window or use grow lights to provide adequate light. Rotate the pots occasionally to ensure even growth.
- Fertilization: Herbs generally do not require heavy fertilization. If your soil lacks nutrients, you can fertilize with a balanced organic fertilizer once or twice during the growing season. Follow the manufacturer’s instructions for application rates.
- Pruning: Regularly prune your herb plants to encourage bushier growth and prevent them from becoming leggy. Pinch off the tips of the plants to encourage branching and promote the production of fresh leaves. Use the pruned leaves in your cooking or for drying.
- Pest and Disease Control: Keep an eye out for common pests, such as aphids, whiteflies, and caterpillars. Remove any damaged or infested leaves and use organic pest control methods if necessary. Proper air circulation and spacing between plants can also help prevent disease issues.
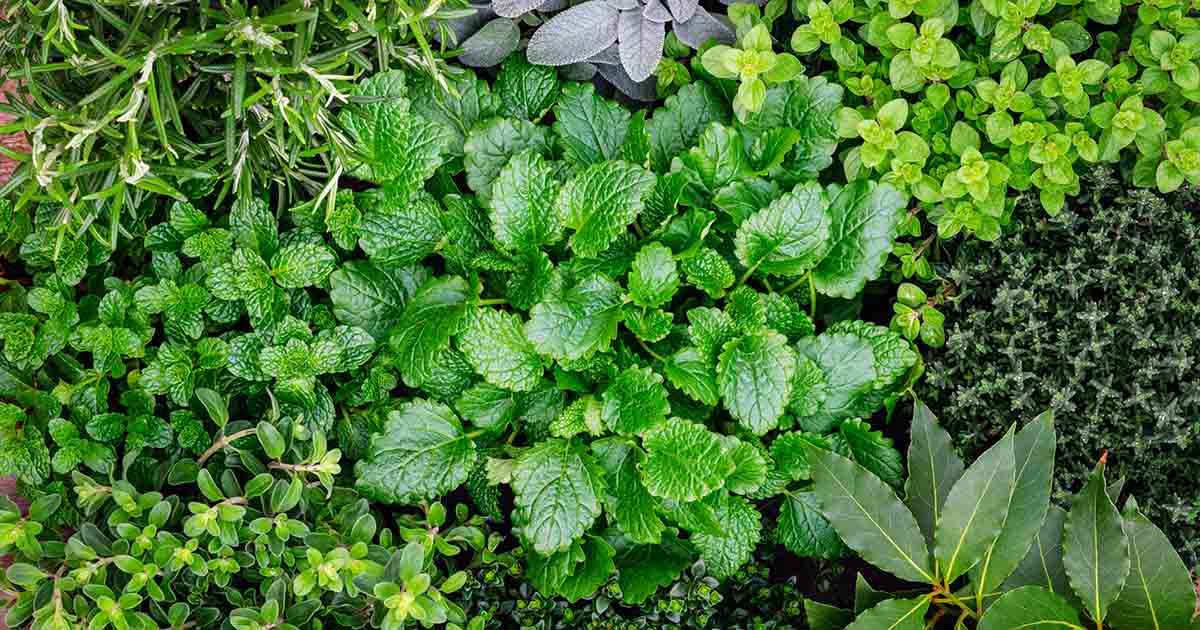
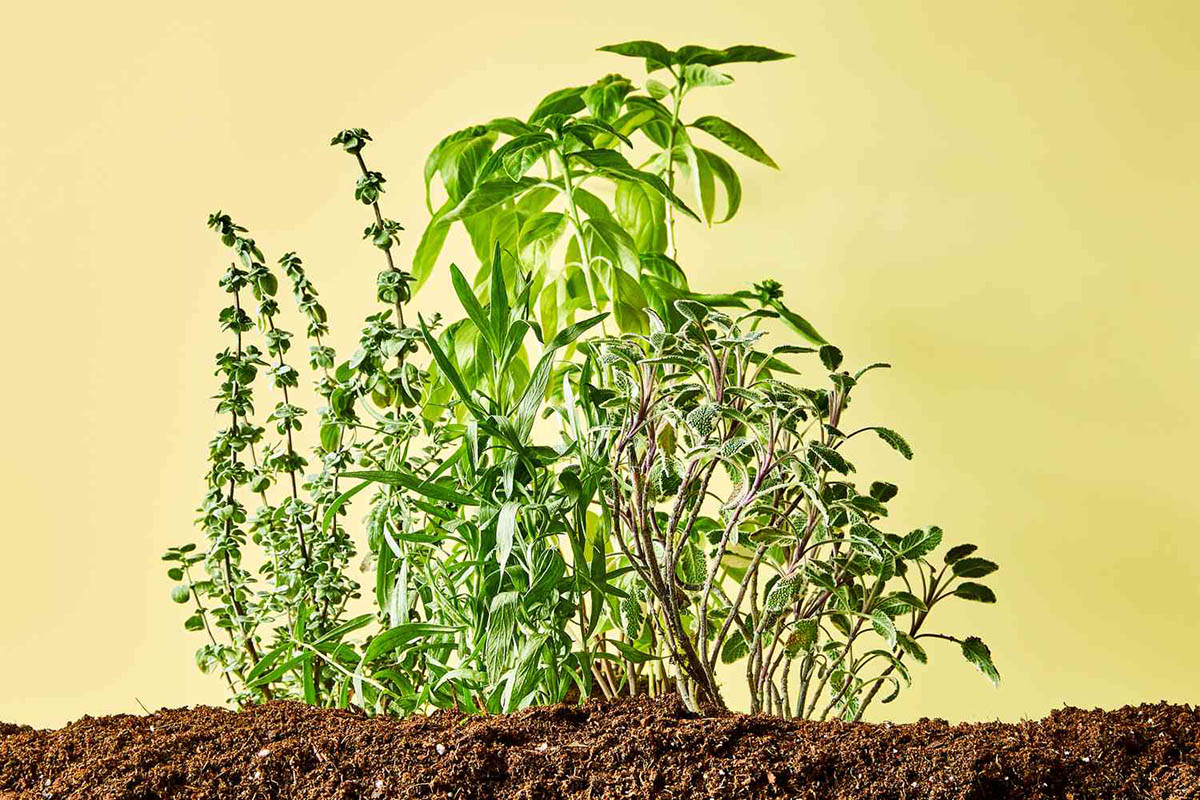
- Harvesting: As your herb plants mature, you can start harvesting the leaves for culinary use. Harvest in the morning when the flavor and aroma of the herbs are most intense. Cut the leaves close to a growth node to encourage new growth. Avoid harvesting more than one-third of the plant at a time to promote continuous growth.
Remember, each herb variety may have specific care requirements, so it’s important to research and understand the needs of the herbs you’re growing. By providing proper watering, light, and care, you’ll be rewarded with a bountiful herb garden that adds flavor and freshness to your meals.
Now, let’s move on to the final step – harvesting the delicious herbs you’ve worked hard to grow!
Step 6: Harvesting the Herbs
After patiently tending to your herb garden, the time has finally arrived to harvest the flavorful rewards of your hard work. Here’s how you can harvest your herbs for maximum flavor and longevity:
- Timing: Harvest your herbs when they are at their peak flavor. This usually occurs before the plants flower, as the essential oils responsible for flavor and aroma are most concentrated at this stage.
- Method: Use sharp and clean gardening shears or scissors to cut the stems just above a leaf node or where the stem meets the main stem of the plant. This encourages branching and new growth from the remaining stem.
- Leave Some Leaves: When harvesting, be mindful to leave at least one-third of the plant intact. This allows the plant to continue growing and ensures a continuous supply of fresh herbs throughout the season.
- Harvesting Herbs with Thick Stems: For herbs like rosemary or thyme that have woody stems, you can either trim the leaves from the stem or harvest by cutting off whole sprigs. Simply remove the lower leaves from the stem and use the upper portion for cooking or drying.
- Preserving Fresh Herbs: To preserve the freshness of your herbs, store them properly. Rinse the harvested herbs under cool water and gently pat them dry. You can store them loosely in a plastic bag with a damp paper towel or wrap them in a slightly damp kitchen towel and refrigerate them. This helps to retain their flavor and prolongs their shelf life.
- Drying Herbs: If you have an abundant harvest, drying the herbs is a great way to preserve them for later use. Tie the stems into small bundles and hang them upside down in a well-ventilated area away from direct sunlight. Once the leaves are fully dried, remove them from the stems and store them in airtight containers.
Remember, fresh herbs have a more vibrant flavor compared to dried herbs, so it’s best to use them as soon as possible. However, dried herbs are still a wonderful addition to your culinary creations when fresh herbs are not available.
With each harvest, be sure to savor the bountiful flavors and aromas of your homegrown herbs. Your efforts in growing and caring for them have truly paid off!
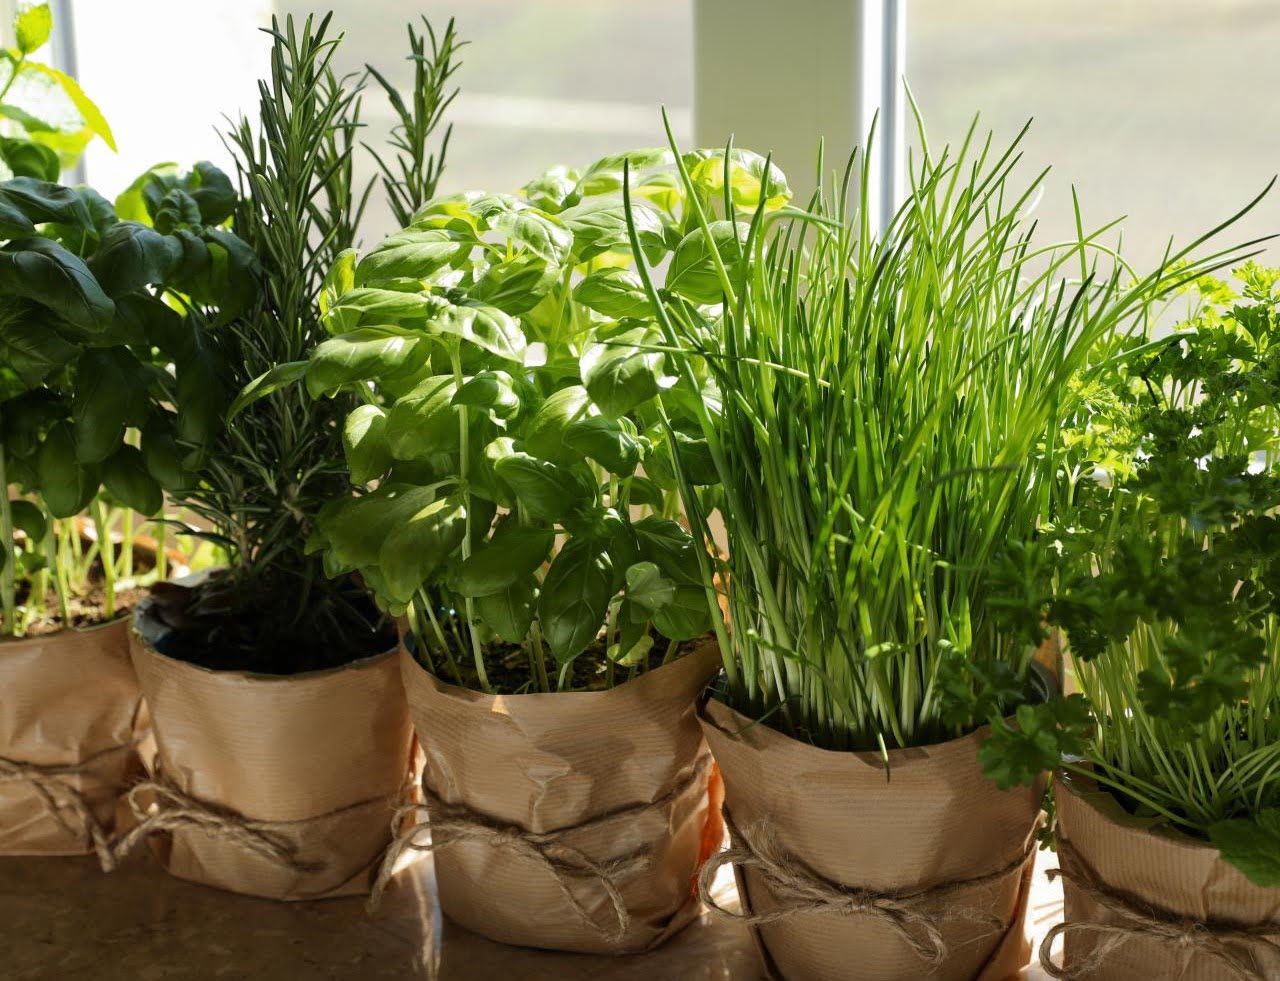
Congratulations! You’ve now completed all the steps required to plant, care for, and harvest your own herb garden. Enjoy the fruits of your labor and continue exploring the world of herbs, experimenting with new varieties, and creating delicious culinary masterpieces with the herbs you’ve grown with love.
Happy gardening and happy cooking!
Conclusion
Congratulations on successfully completing your journey of planting herb seeds and cultivating your own herb garden! By following the steps outlined in this guide, you have gained the knowledge and skills necessary to grow and harvest a variety of flavorful herbs right at your fingertips.
Planting herb seeds is a rewarding experience that offers a range of benefits. Not only do herbs add incredible flavor to your culinary creations, but they also provide health benefits and contribute to a greener and more sustainable lifestyle. Growing your own herbs allows you to ensure their freshness and quality, and it’s a cost-effective way to have an abundant supply of these aromatic plants year-round.
Remember to tailor your herb selection to suit your climate, available space, and personal preferences. Take care of your herb plants by providing them with the appropriate amount of water, sunlight, and nutrition, while also pruning and monitoring for pests and diseases. With proper care, your herb garden will flourish and continue to provide you with a source of joy and deliciousness.
Harvesting your herbs at the right time and storing them properly will ensure that you can enjoy their flavors long after the growing season is over. Whether you choose to use them fresh in your cooking or dry them for later use, the flavors and aromas of homegrown herbs will add a special touch to every dish.
Remember, gardening is a continuous learning process, and each season brings new opportunities to refine your skills and expand your herb collection. So, don’t be afraid to experiment and try growing different varieties of herbs. With time and experience, you’ll become even more adept at nurturing these plants and reaping the rewards.
Now, it’s time to relish the delights of your herb garden. Infuse your dishes with fresh basil, add a sprig of rosemary to your roasted potatoes, or steep some refreshing mint leaves in your tea. Let the flavors and scents of your homegrown herbs take your culinary creations to new heights.
Thank you for embarking on this herb-growing journey with us. We hope this guide has inspired you to make the most of your green thumb and enjoy the wonders of nature right in your own garden. Happy gardening and bon appétit!
Frequently Asked Questions about How To Plant Herb Seeds
Was this page helpful?
At Storables.com, we guarantee accurate and reliable information. Our content, validated by Expert Board Contributors, is crafted following stringent Editorial Policies. We're committed to providing you with well-researched, expert-backed insights for all your informational needs.


0 thoughts on “How To Plant Herb Seeds”