Home>Furniture>Outdoor Furniture>How To Paint A Concrete Patio
Outdoor Furniture
How To Paint A Concrete Patio
Modified: March 7, 2024
Learn how to transform your outdoor furniture with this step-by-step guide on painting a concrete patio. Discover tips, tricks, and recommended products for a stunning makeover.
(Many of the links in this article redirect to a specific reviewed product. Your purchase of these products through affiliate links helps to generate commission for Storables.com, at no extra cost. Learn more)
Introduction
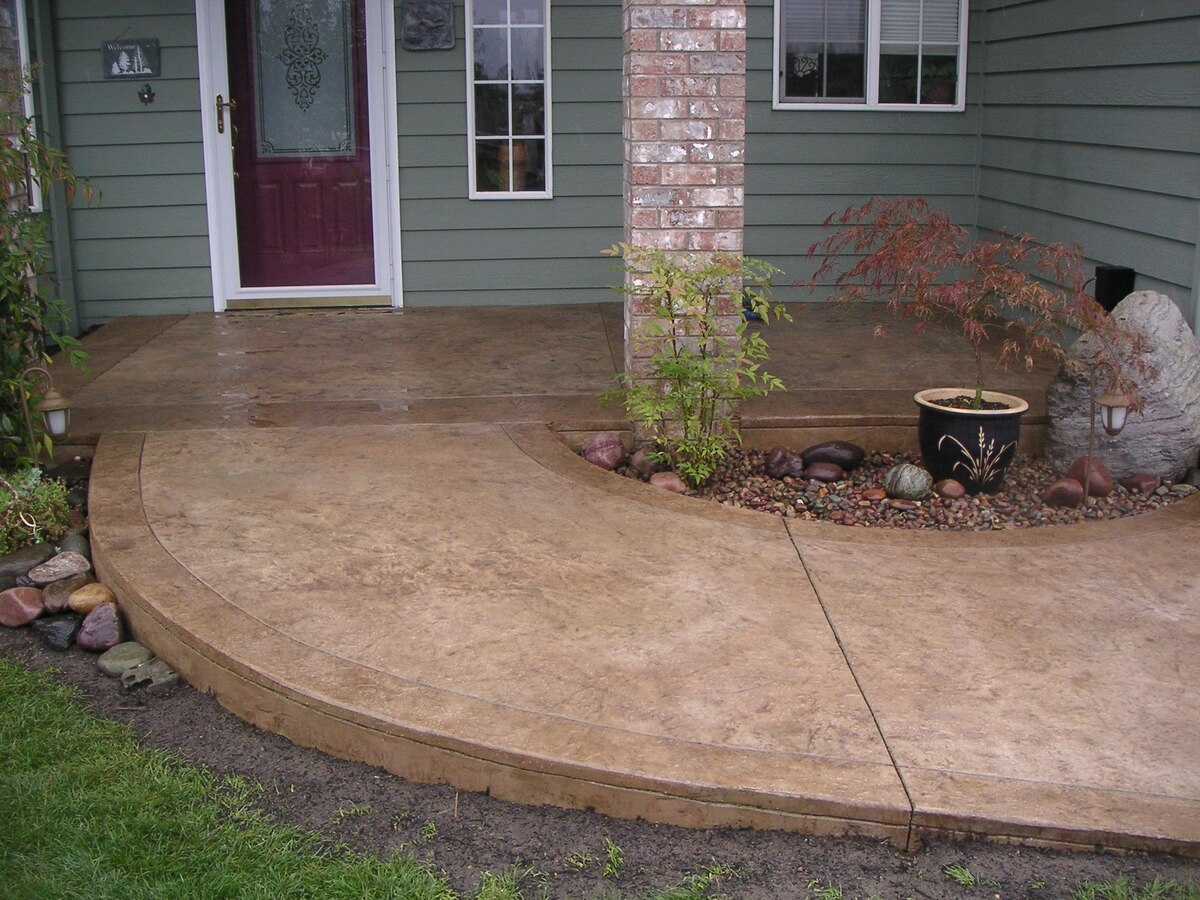
Welcome to our guide on how to paint a concrete patio. If you have a worn-out or dull-looking patio, giving it a fresh coat of paint can completely transform its appearance and add a new lease of life to your outdoor space. Painting a concrete patio not only improves its aesthetics but also helps protect it from the elements and extends its lifespan.
Before you begin the painting process, it’s important to gather the necessary materials and prepare the surface properly. In this article, we’ll take you through the step-by-step process of cleaning, repairing, choosing the right paint, preparing the patio surface, and applying a primer coat and paint. We’ll also discuss adding a sealant and provide tips on maintaining and caring for your painted concrete patio.
Painting a concrete patio is a rewarding DIY project that can be completed over a weekend. So, grab your brushes and rollers, and let’s get started on transforming your patio into a vibrant and inviting outdoor space!
Key Takeaways:
- Transform your worn-out concrete patio into a vibrant outdoor oasis by following our step-by-step guide. Proper cleaning, repairing, and painting will revitalize your space and protect it from the elements.
- Maintain the beauty of your painted concrete patio with regular cleaning, prompt repairs, and protective measures. By adding a sealant and implementing a maintenance routine, your outdoor space will stay inviting for years to come.
Read more: How To Paint Your Concrete Patio
Step 1: Cleaning the Concrete Patio
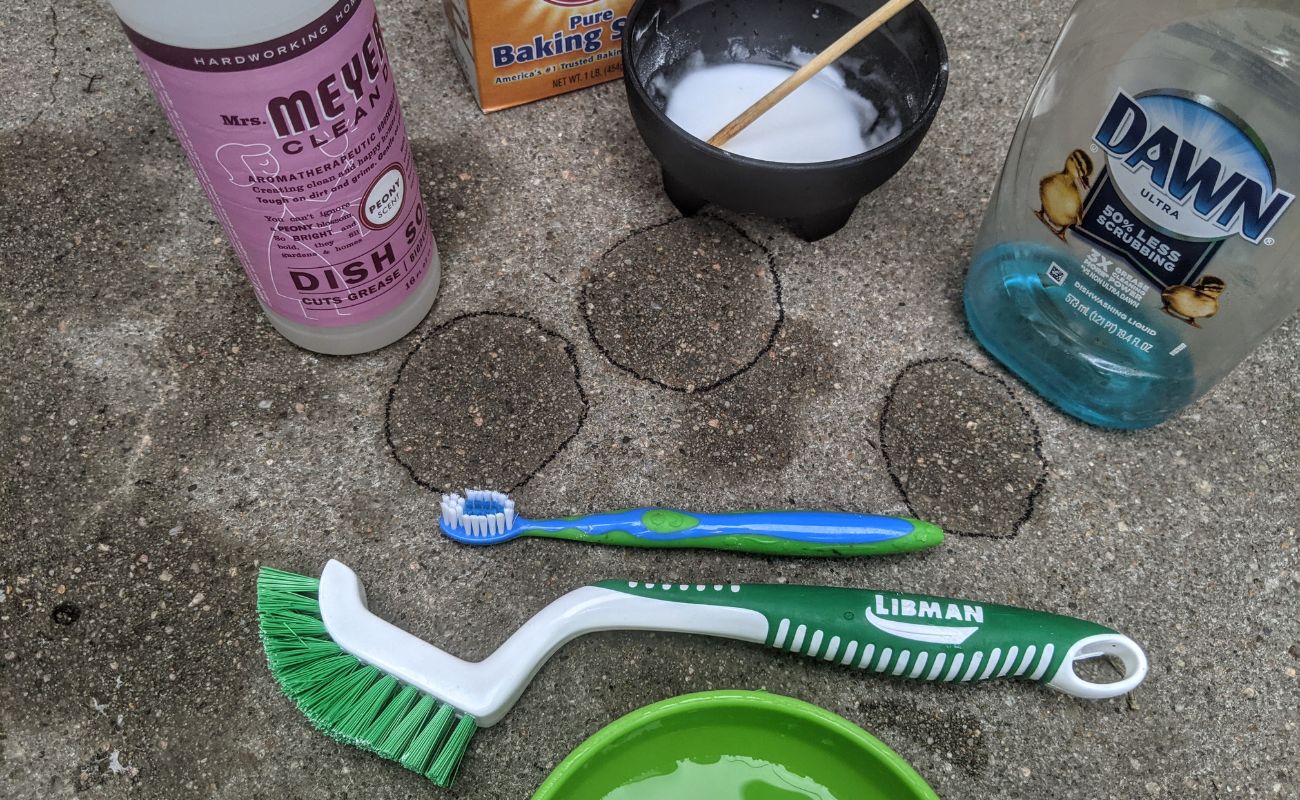
The first step in painting a concrete patio is to thoroughly clean the surface. Over time, dirt, grime, mold, and mildew can accumulate, making it necessary to remove these contaminants before applying any paint. Here’s how to clean your concrete patio:
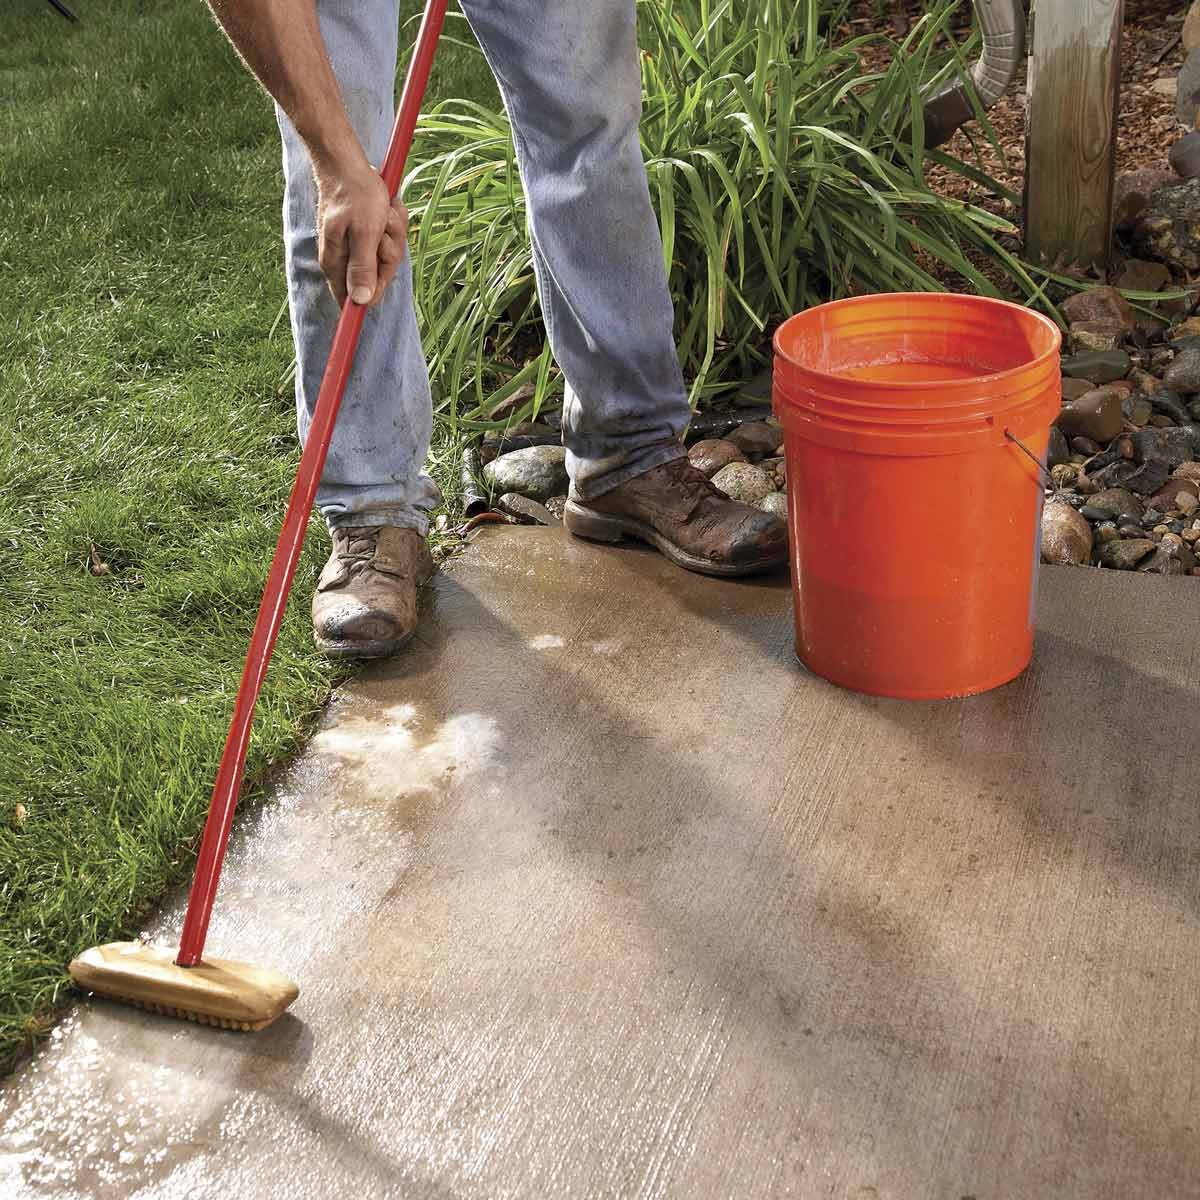
- Sweep the surface: Start by sweeping the patio with a broom to remove loose dirt, leaves, and debris. This will make the cleaning process more effective.
- Pressure wash or scrub: Depending on the level of dirt and stains, you can either use a pressure washer or scrub the patio surface with a brush and a solution of warm water and mild detergent. For tough stains, you may need to use a specialized concrete cleaner. Follow the manufacturer’s instructions for the best results.
- Rinse: After scrubbing or pressure washing, rinse the patio thoroughly with clean water to remove any residual cleaning solution.
- Remove mold and mildew: If your patio has noticeable mold or mildew growth, consider using a solution of one part bleach to four parts water to kill and remove them. Apply the solution to the affected areas, scrub gently, and rinse well.
- Dry the surface: Allow the patio surface to dry completely before proceeding to the next step. This may take a few hours or longer, depending on the weather conditions.
Cleaning the concrete patio ensures proper adhesion of the paint and helps achieve a smooth and long-lasting finish. It also removes any potential contaminants that could affect the paint’s performance. Take your time with this step to ensure a clean and prepared surface for the paint application.
Step 2: Repairing Cracks and Damages
Before you can paint your concrete patio, it’s essential to address any cracks, chips, or other damages on the surface. Repairing these imperfections will not only improve the appearance of the patio but also prevent further damage and ensure a smooth and even paint application. Here’s how you can repair cracks and damages:
- Inspect the patio: Carefully examine the entire patio surface to identify any cracks, holes, or areas that require repair. Pay close attention to the edges and corners.
- Clean the damaged areas: Use a wire brush or a scraper to clean any loose debris, dirt, or old paint from the cracked or damaged areas. Make sure the surface is clean and free of any loose particles.
- Fill the cracks: For small cracks, use a concrete crack filler or a patching compound. Follow the product instructions and apply the filler using a putty knife or a trowel. Smooth out the surface and ensure that the repaired areas are level with the rest of the patio. Allow the filler to dry completely.
- Repair larger damages: For larger holes or damaged areas, you may need to use a concrete patching product. Prepare the patching compound according to the manufacturer’s instructions and apply it to the damaged areas using a trowel. Smooth out the surface and feather the edges to blend with the rest of the patio. Allow the patch to dry thoroughly.
- Sand and level: Once the filler or patching compound is dry, lightly sand the repaired areas to create a smooth and even surface. Use a sanding block or sandpaper to achieve a flush finish. Remove any dust or debris from the surface before proceeding.
Repairing cracks and damages ensures that the paint has a solid and even base to adhere to, preventing future cracks or chips in the paint. It’s important to take the time to properly repair any imperfections before moving on to the next steps of the painting process.
Step 3: Choosing the Right Paint
Choosing the right paint for your concrete patio is crucial for achieving a durable and visually appealing finish. When selecting a paint, consider the following factors:
- Type of paint: Look for paints specifically designed for use on concrete surfaces. These types of paints are formulated to withstand outdoor conditions, foot traffic, and exposure to the elements. Acrylic-based or epoxy-based concrete paints are commonly recommended for patio applications.
- Finish: Decide on the desired finish for your patio. Common options include matte, satin, or gloss finishes. Keep in mind that higher gloss finishes tend to be more durable but may also show imperfections more prominently.
- Color: Choose a color that complements your outdoor space and personal preferences. Consider the overall aesthetic of your outdoor area and any existing decor or furniture. Lighter colors can create a more spacious and airy feel, while darker colors provide a more dramatic and cozy atmosphere.
- UV resistance: Outdoor paints should have UV resistance to prevent fading and color degradation due to prolonged sun exposure. Look for paints with UV protection to ensure the longevity of your patio’s freshly painted surface.
- Texture: Some paints offer textured finishes, which can be beneficial for adding slip resistance to the patio surface, especially in areas prone to moisture or near pools or water features.
Before purchasing the paint, it’s always a good idea to read product labels, check manufacturer recommendations, and consult with a paint specialist to ensure you choose the best paint for your specific patio needs. Taking the time to select the right type of paint will greatly contribute to the long-term success and durability of your painted concrete patio.
Step 4: Preparing the Patio Surface
Properly preparing the patio surface before painting is essential for achieving a smooth and long-lasting finish. Here’s what you need to do to prepare the surface:
- Clean the surface: Before you begin preparing the surface, make sure the patio is clean and free from any dust, debris, or loose particles. Use a broom or a leaf blower to remove any loose dirt, leaves, or debris.
- Repair any remaining cracks: Inspect the surface again and address any remaining cracks or damages. Use a concrete crack filler or patching compound to fill in any small cracks or holes. Allow the filler to dry completely.
- Smooth out rough areas: If there are any rough or uneven areas on the patio surface, sand them down using coarse grit sandpaper or a concrete grinder. Smooth out the surface as much as possible to ensure an even paint application.
- Etch the surface (if needed): If your concrete patio is very smooth or previously painted, it may require etching. Etching creates a slightly porous surface that helps the paint adhere better. You can use an etching solution, such as muriatic acid or a commercial concrete etcher, following the manufacturer’s instructions. Be sure to wear protective gear and work in a well-ventilated area.
- Rinse and dry: After etching or if not needed, rinse the patio surface thoroughly with clean water to remove any residue from the etching solution. Allow the patio to dry completely before proceeding.
Properly preparing the patio surface ensures that the paint will adhere well and provide a smooth, long-lasting finish. Take your time during this step to ensure the best results for your painted concrete patio.
Before painting a concrete patio, make sure to clean and etch the surface to ensure the paint adheres properly. Use a pressure washer and a concrete etching solution for best results.
Read more: How To Remove Paint From A Concrete Patio
Step 5: Applying a Primer Coat
Applying a primer coat to your concrete patio is an important step that helps improve paint adhesion, enhances durability, and ensures a more uniform and long-lasting finish. Here’s how to apply a primer coat:
- Choose the right primer: Select a primer that is specifically designed for use on concrete surfaces. Look for a primer that is compatible with the type of paint you will be using.
- Prepare the primer: Read the manufacturer’s instructions and mix the primer thoroughly if required. Some primers may need to be diluted with water, so be sure to follow the recommended ratios.
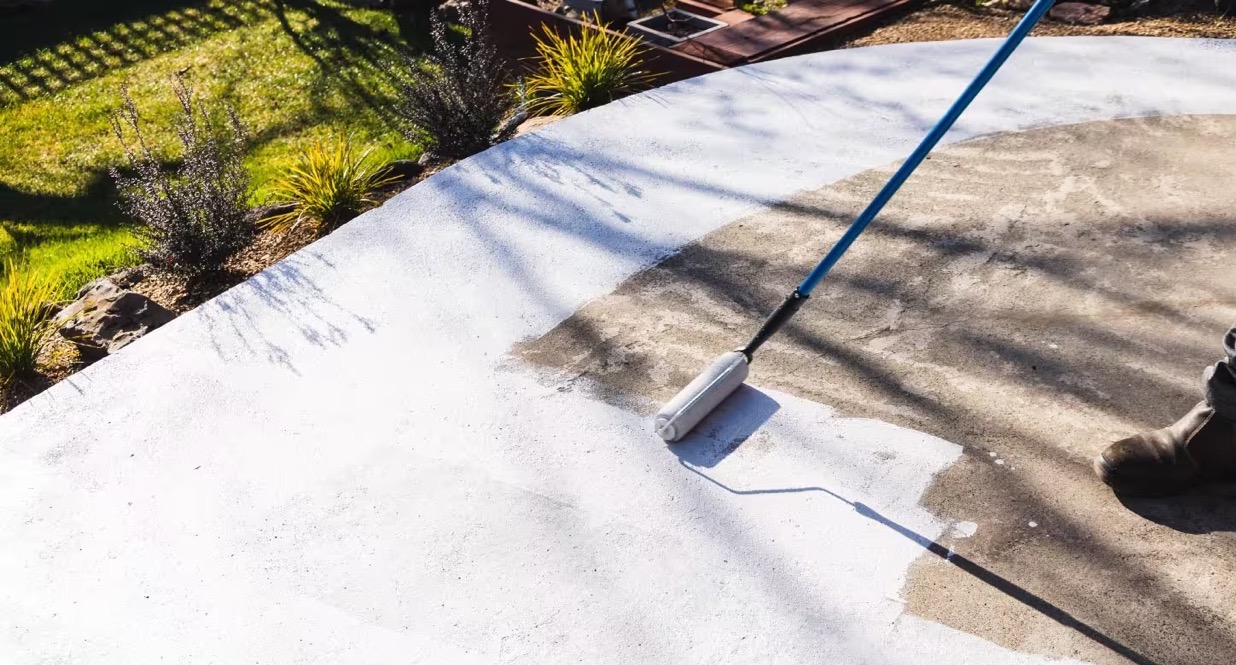
- Apply the primer: Start by cutting in the edges and corners of the patio using a brush. Then, use a roller or a paint sprayer to apply the primer to the rest of the surface. Work in small sections to ensure even coverage. Apply the primer in thin, even coats, following the recommended drying time between coats.
- Allow the primer to dry: Check the manufacturer’s instructions for the recommended drying time. Generally, primers require several hours to dry completely. Ensure that the primer is completely dry before proceeding to the next step.
- Sand the primer coat (optional): If you notice any rough spots or imperfections on the dried primer coat, lightly sand them using fine-grit sandpaper. This will help create a smoother surface for the final paint application.
- Clean up: Clean your painting tools with water (if using water-based primer) or the appropriate cleaning solution. Properly dispose of any leftover paint or primer according to local regulations.
Applying a primer coat to your concrete patio creates a solid base for the paint and enhances the overall performance and longevity of the painted surface. This step is crucial for achieving a professional-looking finish and ensuring that your painted patio withstands the test of time.
Step 6: Applying the Paint
Now that you’ve prepared the surface and applied a primer coat, it’s time to apply the paint to your concrete patio. Follow these steps to ensure a successful paint application:
- Choose the right paint: Use a high-quality paint specifically formulated for concrete surfaces. Ensure that the paint is compatible with the primer you have applied.
- Prepare the paint: Read the manufacturer’s instructions and mix the paint thoroughly, if required. Take note of any recommended dilution ratios or preparation steps.
- Start with the edges: Use a brush or a small roller to cut in along the edges and corners of the patio. This will help create clean lines and ensure that you cover areas that a larger roller may not reach.
- Paint the rest of the surface: Once the edges are complete, use a roller or a paint sprayer to apply the paint to the remaining patio surface. Work in small sections, overlapping each stroke to ensure even coverage. Apply the paint in thin, even coats, following the recommended drying time between coats.
- Pay attention to the weather: Keep in mind that extreme temperature, humidity, or direct sunlight can affect the drying time and performance of the paint. It’s best to paint on a dry, mild day with moderate temperatures.
- Allow the paint to dry: Check the manufacturer’s instructions for the recommended drying time between coats and for the final drying time. Typically, it takes a few hours for the paint to dry to the touch, but it may take several days for the paint to fully cure.
- Apply additional coats (if desired): Depending on the type of paint and the desired coverage, you may need to apply additional coats. Ensure that each coat is fully dry and follow the manufacturer’s instructions for optimal results.
Remember to paint in the same direction and maintain a consistent application technique throughout the process for a smooth and professional finish. Take your time and be patient, allowing each coat to dry thoroughly before adding another. Your painted concrete patio will soon showcase a vibrant and refreshed appearance, ready to be enjoyed.
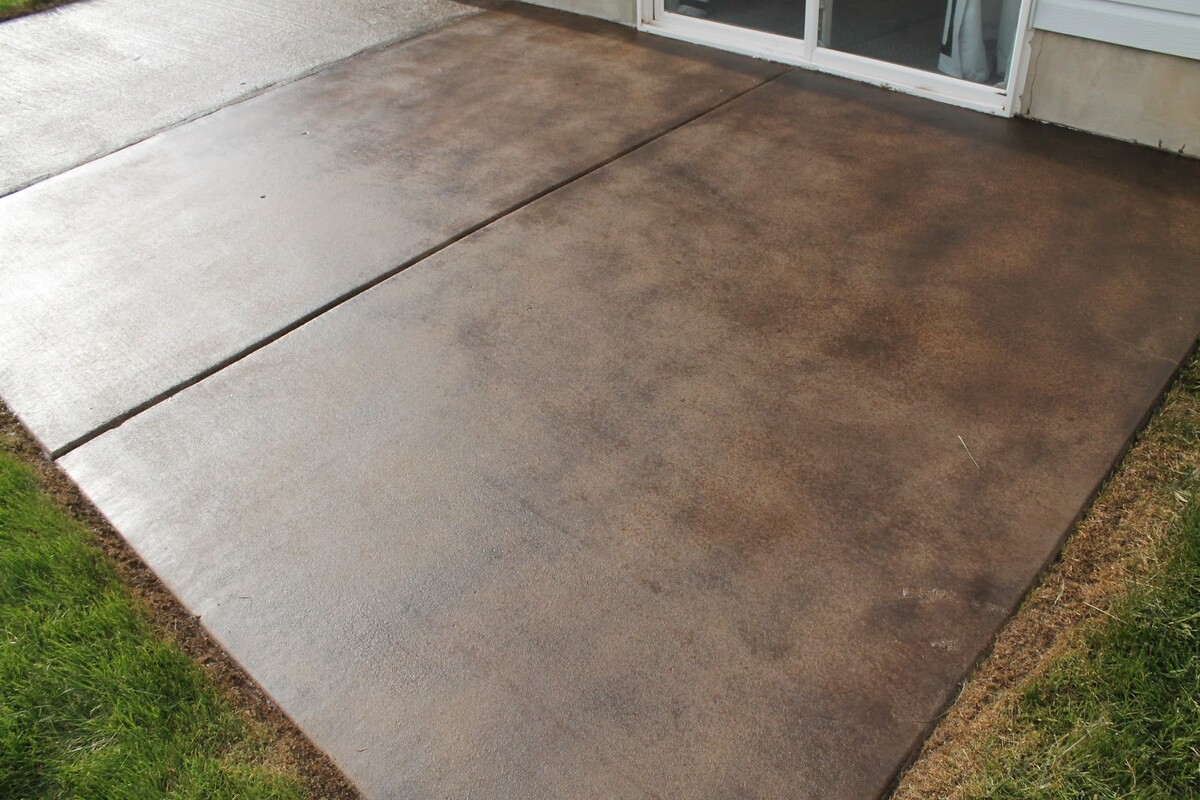
Step 7: Adding a Sealant
Adding a sealant is an important step in the process of painting a concrete patio. A sealant provides an extra layer of protection to your painted surface, helping to prevent water penetration, UV damage, and wear from foot traffic. Follow these steps to properly add a sealant to your painted concrete patio:
- Choose the right sealant: Look for a sealant specifically designed for use on painted concrete surfaces. Select a sealant that is compatible with the type of paint you have used.
- Prepare the patio: Ensure that the painted surface is clean and free from any dust, debris, or loose particles. If necessary, clean the surface using a broom or a leaf blower.
- Apply the sealant: Follow the manufacturer’s instructions for applying the sealant. It is typically recommended to use a brush or a roller to apply the sealant in thin, even coats. Start with the edges and corners, and then work your way across the rest of the patio surface.
- Allow the sealant to dry: Check the manufacturer’s instructions for the recommended drying time between coats and for the final drying time. It may take several hours or even a day or two for the sealant to fully dry and cure.
- Add multiple coats (if desired): Depending on the level of protection you desire, you may choose to apply multiple coats of sealant. Allow each coat to dry fully before adding another.
- Maintain the sealant: Follow the manufacturer’s recommendations for maintaining the sealant. It is important to regularly clean and reapply the sealant as needed to keep your painted concrete patio well-protected and looking its best.
Adding a sealant to your painted concrete patio helps prolong the life of the paint and enhances its resistance to weathering and wear. It provides an extra layer of protection that keeps your patio looking fresh and vibrant for years to come.
Step 8: Maintaining and Caring for Your Painted Concrete Patio
Once you have painted your concrete patio, it’s essential to establish a regular maintenance routine to keep it in excellent condition. Proper care will help preserve the beauty and longevity of your painted surface. Here are some tips on maintaining and caring for your painted concrete patio:
- Clean regularly: Sweep or use a leaf blower to remove loose dirt, leaves, and debris from the surface. Periodically wash the patio with a mild detergent and water to remove stains, spills, and any buildup. Avoid using harsh chemicals or abrasive cleaners that can damage or fade the paint.
- Protect the surface: Use protective mats or furniture pads under heavy objects or furniture to prevent scratches or indentation on the painted surface. Avoid dragging heavy items across the patio.
- Repair small damages promptly: Keep an eye out for any chips, cracks, or damages in the paint. Address them as soon as possible by spot painting or touching up the area. This will prevent further damage and maintain the integrity of the paint job.
- Avoid harsh chemicals and solvents: Avoid using harsh chemicals, solvents, or abrasive materials on your painted concrete patio as they can damage the paint. Instead, opt for gentle cleaning solutions and tools.
- Reapply sealant as needed: Over time, the sealant on your painted concrete patio may wear off. Regularly check for signs of wear and reapply the sealant as recommended by the manufacturer. This will help protect the paint and extend its lifespan.
- Monitor for signs of fading or discoloration: Despite proper care, exposure to sunlight can still cause some fading or discoloration of the paint over time. If you notice significant color changes, consider applying a fresh coat of paint to restore the appearance of your patio.
- Inspect for water pooling or drainage issues: Ensure that your patio has proper drainage to prevent water pooling or standing. Standing water can potentially damage the paint and the underlying concrete. Address any drainage issues promptly.
By following these maintenance tips, you can keep your painted concrete patio looking beautiful and well-protected year-round. With regular care and attention, your patio will continue to be a welcoming and enjoyable outdoor space for years to come.
Read more: How To Pour A Concrete Patio
Conclusion
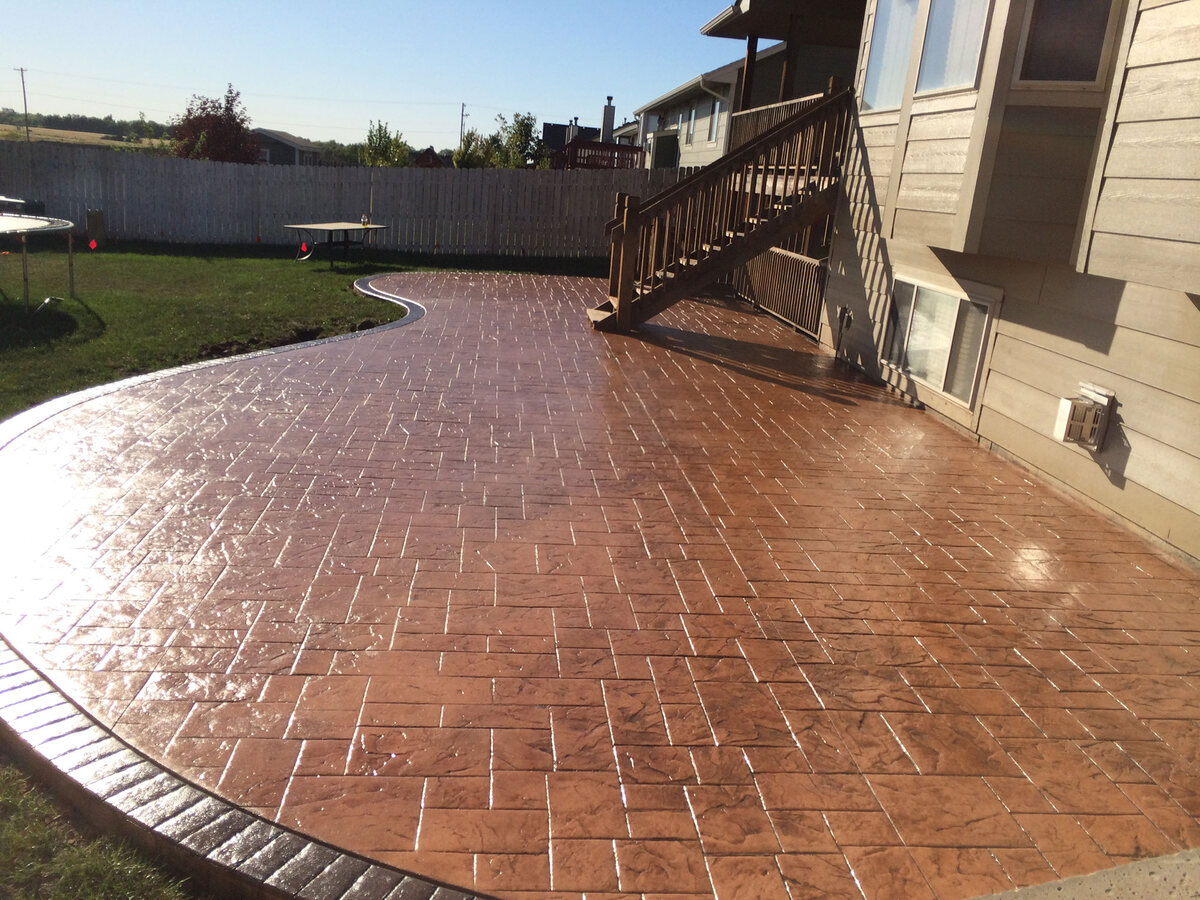
Congratulations on successfully painting your concrete patio! By following the step-by-step guide in this article, you have transformed your outdoor space into a vibrant and inviting area. Painting a concrete patio not only enhances its aesthetic appeal but also provides protection against the elements, extending its lifespan.
Remember, the key to a successful painted concrete patio lies in proper preparation, including cleaning, repairing cracks and damages, choosing the right paint and primer, and applying them correctly. Adding a sealant and implementing a regular maintenance routine will help ensure the longevity and beauty of your painted surface.
As you enjoy your newly painted patio, make sure to take preventative measures such as using furniture pads, regularly cleaning the surface, and addressing any small repairs promptly. These actions will help maintain the integrity of the paint job and keep your patio looking its best for years to come.
Lastly, don’t forget to periodically evaluate the condition of your painted concrete patio. If you notice any significant fading, discoloration, or damages, it may be time to consider repainting the surface to restore its original beauty.
We hope this guide has been informative and helpful in your journey to paint a concrete patio. Enjoy your revitalized outdoor space and create lasting memories in your newly transformed patio!
Frequently Asked Questions about How To Paint A Concrete Patio
Was this page helpful?
At Storables.com, we guarantee accurate and reliable information. Our content, validated by Expert Board Contributors, is crafted following stringent Editorial Policies. We're committed to providing you with well-researched, expert-backed insights for all your informational needs.


0 thoughts on “How To Paint A Concrete Patio”