Home>Furniture>Outdoor Furniture>How To Build Patio Dining Tables
Outdoor Furniture
How To Build Patio Dining Tables
Modified: March 15, 2024
Learn how to build beautiful and durable patio dining tables for your outdoor furniture. Enhance your outdoor living space with these DIY projects and enjoy al fresco dining all year round.
(Many of the links in this article redirect to a specific reviewed product. Your purchase of these products through affiliate links helps to generate commission for Storables.com, at no extra cost. Learn more)
Introduction
Welcome to our comprehensive guide on how to build patio dining tables! If you’re looking to upgrade your outdoor space with a stylish and functional centerpiece, building your own patio dining table can be a rewarding and cost-effective option. Not only will you have a unique piece of furniture that fits your exact needs, but you’ll also have the satisfaction of knowing that you created it yourself.
Building a patio dining table may seem like a daunting task, but with the right materials, tools, and a little bit of patience, anyone can successfully tackle this project. In this guide, we’ll take you through the step-by-step process of building a sturdy and beautiful patio dining table.
Before we dive in, let’s talk about why building your own patio dining table is a great option. First and foremost, it allows you to customize the size, shape, and design to perfectly fit your outdoor space. Whether you have a small balcony or a spacious backyard, you can create a table that suits your specific needs and style.
Secondly, building your own patio dining table can be more cost-effective than buying a ready-made one. By sourcing the materials yourself and putting in some elbow grease, you can save money while obtaining a high-quality piece of furniture.
Lastly, building a patio dining table is a rewarding DIY project that allows you to showcase your creativity and craftsmanship. It’s a chance to hone your woodworking skills and create something that you can be proud of for years to come.
Now that we’ve covered the benefits, let’s get started on the first step – gathering the materials needed for the project.
Key Takeaways:
- Building your own patio dining table allows you to customize the size, design, and color to fit your outdoor space, saving money and showcasing your creativity and woodworking skills.
- Prioritize high-quality materials and proper maintenance to ensure the durability and longevity of your custom-built patio dining table, creating a beautiful and inviting space for outdoor dining and entertaining.
Read more: How To Build A Dining Table Bench
Step 1: Gathering Materials
Before you begin building your patio dining table, it’s essential to gather all the necessary materials. Here’s a list of items you’ll need:
- Pressure-treated lumber planks: These will serve as the main material for the tabletop and legs. Opt for a type of wood that can withstand outdoor conditions, such as cedar or teak.
- Screws or wood glue: You’ll need these to secure the different pieces of wood together.
- Measuring tape: Essential for taking accurate measurements of the wood pieces.
- Saw: Depending on the design you choose, you may need a circular saw or a miter saw to cut the wood to the desired dimensions.
- Sander: To smooth out rough edges and create a polished finish.
- Drill: You’ll use a drill to create pilot holes and attach the pieces of wood together.
- Paint or stain: If you want to add some color or protect the wood, you’ll need paint or stain specifically formulated for outdoor use.
- Brushes and rollers: To apply the paint or stain evenly.
- Protective finish: A clear sealant or varnish to protect the wood from moisture and UV rays.
Once you have gathered all the necessary materials, it’s time to move on to the next step – measuring and cutting the wood.
Remember, it’s crucial to use high-quality materials that can withstand outdoor conditions. Cheap or low-quality materials may deteriorate quickly and compromise the durability of your patio dining table. Take the time to source the best materials available within your budget for a long-lasting and visually appealing result.
Step 2: Measuring and Cutting the Wood
Now that you have gathered all the materials for your patio dining table, it’s time to start measuring and cutting the wood. This step is crucial for ensuring that all the pieces fit together perfectly and result in a sturdy and well-proportioned table.
Here’s a step-by-step guide to measuring and cutting the wood:
- Start by measuring and marking the dimensions of the tabletop. Take into account the size of your patio or outdoor space and the number of people you want the table to accommodate. Use a measuring tape to determine the length and width of the tabletop, and mark those dimensions on the lumber planks.
- Next, use a saw to cut the lumber planks according to the marked dimensions. Make sure to cut the pieces as straight as possible for a clean and professional look. You may also need to make angled cuts if you want to incorporate any specific design elements.
- Once the tabletop pieces are cut, move on to measuring and cutting the wood for the legs. The height of the legs will depend on your personal preference and the desired seating height. Measure and mark the length of each leg, keeping in mind that they should be equal in length to ensure stability.
- Use the saw to cut the legs to the desired length. If you want to add any decorative elements or angles to the legs, now is the time to do so.
Remember to wear proper safety gear, such as goggles and gloves, when operating power tools like saws. Measure twice and cut once to avoid any unnecessary mistakes or wasted material.
Once you have measured and cut all the wood pieces according to the desired dimensions, it’s time to move on to the next step – sanding and preparing the wood surfaces.
Step 3: Sanding and Preparing the Wood
After measuring and cutting the wood for your patio dining table, it’s important to sand and prepare the surfaces for a smooth and polished finish. This step will not only enhance the aesthetics of your table but also ensure that the wood is free from rough edges and imperfections.
Here’s a step-by-step guide to sanding and preparing the wood:
- Start by using a coarse-grit sandpaper or sanding block to remove any prominent roughness or splinters from the wood surfaces. This initial sanding will help create a smooth foundation for the final finish.
- Continue sanding with progressively finer-grit sandpaper to achieve a finer finish. Start with medium-grit sandpaper and gradually move to a fine-grit option. This will help to eliminate any remaining rough patches and ensure a silky-smooth end result.
- Pay close attention to the edges and corners of the tabletop and legs, as these tend to be the areas that may require additional sanding to remove any sharp edges or splinters.
- Once all the sanding is complete, use a damp cloth to wipe away any dust or residue from the wood surfaces. This will ensure that the paint, stain, or protective finish adheres well to the wood.
- Inspect the wood for any cracks, knots, or imperfections that may need to be filled or repaired before proceeding with the finishing process. Use wood filler or putty to address any visible flaws, and allow it to dry according to the manufacturer’s instructions.
Sanding and preparing the wood is an important step to ensure a professional and polished result for your patio dining table. Take your time and pay attention to detail, as this will significantly enhance the overall appearance and longevity of your finished table.
Now that the wood is prepped and ready, it’s time to move on to the next step – assembling the tabletop.
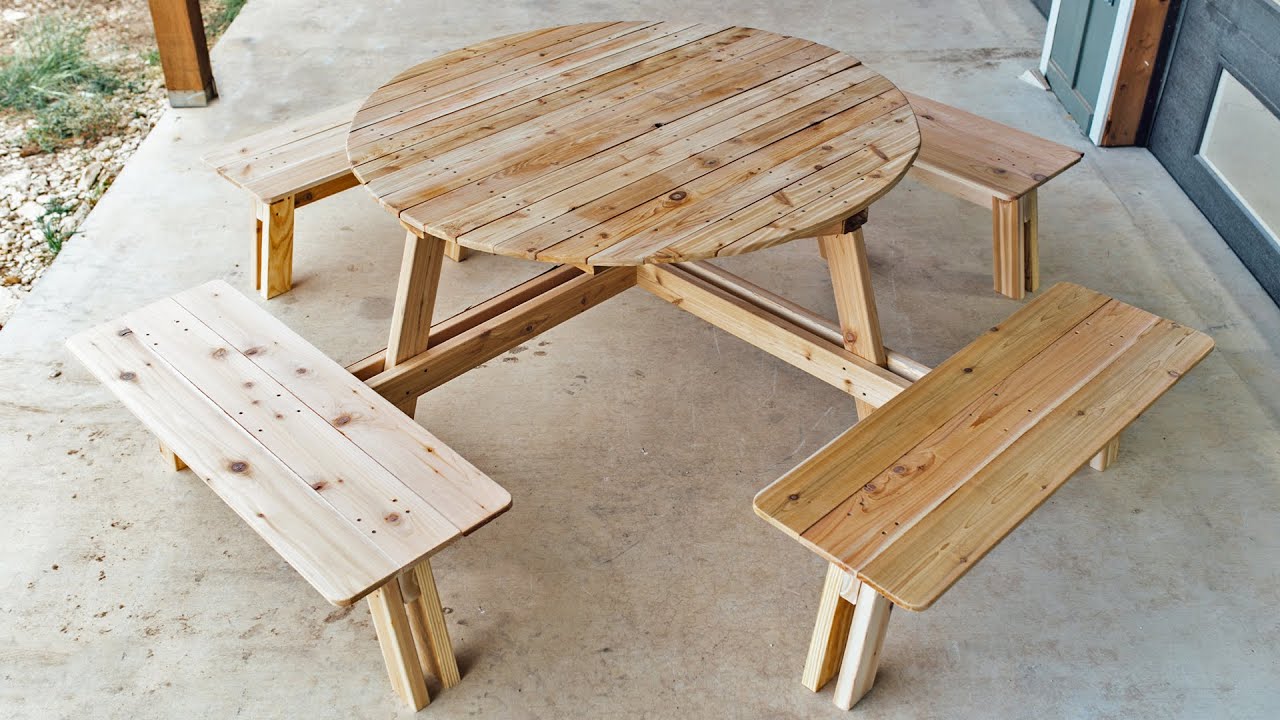
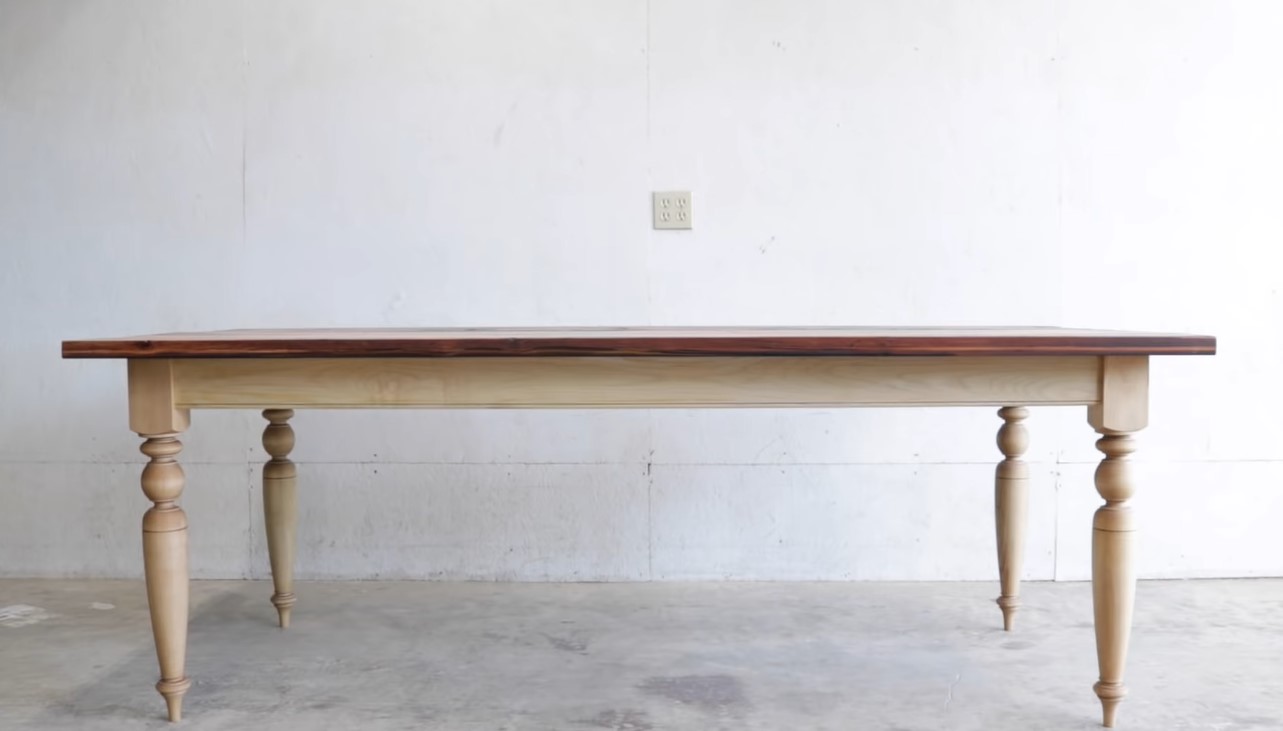
Step 4: Assembling the Tabletop
Now that you have sanded and prepared the wood for your patio dining table, it’s time to move on to the exciting step of assembling the tabletop. This is where all the individual pieces of wood come together to create a sturdy and visually appealing surface.
Follow these steps to assemble your tabletop:
- Lay out all the cut pieces of wood for the tabletop on a flat and stable surface. Arrange them in the desired pattern, making sure they fit together snugly.
- Once you’re happy with the arrangement, use a drill to create pilot holes where the pieces of wood will be joined together. This will prevent the wood from splitting when you insert screws or apply wood glue.
- If you’re using screws, carefully insert them through the pilot holes and secure the pieces of wood together. Be sure to countersink the screws slightly below the surface of the tabletop to ensure a flat and smooth finish.
- If you prefer to use wood glue, apply a generous amount along the edges of the wood pieces and press them firmly together. Use clamps to hold the pieces in place while the glue dries. Follow the instructions on the wood glue for drying time.
- After the tabletop is assembled, give it a final inspection to ensure that all the pieces are securely fastened and aligned properly.
Once the tabletop is assembled, you can take a moment to admire your progress. The tabletop is an essential component of your patio dining table, as it provides the surface for meals, conversations, and gatherings with friends and family.
With the tabletop complete, it’s time to move on to the next step – building the table legs.
Read more: How To Build An Outdoor Dining Table
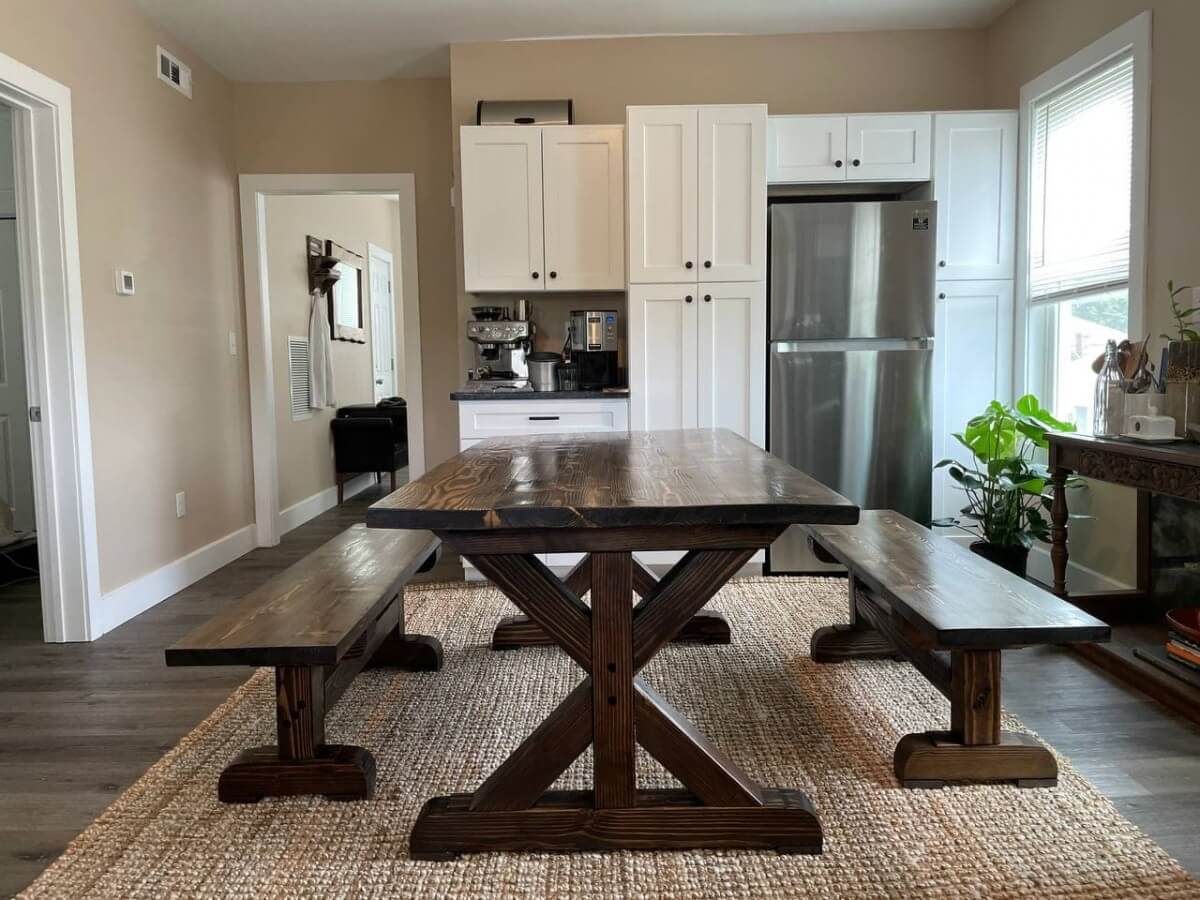
Step 5: Building the Table Legs
With the tabletop assembled, it’s time to move on to building the table legs for your patio dining table. The legs provide stability and support, ensuring that your table can withstand the weight and usage it will encounter in your outdoor space.
Follow these steps to build your table legs:
- Measure and mark the desired height of your table legs on the lumber planks.
- Cut the lumber planks according to the marked dimensions, ensuring that all legs are equal in length for balance and stability.
- If you want to add any decorative or angled elements to the table legs, now is the time to do so. Use a saw to carefully cut the desired design elements, making sure to maintain the overall length of the legs.
- Once the legs are prepared, it’s time to attach any additional support pieces if necessary. Depending on your design, you may want to add braces or cross supports to reinforce the legs and provide extra stability.
- Secure the support pieces to the legs using screws or wood glue, ensuring that they are firmly attached and aligned properly. Use clamps if needed to hold the pieces in place while the glue dries.
Building sturdy and well-constructed legs is essential for the overall stability and longevity of your patio dining table. Take your time to ensure that all the pieces fit together securely and align properly.
Once the table legs are built and assembled, you’re ready to move on to the next step – attaching the legs to the tabletop.
When building a patio dining table, make sure to use weather-resistant materials such as cedar or teak to ensure durability and longevity.
Step 6: Attaching the Legs to the Tabletop
Now that you have built the table legs for your patio dining table, it’s time to attach them to the tabletop. This step is essential for ensuring the stability and structural integrity of your table.
Follow these steps to attach the legs to the tabletop:
- Place the tabletop upside down on a flat and stable surface. Make sure it’s positioned in the desired location and orientation.
- Position the table legs at each corner of the tabletop, ensuring that they are evenly spaced and aligned properly.
- Use a drill to create pilot holes through the tabletop where the legs will be attached. This will prevent the wood from splitting and make it easier to insert screws.
- If using screws, insert them through the pilot holes and into the legs, securing them tightly. Make sure the screws are countersunk to create a flat and even surface.
- If using wood glue, apply a generous amount onto the top of the legs and position them onto the tabletop. Use clamps to hold them in place while the glue dries, following the manufacturer’s instructions.
- Double-check the alignment and stability of the legs before proceeding.
Attaching the legs to the tabletop is a crucial step in completing your patio dining table. It’s important to ensure that the legs are securely fastened and provide adequate support for the weight and usage the table will bear.
Once the legs are attached, take a moment to flip the table over and admire your progress. You’re almost there! The next step is to apply a protective finish or add some color to your table – step 7.
Step 7: Staining or Painting the Table
With the structure of your patio dining table complete, it’s time to add some color and personality to your creation. Step 7 involves staining or painting the table to achieve the desired aesthetic and protect the wood from outdoor elements.
Follow these steps to stain or paint your patio dining table:
- Start by preparing the wood surface for the stain or paint. Use a clean cloth or brush to remove any dust or debris that may have accumulated on the table. Ensure the surface is dry and smooth before proceeding.
- If you choose to stain the wood, apply the stain using a brush or cloth. Work in small sections and make sure to follow the grain of the wood for an even application. Allow the stain to penetrate the wood according to the manufacturer’s instructions, typically around 10-15 minutes.
- After the recommended time, use a clean cloth to wipe off the excess stain. This will help achieve the desired color and prevent any streaking or unevenness.
- If you prefer to paint your table, choose an exterior-grade paint that is specifically formulated for outdoor use. Apply multiple coats of paint, allowing each coat to dry thoroughly before applying the next. This will ensure a smooth and even finish.
- Consider using protective finishes such as clear varnish or polyurethane. These can add an extra layer of durability and protection to your stained or painted table, guarding it against moisture, UV rays, and other outdoor elements. Apply the protective finish according to the manufacturer’s instructions, usually with a brush or roller.
- Allow the table to dry completely before moving or using it. This may take several hours or even days, depending on the climate and humidity levels.
Staining or painting your patio dining table is an opportunity to customize its appearance and make it uniquely yours. Pick a stain or paint color that complements your outdoor space and reflects your personal style. Don’t be afraid to get creative!
As the finish dries, you’re one step closer to enjoying your beautiful, custom-made patio dining table. The final steps involve adding a protective finish and adding any final touches or decorations – steps 8 and 9.
Step 8: Adding a Protective FinishNow that you have stained or painted your patio dining table to your desired color, it’s important to add a protective finish to ensure its longevity and resistance to outdoor elements. Step 8 involves applying a protective sealant or varnish that will shield the wood from moisture, UV rays, and general wear and tear.
Follow these steps to add a protective finish to your patio dining table:
- Ensure that the stained or painted surface is completely dry before applying the protective finish. Refer to the manufacturer’s instructions for drying times.
- Choose a clear protective sealant or varnish that is suitable for outdoor use. Look for products that offer UV protection and waterproofing properties.
- Apply the protective finish using a brush or roller, working in long, even strokes. Make sure to cover the entire surface of the table, including the tabletop, legs, and any other exposed wood.
- Allow the first coat of protective finish to dry completely according to the manufacturer’s instructions. This may take a few hours or overnight, depending on the product and environmental conditions.
- Once dry, lightly sand the surface with fine-grit sandpaper to smooth out any imperfections or rough areas. Wipe away any dust with a clean cloth.
- Apply a second coat of the protective finish, following the same technique as before. This additional coat will further enhance the durability and protection of your patio dining table.
- Allow the final coat to dry completely before using or placing any objects on the table. This may take anywhere from 24 to 48 hours, depending on the product and environmental factors.
Adding a protective finish is an essential step to ensure the longevity and beauty of your patio dining table. It will help guard against fading, moisture damage, and general wear and tear, allowing you to enjoy your outdoor furniture for years to come.
With the protective finish applied, you’re almost ready to showcase your custom-built patio dining table. The final step involves adding any final touches, decorations, or accessories to complete the look – step 9.
Read more: How To Build Black Dining Chairs
Step 9: Final Touches and Decorations
Congratulations! You’re now in the final step of building your patio dining table. Step 9 involves adding the finishing touches and decorations to make your table truly unique and reflect your personal style.
Follow these steps to add final touches and decorations to your patio dining table:
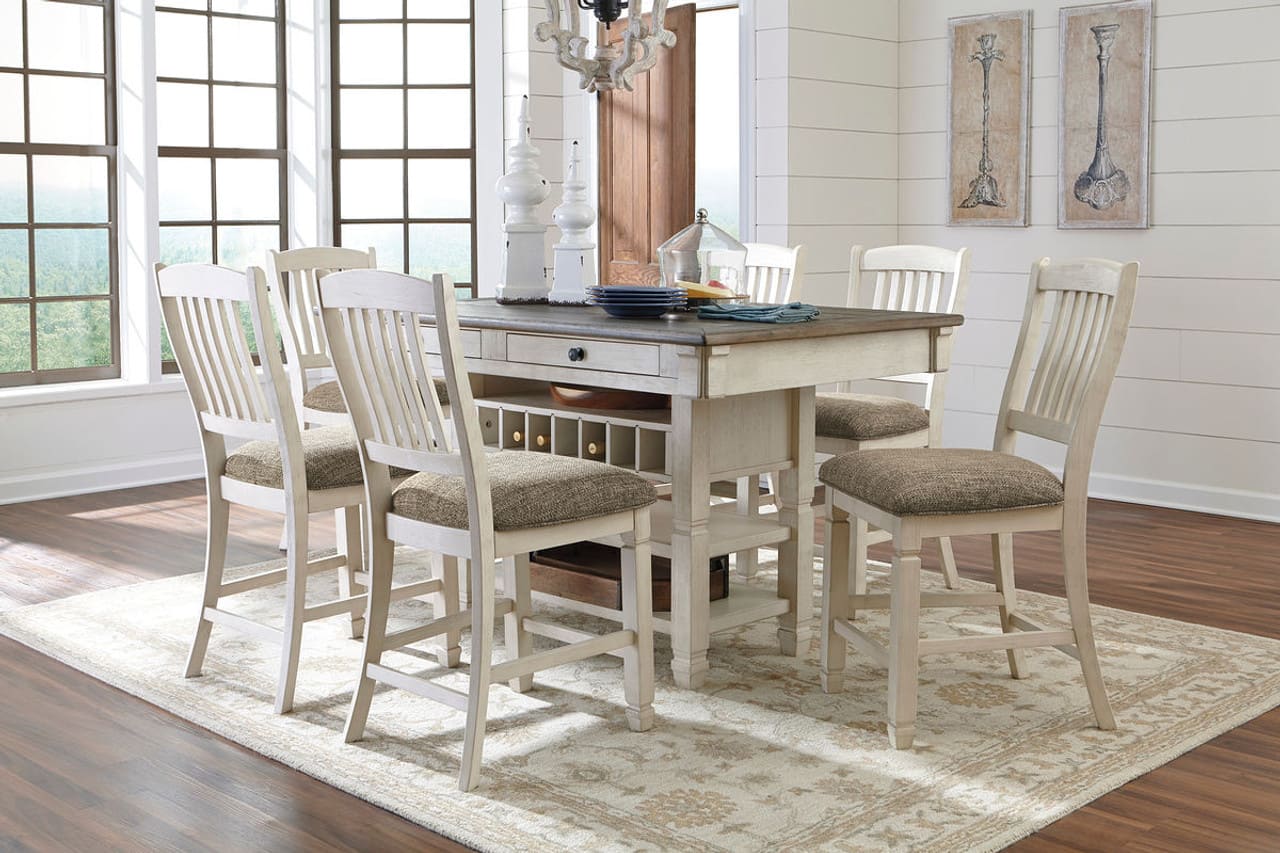
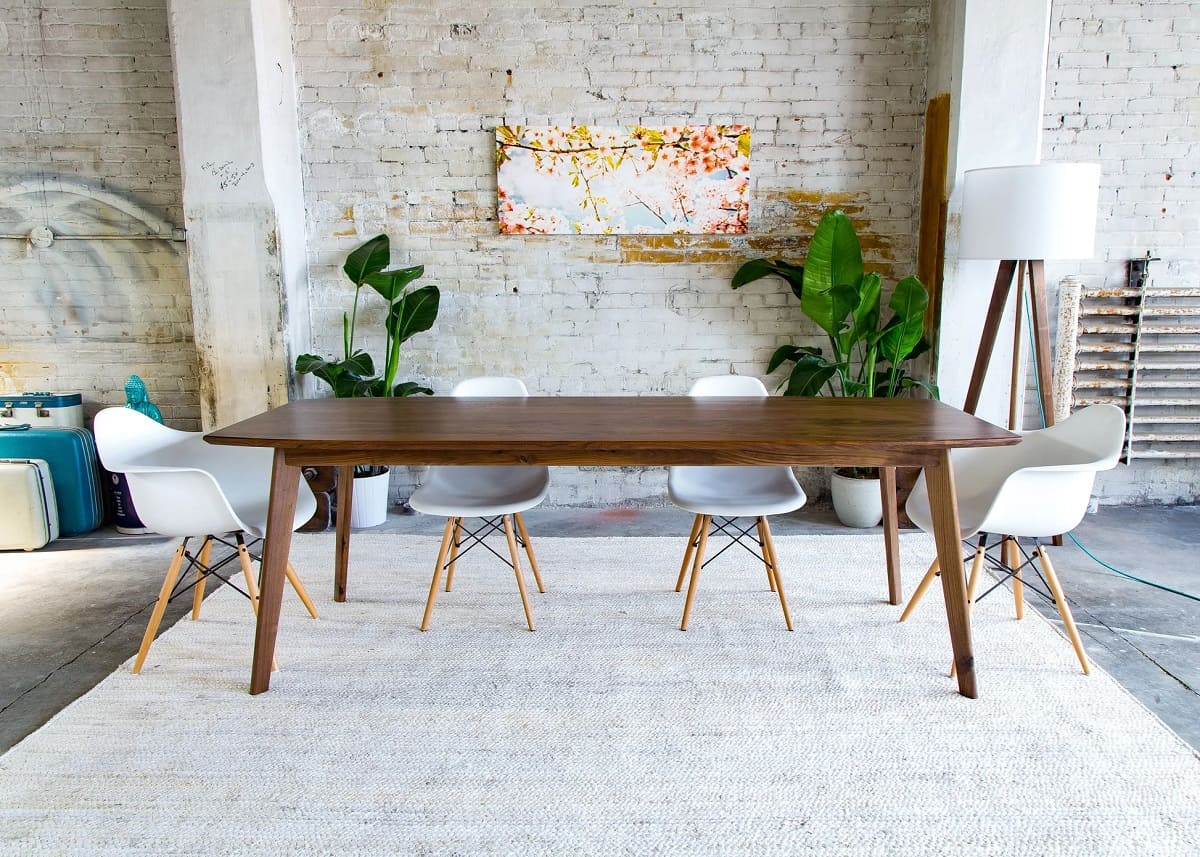
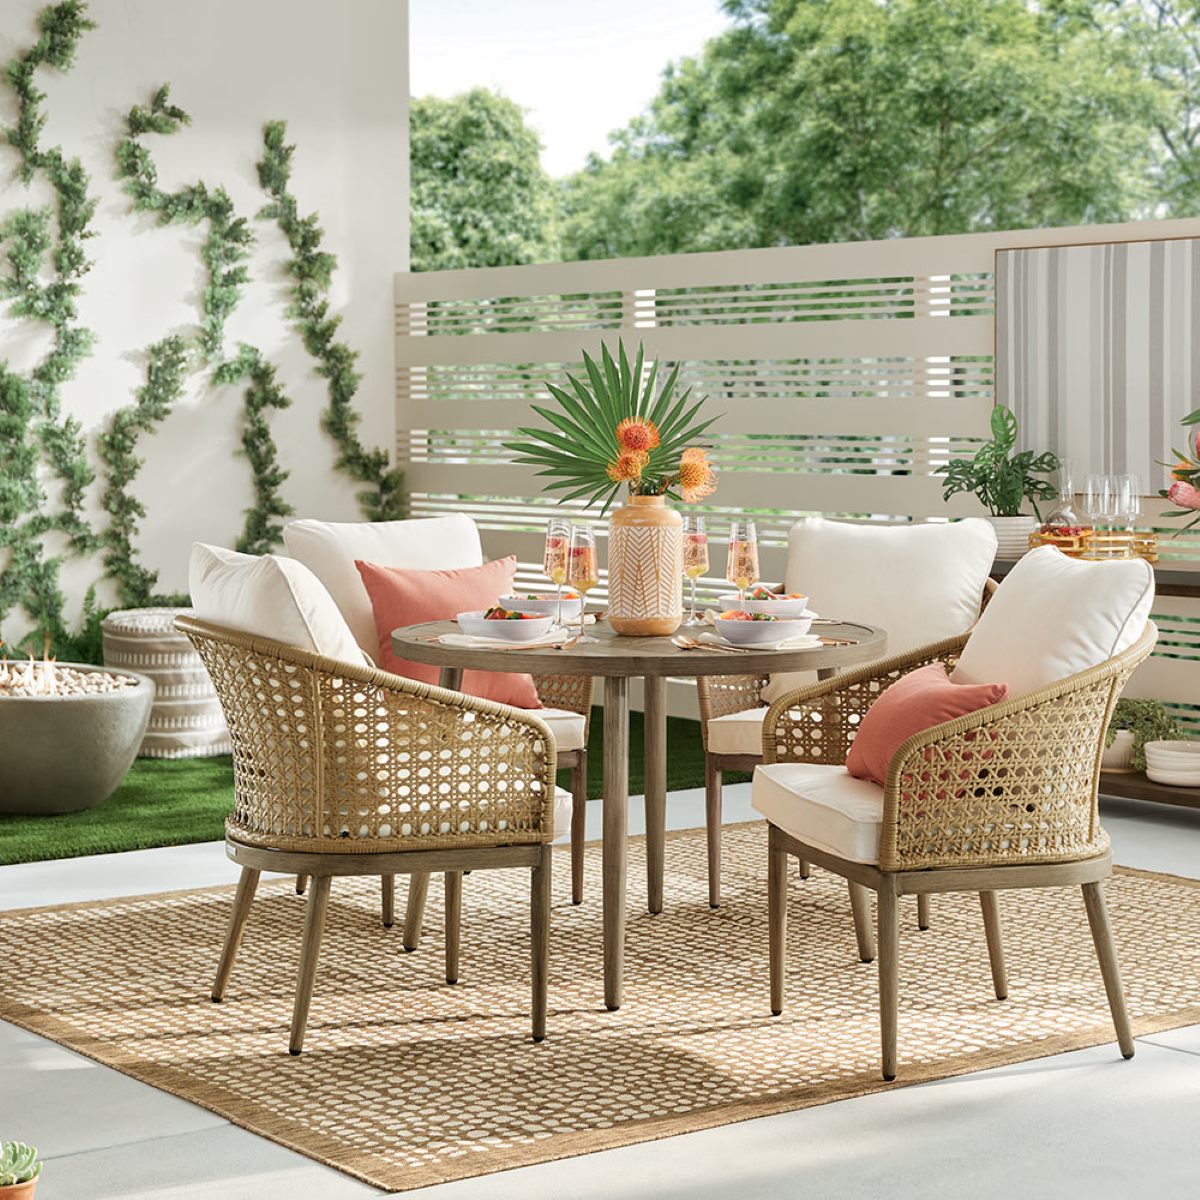
- Consider adding decorative elements such as table runners, placemats, or centerpieces. These can instantly enhance the visual appeal and create a welcoming ambiance for your outdoor dining area.
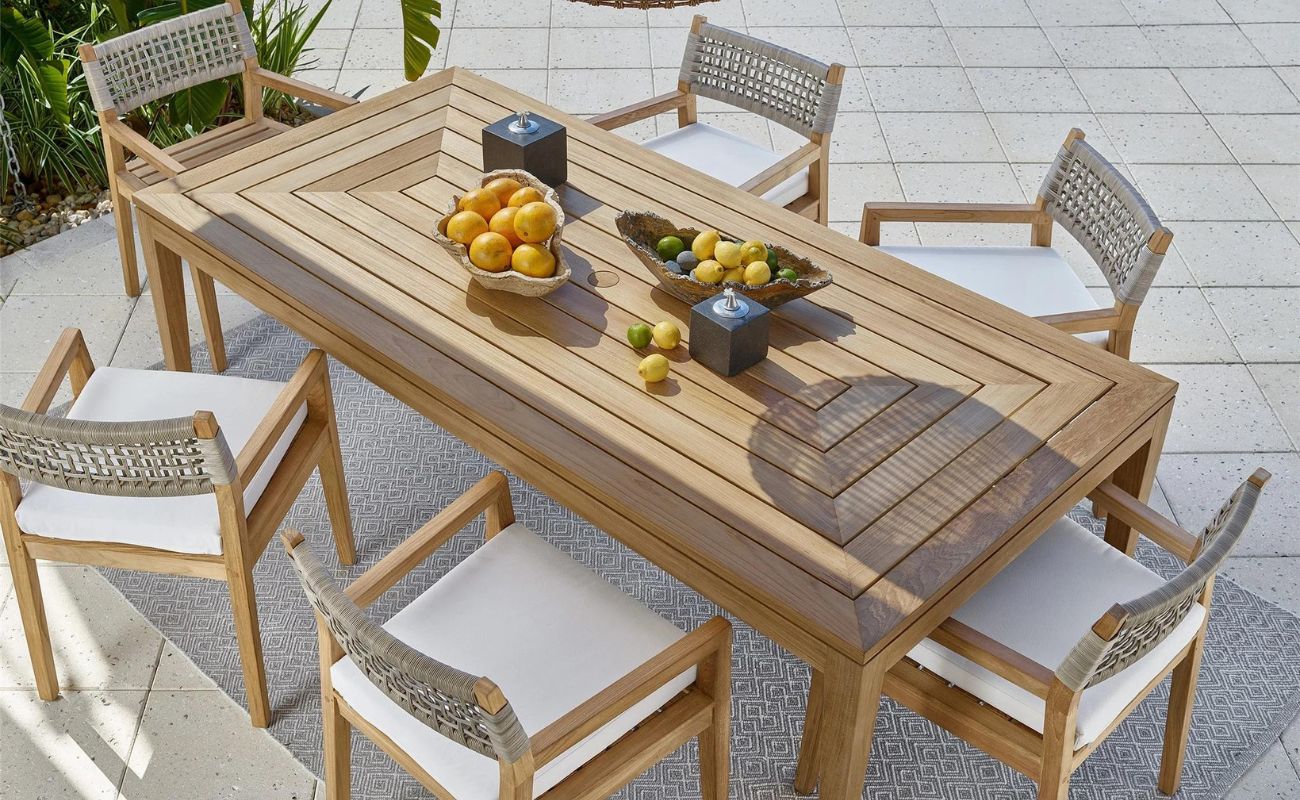
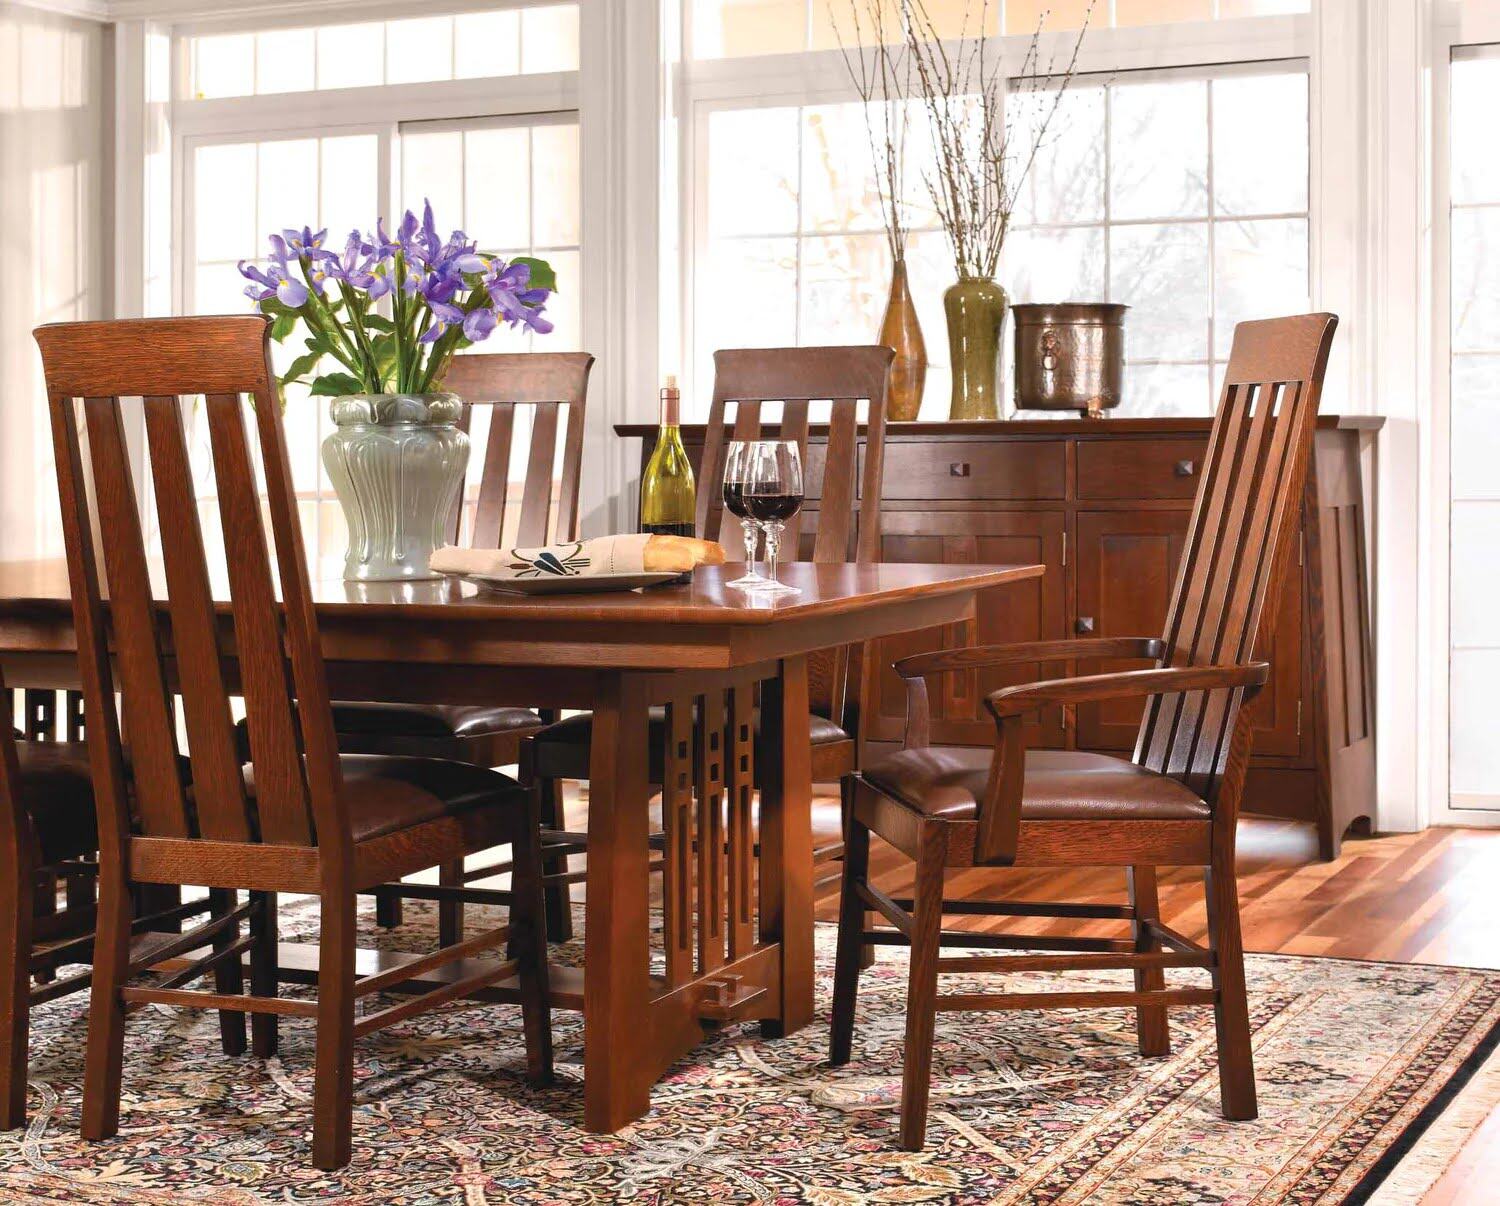
- Choose chairs or benches that complement the style and size of your table. Opt for weather-resistant materials that can withstand the elements and provide comfortable seating.
- Add cushions or seat pads to the chairs for extra comfort and style. This also allows you to customize the look of your outdoor dining space.
- Consider outdoor lighting options to create a cozy and inviting atmosphere during evening gatherings. String lights, lanterns, or solar-powered fixtures can add both functionality and charm.
- Personalize your table with accessories such as outdoor dinnerware, glassware, and serving trays. This will not only add a touch of sophistication but also make outdoor dining a memorable experience.
- If you have the skills and tools, you can further personalize your table by carving or engraving designs into the wood. This adds a unique and artistic element to your custom-built table.
- Remember to regularly clean and maintain your patio dining table to prolong its lifespan and keep it looking its best. Follow the manufacturer’s instructions for care and maintenance, which may include regularly cleaning, reapplying protective finishes, and storing it properly during harsh weather conditions.
By adding these final touches and decorations, you can transform your patio dining table into a beautiful and inviting space where you can enjoy meals, entertain guests, and create lasting memories.
With that, you have completed all the necessary steps to build and enhance your patio dining table. Congratulations on your DIY project success! Now, it’s time to sit back, relax, and enjoy the fruits of your labor in your delightful outdoor space.
Happy dining!
Conclusion
Building your own patio dining table is a rewarding and fulfilling project that allows you to create a unique and functional centerpiece for your outdoor space. Throughout this comprehensive guide, we have walked you through the step-by-step process, from gathering materials to adding the final touches and decorations.
By following these steps, you have learned how to measure and cut wood, sand and prepare surfaces, assemble the tabletop and legs, apply stains or paint, add a protective finish, and personalize your table with final touches and decorations. Each step plays a vital role in creating a sturdy, beautiful, and long-lasting patio dining table that perfectly suits your needs and style.
Building your patio dining table offers several advantages. Not only does it give you the opportunity to customize the size and design to fit your outdoor space, but it also allows you to save money compared to buying a ready-made table. Furthermore, the building process enables you to showcase your creativity, craftsmanship, and woodworking skills.
Remember to prioritize high-quality materials to ensure the durability and longevity of your table. Additionally, take the necessary safety precautions and follow the instructions provided by manufacturers for power tools, products, and finishes.
Once your patio dining table is complete, it becomes a focal point for outdoor dining, entertaining, and creating cherished memories with loved ones. Make sure to properly care for and maintain your table, periodically clean it, reapply protective finishes, and store it during extreme weather conditions to keep it looking its best for years to come.
Now that you are equipped with the knowledge and skills to build your own patio dining table, it’s time to unleash your creativity, gather your materials, and embark on this exciting DIY project. Enjoy the process, and may your new table be a source of joy, relaxation, and wonderful moments in your outdoor oasis.
Happy building!
Frequently Asked Questions about How To Build Patio Dining Tables
Was this page helpful?
At Storables.com, we guarantee accurate and reliable information. Our content, validated by Expert Board Contributors, is crafted following stringent Editorial Policies. We're committed to providing you with well-researched, expert-backed insights for all your informational needs.


0 thoughts on “How To Build Patio Dining Tables”