Home>Furniture>Outdoor Furniture>How Do You Restore Decking

Outdoor Furniture
How Do You Restore Decking
Modified: March 7, 2024
Learn how to restore your outdoor furniture decking with our step-by-step guide. Turn your worn-out deck into a beautiful space for relaxation and entertainment.
(Many of the links in this article redirect to a specific reviewed product. Your purchase of these products through affiliate links helps to generate commission for Storables.com, at no extra cost. Learn more)
Introduction
Welcome to our comprehensive guide on how to restore your decking! If you have an outdoor deck that has seen better days and is in need of a facelift, you’ve come to the right place. Over time, exposure to the elements can cause your deck to become worn, faded, and even develop cracks or splinters. But fear not, with the right knowledge and a little elbow grease, you can bring your deck back to its former glory.
Restoring your decking not only improves its appearance but also extends its lifespan. Neglected decks can pose safety hazards and may require costly repairs if left untreated. By investing some time and effort into restoring your deck, you can enjoy a beautiful and functional outdoor space for many years to come.
In this guide, we’ll take you through the step-by-step process of restoring your decking, from assessing its condition to the final touches and maintenance. By following these instructions, you’ll be able to transform your worn-out deck into a rejuvenated haven for relaxation and entertainment.
Before we dive into the restoration process, it’s essential to emphasize the importance of safety. Always wear proper protective gear, such as gloves and safety glasses, and use caution when working with tools and chemicals. If you’re unsure about any aspect of the restoration process, consider consulting a professional for expert advice.
Now, let’s get started on reviving your deck and creating a beautiful outdoor space you can enjoy with friends and family!
Key Takeaways:
- Revive your worn-out deck by assessing its condition, thorough cleaning, and applying a fresh coat of stain or sealant. Regular maintenance ensures a beautiful and safe outdoor space for years to come.
- Don’t forget the final touches! Add furniture, regularly clean, and inspect for damage to maintain your restored deck’s beauty and functionality. Enjoy your outdoor oasis with family and friends.
Read more: How Do You Restore Faded Composite Decking
Assessing the Condition of Your Deck
Before you begin the restoration process, it’s crucial to assess the current condition of your deck. This step will help you determine the extent of the work needed and plan accordingly. Here are some key factors to consider when assessing your deck:
- Structural Integrity: Inspect the overall structure of your deck to ensure it is sturdy and safe. Check for any signs of rotting, warping, or loose boards. Look for any visible damage, like missing nails or screws, and address them promptly.
- Surface Damage: Assess the surface of your deck for signs of wear and tear. Look for cracks, splinters, or areas where the wood is discolored or faded. Pay close attention to high-traffic areas and areas exposed to direct sunlight or moisture, as these are more prone to damage.
- Mold and Mildew: Check for the presence of mold, mildew, or moss on your deck. These can not only be unsightly but can also deteriorate the wood and pose health risks. Look for any dark or greenish patches and make note of their location.
- Stains and Sealant: Evaluate the condition of any existing stains or sealants on your deck. Determine if they are still effective in protecting the wood from moisture. Look for signs of peeling, flaking, or discoloration, which indicate that it’s time for a fresh coat.
Once you have assessed the condition of your deck, create a checklist of the issues that need addressing. Categorize them into structural repairs, surface repairs, mold and mildew removal, and staining or sealing. This checklist will serve as a guide throughout the restoration process, helping you stay organized and focused on each aspect of the project.
Remember, the severity of the damage will dictate the level of restoration needed for your deck. Minor issues may only require cleaning, sanding, and resealing, while more significant damage may involve replacing boards or even rebuilding sections of the deck. Assessing the condition of your deck ensures that you have a clear understanding of the tasks ahead and can plan accordingly.
With the assessment complete, you are now ready to move on to the next step – cleaning your deck to prepare it for restoration. Let’s dive into the process of deck cleaning in the next section.
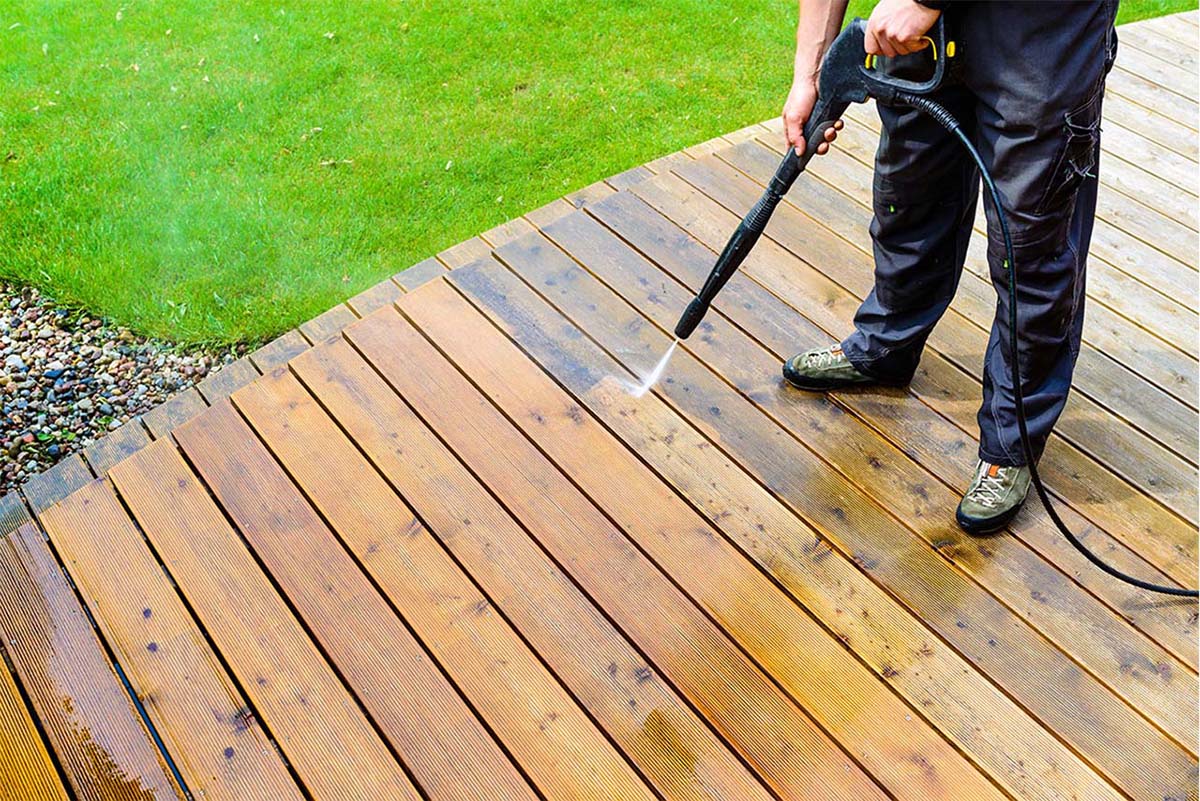
Cleaning the Deck
Now that you have assessed the condition of your deck, it’s time to roll up your sleeves and give it a thorough cleaning. Cleaning your deck is a crucial step in the restoration process as it removes dirt, grime, mold, and mildew, creating a clean surface for the upcoming restoration steps. Here’s how you can effectively clean your deck:
- Clear the Deck: Remove any furniture, plants, or other items from your deck to provide an unobstructed working area.
- Sweep the Surface: Start by sweeping the deck to remove loose dirt, leaves, and debris. Use a broom or a leaf blower to ensure the surface is free from any loose particles.
- Apply Cleaner: Choose a deck cleaner that is suitable for your deck’s material and the type of stains or dirt present. Follow the manufacturer’s instructions on how to apply the cleaner. You can use a pump sprayer or a brush to apply the cleaner evenly on the deck surface.
- Scrub the Deck: Using a stiff-bristle brush or a deck scrubber, scrub the deck surface in the direction of the wood grain. Focus on heavily soiled or stained areas and pay extra attention to corners and crevices.
- Rinse Thoroughly: After scrubbing, rinse off the deck with a garden hose or a pressure washer. Start from one end of the deck and work your way to the other, ensuring the entire surface is thoroughly rinsed. Make sure to use a gentle setting on the pressure washer to avoid damaging the wood.
- Remove Mold and Mildew: If you noticed mold or mildew during the assessment, it’s essential to address it thoroughly. Mix a solution of one part bleach to four parts water and apply it to the affected areas. Allow the solution to sit for a few minutes, then scrub the mold or mildew with a brush. Rinse the area thoroughly.
- Dry the Deck: Allow your deck to dry completely before proceeding to the next step. This can take anywhere from 24 to 48 hours, depending on the weather conditions.
Cleaning your deck not only restores its appearance but also removes any contaminants that can further damage the wood. It provides a clean canvas for the next steps in the restoration process, ensuring optimal results.
With a clean and dry deck, you are now ready to move on to the next stage – restoring the deck. We’ll cover this step in detail in the following section.
Restoring the Deck
With your deck now clean and dry, it’s time to restore it and bring back its natural beauty. Restoring the deck involves a combination of sanding, repairing, and applying a fresh coat of stain or sealant. Here’s a step-by-step guide on how to restore your deck:
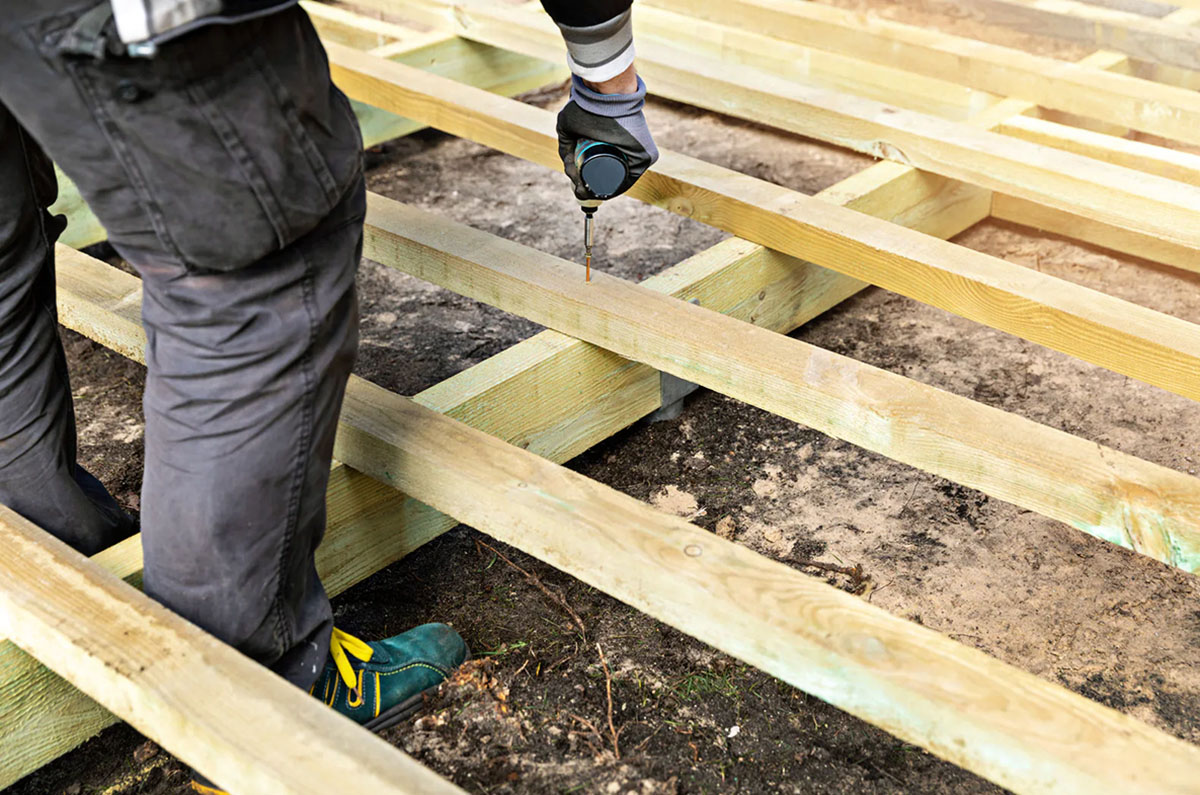
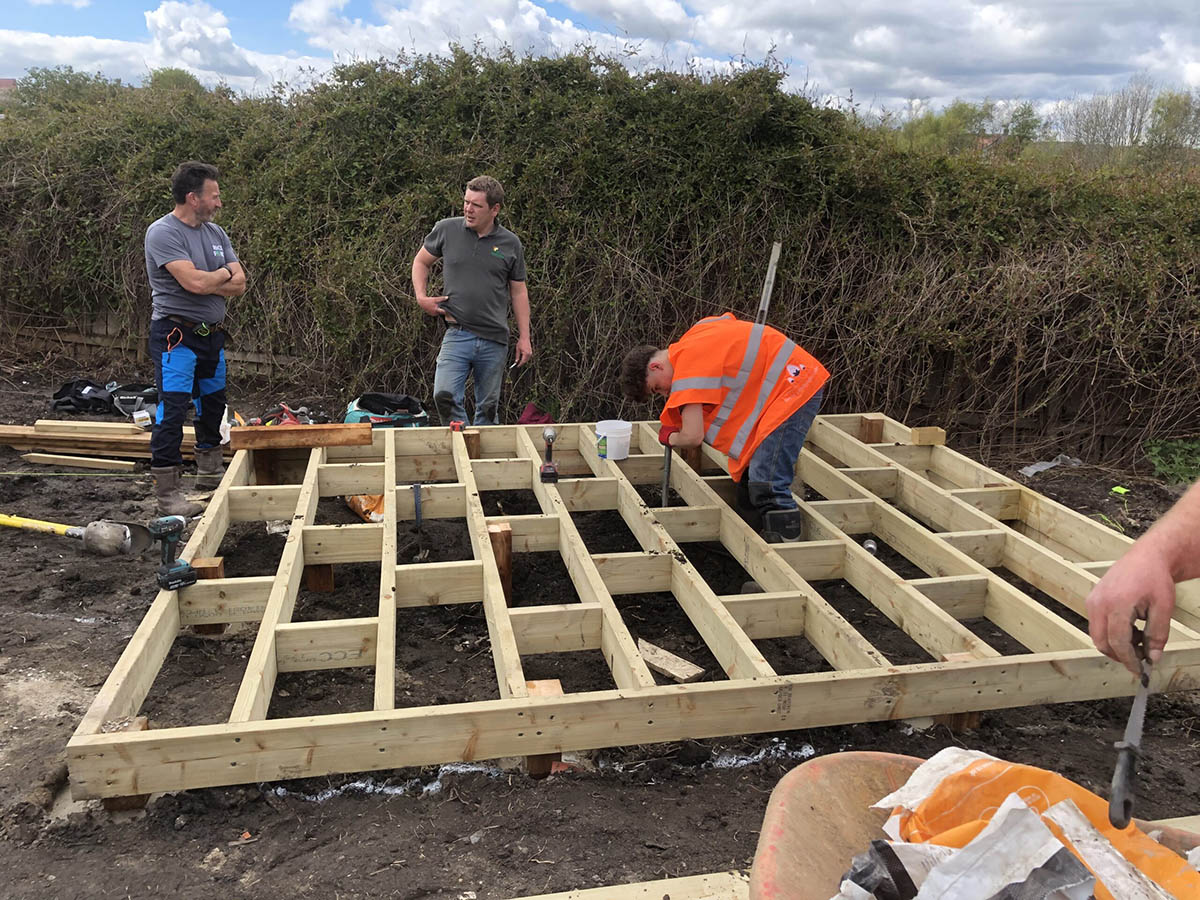
- Sanding and Repairing: Start by inspecting your deck for any rough spots, splinters, or damaged areas. Use a sander or sandpaper to smooth out the surface and remove any loose wood fibers. Pay extra attention to areas that were previously damaged or showed signs of wear during the assessment. Replace any rotting or severely damaged boards as necessary.
- Prep the Surface: Before applying any stain or sealant, it’s important to prepare the surface. Use a broom or brush to remove any sanding residue or debris. You can also use a blower or a shop vac for larger deck areas.
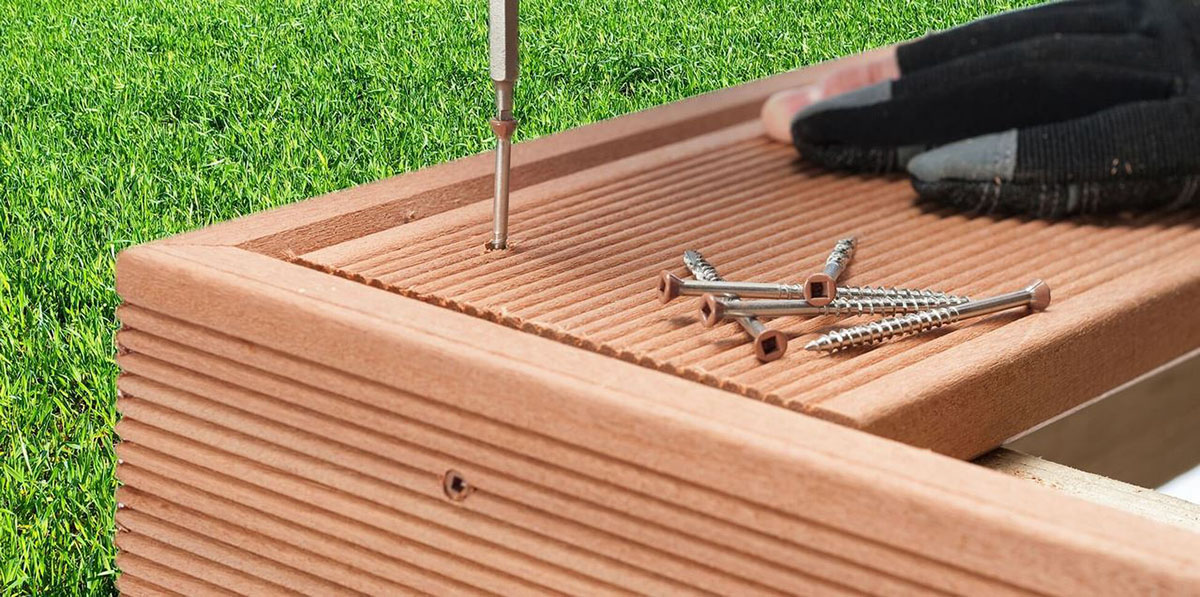
- Apply Stain or Sealant: Select a high-quality deck stain or sealant that is compatible with your deck’s material. Follow the manufacturer’s instructions on how to apply the product, whether it’s using a brush, roller, or sprayer. Start from one end and work your way to the other, ensuring even coverage. Pay attention to any nooks and crannies, as well as the edges of the deck.
- Allow Drying Time: Let the stain or sealant dry according to the manufacturer’s recommendations. This can take anywhere from a few hours to a couple of days, depending on the product and weather conditions. Avoid walking on the deck or replacing furniture until the surface is completely dry.
- Apply Additional Coats (Optional): If desired, you can apply additional coats of stain or sealant for enhanced protection and color. Follow the same application process and allow sufficient drying time between coats.
Restoring your deck not only enhances its appearance but also protects it from moisture, UV rays, and general wear and tear. The stain or sealant creates a protective barrier, prolonging the life of your deck and minimizing future maintenance needs.
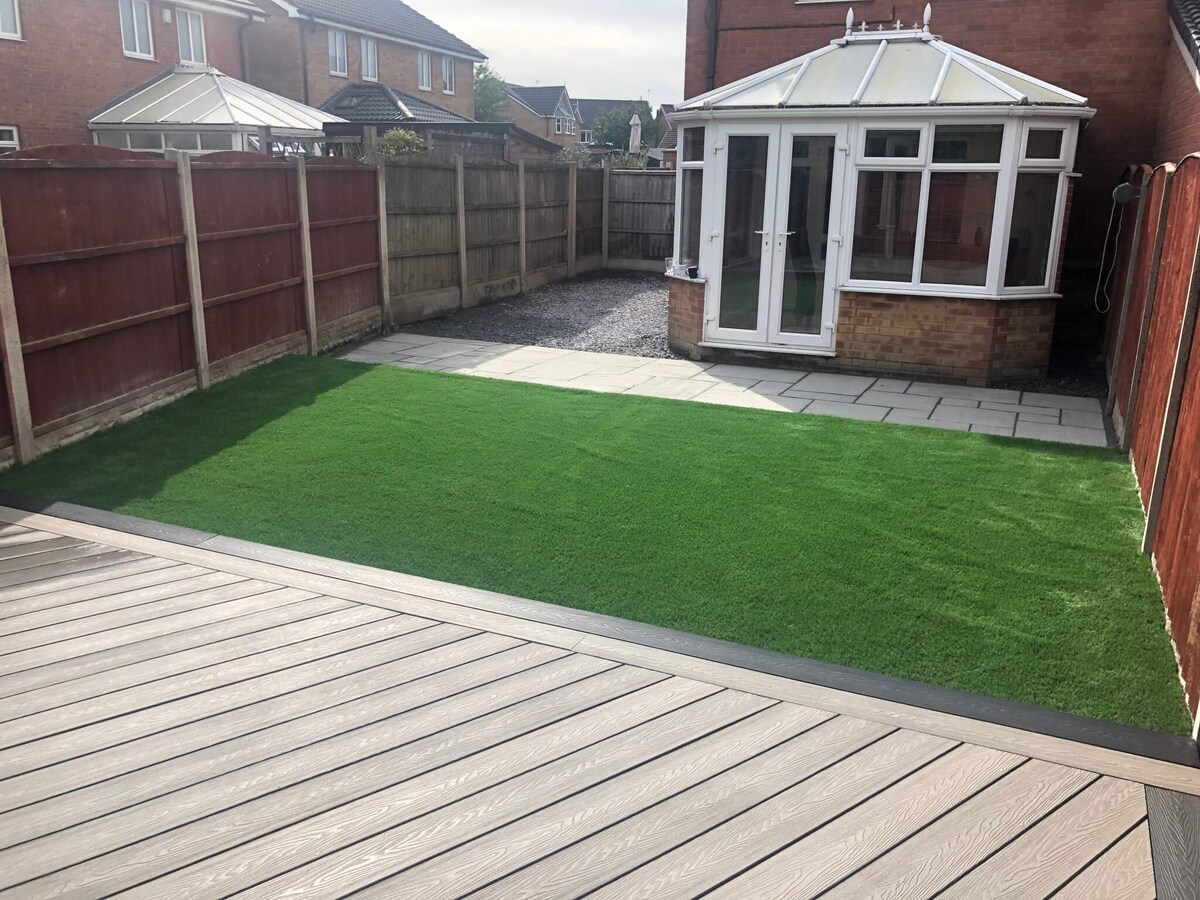
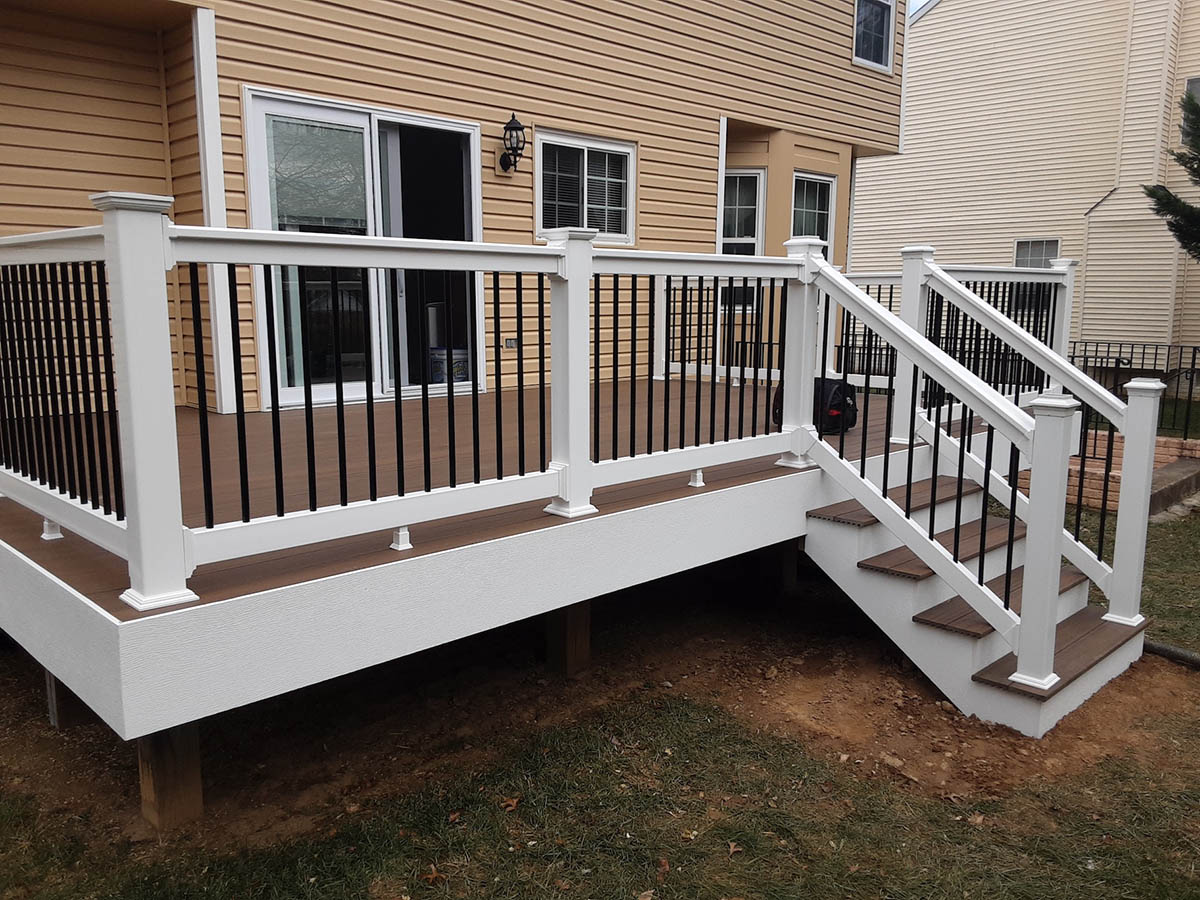
Once you have completed the restoration process, give your deck a final inspection. Check for any missed spots or uneven coverage and touch up as needed. Consider adding some finishing touches, such as adding potted plants, outdoor rugs, or new furniture, to create an inviting outdoor space.
To maintain the newly restored deck, regularly sweep off debris, clean up any spills or stains, and reapply a fresh coat of stain or sealant every 1-3 years, as recommended by the manufacturer.
With the restoration complete, you can now enjoy your revitalized deck and create lasting memories in your outdoor oasis.
In the next section, we’ll discuss some final touches and maintenance tips to ensure your deck continues to look its best for years to come.
Regularly clean and seal your decking to restore its appearance and protect it from the elements. Use a deck cleaner to remove dirt and stains, then apply a waterproof sealant to prevent moisture damage.
Sanding and Repairing
As part of the deck restoration process, sanding and repairing are essential steps to ensure a smooth and sturdy surface. Sanding helps to remove any existing roughness, splinters, or imperfections, while repairing addresses any damaged or rotten areas. Here’s a closer look at how to tackle sanding and repairing your deck:
- Prepare the Area: Clear your deck of any furniture, plants, or objects that may obstruct your work area. This will allow you to have ample space to move around and access all parts of the deck.
- Inspect for Damage: Carefully examine the entire deck surface for any signs of wear, rot, or damage. Look out for loose or cracked boards, protruding nails or screws, and areas that seem weak or unstable.
- Secure Loose Boards: Start by securing any loose boards by hammering in nails or replacing them with new screws if necessary. Ensure that all boards are properly fastened to maintain the structural integrity of your deck.
- Sand the Surface: Use a belt sander, orbital sander, or sanding block to sand the entire deck surface. Start with coarse-grit sandpaper to remove any rough spots or splinters, and then gradually move to finer-grit sandpaper for a smoother finish. Sand in the direction of the wood grain to prevent any scratches on the surface.
- Pay Attention to Edges and Corners: Don’t forget to sand the edges and corners of the deck, as these areas tend to accumulate dirt and can be more susceptible to damage. Use a sanding sponge or a sanding block to reach these challenging spots.
- Repair Rotted or Damaged Areas: If you come across any rotten or severely damaged boards, it’s vital to replace them. Use a circular saw or a reciprocating saw to carefully remove the damaged section of the board, making sure to cut along the lengthwise grain. Install a new board of the same size and fasten it securely to the deck’s framing.
- Fill Cracks and Holes: Fill any cracks, holes, or gaps in your deck surface using an appropriate wood filler or epoxy. Smooth out the filler with a putty knife and allow it to dry according to the manufacturer’s instructions. Once dry, sand the filled areas to achieve a seamless surface.
- Remove Excess Dust: After sanding and repairing, use a broom, brush, or vacuum to remove any dust or debris from the deck surface. This will ensure a clean and ready-to-finish surface for the next steps of the restoration process.
Sanding and repairing your deck not only improves its aesthetic appeal but also helps to prevent future damage and promotes a safer outdoor space. By addressing any structural issues and creating a smooth surface, you are laying the foundation for a successful deck restoration project.
With the sanding and repairing steps complete, it’s time to move on to the next phase – applying stain or sealant to protect your deck and enhance its appearance. We’ll cover this step in detail in the following section.
Read more: How To Restore Trex Decking
Applying Stain or Sealant
Applying a coat of stain or sealant is a crucial step in deck restoration, as it helps to protect the wood from moisture, UV rays, and general wear and tear. Not only does it provide a layer of defense, but it also enhances the natural beauty of the wood and adds depth and color to your deck. Here’s a step-by-step guide on how to apply stain or sealant to your deck:
- Select the Right Product: Choose a high-quality stain or sealant that is specifically formulated for use on outdoor decks. Consider the type of wood your deck is made of and the desired finish (clear, semi-transparent, or solid color). Read the manufacturer’s instructions to ensure compatibility with your deck’s material.
- Prepare the Deck: Ensure that your deck is clean and dry before applying the stain or sealant. Follow the cleaning and sanding steps outlined earlier in this guide to remove dirt, debris, and any imperfections on the surface.
- Protect Surrounding Areas: If there are any nearby plants, shrubs, or surfaces that you want to avoid staining, take the time to cover them with plastic sheeting or drop cloths. This will prevent any accidental spills or splatters from causing damage.
- Apply the Stain or Sealant: Depending on the type of product you are using, you can apply it with a brush, roller, or sprayer. Start from one end of the deck and work your way to the other, ensuring a smooth and even application. Apply the stain or sealant in the direction of the wood grain for the best results.
- Pay Attention to Details: Be thorough with your application, making sure to cover all exposed surfaces, including vertical posts, railings, and steps. Use a small brush or sponge to reach any tight or hard-to-reach areas. Take your time and avoid rushing through the process to achieve a professional-looking finish.
- Allow Drying Time: Follow the manufacturer’s instructions regarding the drying time of the stain or sealant. This can vary depending on factors such as temperature and humidity. Avoid walking on the newly coated surface or placing furniture back on the deck until it is completely dry.
- Apply Additional Coats (Optional): Depending on the desired level of protection and color intensity, you may choose to apply multiple coats of stain or sealant. Follow the drying time instructions between each coat, and lightly sand the surface with fine-grit sandpaper for optimal adhesion.
Applying stain or sealant not only enhances the appearance of your deck but also acts as a shield that protects against UV rays, moisture, and general wear. It helps to prevent the wood from deteriorating and prolongs the life of your deck, reducing the need for frequent maintenance.
Once the stain or sealant has dried completely, you can continue with the final touches and maintenance tips to ensure your deck remains in top condition. We’ll cover these aspects in the next section.
Final Touches and Maintenance
With your deck restored and looking beautiful, it’s time to add some final touches and establish a maintenance routine to keep it in optimal condition. These final touches will enhance the overall appearance of your deck and ensure its longevity. Here are some tips:
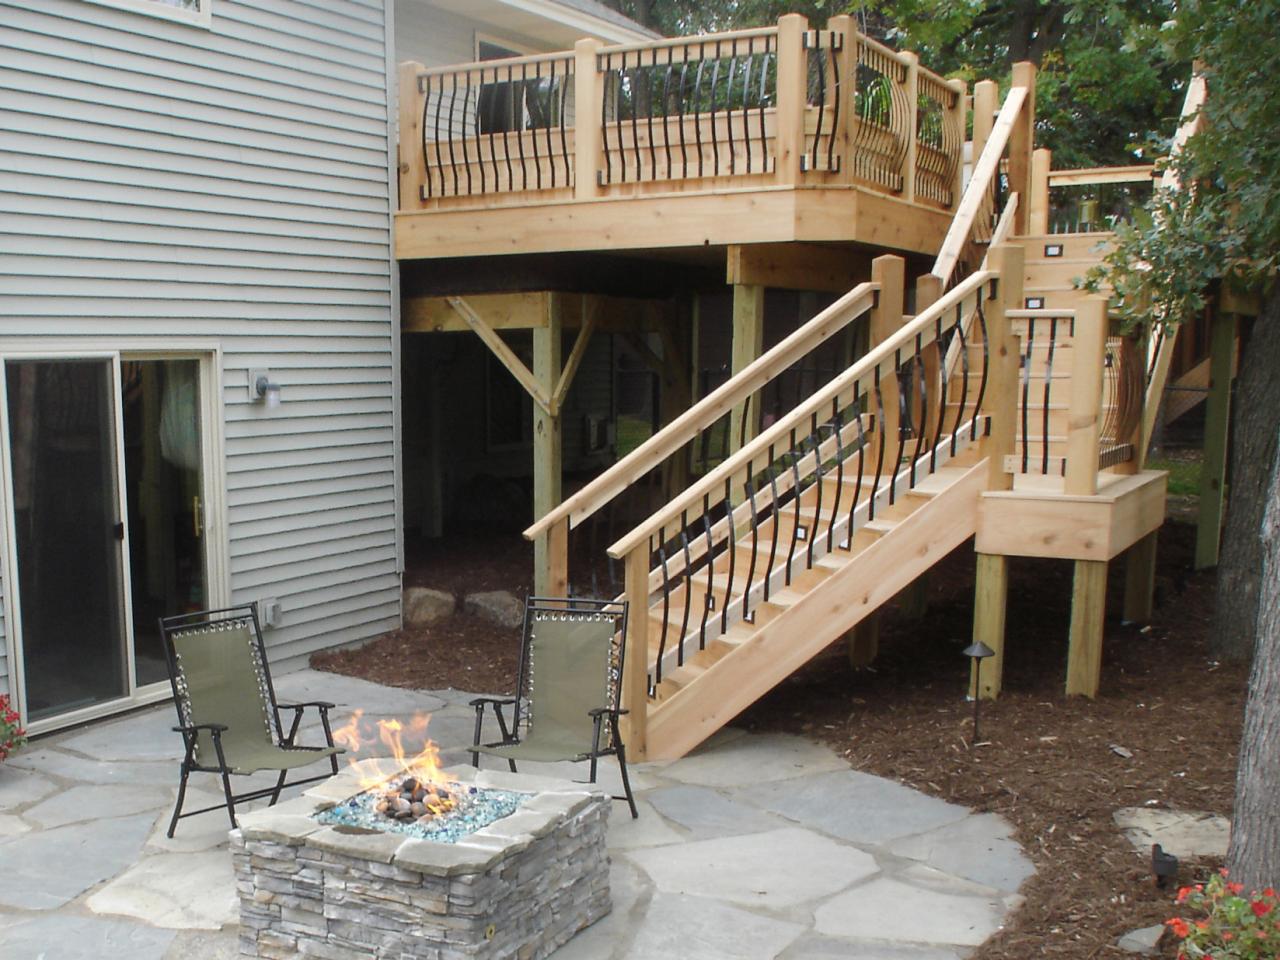
- Add Furniture and Decor: Arrange outdoor furniture, such as chairs, tables, and loungers, to create a comfortable and inviting space. Consider adding decorative elements like potted plants, outdoor rugs, and string lights to add a personal touch.
- Regularly Clean and Sweep: Keep your deck clean by regularly sweeping off debris and removing any stains or spills as soon as possible. This will help prevent dirt and grime from accumulating, and maintain the visual appeal of your deck.
- Inspect and Maintain: Regularly inspect your deck for any signs of damage or wear. Check for loose boards, protruding nails or screws, and any areas that may require repair. Address these issues promptly to prevent further damage and ensure the safety of your deck.
- Reapply Stain or Sealant: Depending on the type of product used and the level of exposure to the elements, your deck may need a fresh coat of stain or sealant every 1-3 years. Follow the manufacturer’s instructions for proper maintenance and reapplication to protect the wood and maintain the desired appearance.
- Protect from Sun and Moisture: Consider using outdoor rugs or furniture pads to protect high-traffic areas of your deck. Avoid leaving wet items, such as planters or cushions, on the deck for prolonged periods, as they can trap moisture and potentially damage the wood.
- Address Mold and Mildew: If you notice any signs of mold or mildew growth, address them immediately using a specialized cleaner or a mixture of water and bleach. Regularly inspect and clean areas prone to moisture build-up to minimize the risk of mold or mildew development.
By incorporating these final touches and following a maintenance routine, you can keep your deck in excellent condition for years to come. Regular upkeep will ensure that your investment in deck restoration continues to provide a beautiful and functional outdoor space for you and your loved ones to enjoy.
Remember, if you ever feel unsure about any aspect of deck restoration or maintenance, don’t hesitate to consult a professional for guidance and assistance. Their expertise can help ensure that your deck receives the care it needs and remains a long-lasting and enjoyable feature of your home.
With these final touches and maintenance tips in mind, you are well-equipped to maintain the beauty and functionality of your restored deck. Enjoy the fruits of your labor and create many memorable moments in your outdoor haven!
That concludes our comprehensive guide on deck restoration. Happy deck restoring!
Conclusion
Congratulations on completing your deck restoration journey! By following the steps outlined in this comprehensive guide, you have successfully rejuvenated your deck and created a beautiful outdoor space. The time and effort invested in restoring your deck will be well worth it as you enjoy countless hours of relaxation, entertainment, and connection with nature.
Throughout this guide, we covered the importance of assessing the condition of your deck, cleaning it thoroughly, and restoring it through sanding, repairing, and applying a fresh coat of stain or sealant. We also discussed the final touches and maintenance tips necessary to keep your deck in optimal condition for years to come.
Remember, regular maintenance and inspection are key to ensuring the longevity of your deck. By promptly addressing any signs of damage, cleaning regularly, and reapplying stain or sealant as needed, you can protect your deck from the elements and maintain its aesthetic appeal.
Taking care of your deck not only enhances its visual appeal but also safeguards its structural integrity. By undertaking the necessary maintenance steps, you can extend the lifespan of your deck and avoid costly repairs down the road. Your deck will continue to be a cherished space for outdoor gatherings, relaxation, and enjoyment.
Thank you for joining us on this restoration journey. We hope this guide has provided you with valuable insights and guidance to successfully restore and maintain your deck. Now it’s time to sit back, relax, and revel in the beauty of your restored deck – a true centerpiece of your outdoor oasis.
Stay connected with nature, create lasting memories, and continue to make the most of your outdoor space. Happy deck restoration!
Frequently Asked Questions about How Do You Restore Decking
Was this page helpful?
At Storables.com, we guarantee accurate and reliable information. Our content, validated by Expert Board Contributors, is crafted following stringent Editorial Policies. We're committed to providing you with well-researched, expert-backed insights for all your informational needs.


0 thoughts on “How Do You Restore Decking”