Articles
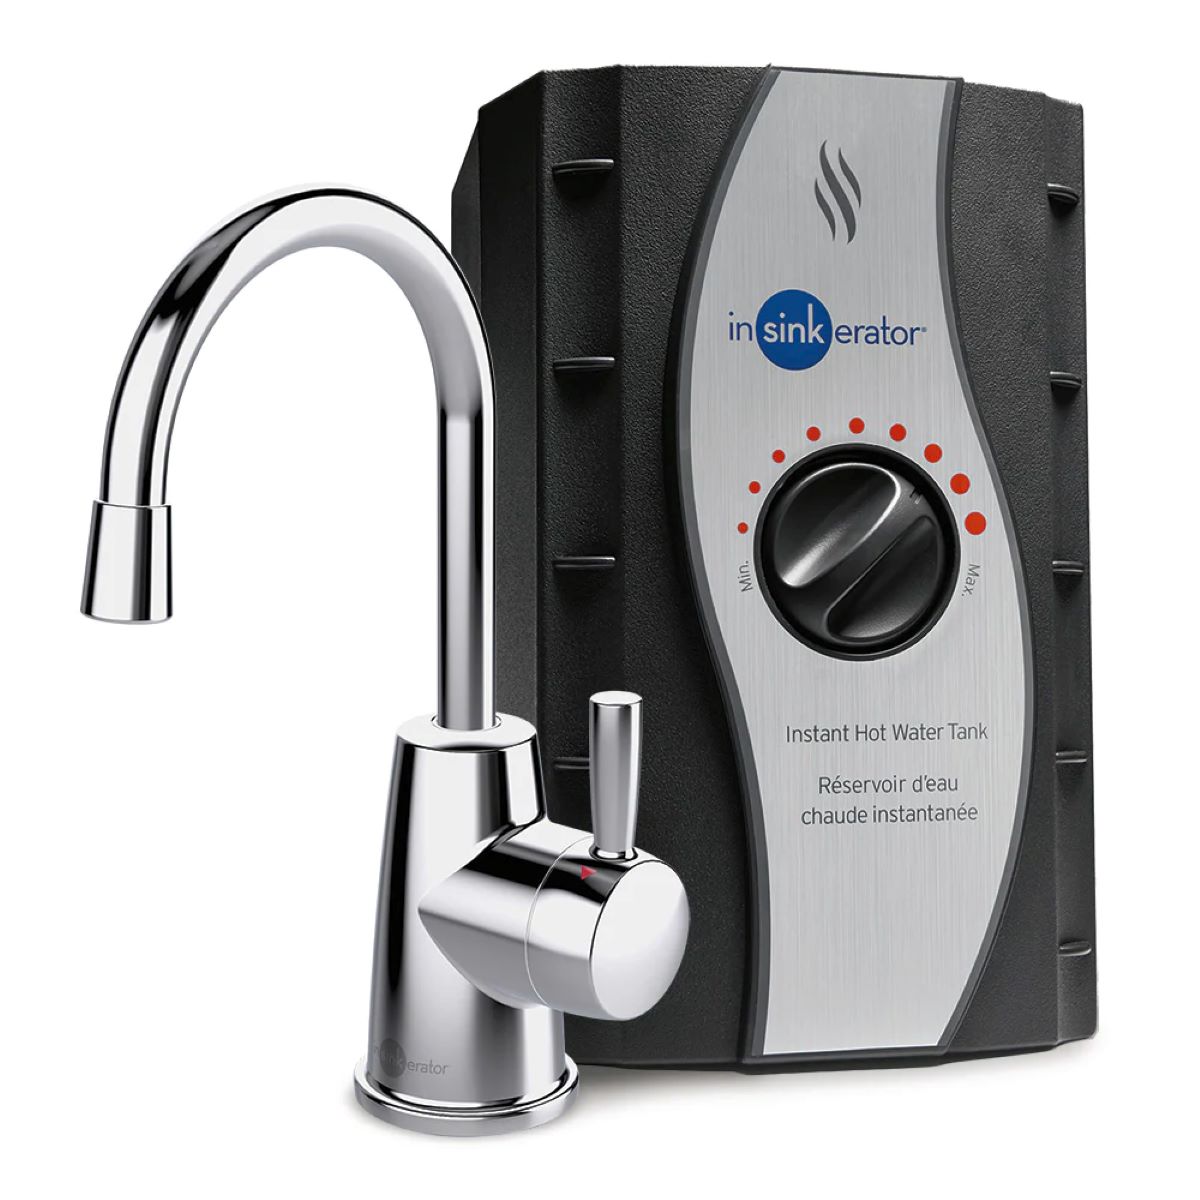
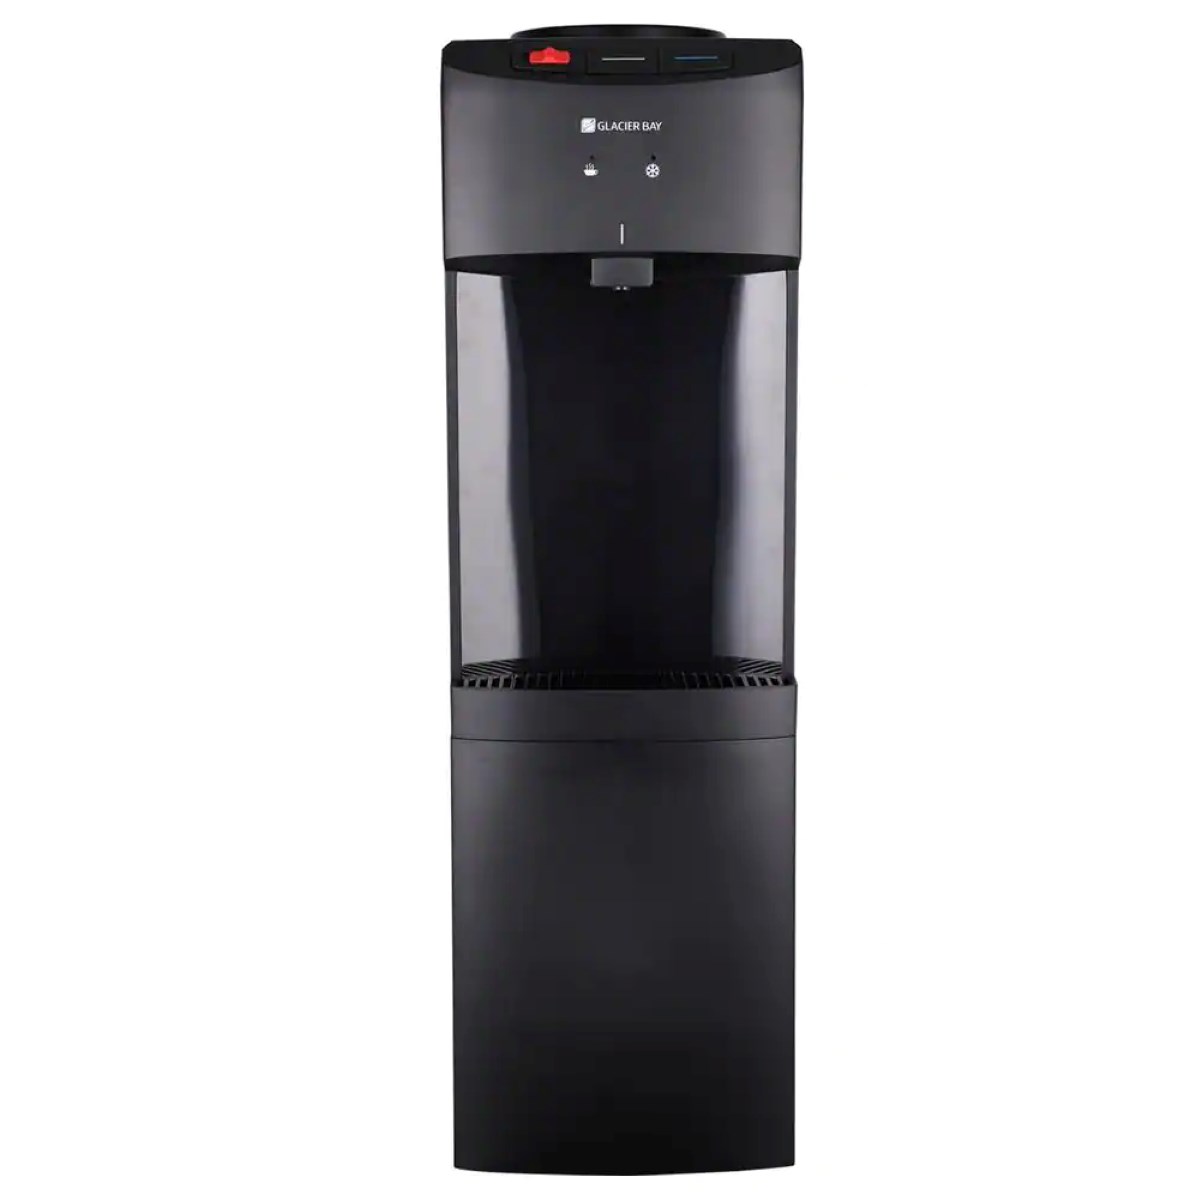
How To Clean Insinkerator Hot Water Dispenser
Modified: October 19, 2024
Learn how to clean your Insinkerator hot water dispenser with our informative articles. Keep your dispenser running smoothly and efficiently.
(Many of the links in this article redirect to a specific reviewed product. Your purchase of these products through affiliate links helps to generate commission for Storables.com, at no extra cost. Learn more)
Introduction
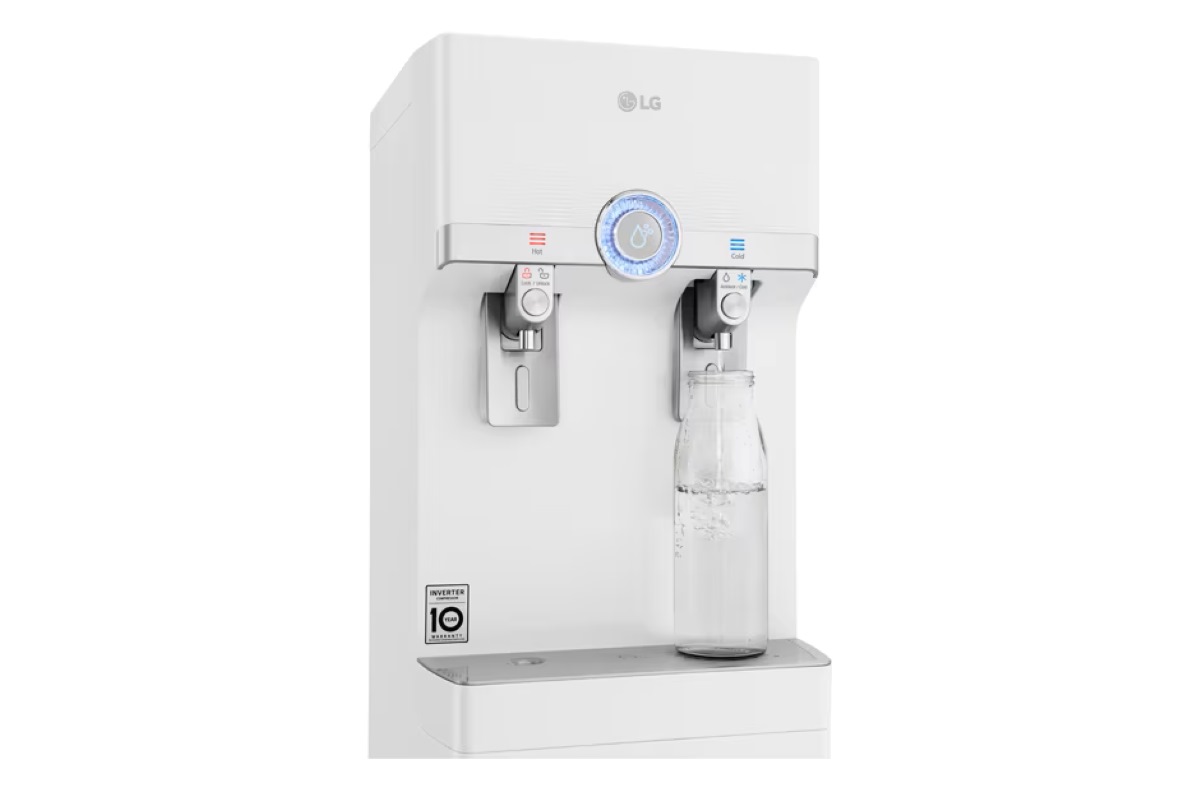
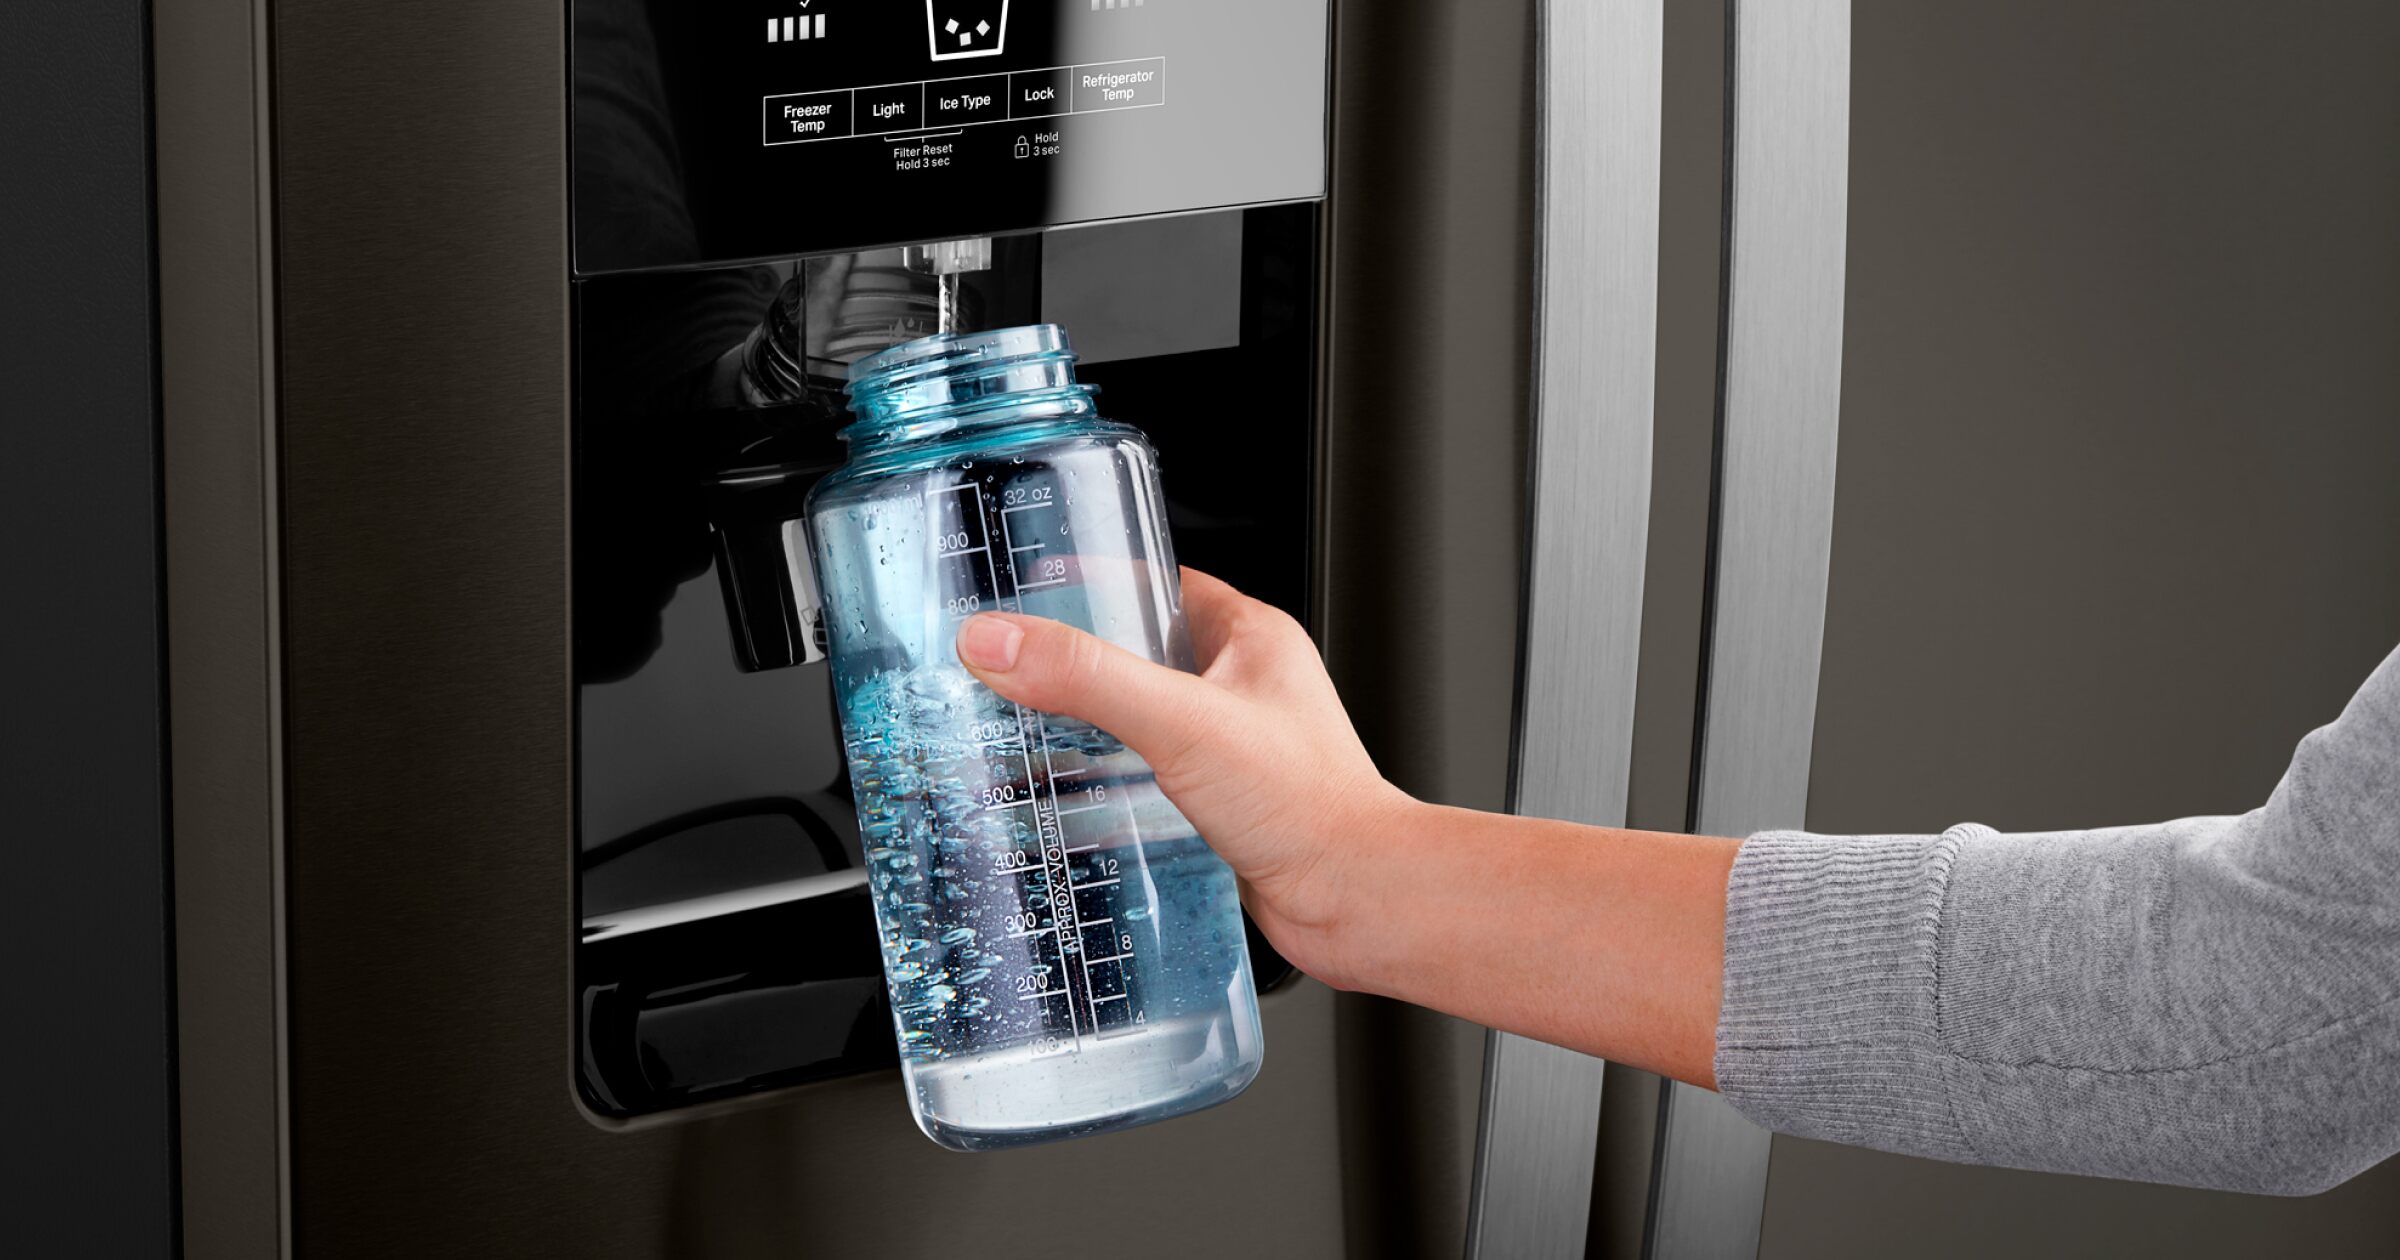
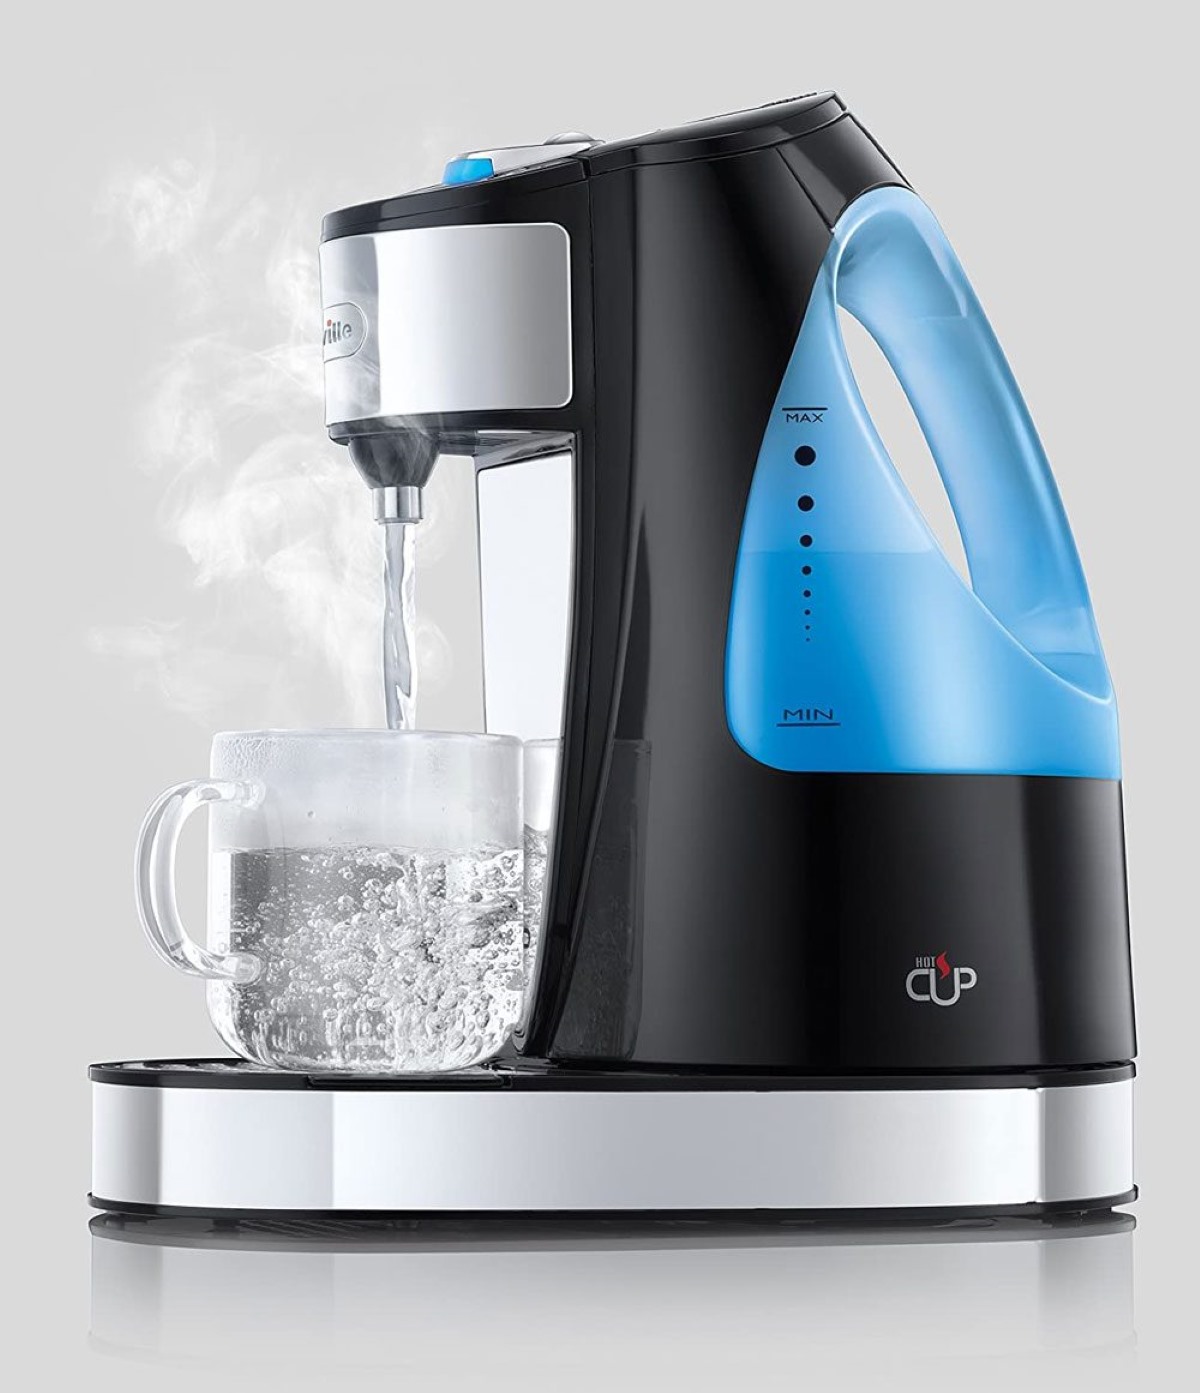
Welcome to our comprehensive guide on how to clean an Insinkerator hot water dispenser. If you have an Insinkerator hot water dispenser in your kitchen, you know how convenient it is to have instant hot water at your fingertips. However, over time, mineral deposits, dirt, and bacteria can accumulate in the dispenser, affecting its performance and potentially causing unpleasant tastes or odors in your hot water. That’s why it’s essential to regularly clean and maintain your Insinkerator hot water dispenser to ensure it continues to function optimally. In this article, we will walk you through the step-by-step process of safely and effectively cleaning your Insinkerator hot water dispenser, so you can enjoy clean and refreshing hot water whenever you need it.
Key Takeaways:
- Regularly cleaning and maintaining your Insinkerator hot water dispenser is essential for ensuring optimal performance and clean, refreshing hot water. Follow the step-by-step guide to keep your dispenser in excellent condition.
- Prioritize safety by disconnecting the power and gathering the necessary materials before cleaning your hot water dispenser. Reassemble and test the dispenser to enjoy the convenience of instant hot water with peace of mind.
Safety Precautions
Before you begin cleaning your Insinkerator hot water dispenser, it’s important to take some safety precautions to protect yourself and prevent any accidents. Here are some essential safety measures to keep in mind:
- Turn off the power: The first and most crucial step is to disconnect the power supply to the hot water dispenser. This can be done by unplugging the dispenser from the electrical outlet or switching off the circuit breaker that supplies power to the unit. It’s essential to ensure that the dispenser is completely powered off before starting the cleaning process.
- Allow the dispenser to cool: Hot water dispensers can reach high temperatures, so it’s important to let the unit cool down before attempting to clean it. Giving it some time will prevent any burns or injuries caused by hot surfaces.
- Use protective gear: When cleaning the dispenser, it’s advisable to wear protective gloves to protect your hands from any chemicals or hot surfaces. Additionally, using safety goggles can safeguard your eyes from any potential splashes or sprays.
- Read the manufacturer’s instructions: Before cleaning your Insinkerator hot water dispenser, it’s recommended to refer to the manufacturer’s instructions and guidelines. This will help you understand any specific cleaning procedures or precautions provided by the manufacturer.
- Avoid using abrasive materials: To prevent any damage to the dispenser’s surface, avoid using any abrasive materials, such as steel wool or harsh cleaners. These can scratch or wear down the finish of the dispenser and may affect its performance.
- Properly dispose of cleaning materials: After completing the cleaning process, dispose of any used cleaning materials, such as cloths or brushes, properly. Avoid throwing them in the sink, as they may cause clogs or damage to your plumbing.
By following these safety precautions, you can ensure a safe and effective cleaning process for your Insinkerator hot water dispenser. Now that we have covered the necessary safety measures, let’s move on to the materials you will need for cleaning the dispenser.
Materials Needed
Before you can start cleaning your Insinkerator hot water dispenser, it’s important to gather the necessary materials. Fortunately, you don’t need any specialized or expensive equipment. Here are the materials you will typically need for the cleaning process:
- Vinegar or hot water cleaner: Vinegar is a popular and effective cleaning agent that can help remove mineral deposits and grime from the dispenser. However, if you prefer, you can also use a hot water cleaner specifically designed for hot water dispensers.
- Clean cloth or sponge: You’ll need a soft, clean cloth or sponge to wipe down the surfaces of the dispenser.
- Toothbrush or small brush: A toothbrush or small brush with soft bristles can be handy for cleaning hard-to-reach areas, such as the dispenser nozzle or the area around the spout.
- Bowl or container: You’ll need a bowl or container to collect any water or cleaning solution that may come out during the cleaning process.
- Towel or mat: Placing a towel or mat underneath the dispenser can help protect your countertop or sink from any spills or drips.
- Mild dish soap: If desired, you can use mild dish soap in addition to vinegar or hot water cleaner for extra cleaning power. Make sure to choose a gentle, non-abrasive dish soap.
- Protective gloves: To protect your hands from any chemicals or hot surfaces, it’s advisable to wear protective gloves throughout the cleaning process.
By having these materials ready, you’ll be well-prepared to tackle the cleaning process for your Insinkerator hot water dispenser. In the next section, we will walk you through the step-by-step instructions on how to clean the dispenser effectively. Let’s get started!
Step 1: Disconnect the Power
The first step in cleaning your Insinkerator hot water dispenser is to disconnect the power supply. This is a crucial safety precaution to prevent any electrical accidents or injuries. Follow these steps to disconnect the power:
- Locate the electrical outlet: Identify the electrical outlet that the hot water dispenser is plugged into. It may be positioned beneath the sink or on the wall near the dispenser.
- Switch off the dispenser: If your hot water dispenser has a power switch, turn it off to cut off the power supply. If there is no dedicated power switch, proceed to the next step.
- Unplug the dispenser: Safely unplug the hot water dispenser from the electrical outlet. Gently pull the plug straight out, avoiding any excessive force or twisting.
- Double-check the power supply: After unplugging the dispenser, confirm that there is no power flowing to the unit. You can do this by attempting to turn on the dispenser and checking for any indicator lights or sounds.
Once you have disconnected the power, you can proceed to the next step of emptying the hot water tank. It’s essential to ensure that the dispenser is completely powered off before continuing with the cleaning process to prevent any accidents or damage. Now you’re ready for the next step!
Step 2: Empty the Hot Water Tank
Now that the power to your Insinkerator hot water dispenser is disconnected, it’s time to empty the hot water tank. This step will remove any remaining hot water and prepare the dispenser for the cleaning process. Follow these simple instructions to empty the hot water tank:
- Locate the drain valve: Look for the drain valve at the bottom of the hot water tank. It is typically a small valve with a handle or knob.
- Place a container: Position a container, such as a bowl or bucket, beneath the drain valve to catch the water as it drains out. Make sure the container is large enough to hold the volume of water in the tank.
- Open the drain valve: Slowly turn the handle or knob of the drain valve counterclockwise to open it. Be cautious as the hot water will start to flow out of the tank.
- Let the tank empty: Allow the hot water tank to completely drain into the container. This may take a few minutes depending on the size of your dispenser and the amount of hot water remaining.
- Close the drain valve: Once the tank is empty, carefully turn the handle or knob of the drain valve clockwise to close it. Ensure it is closed tightly to prevent any leaks.
By following these steps, you have successfully emptied the hot water tank of your Insinkerator dispenser. The next step will involve removing and cleaning the hot water tank to ensure it is free from any residue or buildup. Let’s move on to the next step!
Read more: How Hot Is Water From Water Dispenser
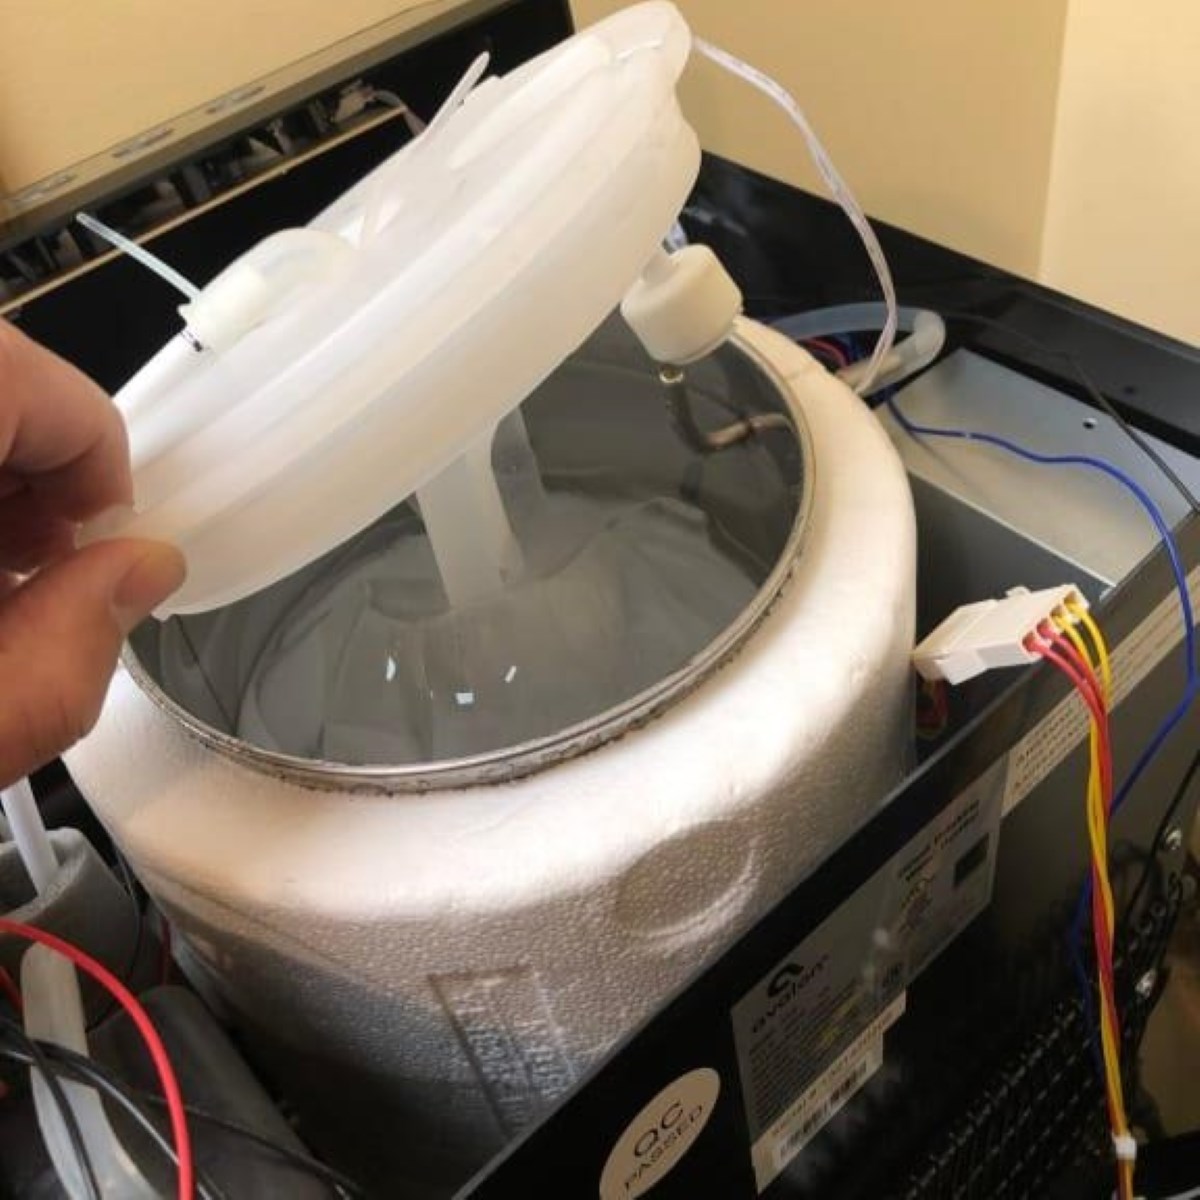
Step 3: Remove and Clean the Hot Water Tank
Now that the hot water tank of your Insinkerator hot water dispenser is empty, it’s time to remove and clean the tank itself. This step is crucial to remove any mineral deposits, bacteria, or other buildup that may have accumulated over time. Follow these steps to remove and clean the hot water tank:
- Locate the hot water tank: The hot water tank is typically located either at the back or the bottom of the hot water dispenser. It may be secured with screws or brackets.
- Unscrew or remove the brackets: Use a screwdriver or appropriate tool to unscrew any screws or remove any brackets that are holding the hot water tank in place. Keep them in a safe place to reassemble later.
- Disconnect any hoses or connections: Depending on your specific hot water dispenser model, there may be hoses or connections attached to the hot water tank. Carefully disconnect them, taking note of their positions for reassembly.
- Remove the hot water tank: Once all screws, brackets, and connections are undone, gently lift the hot water tank out of its position. Be cautious as it may still contain some water or residue.
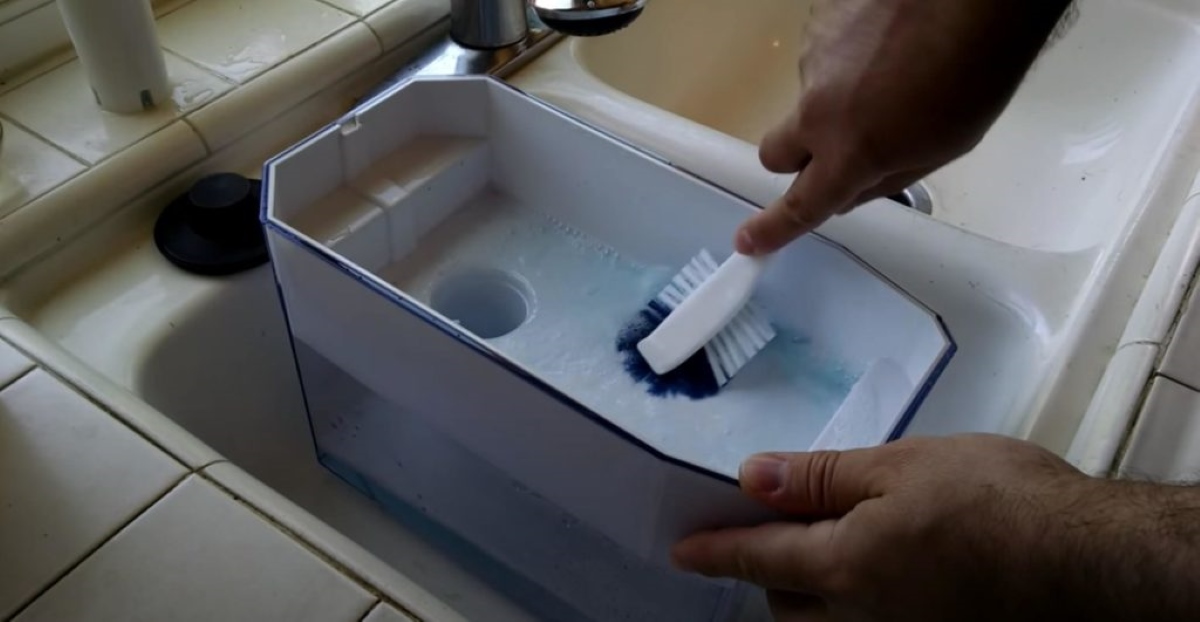
- Clean the hot water tank: Fill a sink or basin with a mixture of equal parts vinegar and water. Place the hot water tank in the mixture and let it soak for about 30 minutes. After soaking, use a soft brush or cloth to scrub any remaining residue or buildup from the tank. Pay extra attention to any areas with stubborn stains or deposits.
- Rinse and dry the tank: Thoroughly rinse the hot water tank with clean water to remove any vinegar residue. After rinsing, dry the tank with a clean cloth or allow it to air dry completely.
Once the hot water tank is clean and dry, you can proceed to the next step of cleaning the dispenser nozzle. Cleaning the hot water tank will ensure that it is free from any buildup that may affect the taste and quality of your hot water. Let’s move on to the next step!
To clean an Insinkerator hot water dispenser, mix equal parts water and vinegar, pour the solution into the tank, let it sit for 30 minutes, then run hot water through the dispenser to flush out the solution. Repeat if necessary.
Step 4: Clean the Dispenser Nozzle
Now that you have cleaned the hot water tank of your Insinkerator hot water dispenser, it’s time to turn your attention to the dispenser nozzle. Over time, mineral deposits and residue can accumulate on the nozzle, affecting the flow and quality of the hot water. Follow these steps to effectively clean the dispenser nozzle:
- Inspect the nozzle: Take a close look at the dispenser nozzle to assess the level of buildup. If there are visible mineral deposits or residue, it’s time to give it a thorough clean.
- Prepare a cleaning solution: In a small bowl, mix equal parts vinegar and hot water. This solution will help break down any mineral deposits and clean the nozzle effectively.
- Soak a cloth or sponge: Dampen a clean cloth or sponge in the vinegar and hot water solution. Make sure it is not dripping wet, but moist enough to effectively clean the nozzle.
- Clean the nozzle: Gently scrub the dispenser nozzle with the damp cloth or sponge. Pay extra attention to any areas with heavy buildup. Use a toothbrush or small brush to reach any crevices or hard-to-reach areas. Continue cleaning until the nozzle is free from any residue or deposits.
- Rinse the nozzle: Once you have cleaned the dispenser nozzle, rinse it thoroughly with clean water to remove any remaining vinegar or cleaning solution. This will ensure that the hot water from your dispenser is free from any taste or odor.
- Dry the nozzle: Use a clean, dry cloth to wipe the dispenser nozzle and remove any excess moisture. Make sure the nozzle is completely dry before reattaching it to the hot water tank.
By following these steps, you have successfully cleaned the dispenser nozzle and eliminated any mineral deposits or residue. The next step will involve cleaning the exterior of the dispenser to ensure it is sparkling clean. Let’s move on to the next step!
Step 5: Clean the Exterior of the Dispenser
Now that you have cleaned the hot water tank and dispenser nozzle of your Insinkerator hot water dispenser, it’s time to give the exterior of the dispenser some attention. Cleaning the exterior will not only enhance its appearance but also ensure that it is free from dirt and grime. Follow these steps to effectively clean the exterior of the dispenser:
- Prepare a mild cleaning solution: In a small bucket or basin, mix warm water with a few drops of mild dish soap. This gentle solution will help remove any dirt or stains without damaging the surface of the dispenser.
- Dampen a clean cloth or sponge: Dip a clean cloth or sponge into the mild cleaning solution. Make sure it is damp but not soaking wet to avoid any water damage to the dispenser.
- Clean the exterior: Gently wipe the entire exterior surface of the dispenser with the damp cloth or sponge. Pay attention to any areas with visible stains or buildup, and give them a little extra scrubbing. For stubborn residue, you can use a small brush or toothbrush to remove it.
- Pay attention to buttons or controls: If your hot water dispenser has buttons or controls, make sure to clean them thoroughly. Use a cotton swab or a small brush to get into any crevices or hard-to-reach areas.
- Rinse and dry: Once you have finished cleaning the exterior, rinse the dispenser with clean water to remove any soapy residue. Use a clean, dry cloth to wipe the surface and ensure it is completely dry.
By following these steps, you have successfully cleaned the exterior of your Insinkerator hot water dispenser. The next step will involve reassembling the dispenser and reconnecting the power. Let’s move on to the next step!
Step 6: Reassemble and Reconnect
After you have cleaned the hot water tank, dispenser nozzle, and exterior of your Insinkerator hot water dispenser, it’s time to reassemble the components and reconnect the power. Follow these steps to safely reassemble and reconnect the dispenser:
- Retrieve the hot water tank: Take the clean and dry hot water tank and carefully place it back into its original position in the dispenser. Ensure that it fits securely and aligns properly with any screw holes or brackets.
- Secure the tank: If there were screws or brackets holding the hot water tank in place, reinstall them to secure the tank. Use a screwdriver or appropriate tool to tighten the screws firmly but not excessively. This will prevent any movement or shaking of the tank during operation.
- Reconnect any hoses or connections: If there were hoses or connections that you had disconnected earlier, it’s time to reattach them to the hot water tank. Follow the guidelines in the manufacturer’s instructions to ensure the correct placement and connection.
- Reconnect the power supply: Once the hot water tank and connections are secured, it’s time to reconnect the power supply. Plug the power cord back into the electrical outlet or switch on the circuit breaker to restore power to the dispenser.
Double-check that all components are properly reassembled and the power is securely connected before proceeding to the final step of testing the hot water dispenser. Now that you have successfully reassembled and reconnected the dispenser, let’s move on to the next step!
Read more: How To Clean A Vitapur Water Dispenser
Step 7: Test the Hot Water Dispenser
With the Insinkerator hot water dispenser reassembled and reconnected, the final step is to test its functionality to ensure that it is working properly. Follow these steps to test the hot water dispenser:
- Turn on the power: Switch on the power supply to the hot water dispenser by either plugging it back into the electrical outlet or turning on the circuit breaker.
- Allow the dispenser to warm up: Give the hot water dispenser a few minutes to warm up and bring the water to the desired temperature. This may vary depending on the specific model of your dispenser.
- Dispense hot water: Using a cup or glass, press the hot water dispenser’s designated button or lever to dispense hot water. Ensure that the water flows smoothly without any unusual noises or leaks.
- Check for temperature and taste: Test the temperature of the hot water to ensure that it is at the desired level. Additionally, evaluate the taste and odor of the water to ensure it is clean and free from any lingering residue or flavors.
- Monitor for any issues: Observe the hot water dispenser for any potential issues, such as leaks, fluctuating temperature, or unusual sounds. If you notice any problems, refer to the manufacturer’s instructions or contact customer support for assistance.
If the hot water dispenser passes the test by dispensing hot water at the desired temperature and without any issues, congratulations! You have successfully cleaned and tested your Insinkerator hot water dispenser. Enjoy the convenience of having instant hot water whenever you need it. If you encounter any problems during the testing process, refer to the manufacturer’s instructions or seek professional assistance to address any issues. With proper maintenance and regular cleaning, your Insinkerator hot water dispenser will continue to provide you with clean and refreshing hot water for years to come.
Conclusion
Cleaning and maintaining your Insinkerator hot water dispenser is essential for ensuring that it continues to perform optimally and provides you with clean and refreshing hot water. By following the step-by-step process outlined in this guide, you can easily clean your hot water dispenser and keep it in excellent condition.
Remember to prioritize safety by disconnecting the power and taking necessary precautions before starting the cleaning process. Gather the materials needed, including vinegar or hot water cleaner, a clean cloth or sponge, a toothbrush or small brush, a bowl or container, a towel or mat, mild dish soap, and protective gloves.
Start by disconnecting the power and emptying the hot water tank. Remove and clean the hot water tank to eliminate any mineral deposits or buildup. Next, focus on cleaning the dispenser nozzle to ensure efficient water flow. Clean the exterior of the dispenser to give it a fresh and polished look.
Once you have completed the cleaning process, reassemble the components and reconnect the power supply. Finally, test the hot water dispenser to ensure it is working correctly, with the appropriate temperature and taste.
Regularly cleaning and maintaining your Insinkerator hot water dispenser will prolong its lifespan and enhance your experience in the kitchen. By following these steps and treating your dispenser with care, you can continue to enjoy the convenience and benefits of instant hot water for years to come.
Remember to refer to the manufacturer’s instructions for specific guidelines and recommendations. If you encounter any issues or have questions about your hot water dispenser, don’t hesitate to reach out to the manufacturer or seek professional assistance.
Thank you for reading our comprehensive guide on how to clean an Insinkerator hot water dispenser. We hope you found it informative and helpful. Cheers to clean and refreshing hot water!
Now that you've mastered cleaning your Insinkerator hot water dispenser, why not consider upgrading? Our next article provides a rundown on hot water dispensers that could be perfect for your 2024 needs. Whether you're looking for speed, efficiency, or style, we've detailed the best options to suit any home's needs. Don't miss out on ensuring you have the best appliance for your daily hot water usage.
Frequently Asked Questions about How To Clean Insinkerator Hot Water Dispenser
Was this page helpful?
At Storables.com, we guarantee accurate and reliable information. Our content, validated by Expert Board Contributors, is crafted following stringent Editorial Policies. We're committed to providing you with well-researched, expert-backed insights for all your informational needs.


0 thoughts on “How To Clean Insinkerator Hot Water Dispenser”