Home>Garden Essentials>How To Save Squash Seeds For Planting

Garden Essentials
How To Save Squash Seeds For Planting
Modified: March 21, 2024
Learn how to save squash seeds for planting in your garden and ensure a bountiful harvest. Master the art of seed preservation with our expert tips and techniques.
(Many of the links in this article redirect to a specific reviewed product. Your purchase of these products through affiliate links helps to generate commission for Storables.com, at no extra cost. Learn more)
Introduction
Welcome to our guide on how to save squash seeds for planting. If you are a gardening enthusiast or a lover of homegrown vegetables, seed saving is an essential skill to master. Not only does it allow you to preserve and share the unique characteristics of your favorite squash varieties, but it also helps to maintain biodiversity and sustain the future generations of these plants.
When you save squash seeds, you are securing their genetic material and ensuring that you have a continuous supply of seeds for future plantings. It’s a rewarding and cost-effective way to grow your garden year after year.
In this article, we will explore the reasons why saving squash seeds is beneficial, the best techniques for selecting and harvesting squash for seed saving, isolation methods to prevent cross-pollination, seed cleaning and preparation, as well as proper storage and labeling techniques for long-term viability. We will also share some tips and tricks to increase the success of your squash seed-saving endeavors.
So, whether you’re a beginner or an experienced gardener, let’s dive in and learn how to save and preserve squash seeds.
Key Takeaways:
- Save squash seeds to save money, preserve unique traits, and adapt to your local climate. It’s a fun and sustainable way to grow your garden year after year!
- To successfully save squash seeds, choose healthy plants, practice isolation techniques, and store seeds in cool, dry conditions. Enjoy the process and share your love for seed saving with others!
Read more: How To Save Squash Seeds
Why Save Squash Seeds
There are several compelling reasons to save squash seeds rather than relying solely on purchasing new seeds each season. Let’s explore some of the key benefits:
- Cost Savings: Saving squash seeds is an economical option for gardeners. Instead of purchasing seeds every year, you can harvest and store seeds from your own plants, reducing your gardening expenses in the long run.
- Preserving Heirloom Varieties: Many traditional squash varieties, known as heirlooms, possess unique and desirable traits. By saving the seeds of these heirloom varieties, you are preserving their genetic makeup and ensuring their continued existence.
- Adapting to Your Local Climate: Over time, saved squash seeds become adapted to the specific environmental conditions of your garden. By saving seeds from plants that thrive in your local climate, you can develop a strain of squash that is well-suited to your particular growing conditions.
- Customization and Selection: Saving squash seeds allows you to select for specific traits that you find desirable, such as flavor, size, or disease resistance. Over generations, you can continue to refine and improve these characteristics to suit your preferences.
- Sustainability and Biodiversity: Seed saving plays a critical role in maintaining biodiversity in our gardens. By saving and sharing seeds, we contribute to the preservation of diverse squash varieties, ensuring their availability for future generations.
As you can see, saving squash seeds offers various advantages, including cost savings, preserving heirloom varieties, adapting to local climate, customization and selection, as well as promoting sustainability and biodiversity in our gardens. Now, let’s move on to the next section and learn how to select and harvest squash for seed saving.
Selecting and Harvesting Squash for Seed Saving
When it comes to saving squash seeds, the first step is to carefully select and harvest the squash that will produce viable seeds for future planting. Here are some important factors to consider:
- Variety Selection: Choose squash varieties that are open-pollinated or heirloom, as hybrid varieties may not produce seeds with the same characteristics as the parent plant.
- Plant Health: Select healthy, disease-free squash plants for seed saving. Avoid plants with signs of disease, pest damage, or poor growth. Strong and robust plants are more likely to produce high-quality seeds.
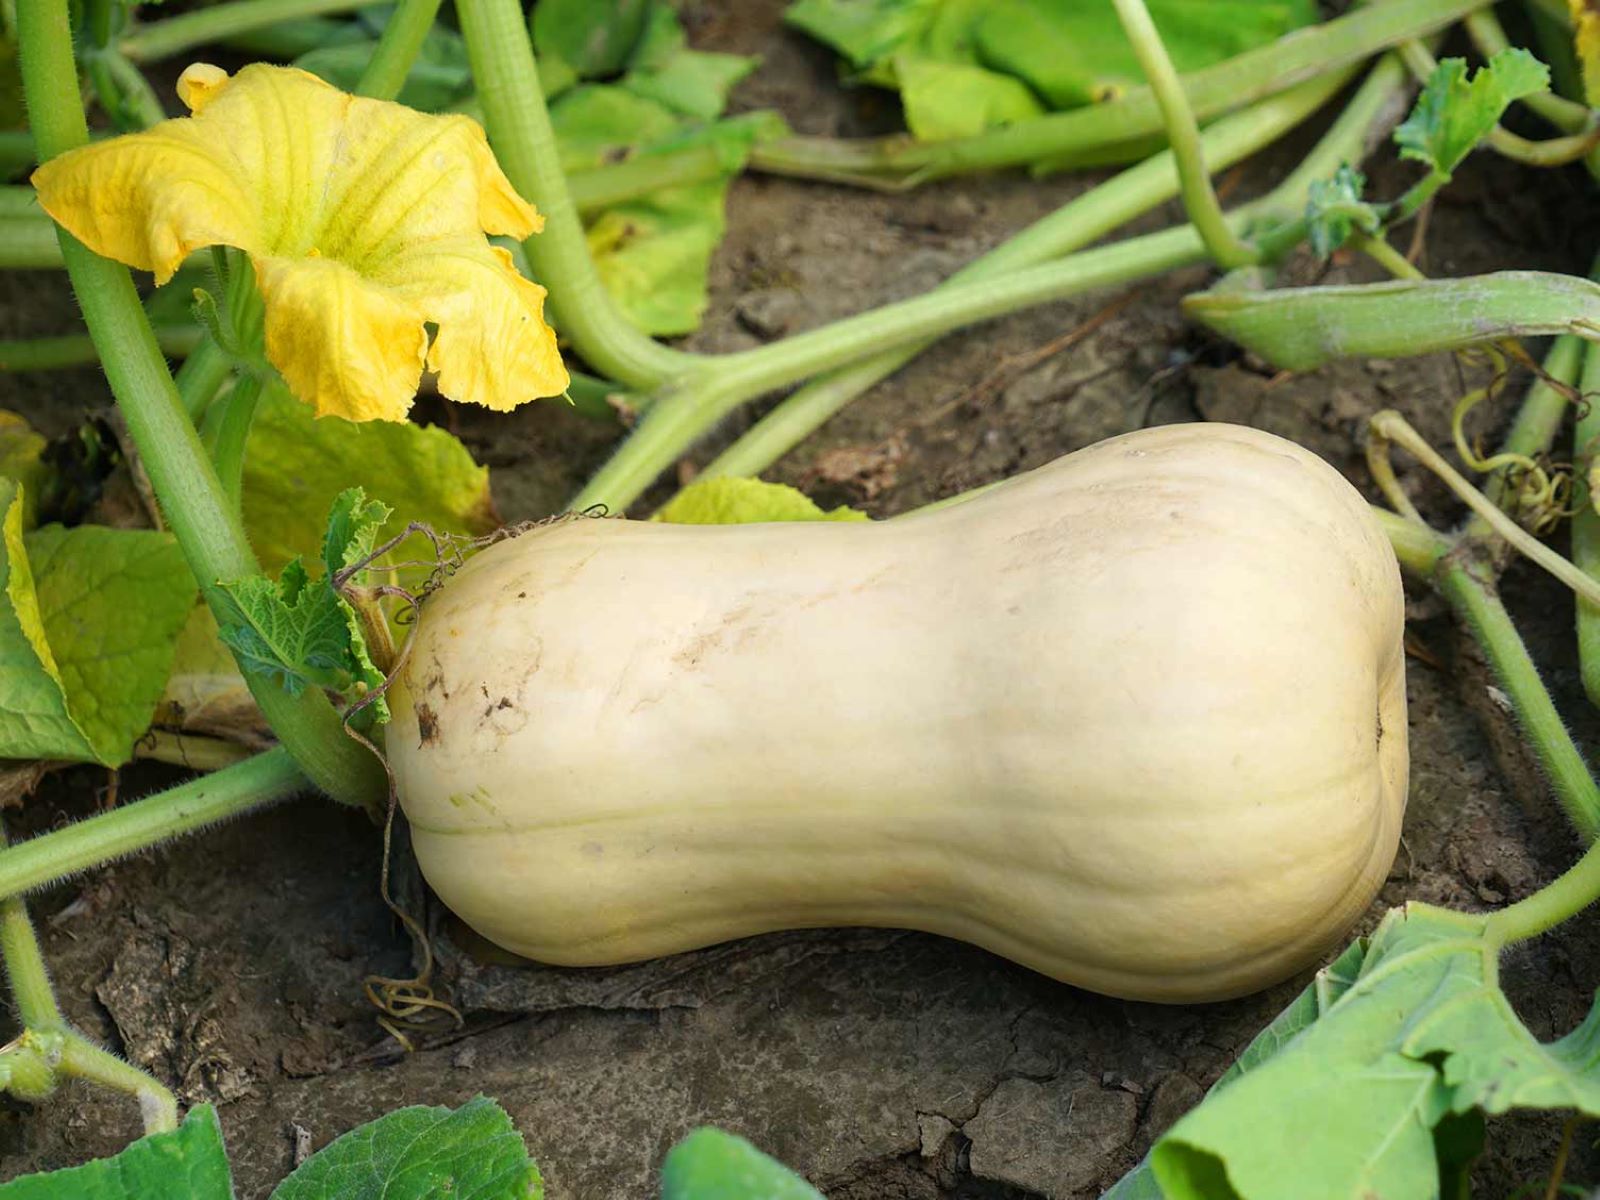
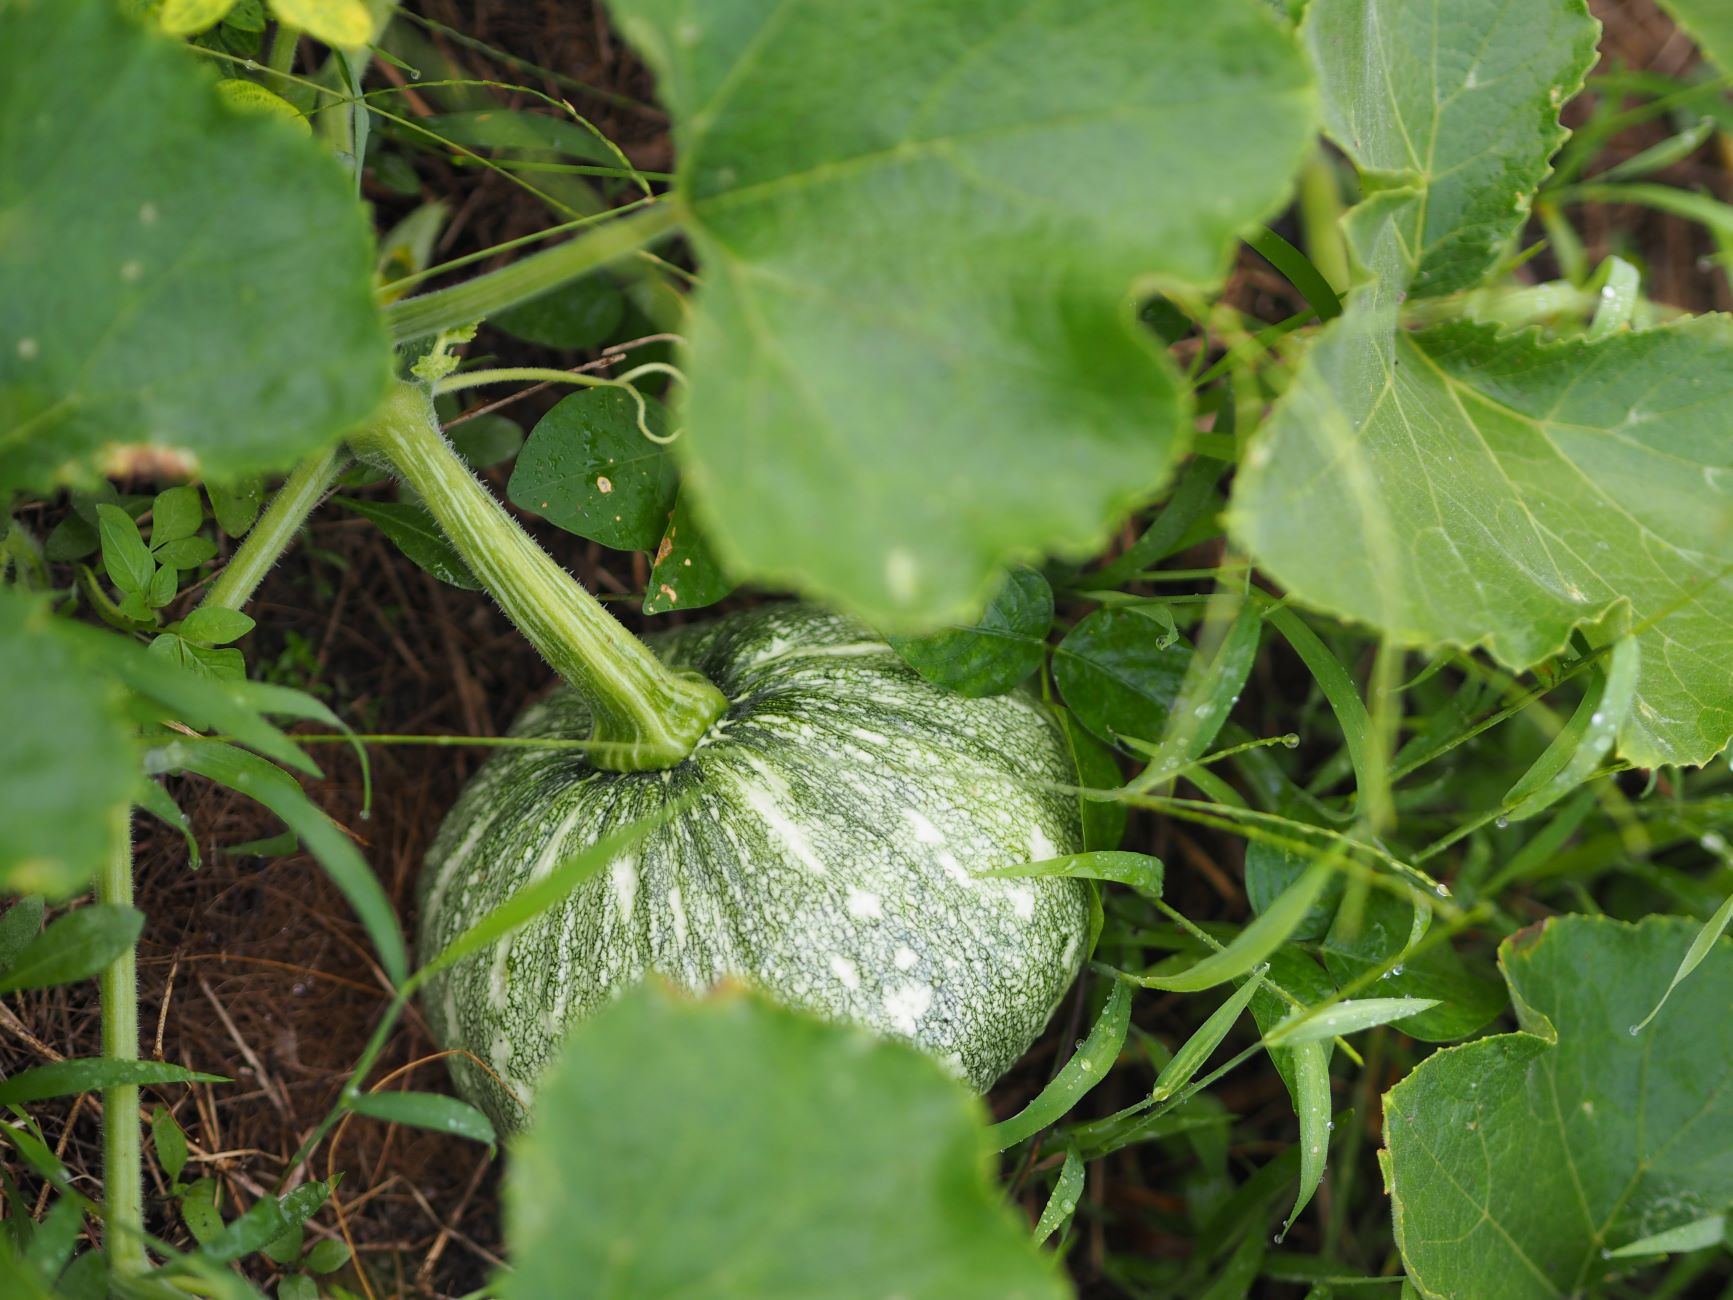
- Fruit Maturity: Allow the squash fruits to fully mature on the vine before harvesting. The fruits should be fully ripened, reach their full size, and have a hard skin. Avoid harvesting immature or underdeveloped fruits as they may produce less viable seeds.
- Seed Harvesting: Once the squash is mature, cut it from the vine, leaving a few inches of stem attached. Handle the fruits with care to avoid any damage that could affect seed quality.
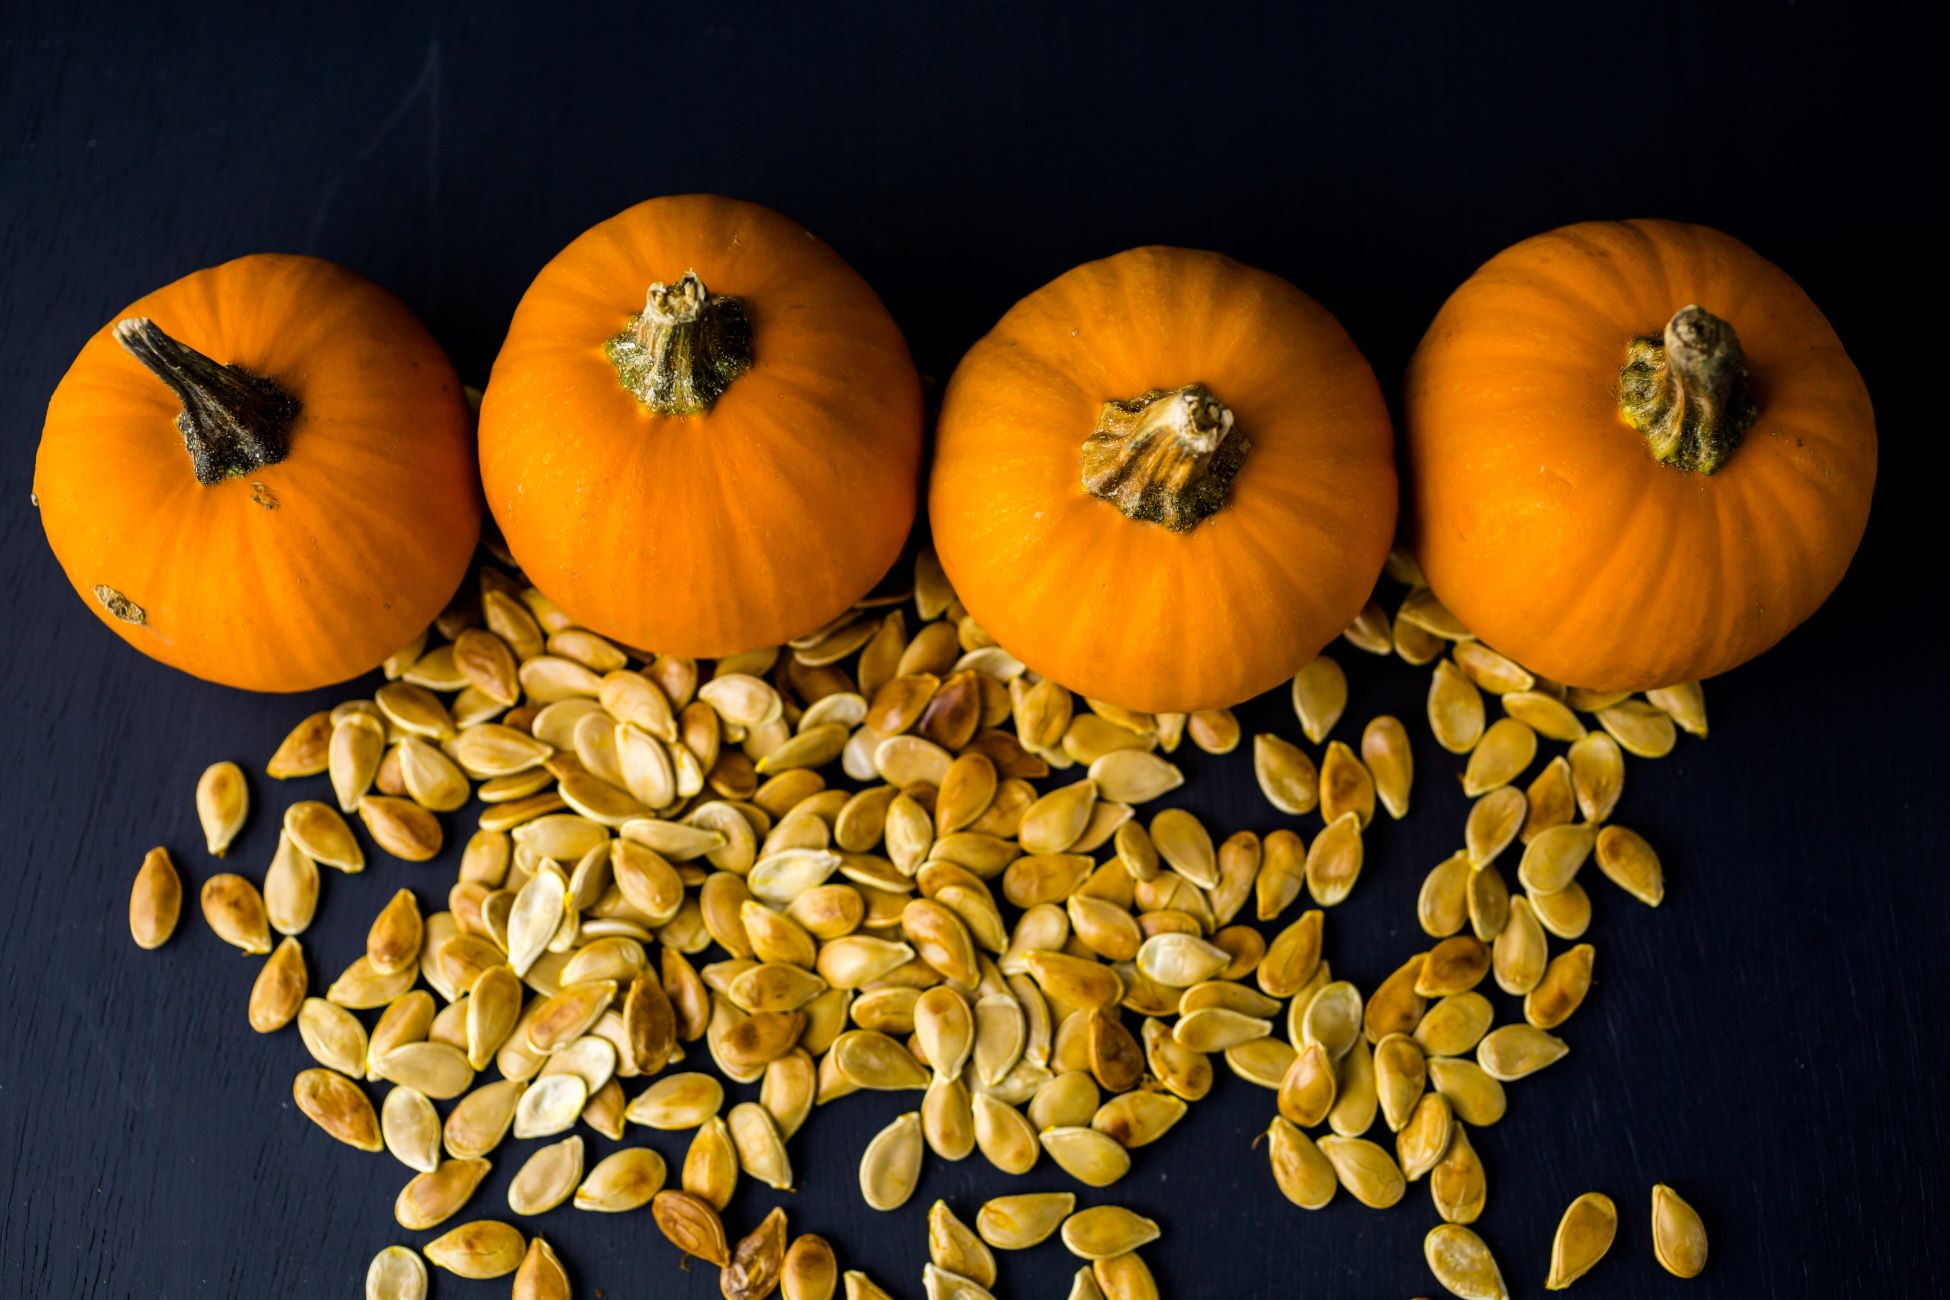
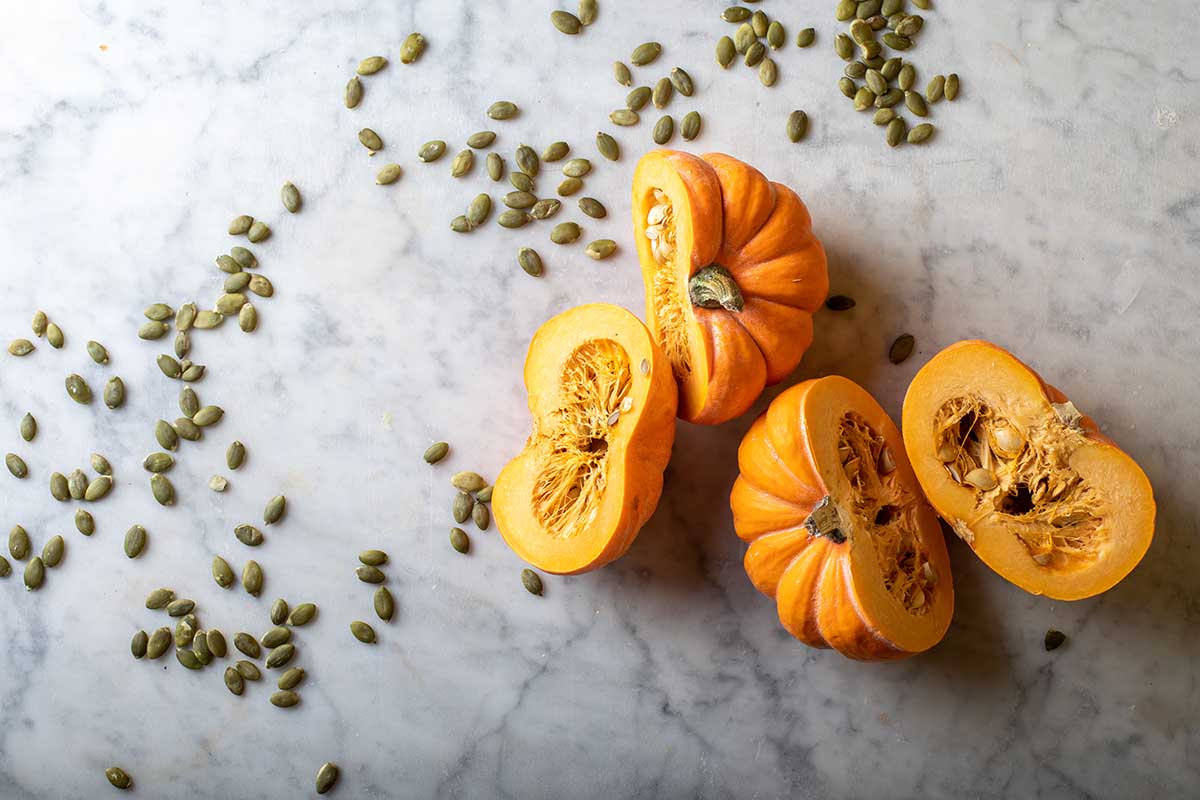
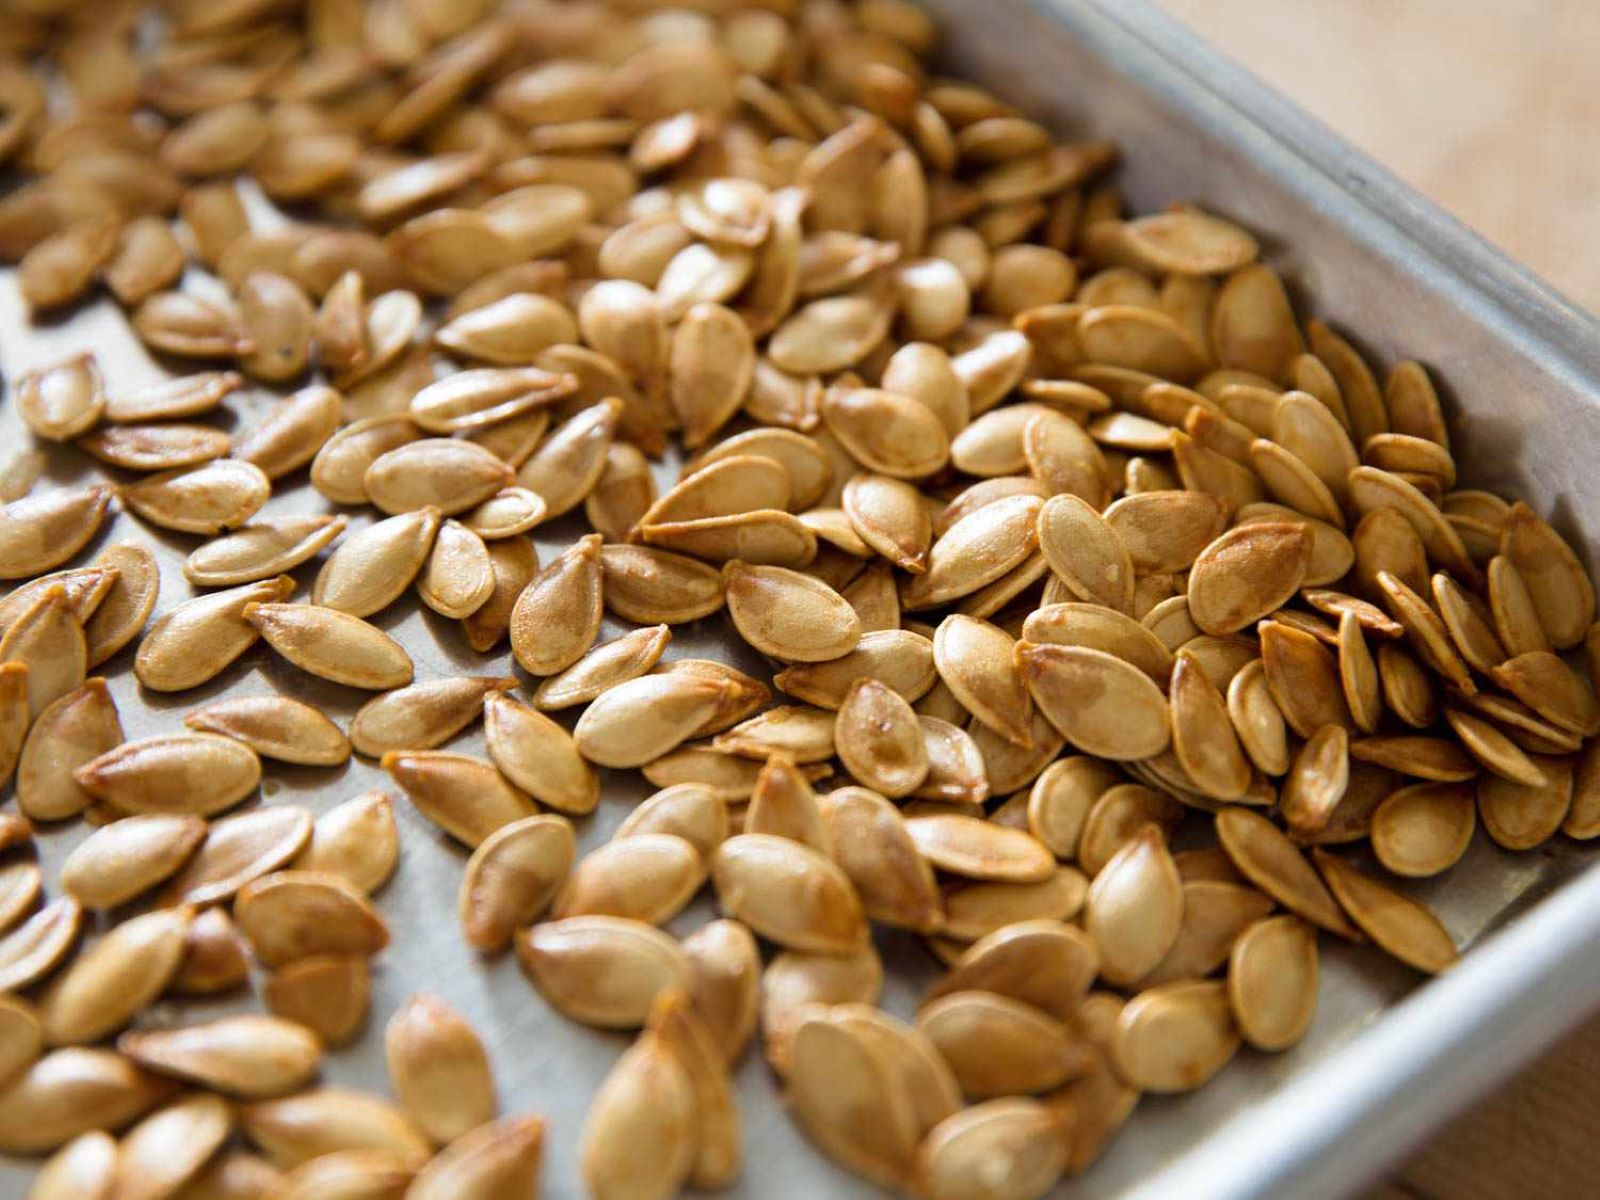
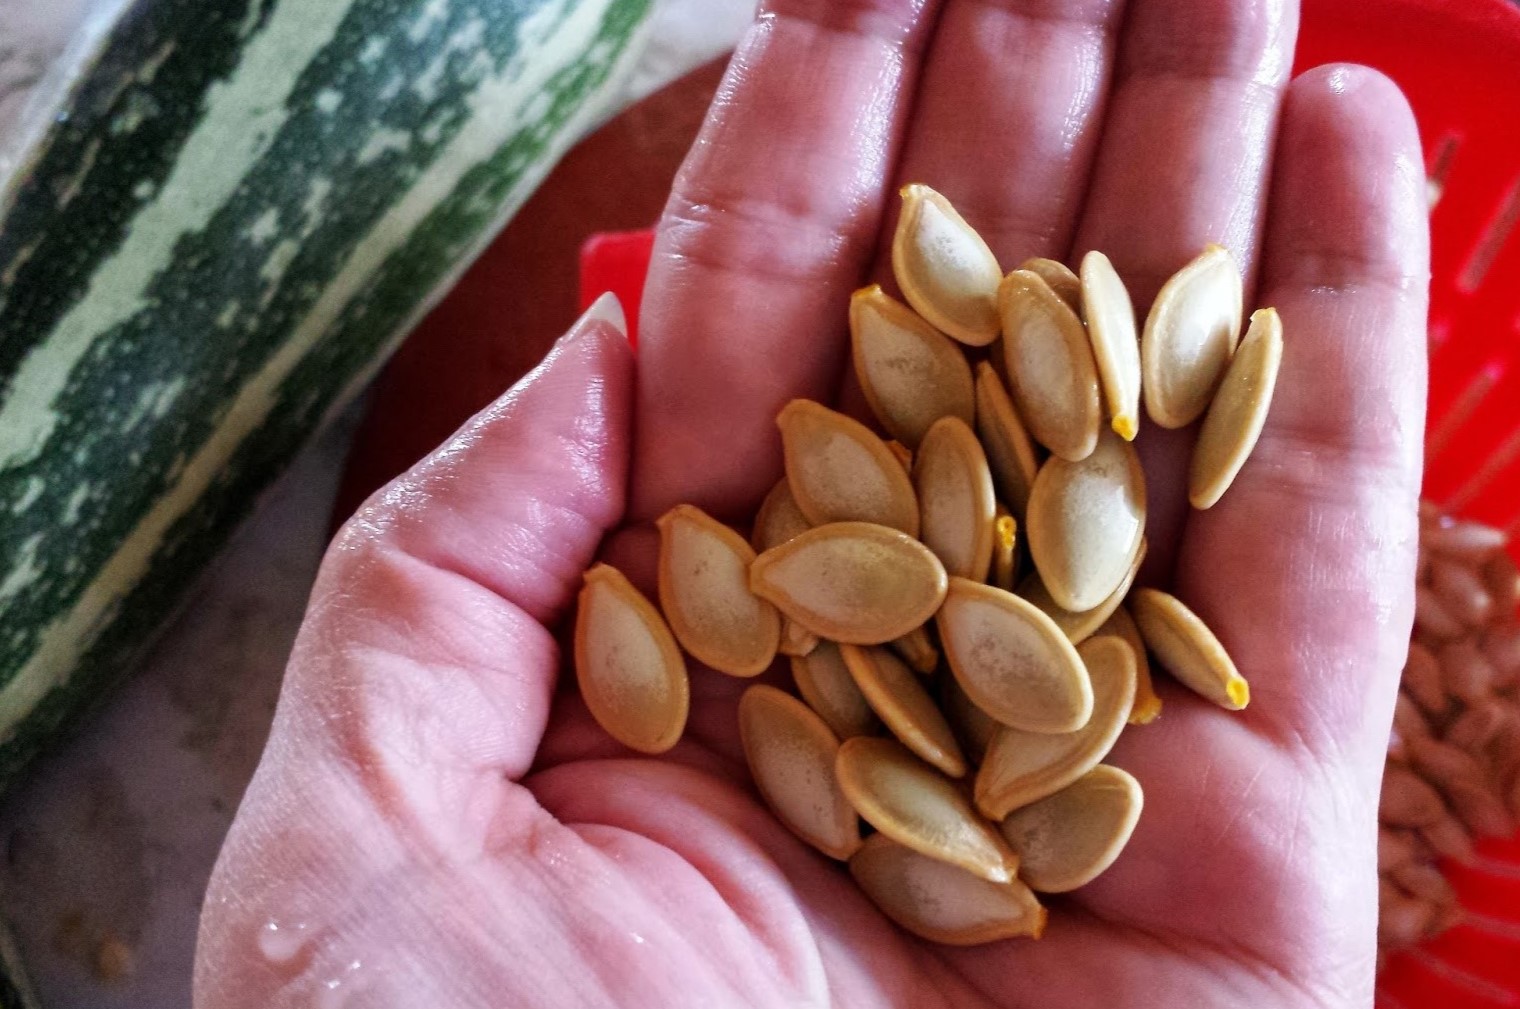
- Seed Extraction: Cut open the squash and scoop out the seeds. Place the seeds in a container filled with water and allow them to ferment for a few days. This fermentation process helps to remove the gelatinous coating around the seeds, which can inhibit germination.
- Seed Cleaning: After the fermentation process, thoroughly rinse the seeds and remove any remaining pulp or debris. Spread the seeds out on a paper towel or a fine mesh screen to dry completely.
It’s important to note that squash plants belonging to the same species can cross-pollinate with each other, resulting in hybridized seeds. To prevent cross-pollination, you can use isolation techniques such as hand-pollination or physical barriers. We will discuss these techniques in detail in the next section.
Now that you understand how to select and harvest squash for seed saving, let’s move on to exploring isolation techniques to maintain genetic purity and seed integrity.
Isolation Techniques for Seed Saving
When saving squash seeds, it’s crucial to maintain genetic purity and prevent cross-pollination between different squash varieties. Here are some effective isolation techniques to ensure the integrity of your saved seeds:
- Hand-Pollination: One method to control pollination and prevent unwanted cross-pollination is through hand-pollination. This technique involves manually transferring pollen from the male flower to the female flower, ensuring that only desired parent plants contribute to the seed formation.
- Time Isolation: Another approach is to stagger the planting times of different squash varieties to ensure that each variety flowers at different times. This reduces the chances of cross-pollination between different varieties since their flowering periods do not overlap.
- Distance Isolation: Space out different squash varieties by a significant distance (at least a quarter to a half-mile) to create physical separation. This distance helps to prevent the wind or insects from carrying pollen between the plants, reducing the risk of cross-pollination.
- Physical Barriers: Use physical barriers such as row covers, cages, or netting to physically isolate squash plants. These barriers help to prevent pollinators from accessing the plants, reducing the chances of cross-pollination.
- Cage Enclosure: For smaller gardens, you can use cage enclosures made of fine mesh to enclose individual squash plants. This technique provides complete isolation, ensuring that only self-pollination occurs.
- Bagging Flowers: If you have limited space or a few selected squash plants, you can bag individual female flowers before they open. This process involves covering the female flower with a breathable bag or mesh to prevent pollinators from reaching the flower.
By implementing these isolation techniques, you can significantly reduce the chances of cross-pollination and maintain the genetic purity of your saved squash seeds. However, it’s important to note that different squash species may have different pollination characteristics, so it’s essential to research specific techniques for the squash varieties you are saving seeds from.
Now that you understand how to select and isolate squash plants for seed saving, let’s move on to the next step: seed cleaning and preparation.
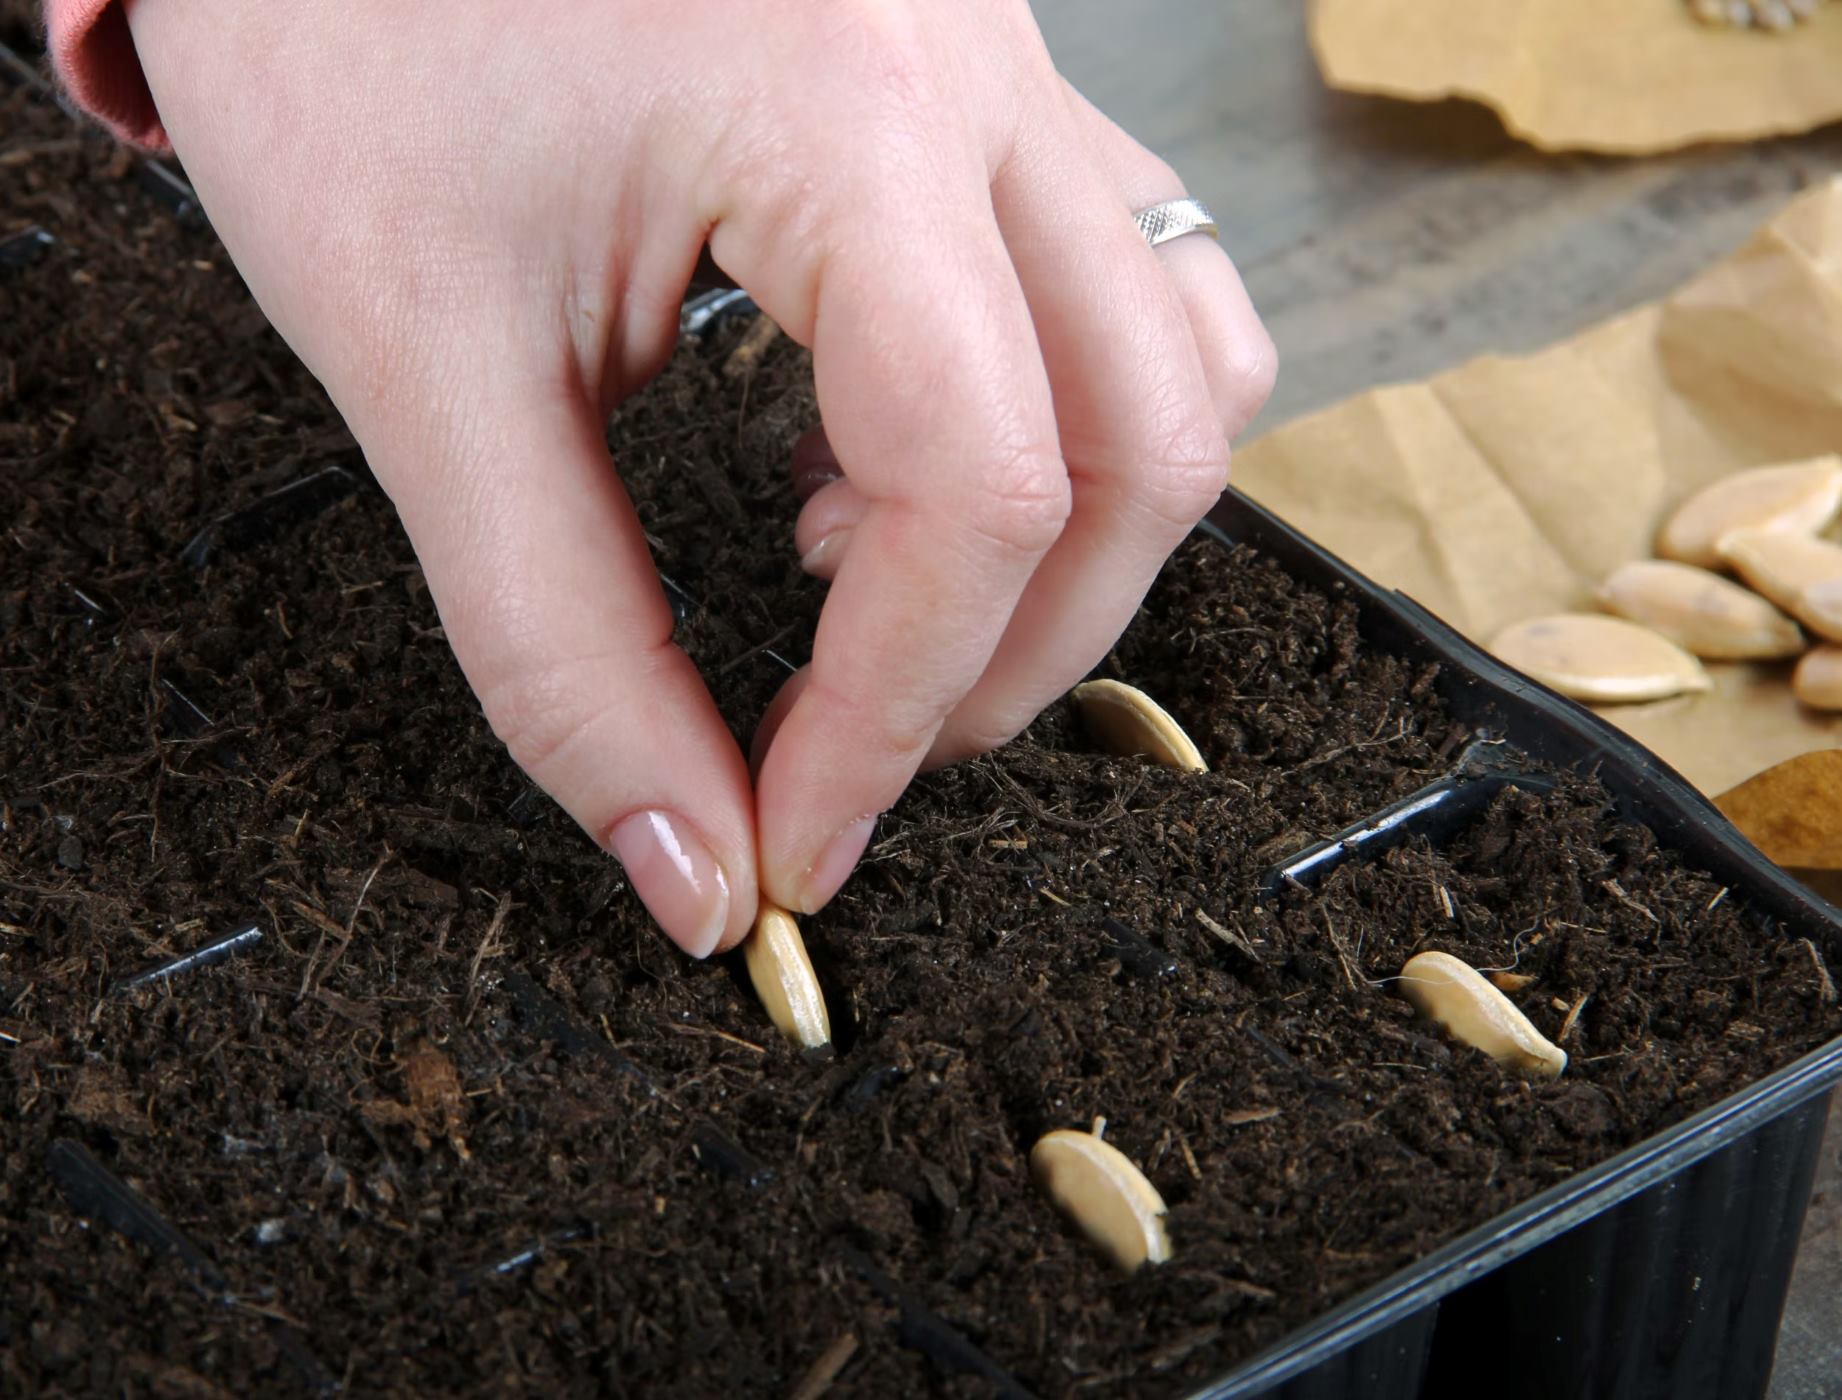
After harvesting squash seeds, rinse off any pulp and then spread them out to dry on a paper towel for about a week. Once they are completely dry, store them in a cool, dry place until you are ready to plant them.
Seed Cleaning and Preparation
Once you have harvested the mature squash fruits and extracted the seeds, it’s important to clean and prepare them properly for long-term storage and optimal germination. Here are the key steps to follow for seed cleaning and preparation:
- Fermentation: As mentioned earlier, after scooping out the seeds from the squash, you can place them in a container filled with water and allow them to ferment for a few days. This fermentation process helps to remove the gelatinous coating surrounding the seeds.
- Rinsing: After the fermentation process, rinse the seeds thoroughly under running water to remove any remaining pulp or debris.
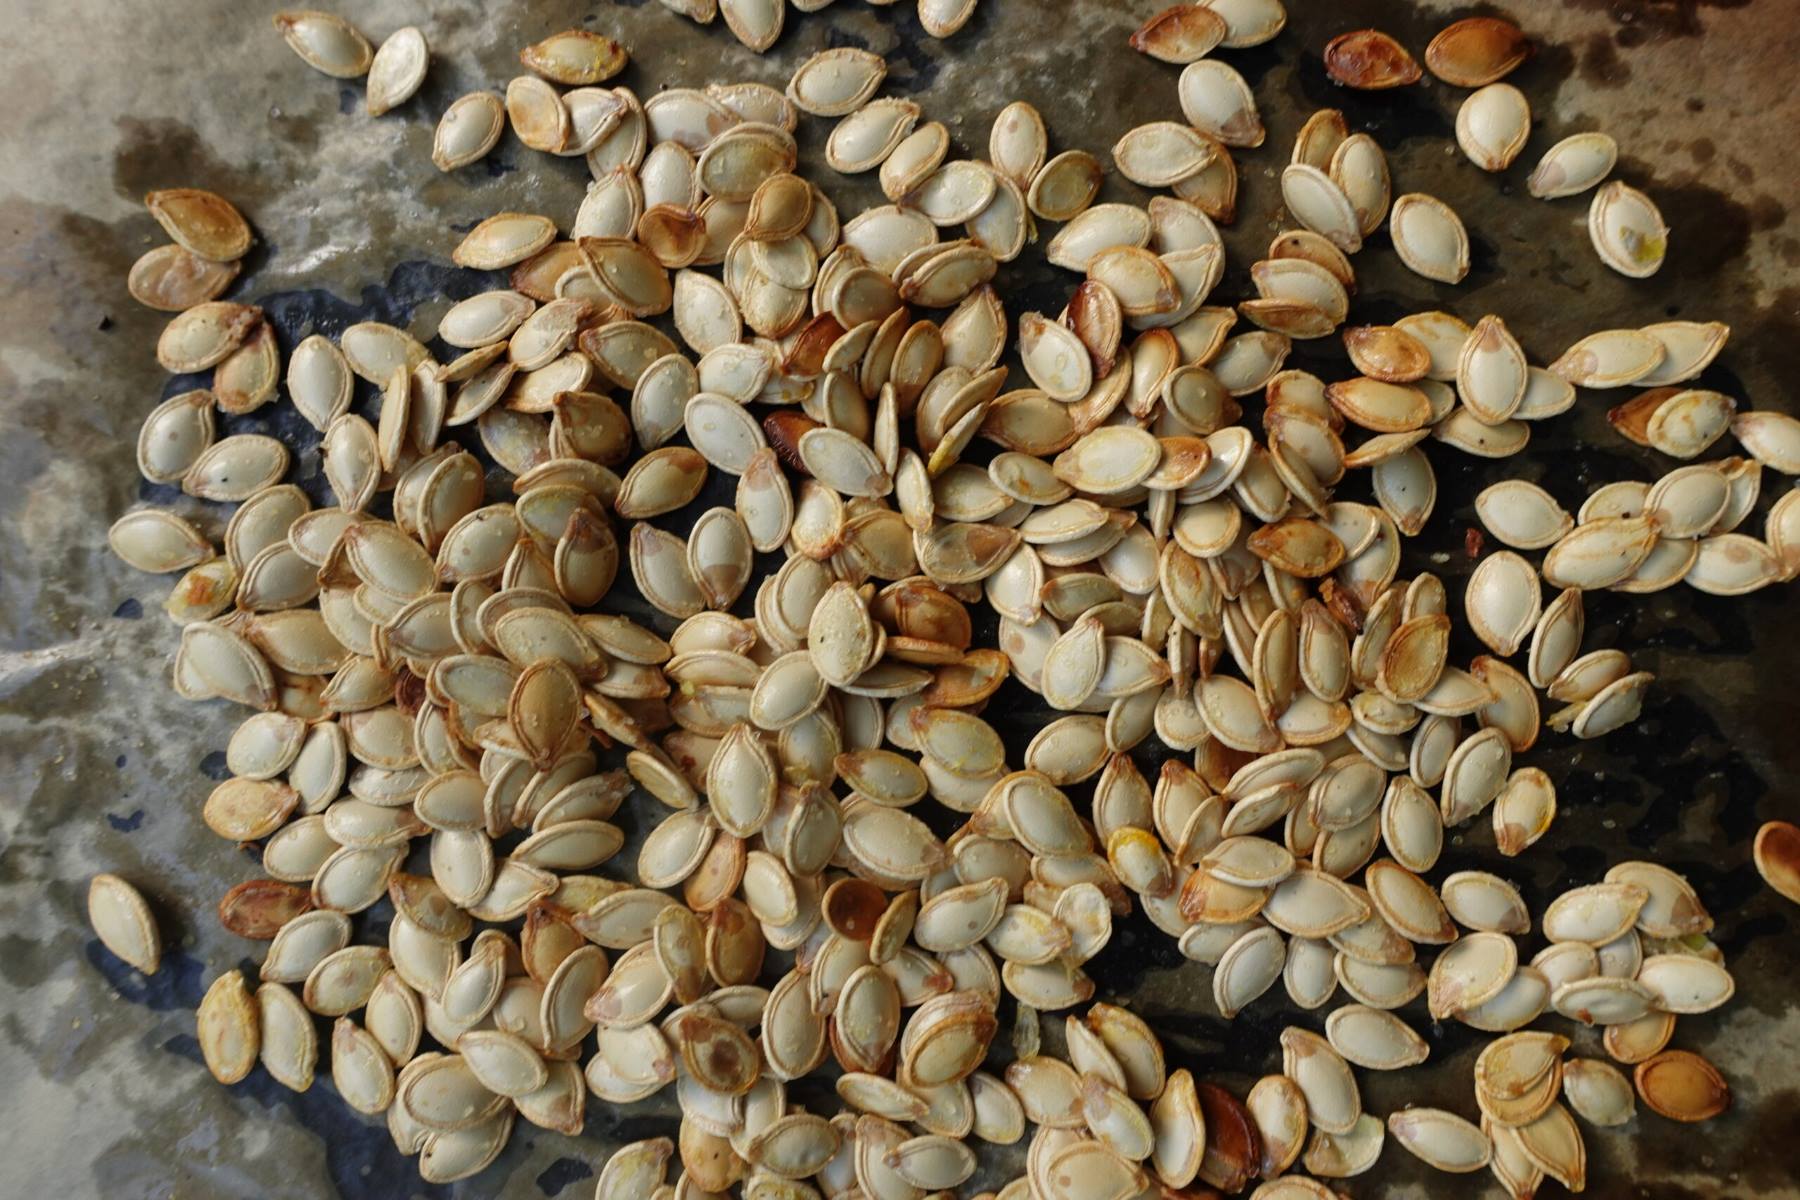
- Drying: Spread the rinsed seeds out on a paper towel, fine mesh screen, or a dry surface to dry completely. Ensure that the seeds are spread out in a single layer and not touching each other to allow for proper airflow.
- Curing: Some squash seeds, particularly those from winter squash varieties, benefit from a process called seed curing. This involves allowing the seeds to dry in a warm, well-ventilated area for a few weeks. Curing helps to further dry and harden the seeds, increasing their longevity.
- Storage: Once the seeds are fully dry, store them in airtight containers such as glass jars or resealable plastic bags. It’s a good practice to add a moisture-absorbing desiccant, such as silica gel packets, to prevent any moisture buildup that could lead to mold or seed damage.
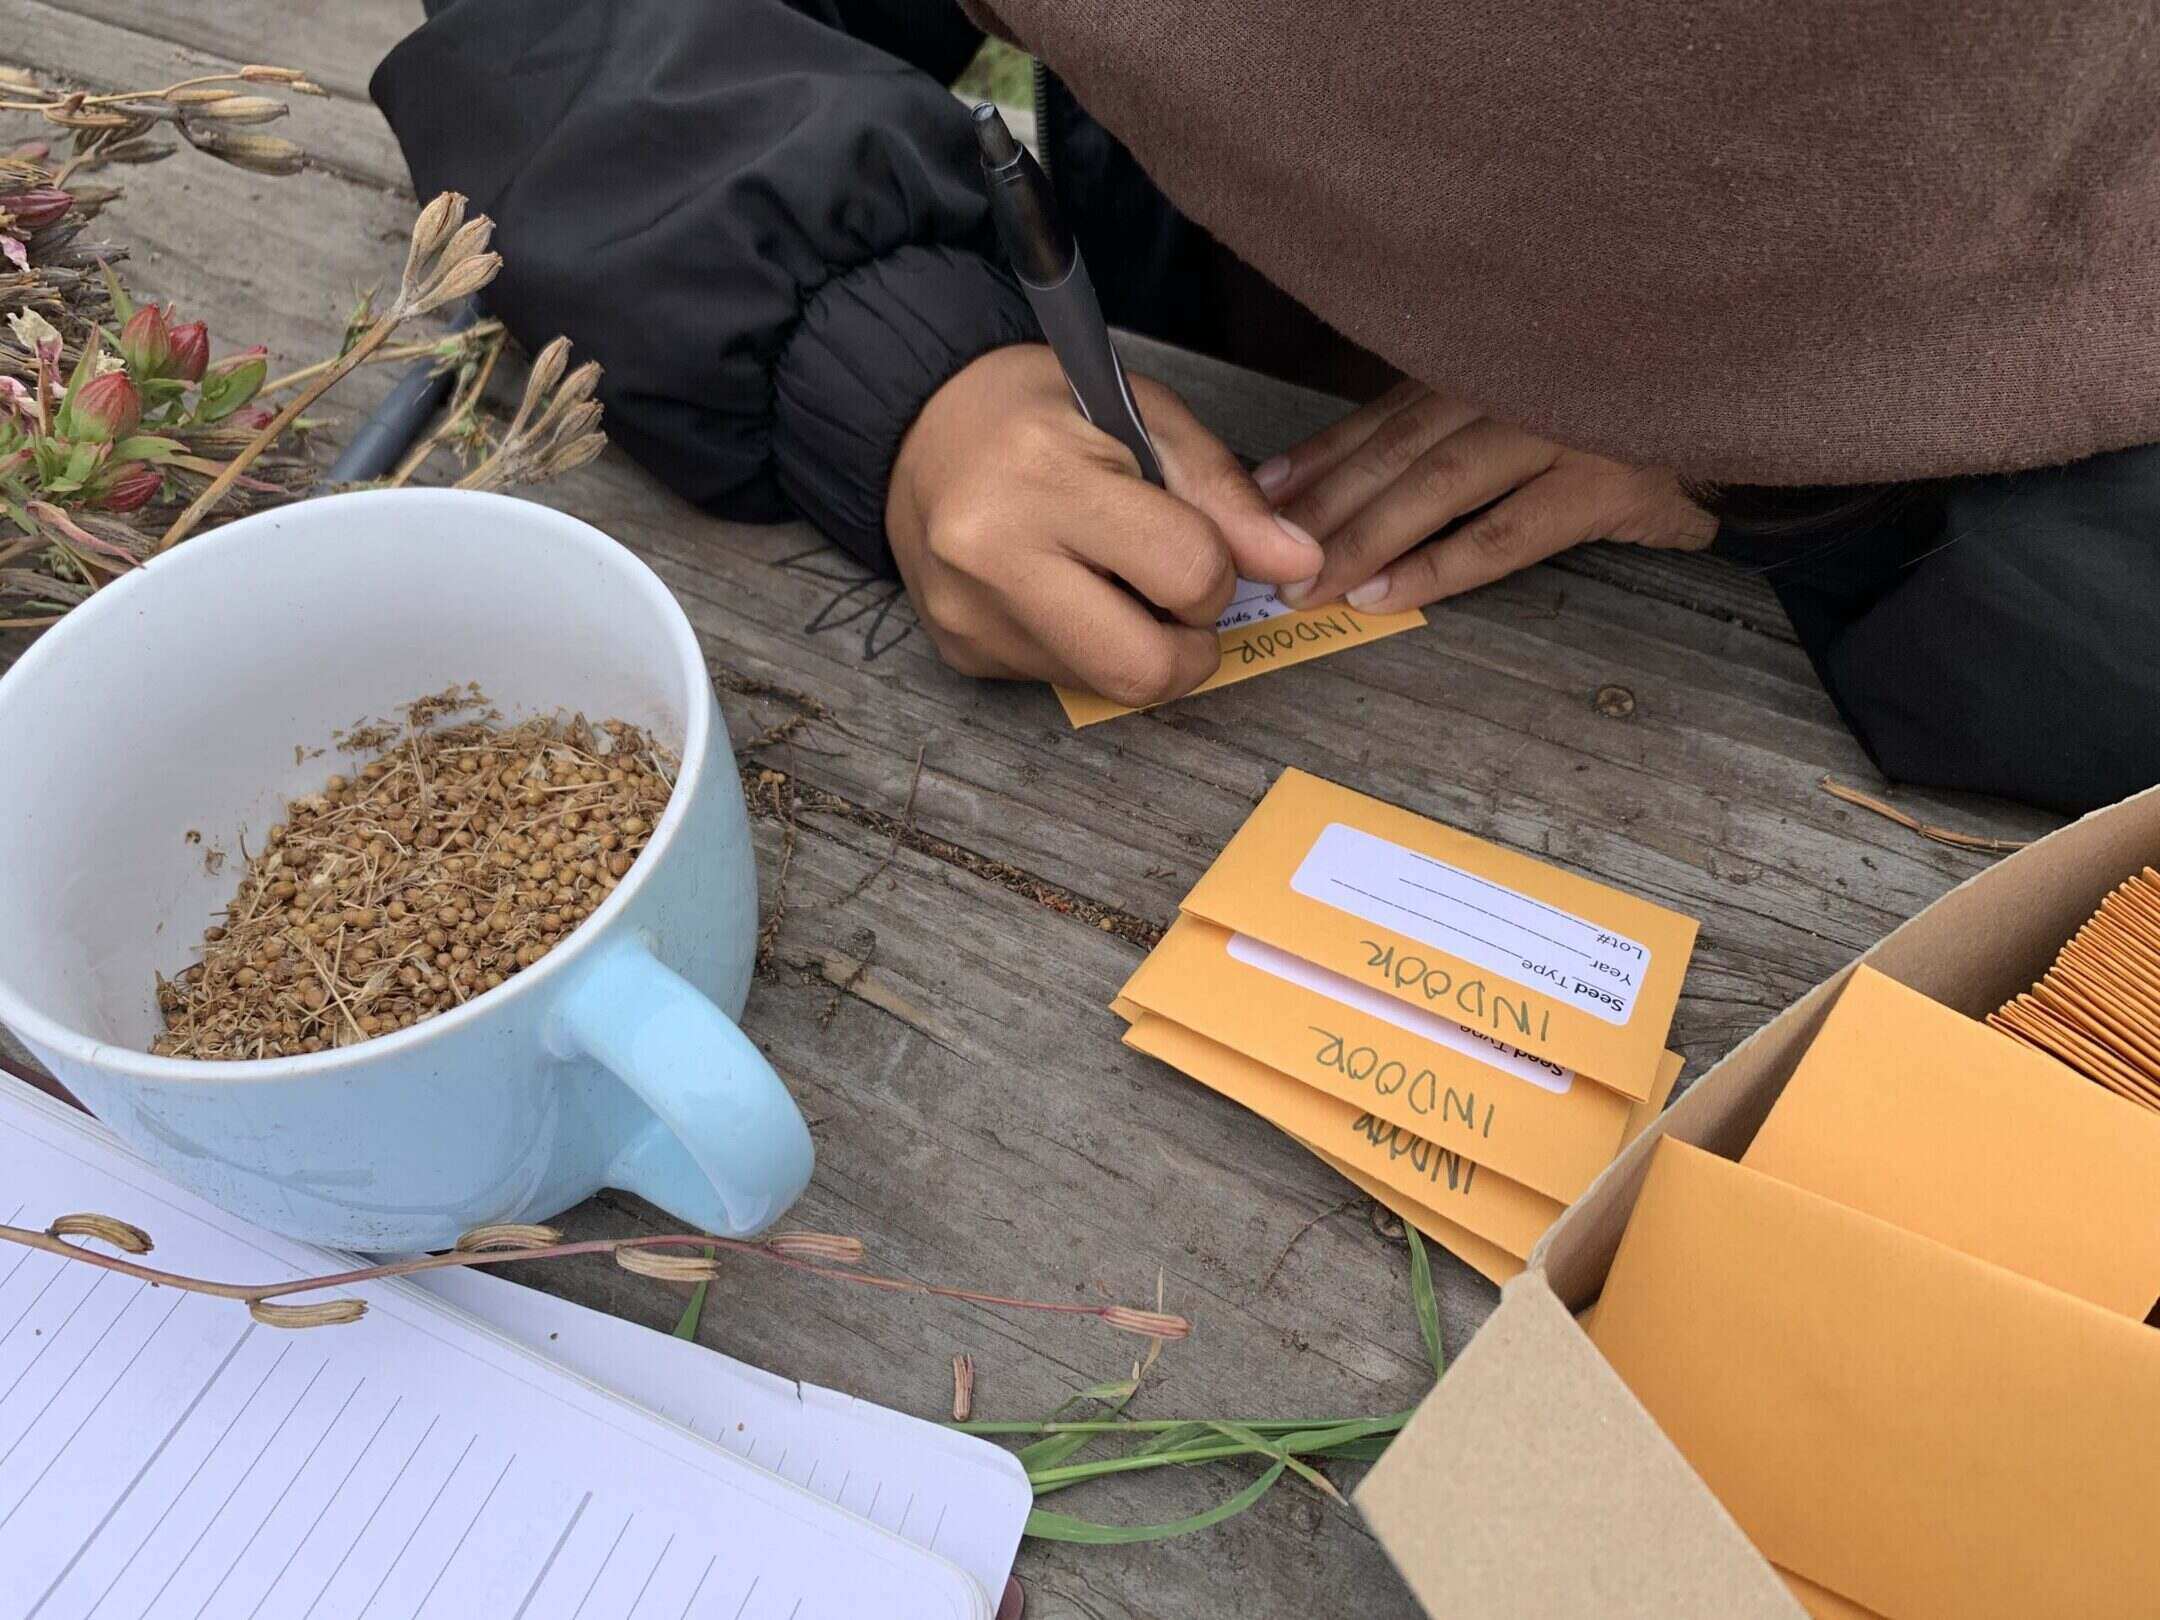
- Labeling: Don’t forget to label the containers with the variety, date of harvesting, and any other relevant information. Proper labeling ensures that you can easily identify and track your saved squash seeds.
By following these seed cleaning and preparation steps, you are increasing the chances of successful germination and maintaining the viability of your saved squash seeds over an extended period.
Now that we have covered the crucial steps of cleaning and preparing squash seeds, let’s move on to the next section, which focuses on storing and labeling these seeds effectively.
Read more: How To Save Winter Squash Seeds
Storing and Labeling Squash Seeds
Proper storage and labeling of squash seeds are essential for maintaining their viability and ensuring easy identification in the future. Here are some tips for storing and labeling your saved squash seeds:
- Storage Conditions: Store your squash seeds in a cool, dry, and dark place. Ideally, the temperature should be between 32°F (0°C) and 41°F (5°C), with low humidity levels. Avoid exposing the seeds to direct sunlight or extreme temperature fluctuations, as these can decrease their viability.
- Airtight Containers: Use airtight containers such as glass jars, plastic seed containers, or resealable bags to prevent moisture and air exposure. Make sure the containers are clean and dry before placing the seeds inside.
- Moisture Control: To further protect your seeds from moisture, consider adding moisture-absorbing desiccants, such as silica gel packets or powdered milk, to the storage containers. These help to reduce any moisture buildup that could lead to seed damage or mold growth.
- Labeling: Clearly label each container with the variety, date of harvesting, and any additional notes or information that you find relevant. This labeling ensures that you can easily identify and differentiate between different squash varieties when it’s time to plant the seeds.
- Organizational System: If you save seeds from multiple squash varieties, develop an organizational system that works for you. You may choose to store the seeds alphabetically or categorize them by type (e.g., summer squash, winter squash) to easily locate and retrieve specific seeds when needed.
- Seed Viability Check: It’s a good practice to periodically check the viability of your stored squash seeds. Performing a germination test by planting a small sample of seeds can help you determine their germination rate and decide whether it’s necessary to refresh your seed stock.
By storing your saved squash seeds in the proper conditions and labeling them clearly, you can ensure their longevity and easily access the desired varieties for future plantings.
Now that we’ve covered the important steps of storing and labeling squash seeds, let’s move on to some additional tips for successful squash seed saving.
Tips for Successful Squash Seed Saving
Saving squash seeds can be a rewarding and successful endeavor with the following tips in mind:
- Choose Healthy and Vigorous Plants: Select squash plants that are healthy, disease-free, and show strong growth. Healthy plants are more likely to produce high-quality seeds.
- Practice Proper Isolation: Use isolation techniques such as hand-pollination, time or distance isolation, physical barriers, cage enclosures, or bagging flowers to prevent cross-pollination between different squash varieties and maintain seed purity.
- Harvest at the Right Time: Allow the squash fruits to fully mature on the vine before harvesting. Ensure that the fruits reach their full size, have a hard skin, and are fully ripe.
- Properly Clean and Dry the Seeds: Thoroughly clean the seeds after fermentation and ensure they are completely dry before storing. Proper drying helps prevent mold or rot and enhances seed longevity.
- Store in Cool and Dry Conditions: Find a cool, dry, and dark place to store your squash seeds, maintaining a temperature range of 32°F (0°C) to 41°F (5°C). Protect them from excess moisture and sunlight.
- Test Seed Viability: Periodically perform a germination test to check the viability of your saved squash seeds. This helps ensure that the seeds are still viable and allows you to plan for reseeding if needed.
- Rotate Seed Stock: To maintain seed viability and vigor, rotate your seed stock every few years by incorporating fresh seeds from reputable seed suppliers or swapping with fellow gardeners.
- Share Seeds and Knowledge: Seed saving is not just about personal benefit; it is also an opportunity to increase biodiversity and preserve plant diversity. Share your saved squash seeds with others and exchange knowledge to contribute to the continuation of diverse squash varieties.
By following these tips, you can increase the success rate of your squash seed-saving endeavors and enjoy the benefits of a self-sustaining garden year after year.
With these guidelines in mind, you are now equipped with the knowledge and skills to save and preserve squash seeds. Remember, seed saving is an art that requires patience, diligence, and a genuine passion for gardening. So, go ahead and enjoy the process of saving and planting your own squash seeds!
Happy seed saving!
Conclusion
Congratulations! You have now learned how to save squash seeds for planting. By mastering the art of seed saving, you can not only save money but also contribute to the preservation of heirloom varieties, adapt to your local climate, customize your plants, and promote sustainability and biodiversity in your garden.
Throughout this guide, we have explored the reasons why saving squash seeds is beneficial, the techniques for selecting and harvesting squash for seed saving, isolation methods to prevent cross-pollination, seed cleaning and preparation, as well as proper storage and labeling techniques for long-term viability. We have also provided you with valuable tips to enhance your squash seed-saving endeavors.
Remember, selecting healthy plants, practicing proper isolation techniques, harvesting at the right time, and ensuring thorough seed cleaning and drying are all crucial steps for successful squash seed saving. Additionally, storing your seeds in cool and dry conditions, regularly testing seed viability, and sharing seeds and knowledge with others are essential practices to maintain a vibrant seed-saving community.
As you embark on your seed-saving journey, don’t forget to enjoy the process. Seed saving is not only a practical skill but also a way to connect with nature and experience the incredible cycle of life. The joy of planting a seed, nurturing it, and witnessing its growth into a flourishing plant is truly unmatched.
So, gather your squash plants, carefully select and harvest the fruits, clean and dry the seeds, store them properly, and label them for easy identification. Take pride in the fact that you are becoming a steward of biodiversity and preserving the rich heritage of squash varieties.
Now, armed with knowledge and skills, go forth and share your love for seed saving with others. Inspire fellow gardeners, swap seeds, and encourage the preservation of our precious plant heritage. Together, we can ensure a greener, more sustainable future for generations to come.
Happy gardening and seed saving!
Frequently Asked Questions about How To Save Squash Seeds For Planting
Was this page helpful?
At Storables.com, we guarantee accurate and reliable information. Our content, validated by Expert Board Contributors, is crafted following stringent Editorial Policies. We're committed to providing you with well-researched, expert-backed insights for all your informational needs.


0 thoughts on “How To Save Squash Seeds For Planting”