Home>diy>Architecture & Design>How To Draw A Blueprint Of A Room
Architecture & Design
How To Draw A Blueprint Of A Room
Modified: October 19, 2024
Learn how to draw a detailed blueprint of a room with our step-by-step guide on architecture design. Create accurate floor plans and bring your vision to life.
(Many of the links in this article redirect to a specific reviewed product. Your purchase of these products through affiliate links helps to generate commission for Storables.com, at no extra cost. Learn more)
Introduction
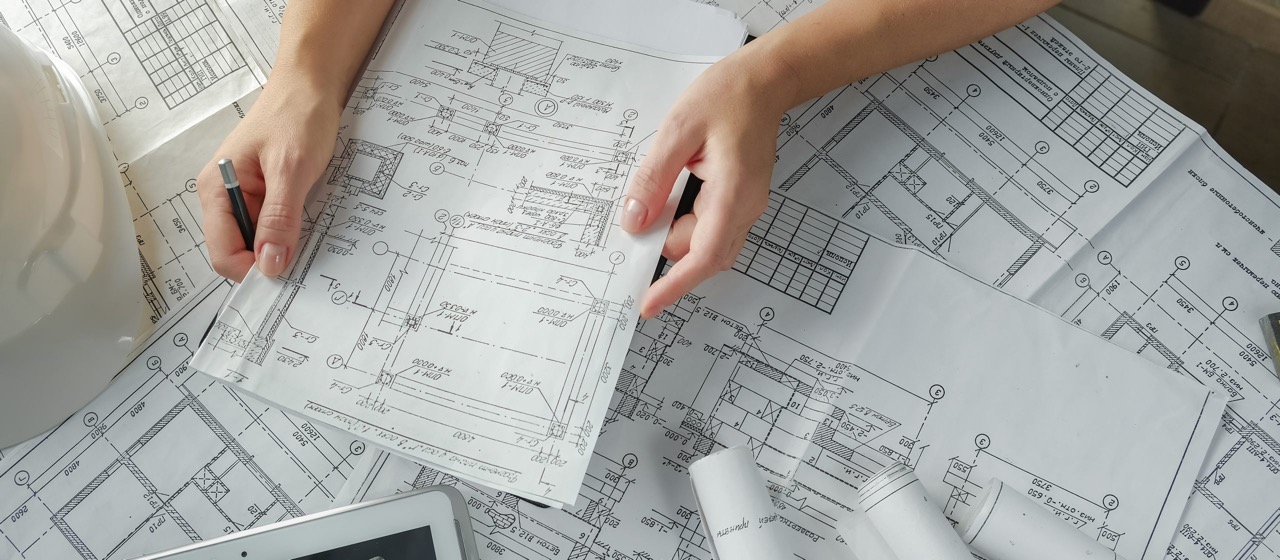
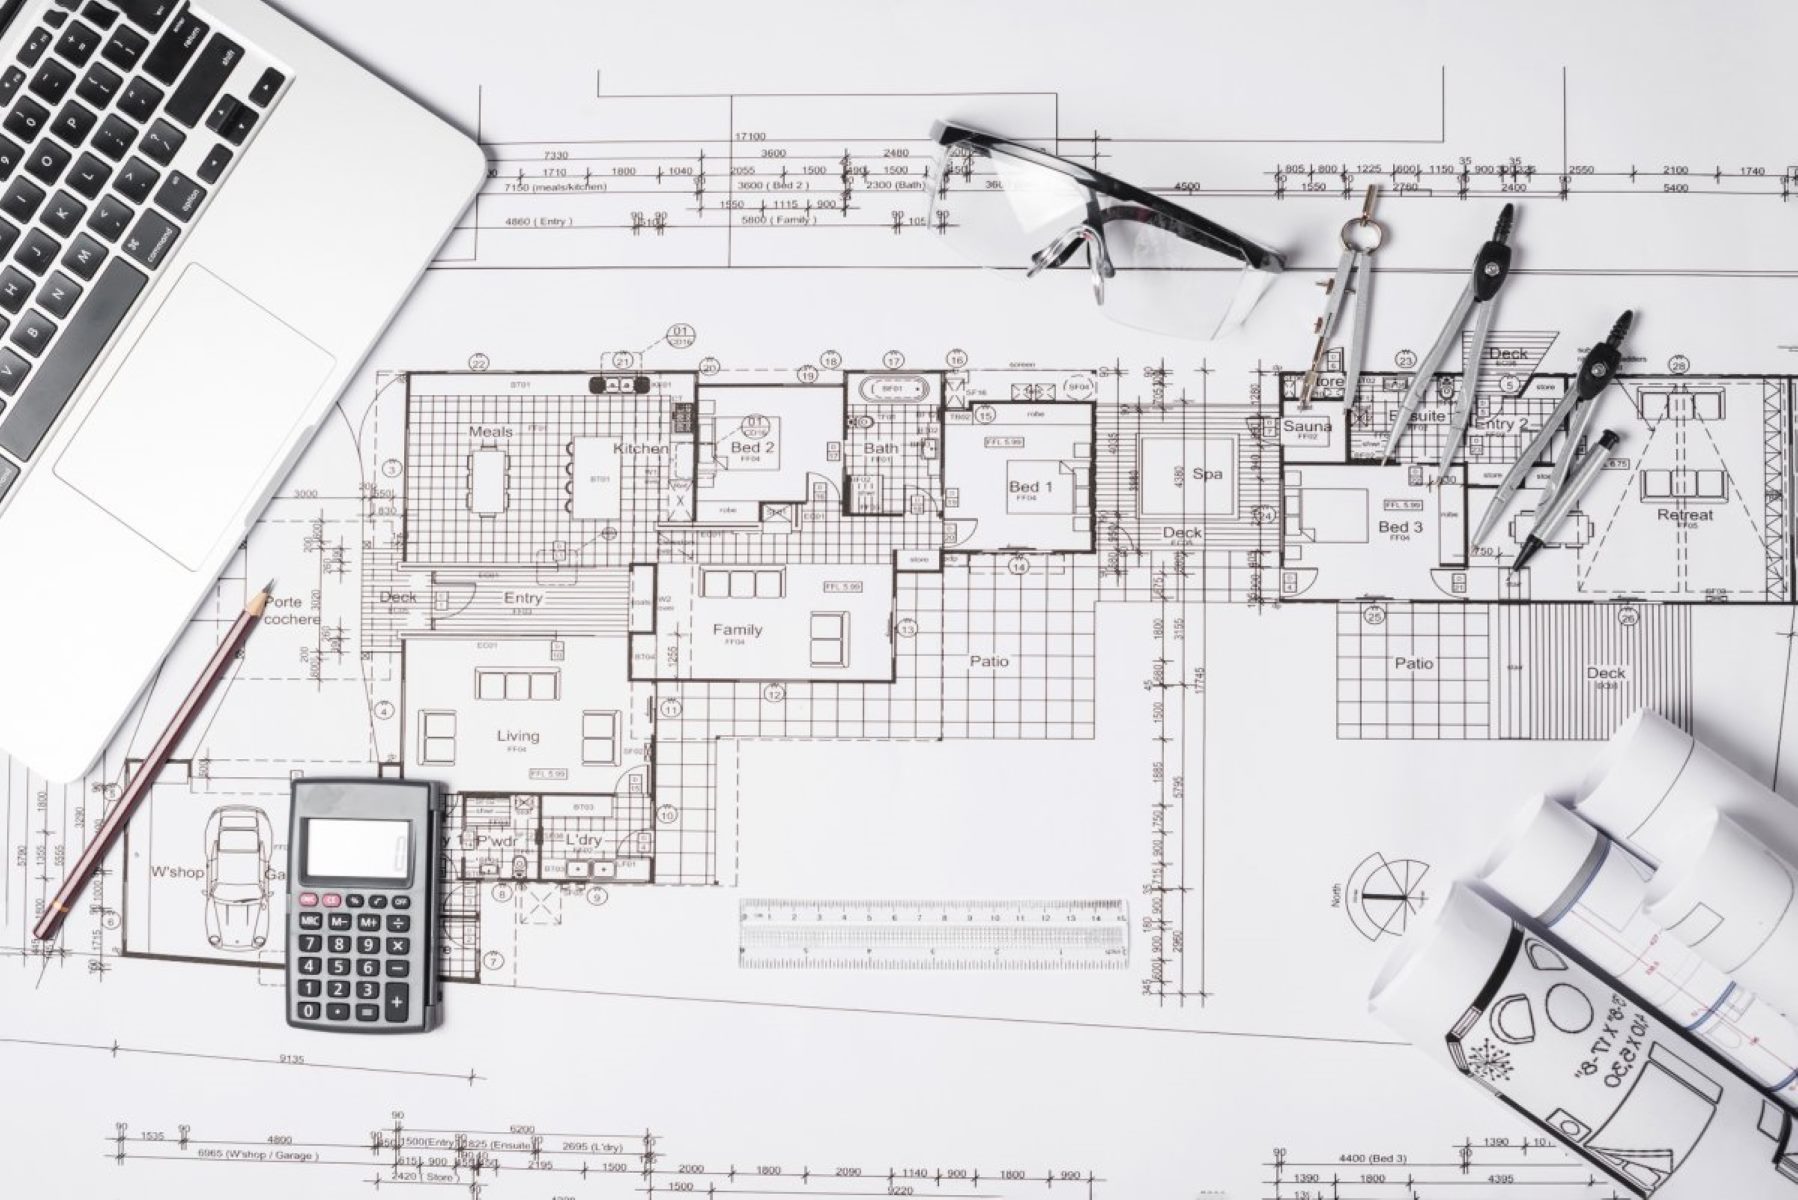
Welcome to the world of architectural design and the art of creating blueprints for rooms! Whether you’re a budding architect, a homeowner looking to renovate, or simply someone with a passion for design, learning how to draw a blueprint of a room is a valuable skill to have. Blueprints provide a detailed and accurate representation of a space, showcasing the layout, dimensions, and various elements within the room.
In this article, we will guide you through the step-by-step process of creating a blueprint of a room. From gathering supplies to finalizing the blueprint, we will cover everything you need to know to create a professional-looking and informative representation of your desired space.
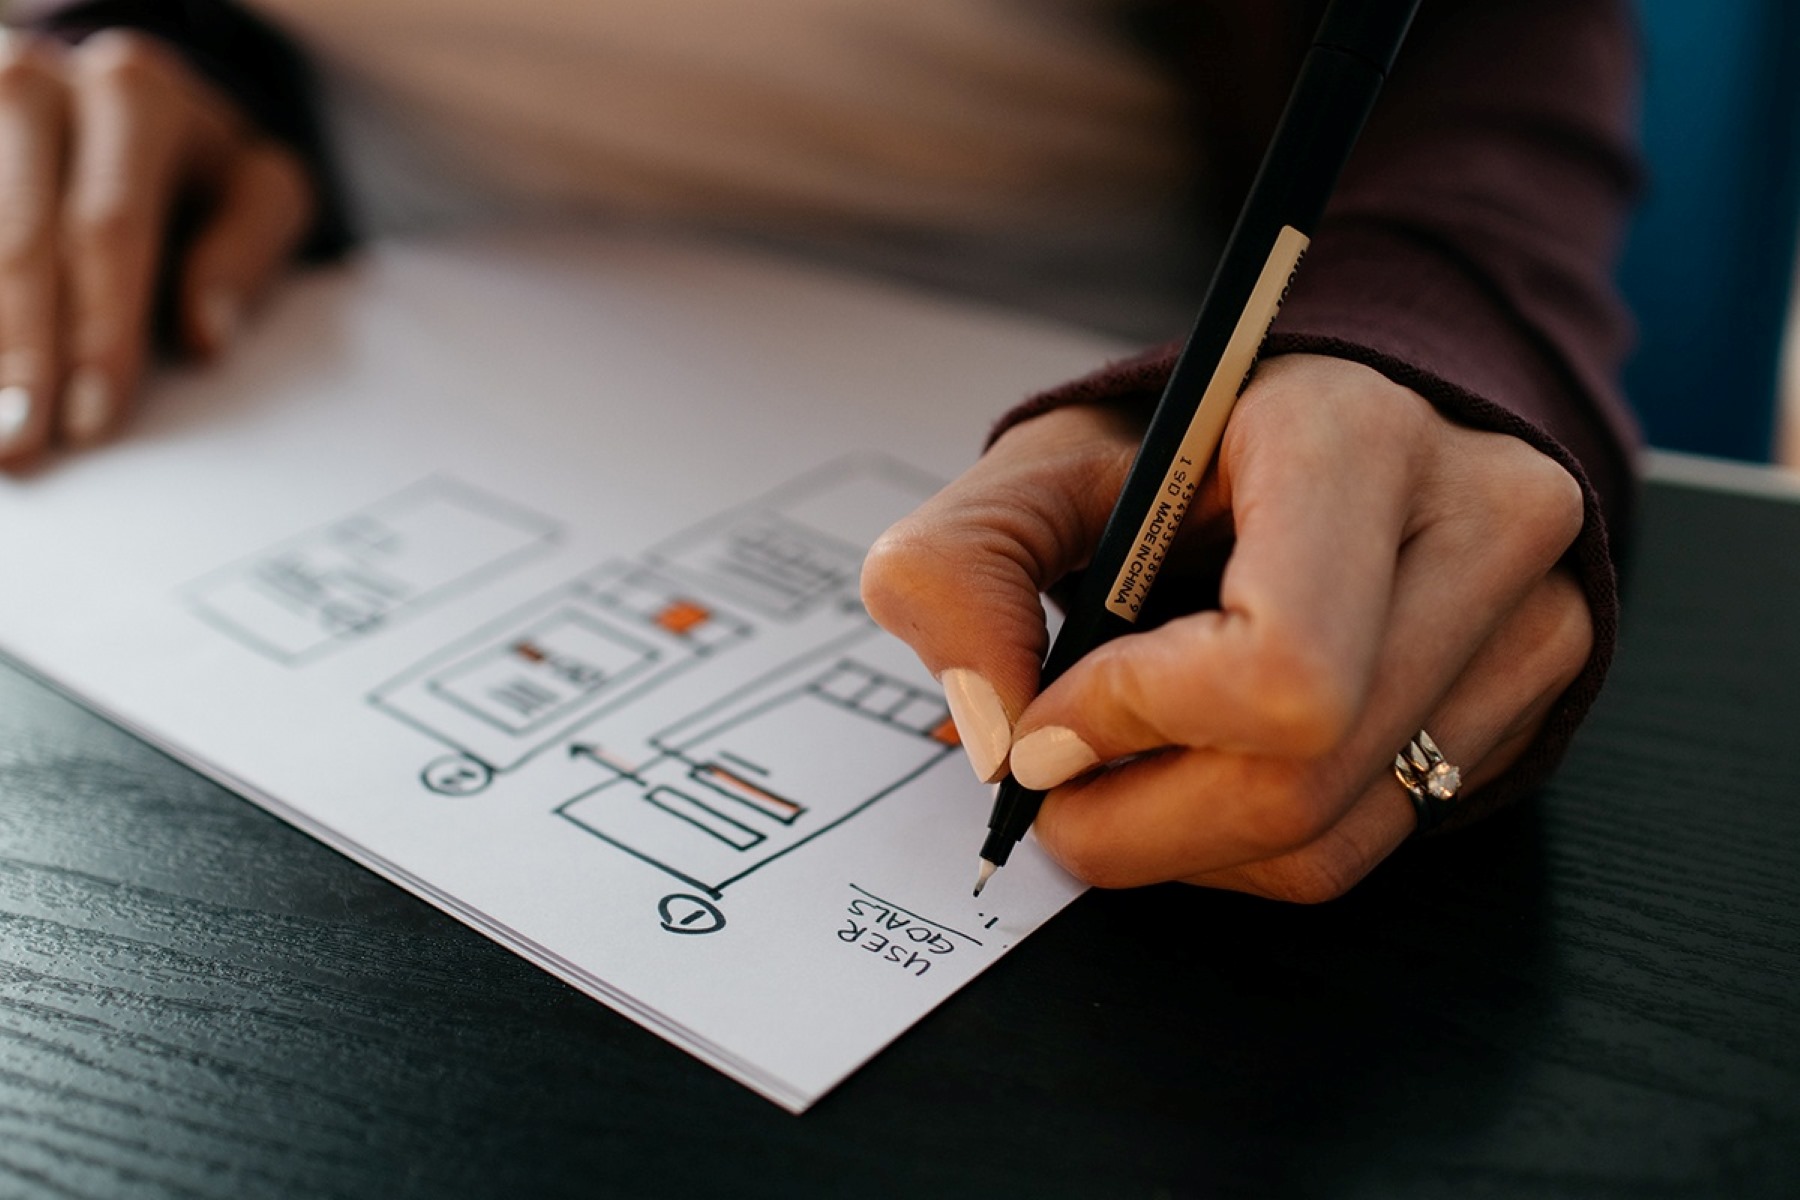
Before we dive into the specifics, it’s important to note that drawing a blueprint requires precision, attention to detail, and creativity. It’s a task that requires both technical skills and a keen eye for design. So, grab a pencil, some graph paper, and let’s get started on this exciting journey of creating your very own blueprint!
Key Takeaways:
- Master the art of blueprint drawing by gathering supplies, measuring accurately, and incorporating furniture. Create a visual representation of your space for effective planning and decision-making.
- Precision, creativity, and attention to detail are essential in drawing a comprehensive blueprint. Embrace experimentation and practice to refine your blueprint drawing skills and convey your unique design vision.
Read more: Why Is Blueprint Called Blueprint
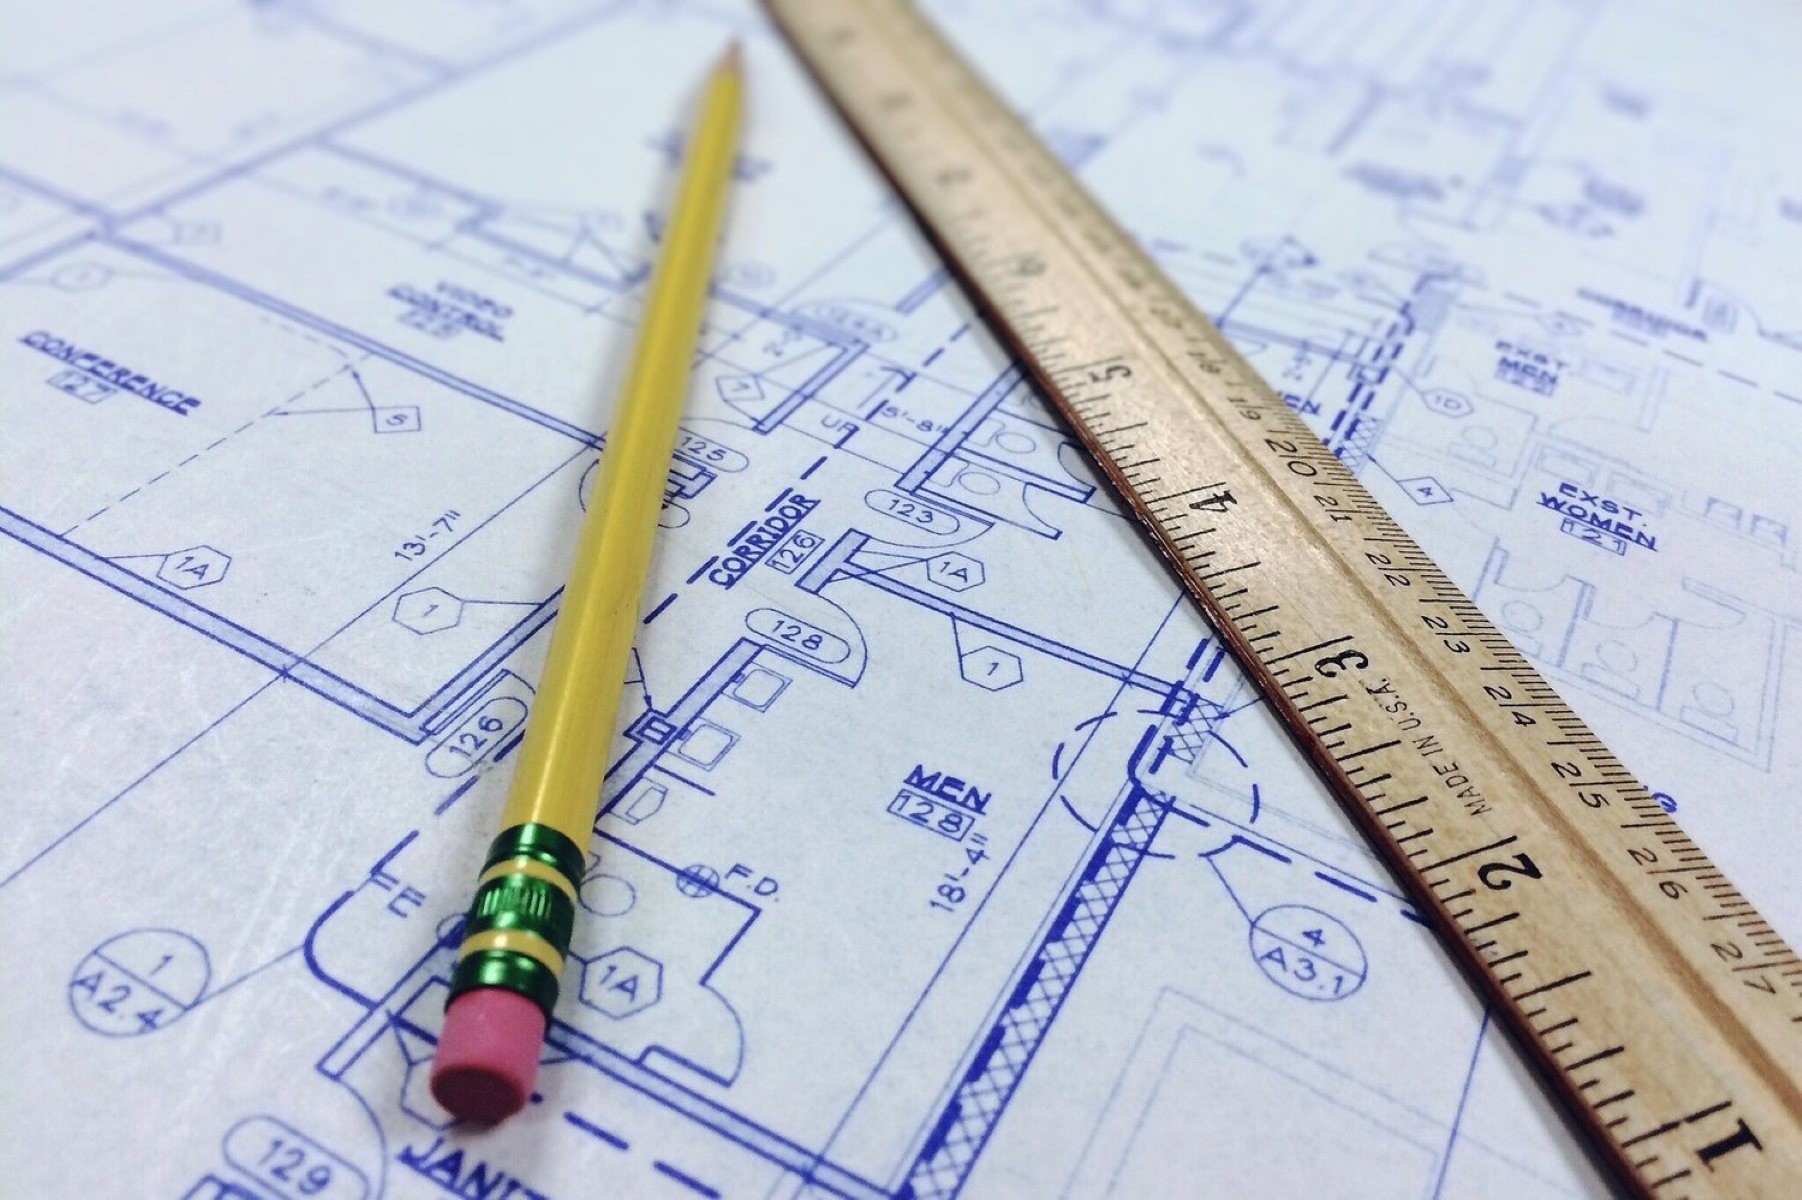
Step 1: Gather Supplies
Before you begin drawing your blueprint, make sure you have all the necessary supplies on hand. Here’s a list of items you will need:
- Graph paper: Choose graph paper with a grid size that suits your needs. The grid will help you maintain accurate measurements and proportions in your blueprint.
- Pencil: An HB or 2B pencil works best for sketching and drawing on graph paper.
- Straightedge: A ruler or a T-square can be used as a straightedge to draw straight lines.
- Eraser: Mistakes happen, and having a good eraser will help you correct any errors without leaving smudges on your blueprint.
- Measuring tape: It’s important to have a reliable measuring tape to accurately measure the dimensions of the room.
- Camera or smartphone: Having a camera or smartphone handy will allow you to take reference photos of the room for later use.
Once you have gathered all the necessary supplies, find a clean and well-lit workspace where you can comfortably work on your blueprint. It’s important to have a clutter-free area to ensure accurate measurements and clear thinking.
With your supplies ready, let’s move on to the next step: measuring the room.
Step 2: Measure the Room
Now that you have your supplies ready, it’s time to measure the room. Accurate measurements are crucial in creating a detailed and realistic blueprint. Follow these steps to ensure precise measurements:
- Clear the room: Remove any furniture or obstacles that may obstruct your measurements. You want to have a clear view of the walls, windows, and doors.
- Start at one corner: Begin measuring from a corner of the room. Use your measuring tape to measure the length of the wall from corner to corner. Write down the measurement in feet or meters, depending on your preferred unit of measurement.
- Move clockwise: From the corner where you started, move clockwise along the walls of the room, measuring each wall’s length and noting it down.
- Measure doors and windows: Don’t forget to measure the width and height of doors and windows. This information will come in handy when drawing them on your blueprint.
- Check diagonal measurements: To ensure the accuracy of your measurements, measure the diagonals of the room. The diagonals should be equal if the room is a perfect rectangle or square.
When measuring, be as precise as possible. It’s better to double-check measurements to avoid errors that could affect the overall accuracy of your blueprint. Take photos of the room from different angles to serve as visual references as you sketch.
Now that you have all the measurements needed, let’s move on to the next step: deciding on a scale for your blueprint.
Step 3: Decide on a Scale
Choosing an appropriate scale is crucial in creating an accurate and readable blueprint. The scale determines the relationship between the measurements in your blueprint and the actual dimensions of the room. Here’s how to decide on a scale:
- Determine the size of your graph paper: Look at the dimensions of the graph paper you’re using and decide how you want to represent the measurements. For example, you could use 1 square on the graph paper to represent 1 foot or 1 meter in the actual room.
- Consider the size of the room: If your room is small, you may need to use a larger scale to fit all the elements on the blueprint. Conversely, a larger room may require a smaller scale to maintain clarity.
- Balance legibility and detail: It’s important to find a scale that allows you to clearly label and represent the elements of the room while maintaining accurate proportions. Consider the level of detail you want to include and choose a scale that strikes the right balance.
Once you have decided on a scale, you can divide the measurements you took in Step 2 by the scale to determine the dimensions of the walls, doors, and windows in your blueprint. This will ensure that the proportions are accurately represented while working within the constraints of your chosen scale.
Now that you have your scale determined, it’s time to move on to the next step: drawing the walls of the room on your blueprint.
Step 4: Draw the Walls
With the measurements and scale in mind, it’s time to start sketching the walls of the room on your blueprint. Follow these steps to draw the walls accurately:
- Start with a clean sheet of graph paper: Lay out the graph paper and ensure that your pencil is sharp.
- Begin with the longest wall: Based on your measurements, locate the starting point of the longest wall on your graph paper. Use your straightedge and pencil to draw a straight line to represent that wall. Make sure to align it with the chosen scale.
- Continue drawing the walls: Moving in a clockwise direction, draw the remaining walls of the room, connecting them to create a closed shape. Pay attention to the angles and proportions to maintain the accuracy of your blueprint.
- Include openings: Once the basic shape of the room is drawn, add openings for doors and windows. Use your measurements to position them correctly and maintain their proportions within the blueprint.
As you draw the walls, it’s essential to keep referring to your measurements and check for any inconsistencies or errors. This will ensure that your blueprint accurately represents the actual dimensions of the room.
Remember to use light, thin lines when drawing your walls to allow room for additional details in the following steps. At this stage, focus on capturing the overall layout and structure of the room.
Now that the walls are in place, let’s move on to Step 5: adding doors and windows to your blueprint.
When drawing a blueprint of a room, start by measuring the walls, doors, and windows accurately. Use a scale to ensure accurate proportions and include all necessary details such as electrical outlets and fixtures.
Read more: How To Store Blueprints
Step 5: Add Doors and Windows
Now that you have the walls in place, it’s time to add doors and windows to your blueprint. These elements are essential for depicting the functionality and flow of the room. Follow these steps to incorporate them into your blueprint:
- Refer to your measurements: Use the measurements you took earlier to accurately position doors and windows within the walls of your blueprint. Consider their width, height, and placement in relation to the walls and other elements in the room.
- Sketch the openings: Using your pencil, lightly sketch the outlines of doors and windows on the corresponding walls. Make sure they align with the scale of your blueprint and maintain accurate proportions.
- Add swing direction: If applicable, indicate the swing direction of doors using an arc or arrow to show how they open and close. This will provide additional information about the functionality of the room.
- Label the openings: Label each door and window with a corresponding letter or number. This will help you reference them later when adding furniture and fixtures to your blueprint.
When drawing doors and windows, pay attention to their placement and how they relate to the walls and other elements in the room. This will ensure that your blueprint accurately reflects the layout and functionality of the space.
Now that the doors and windows are included, let’s move on to Step 6: adding furniture and fixtures to your blueprint.
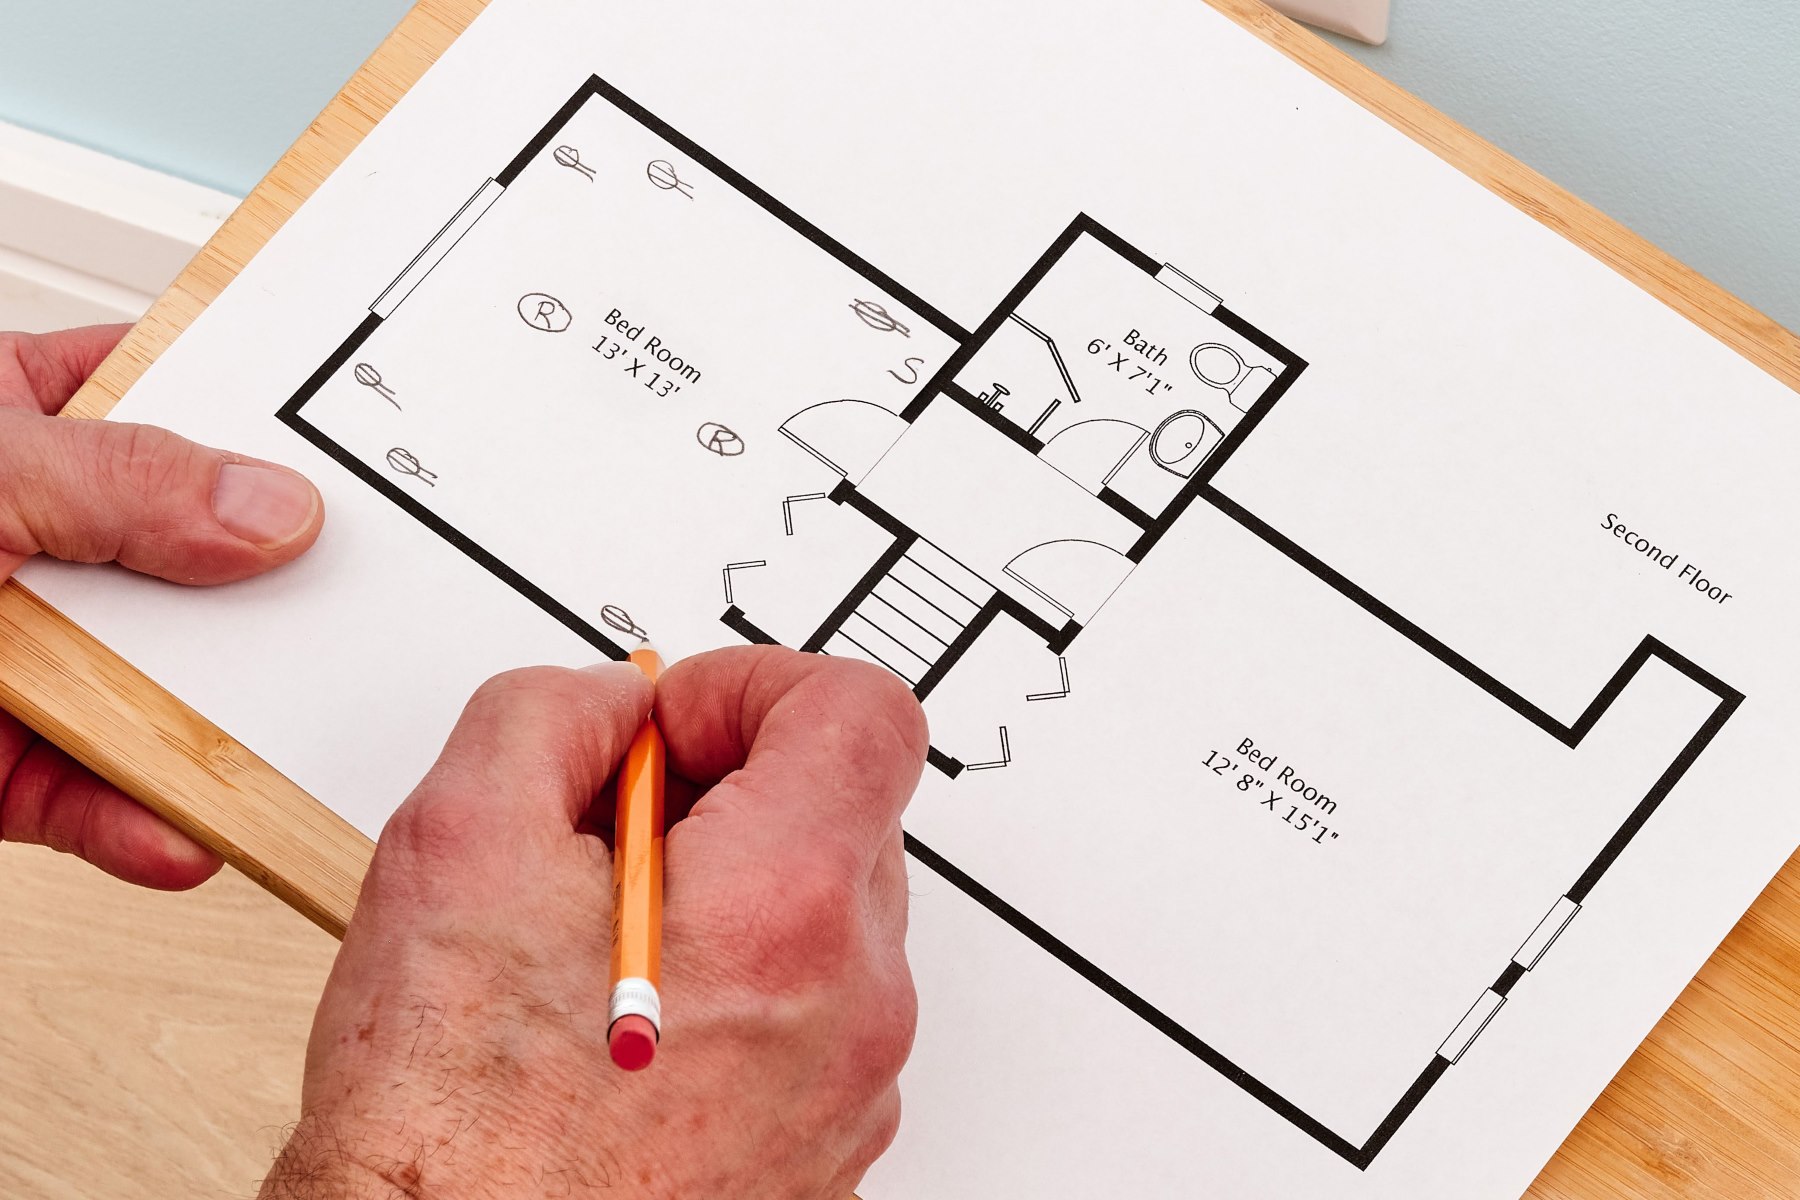
Step 6: Include Furniture and Fixtures
Now that you have the basic structure of the room represented in your blueprint, it’s time to add furniture and fixtures. This step is crucial in visualizing the layout and functionality of the space. Follow these steps to incorporate these elements into your blueprint:
- Make a list of furniture and fixtures: Take inventory of the furniture and fixtures that will be present in the room. This can include items like beds, sofas, tables, chairs, and lighting fixtures.
- Refer to measurements and scale: Use your measurements and chosen scale to determine the dimensions of the furniture and fixtures in your blueprint. Ensure that they fit proportionally within the room.
- Sketch the items: With your pencil, lightly sketch the furniture and fixtures in their designated locations within the room. Pay attention to the placement and spacing to accurately represent the layout.
- Label the items: Label each furniture item or fixture with a corresponding label or name. This will provide clarity and help you easily identify them within the blueprint.
Keep in mind that the level of detail in your blueprint will depend on your personal preference and the purpose of the drawing. You can choose to include as much or as little detail as you desire, as long as it accurately represents the placement and functionality of the furniture and fixtures in the room.
With the furniture and fixtures incorporated, let’s move on to Step 7: labeling and adding dimensions to your blueprint.
Step 7: Label and Add Dimensions
Now that you have the walls, doors, windows, and furniture in place, it’s time to add labels and dimensions to your blueprint. This step adds clarity and provides valuable information about the various elements within the room. Follow these steps to label and add dimensions:
- Label the walls: Use text or symbols to label each wall in your blueprint. This will help you identify and reference specific walls when discussing or analyzing the room.
- Add room names or numbers: If you are working on a blueprint for multiple rooms, consider labeling each room with a name or number. This will make it easier to navigate and understand the overall layout.
- Add dimensions: Using your measuring tape and scale, add dimensions to the walls, doors, windows, and furniture in your blueprint. Include both linear dimensions (height, width, and length) and diagonal dimensions if necessary.
- Include labels for doors and windows: Label each door and window with a corresponding label or number. This will help you identify and reference specific openings within the room.
When adding dimensions, be sure to use clear and consistent labels. You can use arrows, lines, or measurement notations to indicate the dimensions. This will make it easier for others to understand and interpret the blueprint.
With labels and dimensions in place, your blueprint is almost complete. Let’s move on to Step 8: finalizing the blueprint.
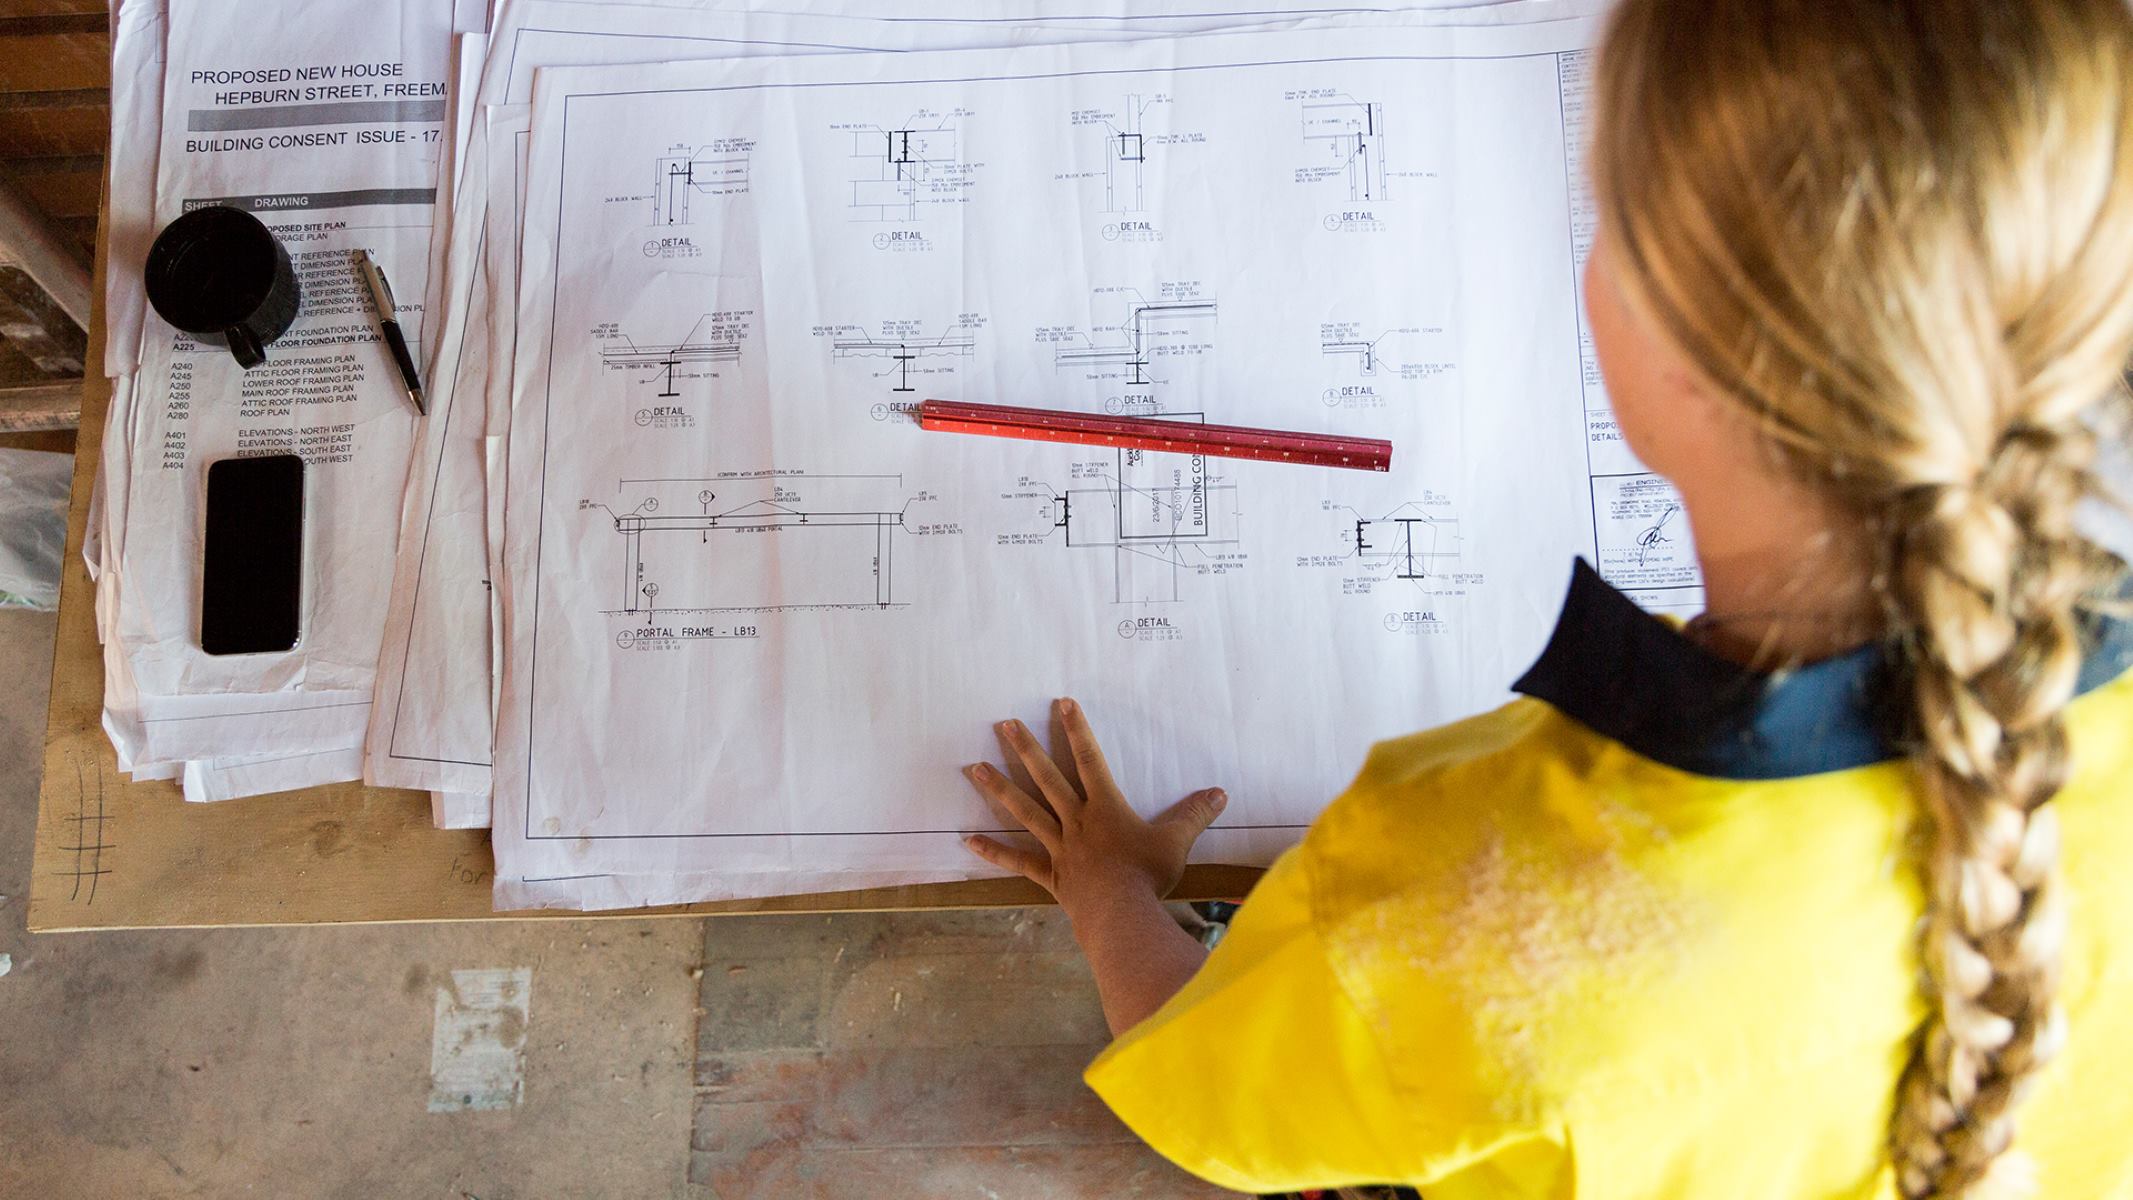
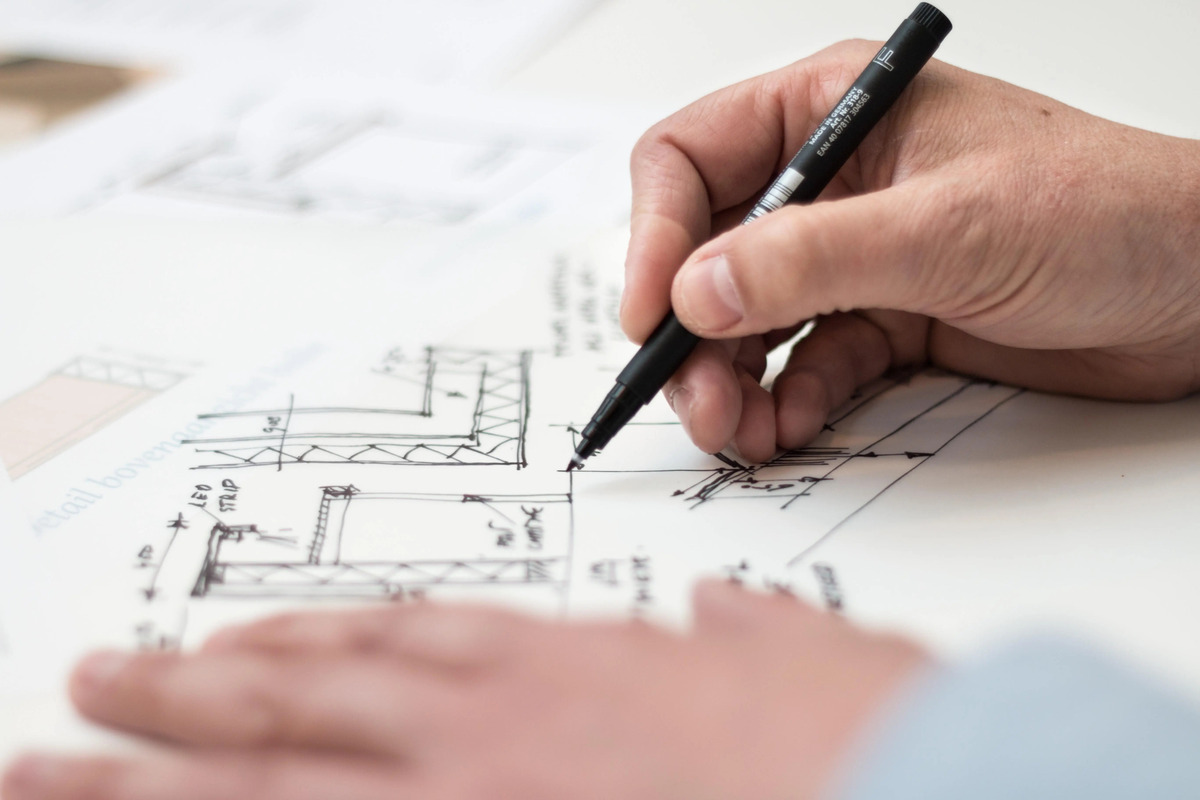
Step 8: Finalize the Blueprint
Now that you have gone through all the necessary steps to create your blueprint, it’s time to finalize it and make it ready for presentation or further use. Follow these steps to ensure that your blueprint is complete and professional:
- Trace over the pencil lines: Once you are satisfied with the layout and placement of all the elements, trace over the pencil lines with a darker ink pen or fine-point marker. This will create a clean and polished look for your blueprint.
- Erase any unnecessary guidelines: Carefully erase any initial pencil guidelines or construction lines that are no longer needed. Be cautious not to erase any essential elements or dimensions.
- Highlight important details: Use colored markers or highlighters to emphasize important elements such as doors, windows, or focal points. This will help them stand out and catch the viewer’s attention.
- Review for accuracy: Take a step back and review your blueprint for any potential errors or inconsistencies. Double-check the dimensions and ensure that all labels are clear and legible.
- Create a digital copy (optional): If you want a digital version of your blueprint, consider scanning or taking a high-quality photograph of the final drawing. This will allow you to easily share or make digital edits in the future.
- Protect and store your blueprint: Place your blueprint in a protective sleeve or folder to keep it safe from damage. Store it in a secure location where it can be easily accessed when needed.
Congratulations! You have successfully completed the process of drawing a blueprint for your room. Your final blueprint is a visual representation of the room’s layout, showcasing the walls, doors, windows, and furniture. It can serve as a valuable reference for construction, renovation, or interior design projects.
Remember, practice makes perfect, so don’t be afraid to experiment and refine your blueprint drawing skills. With time and experience, you will become more proficient in creating intricate and detailed blueprints.
Good luck with your architectural endeavors!
Read more: How To Draw A Garden
Conclusion
Creating a blueprint of a room requires a combination of technical skills, precision, and creativity. It is a rewarding process that allows you to visualize and communicate your design ideas or renovation plans effectively. By following the step-by-step guide outlined in this article, you can confidently draw a comprehensive blueprint that accurately represents the layout and elements of your desired space.
Throughout the process, we discussed the importance of gathering the necessary supplies, measuring the room accurately, deciding on a suitable scale, drawing the walls, adding doors and windows, incorporating furniture and fixtures, labeling and adding dimensions, and finally, completing and finalizing the blueprint.
Remember, a well-drawn blueprint serves as a valuable tool for architects, interior designers, homeowners, and contractors alike. It provides a clear and visual representation of the space, enabling effective planning and decision-making. Whether you are embarking on a renovation project, designing a new room, or simply exploring your creative side, mastering the art of blueprint drawing is a valuable skill to have.
As you continue to hone your blueprint drawing skills, don’t be afraid to experiment with different styles and techniques. Add your own personal touch to the blueprint, incorporating elements that reflect your unique design vision. Perhaps you can explore digital tools and software that can enhance the efficiency and versatility of your blueprint drawing process.
Remember, practice and persistence are key. The more you create blueprints, the better you will become at accurately representing spaces and conveying your design ideas. So, grab your supplies, start measuring, and let your creativity flow as you embark on this exciting journey of blueprint drawing!
Frequently Asked Questions about How To Draw A Blueprint Of A Room
Was this page helpful?
At Storables.com, we guarantee accurate and reliable information. Our content, validated by Expert Board Contributors, is crafted following stringent Editorial Policies. We're committed to providing you with well-researched, expert-backed insights for all your informational needs.


0 thoughts on “How To Draw A Blueprint Of A Room”