Home>Garden Essentials>How To Germinate Alocasia Bulbs
Garden Essentials
How To Germinate Alocasia Bulbs
Modified: March 16, 2024
Learn how to successfully germinate Alocasia bulbs in your garden. Discover expert tips and techniques for optimal results.
(Many of the links in this article redirect to a specific reviewed product. Your purchase of these products through affiliate links helps to generate commission for Storables.com, at no extra cost. Learn more)
Introduction
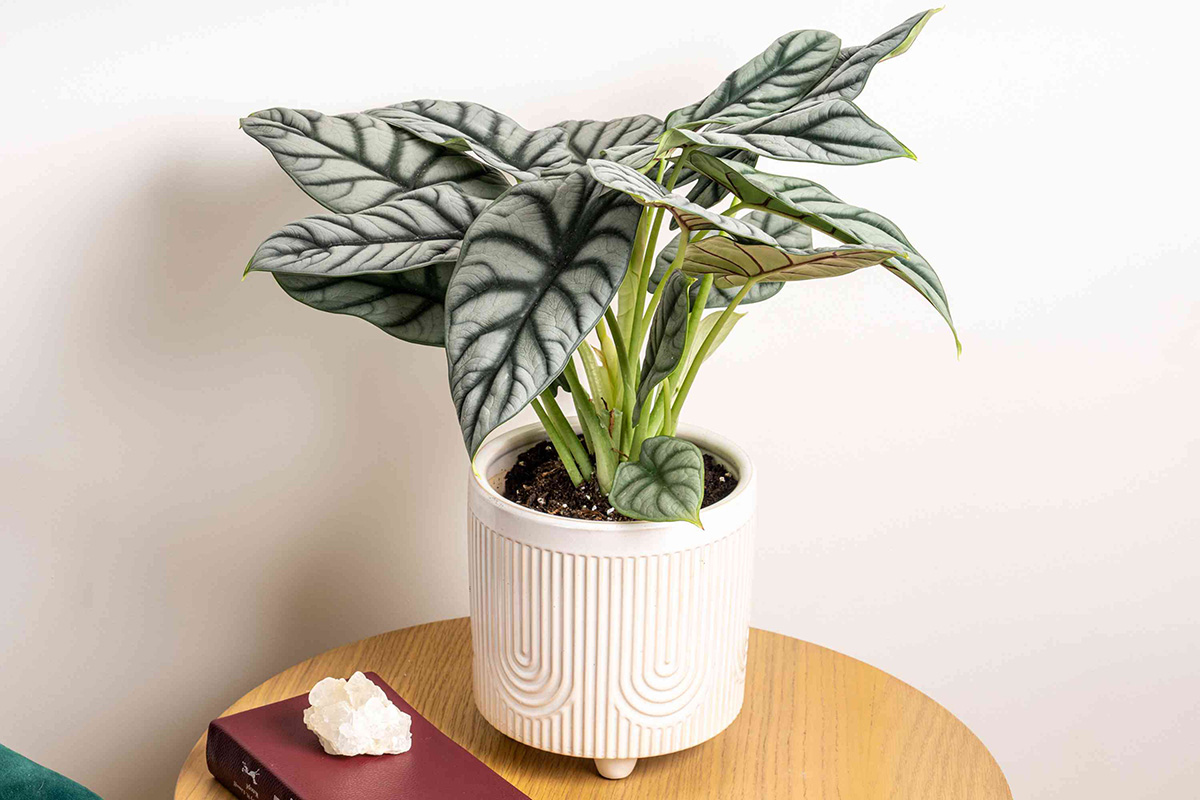
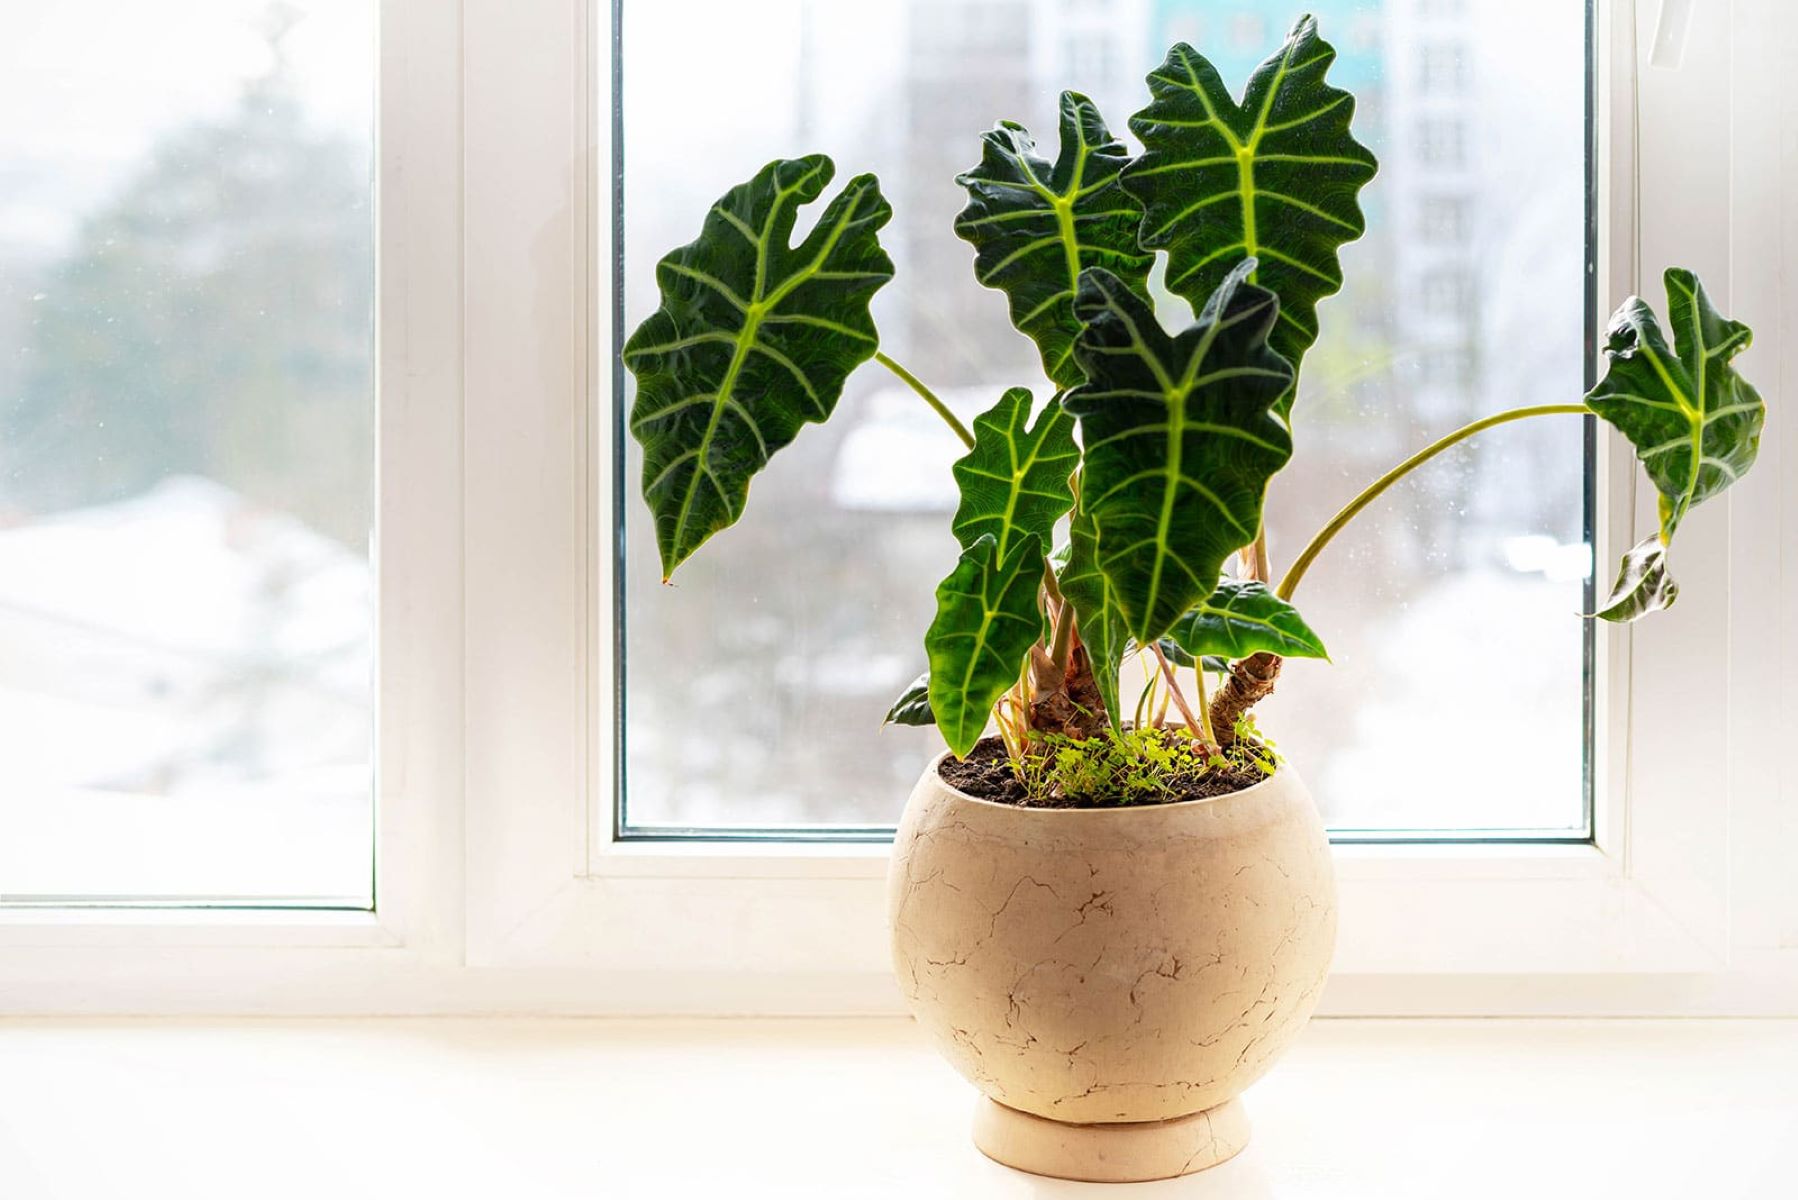
Welcome to the world of gardening! If you’re a plant enthusiast looking to add a touch of exotic beauty to your garden, then Alocasia bulbs definitely deserve your attention. These tropical plants, also known as elephant ears due to their large, striking leaves, are known for their dramatic foliage and can be a stunning addition to any garden or indoor space.
Germinating Alocasia bulbs might seem like a daunting task, but fear not! With the right knowledge and a little bit of patience, you’ll be able to successfully grow these magnificent plants from bulbs and enjoy their beauty year after year.
In this article, we’ll guide you through the process of germinating Alocasia bulbs, from choosing the right bulbs to caring for the seedlings. So, let’s dive in and explore the wonderful world of Alocasia bulbs!
Key Takeaways:
- Choose firm, plump Alocasia bulbs at least 2-3 inches in diameter. Soak them in lukewarm water, scrub gently, and plant in well-draining soil for successful germination.
- Create a warm, humid environment with indirect light for Alocasia bulb germination. Care for the seedlings by maintaining consistent moisture, gradually increasing light exposure, and transplanting when ready.
Read more: How To Store Alocasia Corms
Choosing and preparing the Alocasia bulbs
When it comes to choosing Alocasia bulbs, quality is key. Look for bulbs that are firm, plump, and free from any signs of damage or decay. Larger bulbs tend to produce more vigorous plants, so opt for bulbs that are at least 2-3 inches in diameter.
Before planting, it’s important to prepare the bulbs for germination. Start by soaking them in lukewarm water for a few hours. This helps to hydrate the bulbs and stimulate the germination process. You can also add a diluted liquid fertilizer to the water to provide nutrients for the bulbs.
Once the bulbs have soaked, gently scrub them with a soft brush to remove any dirt or debris. Be careful not to damage the bulbs during this process. After cleaning, allow the bulbs to dry for a few hours before planting.
In addition to preparing the bulbs, it’s also essential to prepare the planting medium. Alocasia bulbs prefer a well-draining soil mix that is rich in organic matter. You can create your own mix by combining equal parts potting soil, perlite, and peat moss. This ensures that the soil retains enough moisture while allowing excess water to drain away.
Alternatively, you can purchase a commercial potting mix specifically formulated for tropical plants. Just make sure it has good drainage properties.
Once the bulbs and soil are prepared, you’re ready to move on to the next step: providing the right conditions for germination.
Providing the right conditions for germination
Alocasia bulbs require specific conditions in order to successfully germinate. By creating an environment that mimics their native tropical habitat, you can give the bulbs the best chance of sprouting and developing into healthy seedlings.
The ideal temperature for Alocasia bulb germination is between 75-80°F (24-27°C). You can maintain these temperatures by either using a heated propagation mat or placing the bulbs in a warm area of your home, such as near a heat source or on top of a refrigerator.
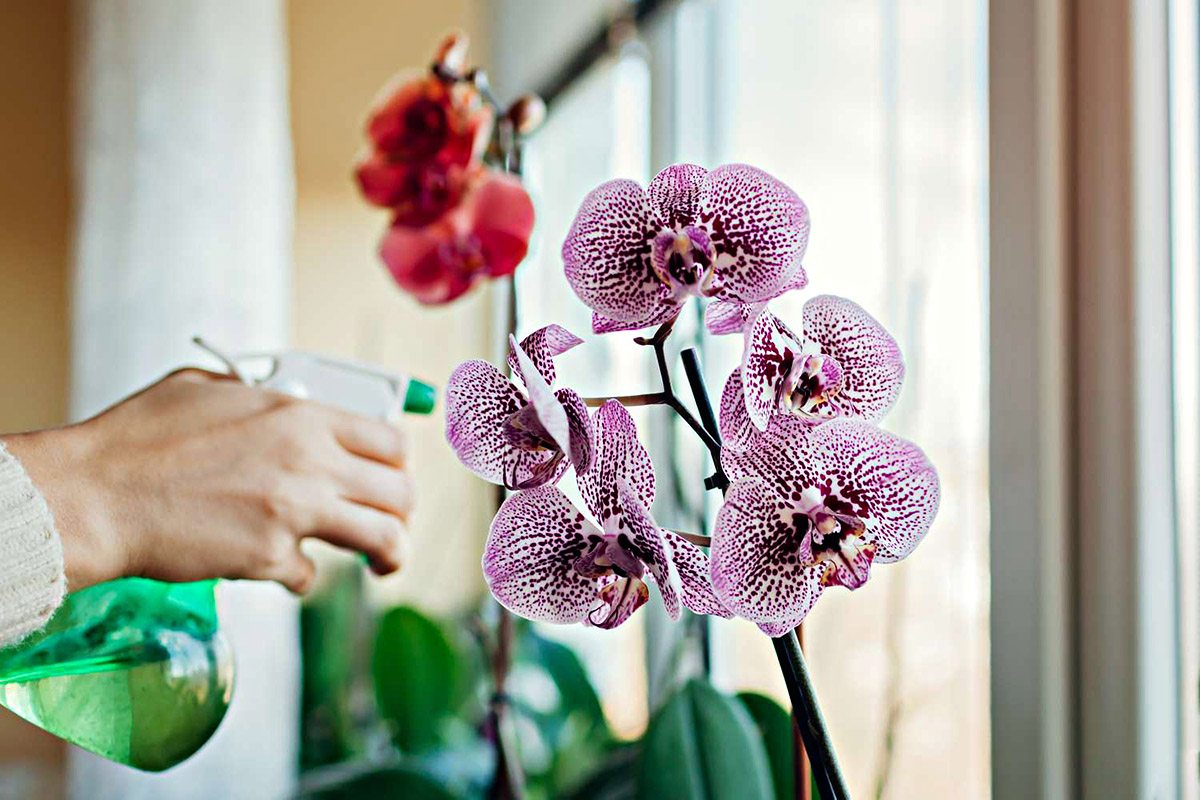
In addition to warmth, Alocasia bulbs thrive in a humid environment. A humidity level of around 70-80% is preferable for successful germination. To achieve this, you can cover the planting tray or pot with a clear plastic dome or place it inside a plastic bag to create a mini greenhouse effect. This helps to trap moisture and create a humid atmosphere around the bulbs.
Proper lighting is also essential for Alocasia bulb germination. While they prefer bright, indirect light as mature plants, during germination they require more shade. Place the bulbs in an area with filtered or diffused light, away from direct sunlight. You can achieve this by using sheer curtains, placing them in a shaded corner of the room, or using a fluorescent grow light if you’re germinating indoors.
It’s important to check the moisture levels in the soil regularly. Alocasia bulbs like consistent moisture, but not overly soggy conditions. Keep the soil evenly moist but not waterlogged. Too much water can cause the bulbs to rot, while too little can hinder germination. Regularly mist the soil surface and monitor its moisture content to ensure it stays within the optimal range.
Now that you know how to create the right conditions for germination, let’s move on to the planting process itself.
Planting the Alocasia bulbs
Now that your Alocasia bulbs are prepared and you’ve created the ideal germination conditions, it’s time to plant them. Follow these steps to ensure a successful planting process:
- Select a planting container or tray that has drainage holes to prevent waterlogging. A shallow tray or individual pots with a diameter of at least 4 inches will work well.
- Fill the container or pots with the prepared well-draining soil mix, leaving about an inch of space from the top to allow for watering.
- Make shallow holes in the soil, about 1 inch deep and spaced at least 4-6 inches apart to provide enough room for the bulbs to grow.
- Place one Alocasia bulb in each hole, with the pointed end facing up. Gently cover the bulbs with soil, making sure they are securely in place but not buried too deeply.
- Water the soil thoroughly, ensuring that it is evenly moist but not saturated. Avoid overwatering, as excessive moisture can lead to bulb rot.
- Label the container or pots with the date of planting and the variety of Alocasia, if applicable.
- Place the container or pots in the warm, humid, and shaded area you have prepared, ensuring they receive the required amount of light.
- Cover the tray or pots with a clear plastic dome or place them inside a plastic bag to create a mini greenhouse effect.
Now that your Alocasia bulbs are planted, it’s time to shift our focus to caring for the germinating bulbs and helping them thrive.
Plant Alocasia bulbs in well-draining soil, keeping them moist but not waterlogged. Place in a warm, bright location and cover with plastic to create a humid environment for germination.
Caring for the germinating Alocasia bulbs
As the Alocasia bulbs start to germinate and sprout, proper care becomes crucial for their healthy growth and development. Here are some essential care tips to ensure the success of your germinating Alocasia bulbs:
- Watering: Maintain consistent moisture in the soil by watering whenever the top inch of soil feels slightly dry. Use a spray bottle or a watering can with a fine nozzle to avoid overwatering or disturbing the delicate sprouts.
- Humidity: Continue to maintain a humid environment around the bulbs. Mist the air around the tray or pots regularly to keep the humidity level high. The plastic dome or bag can be removed once the seedlings emerge to prevent excess moisture buildup.
- Lighting: As the seedlings emerge and grow, gradually increase their exposure to light. Move them to a location where they receive bright, indirect light for about 10-12 hours a day. Avoid exposing them to direct sunlight, as it can scorch the young leaves.
- Fertilization: After the seedlings have developed a few sets of leaves, you can begin fertilizing them. Use a balanced liquid fertilizer diluted to half the recommended strength. Apply the fertilizer every two weeks to provide essential nutrients for healthy growth.
- Temperature: Maintain a warm temperature of around 70-80°F (21-27°C) during the germination and early growth stages. Avoid exposing the seedlings to cold drafts or sudden temperature fluctuations.
- Transplanting: Once the seedlings have grown several inches tall and have developed a strong root system, it’s time to transplant them into individual pots. Choose pots that allow room for their roots to spread and provide good drainage. Use the same well-draining soil mix as before and gently transfer the seedlings, being careful not to damage the roots.
- Maintenance: Regularly inspect the seedlings for signs of pests or diseases. Remove any yellowing leaves or damaged parts to promote healthy growth. Maintain a clean growing environment by removing fallen leaves or debris from the pots or trays.
With proper care and attention, your germinating Alocasia bulbs will grow into thriving plants, ready to add beauty and elegance to your garden or indoor space. However, it’s important to be aware of potential issues that may arise during the germination process.
Read more: How Long To Germinate Tigridia Bulbs
Troubleshooting potential issues
While germinating Alocasia bulbs can be a rewarding experience, there are some potential issues that you may come across. Here are a few common problems and their solutions:
- Rotting bulbs: Overwatering or poorly draining soil can lead to bulb rot. To prevent this, ensure that the soil is well-draining and that you’re not overwatering the bulbs. If you notice any signs of rot, such as a foul odor or mushy texture, remove the affected bulbs and adjust your watering practices.
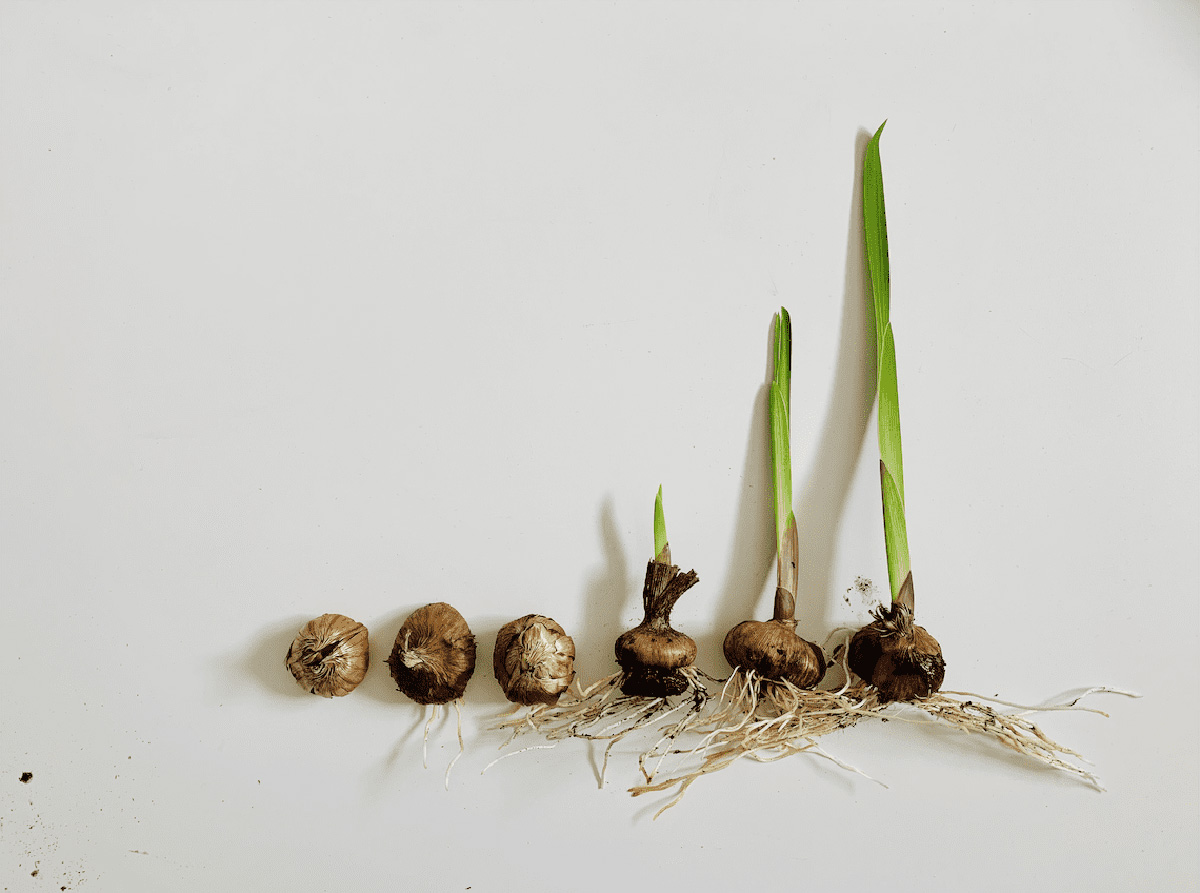
- Lack of sprouting: If your bulbs fail to sprout after a few weeks, it could be due to factors like improper temperature or insufficient light. Check your germination conditions and make adjustments as needed. Additionally, you can gently scratch the surface of the bulb with a clean knife to encourage sprouting.
- Weak or leggy seedlings: If your seedlings appear weak or elongated, it’s often a sign of insufficient light. Move the trays or pots to a brighter location or provide supplemental lighting to promote stronger growth. Additionally, ensure that you’re not overwatering, as this can lead to weak stems.
- Pest infestations: Keep an eye out for common pests such as aphids, mealybugs, or spider mites. If you notice any signs of infestation, such as discolored leaves or webs, take immediate action. Use organic pest control methods like neem oil or insecticidal soap to eradicate the pests.
- Yellowing leaves: Yellowing leaves can be a sign of overwatering, nutrient deficiencies, or inadequate drainage. Adjust your watering practices, fertilize appropriately, and ensure that the soil allows excess water to drain away to prevent yellowing leaves.
By troubleshooting and addressing these issues promptly, you can ensure the health and vitality of your germinating Alocasia bulbs. Once the bulbs have successfully sprouted and developed into healthy seedlings, it’s time to prepare for the next stage: harvesting and transplanting them.
Harvesting and transplanting the germinated Alocasia bulbs
After your Alocasia bulbs have successfully germinated and the seedlings have grown into robust plants, you can consider harvesting and transplanting them. Here’s how to do it:
- Harvesting: Wait until the seedlings have matured and developed a cluster of aerial roots before harvesting the bulbs. Carefully lift the entire plant, including the bulbs and roots, from the soil, taking care not to damage the plant or its roots.
- Dividing bulbs: If the bulbs have produced multiple shoots or have formed offsets, you can divide them to create more plants. Gently separate the bulbs or offsets, ensuring that each division has its own set of roots and leaves. You can use a clean, sharp knife or your hands to do this.
- Transplanting: Choose individual pots or planting locations that provide ample space for the roots to spread. The pots should have good drainage holes to prevent waterlogging. Use the same well-draining soil mix that you used during the germination stage. Plant the bulbs or divisions at a similar depth as they were previously and cover the roots with soil.
- Watering: After transplanting, water the newly planted bulbs thoroughly to settle the soil and provide hydration to the roots. Ensure that the soil is moist but not overly saturated.
- Care: Continue to care for the transplanted bulbs by providing optimal growing conditions. Place them in a location with bright, indirect light and maintain a warm and humid environment. Water the plants regularly, allowing the soil to dry out slightly between waterings.
- Transitional period: The transplanted bulbs may undergo a period of adjustment, during which they may experience some wilting or yellowing of leaves. This is normal as the plants acclimate to their new environment. Avoid disturbing the roots and provide consistent care to help them recover.
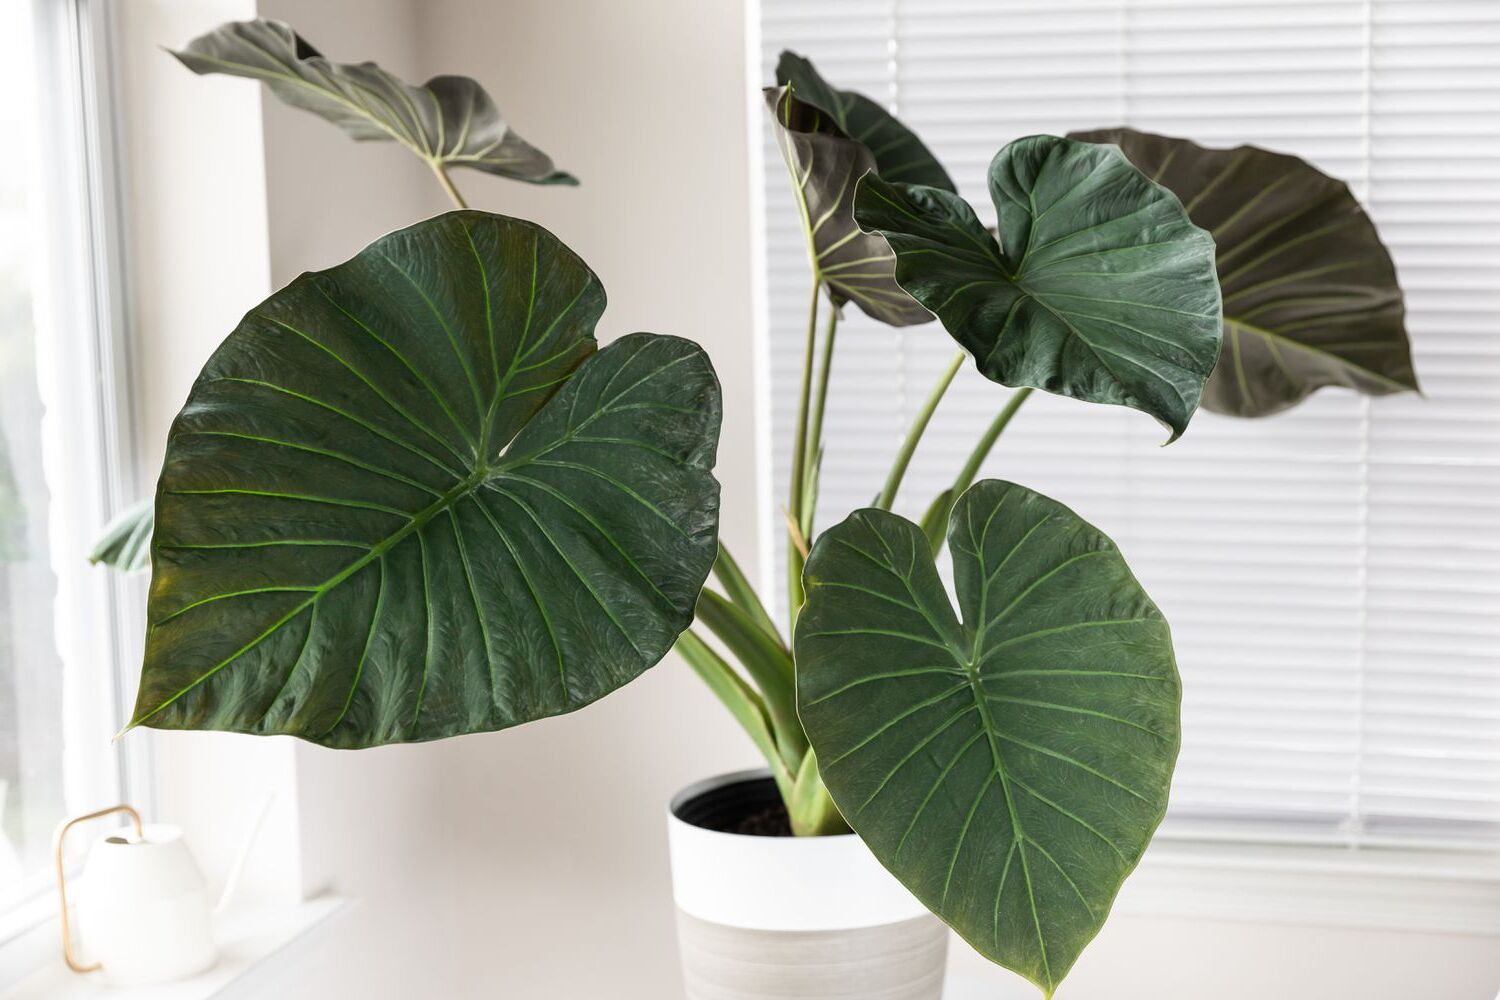
With proper care and attention, the transplanted Alocasia bulbs will establish themselves and continue to grow into mature plants, showcasing their stunning foliage and becoming a beautiful addition to your garden or indoor space.
Now that you’ve learned the process of germinating and transplanting Alocasia bulbs, as well as troubleshooting potential issues, you’re well-equipped to enjoy the beauty and elegance of these tropical plants. Remember to continue providing the right care, and you’ll be rewarded with flourishing Alocasia plants for years to come.
Happy gardening!
Conclusion
Congratulations! You have now learned all about germinating Alocasia bulbs and nurturing them into thriving plants. By following the steps outlined in this guide, you can successfully grow these stunning tropical plants and add a touch of exotic beauty to your garden or indoor space.
From choosing and preparing the bulbs to providing the right conditions for germination, planting, and caring for the seedlings, you have gained valuable knowledge on every step of the process. By ensuring that the bulbs are of good quality, creating a warm and humid environment, and providing the right amount of light and water, you have set the stage for successful germination and growth.
Throughout the journey, it’s essential to troubleshoot any issues that may arise, such as bulb rot, weak seedlings, or pest infestations. By promptly addressing these problems, adjusting the conditions, and providing adequate care, you can overcome challenges and help your Alocasia bulbs flourish.
As the seedlings develop into healthy plants, you have the option to harvest and transplant them, multiplying your collection or sharing them with fellow gardeners. With the right technique and care, you can divide the bulbs and create new plants to grace different corners of your garden or fill pots to decorate your living space.
Remember to give the transplanted bulbs a period of adjustment and continue providing them with the optimal growing conditions they need. With regular care, proper watering, sufficient light, and well-draining soil, your Alocasia plants will thrive and reward you with their stunning foliage.
So, get your Alocasia bulbs and let the germination process begin! Embrace the joy of watching these tropical beauties grow from bulbs to impressive plants, and enjoy the enchanting ambiance they bring to your surroundings. Happy gardening!
Frequently Asked Questions about How To Germinate Alocasia Bulbs
Was this page helpful?
At Storables.com, we guarantee accurate and reliable information. Our content, validated by Expert Board Contributors, is crafted following stringent Editorial Policies. We're committed to providing you with well-researched, expert-backed insights for all your informational needs.


0 thoughts on “How To Germinate Alocasia Bulbs”