Home>Garden Essentials>How To Germinate Impatiens
Garden Essentials
How To Germinate Impatiens
Modified: March 16, 2024
Learn how to germinate impatiens in your garden with our easy step-by-step guide. Create a stunning display of colorful blooms and bring life to your outdoor space.
(Many of the links in this article redirect to a specific reviewed product. Your purchase of these products through affiliate links helps to generate commission for Storables.com, at no extra cost. Learn more)
Introduction
Gardening is a rewarding hobby that allows us to connect with nature and create beautiful landscapes. If you’re looking to add a vibrant splash of color to your garden, impatiens are a fantastic choice. These lovely flowering plants come in a variety of colors and are relatively easy to grow from seeds. In this article, we’ll take you through the step-by-step process of germinating impatiens seeds to ensure a successful and bountiful garden.
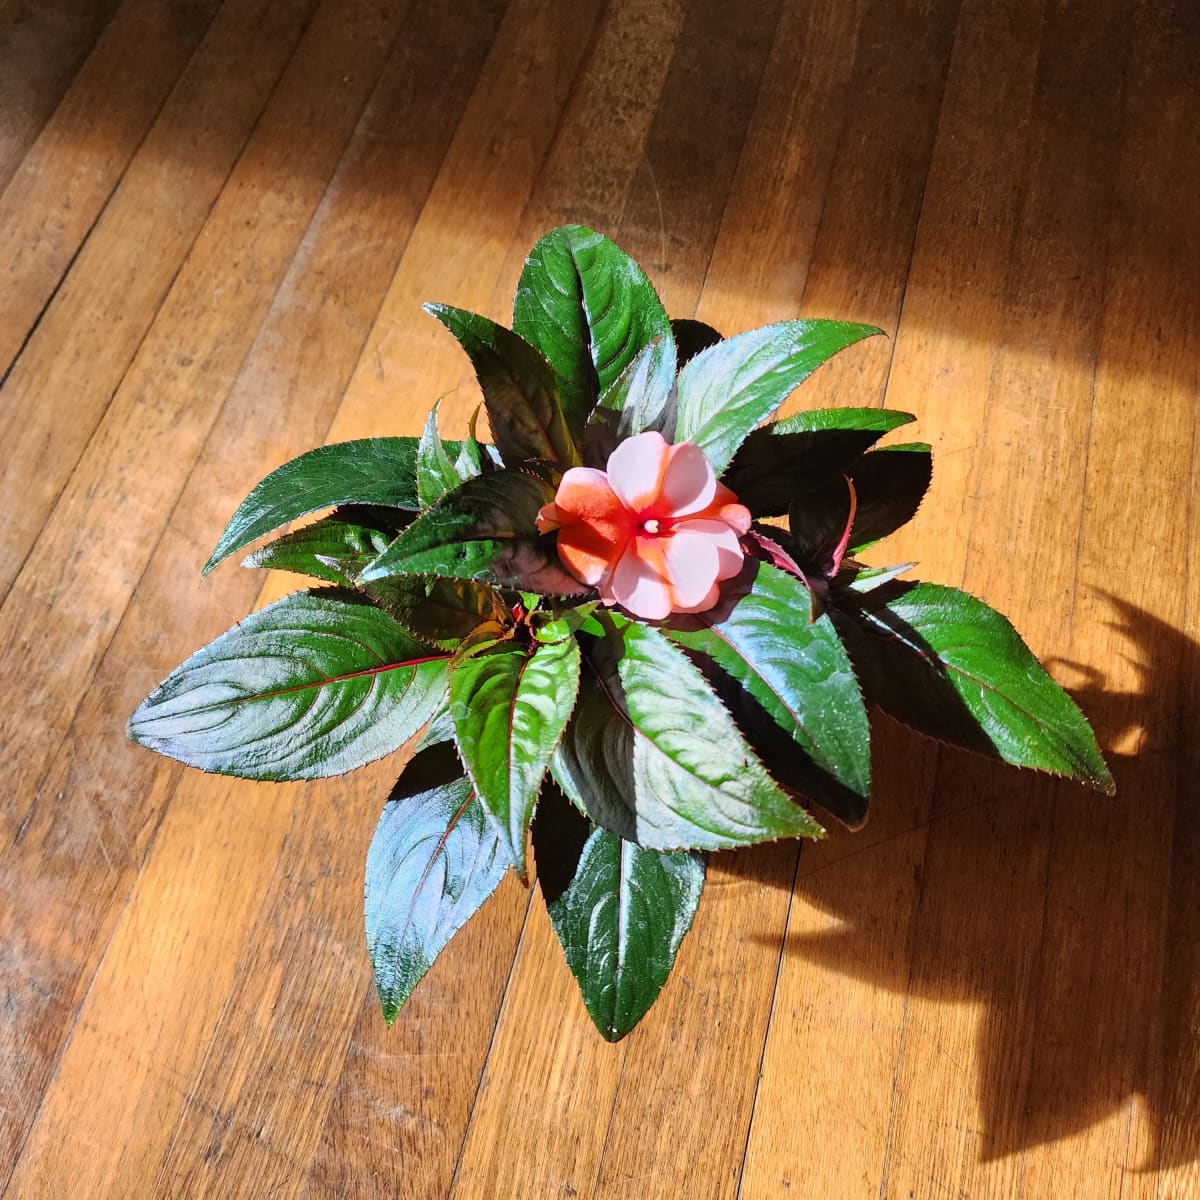
Impatiens, also known as busy lizzies, are known for their vibrant flowers and lush foliage. They are popular among gardeners for their ability to bloom abundantly in shady areas, making them a perfect choice for brightening up those hard-to-grow spots in your garden. Whether you’re a beginner or an experienced gardener, learning how to germinate impatiens seeds will allow you to enjoy these beautiful plants and all the benefits they bring.
Before we dive into the germination process, it’s important to understand a few key factors that contribute to the successful growth of impatiens. These plants thrive in moist soil with adequate drainage. They prefer partial shade to full shade, as direct sunlight can cause their delicate blooms to wilt. With the right conditions and proper care, you’ll soon be rewarded with a stunning display of impatiens in your garden.
Key Takeaways:
- Choose the right impatiens seeds based on color, size, and growth habit to ensure a successful germination and healthy plant growth. Consider factors like color preference and available space in your garden when selecting seeds.
- Provide ideal growing conditions for germinated impatiens, including partial to full shade, proper watering, and regular fertilization. Monitor for pests and diseases, and enjoy the vibrant beauty of your impatiens garden.
Read more: How To Care For Impatiens In Hanging Baskets
Step 1: Choosing the Right Seeds
The first step to successfully germinating impatiens is to choose the right seeds. There are various varieties of impatiens available, each with its own unique characteristics. When selecting impatiens seeds, consider factors such as color preference, size, and growth habit.
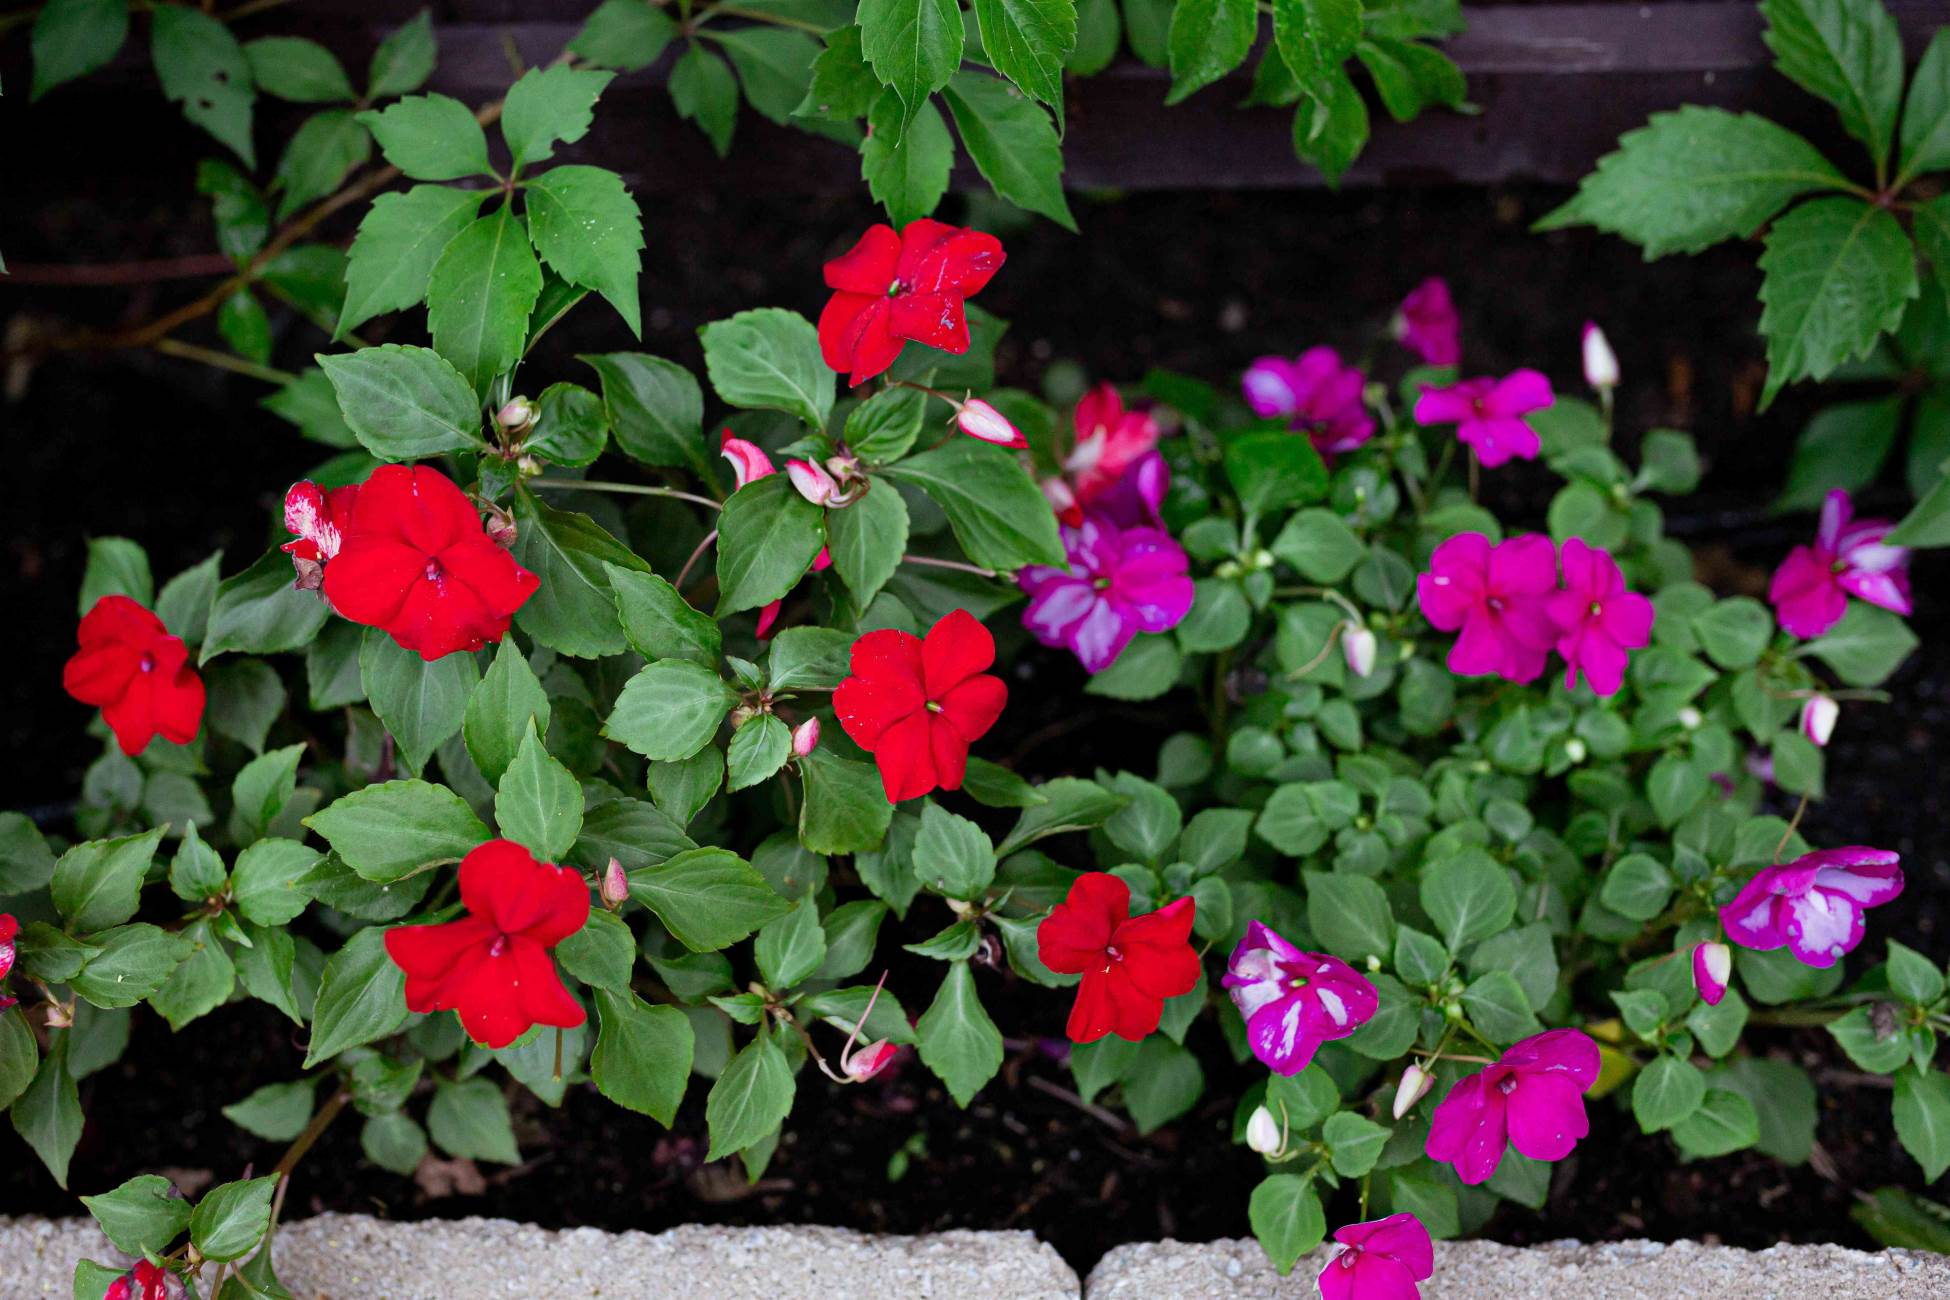
Impatiens seeds come in different colors, including shades of pink, red, white, orange, and purple. Consider the overall color scheme of your garden and choose seeds that will complement the existing plants or add a pop of contrast.
Additionally, pay attention to the size and growth habit of the impatiens plants you desire. Some varieties grow taller, while others have a compact and bushy growth habit. Consider the space available in your garden and select seeds that are suitable for your specific needs.
When purchasing impatiens seeds, ensure they are fresh and of good quality. Look for reputable seed suppliers or garden centers that offer a wide selection of seeds. Check the packaging for the expiry date and any additional instructions for germination.
Lastly, consider whether you want to grow impatiens from hybrid or heirloom seeds. Hybrid seeds are a cross between different varieties and are often bred for specific traits, such as disease resistance or unique flower patterns. Heirloom seeds, on the other hand, are open-pollinated and have been passed down through generations. They may have more diverse characteristics but may not have the same uniformity as hybrid seeds.
By carefully choosing the right impatiens seeds, you’ll set yourself up for success when it comes to germination and growing healthy plants. Take your time to research and select the seeds that align with your preferences and gardening goals.
Step 2: Preparing the Germination Medium
Creating the ideal germination medium is crucial for the successful growth of impatiens seeds. The germination medium provides the necessary nutrients, moisture, and support for the seeds to sprout and develop into healthy seedlings.
Start by choosing a well-draining potting mix that is specifically designed for seed starting. Avoid using regular garden soil, as it can be too dense and may hinder proper drainage and aeration. A high-quality potting mix will provide the right balance of nutrients and moisture retention.
Fill seed trays or small pots with the potting mix, leaving about ¼ inch of space at the top. Gently pat down the soil to create a firm but not compact surface. This will help anchor the seeds and prevent them from shifting or floating away when watering.
Once the seed trays or pots are ready, moisten the potting mix by lightly watering it. Be careful not to drench the soil, as excessive moisture can lead to seed rot and fungal diseases. The goal is to achieve a consistently moist but not soggy environment.
An optional step in preparing the germination medium is to add a layer of vermiculite or perlite on top of the potting mix. These materials help retain moisture and improve drainage while providing a stable and airy environment for the seeds to germinate.
Prior to sowing the impatiens seeds, it is also essential to sterilize the germination medium to minimize the risk of disease and pests. You can achieve this by lightly misting the soil with a diluted hydrogen peroxide solution or by baking the potting mix in the oven at a low temperature for about 30 minutes. This process will help eliminate any potential pathogens or unwanted organisms.
Once you have prepared the germination medium, you’re one step closer to successfully germinating impatiens seeds. The carefully selected potting mix, combined with the necessary moisture and aeration, will provide an optimal environment for the seeds to begin their journey towards sprouting and growth.
Step 3: Sowing the Seeds
Now that you have your germination medium ready, it’s time to sow the impatiens seeds. Sowing the seeds correctly will increase the chances of successful germination and ensure even growth of the seedlings.
Start by lightly sprinkling the impatiens seeds over the moistened potting mix. It’s important not to overcrowd the seeds, as this can lead to competition for nutrients and limited space for growth. The spacing of the seeds will depend on the size of the variety you’re growing, but a general guideline is to leave about 1-2 inches of space between seeds.
Once you have distributed the seeds, gently press them into the potting mix using your fingertips or the back of a spoon. The goal is to ensure good contact between the seeds and the soil without burying them too deeply. Impatiens seeds are small and require minimal cover for successful germination.
After sowing the seeds, lightly mist the surface with water to ensure they are adequately moistened. Avoid using a heavy stream of water, as this can dislodge the seeds or cause them to sink too deep into the soil.
Now, cover the seed trays or pots with a clear plastic lid or a layer of plastic wrap to create a mini-greenhouse effect. This will help retain moisture and create a warm environment for the seeds to germinate. Place the trays or pots in a warm location with indirect sunlight or under grow lights.
Throughout the germination process, it’s important to monitor the moisture levels of the potting mix. Keep the soil consistently moist by lightly misting it with water whenever it starts to dry out. Avoid overwatering, as this can lead to waterlogged soil and harm the developing seeds and seedlings.
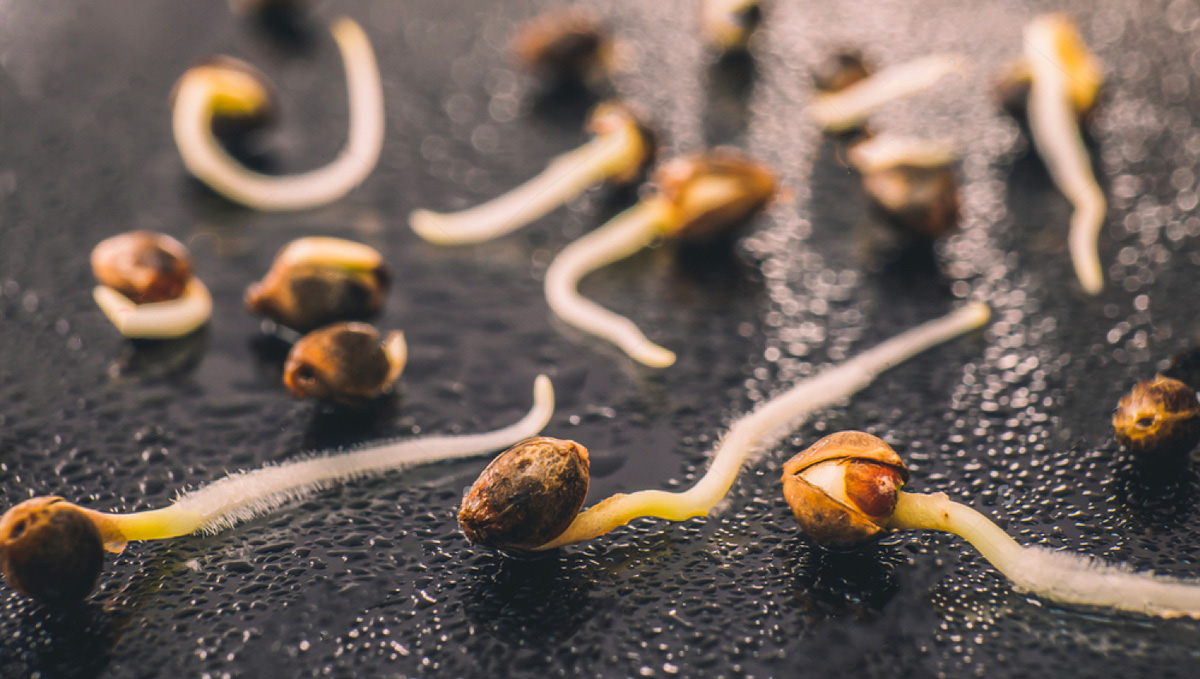
Within 1-2 weeks, you should start to see the impatiens seeds germinate and tiny green sprouts emerge from the soil. At this point, you can remove the plastic cover to allow for better air circulation and prevent fungal diseases.
By following these steps, you’ll successfully sow the impatiens seeds and create an ideal environment for germination. The next stage is to provide the perfect growing conditions for the young seedlings, setting them up for healthy growth and future blooming.
Step 4: Providing the Ideal Growing Conditions
Once the impatiens seeds have germinated and the seedlings have begun to emerge, it’s important to provide them with the ideal growing conditions to ensure their healthy development. These conditions include proper lighting, temperature, and humidity levels.
Impatiens thrive in partial shade to full shade, as direct sunlight can scorch their delicate foliage and flowers. Place the seedlings in a location with bright, indirect light or under grow lights. If growing them indoors, ensure they receive at least 12-14 hours of light per day.
Maintain a temperature range between 65-75°F (18-24°C) during the day and slightly cooler temperatures at night. Avoid exposing the seedlings to extreme temperatures or drafts, as they can stunt their growth or cause wilting.
Keep the humidity levels around the seedlings high by misting them with water regularly or by placing a tray filled with water near the plants. This will help mimic the moist and humid conditions they prefer.
Water the impatiens seedlings regularly, keeping the potting mix consistently moist but not soggy. Allow the top inch of soil to dry out slightly before watering again. Always water from the bottom or at the base of the plants to avoid wetting the foliage, which can make them more susceptible to diseases.
Fertilize the seedlings with a balanced water-soluble fertilizer once a month. Dilute the fertilizer according to the package instructions and apply it to the soil around the plants. Avoid over-fertilizing, as it can lead to excessive foliage growth and reduced blooming.
As the impatiens seedlings grow, they may need additional support to prevent them from bending or breaking. Use stakes or small plant supports to gently prop up the stems when necessary.
Regularly monitor the seedlings for any signs of pests or diseases. Common pests that can affect impatiens include aphids, spider mites, and whiteflies. If you notice any pests, treat them with organic pest control methods or consult with a local gardening expert for advice.
By providing the ideal growing conditions, you’ll ensure the healthy development of your impatiens seedlings. They will thrive and prepare for the next step in their journey: transplanting them into their permanent garden location.
To germinate impatiens, sow seeds in a tray of moist seed-starting mix, cover lightly, and keep in a warm, bright location. Keep the soil consistently moist and seeds should germinate in 10-15 days.
Read more: When To Plant Impatiens Seeds
Step 5: Transplanting the Seedlings
As the impatiens seedlings grow larger and stronger, it’s time to transplant them into their permanent garden location. This step is crucial to provide the seedlings with the necessary space and resources for their continued growth and blooming.
Before transplanting, ensure that all risk of frost has passed in your region. Impatiens are frost-sensitive, and exposing them to cold temperatures can damage or kill them. Choose a location in your garden that receives partial shade to full shade, as impatiens prefer these light conditions.
Prepare the planting area by removing any weeds or debris and loosening the soil to improve its aeration and drainage. Dig a hole that is slightly larger than the root ball of the impatiens seedling.
Gently remove the seedlings from their pots or seed trays, being careful to disturb the roots as little as possible. If the roots are tightly wrapped around the base of the pot, gently tease them out to encourage outward growth.
Place each seedling into the prepared hole, ensuring that the top of the root ball is level with the surrounding soil. Backfill the hole with soil, gently pressing it down to eliminate any air pockets around the roots. Water the transplanted seedlings thoroughly to help settle the soil and provide moisture for the roots.
Space the impatiens seedlings according to the variety’s recommended spacing, generally around 8-12 inches apart. This will give the plants ample room to grow and spread without overcrowding.
Keep a close eye on the transplanted seedlings in the first few days and weeks. Water them regularly, ensuring the soil remains consistently moist but not waterlogged. Mulching around the plants can help to conserve moisture and suppress weed growth.
Continue to monitor the transplanted impatiens for any signs of pests or diseases. Promptly address any issues by implementing appropriate pest control methods or seeking advice from gardening experts.
Transplant shock is normal after moving seedlings into a new environment. The impatiens may initially show some signs of wilting or drooping, but with proper care and regular watering, they should recover and begin to thrive in their new garden location.
By following the proper transplanting techniques and providing the necessary care, you’ll ensure the successful establishment of your impatiens seedlings in their permanent garden spot.
Step 6: Caring for Germinated Impatiens
After the impatiens seeds have germinated and the seedlings have been transplanted, it’s important to provide consistent care to ensure their healthy growth and vibrant blooms. Here are some key steps to follow when caring for germinated impatiens:
1. Watering: Impatiens thrive in moist soil, so it’s essential to keep the plants adequately hydrated. Water the plants regularly, ensuring the soil remains consistently moist but not waterlogged. Avoid overwatering, as this can lead to root rot and other water-related issues. Water at the base of the plants to prevent wetting the foliage, which can make them more susceptible to diseases.
2. Fertilizing: Regularly fertilize the impatiens plants to provide them with the necessary nutrients for healthy growth and abundant blooms. Use a balanced water-soluble fertilizer every two weeks or follow the manufacturer’s instructions. Over-fertilizing can lead to excessive foliage growth at the expense of flowers, so it’s important to follow the correct dosage.
3. Deadheading: Remove spent flowers, a process known as deadheading, to encourage continuous blooming. This will redirect the plant’s energy into producing more flowers rather than setting seeds. Pinch or cut off faded flowers just above the first set of healthy leaves or down to the next flowering node.
4. Pruning: Maintain the shape and appearance of your impatiens plants by pruning them as needed. Trim back any leggy or overgrown branches to promote bushier growth. Regular pruning also helps improve air circulation and reduce the risk of disease. Use clean and sharp pruning shears to make smooth cuts.
5. Pest and Disease Control: Keep an eye out for common pests that can affect impatiens, such as aphids, spider mites, and whiteflies. If you notice any signs of infestation, use organic pest control methods or consult with a local gardening expert for advice. Also, monitor the plants for any signs of diseases, including powdery mildew or root rot, and take immediate action if necessary.
6. Mulching: Apply a layer of organic mulch around the base of the impatiens plants to help conserve moisture, suppress weed growth, and maintain a more stable temperature around the roots. Avoid placing the mulch directly against the stems of the plants, as this can lead to rotting or pest issues.
7. Monitoring and Maintenance: Regularly monitor your impatiens plants for any signs of stress, such as wilting or yellowing leaves. Address any issues promptly to prevent further damage. It’s also a good idea to check for nutrient deficiencies and adjust your fertilization routine accordingly.
By providing regular care and attention, your germinated impatiens will flourish and reward you with a stunning display of colorful blooms. Enjoy the beauty and vibrancy that these lovely flowers bring to your garden.
Step 7: Troubleshooting Common Issues
While impatiens are generally easy to grow, they can sometimes encounter common issues that may affect their health and vitality. Here are some common problems that you may encounter with impatiens and how to troubleshoot them:
1. Wilting: If your impatiens plants are wilting, it may be due to underwatering or overwatering. Check the moisture level of the soil and adjust your watering routine accordingly. Wilting can also be a sign of pest infestation or root diseases. Inspect the plants for any signs of pests or root damage and take appropriate action.
2. Yellowing Leaves: Yellowing leaves on impatiens can be caused by several factors, including nutrient deficiencies, overwatering, or pests. Check the soil conditions and adjust your watering and fertilizing routine if necessary. Inspect the leaves for signs of pests, such as tiny insects or webs, and treat them accordingly.
3. Fungal Diseases: Impatiens are susceptible to fungal diseases, such as powdery mildew and downy mildew. These can cause a white or grayish powdery coating on the leaves and stems, eventually leading to leaf drop and plant decline. To prevent fungal diseases, ensure good air circulation, avoid overhead watering, and remove any infected plant material promptly.
4. Pest Infestation: Common pests that can affect impatiens include aphids, spider mites, and whiteflies. Monitor your plants regularly and inspect them for any signs of pests, such as discolored leaves, webbing, or sticky residue. Treat the infested plants with organic pest control methods, such as insecticidal soap or neem oil.
5. Leggy Growth: If your impatiens plants are growing tall and leggy with sparse foliage, it may be due to inadequate sunlight or overcrowding. Impatiens thrive in partial shade to full shade, so make sure they are receiving enough light. If overcrowding is an issue, consider thinning out the plants to allow for better airflow and growth.
6. No Blooms: If your impatiens plants are not producing blooms, it may be due to various factors, including insufficient sunlight, improper fertilization, or early exposure to frost. Ensure that the plants are receiving enough light and follow a regular fertilization routine with a balanced fertilizer. If frost is a concern, protect the plants or wait until the risk of frost has passed before planting them.
7. Stunted Growth: Stunted growth in impatiens can be attributed to nutrient deficiencies, poor soil conditions, or root damage. Ensure that the plants are receiving adequate nutrients by following a proper fertilization regimen. Check the soil for proper drainage and make necessary amendments if needed. Inspect the roots for any signs of damage or disease and take appropriate action.
When troubleshooting common issues with impatiens, it’s important to address the problem promptly to prevent further damage and promote the health and vitality of your plants. With proper care and attention, you can overcome these challenges and enjoy a thriving and beautiful impatiens garden.
Step 8: Enjoying Your Beautiful Impatiens Plants
After all the hard work and care you have put into the germination and growth of your impatiens plants, it’s time to step back and enjoy the vibrant beauty they bring to your garden. Here are some tips for fully appreciating and maximizing the beauty of your impatiens:
1. Regular Maintenance: Continue to provide proper care and maintenance for your impatiens plants. This includes watering consistently, fertilizing as needed, deadheading spent flowers, and monitoring for pests or diseases. By staying vigilant and proactive, you can ensure that your impatiens plants remain healthy and continue to produce abundant blooms.
2. Display in Various Settings: Impatiens are versatile plants that can thrive in various settings. Consider displaying them in flower beds, containers, hanging baskets, or window boxes. Their cascading blooms and vibrant colors will add a pop of beauty wherever they are placed.
3. Mix and Match Colors: Impatiens come in a wide range of colors, allowing you to create stunning combinations. Experiment with different color schemes by mixing and matching different varieties. Cluster complementary colors together or create a contrasting display to make a bold statement in your garden.
4. Companion Planting: Consider pairing impatiens with other shade-loving plants to create a visually pleasing and harmonious garden. Hostas, ferns, astilbes, and begonias are some examples of plants that complement impatiens well. The combination of different textures and foliage will add depth and interest to your garden.
5. Attract Pollinators: Impatiens flowers are a great source of nectar for pollinators such as bees and butterflies. By providing a colorful and enticing feeding ground for these beneficial insects, you can contribute to the overall health and biodiversity of your garden. Appreciate the buzzing and fluttering of these pollinators as they visit your impatiens plants.
6. Capture Memories: Take the time to capture the beauty of your impatiens plants through photographs or sketches. Not only will this allow you to document and appreciate their splendor, but it can also serve as inspiration for future gardening projects or as a way to share your love for impatiens with others.
7. Share the Joy: Impatiens make fantastic gifts for fellow gardening enthusiasts. Divide and propagate your plants to share with friends, family, or neighbors. By spreading the beauty and joy of impatiens, you can create a sense of community and inspire others to embark on their own gardening journeys.
By following these steps and tips, you can fully enjoy the beauty and rewards of your impatiens plants. Sit back, relax, and bask in the vibrant colors and lush foliage that these remarkable flowers have brought to your garden. Happy gardening!
Frequently Asked Questions about How To Germinate Impatiens
Was this page helpful?
At Storables.com, we guarantee accurate and reliable information. Our content, validated by Expert Board Contributors, is crafted following stringent Editorial Policies. We're committed to providing you with well-researched, expert-backed insights for all your informational needs.


0 thoughts on “How To Germinate Impatiens”