Home>Garden Essentials>How To Get Microgreen Seeds
Garden Essentials
How To Get Microgreen Seeds
Modified: August 27, 2024
Want to learn how to get microgreen seeds for your garden? Check out our guide for tips and resources on finding the best microgreen seeds for your home gardening needs.
(Many of the links in this article redirect to a specific reviewed product. Your purchase of these products through affiliate links helps to generate commission for Storables.com, at no extra cost. Learn more)
Introduction
Welcome to the exciting world of microgreens! These tiny, nutrient-packed greens are packed with flavor and offer a myriad of health benefits. Whether you are a seasoned gardener or just starting out, growing microgreens is a fun and rewarding experience that can be done right in the comfort of your own home.
In this article, we will guide you through the process of selecting and obtaining the right microgreen seeds, as well as provide helpful tips for storing, planting, and caring for your microgreens. By the end, you will have all the knowledge you need to start growing your own delicious and nutritious microgreens.
Microgreens are essentially the young, tender versions of vegetables and herbs. They are harvested just after the first few leaves have developed, usually within two to three weeks after planting. Despite their small size, microgreens are packed with powerful nutrients such as vitamins, minerals, and antioxidants, making them a popular choice for health-conscious individuals.
One of the great things about growing microgreens is the wide variety of seeds available to choose from. You can find microgreen seeds for virtually any herb, vegetable, or even edible flower. This allows you to experiment with different flavors and textures to elevate your culinary creations.
In the next section, we will explore the factors to consider when choosing the right microgreen seeds for your home garden.
Key Takeaways:
- Growing microgreens at home is a fun and rewarding experience. Choose a variety of seeds based on taste, color, and growth characteristics to create your own unique blend of flavors and textures.
- To ensure successful germination, store, prepare, and plant your microgreen seeds properly. With proper care and attention, you can enjoy the vibrant and flavorful microgreens you’ve grown yourself.
Read more: How Long Do Microgreens Take To Germinate
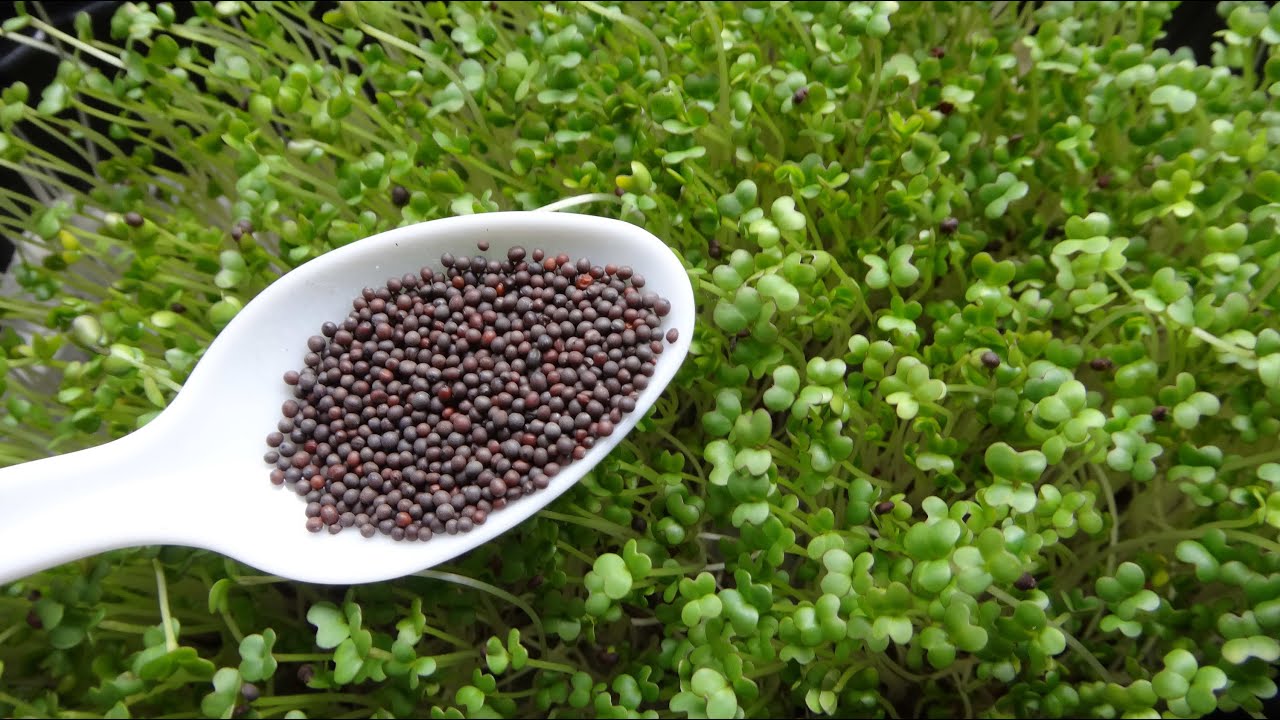
Choosing the Right Microgreen Seeds
When it comes to choosing microgreen seeds, there are a few factors to consider. The first is the taste and flavor profile you desire. Do you prefer mild and delicate greens or ones with a strong and robust flavor? Consider your personal preference and the dishes you plan to use your microgreens in.
Next, think about the color and visual appeal of the microgreens. Some varieties, like red cabbage or purple basil, add a vibrant burst of color to any dish. Others, like broccoli or radish, have a more subtle and natural green hue. Choosing a mix of different colors can add an aesthetic appeal to your meals.
In addition to taste and color, it’s important to consider the growth characteristics of the seeds. Some microgreens grow more quickly than others, while some may require specific temperature or light conditions. Take into account the time and resources you have available to dedicate to your microgreen garden.
Another factor to consider is the availability and cost of the seeds. While some microgreen seeds may be readily available at your local garden store or online, others may be more challenging to find. It’s also worth comparing prices to ensure you’re getting the best value for your money.
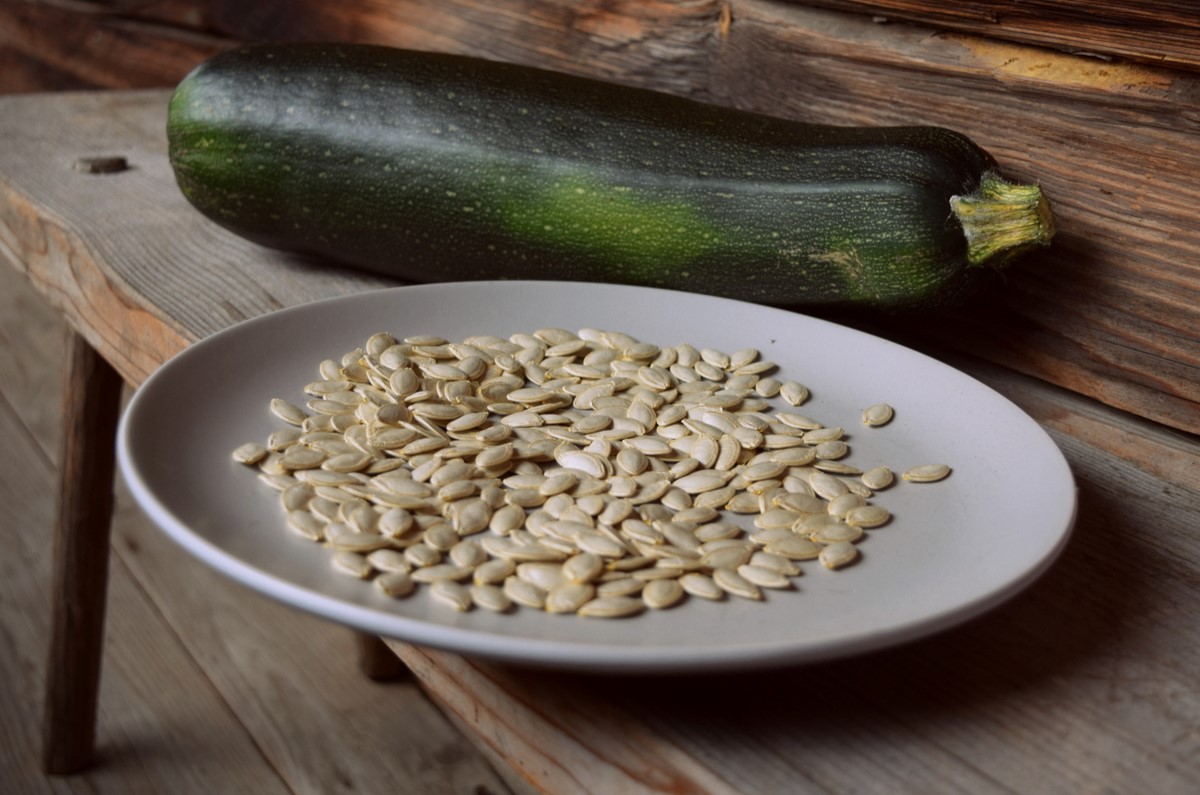
Lastly, think about the variety of microgreens you want to grow. Mix and match different seeds to create your own unique blend of flavors and textures. Popular choices include broccoli, kale, radish, sunflower, pea shoots, and basil, but the options are truly limitless. Don’t be afraid to get creative and try something new!
Once you’ve considered these factors, you’re ready to move on to the next step: purchasing your microgreen seeds.
Where to Purchase Microgreen Seeds
When it comes to purchasing microgreen seeds, you have several options available. Here are some places where you can find high-quality microgreen seeds:
- Local Nurseries or Garden Stores: Many local nurseries or garden stores stock microgreen seeds. Visit your nearest nursery and inquire about their selection of microgreen seeds. This allows you to support local businesses and get expert advice on choosing the right seeds for your needs.
- Online Seed Retailers: There are numerous online seed retailers that specialize in microgreen seeds. These retailers offer a wide variety of seeds, often providing detailed descriptions and customer reviews. Some popular online seed retailers include Johnny’s Selected Seeds, True Leaf Market, and Baker Creek Heirloom Seeds.
- Specialty Microgreen Suppliers: There are also specialty suppliers that focus specifically on microgreen seeds. These suppliers often have a wide selection of microgreen varieties and may offer exclusive blends and mixes. Some examples include Microgreenz, Evergreen Seeds, and Mountain Valley Seed Company.
- Local Farmers or Farmers’ Markets: Local farmers or vendors at farmers’ markets sometimes offer microgreen seeds for sale. This option gives you the opportunity to connect directly with local growers and learn more about the seeds they offer.
Before making a purchase, it’s always a good idea to read reviews and check the reputation of the supplier. Look for suppliers that offer organic or non-GMO seeds, as these are generally considered to be of higher quality.
When deciding where to purchase your microgreen seeds, consider the convenience, cost, and availability. Online retailers often offer a wide range of options and the convenience of home delivery, while local nurseries may provide personalized advice and hands-on shopping experience.
Regardless of where you decide to purchase your microgreen seeds, make sure to check the expiration date on the seed packets. Fresh seeds have a higher germination rate, resulting in more successful and vigorous growth.
Now that you know where to purchase your microgreen seeds, let’s move on to the next step: storing your seeds properly.
How to Store Microgreen Seeds
Proper storage of microgreen seeds is essential to maintain their viability and ensure successful germination. Here are some tips on how to store your microgreen seeds:
- Keep Seeds Cool and Dry: Microgreen seeds should be stored in a cool, dry place to prevent moisture and heat from damaging them. Ideally, the storage temperature should be around 40 to 50 degrees Fahrenheit (4 to 10 degrees Celsius).
- Use Airtight Containers: Transfer the seeds from their original packaging to airtight containers to protect them from moisture, pests, and air exposure. Mason jars or food-grade plastic containers with tight-fitting lids work well for seed storage.
- Label and Date: It’s important to label the containers with the seed variety and the date of purchase or expiration. This helps you keep track of the freshness and ensures that you use the oldest seeds first.
- Store Seeds in the Refrigerator: If you have the space, storing microgreen seeds in the refrigerator can extend their shelf life. Place the sealed containers or bags in the vegetable crisper or a dedicated seed storage compartment. Avoid storing them near foods with strong odors, as seeds can absorb these odors.
- Avoid Freezing Seeds: While storing seeds in the freezer may seem like a good idea for long-term preservation, it can actually damage the delicate seeds. Freezing can cause ice crystals to form, resulting in cell damage and reduced germination rates.
It’s worth noting that microgreen seeds have varying shelf lives, depending on their type and quality. Some seeds, like radish or broccoli, have a relatively short storage life of around one year, while others, such as sunflower or kale, can last up to five years if stored properly.
Remember to periodically check your stored seeds for any signs of moisture or pest infestation. If you notice any issues, discard the affected seeds to prevent contamination.
By following proper storage practices, you can maximize the viability of your microgreen seeds and set yourself up for successful germination. Now that you know how to store your seeds, it’s time to move on to preparing them for planting.
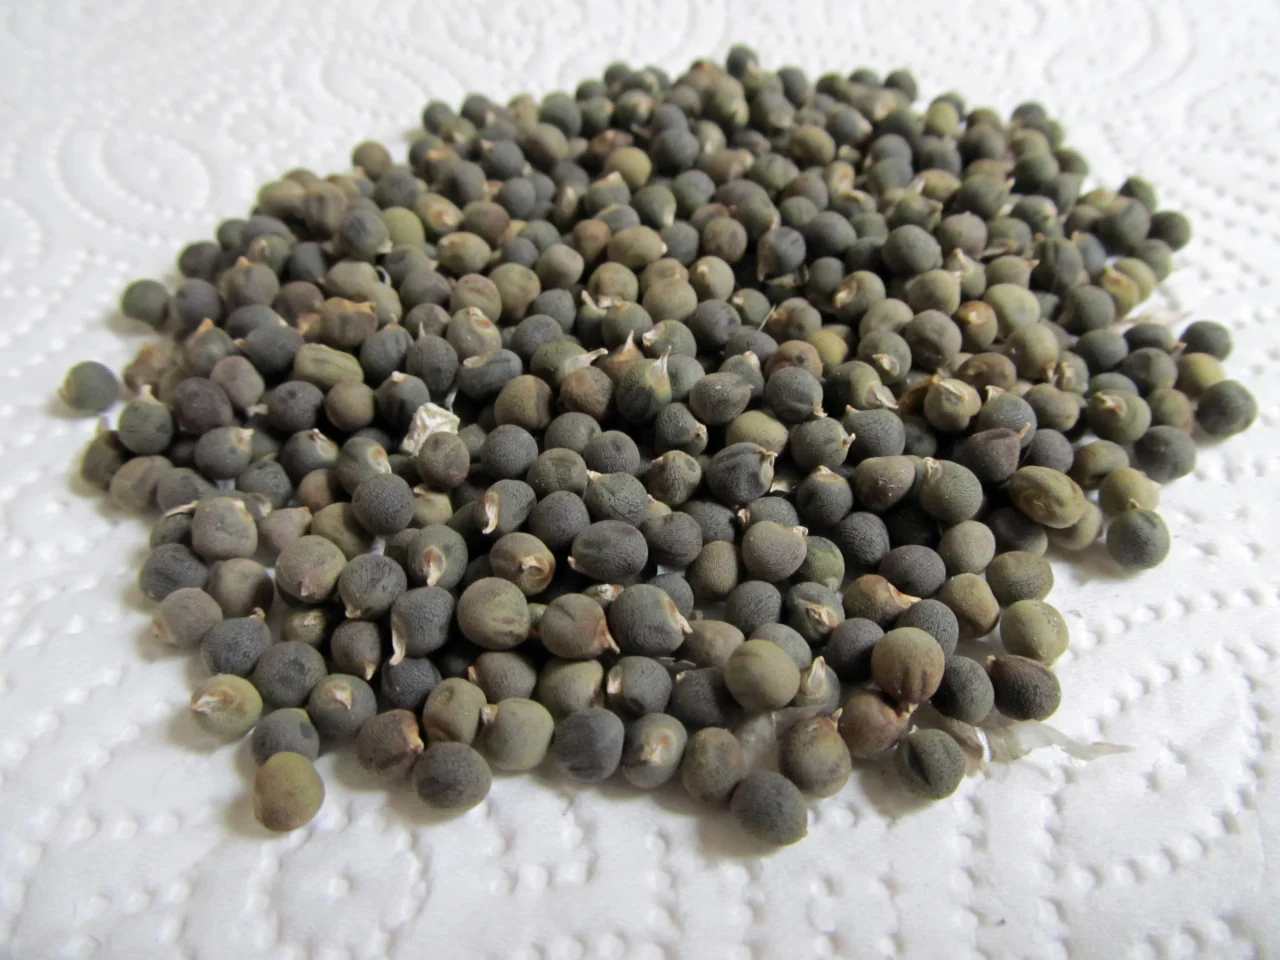
When looking for microgreen seeds, make sure to choose high-quality, organic seeds from a reputable supplier. Look for seeds specifically labeled for microgreen production to ensure the best results.
Preparing Microgreen Seeds for Planting
Before you can sow your microgreen seeds, it’s important to properly prepare them to ensure optimal germination and growth. Here are the steps to prepare your microgreen seeds for planting:
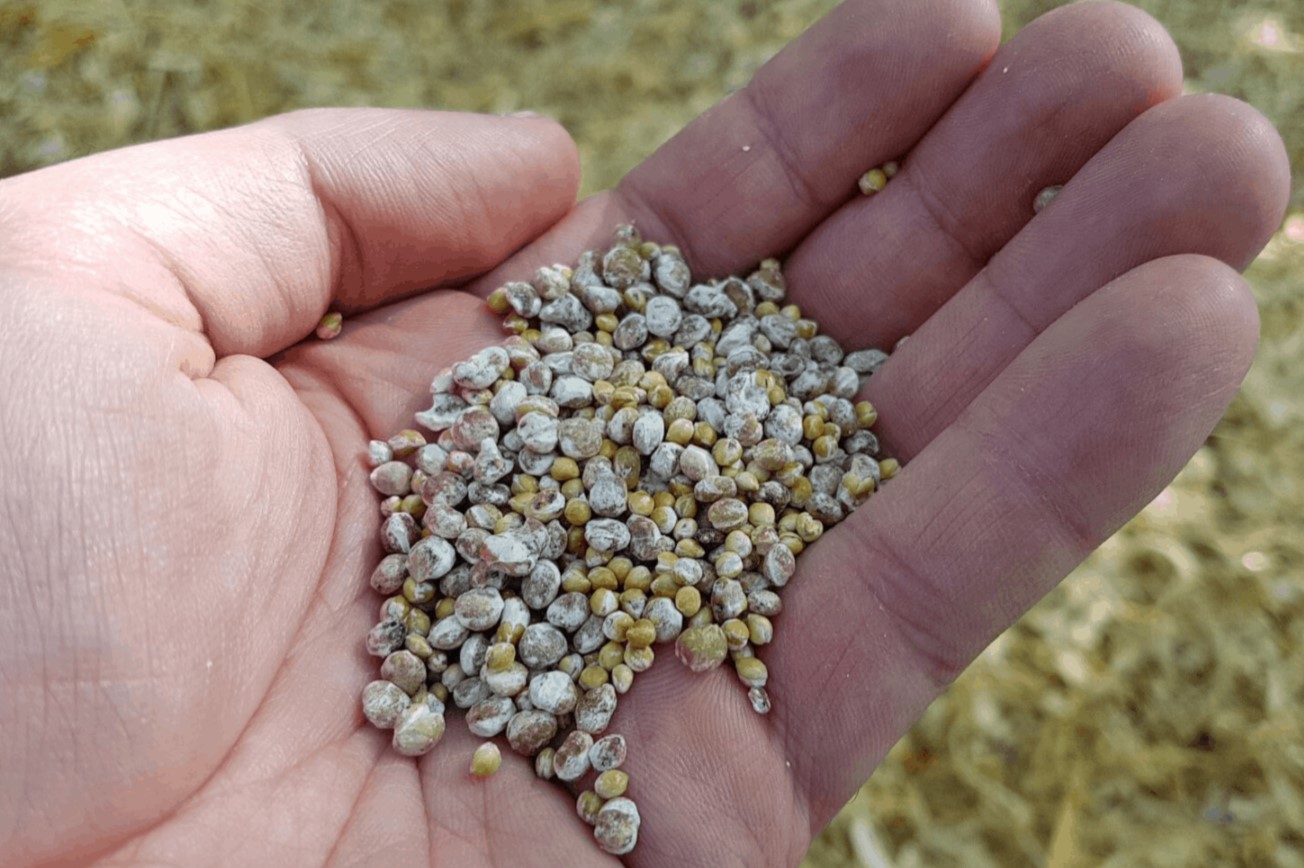
- Clean the Seeds: It’s a good idea to rinse your microgreen seeds before planting to remove any dirt or debris. Place the seeds in a fine-mesh sieve or strainer and rinse them under running water. Gently swish the seeds around to ensure they are thoroughly cleaned.
- Soak the Seeds (Optional): Some microgreen seeds benefit from soaking before planting. Soaking can help jumpstart the germination process and soften the seed coat. However, not all seeds require soaking, so be sure to check the specific requirements for the seeds you are using. If soaking is recommended, place the seeds in a bowl of water and let them soak for the specified amount of time, usually a few hours to overnight.
- Drain and Dry the Seeds: After soaking, drain the seeds using the same sieve or strainer. Make sure to shake off any excess water and let the seeds air dry for a few minutes. You don’t want the seeds to be completely dry, but they should no longer be dripping with water.
- Prevent Clumping: To prevent the seeds from clumping together during planting, you can mix them with a small amount of fine, dry sand or vermiculite. This helps to distribute the seeds evenly and prevents overcrowding, allowing each seedling to grow and develop properly.
- Prewet the Planting Medium (Optional): If you are using a soilless planting medium, such as coco coir or peat moss, you may consider prewetting it before planting. This ensures that the medium is evenly moist throughout and provides an ideal environment for germination. Simply moisten the planting medium with water until it is damp but not overly wet.
By following these steps, you can prepare your microgreen seeds for successful planting and ensure that they have the best chance of germinating and growing into healthy seedlings. Once your seeds are prepared, it’s time to move on to the exciting part: planting your microgreens!
Read more: How To Store Microgreens
Planting Microgreen Seeds
Now that your microgreen seeds are prepared, it’s time to plant them and watch them grow into delicious and nutritious greens. Here are the steps to follow when planting your microgreen seeds:
- Select a Growing Container: Choose a shallow container or tray that has drainage holes to prevent water from pooling. You can use seedling trays, shallow baking pans, or even repurpose containers like plastic salad containers or recycled packaging.
- Fill the Container with Planting Medium: Fill the container with a well-draining planting medium, such as potting soil, coco coir, or vermiculite. The depth of the planting medium should be about 1 to 2 inches (2.5 to 5 cm) to provide enough space for the microgreen roots to grow.
- Spread the Seeds Evenly: Sprinkle the prepared microgreen seeds evenly over the surface of the planting medium. Aim for a dense but not overcrowded layer of seeds. If the seeds are clumping together, gently separate them to ensure even spacing.
- Gently Press the Seeds: Using your hand or a small flat object like a clean board or the bottom of another tray, gently press the seeds into the planting medium. This ensures good seed-to-soil contact and helps with germination.
- Water the Seeds: Use a fine mist sprayer or a watering can with a gentle spray nozzle to moisten the seeds and the planting medium. Be careful not to overwater, as excess moisture can lead to damping off disease or root rot.
- Cover the Seeds (Optional): Some microgreen seeds benefit from being covered during the germination process. This helps to create a humid microclimate and promote better sprouting. You can cover the seeds with a thin layer of vermiculite, plastic wrap with small holes for ventilation, or a humidity dome.
- Place in a Warm and Well-Lit Area: Microgreens thrive in warm and well-lit conditions. Find a spot that receives ample sunlight or use grow lights if natural light is limited. The ideal temperature for germination is around 70 to 75 degrees Fahrenheit (21 to 24 degrees Celsius).
- Maintain Proper Moisture Levels: It’s crucial to keep the planting medium consistently moist but not waterlogged. Check the moisture level regularly and mist or water as needed. Avoid letting the soil dry out completely or become overly saturated.
- Germination and Growth: Within a few days to a week, you should start to see the seeds germinating and tiny seedlings emerging. As the microgreens grow, continue to provide adequate light and water. They can be harvested once they have developed their first true leaves, usually around 10 to 14 days after planting.
Remember to consult the specific requirements for the microgreen seeds you are planting, as different varieties may have slightly different germination and growth needs.
With proper planting, care, and patience, you’ll soon be enjoying the vibrant and flavorful microgreens you’ve grown yourself. Harvesting is the final step in the process, which we’ll explore in the next section.
Caring for Microgreen Seeds
Taking care of your microgreen seeds is crucial to ensure their healthy growth and development. Here are some essential care tips to keep in mind:
- Watering: Proper watering is essential for the health of your microgreens. Keep the soil consistently moist but not waterlogged. Check the moisture level regularly and adjust your watering frequency accordingly. Using a misting spray bottle can help you evenly distribute water without disturbing the delicate seedlings.
- Lighting: Microgreens require adequate light to thrive. Place them in a location that receives bright, indirect sunlight for around 12 to 16 hours a day. If natural light is limited, you can use grow lights specifically designed for indoor gardening. Keep the lights a few inches above the microgreens to ensure they receive the necessary intensity.
- Air Circulation: Good air circulation is important to prevent mold and disease. Avoid overcrowding the microgreens and provide enough space between trays or containers. If you notice condensation or excessive moisture, increase ventilation by using a fan or slightly opening windows, if possible.
- Fertilization: Microgreens typically don’t require additional fertilizer during their short growth period. The nutrients present in the soil or planting medium should be sufficient for their needs. However, if you’re using a soilless medium, you can incorporate a diluted organic liquid fertilizer, following the manufacturer’s instructions.
- Monitoring for Pests and Diseases: Keep a close eye on your microgreens for any signs of pests or diseases. Common pests that may affect microgreens include aphids, gnats, and fungal diseases. Immediately remove any affected plants and take appropriate measures to address the issue, such as using organic pest control methods or adjusting watering practices to prevent fungal growth.
- Trimming and Pruning: As your microgreens grow, they may become crowded or develop leggy stems. To promote healthier growth, periodically trim and prune the microgreens. Use clean scissors or gardening shears to cut the greens just above the soil level. This not only encourages bushier growth but also helps with airflow and prevents mold or rot.
- Rotation and Succession Planting: To maintain a continuous supply of fresh microgreens, consider practicing rotation and succession planting. Rotate the location of your trays or containers to evenly distribute light and prevent nutrient depletion. Additionally, stagger the planting of new trays every few days to ensure a constant harvest of mature microgreens.
By following these care tips, you will provide your microgreen seeds with the ideal conditions for growth and maximize their nutritional value and flavor. Now that you know how to care for your microgreens, let’s move on to the exciting part: harvesting!
Harvesting Microgreens
Harvesting microgreens is an exciting and rewarding part of the growing process. Here are some tips to help you harvest your microgreens at the peak of freshness and flavor:
- Timing: Microgreens are typically harvested when they have developed their first true leaves. This is usually around 10 to 14 days after planting, but it may vary depending on the variety. Keep an eye on the growth and appearance of the microgreens to determine the ideal time for harvesting.
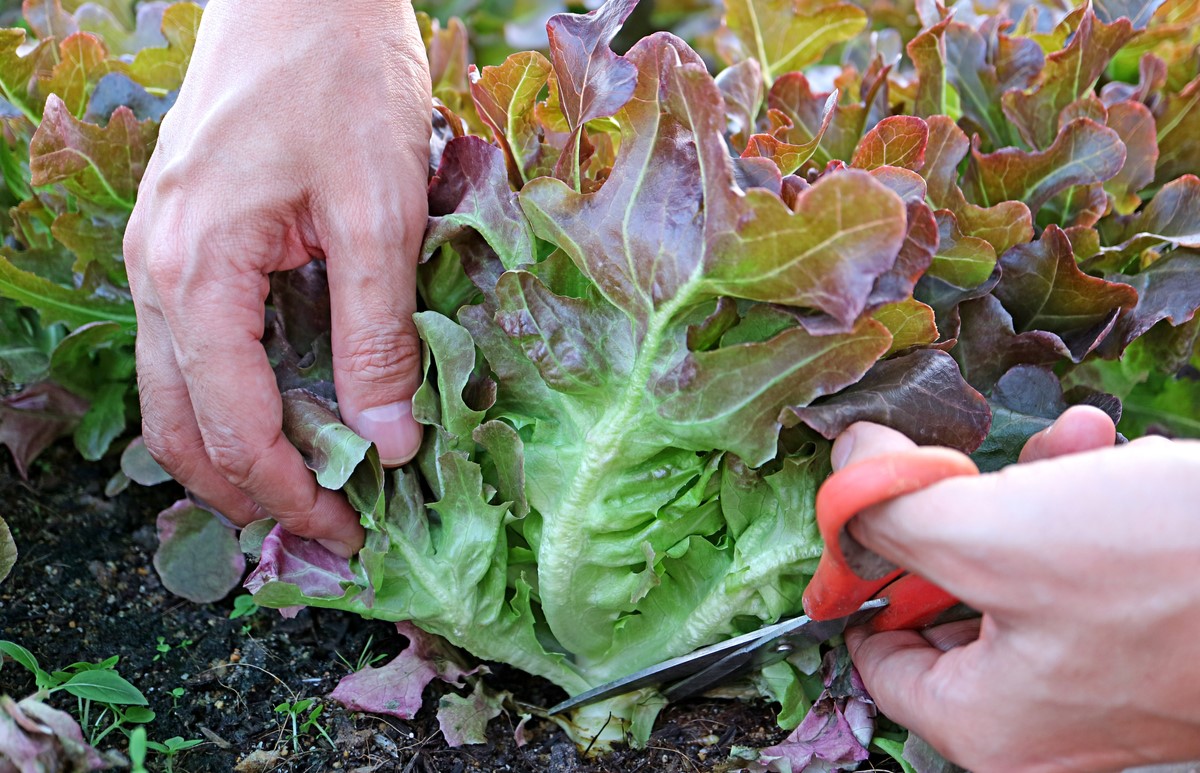
- Tools: Use clean scissors or gardening shears to harvest the microgreens. This allows you to make precise cuts without damaging the remaining plants. Ensure that your tools are sanitized to prevent the spread of disease.
- Harvesting Method: To harvest the microgreens, hold the base of the stem and make a clean cut just above the soil or planting medium. You can harvest the entire plant or selectively pick the larger leaves, depending on your preference and the intended use of the microgreens. Remember to leave a small portion of the plant intact to allow for regrowth in case you want to harvest successive crops.
- Storage: After harvesting, gently remove any excess moisture from the microgreens using a clean cloth or paper towel. Place the harvested microgreens in a shallow container lined with a damp paper towel or store them in an airtight container or zip-lock bag. Properly stored, microgreens can stay fresh in the refrigerator for up to a week.
- Usage: Microgreens are versatile and can be used in various culinary creations. They make a vibrant addition to salads, sandwiches, wraps, stir-fries, and smoothies. Get creative and experiment with different flavor combinations to enhance your dishes with these nutritious greens.
- Successive Harvests: If you harvested only a portion of the microgreens, the remaining plants will continue to grow. You can water and care for them as usual, allowing for successive harvests. Depending on the variety, you may be able to harvest two or three rounds of microgreens from the same planting.
Remember, the flavor and nutrient content of microgreens are at their peak immediately after harvesting. So, it’s best to harvest and consume them as fresh as possible to fully enjoy their taste and health benefits.
Now that you know how to harvest your microgreens, you can continue the cycle by preparing your next batch of seeds for planting. Enjoy the process and savor the deliciousness of homegrown microgreens!
Frequently Asked Questions about How To Get Microgreen Seeds
Was this page helpful?
At Storables.com, we guarantee accurate and reliable information. Our content, validated by Expert Board Contributors, is crafted following stringent Editorial Policies. We're committed to providing you with well-researched, expert-backed insights for all your informational needs.


0 thoughts on “How To Get Microgreen Seeds”