Home>Garden Essentials>How To Grow A Black Walnut Tree From Seed
Garden Essentials
How To Grow A Black Walnut Tree From Seed
Modified: May 6, 2024
Learn how to grow a black walnut tree from seed in your garden and enjoy the beauty of this majestic tree for years to come.
(Many of the links in this article redirect to a specific reviewed product. Your purchase of these products through affiliate links helps to generate commission for Storables.com, at no extra cost. Learn more)
Introduction
Welcome to the world of gardening, where nature brings beauty and tranquility into our lives. If you have a green thumb and a passion for growing your own plants, then this article is for you. In this comprehensive guide, we will dive into the fascinating process of growing a black walnut tree from seed.
The black walnut tree (Juglans nigra) is not only prized for its beautiful, dark wood, but also for the delicious nuts it produces. These trees can grow to be over 100 feet tall and are native to North America. With their majestic presence and valuable resources, black walnut trees are a fantastic addition to any garden or landscape.
Growing a black walnut tree from seed is a rewarding and fulfilling experience. It allows you to witness the entire life cycle of this magnificent tree, from a tiny seed to a towering giant. Plus, you’ll be able to enjoy the shade, beauty, and nutritious nuts that the tree provides for generations to come.
Before we get started, it’s important to note that growing a black walnut tree from seed requires patience and dedication. It’s not an overnight process, but the results are well worth the effort. So, roll up your sleeves, put on your gardening gloves, and let’s get started on this exciting journey.
Key Takeaways:
- Growing a black walnut tree from seed is a patient and rewarding process, from selecting and preparing the seeds to caring for the seedlings. It brings the joy of nurturing a tiny seed into a magnificent tree.
- Once your black walnut tree is established, provide regular care including watering, fertilization, and pest management. Enjoy the benefits of shade, beauty, and a bountiful harvest of delicious black walnuts.
Read more: How To Grow A Tree From A Seed
Selecting and Preparing Seeds
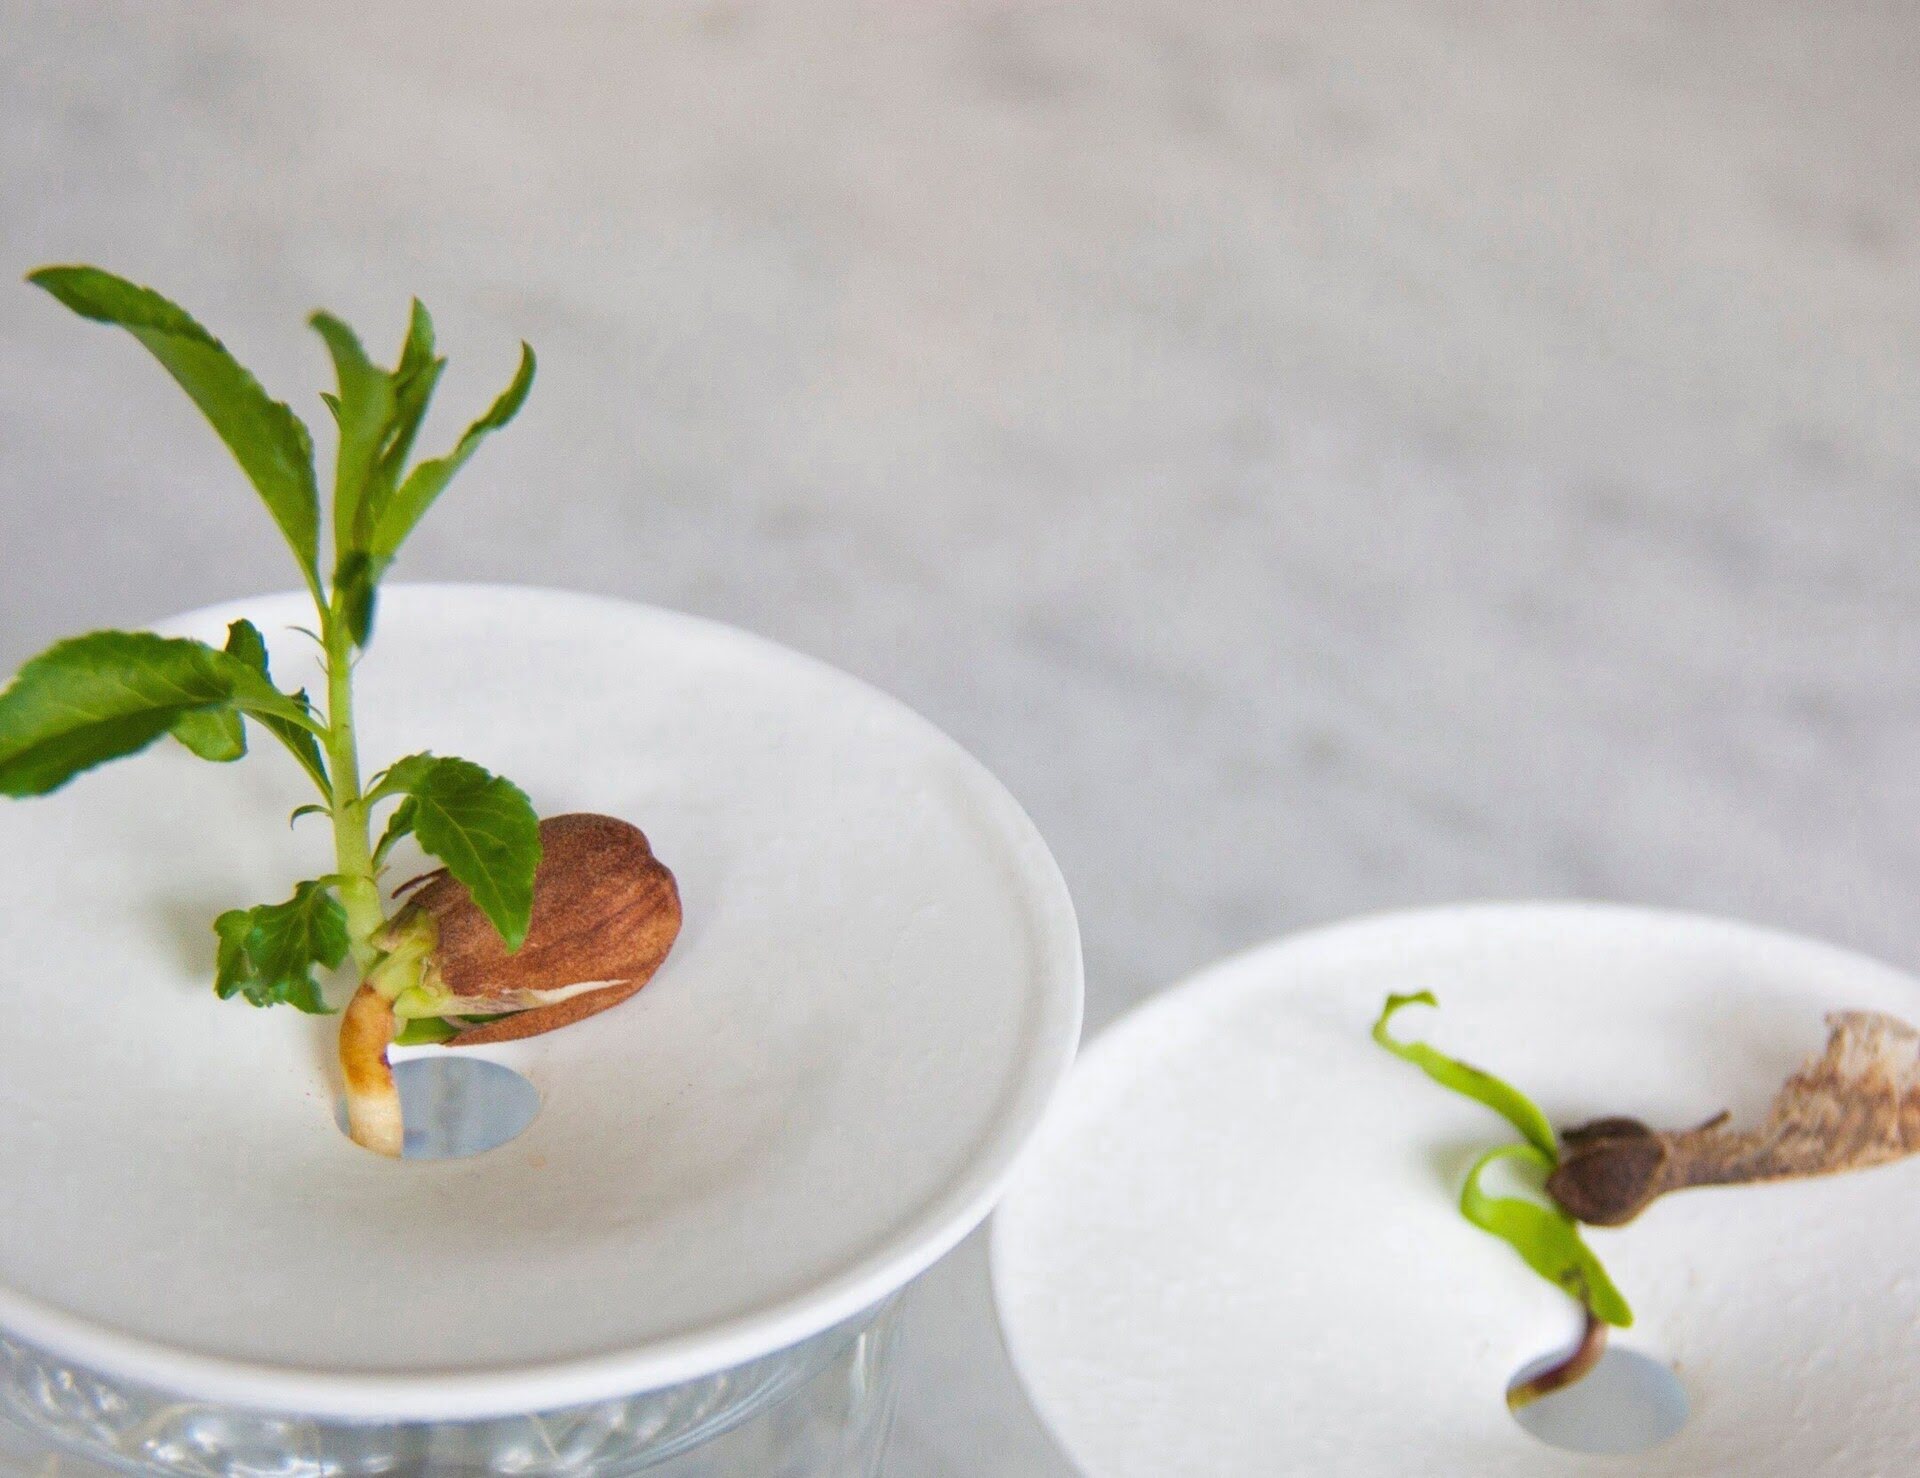
The first step in growing a black walnut tree from seed is selecting the right seeds. Look for mature black walnuts that have fallen to the ground naturally. Avoid picking nuts that are damaged or have cracks in the shell, as they may not germinate successfully.
Once you have collected the walnuts, it’s time to prepare them for the next step. Start by removing the husks, which can be done by soaking the nuts in water for a few days. The husks will soften, making them easier to peel off. Alternatively, you can place the nuts in a plastic bag and let them sit for a few weeks. The husks will naturally decay, and you can then remove them.
After removing the husks, you’ll notice that the walnut shells are still hard and intact. To enhance the germination process, it’s recommended to crack the shells slightly. You can use a nutcracker or a hammer to carefully crack the shells without damaging the kernel inside.
Once the shells are cracked, it’s time for the stratification process.
Stratification Process
The stratification process is a crucial step in preparing black walnut seeds for germination. It mimics the natural conditions that the seeds would experience in their native environment during the winter months.
To stratify the seeds, start by placing them in a container or bag with some moistened peat moss or vermiculite. Make sure the medium is damp but not soaking wet. Add the cracked black walnut seeds to the container and mix them lightly with the medium.
Next, seal the container or bag and store it in a cool location, such as a refrigerator or a cold basement. The temperature for stratification should be around 33-41°F (0-5°C). It’s essential to keep the seeds at a consistent and cool temperature for a period of 90-120 days.
During the stratification period, it’s crucial to check the seeds regularly to ensure they remain moist but not waterlogged. If the medium feels dry, mist it lightly with water. Avoid letting the seeds dry out or become too wet, as this can hinder germination.
After the stratification period has elapsed, it’s time to move on to potting and seedling care.
Potting and Seedling Care
Once the stratification period is complete, it’s time to pot the black walnut seeds and provide them with the care they need to grow into healthy seedlings. Here’s how to go about it:
- Choose a suitable potting mix: Use a well-draining potting mix that is rich in organic matter. Avoid compacted soils or heavy clay mixes that can retain too much moisture.
- Fill the pots: Fill small pots or seed trays with the potting mix, leaving some space at the top for watering.
- Plant the seeds: Place a single black walnut seed in each pot and cover it with a thin layer of the potting mix, about 1-2 inches deep.
- Water properly: Give the newly planted seeds a gentle watering to settle the soil. Keep the soil consistently moist but not waterlogged throughout the germination process.
- Provide adequate light: Place the pots in a location that receives bright, indirect sunlight. A south-facing window or a well-lit area in your garden can be ideal.
- Maintain temperature: Keep the temperature around 70-80°F (20-27°C) during the germination phase. Using a heat mat or placing the pots near a heat source can help maintain the warmth.
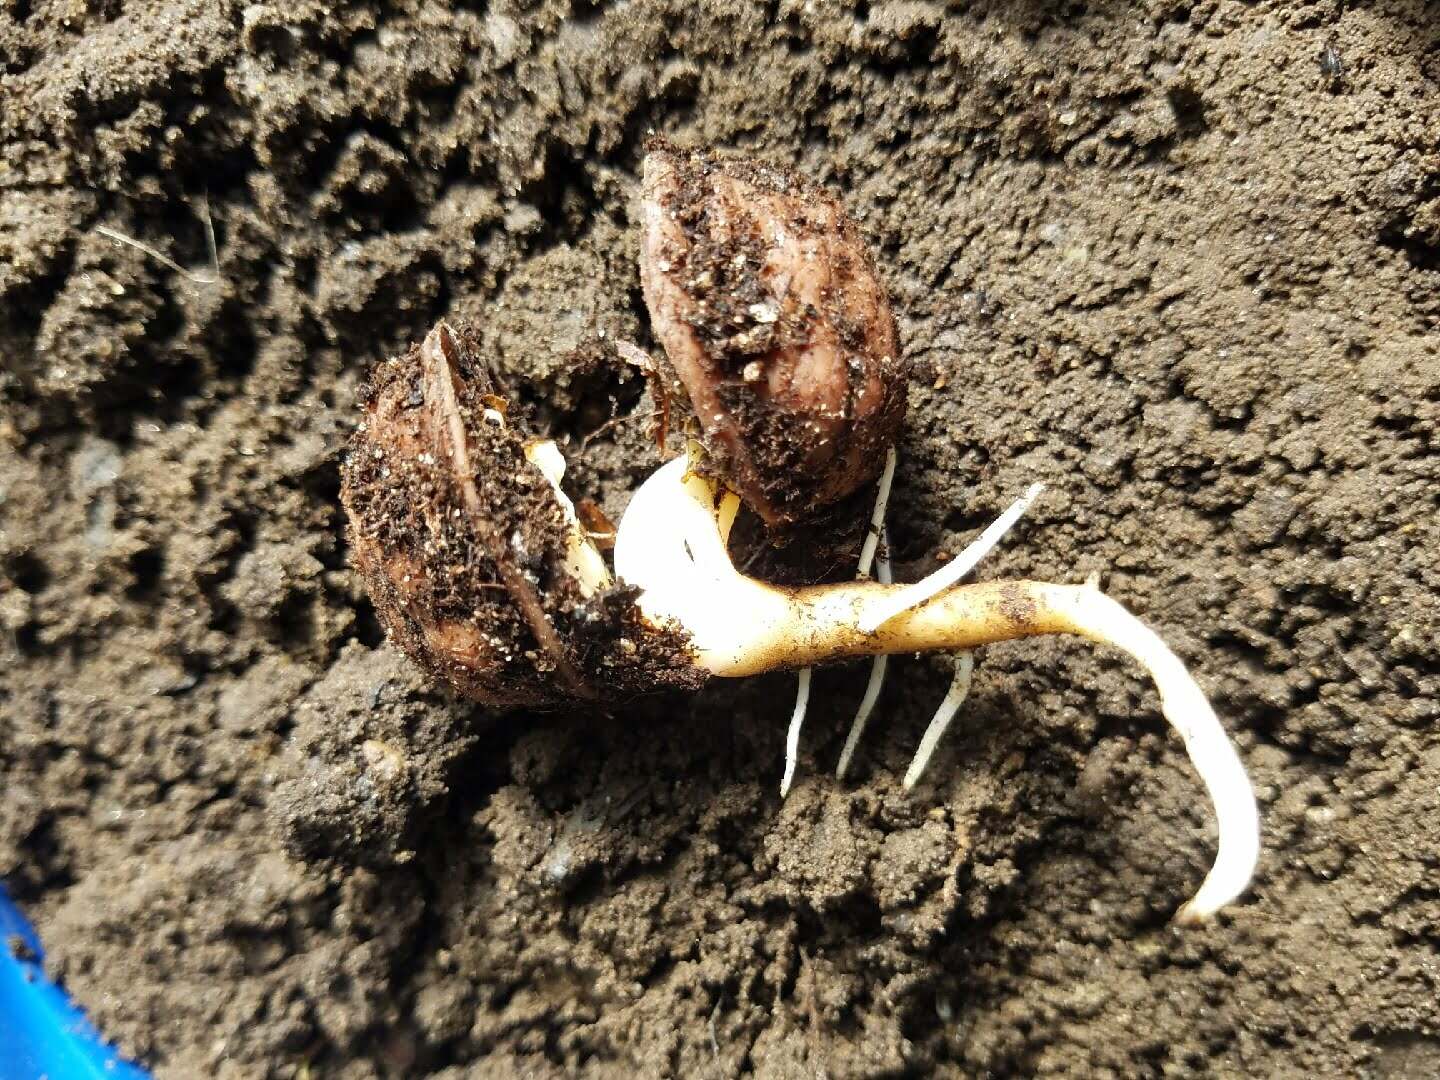
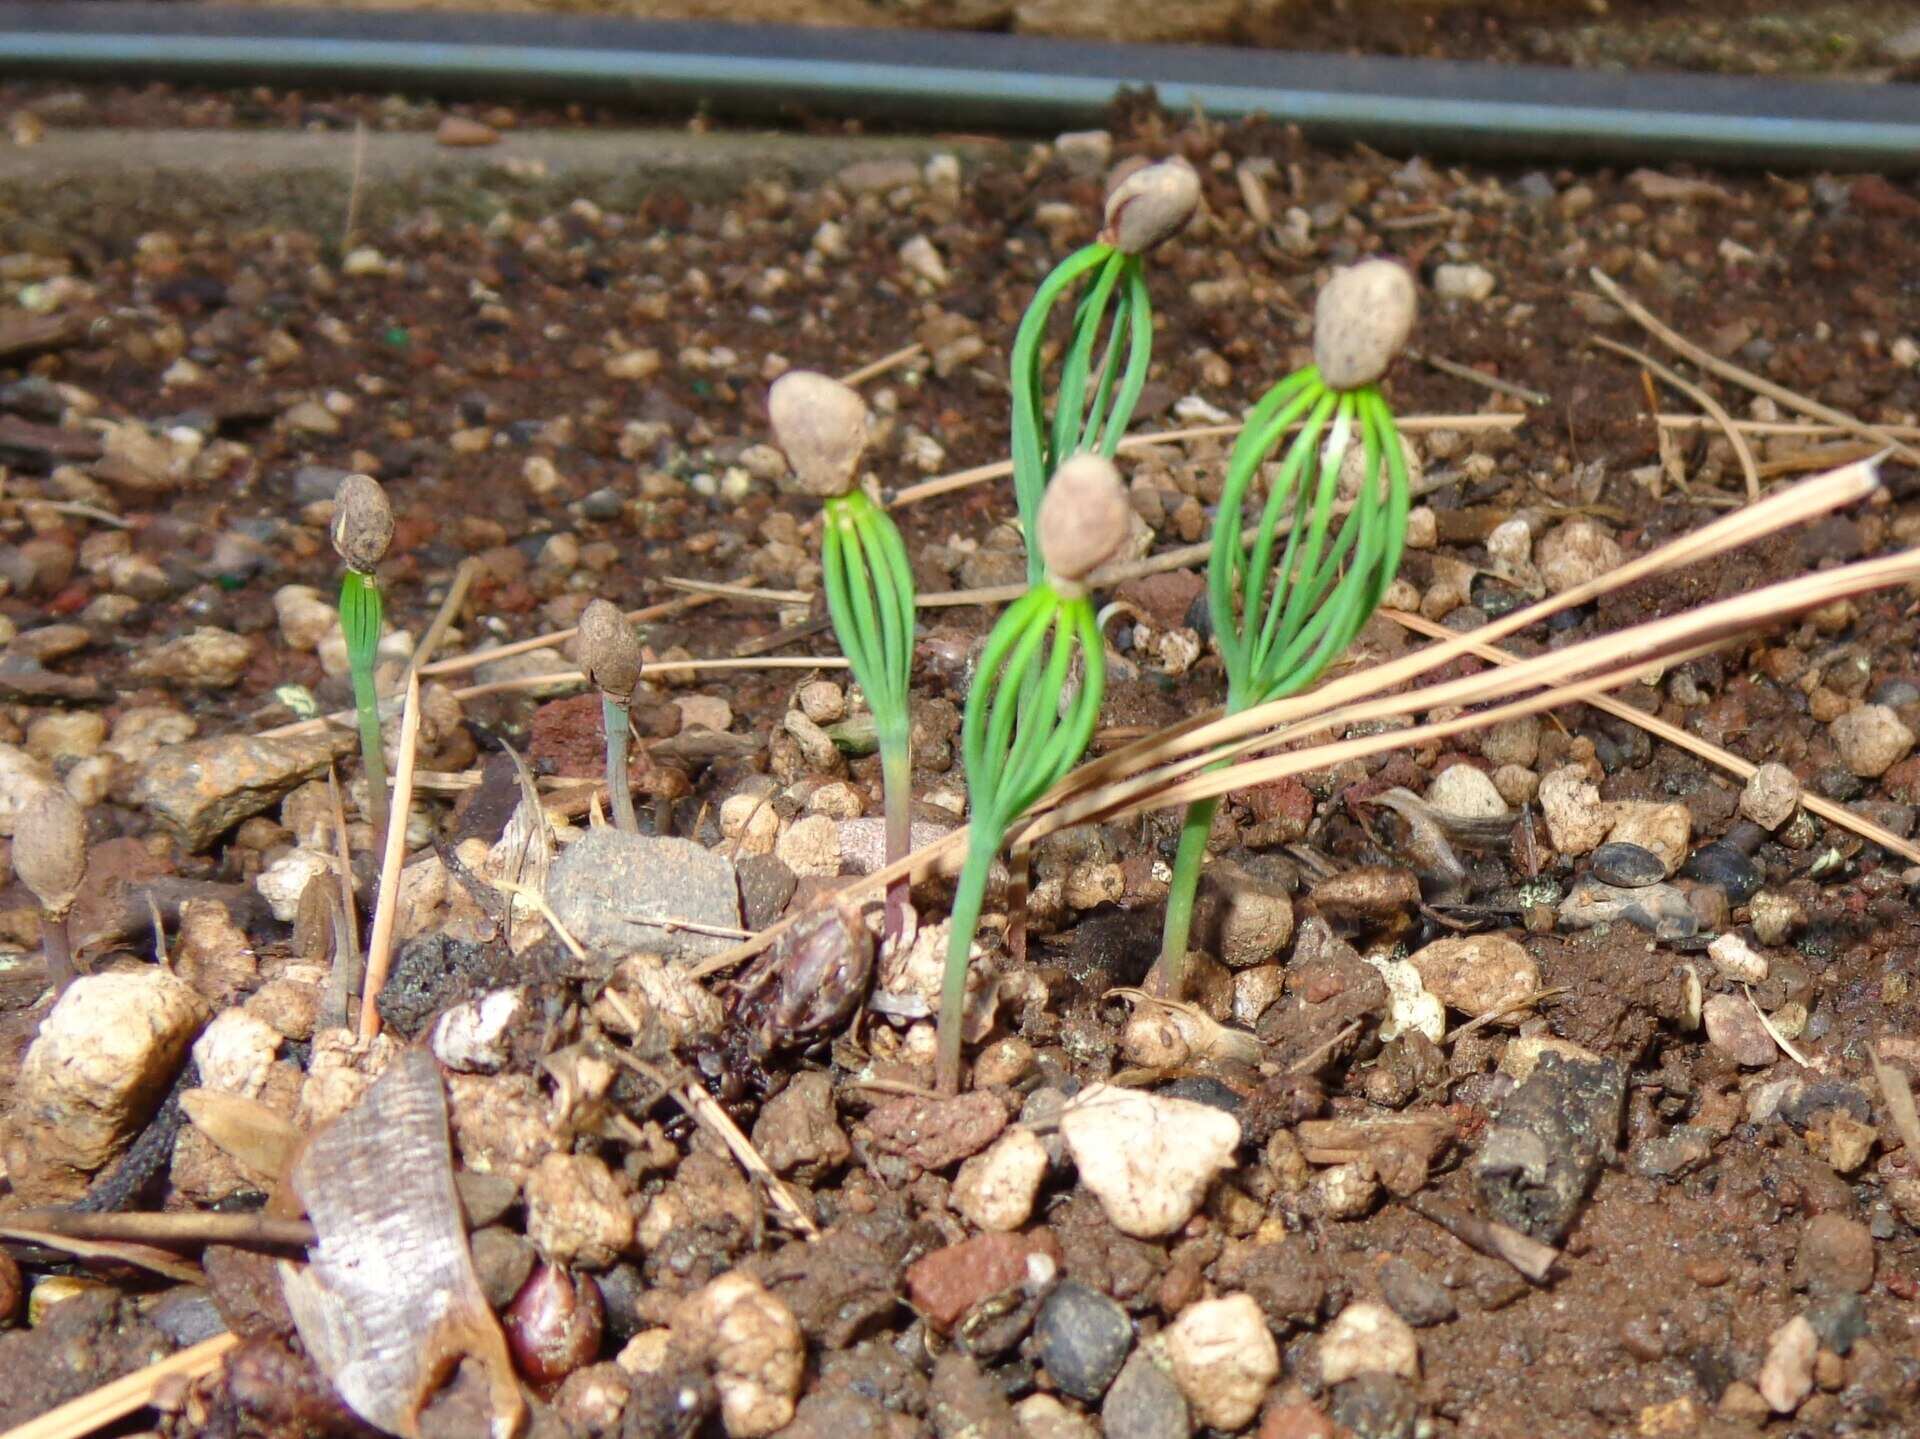
- Be patient: Germination can take anywhere from 4-8 weeks, so be patient and monitor the pots regularly. As the seeds sprout and seedlings emerge, continue to provide them with the necessary care.
As the seedlings grow, it’s important to gradually acclimate them to outdoor conditions before transplanting them into their permanent spot in the garden. This process, known as hardening off, involves gradually exposing the seedlings to outdoor temperatures and sunlight over a period of two to three weeks.
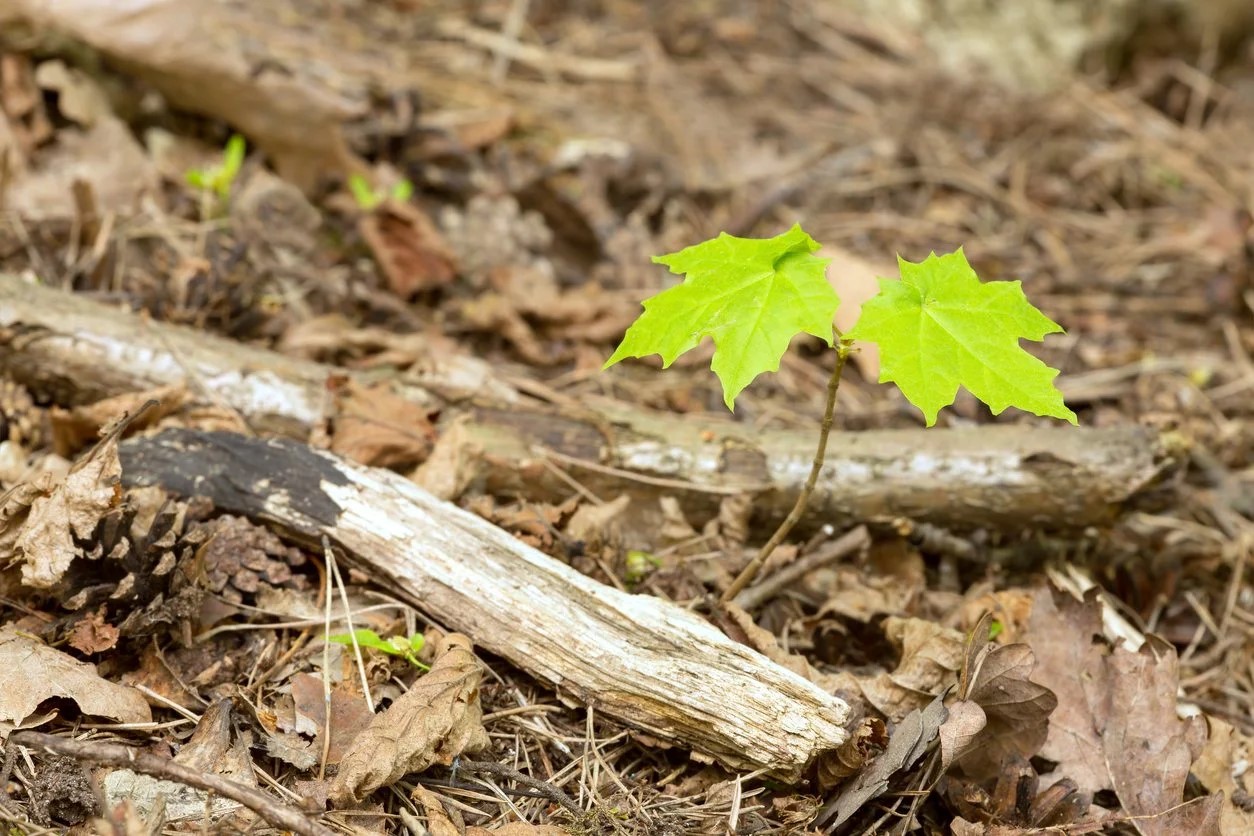
Transplant the seedlings once they are around 6-8 inches tall and have developed a robust root system.
To grow a black walnut tree from seed, plant the nut in a well-draining soil in the fall. Keep the soil consistently moist and protect the seed from rodents. It may take several years for the tree to produce nuts.
Transplanting the Seedling
Transplanting black walnut seedlings is an important step in their journey towards becoming mature trees. This process allows the seedlings to establish themselves in a permanent location where they can thrive for years to come. Here’s a step-by-step guide on how to transplant black walnut seedlings:
- Choose the right location: Black walnut trees prefer well-drained soil and full sun, so select a spot in your garden that meets these requirements. Ensure that the area has enough space for the tree to grow to its full size, as black walnuts can be quite large.
- Prepare the planting hole: Dig a hole that is wide and deep enough to accommodate the seedling’s root system. Loosen the soil in the surrounding area to promote healthy root growth.
- Carefully remove the seedling from its pot: Gently tap the sides of the pot to loosen the root ball and then carefully lift the seedling out of the pot, ensuring that the root system remains intact.
- Place the seedling in the planting hole: Position the seedling in the center of the hole, making sure that the top of the root ball is level with or slightly above the surrounding soil surface. Avoid planting the seedling too deep, as this can hinder its growth.
- Backfill the hole: Fill the hole with the excavated soil, gently packing it around the roots to eliminate any air pockets. Avoid compacting the soil too tightly, as this can restrict root development.
- Water the seedling: Give the transplanted seedling a thorough watering to settle the soil and provide it with much-needed moisture. Keep the soil consistently moist during the establishment period.
- Apply mulch: Spread a layer of organic mulch, such as wood chips or straw, around the base of the seedling. This will help retain soil moisture, suppress weed growth, and protect the roots from extreme temperatures.
- Maintain regular care: Monitor the transplanted seedling for any signs of stress or disease. Water it regularly, especially during dry spells, and provide protection from strong winds or extreme weather conditions.
It’s important to note that black walnut trees have a deep taproot and can be challenging to transplant once they become established. Therefore, ensure that the seedling is given the best start possible by following proper planting techniques and providing ongoing care and attention.
Read more: How To Grow Tree From Seed
Growing and Maintaining the Tree
Once the black walnut tree has been successfully transplanted, it’s time for it to flourish and grow into a magnificent specimen. Here are some essential tips for growing and maintaining a healthy black walnut tree:
- Watering: Provide the tree with regular and deep watering, especially during the early stages of growth. Ensure that the soil around the tree remains consistently moist but not waterlogged. Adjust the watering frequency based on weather conditions and rainfall.
- Fertilization: Black walnut trees can benefit from annual fertilization to promote healthy growth. Use a balanced, slow-release fertilizer in early spring or as recommended by a local horticulturist.
- Pruning: Prune the tree during its dormant season to remove any dead, damaged, or crossing branches. This will help improve air circulation and shape the tree. Avoid excessive pruning, as it can stimulate excessive growth and reduce nut production.
- Protection from pests: Keep an eye out for common pests that can affect black walnut trees, such as walnut caterpillars and walnut curculio beetles. Use organic pest control methods or consult with a professional arborist if necessary.
- Mulching: Maintain a layer of organic mulch around the base of the tree, replenishing it annually. This will help conserve soil moisture, control weeds, and regulate soil temperature.
- Managing competition: Black walnut trees release a chemical compound called juglone, which can inhibit the growth of certain plants. Be mindful of planting sensitive species near the tree and maintain a clear area around the trunk to reduce competition for nutrients and water.
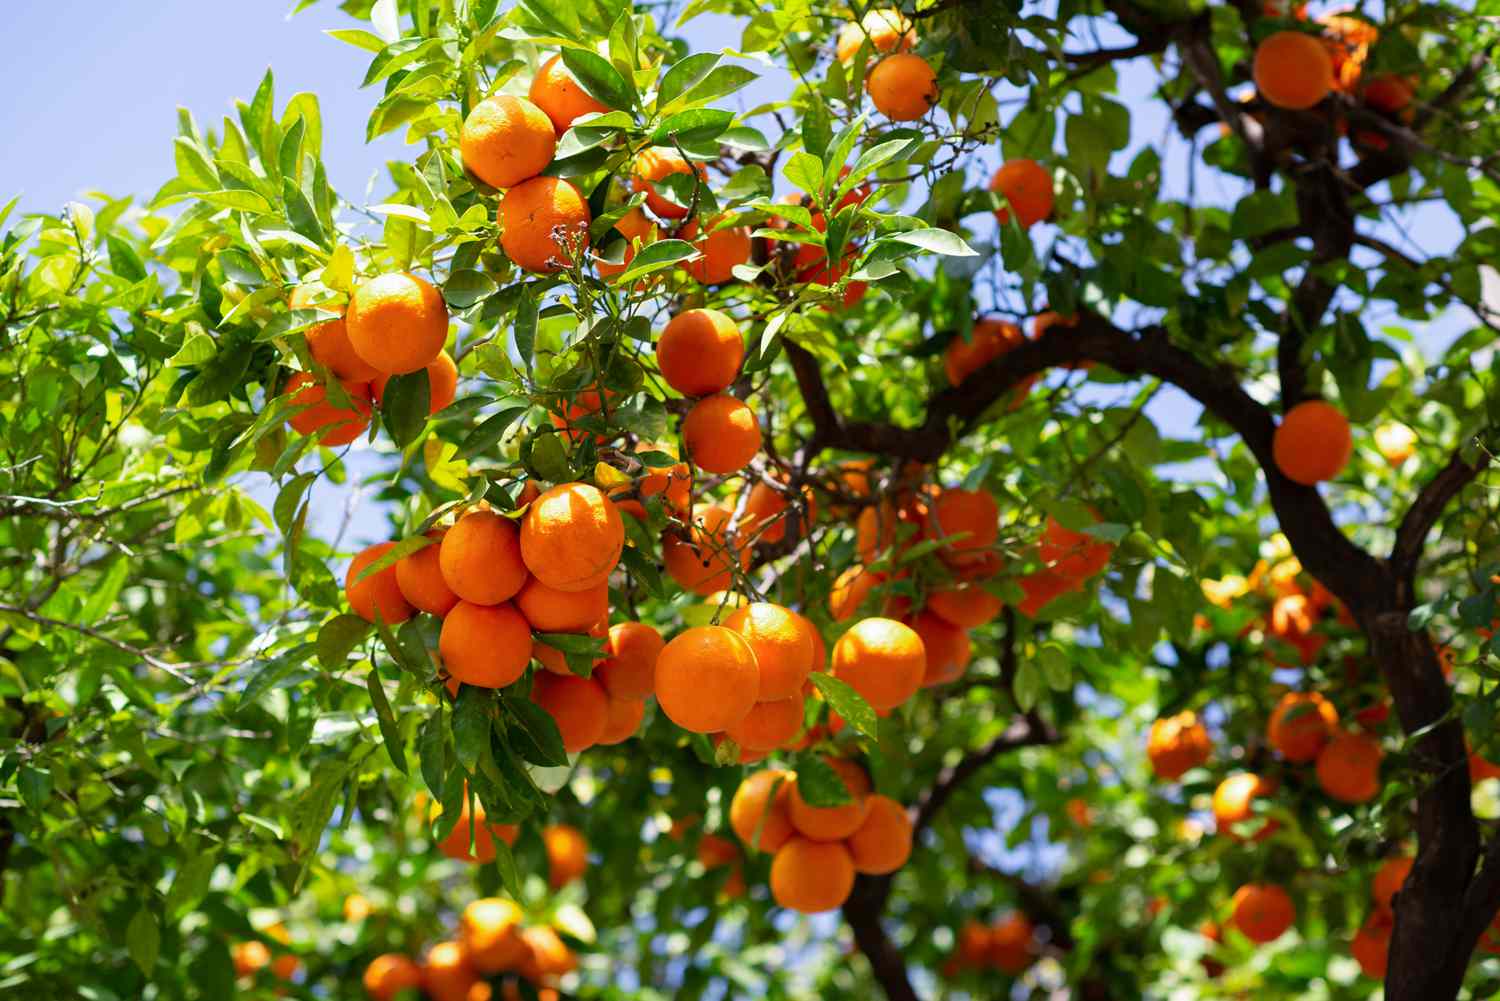
- Harvesting nuts: Once your black walnut tree reaches maturity (which can take around 10-15 years), you can enjoy the fruits of your labor by harvesting the nuts in the fall. Wait until the outer husks split open before gathering the nuts.
- Continuous care: Regularly monitor the tree for signs of stress or disease, such as wilting leaves, discoloration, or unusual growth patterns. Consult with a local arborist if you notice any issues or need guidance.
Black walnut trees are long-lived and can provide shade, beauty, and a bountiful harvest of nuts for many years. With proper care and attention, your black walnut tree will thrive and become a cherished part of your garden or landscape.
Conclusion
Congratulations on completing this comprehensive guide on growing a black walnut tree from seed! By following the steps outlined in this article, you have embarked on a rewarding journey that will allow you to witness the transformation of a tiny seed into a magnificent tree.
Growing a black walnut tree from seed is a process that requires patience, dedication, and a love for nature. From selecting and preparing the seeds to the stratification process, potting and seedling care, transplanting, and ongoing maintenance, every step plays a crucial role in the tree’s growth and development.
As your black walnut tree thrives and matures, it will bring numerous benefits to your garden or landscape. From the majestic beauty of its tall stature to the shade it provides on a hot summer’s day, a black walnut tree is a stunning addition to any outdoor space.
Additionally, as the tree blossoms, it will reward you with a bountiful harvest of delicious and nutritious black walnuts. These nuts can be enjoyed as a tasty snack, incorporated into various culinary creations, or even used for woodworking projects due to the tree’s prized dark wood.
Remember to give your black walnut tree the care and attention it needs by providing regular watering, proper fertilization, and vigilant pest management. Stay mindful of its specific requirements, including protection from competition and possible sensitivity to certain plants.
By investing your time and effort into growing a black walnut tree from seed, you are not only creating a legacy for yourself but also contributing to the beauty of nature. So, go ahead and embrace the joys of nurturing and watching your black walnut tree flourish over the years to come.
Enjoy the journey and the rewards that come with growing your own black walnut tree!
Now that you've mastered the basics of growing a black walnut tree from seed, you might wonder about the next steps. How quickly can seeds sprout? For those itching to see their new plants break through the soil, our detailed guide on seed germination times will prove invaluable. It covers various plant types, offering insights on speeding up the germination process so your garden flourishes faster. Don't miss out on this essential read for every budding gardener!
Frequently Asked Questions about How To Grow A Black Walnut Tree From Seed
Was this page helpful?
At Storables.com, we guarantee accurate and reliable information. Our content, validated by Expert Board Contributors, is crafted following stringent Editorial Policies. We're committed to providing you with well-researched, expert-backed insights for all your informational needs.


0 thoughts on “How To Grow A Black Walnut Tree From Seed”