Home>Garden Essentials>How To Grow Chestnut Trees From Seed
Garden Essentials
How To Grow Chestnut Trees From Seed
Modified: August 16, 2024
Learn how to grow chestnut trees from seed in your garden and enjoy delicious homegrown chestnuts. Expert tips and step-by-step instructions for successful chestnut tree cultivation.
(Many of the links in this article redirect to a specific reviewed product. Your purchase of these products through affiliate links helps to generate commission for Storables.com, at no extra cost. Learn more)
Introduction
Welcome to the exciting world of growing chestnut trees from seed! Whether you’re a seasoned gardener or a novice in the field of horticulture, cultivating chestnut trees from seed can be a rewarding and fulfilling endeavor. Not only will you enjoy the beauty of these majestic trees in your garden or landscape, but you’ll also have the opportunity to harvest delicious and nutritious chestnuts for your culinary creations.
Chestnut trees are native to temperate regions and have been cultivated for centuries for their valuable timber and tasty nuts. Growing chestnut trees from seed allows you to experience the magic of nature firsthand, witnessing the transformation from a tiny seed to a towering tree.
In this comprehensive guide, we will walk you through the steps of growing chestnut trees from seed, providing you with the knowledge and tools needed to ensure successful germination, transplantation, and care. So, let’s dig in and get started on this exciting journey!
Key Takeaways:
- Growing chestnut trees from seed is a rewarding journey, providing delicious nuts and majestic trees. Select high-quality seeds, prepare the soil, and care for young trees to enjoy bountiful harvests.
- Harvesting chestnuts from mature trees is a joyful experience. Keep an eye on ripening, collect fallen chestnuts, dehusk, dry, and store them properly. Enjoy the delicious fruits of your labor in various culinary delights!
Read more: How To Grow A Tree From A Seed
Selecting Chestnut Seeds
Choosing the right chestnut seeds is crucial for successful growth and development of your chestnut trees. Here are some important factors to consider when selecting chestnut seeds:
- Variety: There are various chestnut tree varieties available, differing in growth habit, nut size, and taste. Research and choose a variety that suits your needs and preferences. Popular varieties include American chestnuts, Chinese chestnuts, and European chestnuts.
- Source: Obtain chestnut seeds from reputable sources such as nurseries or specialized chestnut farms. Ensure that the seeds are fresh and of high quality.
- Size: Look for chestnut seeds that are plump, firm, and free from blemishes or cracks. Larger seeds tend to have a higher chance of germination and produce stronger seedlings.
- Germination Test: Performing a germination test can help determine the viability of the chestnut seeds. To conduct a germination test, place the seeds in a moist paper towel or sand and observe the rate at which they sprout. Aim for seeds with a germination rate of at least 70%.
- Local Adaptation: Consider selecting chestnut seeds that are adapted to your local climate and growing conditions. Locally sourced seeds or those from regions with similar climates have a higher chance of thriving in your garden.
Remember, selecting high-quality chestnut seeds is the first step towards successful cultivation. Take your time to research and choose the best seeds available to give your chestnut trees the best start possible.
Preparing the Soil
A well-prepared soil is essential for the healthy growth and development of chestnut trees. Here are some steps to prepare the soil for planting:
- Soil Testing: Before planting, it’s important to test the soil pH and nutrient levels. Chestnut trees prefer slightly acidic to neutral soil with a pH range of 5.5 to 7.0. Adjust the pH levels if necessary by adding lime to raise the pH or sulfur to lower it.
- Soil Composition: Chestnut trees thrive in well-drained soil that is rich in organic matter. Ensure that the soil has good drainage to prevent waterlogging, which can lead to root rot. Incorporating organic matter such as compost or well-rotted manure into the soil helps improve its structure, fertility, and water-holding capacity.
- Clearing the Area: Remove any weeds, rocks, or debris from the planting area. Chestnut trees need space to grow, so clearing the surrounding area will allow them to spread their roots and receive adequate sunlight.
- Loosening the Soil: Use a garden fork or tiller to loosen the soil to a depth of around 12 inches. This encourages root penetration and allows for proper aeration and nutrient absorption.
- Adding Amendments: If the soil lacks essential nutrients, you can add organic or slow-release fertilizers specifically formulated for nut trees. Follow the manufacturer’s instructions for application rates and timing.
By preparing the soil properly, you create an ideal environment for your chestnut trees to establish strong root systems, leading to healthier growth and higher chances of successful cultivation.
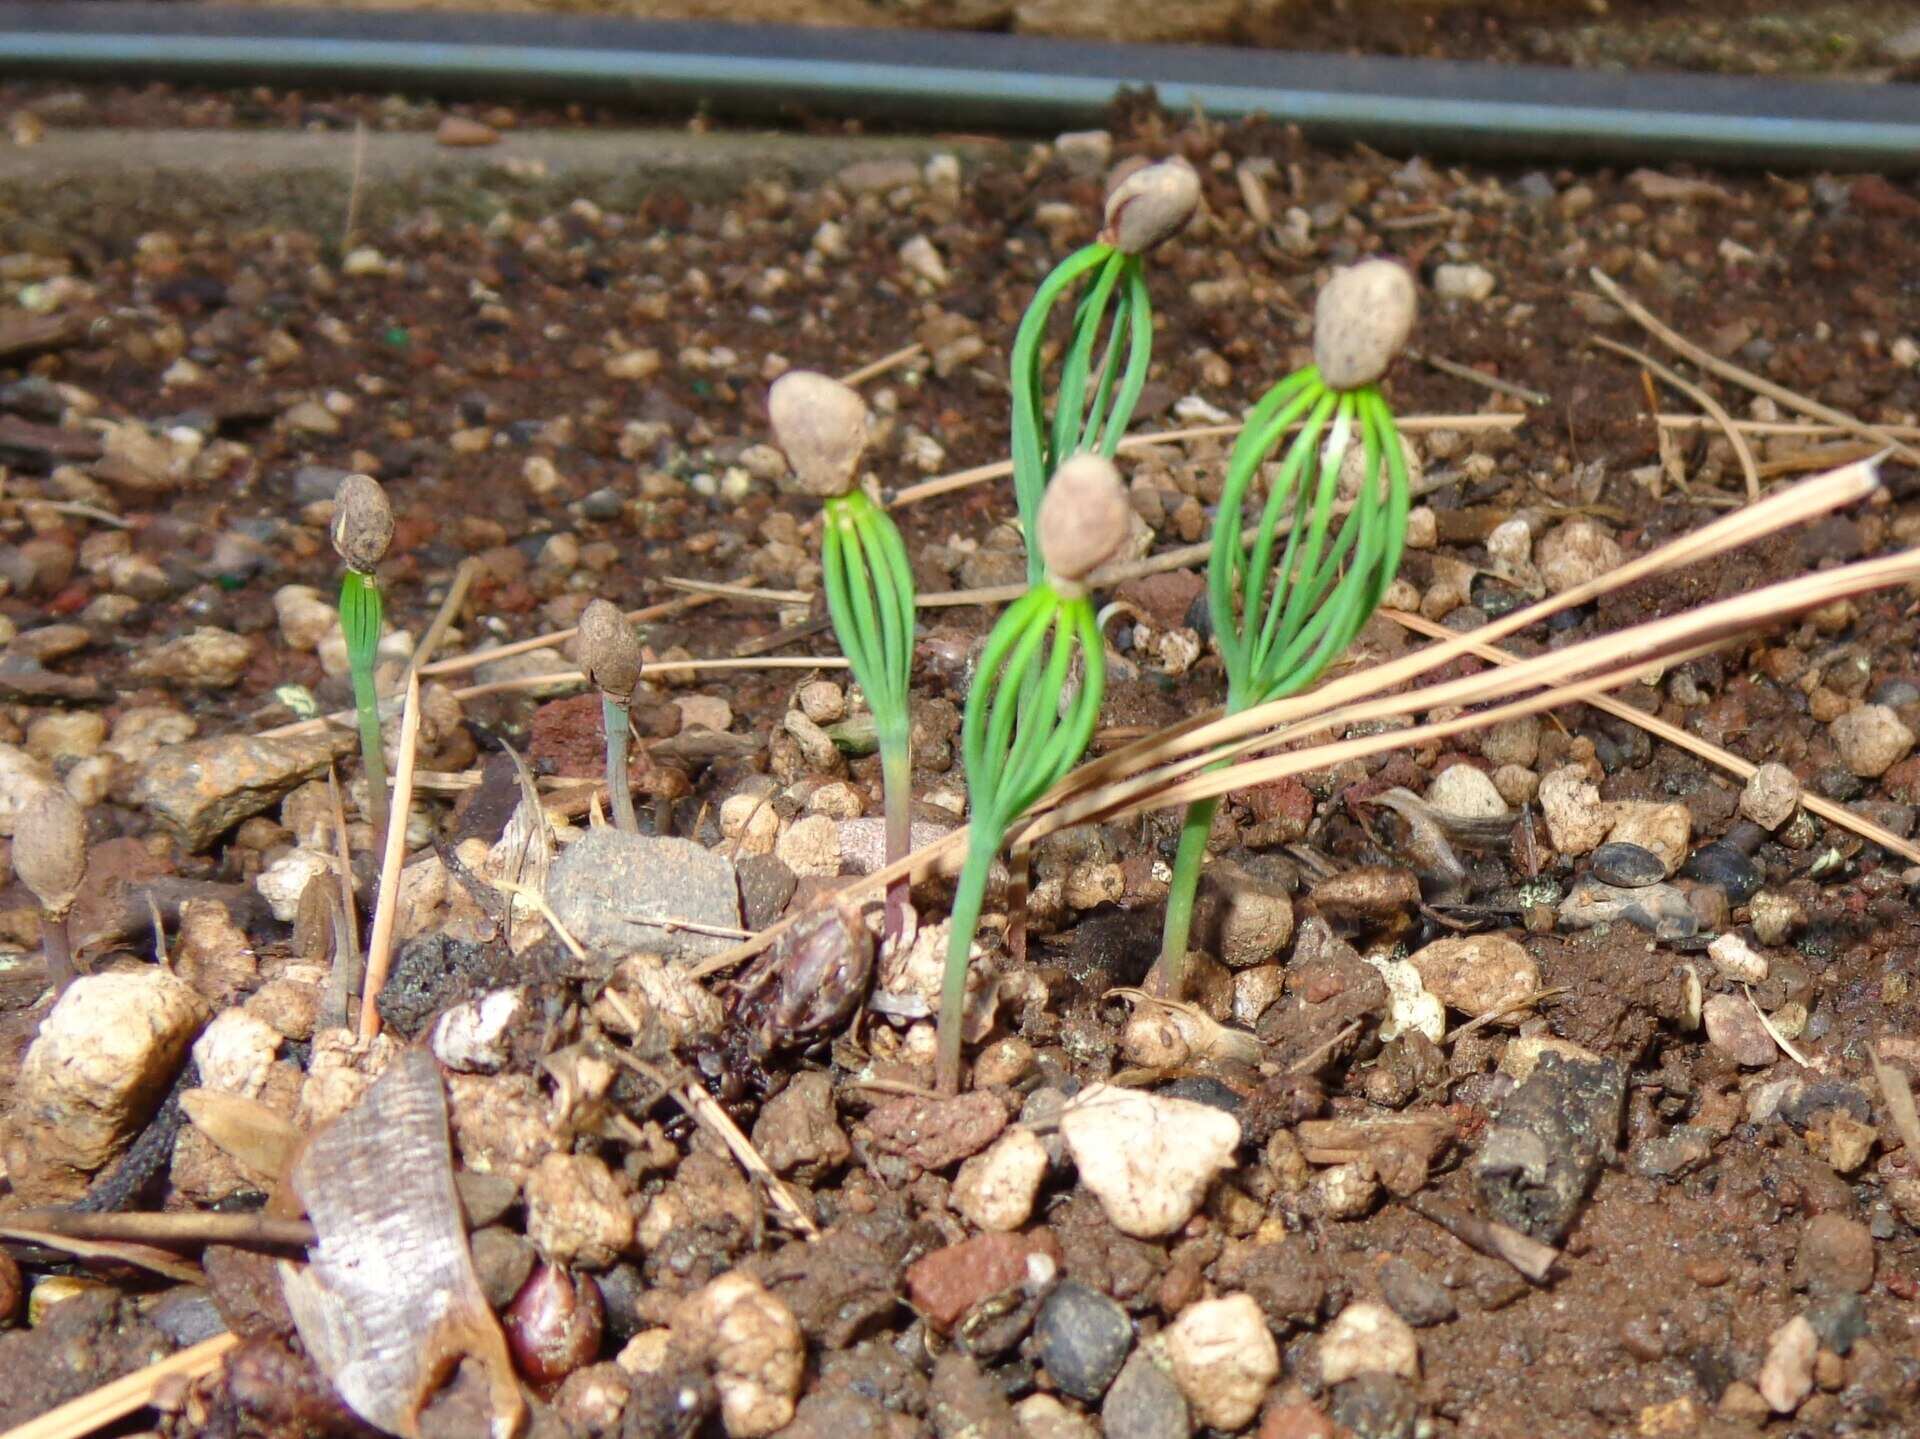
Germinating Chestnut Seeds
Germinating chestnut seeds is an important step in the process of growing chestnut trees from seed. Follow these steps to ensure successful germination:
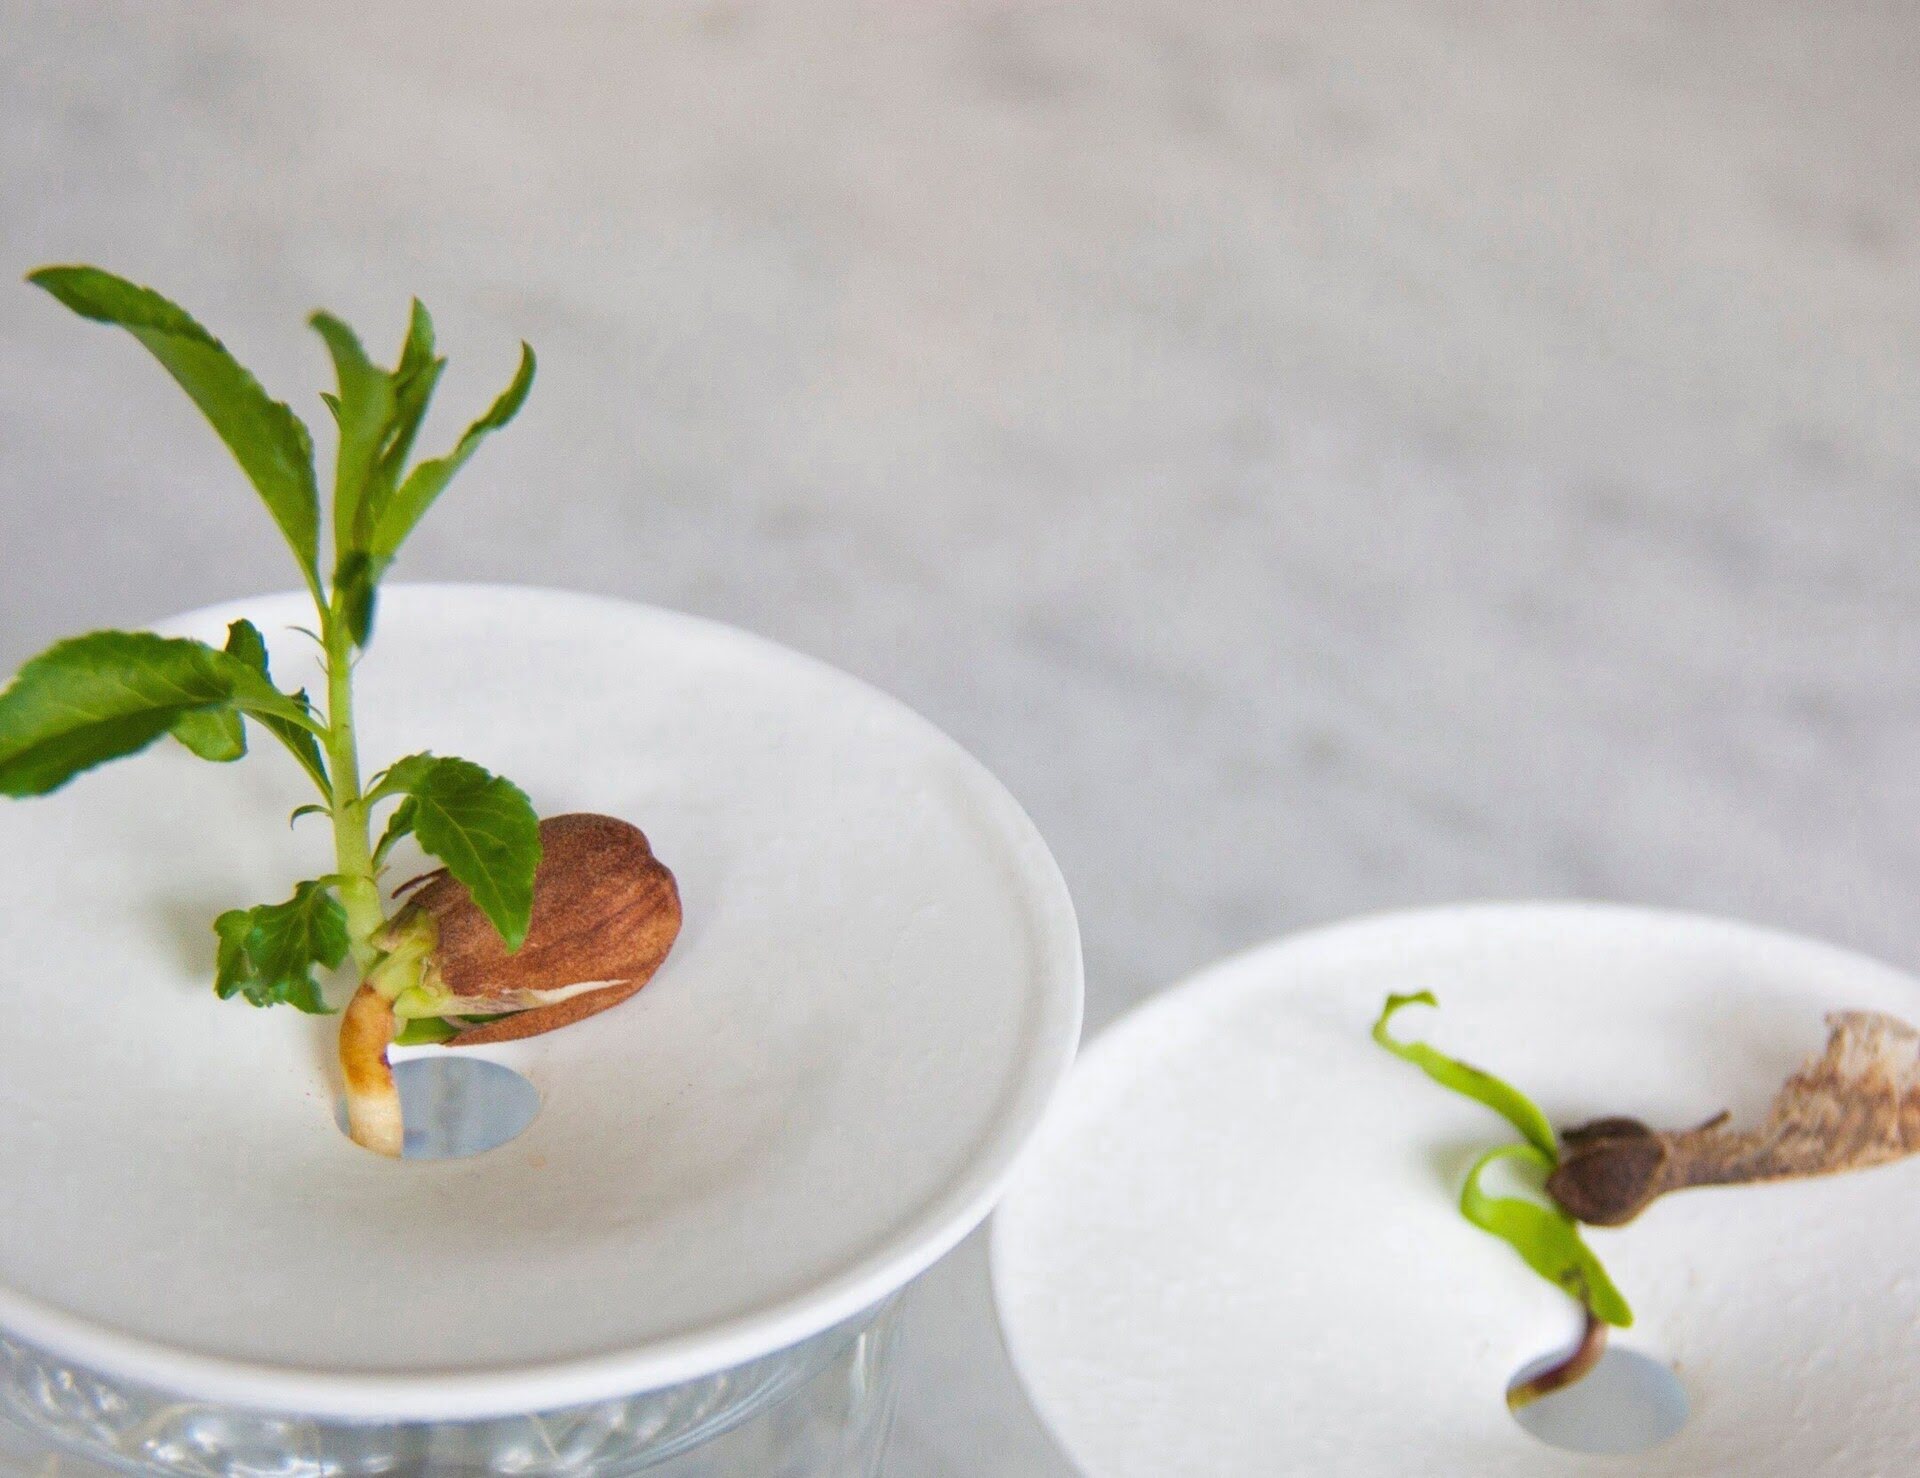
- Stratification: Chestnut seeds require a process called stratification to break dormancy and stimulate germination. Stratification involves exposing the seeds to cold temperatures for a specific period of time. Place the seeds in a sealable plastic bag filled with moist peat moss or vermiculite, and refrigerate them for 60-90 days.
- Pretreatment: After stratification, remove the chestnut seeds from the refrigerator and soak them in water for 24-48 hours. This helps to further soften the seed coat and promote germination.
- Sowing: Prepare seed trays or pots with well-draining soil mix. Make 1-2 inch deep holes in the soil and place the chestnut seeds in the holes. Cover the seeds with soil and lightly firm them down.
- Moisture and Warmth: Keep the soil consistently moist but not waterlogged. Place the seed trays or pots in a warm location with temperatures around 70-85°F (21-29°C). You can use a plastic dome or plastic wrap to create a greenhouse-like environment and retain moisture.
- Patience: Chestnut seeds can take several weeks to several months to germinate. Be patient and check the soil moisture regularly. Avoid overwatering, as it can lead to fungal diseases.
- Transplanting: Once the chestnut seedlings have developed strong root systems and are about 6-8 inches tall, they are ready to be transplanted into larger pots or directly into the ground.
By following these steps, you give your chestnut seeds the optimum conditions needed for successful germination, ensuring a healthy start for your chestnut tree seedlings.
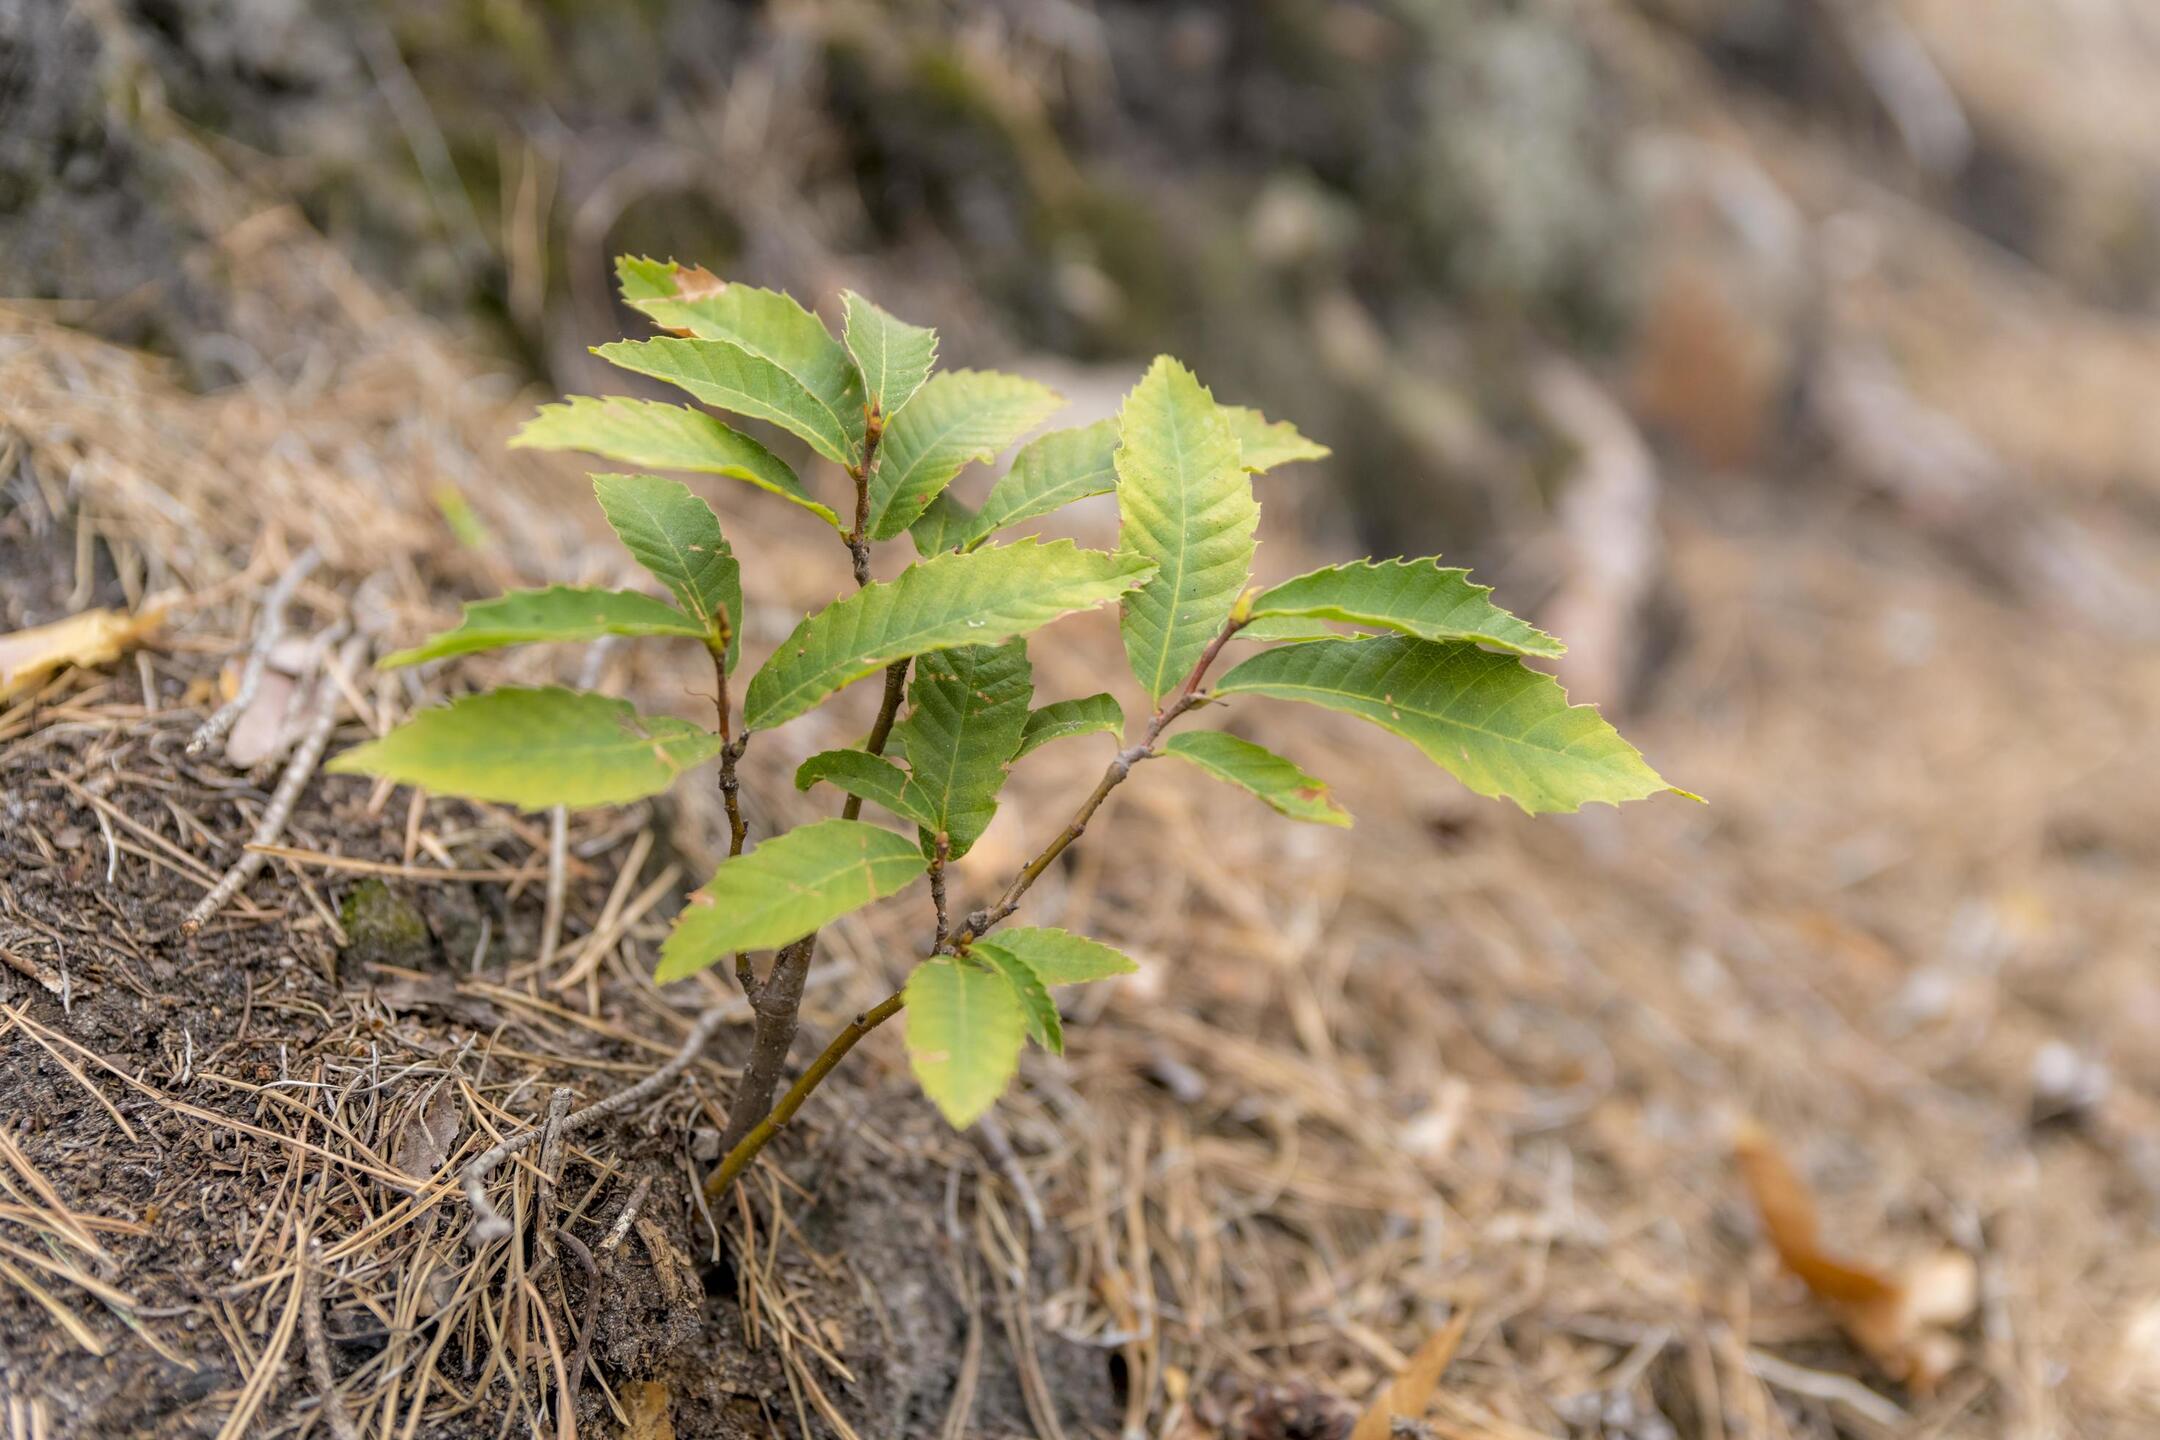
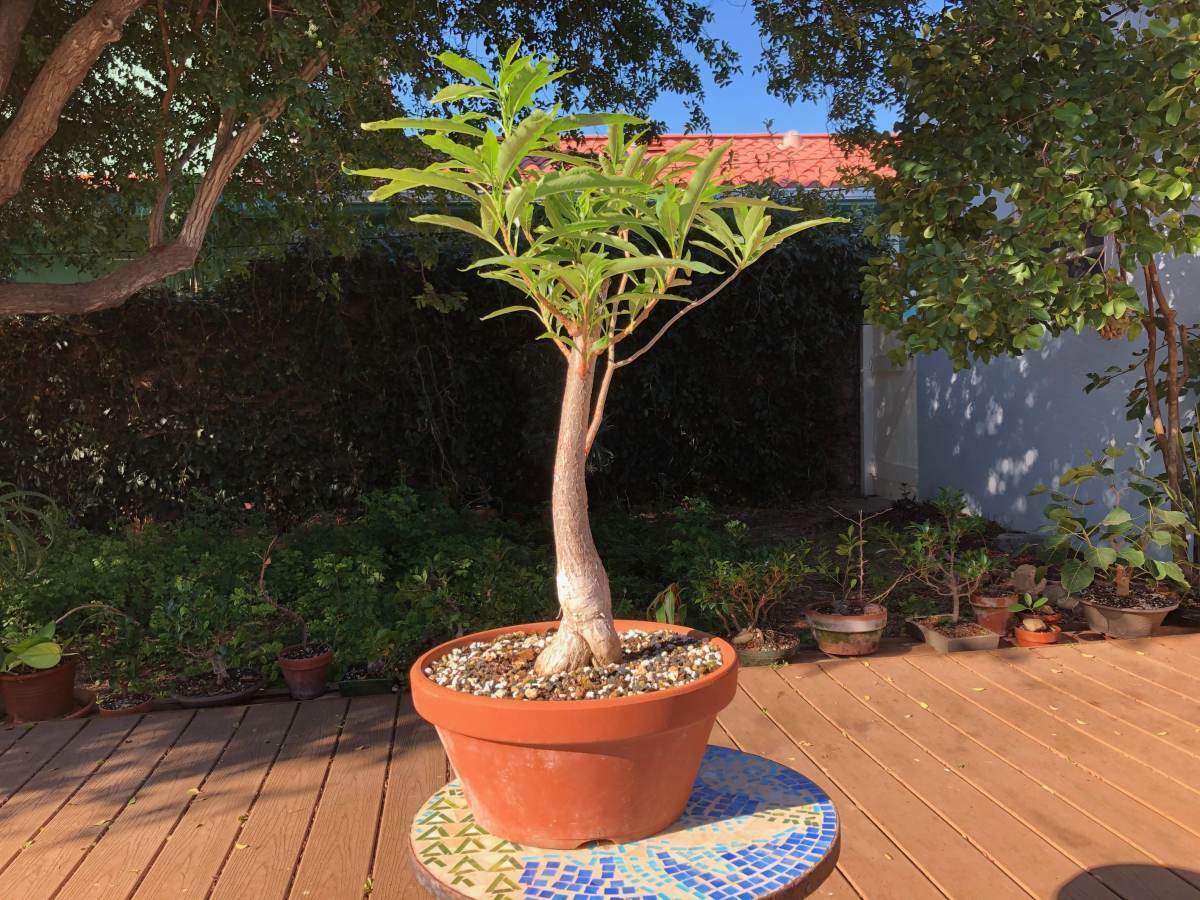
Transplanting Seedlings
After germinating and nurturing your chestnut tree seedlings, it’s time to transplant them into their permanent growing location. Follow these steps for successful transplanting:
- Timing: The ideal time to transplant chestnut seedlings is when they are about 6-8 inches tall and have developed a strong root system. This is usually after 1-2 years of growth.
- Choosing a Location: Select a sunny location for your chestnut trees with well-drained soil. Ensure that the chosen area has enough space to accommodate the mature size of the chestnut tree, as they can reach heights of 30-60 feet.
- Preparing the Planting Hole: Dig a hole that is twice as wide and deep as the root ball of the seedling. Loosen the soil around the hole to facilitate root penetration and establishment.
- Transplanting: Gently remove the seedling from its container, being careful not to damage the roots. Place the seedling in the planting hole, ensuring that the base of the trunk is level with or slightly above the soil surface. Backfill the hole with soil, firming it gently around the roots.
- Watering: After transplanting, water the chestnut seedling thoroughly to settle the soil and eliminate any air pockets around the roots. Maintain regular watering, ensuring that the soil remains evenly moist throughout the growing season.
- Staking: If the seedling is tall or in a windy location, consider staking it for support during the initial stages of growth. Use a sturdy stake and attach the seedling loosely with a soft tie, allowing for natural movement and growth.
- Mulching: Apply a layer of organic mulch, such as wood chips or straw, around the base of the seedling. This helps conserve moisture, inhibit weed growth, and regulate soil temperature.
Transplanting seedlings is a critical step in their growth journey. By providing proper care and attention during this process, you’ll maximize the chances of successful establishment and ensure a strong foundation for your chestnut trees to flourish.
To grow chestnut trees from seed, collect fresh seeds in the fall and store them in a cool, moist place until spring. Plant the seeds in well-draining soil and keep them watered. Protect the young trees from animals and harsh weather.
Read more: How To Grow Tree From Seed
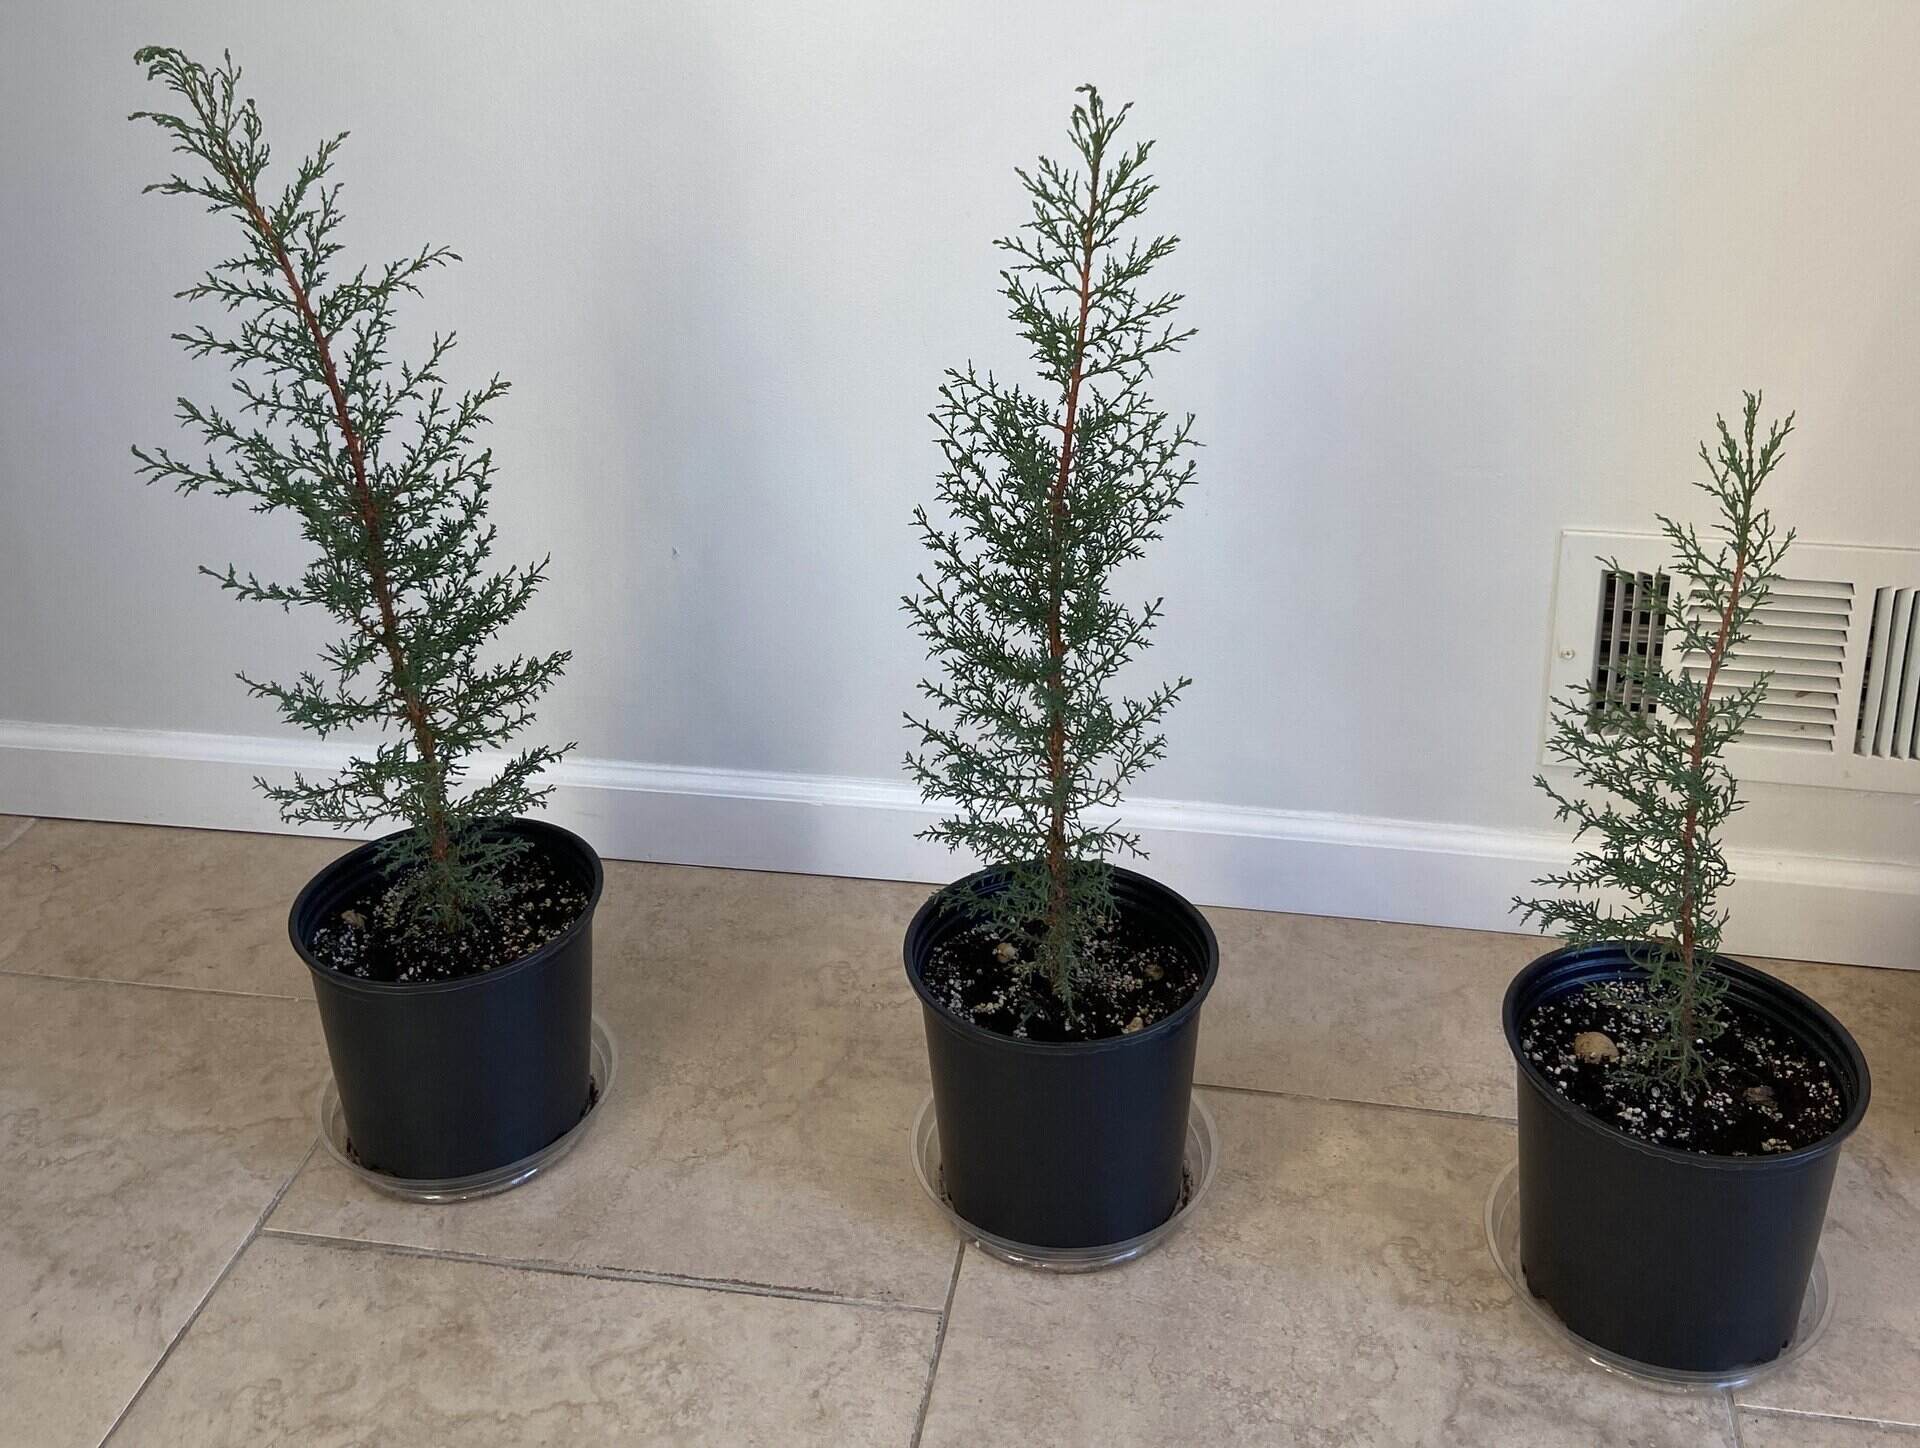
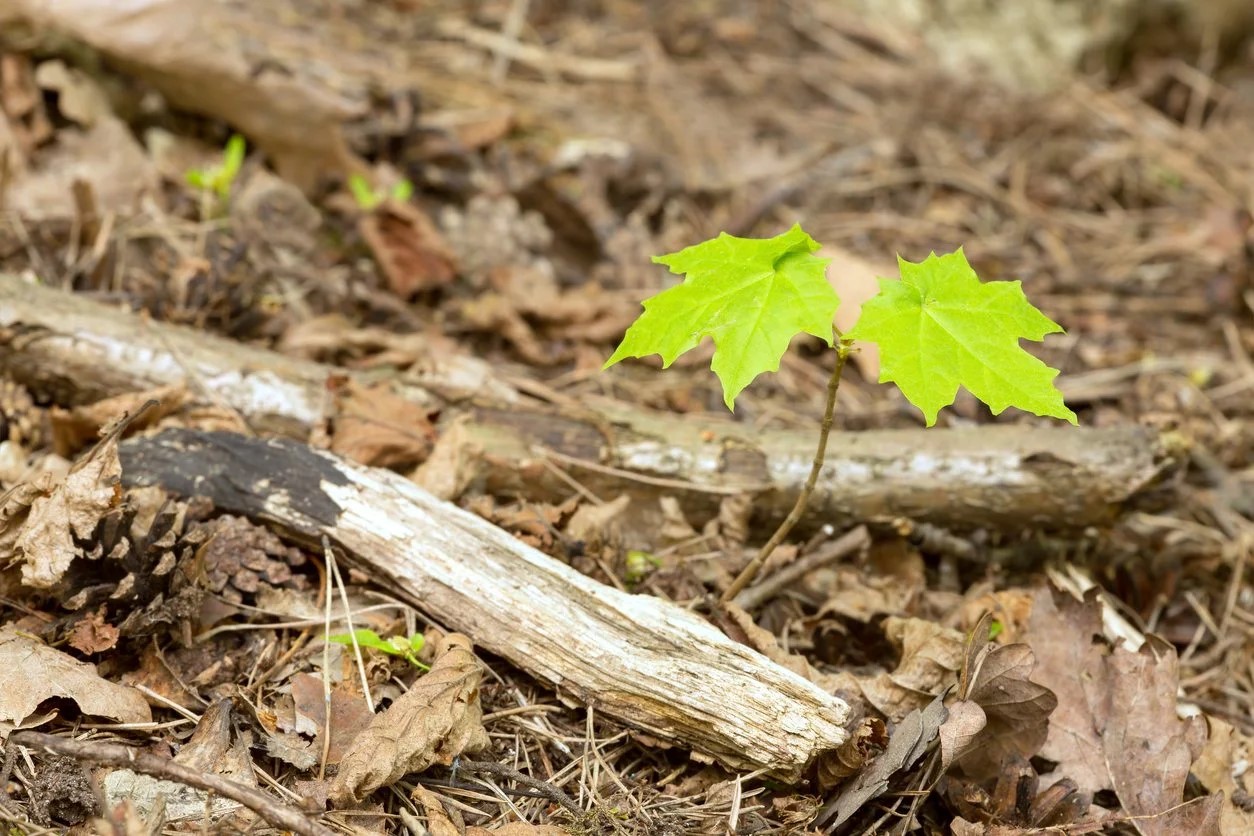
Caring for Young Chestnut Trees
Careful attention during the early stages of growth is essential for the healthy development of young chestnut trees. Here are some important care practices to follow:
- Watering: Young chestnut trees have shallow root systems, so regular and consistent watering is crucial. Aim for deep, thorough watering to encourage deep root growth. Water the trees at least once a week, providing enough water to moisten the soil to a depth of 6 inches.
- Mulching: Apply a layer of organic mulch, such as wood chips or straw, around the base of the tree. Mulching helps conserve moisture, suppress weed growth, and regulate soil temperature. Keep the mulch a few inches away from the trunk to prevent moisture-related diseases.
- Pruning: Pruning young chestnut trees is important for shaping their structure and promoting strong, balanced growth. Remove any dead, damaged, or crossing branches. Maintain a single leader trunk by pruning competing branches. Prune in late winter or early spring before active growth resumes.
- Fertilizing: Young chestnut trees benefit from regular fertilization to support their growth. Apply a balanced, slow-release organic fertilizer or a fertilizer specifically formulated for nut trees in early spring and again in late summer. Follow the product instructions for application rates.
- Weed Control: Keep the area around young chestnut trees free from weeds. Weeds compete with the trees for nutrients and water. Regularly remove weeds manually or use mulch to suppress weed growth.
- Pest and Disease Management: Monitor your young chestnut trees for signs of pests or diseases, such as leaf spot, powdery mildew, or chestnut weevils. Take prompt action if you notice any issues, using organic pest control methods whenever possible.
- Protecting from Wildlife: Chestnut trees are highly valued by wildlife, including deer, squirrels, and birds. Use fencing or other protective measures to prevent animals from causing damage to your young trees.
- Monitoring: Regularly inspect your young chestnut trees for signs of stress, nutrient deficiencies, or other issues. Early detection and intervention can prevent problems from escalating and promote the overall health of the trees.
By providing proper care and attention, you’ll ensure the healthy development and establishment of your young chestnut trees, setting the stage for a future of bountiful harvests and enjoyment of these majestic trees.
Dealing with Common Chestnut Tree Issues
While chestnut trees are generally hardy and resilient, they can still face some common issues. Here are a few problems that you may encounter while growing chestnut trees and how to deal with them:
- Nut Rot: Nut rot, caused by fungal infections, can affect the quality of chestnuts. To prevent nut rot, ensure good air circulation around the tree by proper pruning and spacing. Avoid overhead watering and instead water at the base of the tree. Harvest chestnuts promptly when they are ripe and store them in a cool, dry place.
- Leaf Spot: Leaf spot is a fungal infection that causes dark spots on the leaves. To manage leaf spot, remove and destroy infected leaves. Ensure proper air circulation and avoid over-watering, as moist conditions favor the growth of fungal pathogens. Fungicidal sprays can be used as a last resort if the infection is severe.
- Powdery Mildew: Powdery mildew appears as a white, powdery coating on the leaves, stems, and buds. Prune overcrowded branches to improve air circulation and avoid overhead watering. Fungicidal sprays may be necessary for severe infections, following the instructions on the product label.
- Chestnut Weevil: Chestnut weevils are small insects that lay eggs inside developing chestnuts, causing them to become infested and inedible. To control chestnut weevils, collect and destroy fallen chestnuts to prevent the insects from emerging. You can also apply insecticidal sprays during the early stages of nut development, following the instructions on the product label.
- Winter Injury: Chestnut trees are susceptible to winter injury, especially in colder regions. Protect young trees by wrapping the trunks with burlap or using tree wraps. Mulching around the base of the tree can also help to insulate the soil and protect the roots from extreme cold.
- Deer Damage: Deer can cause significant damage to young chestnut trees, especially during the winter months when other food sources are scarce. Install fencing or use deer repellents to protect your trees from browsing. Pruning lower branches can also deter deer from reaching the tender foliage.
Regular monitoring and prompt action are key to preventing and managing chestnut tree issues. By taking appropriate steps to address these common problems, you’ll ensure the health and vitality of your chestnut trees for years to come.
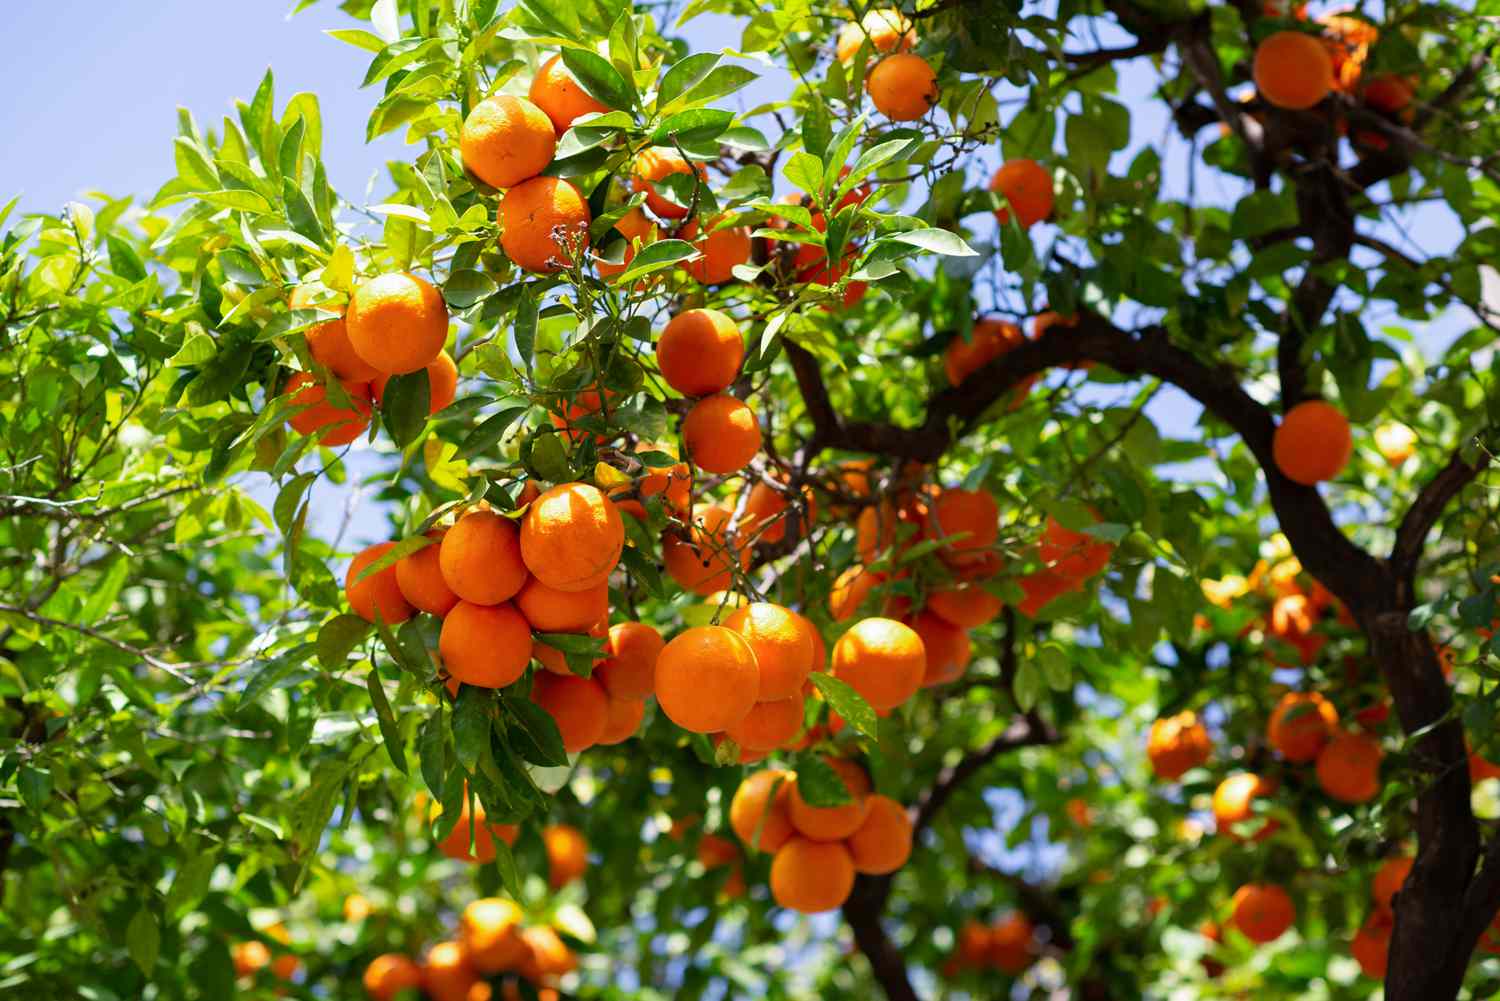
Harvesting Chestnuts from Mature Trees
After years of nurturing and caring for your chestnut trees, the exciting time has finally arrived – it’s time to harvest the delicious and nutritious chestnuts! Here’s how to properly harvest chestnuts from mature trees:
- Timing: Chestnuts are typically ready for harvest in the late summer to early fall, depending on the variety and your geographic location. Keep a close eye on your trees and look for signs of ripening, such as the husks turning brown and starting to split.
- Collection: Chestnuts are typically found inside prickly husks that fall to the ground when ripe. Collect the fallen chestnuts regularly to prevent them from getting damaged or consumed by wildlife. Wear gloves when handling the husks to protect your hands from the prickles.
- Dehusking: Once you’ve collected the chestnuts, it’s time to remove their outer husks. Use a gloved hand or a knife to carefully peel away the prickly husk, revealing the smooth, shiny chestnuts inside.
- Drying: After dehusking, spread the chestnuts out in a single layer in a well-ventilated area. Allow them to air dry for a week or two, turning them occasionally. Drying helps improve their flavor and makes them easier to store.
- Storage: Once the chestnuts are fully dry, store them in a cool, dry place. You can store them in mesh bags, paper bags, or wooden crates. Make sure the storage area maintains a humidity level of around 60-75% to prevent them from drying out too much.
- Usage: Chestnuts can be used in a variety of culinary delights, including roasted chestnuts, stuffing, soups, stews, and desserts. Get creative and explore different recipes to make the most of your bountiful chestnut harvest!
Remember, harvesting chestnuts is a joyful and rewarding experience. Take your time, savor the moment, and enjoy the fruits of your labor as you gather the delicious chestnuts from your mature trees.
Conclusion
Growing chestnut trees from seed is a delightful and rewarding journey that allows you to witness the miracle of nature as tiny seeds transform into majestic trees bearing delicious nuts. By following the steps outlined in this guide, you can successfully cultivate and care for your chestnut trees, creating a beautiful addition to your garden or landscape.
From selecting high-quality chestnut seeds to preparing the soil, germinating the seeds, transplanting seedlings, and caring for young trees, each step plays a vital role in the growth and development of your chestnut trees. By providing them with proper water, nutrients, and protection from pests and diseases, you’ll ensure their health and vitality.
Don’t forget to monitor your chestnut trees regularly and address any issues that may arise promptly and effectively. With proper care and attention, you’ll be rewarded with bountiful harvests of delicious chestnuts to enjoy and share with friends and family.
Remember, growing chestnut trees is not just about the end result, but also about the journey itself. Take time to appreciate the beauty of these magnificent trees, the changing seasons, and the connection with nature that gardening provides.
So, get started on your chestnut growing adventure and experience the joy of cultivating these remarkable trees from seed. With patience, dedication, and a little bit of knowledge, you’ll have the pleasure of enjoying the fruits of your labor for years to come.
Happy growing and may your chestnut trees thrive and flourish!
Frequently Asked Questions about How To Grow Chestnut Trees From Seed
Was this page helpful?
At Storables.com, we guarantee accurate and reliable information. Our content, validated by Expert Board Contributors, is crafted following stringent Editorial Policies. We're committed to providing you with well-researched, expert-backed insights for all your informational needs.


0 thoughts on “How To Grow Chestnut Trees From Seed”