Home>Garden Essentials>How To De-Seed A Tomato
Garden Essentials
How To De-Seed A Tomato
Modified: August 16, 2024
Learn how to easily de-seed a tomato in your own garden with this step-by-step guide. Say goodbye to pesky seeds and enjoy the perfect tomato every time.
(Many of the links in this article redirect to a specific reviewed product. Your purchase of these products through affiliate links helps to generate commission for Storables.com, at no extra cost. Learn more)
Introduction
Welcome to a complete guide on how to de-seed a tomato! Whether you’re a seasoned gardener with a surplus of ripe tomatoes or a cooking enthusiast looking to remove the seeds for a particular recipe, knowing how to de-seed a tomato can be a valuable skill.
Tomatoes are a versatile fruit used in various culinary creations, from fresh salads to savory sauces and salsas. While tomato seeds are edible and add a delightful texture to some dishes, there are times when you may prefer to remove them. For example, if you want a smoother consistency in sauces or if you’re making a recipe that calls for seedless tomatoes.
In this comprehensive guide, we’ll walk you through the step-by-step process of de-seeding a tomato. You’ll learn essential tips and techniques to ensure you can easily and efficiently remove the seeds while minimizing waste. So, let’s get started with the tools and ingredients you’ll need!
Key Takeaways:
- Removing tomato seeds can enhance the texture of dishes. Choose ripe, meaty tomatoes, wash and cut off the tops, then use a spoon or hands to remove the seeds. Save seeds for future gardening or cooking projects!
- After de-seeding, utilize the tomato flesh in various ways: immediate use, freezing, canning, or drying. Clean up your workspace and tools for a hygienic cooking environment. Enjoy creating delicious, seedless dishes!
Read more: How To Seed A Tomato
Tools and Ingredients Needed
Before you begin de-seeding tomatoes, make sure you have the following tools and ingredients on hand:
- Tomatoes: Choose ripe tomatoes that are plump and firm. The size and quantity of tomatoes depend on your specific needs.
- Knife: A sharp, serrated knife works best for cutting through the tomato skin.
- Cutting board: Use a sturdy cutting board to provide a stable surface for cutting the tomatoes.
- Bowl or sink: You’ll need a container large enough to hold the tomatoes and catch any juice or seeds that may spill during the de-seeding process.
- Spoon: A regular tablespoon or a melon baller can be used to scoop out the seeds.
- Strainer or sieve (optional): If you want to separate the tomato juice from the seeds and pulp, a strainer or sieve will come in handy.
That’s it! With these tools and ingredients, you’re ready to start de-seeding your tomatoes.
Step 1: Choosing the Right Tomatoes
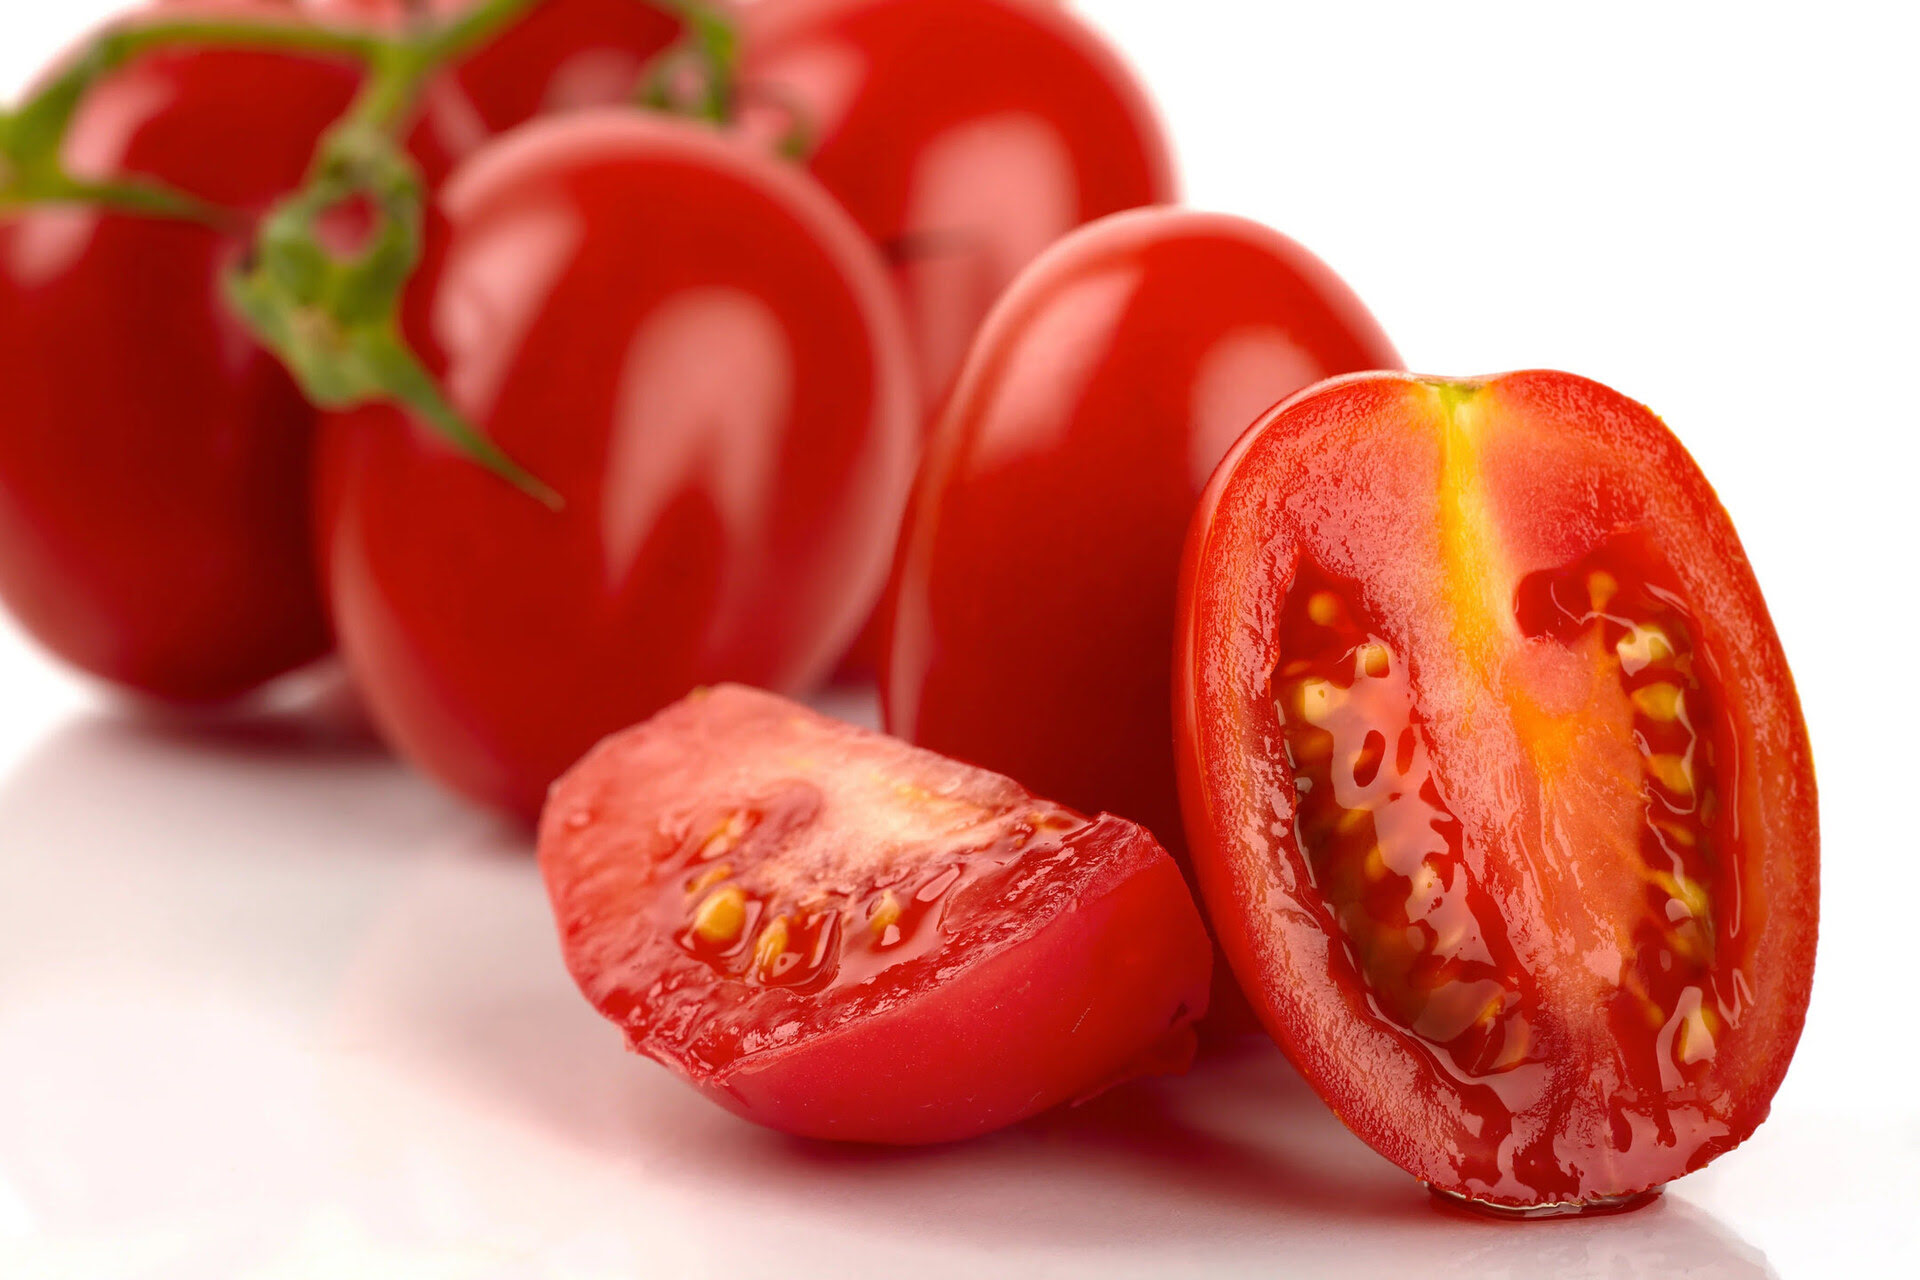
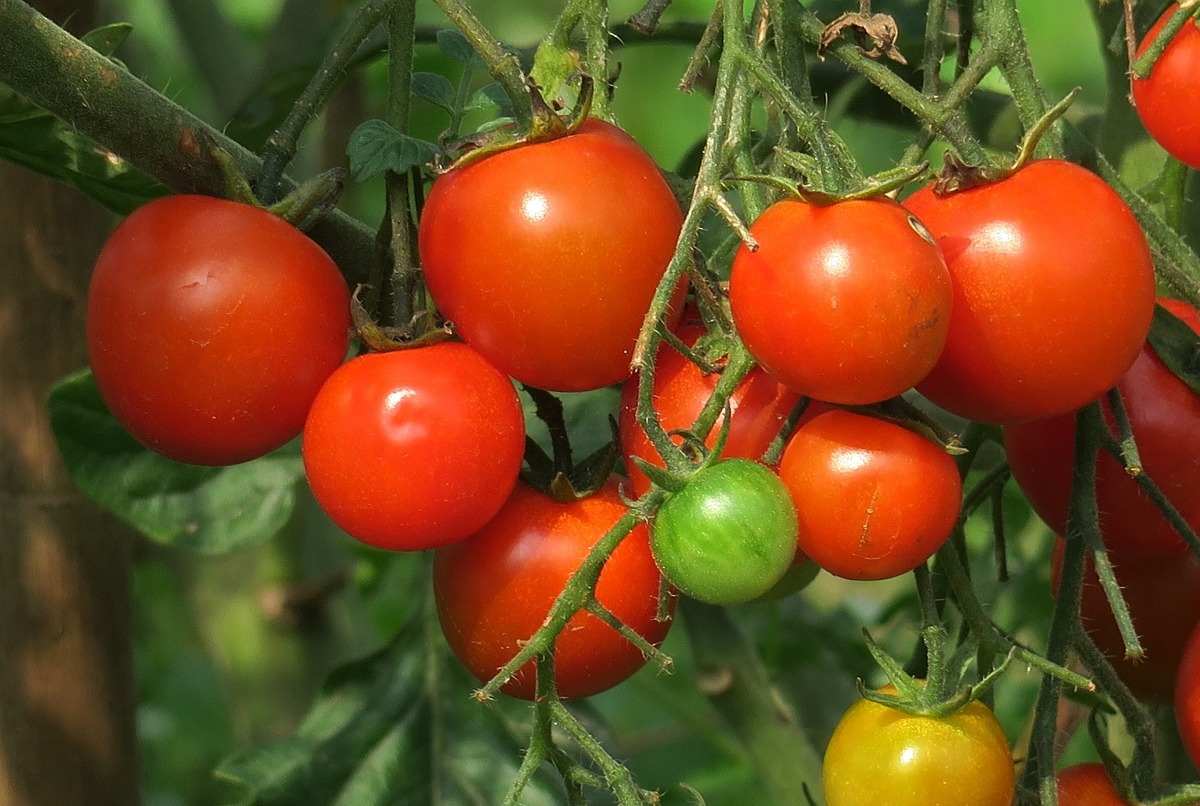
The first step in de-seeding tomatoes is to select the right ones. Look for tomatoes that are fully ripened and have a vibrant color. The variety of tomato you choose is also important. While all tomatoes can be de-seeded, certain varieties may have more or larger seeds, making the process slightly more time-consuming.
If you have control over your tomato selection, opt for meaty varieties like Roma or San Marzano tomatoes. These varieties tend to have fewer seeds and less watery flesh compared to larger beefsteak or heirloom tomatoes.
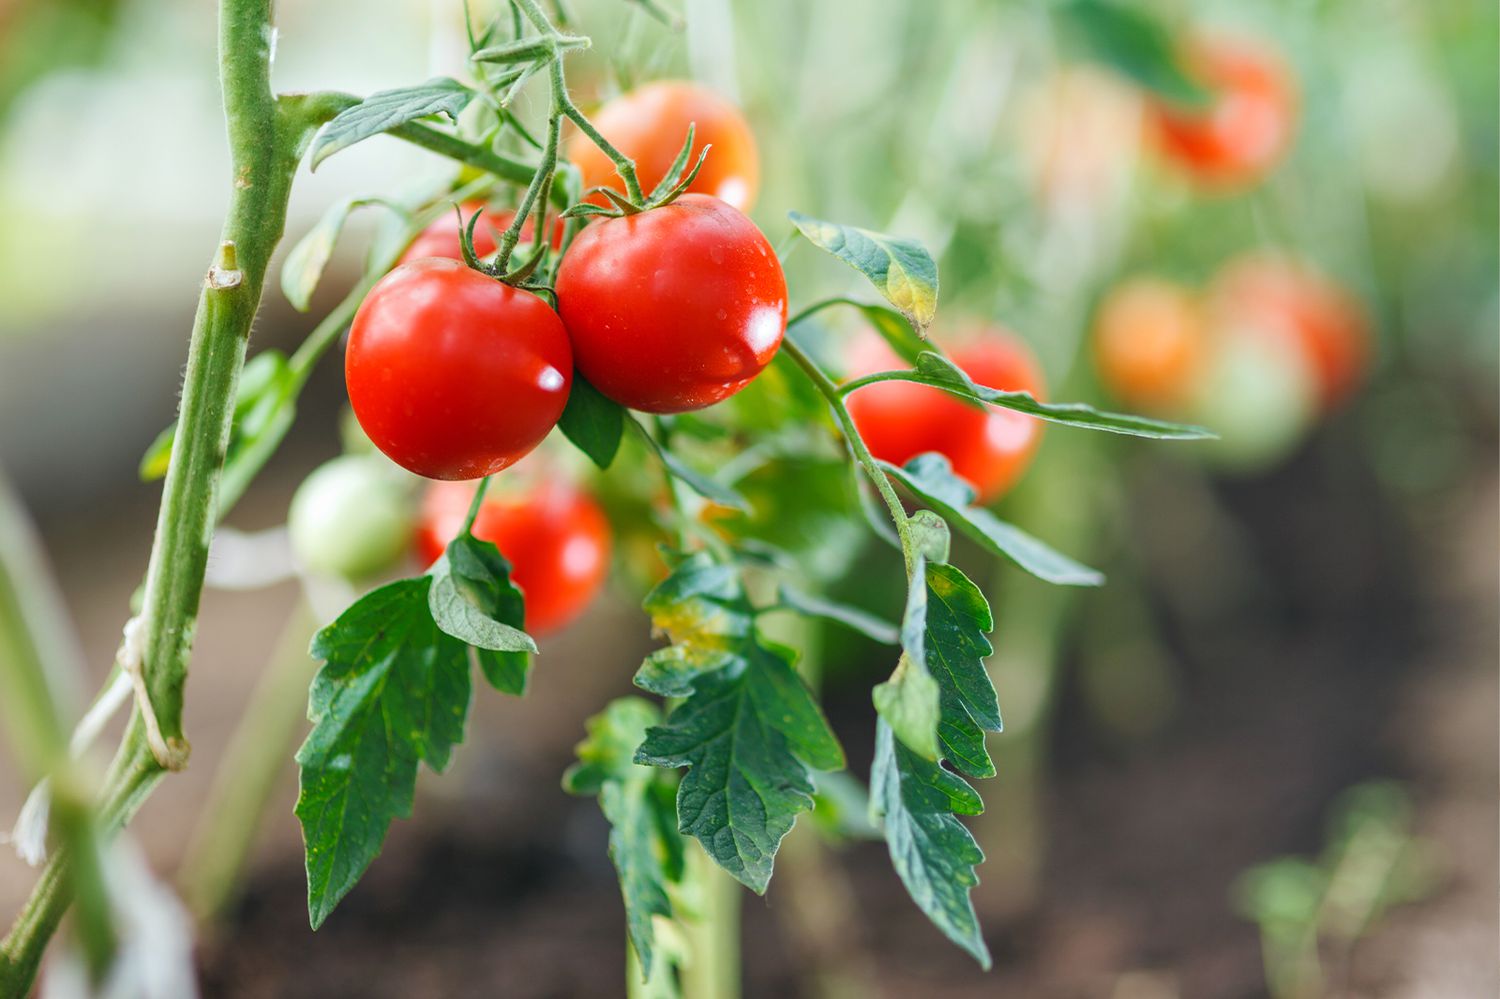
If you’re growing your own tomatoes, harvest them when they are at their peak ripeness. This is when the flavor is at its best, and the seeds are fully developed. Give the tomato a gentle squeeze — it should have a slight give without being overly soft or squishy.
Remember, the overall flavor and quality of your dish will be greatly influenced by the tomatoes you choose, so be selective and choose the best ones you can find.
Step 2: Washing the Tomatoes
Now that you’ve chosen the perfect tomatoes, it’s time to give them a good wash. Even if you grew them yourself, it’s important to remove any dirt, bacteria, or potential contaminants that may be present on the skin.
Start by placing your tomatoes in a clean sink or a large bowl. Fill the sink or bowl with cold water, enough to completely submerge the tomatoes. Gently swish the tomatoes around in the water, allowing any debris to loosen. If you notice any stubborn dirt or residue, you can use a soft brush or a cloth to gently scrub the surface of the tomatoes.
After you’ve given them a thorough wash, drain the water from the sink or bowl. Carefully remove the tomatoes and pat them dry with a clean towel. It’s essential to dry the tomatoes before moving on to the next step, as excess moisture can make it challenging to cut and handle the tomatoes properly.
Once your tomatoes are clean and dry, you’re now ready to move on to the next step: cutting off the top.
Step 3: Cutting off the Top
With your washed and dried tomatoes ready, it’s time to prepare them for de-seeding. Start by placing a tomato on a cutting board. Take a sharp, serrated knife and carefully slice off the top portion of the tomato where the stem is located.
Make sure to cut just enough to remove the stem and create a flat surface. Be cautious not to cut off too much of the tomato flesh, as you’ll want to preserve as much of it as possible for your recipes.
By removing the top, you not only create a stable base for the tomato to stand upright but also gain access to the interior where the seeds are located.
Repeat this process for each tomato you wish to de-seed, placing them back on the cutting board with the newly cut top facing upwards. You’re now ready to move on to the next step: removing the seeds.
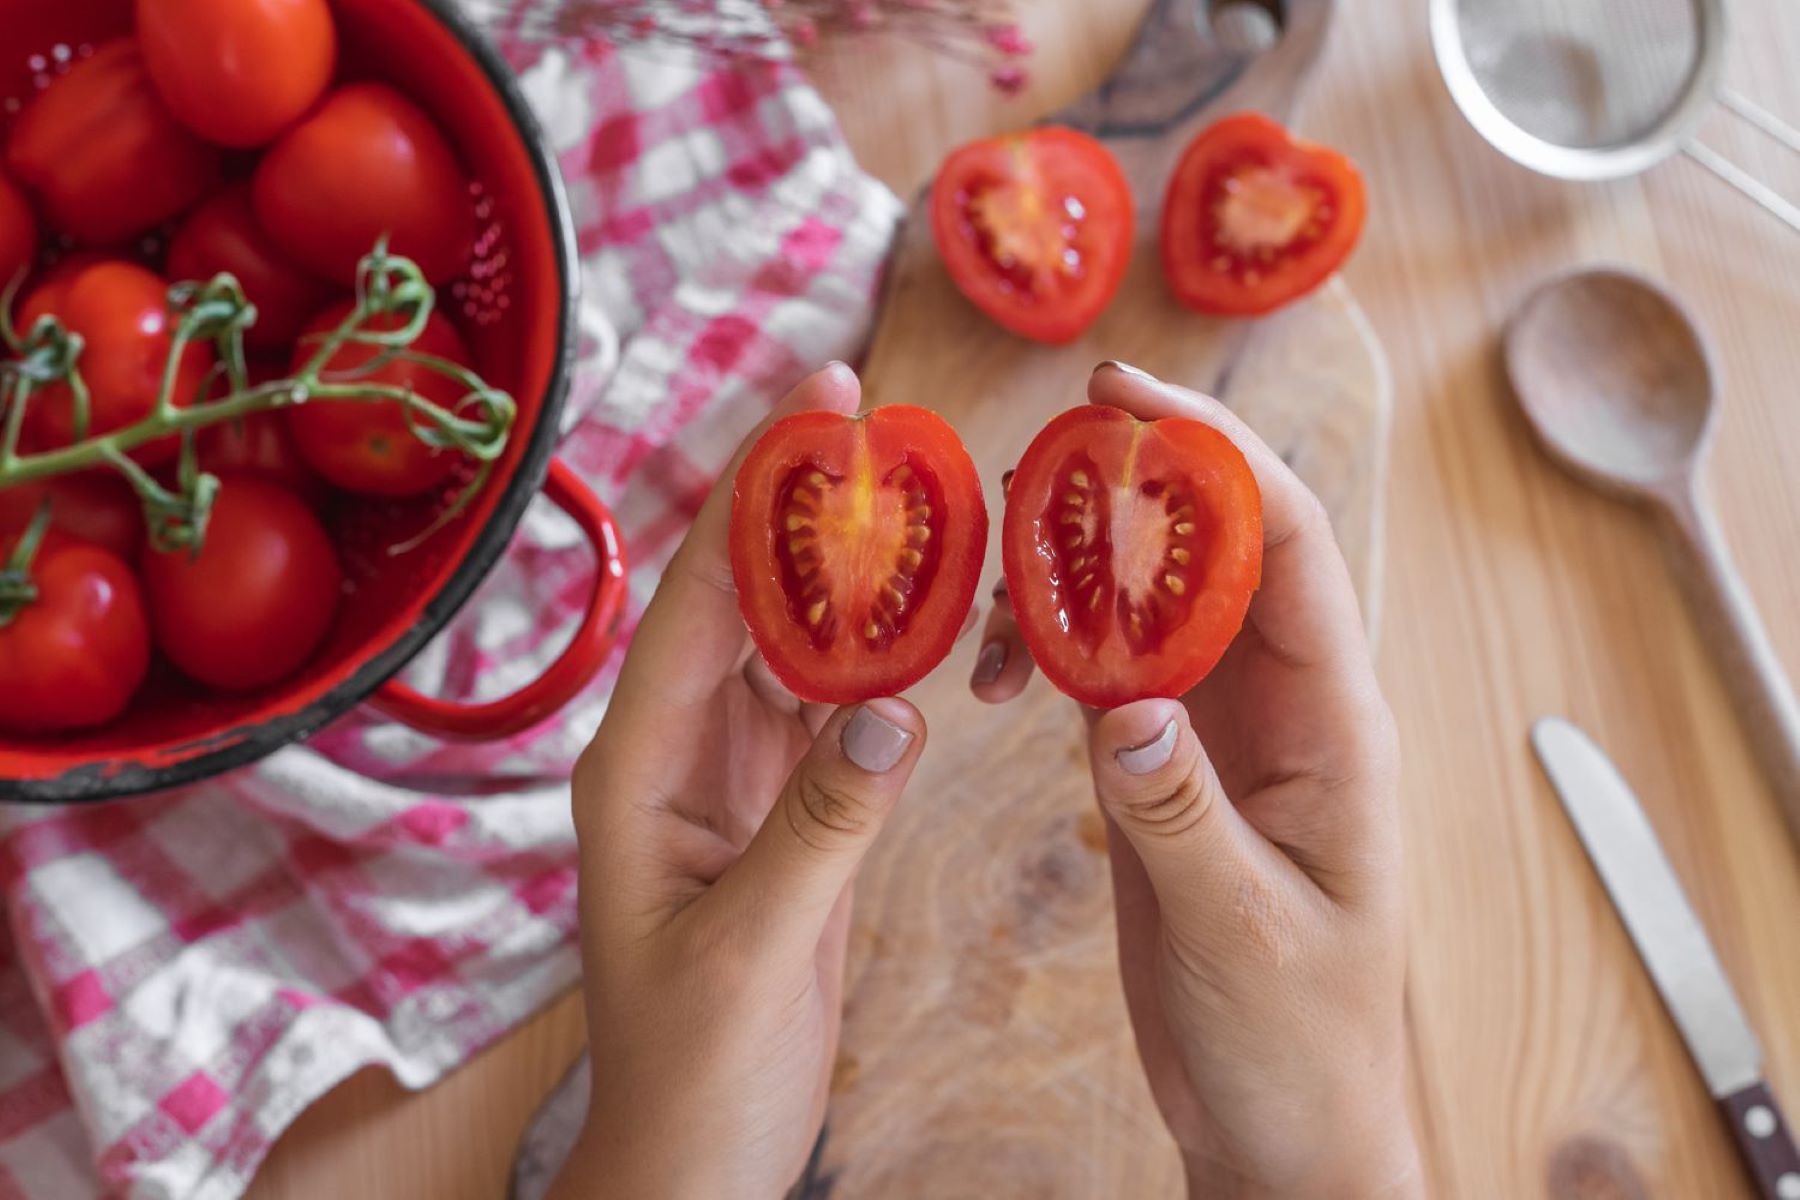
To de-seed a tomato, cut it in half and use a spoon to scoop out the seeds and pulp. This will make the tomato less watery and perfect for dishes like salsa or bruschetta.
Read more: How Much Are Tomato Seeds
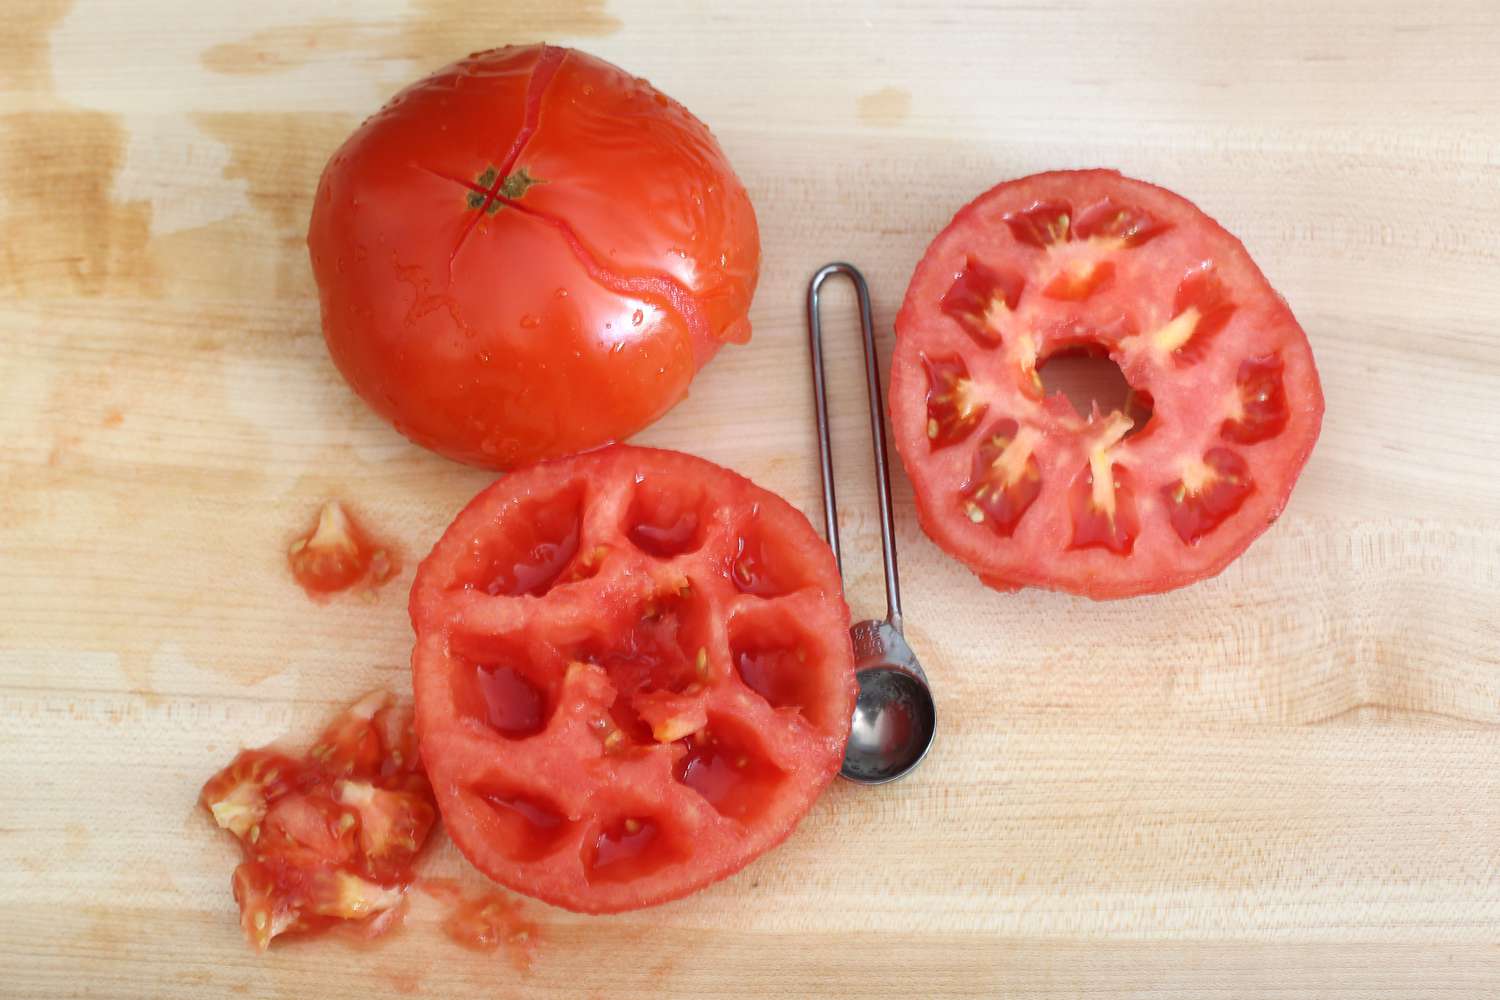
Step 4: Removing the Seeds
Now that you have your tomatoes with the tops removed, it’s time to remove the seeds. There are several methods you can use, depending on your preference and the tools you have available. Here are two common methods:
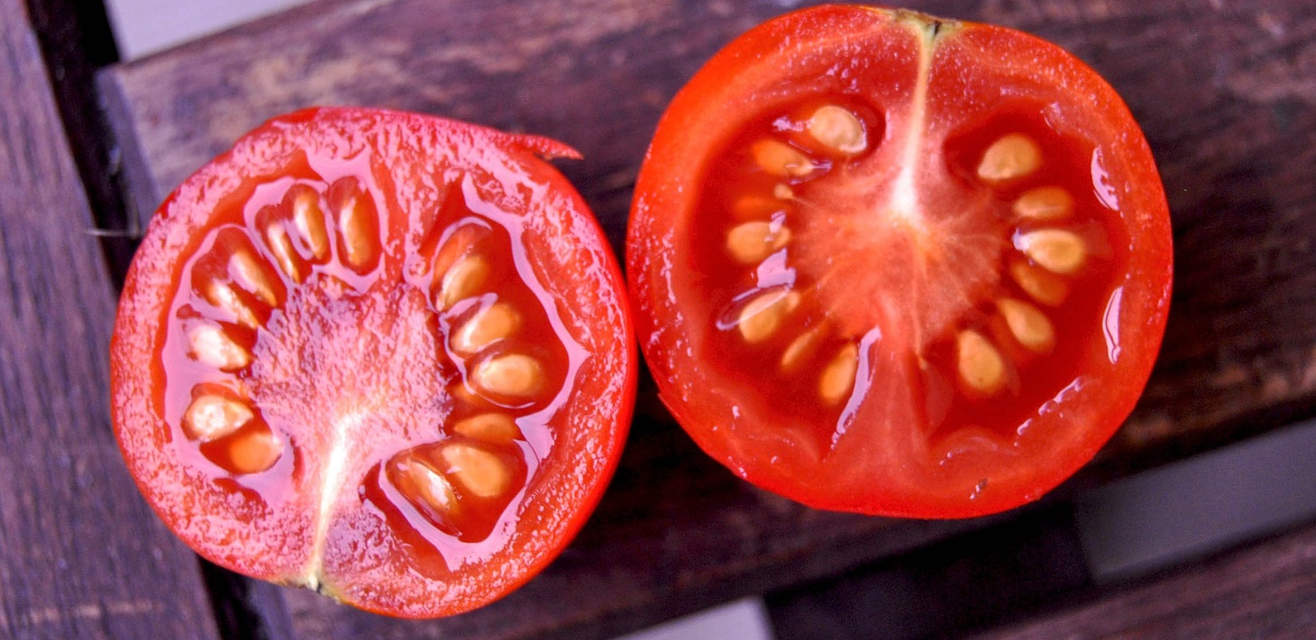
- Spoon Method: Take a regular tablespoon or a melon baller and insert it into the tomato’s interior, where the seeds are located. Gently scrape the spoon along the walls of the tomato, loosening the seeds and pulp. Continue scraping until most of the seeds are dislodged from the flesh. Be careful not to press too hard and damage the tomato’s structure.
- Squeezing Method: If you prefer a quicker method, you can use your hands to squeeze the tomato gently. Hold the tomato over a bowl or sink with the cut top facing down. Gently squeeze the tomato, allowing the seeds and juice to be expelled. You can help the process by using your fingers to push out any remaining seeds. This method works well if you don’t mind a bit of juice and pulp mixing together.
Choose the method that suits you best and continue removing the seeds from each tomato. For larger tomatoes, it may be easier to work in sections, removing the seeds in batches.
As you remove the seeds, you may notice some juice and pulp coming out with them. This is normal and can be either discarded or saved for future use, depending on your preferences.
Once you’ve finished removing the seeds from all your tomatoes, you’re ready to move on to the next step: collecting the seeds for future use (optional).
Step 5: Collecting the Seeds for Future Use (Optional)
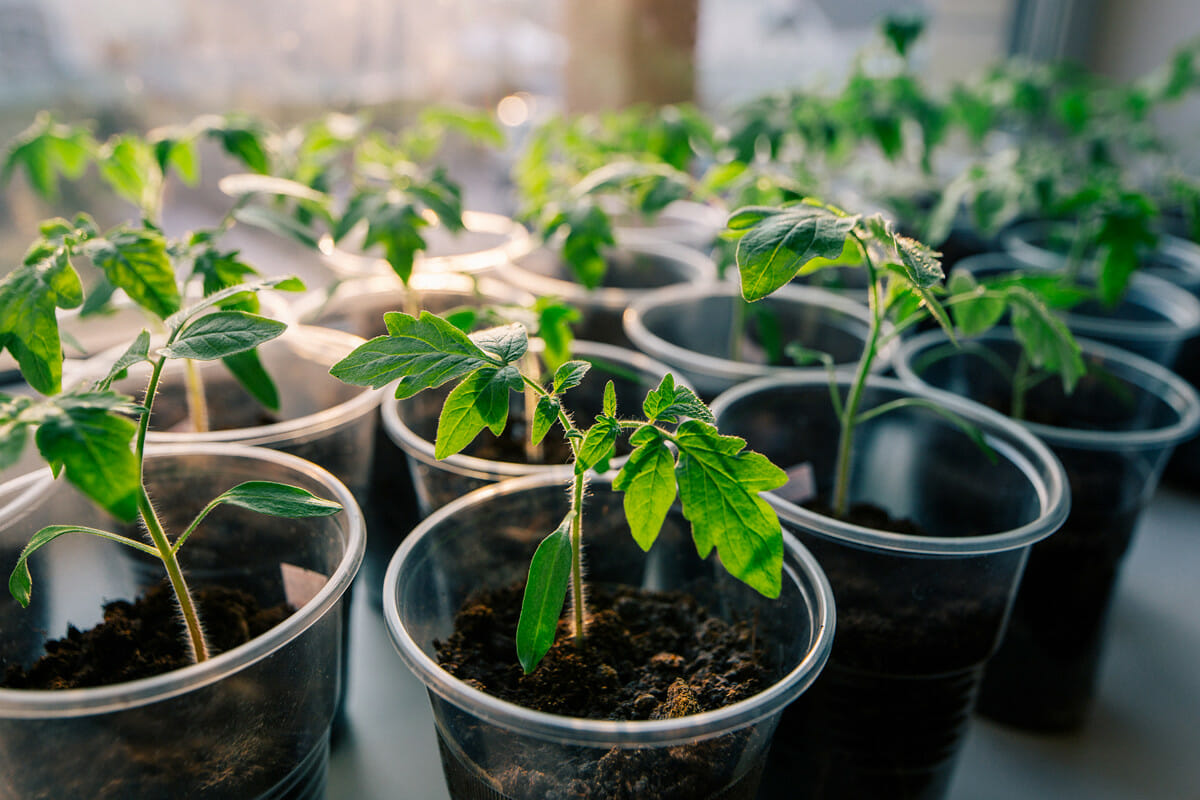
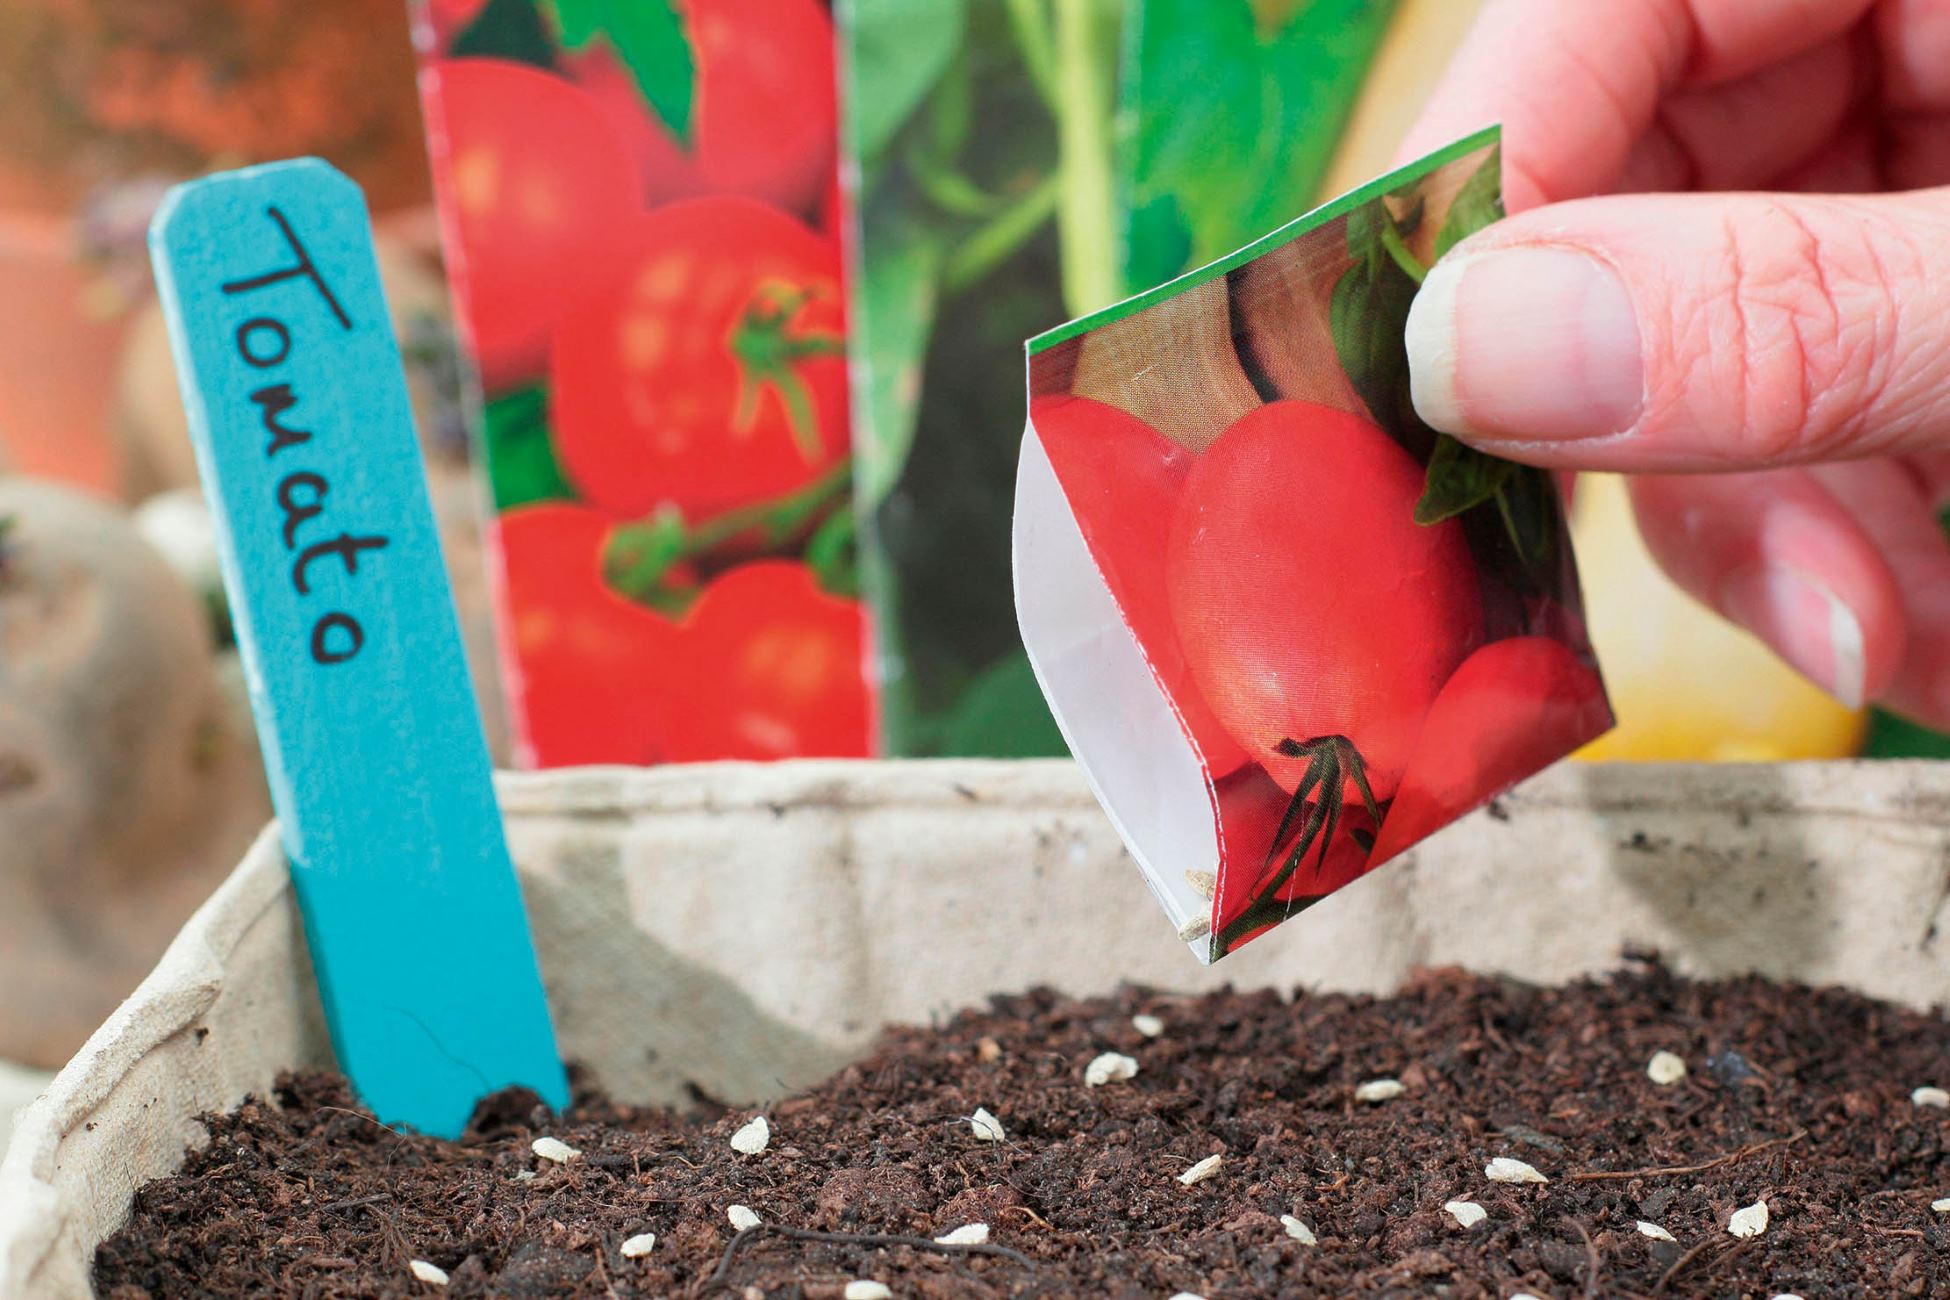
If you’re interested in preserving and storing the tomato seeds for future planting or culinary purposes, this step is for you. Collecting and saving tomato seeds is a rewarding practice that allows you to have a ready supply of seeds for future gardening endeavors or for sharing with fellow gardeners.
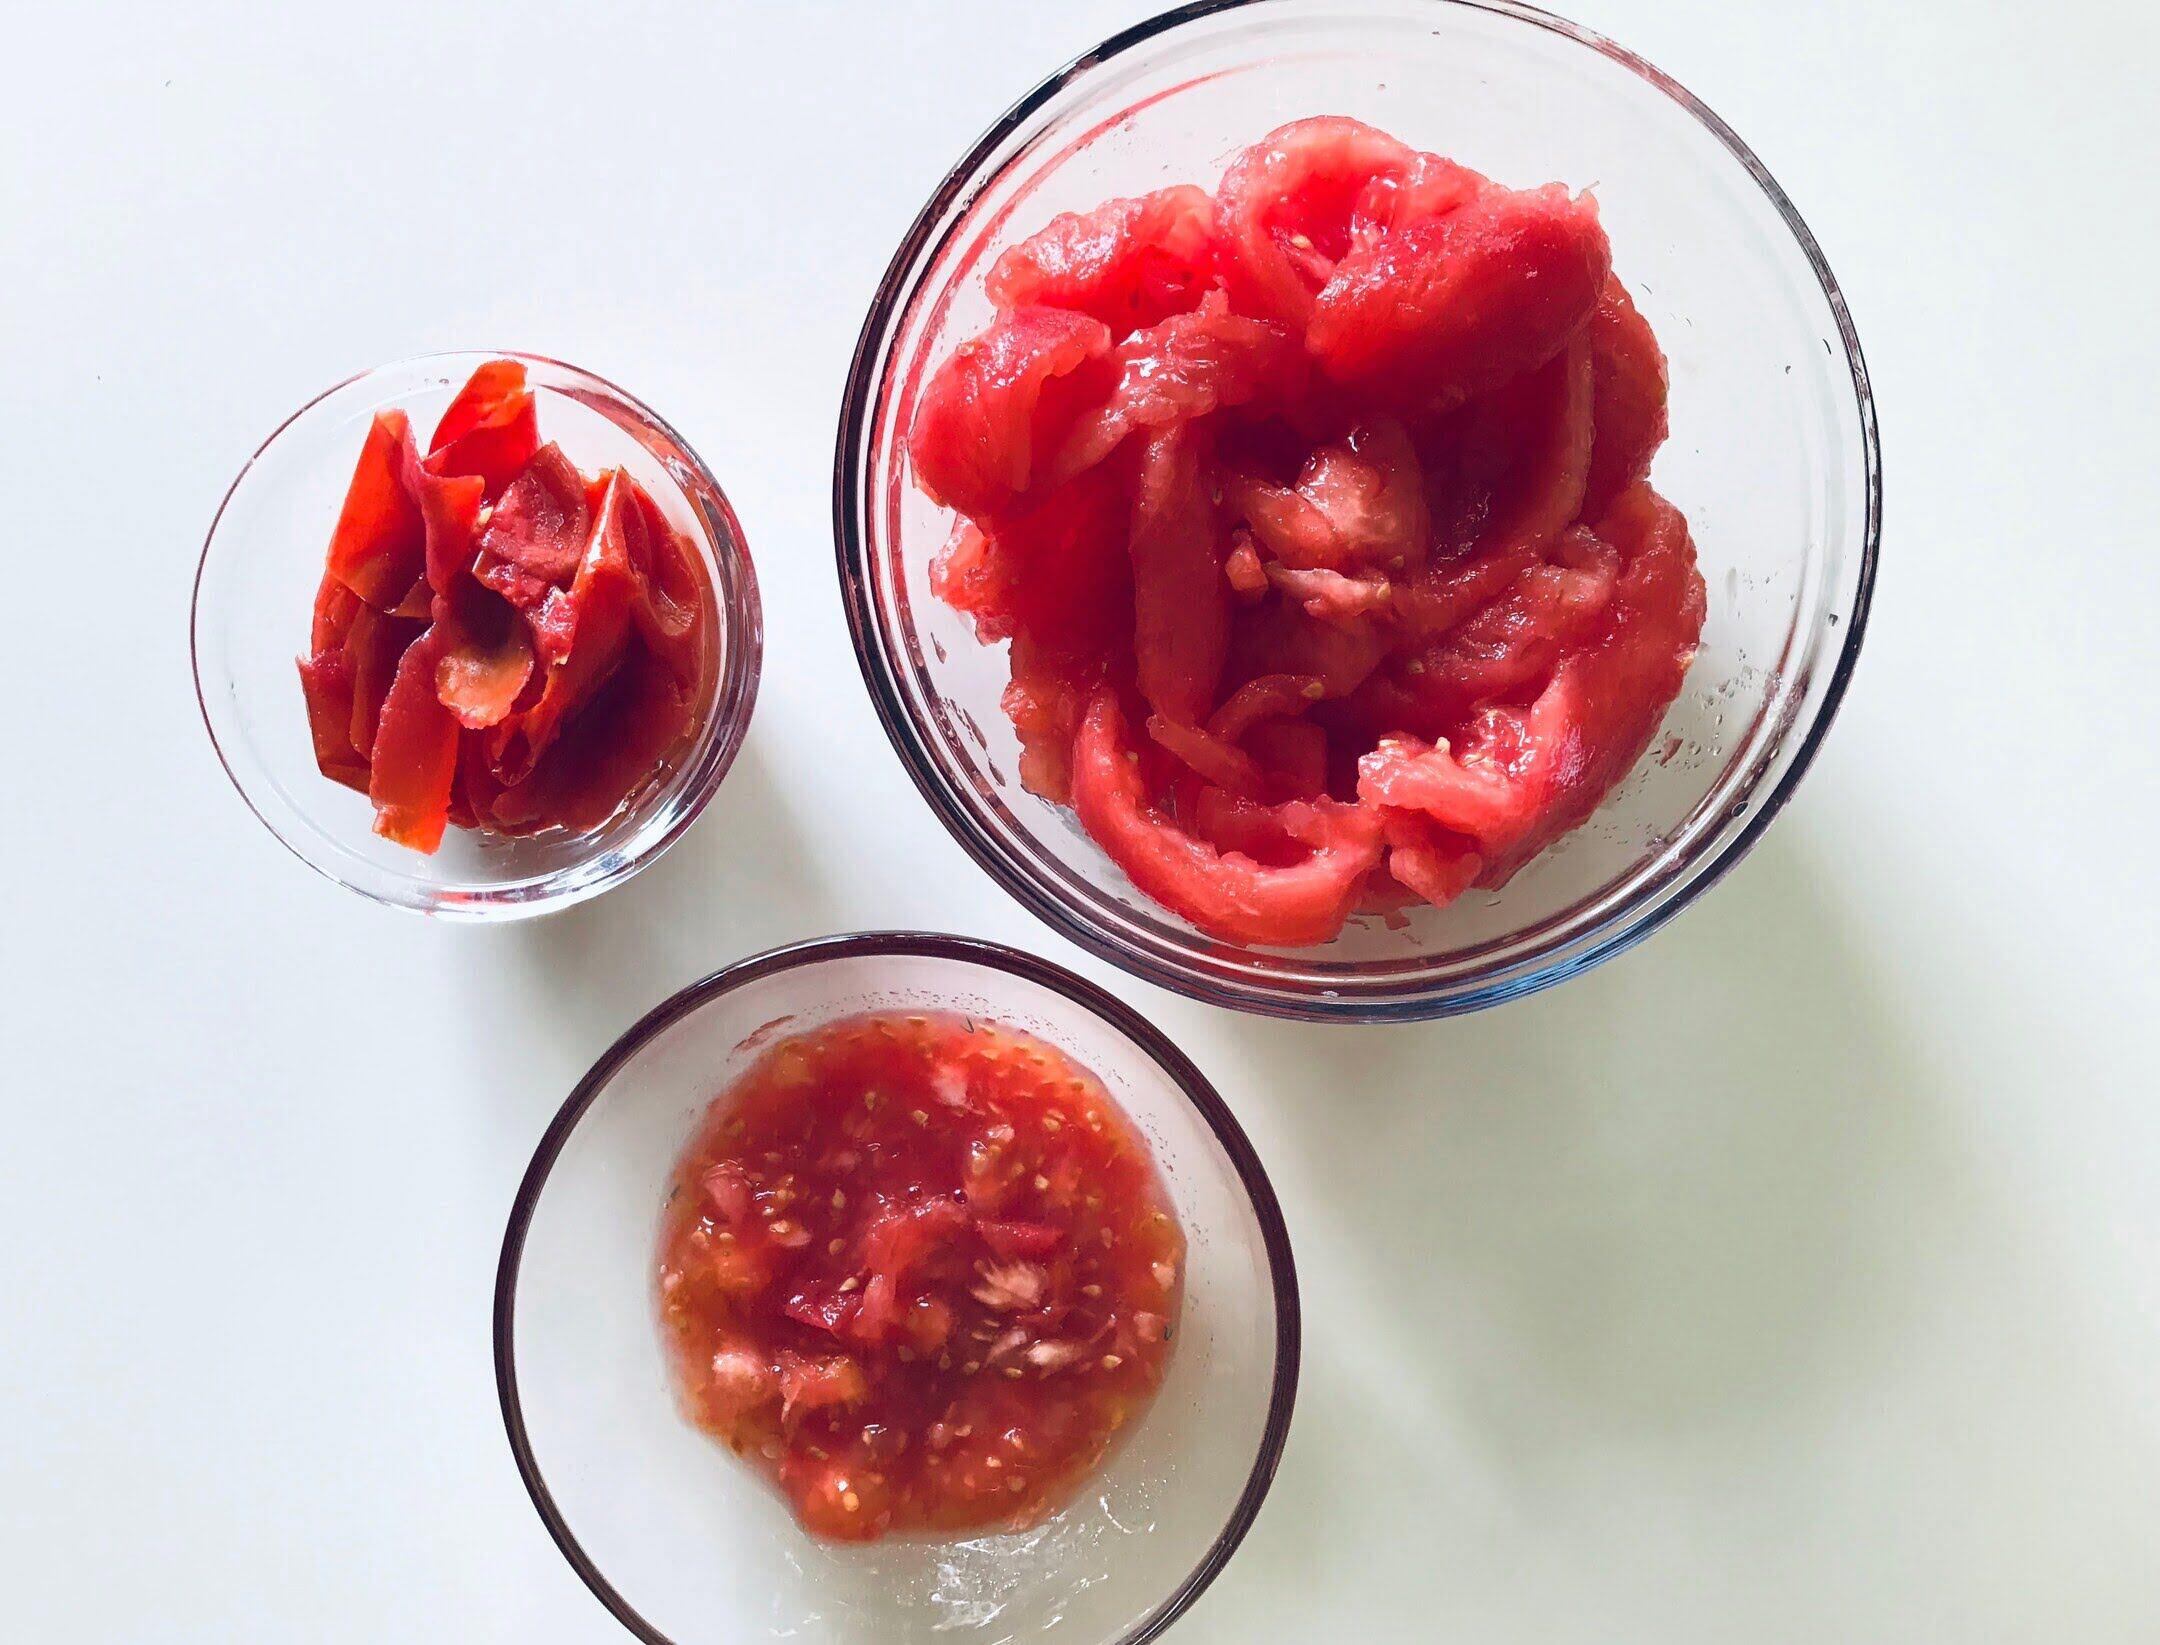
To collect the seeds, start by scooping them out of the tomatoes using a spoon or your fingers. Place the seeds and any accompanying pulp into a small bowl or container. It’s important to separate the seeds from the pulp as much as possible to ensure they dry properly.
Next, add a small amount of water to the bowl or container. The water will help separate the seeds from the pulp further. Give the mixture a gentle stir, allowing the seeds to sink to the bottom while the pulp floats to the top.
After a few minutes, carefully pour off the floating pulp while being cautious not to pour out any valuable seeds. Repeat this process a couple of times until most of the pulp has been removed.
Once you have relatively clean seeds, transfer them to a fine-mesh sieve or strainer. Rinse the seeds under running water to wash away any remaining pulp. Shake off any excess water and spread the seeds out on a paper towel or a screen to dry.
Air drying is the most common method for drying tomato seeds. Place the seeds in a location with good airflow, away from direct sunlight. Allow the seeds to dry completely, which can take anywhere from a few days to a couple of weeks depending on the humidity levels.
Once the seeds are dry, store them in labeled envelopes, paper bags, or airtight containers. Be sure to include the variety and the date when you collected the seeds.
By collecting and storing tomato seeds properly, you can enjoy growing your own tomatoes in the future or share them with fellow gardeners, contributing to the preservation of diverse tomato varieties.
If seed collection is not your goal, you can proceed to the next step: storing or using the tomato flesh.
Step 6: Storing or Using the Tomato Flesh
With the seeds removed, you’re left with the tomato flesh, which can be utilized in various ways. The juicy, flavorful flesh of a tomato is a versatile ingredient that can enhance a wide range of dishes. Here are a few options for storing or using the tomato flesh:
- Immediate use: If you’re using the tomato flesh right away, chop or dice it according to your recipe’s requirements. Fresh tomato flesh can be added to salads, sandwiches, pasta dishes, salsas, or used as a topping for bruschetta. Enjoy the vibrant flavor and juiciness of the freshly de-seeded tomatoes!
- Freezing: If you have more tomato flesh than you can immediately use, consider freezing it for later. Blanch the tomato flesh by briefly immersing it in boiling water for about 30 seconds, then transfer it to an ice bath to cool. Drain the blanched tomato flesh and pack it into freezer-safe containers or bags, removing as much air as possible. Frozen tomato flesh can be used in soups, stews, sauces, and other cooked dishes.
- Canning: For long-term preservation, you can also opt to can the tomato flesh. This involves simmering the flesh with seasonings like salt, herbs, and even onions or garlic, then sealing the jars in a pressure canner or water bath canner. Canned tomato flesh can be used as a base for sauces, stews, or as a standalone ingredient in recipes.
- Drying: Another option is to dry the tomato flesh for later use. You can do this by slicing the flesh into thin strips or rounds and placing them on a baking sheet or in a food dehydrator. Dry the tomato slices at a low temperature until they become leathery and brittle. Dried tomato flesh can be used in salads, as a snack, or rehydrated and added to various recipes.
Choose the method that best suits your needs and preferences. Regardless of which method you choose, be sure to label and date your stored tomato flesh to keep track of its freshness.
Now that you’ve taken care of the tomato flesh, it’s time to move on to the final step: cleaning up.
Step 7: Cleaning up
With the de-seeding process complete, it’s important to properly clean up your workspace and tools to maintain cleanliness and prevent any potential contamination. Here’s what you need to do:
- Dispose of waste: Discard the tomato seeds, pulp, and any other waste material in a compost bin or dispose of it in the appropriate manner.
- Wash your tools: Thoroughly clean the knife, cutting board, and spoon (or any other tools you used) with warm soapy water. Pay special attention to removing any tomato residue to prevent stains and odors.
- Clean the workspace: Wipe down your countertop or cutting area with a disinfectant cleaner or a mixture of vinegar and water to ensure a clean surface.
- Wash your hands: Properly wash your hands with soap and warm water to remove any remnants of tomato juice or seeds.
By completing these simple cleanup steps, you’ll maintain a clean and hygienic cooking environment.
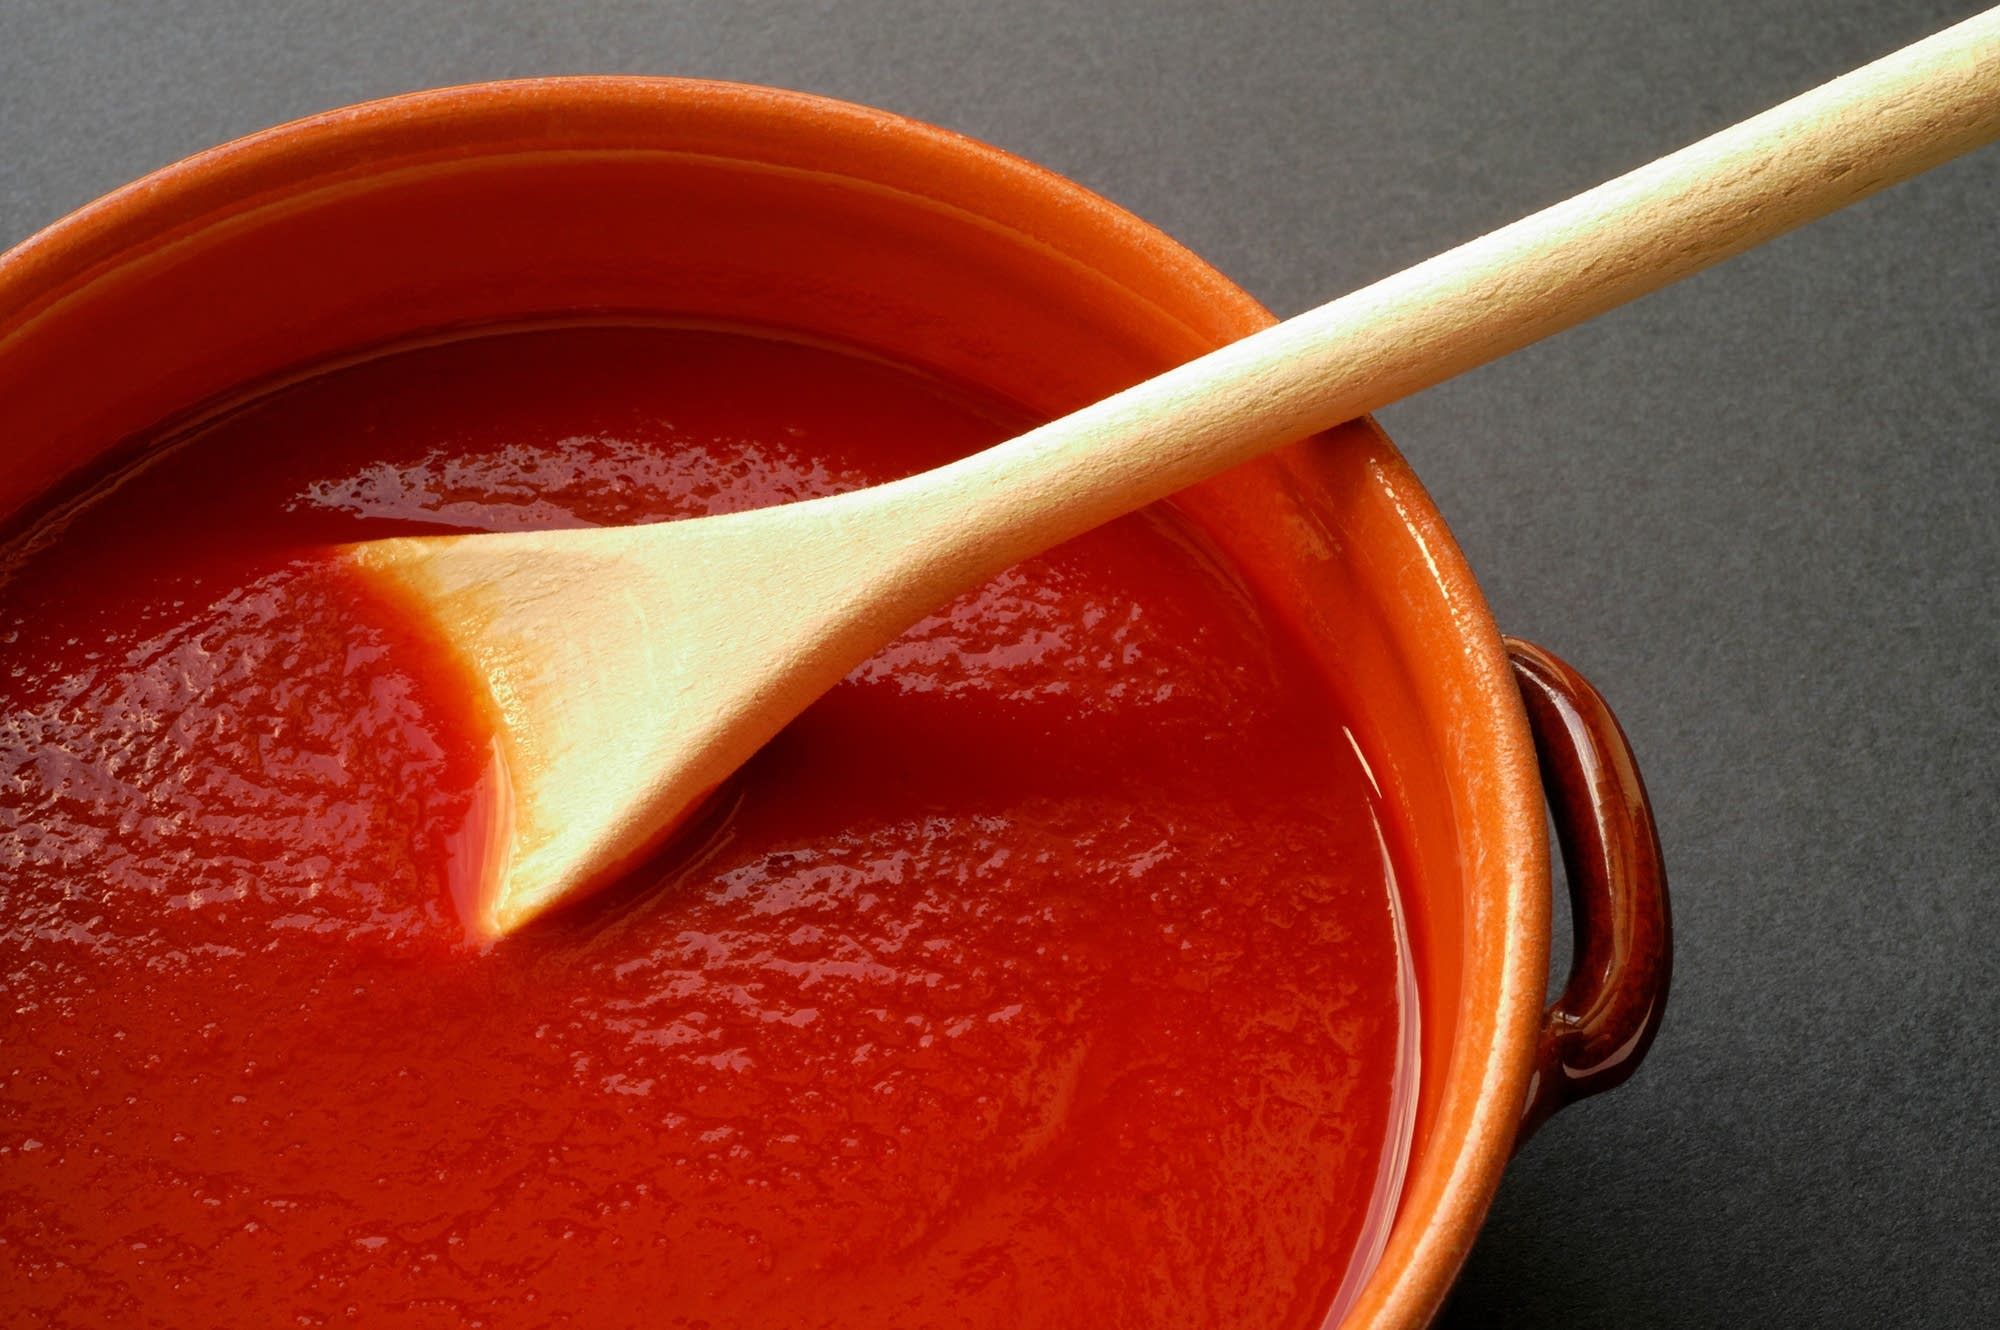
Now that you’ve successfully de-seeded your tomatoes, you can fully enjoy incorporating them into your favorite recipes without the interference of seeds. Whether you’re making a smooth tomato sauce, a seedless salsa, or a refreshing tomato salad, the de-seeded tomatoes will provide a clean and smooth texture.
Remember to save the tomato seeds for future gardening projects or for sharing with other garden enthusiasts. And be sure to savor the fresh, delicious tomato flesh you’ve obtained through this process.
Happy cooking and gardening!
Read more: How Many Seeds Are In A Tomato
Conclusion
De-seeding a tomato may seem like a simple task, but it can greatly impact the texture and flavor of your culinary creations. By following the steps outlined in this guide, you’ve learned how to effectively de-seed tomatoes with ease and minimize waste.
Choosing the right tomatoes is crucial, as it can affect the overall taste and the number of seeds you’ll encounter. Be selective and opt for meatier varieties like Roma or San Marzano tomatoes for a smoother de-seeding process.
Thoroughly washing the tomatoes ensures they’re clean and ready for de-seeding. This step helps remove any dirt or contaminants that may be present on the skin.
With the tops cut off, you gain easy access to the interior of the tomatoes, where the seeds are located. Using either a spoon or your hands, you can remove the seeds, allowing you to achieve the desired texture for your dishes.
If you’re interested in saving the seeds for future use, follow the additional step of collecting and properly drying them. This gives you the opportunity to grow your own tomatoes or share the seeds with fellow gardeners.
The remaining tomato flesh can be utilized in various ways, from immediate consumption to freezing, canning, or drying for later use. Choose the method that suits your needs and culinary preferences.
Once the de-seeding process is complete, remember to clean up your workspace and tools to maintain cleanliness and hygiene.
De-seeding tomatoes opens up a world of possibilities in the kitchen. Whether you’re making sauces, salsas, or enjoying the fresh flavor of a seedless tomato salad, knowing how to de-seed tomatoes empowers you to create dishes with the perfect texture and taste.
So, put your new knowledge to use and enjoy the benefits of de-seeding tomatoes in your cooking adventures. Whether you’re a passionate gardener or a culinary enthusiast, this skill will undoubtedly elevate your creations.
Happy de-seeding and bon appétit!
Frequently Asked Questions about How To De-Seed A Tomato
Was this page helpful?
At Storables.com, we guarantee accurate and reliable information. Our content, validated by Expert Board Contributors, is crafted following stringent Editorial Policies. We're committed to providing you with well-researched, expert-backed insights for all your informational needs.


0 thoughts on “How To De-Seed A Tomato”