Home>Garden Essentials>How To Crack Pumpkin Seeds
Garden Essentials
How To Crack Pumpkin Seeds
Modified: August 16, 2024
Discover the secret to cracking pumpkin seeds in your garden! Learn how to unlock the delicious potential of these nutritious snacks with our comprehensive guide.
(Many of the links in this article redirect to a specific reviewed product. Your purchase of these products through affiliate links helps to generate commission for Storables.com, at no extra cost. Learn more)
Introduction
Cracking pumpkin seeds is a rewarding and delicious way to make the most of your autumn harvest. Whether you’ve grown your own pumpkins or purchased them from a local farm, learning how to crack pumpkin seeds allows you to enjoy the nutritious and flavorful snack they have to offer. Pumpkin seeds, also known as pepitas, are packed with essential nutrients, including protein, fiber, healthy fats, and a variety of vitamins and minerals.
Cracking pumpkin seeds can be an enjoyable activity for the entire family, providing a great opportunity to bond over a shared project. Once you’ve cracked the seeds, you can use them in a multitude of ways – sprinkle them on salads, add them to granola or trail mix, or simply enjoy them on their own as a healthy snack. The possibilities are endless!
In this article, we will guide you through the process of how to crack pumpkin seeds step by step. From gathering and cleaning the seeds to roasting and flavoring them, you’ll soon be enjoying the delicious taste and nutritional benefits of these little wonders.
So put on your apron, grab a pumpkin, and let’s crack some seeds!
Key Takeaways:
- Cracking pumpkin seeds is a fun family activity that turns fresh seeds into a tasty, nutritious snack. From harvesting to flavoring, enjoy the process and savor the delicious results!
- Pumpkin seeds are a versatile and healthy snack, rich in nutrients and perfect for sharing with family and friends. Get creative with flavors and enjoy the delightful crunch of homemade cracked pumpkin seeds.
Read more: How Many Seeds Are In A Pumpkin
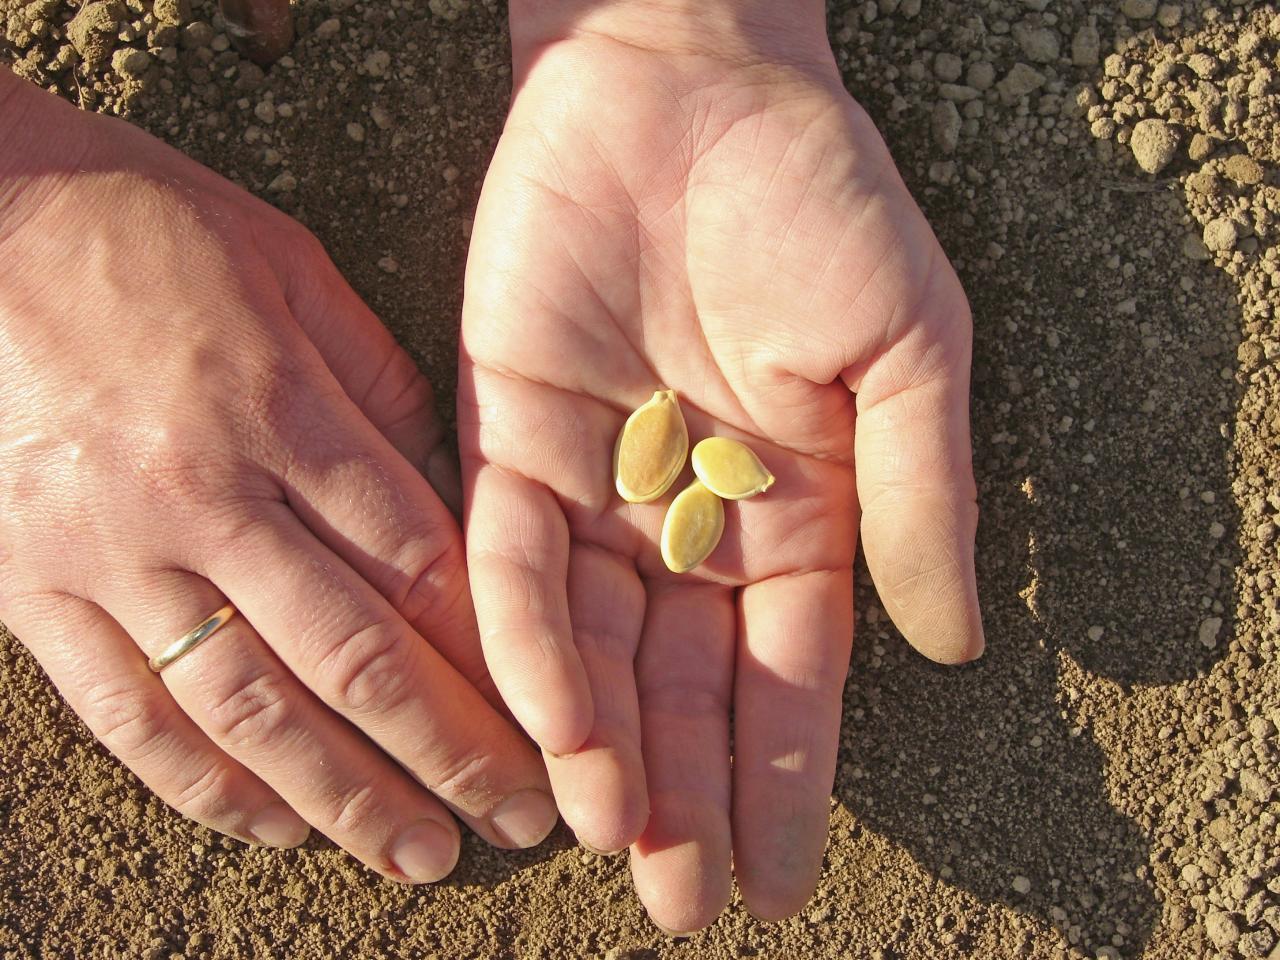
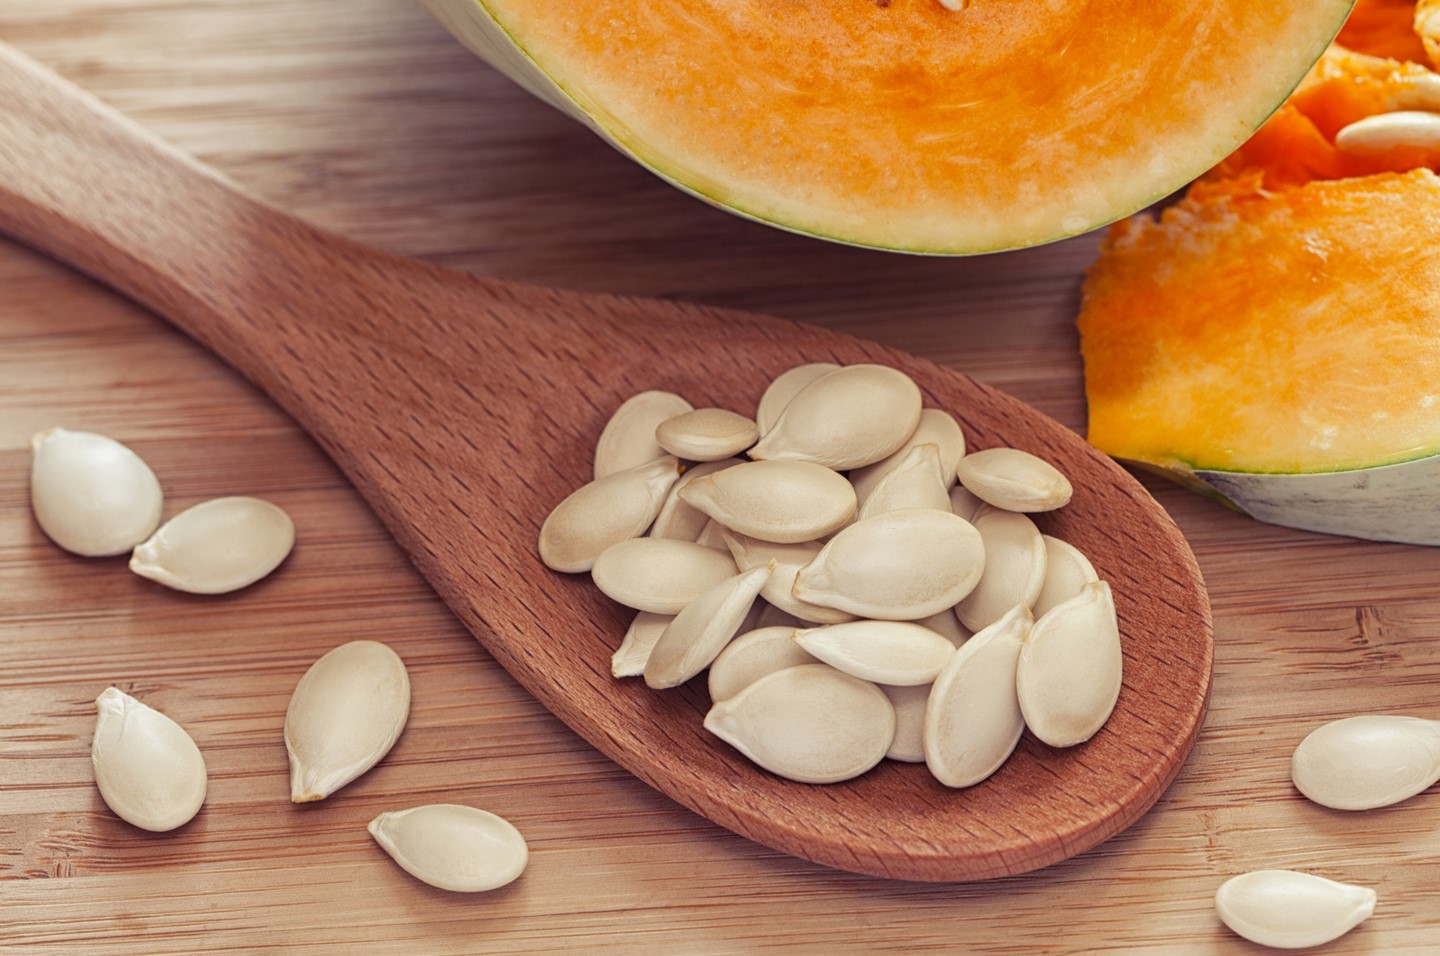
Step 1: Harvesting the Pumpkin Seeds
The first step in cracking pumpkin seeds is to harvest them from your pumpkin. If you’ve grown your own pumpkins, it’s important to wait until they are fully mature and have reached their optimal size. Look for pumpkins that have a deep, rich color and a firm skin. This ensures that the seeds inside are fully developed and ready for harvesting.
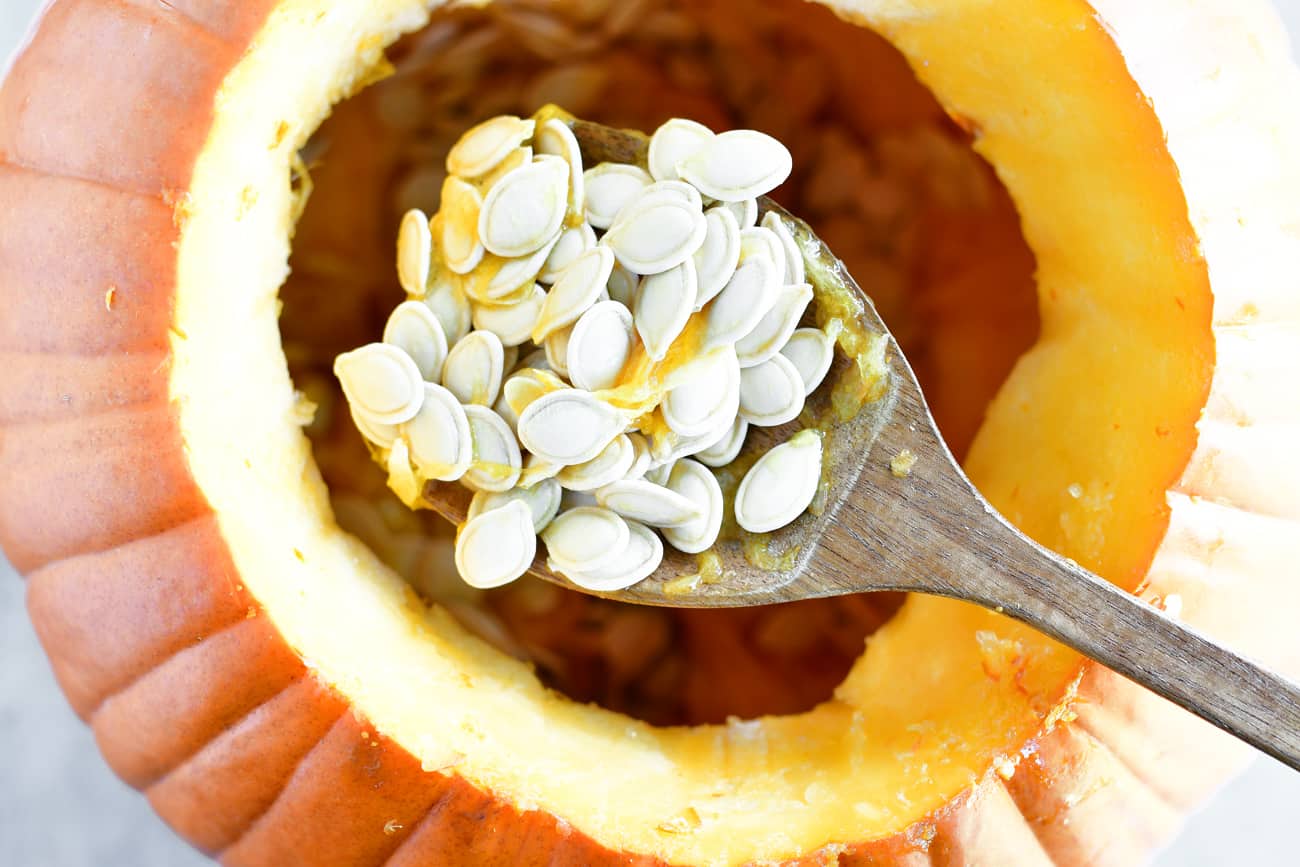
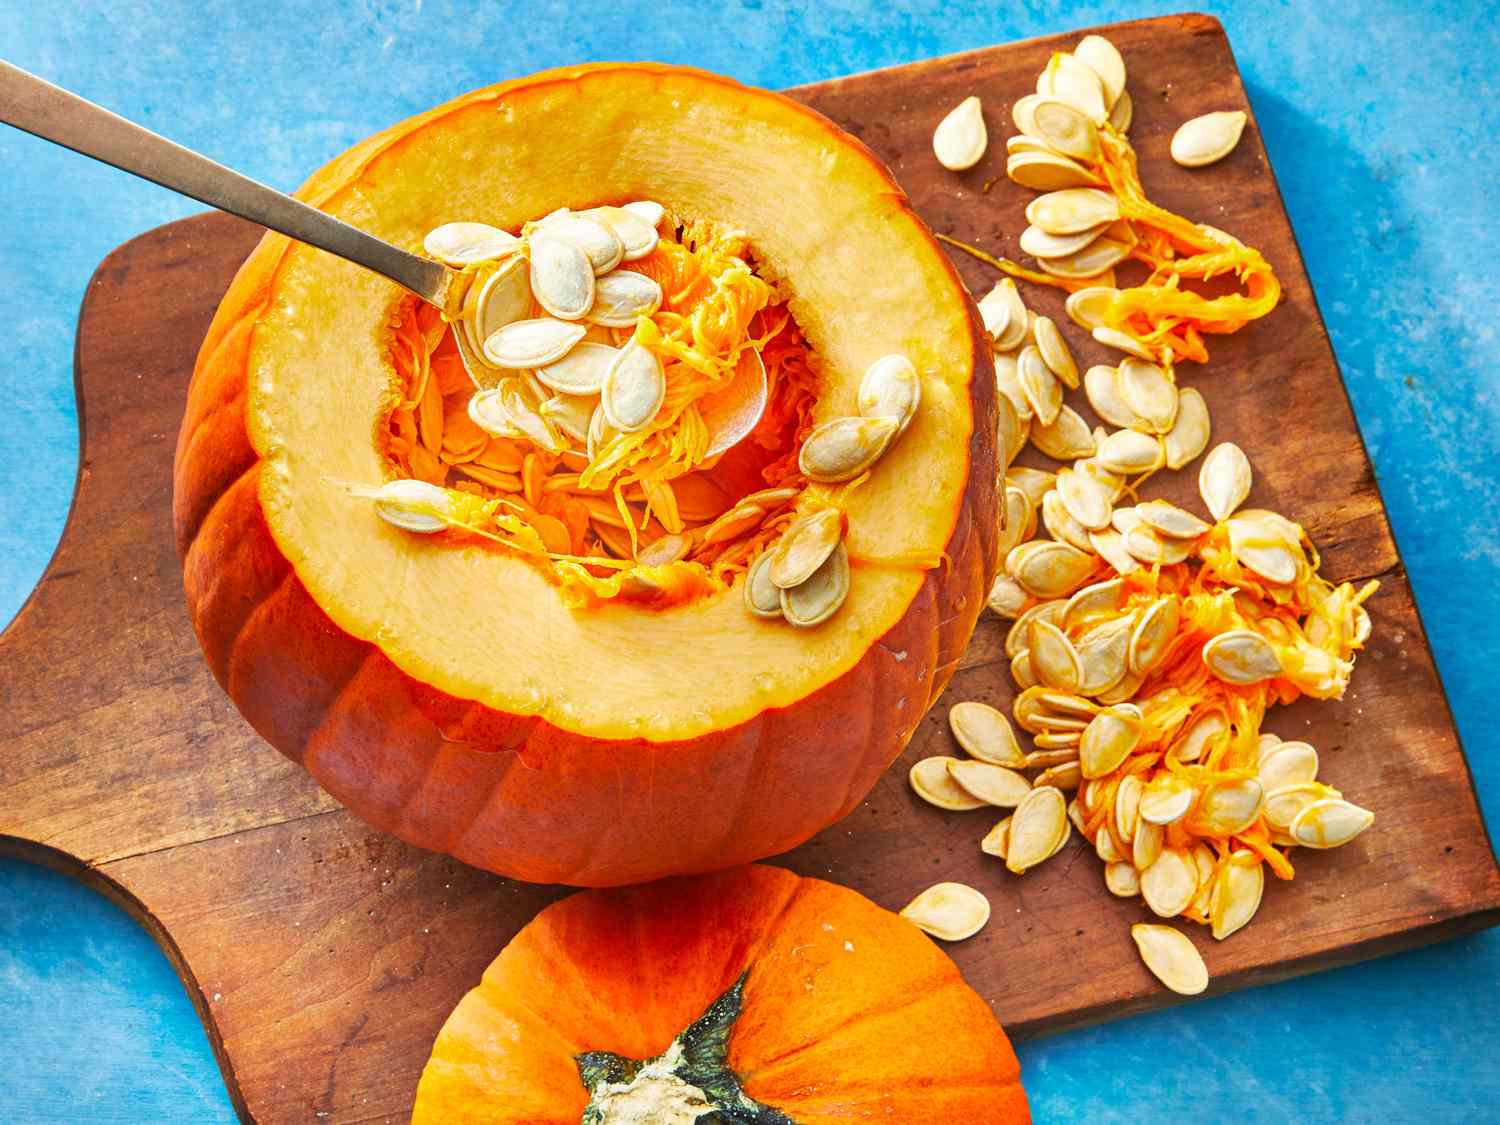
To harvest the pumpkin seeds, start by carefully cutting off the stem of the pumpkin. Use a sharp knife or garden shears to make a clean cut. Be cautious when cutting to avoid injuring yourself or damaging the pumpkin.
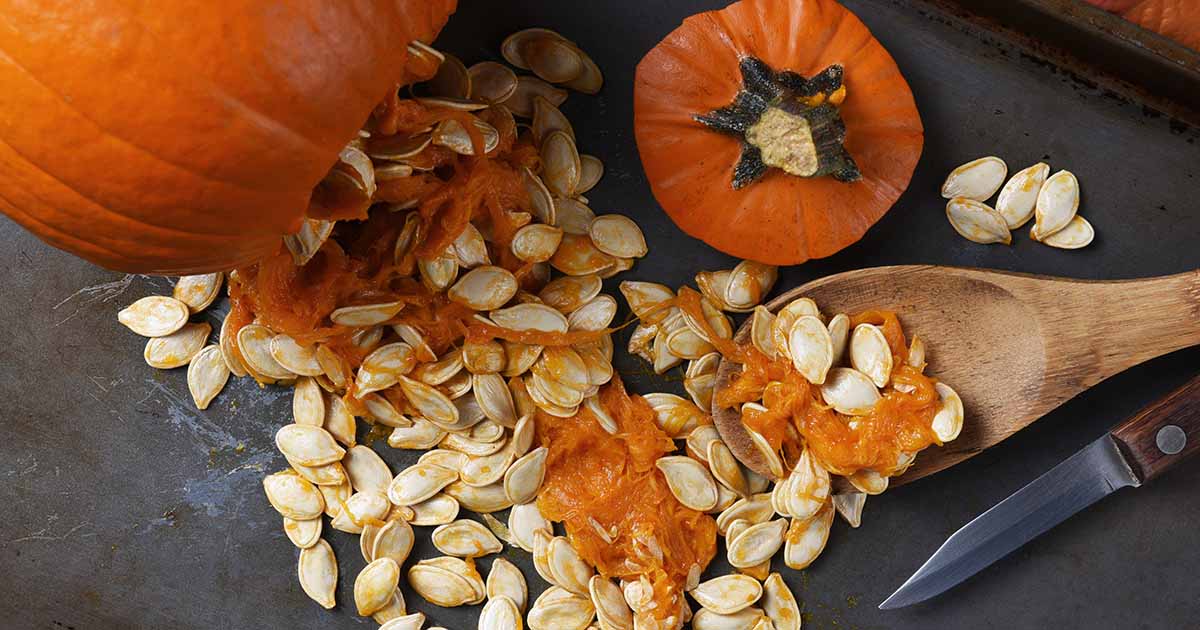
Next, using a spoon or your hands, scoop out the pumpkin seeds from the inside of the pumpkin. Try to remove as much of the stringy pulp as possible, but don’t worry if some remains attached to the seeds. Place the seeds in a large bowl or colander.
Once you’ve removed all the seeds from the pumpkin, separate them from any remaining pulp or flesh. You can do this by rinsing them under cool water, gently rubbing them between your fingers to remove any excess debris.
After rinsing, thoroughly drain the pumpkin seeds and spread them out on a clean towel or paper towel. Allow them to air dry for a day or two, making sure they are completely dry before moving on to the next step.
Now that you’ve harvested and cleaned the pumpkin seeds, you’re ready to move on to the second step: cleaning and drying the seeds.
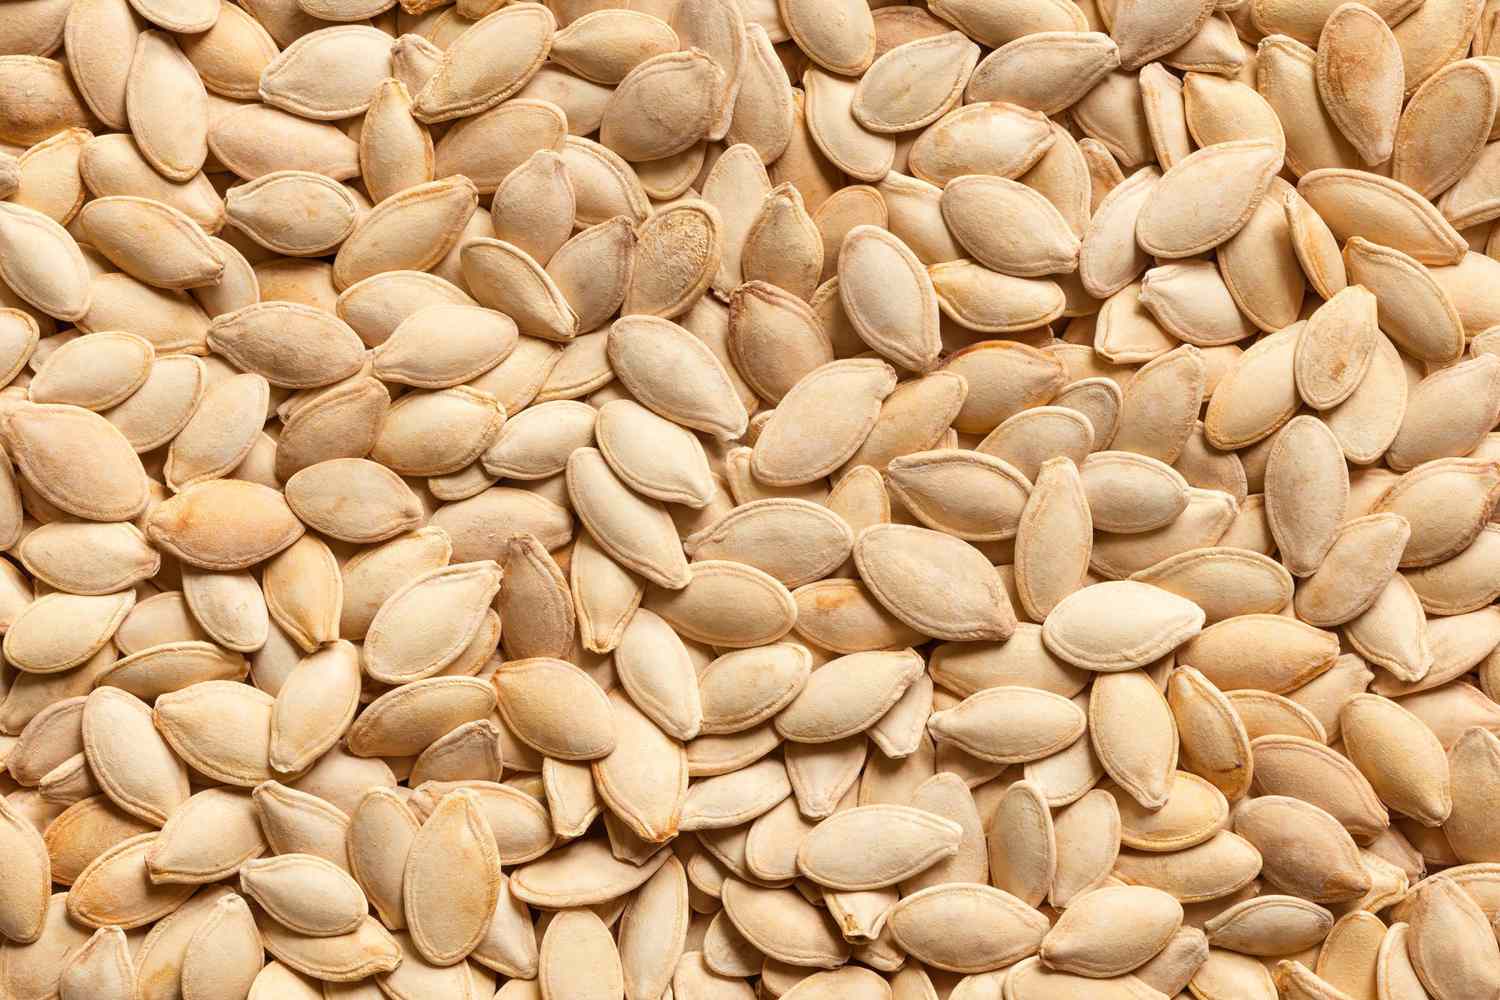
Step 2: Cleaning and Drying the Pumpkin Seeds
After harvesting the pumpkin seeds, it’s important to clean and dry them thoroughly before cracking. This step ensures that any remaining pulp or debris is removed, allowing for a cleaner and more enjoyable seed-cracking experience.
To clean the pumpkin seeds, start by placing them in a colander or sieve. Rinse them under cool running water, gently agitating them with your hands. This will help dislodge any remaining bits of pulp or flesh that may be clinging to the seeds.
Once you’ve rinsed the seeds, spread them out on a clean towel or paper towel. Pat them dry with another towel, absorbing as much moisture as possible. You can also gently roll the seeds between the layers of the towel to remove excess water.
After removing the moisture, transfer the pumpkin seeds to a baking sheet or a tray lined with parchment paper. Spread them out in a single layer, ensuring that there is enough space between each seed for proper airflow.
Now it’s time to air dry the pumpkin seeds. Place the baking sheet or tray in a cool, dry place with good air circulation. You can leave them out overnight or for about 24-48 hours until the seeds are completely dry. Make sure to periodically check on the seeds and gently toss or stir them to prevent any clumping or sticking.
During the drying process, the pumpkin seeds may start to develop a slight crack on the outer shell. This is normal and will make them easier to crack later on. However, be careful not to leave the seeds out for too long, as over-drying can result in a loss of flavor and a less enjoyable texture.
Once the pumpkin seeds are thoroughly dried, they are now ready to be cracked. In the next step, we will guide you through the process of preparing the pumpkin seeds for cracking.
Step 3: Preparing the Pumpkin Seeds for Cracking
Now that the pumpkin seeds are clean and dry, it’s time to prepare them for cracking. This step involves a simple but important process that will make cracking the seeds easier and more efficient.
Start by preheating your oven to 300°F (150°C) while you prepare the seeds. This temperature will help loosen the shells and make them easier to crack.
Take the dried pumpkin seeds and transfer them to a bowl. Add a small amount of oil, such as vegetable or olive oil, to the seeds. This will help lubricate the shells and prevent them from sticking together during the cracking process.
Next, add your desired seasonings to the pumpkin seeds. This is where you can get creative and experiment with different flavors. Some popular options include salt, garlic powder, paprika, or even cinnamon and sugar for a sweet twist. Toss the seeds in the oil and seasonings until they are evenly coated.
Once the seeds are coated, spread them out in a single layer on a baking sheet or tray lined with parchment paper. Make sure the seeds are spread out evenly and not overlapping. This allows for even roasting and ensures that the seeds will crack uniformly.
Place the baking sheet in the preheated oven and bake the pumpkin seeds for about 10-15 minutes. Keep an eye on them and stir or toss them occasionally to prevent burning. The seeds are ready when they turn a golden brown color and become fragrant.
After baking, remove the pumpkin seeds from the oven and let them cool completely on the baking sheet. During the cooling process, the shells will become crisp and easier to crack. Allow the seeds to cool for at least 30 minutes before moving on to the next step of cracking them.
Now that you’ve prepared the pumpkin seeds, it’s time to move on to the exciting step of actually cracking them open and enjoying the tasty rewards. In the next step, we will guide you through the process of cracking the pumpkin seeds.
Step 4: Cracking the Pumpkin Seeds
Now comes the fun part – cracking open the pumpkin seeds! This step requires a bit of patience and finesse, but the end result is well worth the effort.
There are a few different methods you can use to crack the pumpkin seeds, depending on the tools you have available and your personal preference. Here are a couple of common methods:
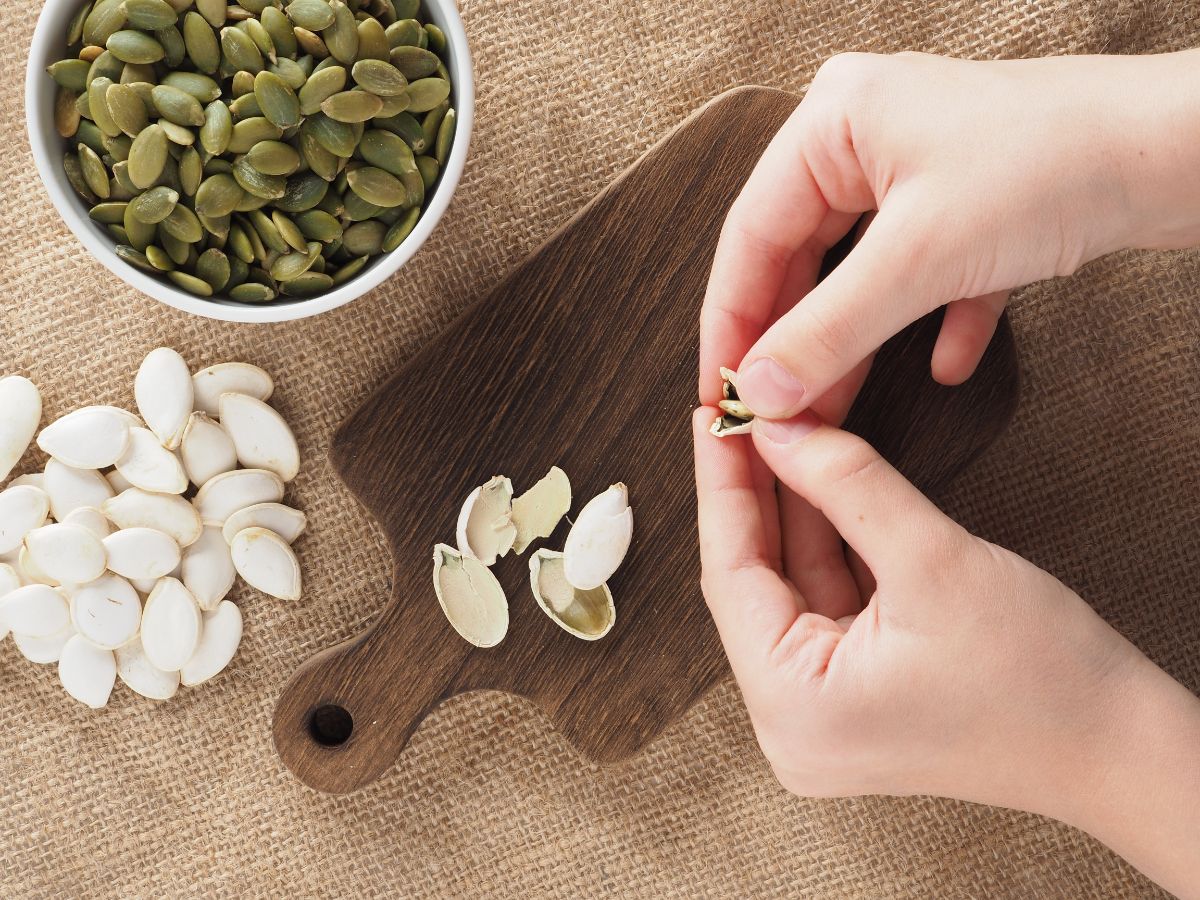
- Hand method: This method requires the use of your hands and a bit of manual force. Take one dried pumpkin seed at a time and place it between your thumb and forefinger. Apply gentle pressure and squeeze until you hear a cracking sound. Be careful not to exert too much force to avoid shattering the seed into small pieces. Repeat this process for the remaining seeds.
- Tool method: If you prefer a more efficient approach, you can use a nutcracker or a pair of pliers to crack the pumpkin seeds. Place one seed at a time in the nutcracker or between the pliers, then apply gentle pressure until the shell cracks open. Be cautious not to crush the seed inside while cracking the shell.
Whichever method you choose, make sure to crack the seeds one at a time, taking care to avoid any contact with your fingers or hands to prevent injuries.
As you crack the seeds, separate the cracked shells from the edible seed kernels. You can do this by setting up two bowls or containers – one for the cracked shells and one for the kernels. This way, you can easily discard the shells and keep the delicious and nutritious seed kernels for further preparation.
Once all the pumpkin seeds are cracked and the kernels are separated, you’re ready to move on to the next step – removing the seed shells.
Let’s delve into the next step and discover how to effortlessly remove the shells from the pumpkin seeds.
To crack pumpkin seeds, place them in a plastic bag and gently tap with a rolling pin or mallet to break the shells without crushing the seeds.
Read more: How To Plant Pumpkin Seeds
Step 5: Removing the Seed Shells
After cracking the pumpkin seeds, it’s time to remove the shells to reveal the delicious seed kernels inside. Removing the shells will enhance the texture and make the seeds more enjoyable to eat.
There are a few different methods you can use to remove the seed shells. Here are a couple of effective methods:
- Blanching method: Fill a saucepan with water and bring it to a boil. Once boiling, add the cracked pumpkin seeds and let them boil for about 2-3 minutes. This blanching process helps loosen the shells. Drain the seeds and transfer them to a bowl of ice water to cool them quickly. Once cooled, drain them again and pat them dry using a clean towel or paper towel. Gently squeeze each seed between your fingers to remove the shell, allowing the seed kernel inside to pop out. Discard the shells and collect the edible seed kernels for further preparation.
- Crushing method: Another method is to use a rolling pin or a flat heavy object to crush the cracked seeds. Place a small number of cracked seeds on a sturdy surface, then press down firmly and roll the rolling pin over them. The pressure will break the shells, and the force will help separate the shell fragments from the seed kernels. Use a sieve or colander to separate the shells from the kernels.
Whichever method you choose, take your time and be patient. It’s important to remove as much of the shell as possible while keeping the seed kernels intact.
Once you’ve removed the seed shells, you’ll be left with the delicious and nutritious pumpkin seed kernels ready for the next step – roasting.
But before we move on, don’t forget to discard the shell fragments properly. You can compost them if you have a compost bin or throw them in the trash.
Now that the shells are removed, let’s move on to roasting the pumpkin seeds for a delightful crunch and flavor.
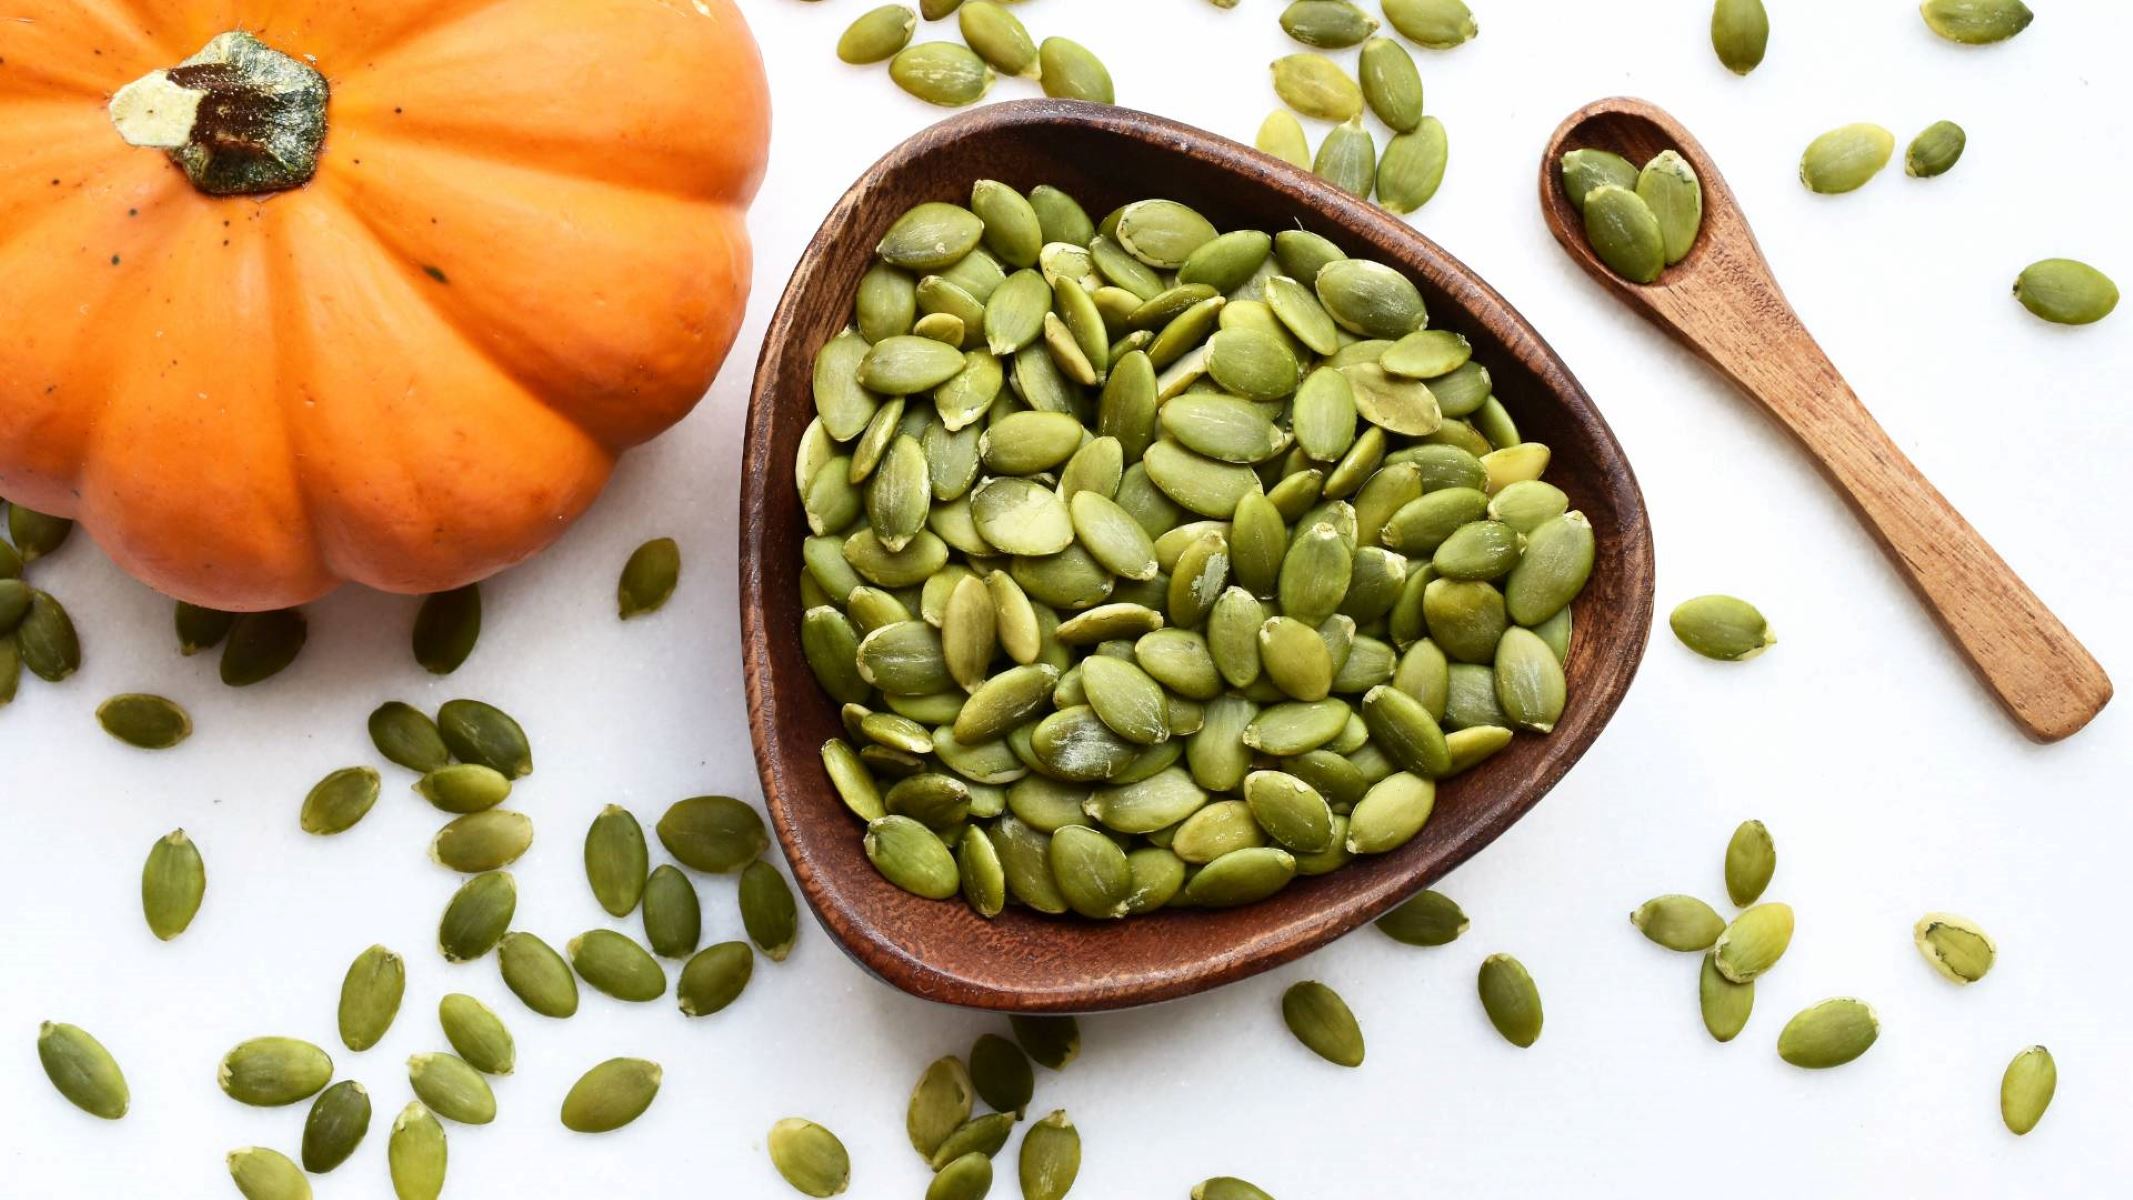
Step 6: Roasting the Pumpkin Seeds
Roasting pumpkin seeds is a crucial step in enhancing their flavor and creating a satisfying crunch. By roasting the seeds, you’ll unlock their full potential and transform them into a delicious, nutritious snack.
To begin, preheat your oven to 350°F (175°C) and line a baking sheet with parchment paper or foil for easy cleanup.
In a bowl, place the shelled pumpkin seed kernels and drizzle them with a small amount of oil. You can use olive oil, vegetable oil, or any other oil of your choice. Toss the seeds in the oil until they are evenly coated. This will help the seeds to roast evenly and develop a crispy texture.
Next, add your preferred seasonings to the pumpkin seeds. You can keep it simple with just a sprinkle of salt, or get creative and experiment with various flavors. Some popular options include garlic powder, paprika, cayenne pepper, or even a sweet blend with cinnamon and sugar.
Toss the seeds in the seasonings until they are well coated. Spread them out in a single layer on the prepared baking sheet. Make sure the seeds are spread out evenly without overlapping to ensure even roasting.
Place the baking sheet in the preheated oven and roast the pumpkin seeds for about 10-15 minutes, stirring them occasionally to prevent burning. Keep a close eye on them as they can quickly go from perfectly roasted to burnt.
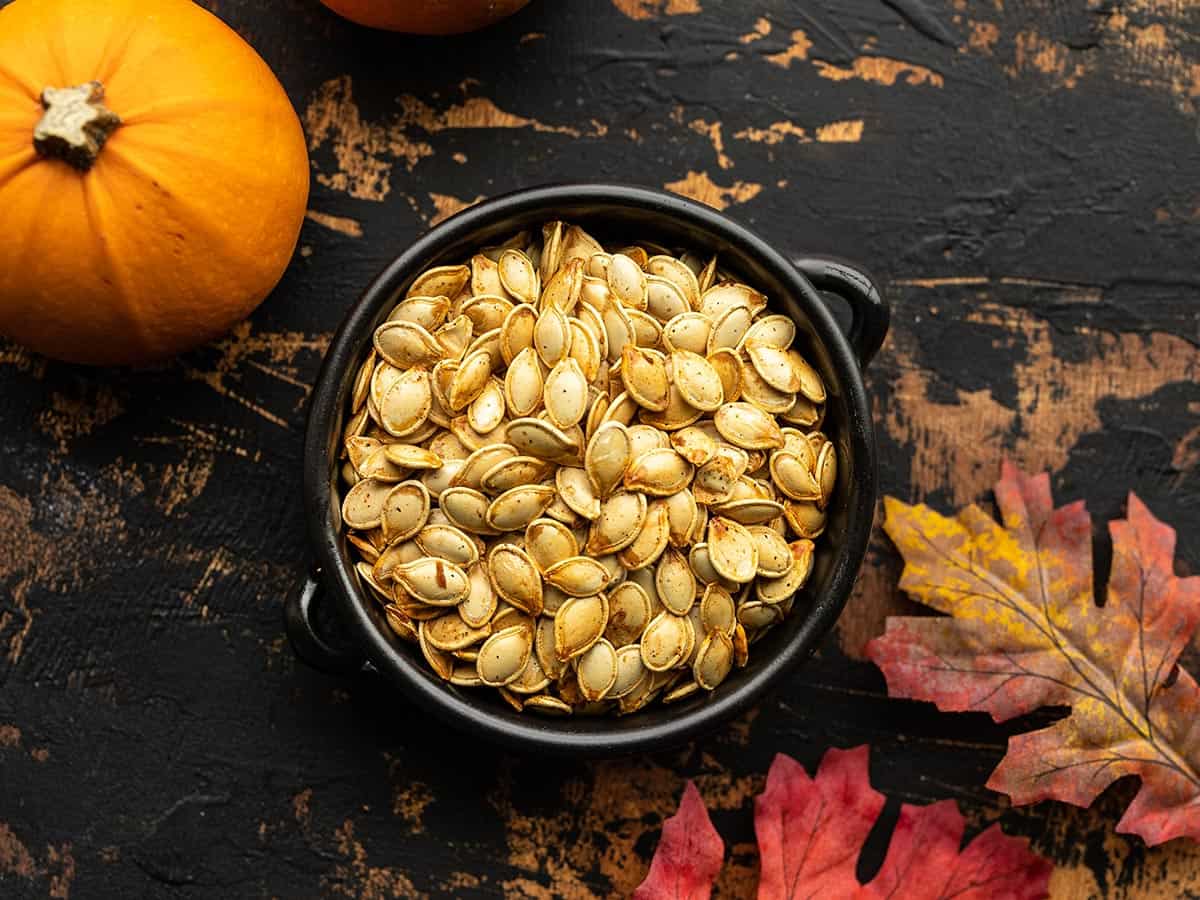
The seeds are ready when they turn a golden brown color and become fragrant. You can perform a taste test to ensure they are crunchy and have the desired level of flavor. If needed, you can roast them for an additional few minutes, but be careful not to overdo it.
Once the pumpkin seeds are nicely roasted, remove them from the oven and let them cool completely on the baking sheet. The seeds will continue to crisp up as they cool down.
Now that your roasted pumpkin seeds are ready, it’s time for the final step – flavoring and storing them for future snacking.
But first, take a moment to savor the mouthwatering aroma that fills your kitchen during the roasting process. The hard work and patience you’ve put into cracking and roasting the pumpkin seeds will soon pay off with a delicious treat!
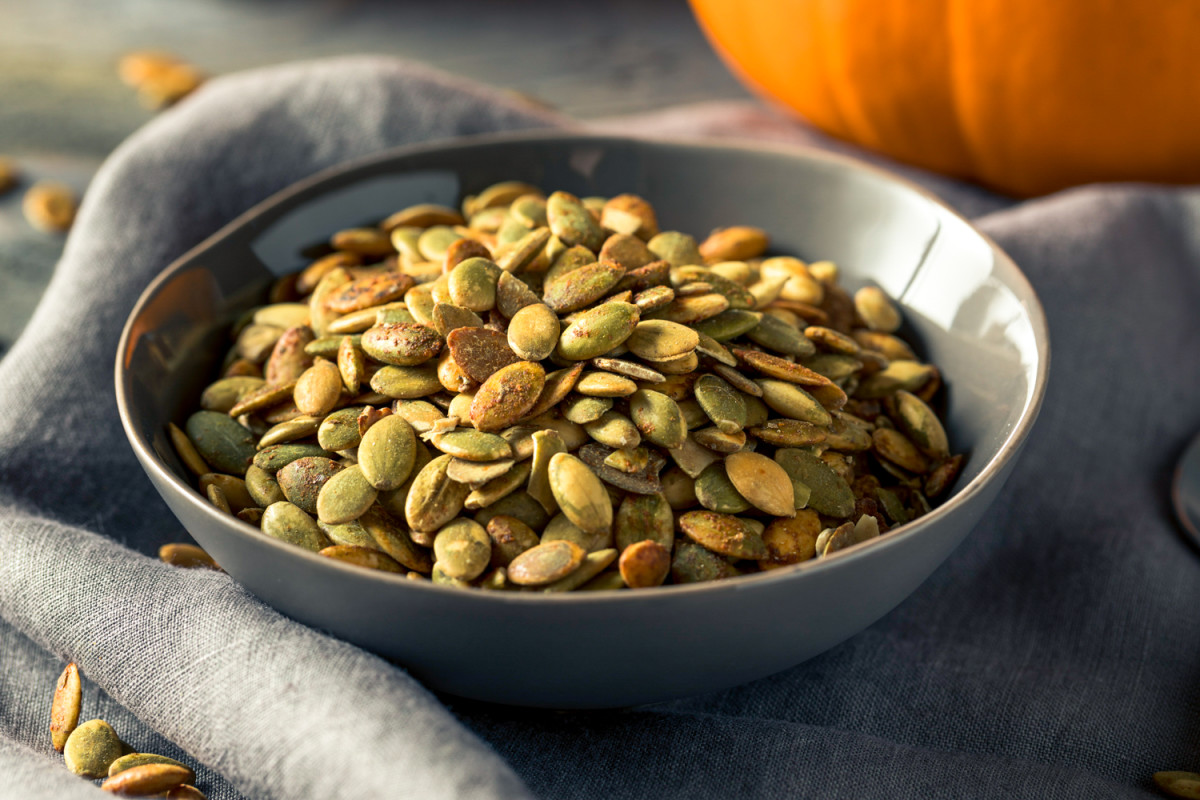
Step 7: Flavoring and Storing the Pumpkin Seeds
Congratulations! You’ve successfully cracked, roasted, and now it’s time to add some delicious flavors to your pumpkin seeds. This step allows you to get creative and tailor the taste of the seeds to your liking.
Once the roasted pumpkin seeds have cooled down, transfer them to a bowl. Now comes the fun part – adding your preferred flavors. Here are a few ideas to spice up your pumpkin seeds:
- Classic Salted: Sprinkle the seeds with a generous pinch of salt for a simple yet satisfying flavor.
- Savory Herb Blend: Mix in a combination of dried herbs such as rosemary, thyme, and oregano for an earthy and aromatic taste.
- Spicy Kick: Add a dash of cayenne pepper, chili powder, or hot sauce for those who enjoy a fiery flavor.
- Sweet and Spiced: Create a sweet and savory blend by combining cinnamon, nutmeg, and a touch of brown sugar.
- Garlic Parmesan: Toss the seeds with garlic powder, grated Parmesan cheese, and a drizzle of olive oil for a savory and cheesy delight.
- Curry Twist: Sprinkle the seeds with curry powder, turmeric, and a pinch of salt for a unique and aromatic flavor profile.
Once you’ve added the desired seasonings, gently toss the seeds until they are evenly coated. Make sure the flavors are well distributed throughout the seeds.
Now it’s time to store the flavored pumpkin seeds. Transfer them to an airtight container or a sealable bag to maintain their freshness and crunchiness. Store them in a cool, dry place such as a pantry or cupboard.
The homemade flavored pumpkin seeds can last for several weeks when stored properly. However, they are so delicious that you might find that they disappear quickly!
Whenever you’re in the mood for a wholesome and tasty snack, grab a handful of your homemade flavored pumpkin seeds. Enjoy them on their own, sprinkle them on salads or soups, or add them to trail mix for an extra boost of nutrition and flavor.
Remember to experiment with different flavor combinations and seasoning variations to cater to your personal preferences. Let your creativity shine and have fun with it!
Now that you know how to crack, roast, flavor, and store pumpkin seeds, you can enjoy the fruits of your labor and share this delightful snack with family and friends.
So go ahead, savor the deliciousness and reap the nutritional benefits of these little gems. Happy snacking!
Conclusion
Cracking pumpkin seeds is a satisfying and rewarding process that allows you to enjoy a delicious, nutritious snack. From harvesting and cleaning the seeds to roasting, flavoring, and storing them, each step contributes to the creation of a wholesome treat.
By following these simple steps, you can transform fresh pumpkin seeds into a crunchy and flavorful snack that is perfect for enjoying on its own or adding to various dishes. The versatility of pumpkin seeds allows for endless possibilities in terms of taste and texture.
Cracking pumpkin seeds not only provides you with a delicious snack but also lets you make the most of your autumn harvest. It is a great way to utilize every part of the pumpkin and minimize waste.
Furthermore, pumpkin seeds are a nutritional powerhouse, rich in protein, fiber, and a wide range of vitamins and minerals. They offer numerous health benefits, including supporting heart health, boosting immune function, and promoting healthy digestion.
So, whether you’re a gardening enthusiast with an abundance of homegrown pumpkins or simply looking for a wholesome and flavorful snack, cracking pumpkin seeds is a wonderful activity for all ages.
Remember to get creative with flavors, seasoning the seeds to your personal preference. Whether you enjoy the classic salted version or prefer to explore bold and spicy flavors, there’s a pumpkin seed variation for everyone’s taste buds.
So what are you waiting for? Grab some pumpkins, gather the family, and get cracking those seeds to embark on a journey of deliciousness and health.
Enjoy the process, savor the flavors, and indulge in the delightful crunch of homemade cracked pumpkin seeds. Happy cracking!
Frequently Asked Questions about How To Crack Pumpkin Seeds
Was this page helpful?
At Storables.com, we guarantee accurate and reliable information. Our content, validated by Expert Board Contributors, is crafted following stringent Editorial Policies. We're committed to providing you with well-researched, expert-backed insights for all your informational needs.


0 thoughts on “How To Crack Pumpkin Seeds”