Home>Garden Essentials>How To Save Pumpkin Seeds

Garden Essentials
How To Save Pumpkin Seeds
Modified: August 23, 2024
Learn how to save pumpkin seeds from your own garden and grow your own delicious pumpkins. Find step-by-step instructions and expert tips to ensure a successful harvest.
(Many of the links in this article redirect to a specific reviewed product. Your purchase of these products through affiliate links helps to generate commission for Storables.com, at no extra cost. Learn more)
Introduction
Welcome to the wonderful world of gardening! If you’re an avid gardener, you’ve probably come across one of the most beloved and versatile vegetables: the pumpkin. Not only are pumpkins delicious and fun to carve for Halloween, but they also offer a wide array of health benefits. Plus, did you know that you can save the seeds from your pumpkins and grow your own next year?
In this article, we’ll guide you through the process of saving pumpkin seeds so that you can continue to enjoy this delightful vegetable for years to come. We’ll cover everything from choosing the right pumpkin to storing the seeds properly. So, get ready to embark on a seed-saving adventure!
Before we dive into the details, let’s take a quick look at why saving pumpkin seeds is not only a cost-effective practice but also a great way to ensure the quality and diversity of your future crops. When you save seeds from your own pumpkins, you are preserving the genetic traits of the plants that have already adapted well to your specific growing conditions. This means that the saved seeds are more likely to thrive in your garden, resulting in healthier and productive plants.
Additionally, saving pumpkin seeds can be an exciting and educational activity for both adults and children. It provides a hands-on experience in understanding the life cycle of plants and the importance of seed preservation. So, let’s get started on this rewarding journey of saving and growing your own pumpkins!
Key Takeaways:
- Save pumpkin seeds to grow your own pumpkins next year. Choose mature, open-pollinated pumpkins, harvest, clean, dry, and store the seeds properly for a bountiful garden adventure!
- Enjoy roasted pumpkin seeds or add them to baked goods, salads, and soups. Get creative in the kitchen and savor the delicious and nutritious treats from your saved pumpkin seeds!
Read more: How Many Seeds Are In A Pumpkin
Choosing the Right Pumpkin
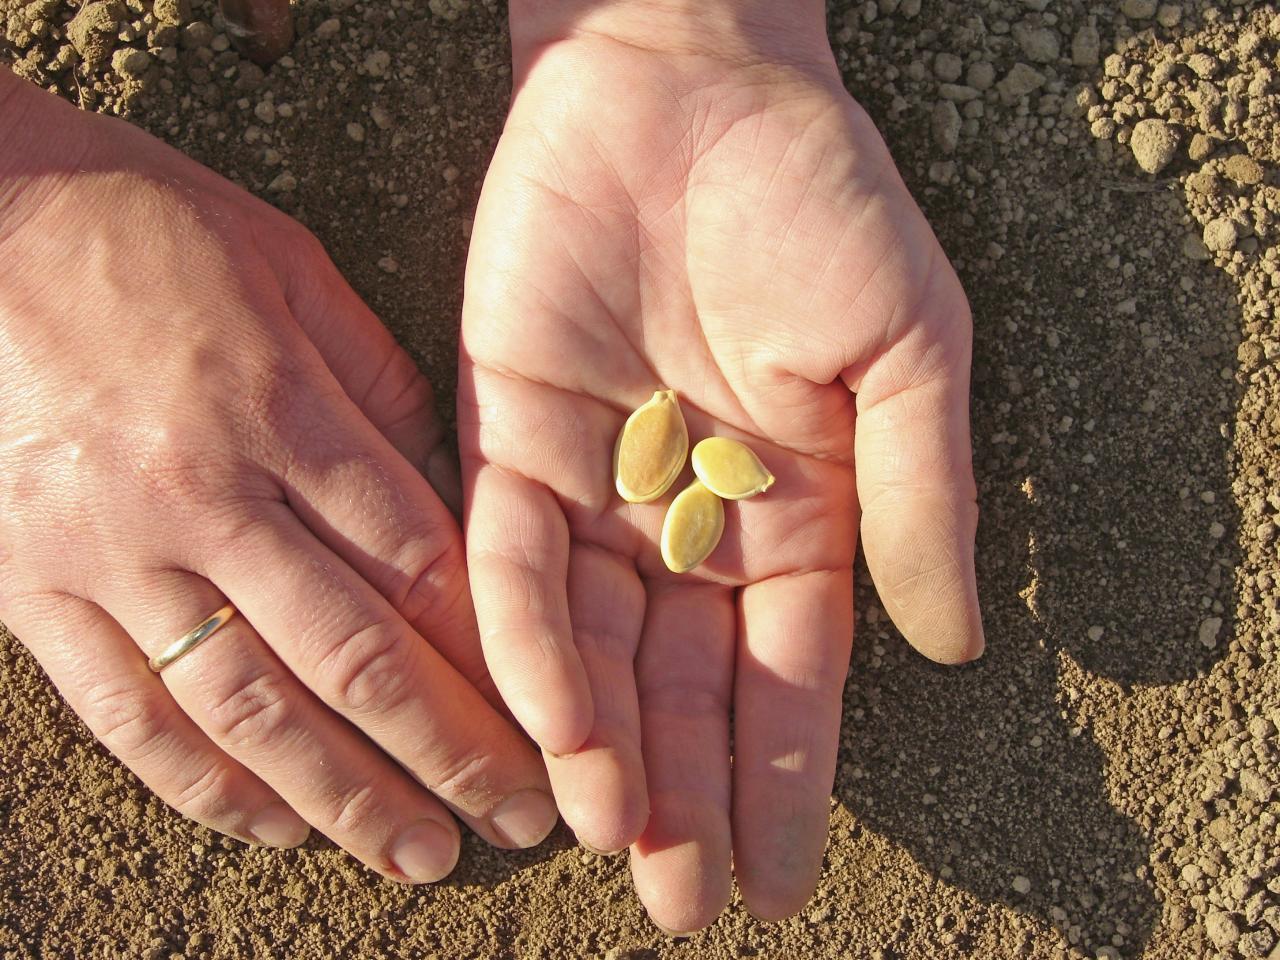
When it comes to saving pumpkin seeds, selecting the right pumpkin is crucial. You’ll want to choose a pumpkin that is fully ripe and has reached its peak flavor. Here are a few tips to help you pick the perfect pumpkin for seed-saving:
- Choose a mature pumpkin: Look for pumpkins that have reached their full size and have a hard outer shell. The skin should be firm and vibrant in color, indicating the pumpkin’s maturity.
- Opt for open-pollinated or heirloom varieties: Open-pollinated or heirloom pumpkin varieties are excellent choices for seed-saving. These varieties tend to produce stable and consistent offspring, ensuring the quality and traits of the parent plant.
- Avoid hybrids: Hybrids, on the other hand, are the result of cross-pollination between different pumpkin varieties. The seeds saved from hybrid pumpkins may not grow true to their parent plant, resulting in variations and unpredictable traits in the next generation of plants.
- Consider the size and shape: Depending on your preference, you can choose pumpkins of various sizes and shapes. Whether you’re looking for large pumpkins for carving or smaller ones for baking, make sure the size and shape align with your intended use.
- Inspect for any damage or rot: Inspect the pumpkin thoroughly for any signs of damage or rot. Select only pumpkins that are free from blemishes, bruises, or soft spots, as these may affect the viability of the seeds.
By following these guidelines, you can ensure that you are selecting the best pumpkins for seed-saving. Remember, the quality of the pumpkin will directly impact the quality of the seeds you save, so take your time and choose wisely.
Harvesting the Seeds
Once you have chosen the perfect pumpkin for seed-saving, it’s time to harvest the seeds. Harvesting the seeds may seem like a daunting task, but with a few simple steps, you’ll have those seeds ready in no time:
- Remove the pumpkin from the vine: Before harvesting the seeds, carefully cut the pumpkin from the vine, leaving a few inches of stem attached. This stem will help to preserve the integrity of the pumpkin during the drying process.
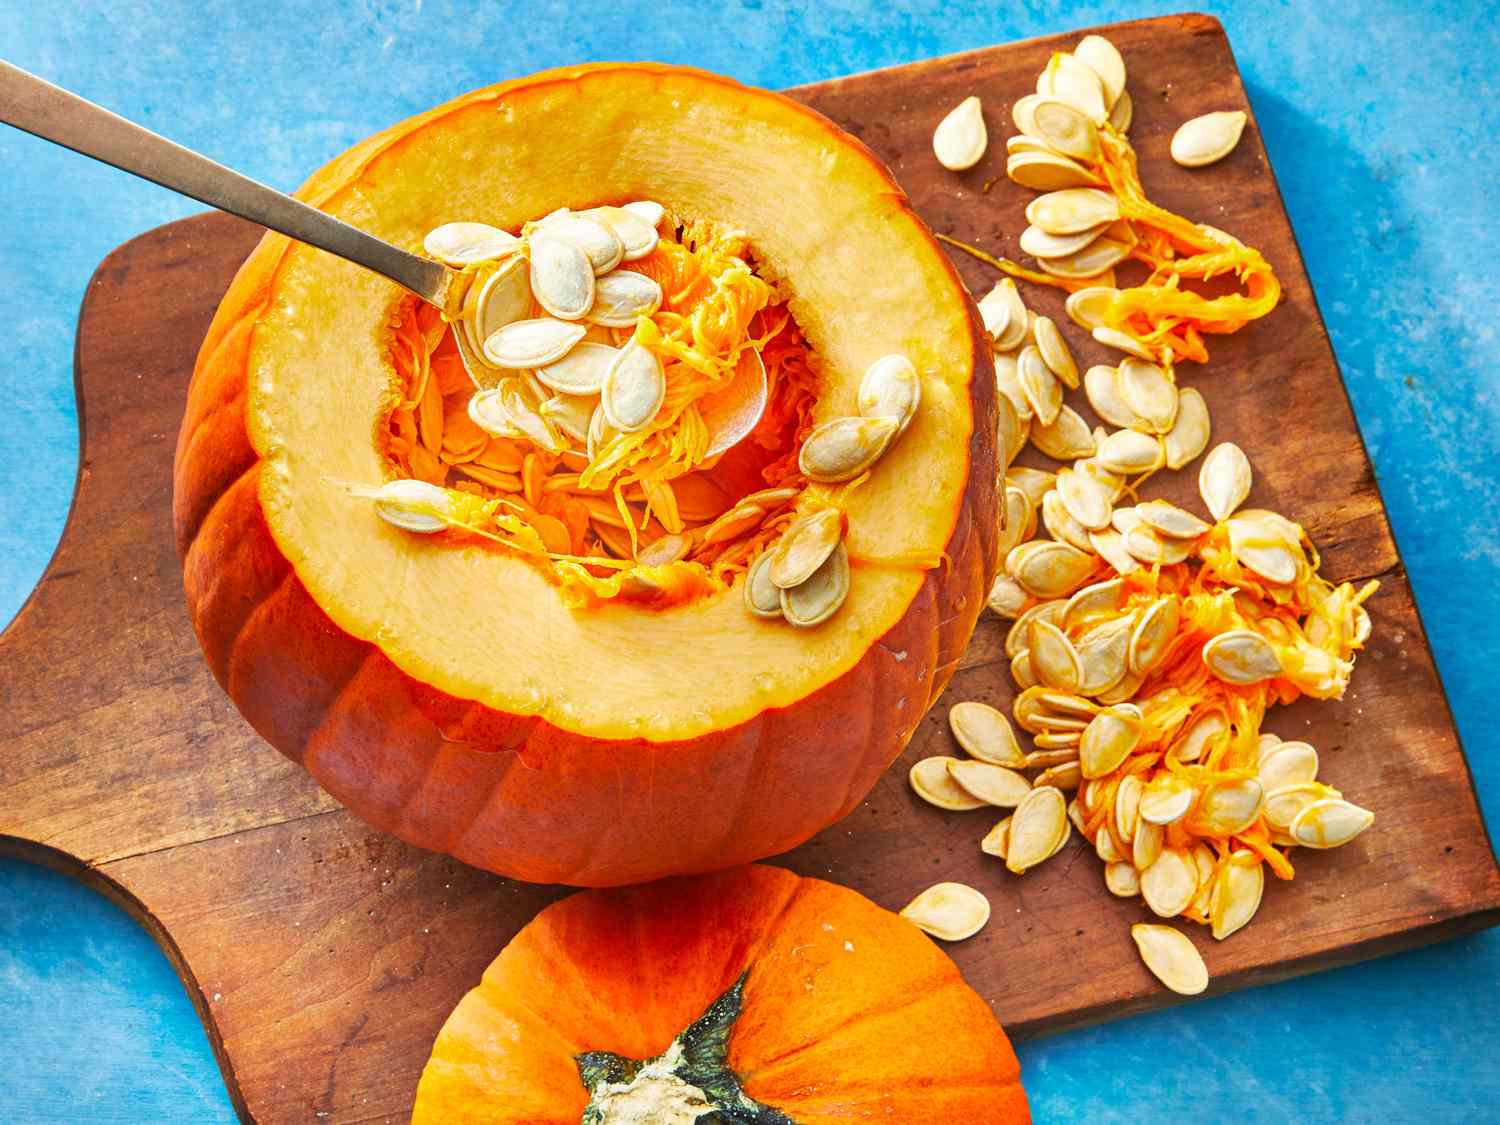
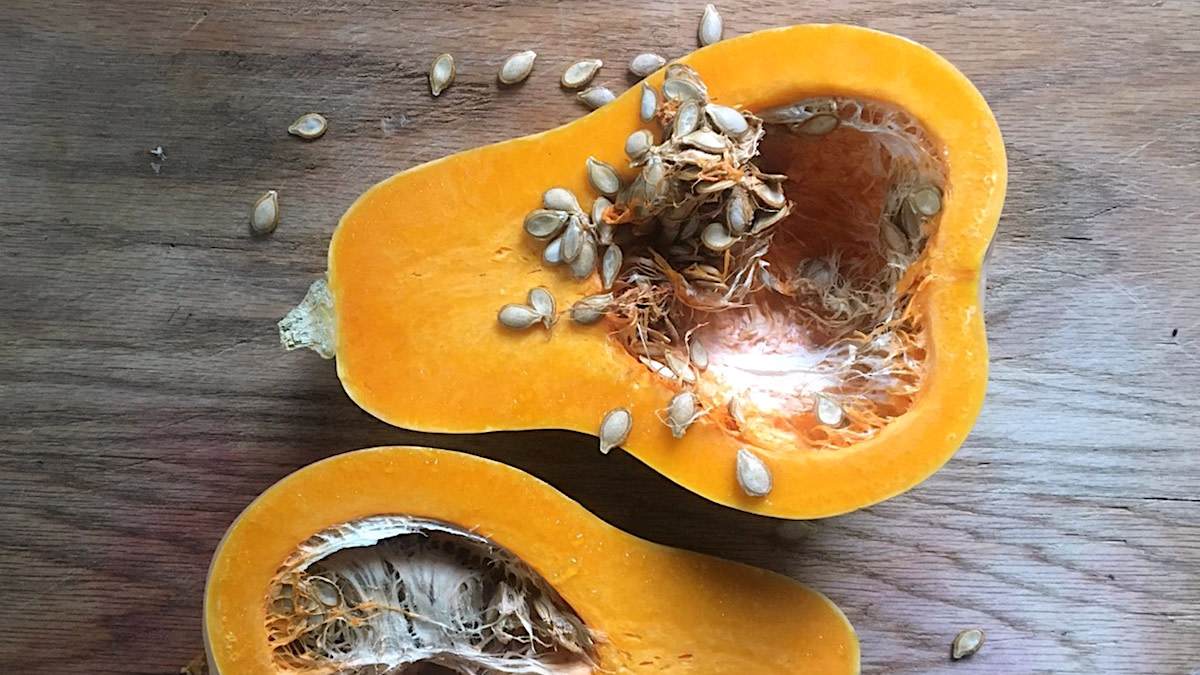
- Cut open the pumpkin: Using a sharp knife, carefully cut open the pumpkin. Take care not to damage the seeds as you slice through the pumpkin’s flesh. If you’re planning to use the pumpkin for cooking or carving, scoop out the pulp and set it aside for later use.
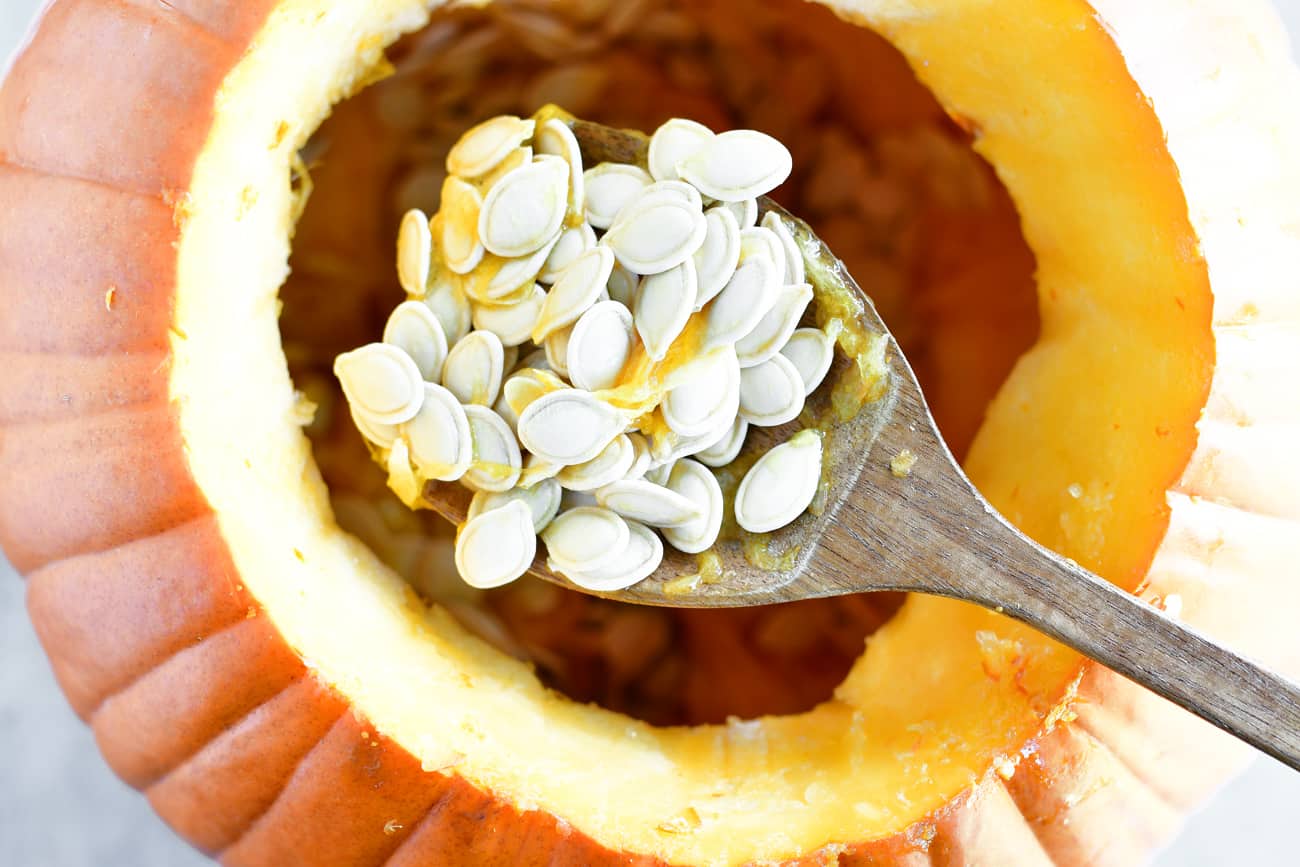
- Separate the seeds from the pulp: Remove the seeds from the pumpkin’s cavity and place them in a large bowl or container. Try to separate the seeds from any remaining pulp or stringy fibers as much as possible. Don’t worry if there is a little bit of pulp remaining; we’ll clean the seeds in the next step.
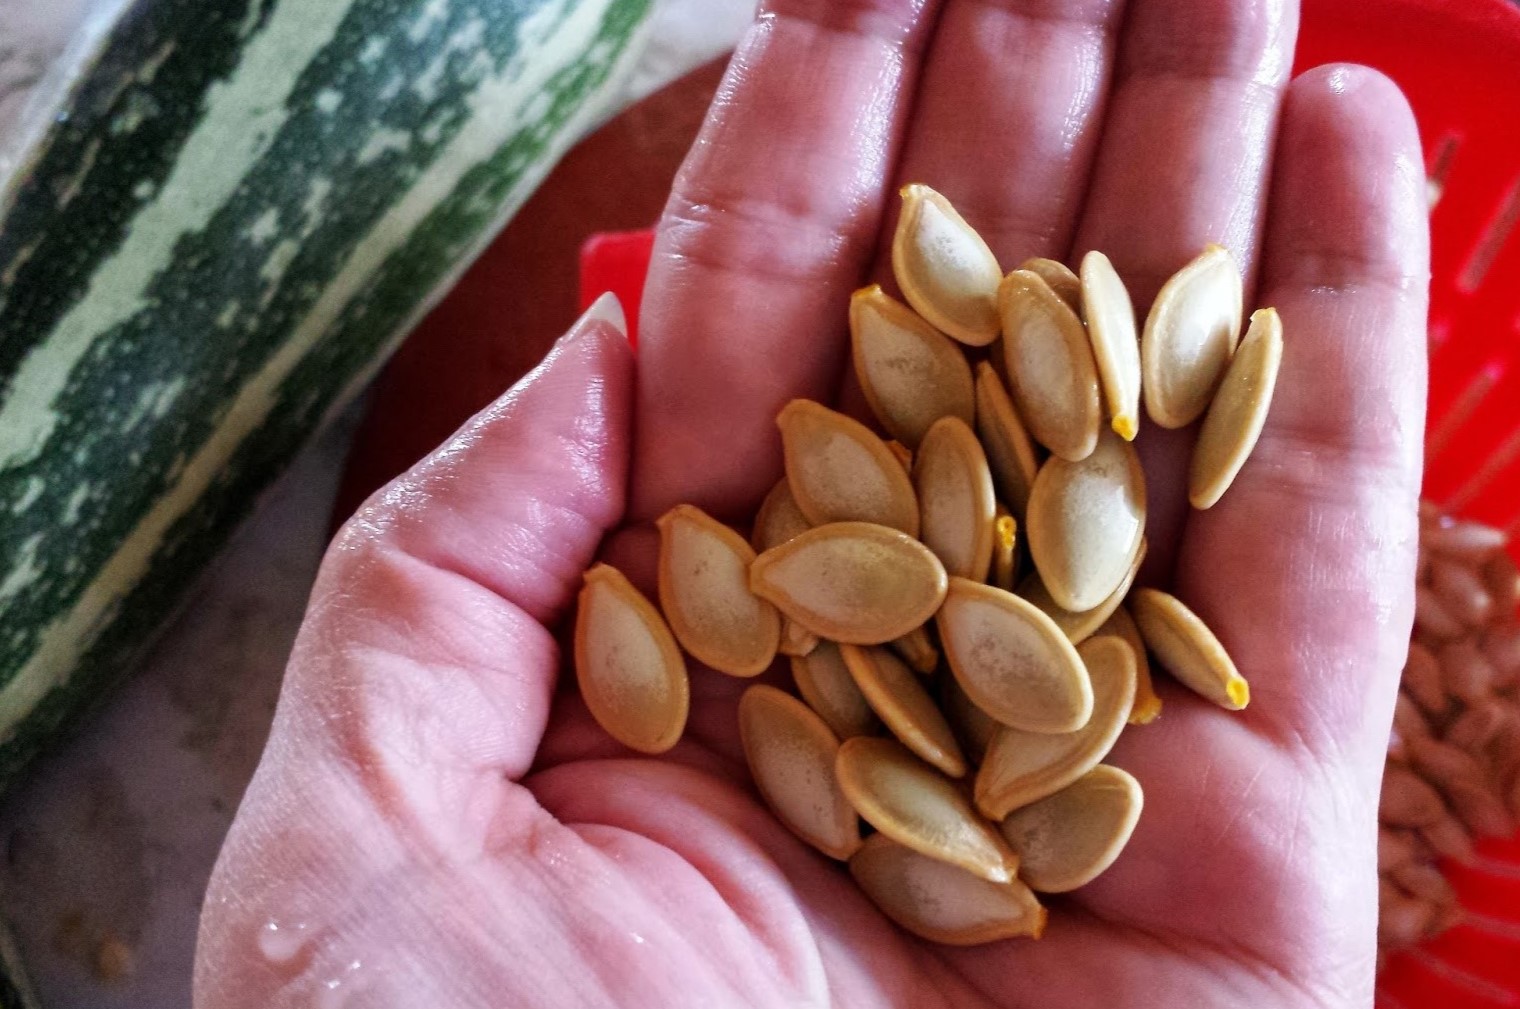
- Rinse the seeds: To remove any remaining pulp, give the seeds a thorough rinse under running water. Use your fingers or a soft brush to gently scrub away any clinging debris. Avoid using soap or any harsh chemicals as they can compromise the quality of the seeds.
Once you have completed these steps, you have successfully harvested the pumpkin seeds. It’s important to note that one pumpkin can yield a significant number of seeds, so don’t be surprised if you end up with more than you expected. Now, let’s move on to the next step: cleaning and preparing the seeds.
Cleaning and Preparing the Seeds
After harvesting the pumpkin seeds, it’s essential to clean and prepare them before they can be stored or planted. Cleaning the seeds helps to remove any remaining pulp, dirt, or bacteria, ensuring their optimal condition. Here’s how you can clean and prepare the seeds:
- Fill a bowl with warm water: Start by filling a bowl with warm water. The water shouldn’t be hot, as it can potentially damage the seeds.
- Add salt and agitate the seeds: Add a small amount of salt to the bowl of water and gently agitate the seeds. Saltwater helps to disinfect the seeds and discourage the growth of any potential pathogens.
- Let the seeds soak: Allow the seeds to soak in the saltwater solution for about 24 hours. This extended period will help to further loosen any remaining debris and promote effective cleaning.
- Rinse the seeds: After the soaking period, thoroughly rinse the seeds under running water. Use your fingers or a soft brush to gently scrub away any remaining impurities.
- Spread the seeds to dry: Once the seeds are clean, spread them out in a single layer on a paper towel or a clean, dry surface. Allow them to air dry completely. This drying process helps to remove any excess moisture from the seeds, preventing mold formation during storage.
It’s important to note that during the cleaning process, some floaters might appear. These are lightweight, non-viable seeds, and it’s best to discard them to ensure that only healthy and viable seeds are stored or planted.
Once the seeds are dry, you can move on to the next step: storing the seeds for future use or planting them for a new pumpkin-growing season.
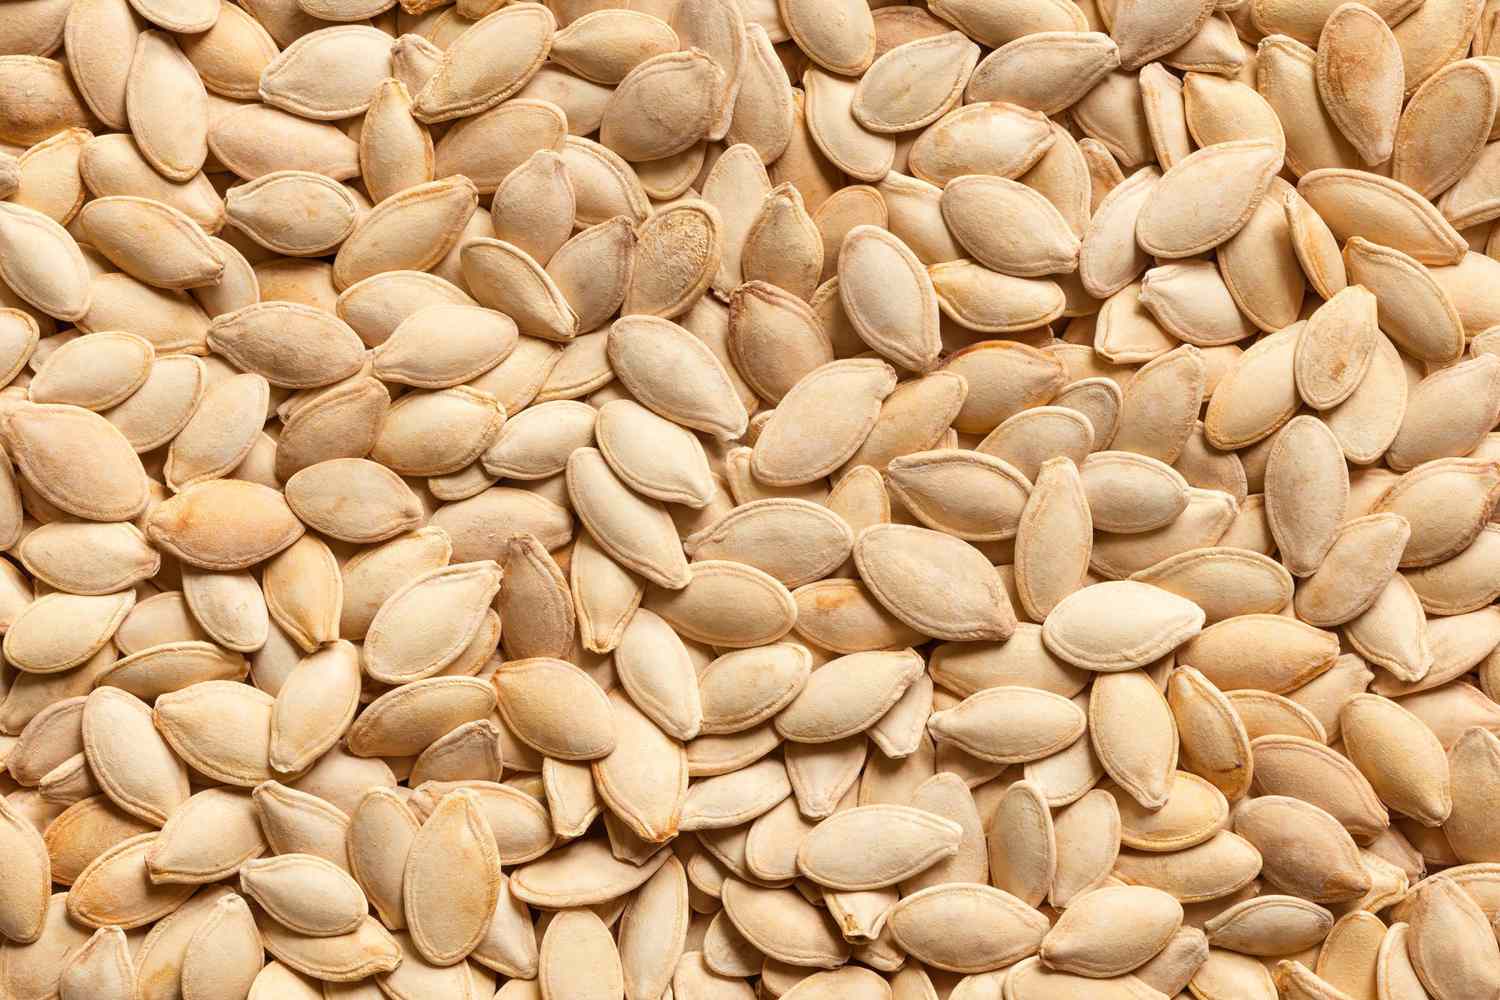
After removing the seeds from the pumpkin, rinse them in a colander to remove any pulp. Then spread them out on a paper towel to dry completely before storing them in an airtight container.
Drying the Seeds
Drying the pumpkin seeds is a vital step in the seed-saving process as it helps to remove any excess moisture and ensures the longevity and viability of the seeds. Here’s how you can dry the seeds:
- Transfer the seeds to a dry surface: Once the seeds have been cleaned, carefully transfer them to a clean, dry surface. You can use a paper towel, a baking sheet, or a fine mesh screen for this purpose. The goal is to spread the seeds out in a single layer to promote even drying.
- Avoid direct sunlight: Place the seeds in a cool, dry, and well-ventilated area away from direct sunlight. Sunlight can cause the seeds to overheat and lose their viability, so it’s important to choose a suitable location for drying.
- Rotate and stir the seeds: Over the course of a few days, periodically rotate and stir the seeds to ensure that all sides are exposed to air for thorough drying. This helps to prevent any moisture pockets from forming and reduces the risk of mold or fungal growth.
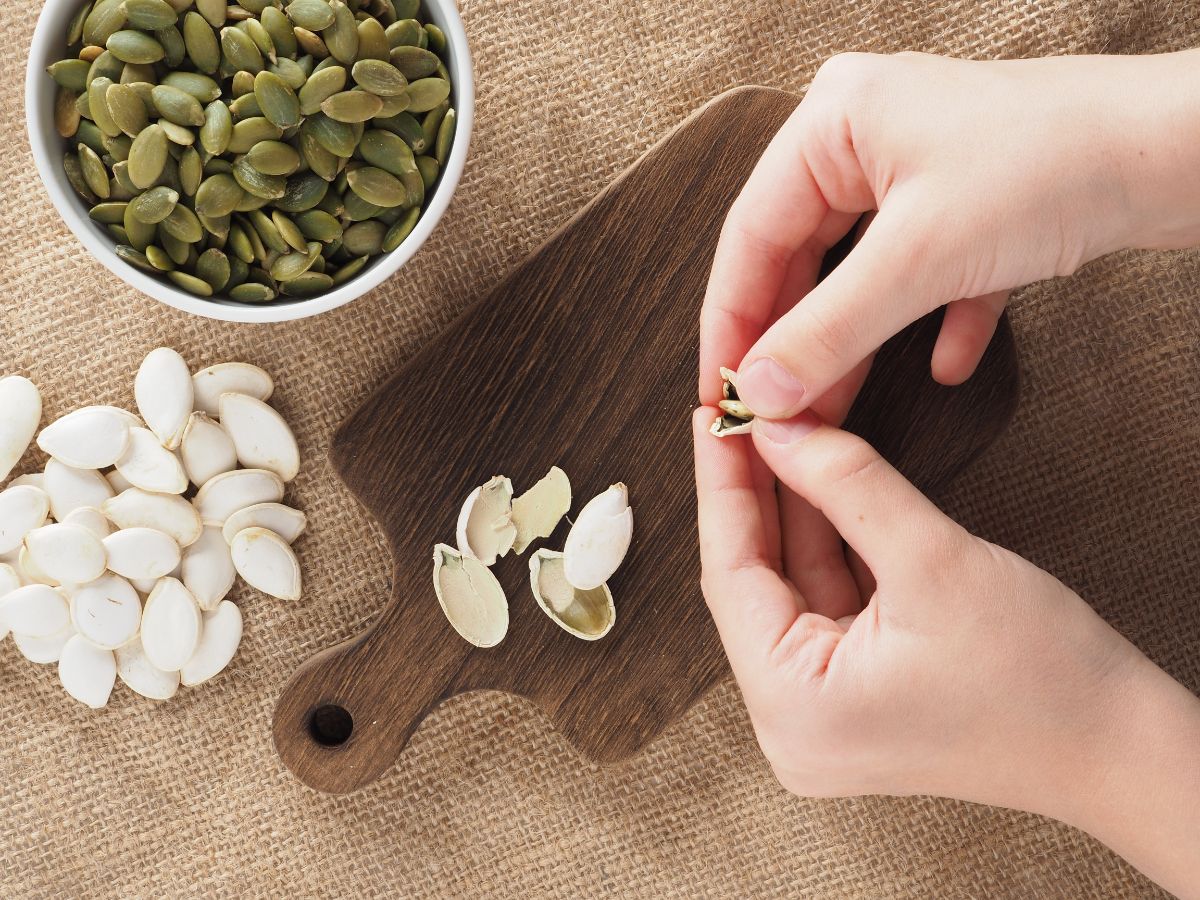
- Check for dryness: To determine if the seeds are completely dry, gently squeeze one between your fingernails. If it snaps or breaks cleanly, it is dry and ready for storage. If it feels moist or bends, give the seeds more time to dry before proceeding.
It’s important to exercise patience during the drying process, as rushing might result in seeds that aren’t fully dried and may lead to mold or rot. Once the seeds are completely dry, you can move on to the final step: storing the seeds for future use.
Read more: How To Plant Pumpkin Seeds
Storing the Seeds
Properly storing the pumpkin seeds is crucial to maintain their quality and viability for future use. Follow these guidelines to ensure that your saved seeds remain in optimal condition:
- Ensure complete dryness: Before storing the seeds, ensure that they are completely dry. Any remaining moisture can lead to mold or rot during storage, rendering the seeds unusable.
- Use airtight containers: Transfer the dry seeds to airtight containers such as glass jars, plastic containers, or seed envelopes. The containers should be clean and dry, with no traces of moisture.
- Label and date the containers: It’s important to label the containers with the specific variety of pumpkin and the date of seed-saving. This information will help you keep track of the different seed types and their age.
- Store in a cool, dry place: To maintain the longevity of the seeds, store them in a cool, dry, and dark location. A temperature of around 50-55°F (10-13°C) with low humidity is ideal for seed storage.
- Avoid extreme temperature fluctuations: Fluctuations in temperature can affect the viability of the seeds. Avoid storing them in places that experience frequent temperature changes, such as near heaters or in direct sunlight.
- Check for moisture and pests: Periodically check the stored seeds for any signs of moisture, mold, or pests. If you notice any issues, promptly remove the affected seeds to prevent them from spreading to other stored seeds.
By following these storage guidelines, you can keep your saved pumpkin seeds in excellent condition, ensuring their viability for up to 3-5 years. When it’s time to use the seeds, remember to perform a germination test to check their viability before planting.
Now that you have successfully saved and stored your pumpkin seeds, you can look forward to a season of bountiful and delicious pumpkins in your garden. Let’s explore some exciting ways to use the saved pumpkin seeds in the next section.
Using the Saved Pumpkin Seeds
Congratulations on saving your pumpkin seeds! Now that you have them stored and ready for future use, let’s explore some creative and delicious ways to utilize these nutritious seeds:
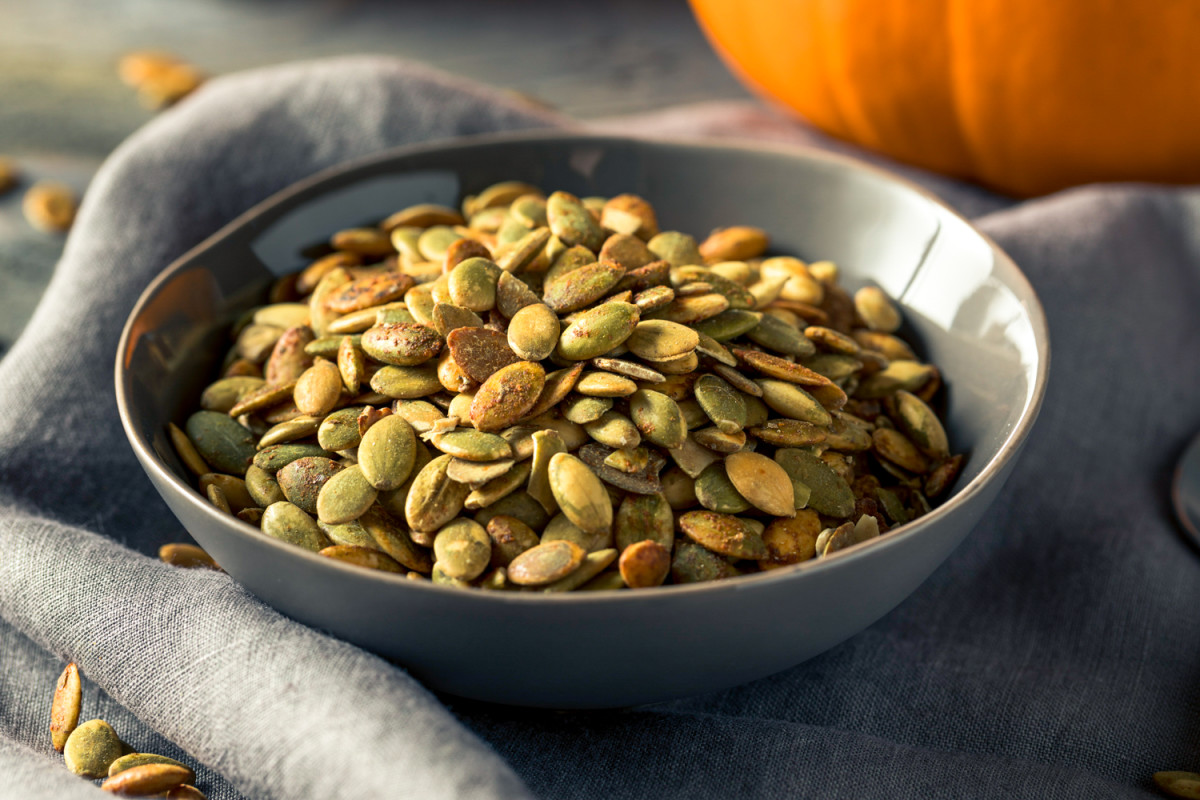
- Roasting: Roasting pumpkin seeds is a classic and delicious way to enjoy them. Simply toss the seeds in a bit of oil and your choice of spices, such as salt, cinnamon, or paprika. Spread them on a baking sheet and roast in the oven at around 325°F (163°C) for about 15-20 minutes, or until they are golden brown and crispy. Roasted pumpkin seeds make a tasty and nutrient-dense snack.
- Add to baked goods: Pumpkin seeds can be a great addition to various baked goods. Sprinkle them on top of bread, muffins, or cookies for added crunch and flavor. You can also incorporate ground pumpkin seeds into your baking recipes, adding a nutty taste and boosting the nutritional content.
- Create a homemade trail mix: Combine your pumpkin seeds with other nuts, dried fruits, and even some dark chocolate to make a delicious and nutritious trail mix. This homemade snack is perfect for on-the-go energy and is a great source of healthy fats and protein.
- Use in salads and soups: Toasted pumpkin seeds can add a delightful crunch and texture to salads and soups. Sprinkle them on top of your favorite greens or stir them into creamy soups for an extra burst of flavor and nutrients.
- Make pumpkin seed butter: Similar to other nut butters, pumpkin seed butter can be a tasty and nutritious alternative. Simply grind the toasted pumpkin seeds in a food processor until they reach a smooth and creamy consistency. Enjoy it as a spread on toast, in smoothies, or as a dip for fruits and vegetables.
These are just a few ideas to inspire you to make the most of your saved pumpkin seeds. Get creative in the kitchen and experiment with different recipes to find your favorite way to enjoy these nutritious treats.
Remember, if you plan to use your saved pumpkin seeds for planting, make sure to separate the seeds you want to consume from the ones you want to sow. This way, you can enjoy the best of both worlds – delicious pumpkin seeds and a thriving pumpkin patch in your garden.
Now that you have learned how to save and utilize pumpkin seeds, you can appreciate the journey from seed to harvest. Happy seed-saving and happy gardening!
Conclusion
Congratulations! You have successfully learned how to save and utilize pumpkin seeds, unlocking a world of possibilities in your gardening and culinary adventures. Saving pumpkin seeds not only allows you to continue growing delicious pumpkins year after year but also empowers you to preserve the unique characteristics and adaptability of your favorite pumpkin varieties.
Throughout this article, we covered the essential steps in the process of saving pumpkin seeds. From choosing the right pumpkin and harvesting the seeds to cleaning, drying, and storing them, you now have the knowledge and confidence to embark on your seed-saving journey.
Remember, while saving pumpkin seeds is a rewarding and cost-effective practice, it is also an opportunity for education and connection with nature. Involving children in the process can teach them about plant life cycles, the importance of seed preservation, and the joy of growing their own pumpkins.
Additionally, we explored various ways to use the saved pumpkin seeds in your culinary endeavors. Roasting them, adding them to baked goods, creating trail mixes, using them in salads and soups, and making pumpkin seed butter are just a few examples of the versatility of these nutritious seeds.
By following the guidelines provided in this article, you can ensure the viability and longevity of your saved pumpkin seeds. Properly cleaning, drying, and storing the seeds will give you the best chance of success when it comes time to plant or enjoy them as a snack.
Seed-saving is a continuous learning process, and each growing season provides an opportunity to refine your techniques and try new pumpkin varieties. Enjoy the journey, embrace experimentation, and don’t forget to share the joy of gardening and the delicious rewards of your saved pumpkin seeds with friends and family.
Thank you for joining us on this pumpkin seed-saving adventure. May your gardens be filled with thriving pumpkins and your tables be adorned with delectable pumpkin seed-infused dishes. Happy gardening!
Frequently Asked Questions about How To Save Pumpkin Seeds
Was this page helpful?
At Storables.com, we guarantee accurate and reliable information. Our content, validated by Expert Board Contributors, is crafted following stringent Editorial Policies. We're committed to providing you with well-researched, expert-backed insights for all your informational needs.


0 thoughts on “How To Save Pumpkin Seeds”