Home>Garden Essentials>How To Pencil Draw Greenery
Garden Essentials
How To Pencil Draw Greenery
Modified: March 7, 2024
Learn how to beautifully pencil draw greenery in your garden with this step-by-step tutorial. Enhance your artistic skills and bring your garden to life on paper.
(Many of the links in this article redirect to a specific reviewed product. Your purchase of these products through affiliate links helps to generate commission for Storables.com, at no extra cost. Learn more)
Introduction
Welcome to the world of pencil drawing! In this article, we will explore the fascinating realm of drawing greenery with pencils. Whether you are a beginner or an experienced artist, learning to depict greenery can bring your artwork to life.
Greenery is an essential element in many drawings, adding a sense of beauty and nature to any artwork. From lush forests to delicate foliage, mastering the art of drawing greenery can greatly enhance your artistic skills and make your artwork more visually appealing.
In this guide, we will walk you through the steps to create stunning greenery using only pencils. We will cover everything from selecting the right materials to adding depth and texture. So, grab your pencils and let’s get started!
Key Takeaways:
- Drawing greenery with pencils is a fun and rewarding way to bring nature to life on paper. By using different pencils and techniques, you can create realistic and vibrant greenery in your artwork.
- Adding details, texture, and depth to your greenery drawings makes them visually captivating. With practice and patience, you can master the art of drawing greenery and create beautiful, lifelike artwork.
Read more: How To Store Colored Pencils
Materials needed
Before we dive into drawing greenery, let’s gather the necessary materials. Here’s a list of what you’ll need:
- Pencils: You’ll need a range of graphite pencils, preferably in various grades from 2H to 6B. These different grades will allow you to achieve different shades and depths of green.
- Paper: Choose a good quality drawing paper that is smooth and thick enough to withstand pencil shading.
- Pencil sharpener: Keep your pencils sharp for precise detailing.
- Eraser: A kneaded or gum eraser is recommended, as it can be shaped to erase small areas without leaving debris.
- Blending tools: Tortillons, blending stumps, or even tissue paper can be used to blend and smudge the graphite for smoother shading.
- Reference images: It’s helpful to have reference images of different types of greenery to guide your drawing. You can find these online, in books, or by photographing real-life foliage.
With these materials in hand, you’re ready to start bringing greenery to life on paper.
Choosing the right pencils
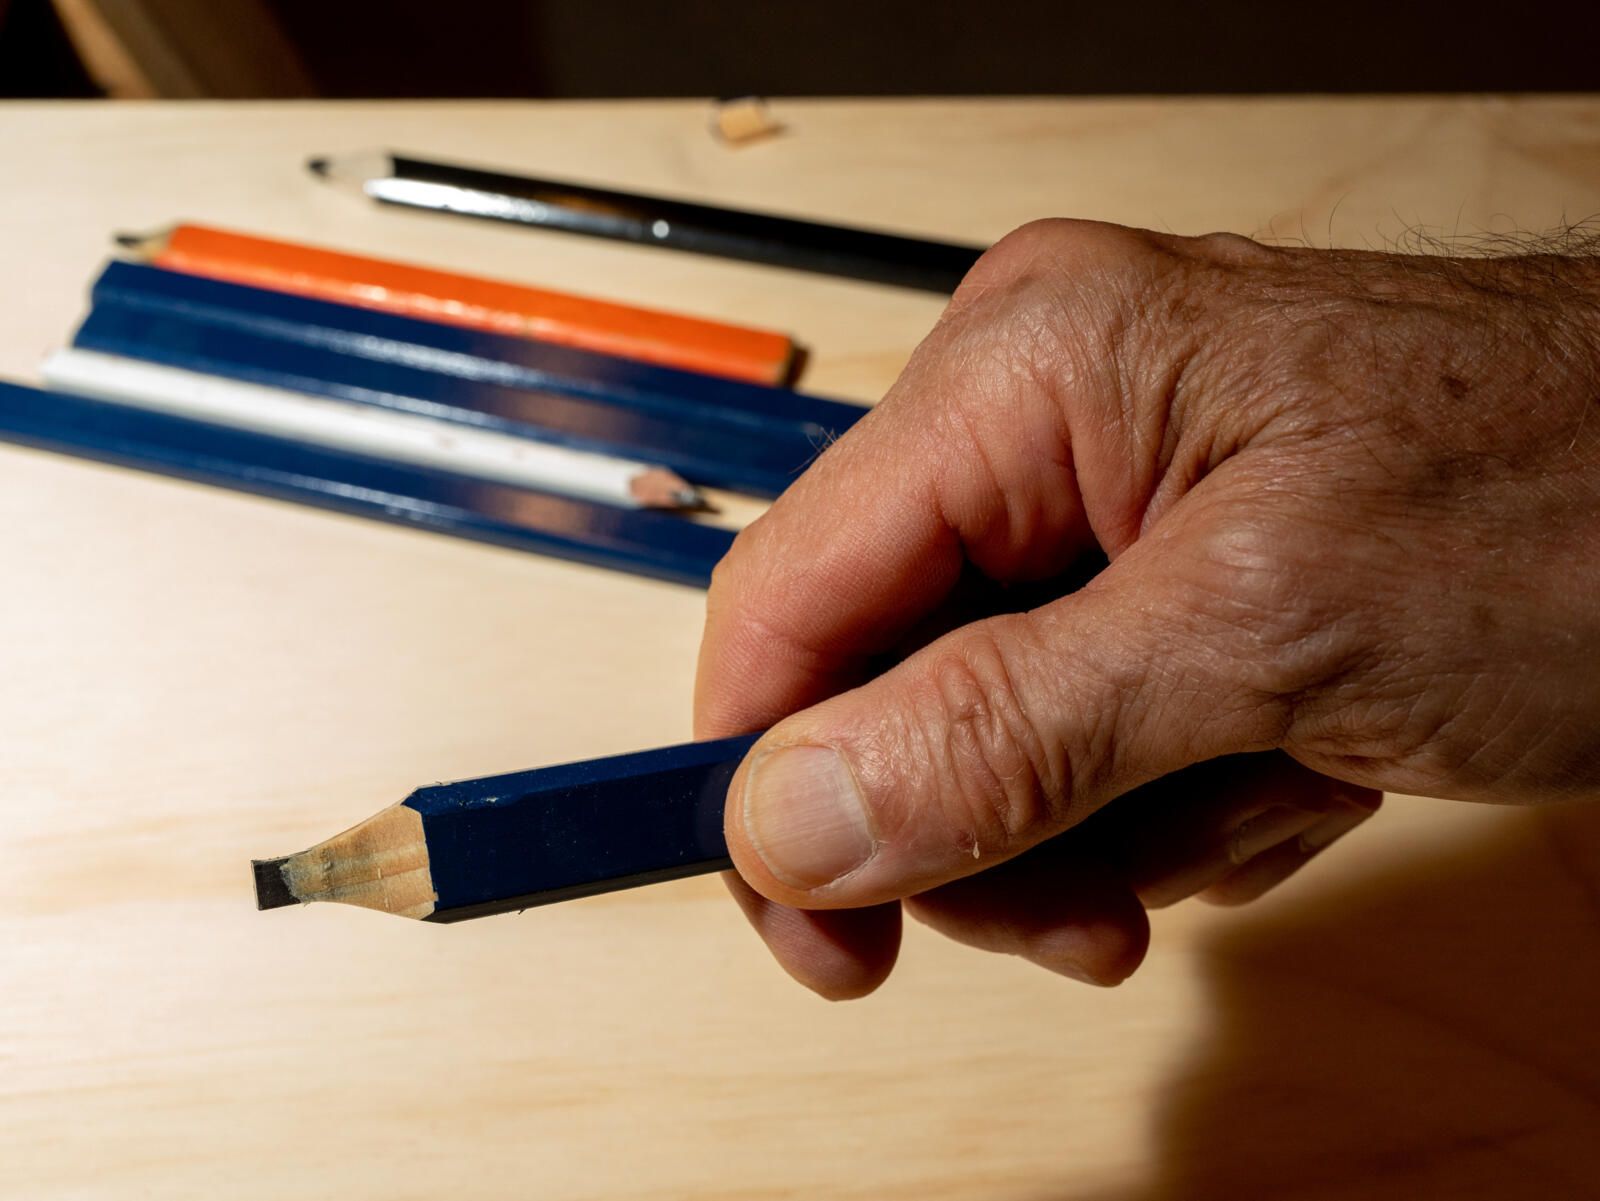
When it comes to drawing greenery, selecting the right pencils is crucial. The graphite pencils you choose will determine the range of shades and textures you can achieve. Here are some tips for choosing the right pencils:
- Grades: Graphite pencils come in different grades, ranging from hard (H) to soft (B). H pencils have a lighter and harder lead, while B pencils have a darker and softer lead. For drawing greenery, it’s best to have a variety of pencils ranging from 2H to 6B. The harder pencils (2H-4H) are ideal for sketching outlines and lighter areas, while the softer pencils (4B-6B) can be used for adding depth and shading.
- Experimentation: Don’t limit yourself to just one pencil grade. Experiment with different pencils to see how they behave on paper. Try layering different pencils to create interesting textural effects and variations in tone.
- Control: Consider the level of control you have with a particular pencil. Harder pencils provide more control and allow for precise details, while softer pencils give a looser and more expressive effect. Depending on the type of greenery you’re drawing, you may need a combination of pencils to achieve the desired result.
Ultimately, the right pencil choice depends on your personal style and preferences. Don’t be afraid to experiment and find the pencils that work best for you. With the right selection, you’ll be one step closer to creating lush and realistic greenery in your drawings.
Drawing basic shapes and lines
Before delving into the intricate details of greenery, it’s important to establish the foundation of your drawing by sketching basic shapes and lines. This step will help you create a solid composition and guide the placement of your foliage. Here’s how to get started:
- Observation: Take a moment to observe the reference images of greenery you have. Notice the general shapes and patterns of the leaves, branches, and stems. This will help you understand the overall structure of the greenery you’re about to draw.
- Outline: Begin by lightly sketching the basic outline of your chosen greenery. Use light strokes and simple shapes such as ovals, circles, and lines to represent the main components of the foliage.
- Proportions: Pay attention to the proportions of your drawing. Use light, loose lines to indicate the height and width of the greenery. Make adjustments as needed to maintain a balanced and realistic composition.
- Branches and stems: Add lines to represent the branches and stems of the greenery. These lines should loosely follow the curves and angles of the reference image. Remember that branches and stems aren’t perfectly straight, so allow for subtle curves and bends.
At this stage, don’t worry too much about details or shading. The goal is to create a basic framework for your greenery drawing. Once you’re satisfied with the overall structure, you can move on to adding more intricate details to bring your greenery to life.
Creating different types of greenery
Greenery comes in various shapes, sizes, and textures, and each type adds a unique touch to your artwork. Let’s explore a few popular types of greenery and how to draw them:
- Leaves: Leaves are an essential part of any greenery drawing. Start by sketching the basic shape of the leaf using gentle curves and points. Pay attention to the veins and texture of the leaf. Add veins by drawing small lines that radiate from the base of the leaf. Use varying pressure with your pencil to create depth and shading on the leaf’s surface.
- Grass: Drawing grass requires different techniques compared to foliage. Use short, quick strokes to mimic the texture and movement of individual grass blades. Vary the length and direction of the strokes to create a natural and realistic look. Add depth by layering multiple shades of green or gently smudging the graphite.
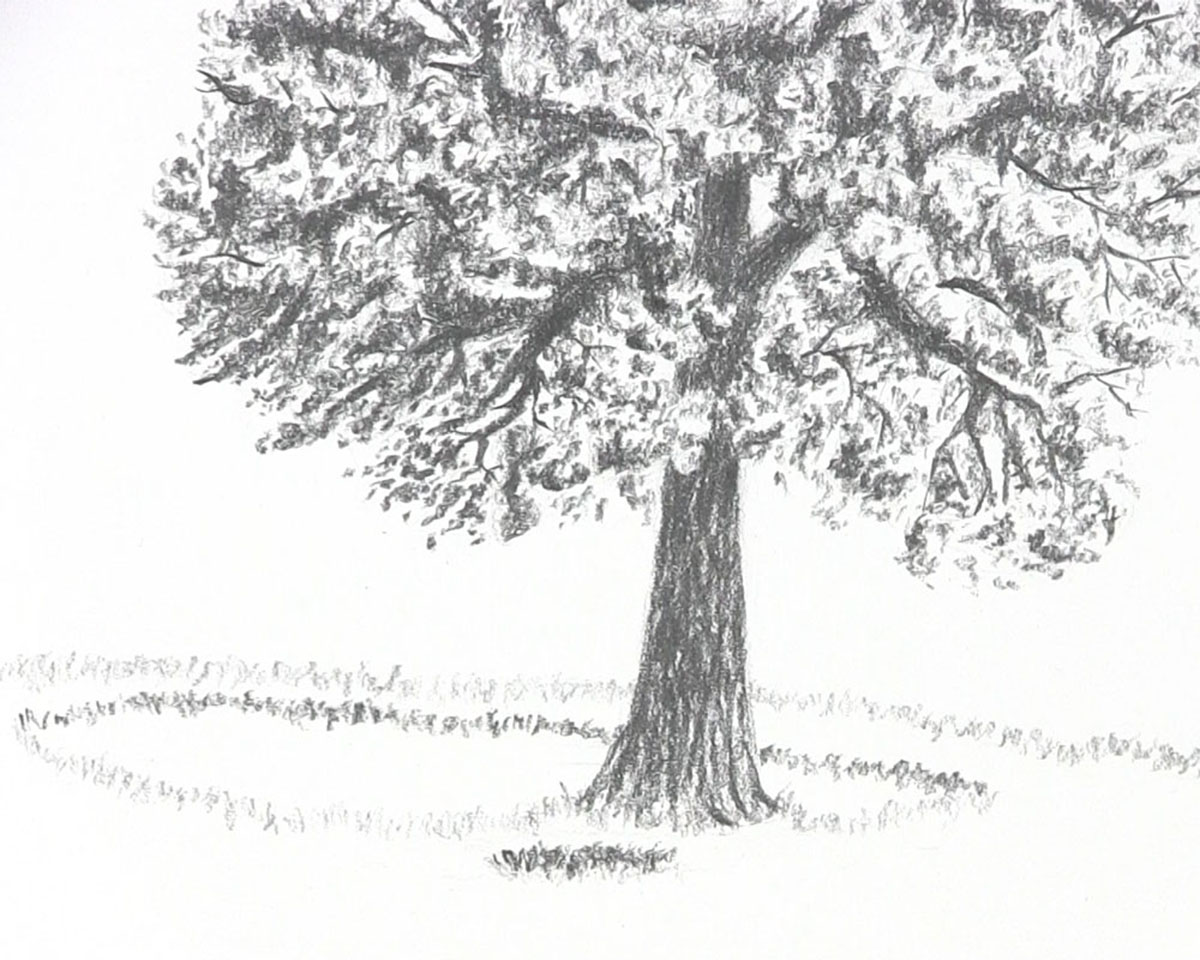
- Trees: Drawing trees involves creating intricate branches and capturing the unique form of each tree species. Start with the main trunk and then branch out. Use a combination of curved and angled lines to represent the branches. Add smaller branches and twigs as you go along. Pay attention to the tapering effect of the branches, where they become thinner towards the ends. Finally, add leaves or foliage using techniques mentioned earlier.
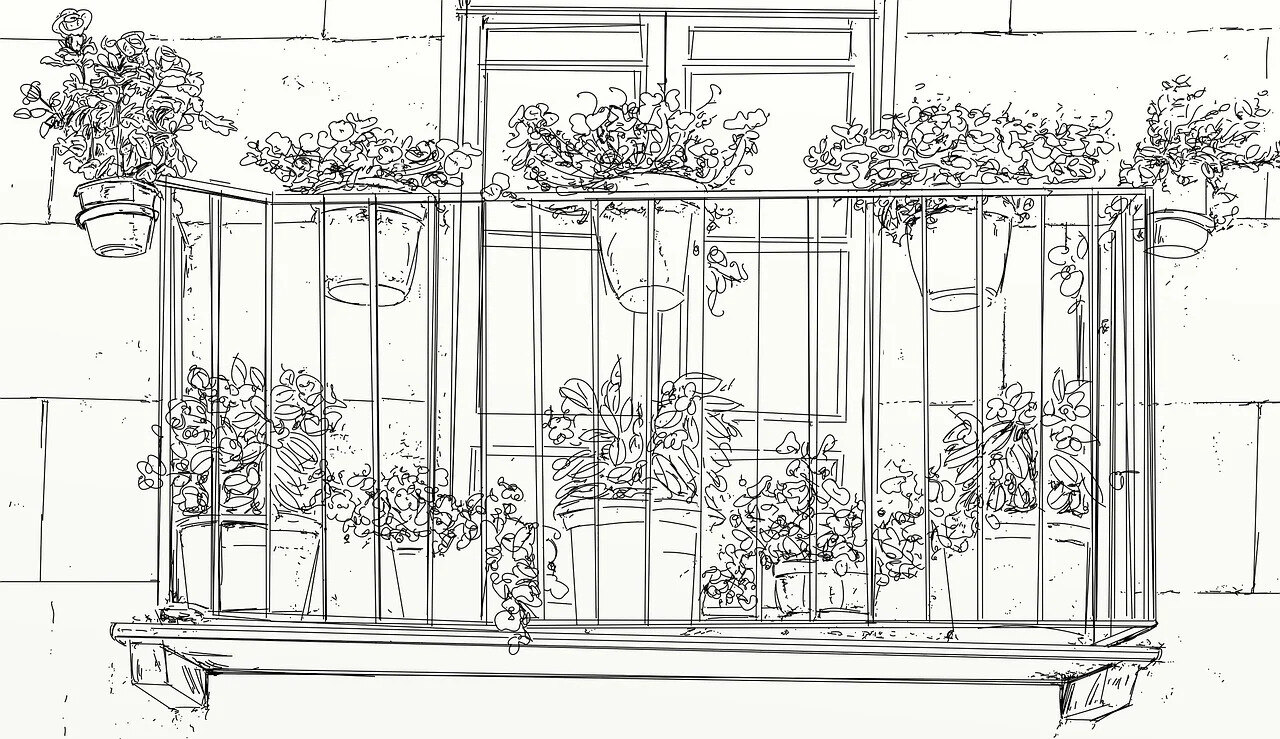
- Vines and creepers: Vines and creepers add a wild and untamed element to your greenery. Use curved lines to represent the twisting and winding nature of these plants. Add leaves or buds sporadically along the vines, varying the size and shape for a natural look. Keep the lines loose and organic to capture the inherent movement of vines.
These are just a few examples of the different types of greenery you can draw. Experiment with various shapes, sizes, and textures to create a diverse and visually captivating greenery composition. Remember to observe real-life references or photographs to ensure accuracy and authenticity in your drawings.
Read more: How To Draw A Garden
Adding details and texture
Once you have sketched the basic shapes of your greenery, it’s time to add intricate details and texture to make your drawing come alive. Paying attention to these details will give your greenery a realistic and captivating appearance. Here are some tips to help you add those finishing touches:
- Veins and patterns: Pay close attention to the veins and patterns on leaves, as they contribute to the overall texture. Use thin, delicate lines to represent the veins, ensuring they follow the natural flow of the leaf. Adding patterns and textures unique to each type of greenery will enhance the realism of your drawing.
- Bark and tree textures: If you’re drawing trees, incorporating the texture of the bark is essential. Study different types of tree barks to understand their unique patterns and textures. Use short, irregular strokes to mimic the roughness and depth of the bark. You can also create texture by lightly shading certain areas to simulate shadows and highlights.
- Small details: Pay attention to the smaller details that give character to your greenery, such as buds, flowers, berries, or thorns. Add these details sparingly and precisely to avoid overwhelming your drawing. Use reference images to understand the specific features of each plant.
- Textural variety: Greenery isn’t just about leaves; it also includes other elements like moss, lichen, or even tiny insects. Incorporating these elements adds depth and interest to your drawing. Use a mix of short, curved lines and dots to create the textured appearance of moss or lichen. For insects, small and delicate lines or dots will capture their essence.
Remember to observe real-life greenery as you add details and texture to your drawing. Take your time and be patient with each stroke, allowing the natural textures to surface. Adding these details will elevate your greenery drawing and make it truly captivating.
When pencil drawing greenery, start with light, loose strokes to outline the shape of the leaves and branches. Then gradually add darker, more defined lines to create depth and texture. Remember to vary the pressure on your pencil to create different shades of green.
Shading and highlighting techniques
Shading and highlighting play a crucial role in bringing depth and dimension to your greenery drawings. These techniques add realism and create a sense of light and shadow. Here are some shading and highlighting techniques to enhance your greenery drawings:
- Gradual shading: Start by identifying the light source in your drawing. The areas that receive direct light will be lighter, while the areas in shadow will be darker. Use gradual shading to achieve smooth transitions between light and shadow. Begin with lighter pressure on your pencil and gradually apply more pressure as you move towards the shadowed areas. Vary the pressure to create different shades and tones, capturing the three-dimensional form of the greenery.
- Cross-hatching: Cross-hatching involves drawing parallel lines or strokes in different directions to create texture and shading. This technique is especially useful for drawing foliage and adding depth to your greenery. Experiment with different angles and densities of cross-hatching to achieve the desired effect. Use lighter strokes for areas with more light and denser strokes for areas in shadow.
- Contour shading: Contour shading is a method of emphasizing the shape and form of objects. It involves following the contours of the object with shading lines, accentuating the curves and outlines. Apply this technique to define the shape and structure of leaves, branches, and other elements in your greenery drawing.
- Highlighting: Highlights add sparkle and life to your greenery drawings. Identify the areas that would catch the most light and use an eraser or a kneaded eraser to gently lift off some graphite. This will create bright areas that represent the light reflecting off the surface of the leaves or other elements.
Remember to observe the lighting in your reference image and use these shading and highlighting techniques accordingly. Practice these techniques on a separate sheet of paper to gain confidence and control. With practice and experimentation, you’ll be able to master the art of shading and highlighting, adding depth and realism to your greenery drawings.
Blending colors for a realistic look
While drawing greenery with pencils typically involves shades of gray, adding a touch of color can bring your artwork to life. Blending colors allows you to create a more vibrant and realistic look in your greenery drawings. Here are some techniques to help you blend colors effectively:
- Colored pencils: Consider incorporating colored pencils in addition to graphite pencils. Using a limited palette of green shades, layer the colored pencils on top of your graphite base. Gradually build up the colors, blending them together with gentle strokes or a blending tool. This creates a smooth transition between shades and adds depth to your greenery.
- Layering: Layering is an essential technique in blending colors. Start with a light layer of the base color, using light pressure on your pencil. Then, gradually add layers of darker shades, increasing the pressure slightly with each layer. With each layer, blend the colors together using small circular motions or gentle strokes to create a seamless and natural look.
- Burnishing: Burnishing is a technique used to blend colors and create a smooth, polished appearance. Once you have layered your colors, apply heavy pressure with a lighter colored pencil or a colorless blender pencil. This will blend the colors together and create a soft, blended effect. Use this technique sparingly and selectively to add highlights or add depth to specific areas of your greenery.
- Blending tools: Blending tools such as tortillons, blending stumps, or even tissue paper can be used to blend the colors and achieve a smooth transition. Gently rub the blending tool or tissue paper over the colored areas, blending the colors together for a more cohesive look. Be mindful not to over-blend, as it can lead to a loss of texture and detail.
Experiment with different blending techniques and combinations of colors to find the right balance and achieve the desired effect in your greenery drawings. Remember to take into account the lighting and natural variations in color found in different types of greenery. With practice and patience, you’ll be able to blend colors seamlessly, adding depth and realism to your greenery artwork.
Adding depth and dimension
To create a truly impressive greenery drawing, it’s important to incorporate depth and dimension. These elements bring your artwork to life and make it visually engaging. Here are some techniques to add depth and dimension to your greenery drawings:
- Foreground, midground, and background: Divide your drawing into different layers to create depth. The foreground is the closest to the viewer, while the midground and background recede into the distance. Use overlapping elements and varying sizes to establish depth and give your greenery a three-dimensional feel.
- Perspective: Pay attention to the principles of perspective to create the illusion of depth in your drawing. Objects that are closer to the viewer should appear larger and more detailed, while those in the distance should be smaller and less defined. Adjust the size and level of detail of your greenery elements accordingly to give a sense of distance and perspective.
- Contrast: Utilize contrast to add depth and make certain elements stand out. Dark against light, and vice versa, creates a sense of depth and helps define the different components of your greenery. Create depth by adding darker shading to areas that are farther away and lighter highlights to areas that are closer to the light source.
- Variety in line weight: Vary the weight of your lines throughout the drawing to create depth and add emphasis to certain areas. Use darker, heavier lines to define the foreground elements and lighter, thinner lines for the background. This variation in line weight creates visual depth and guides the viewer’s eye through your artwork.
By incorporating these techniques, you can create a sense of space and depth in your greenery drawings, making them visually captivating and realistic. Remember to consider the overall composition and to maintain a balance between the various elements to achieve a harmonious and visually appealing result.
Read more: How To Store Apple Pencil
Final touches and finishing the drawing
As you near the completion of your greenery drawing, it’s time to add the final touches that will bring your artwork to its full potential. Paying attention to details and adding those refined finishing touches will elevate your drawing to a new level of realism and beauty. Here are some steps to consider for the final touches:
- Refining details: Take a closer look at your drawing and identify any areas that need refinement. This could include adding additional texture to leaves, adjusting the placement of branches, or enhancing small details like buds or veins. Use a sharp pencil or an eraser to carefully refine these elements and make them stand out.
- Emphasizing highlights and shadows: Go back to areas where you want to emphasize highlights or deepen the shadows. Add subtle highlights by gently erasing or lifting off graphite with a kneaded eraser. Darken the shadows by layering additional graphite or applying cross-hatching techniques. These touches will enhance the contrast and make your greenery pop.
- Creating depth with layers: One technique to create depth is by layering different elements of your greenery. Overlapping leaves, branches, or flowers will give the illusion of depth and create a more dynamic composition. Pay attention to the placement of these overlapping elements and use shading techniques to further enhance their three-dimensional appearance.
- Finalizing composition: Take a step back and assess the overall composition of your greenery drawing. Ensure that there is a good balance of elements, focal points, and negative space. Make any necessary adjustments to achieve a visually pleasing arrangement.
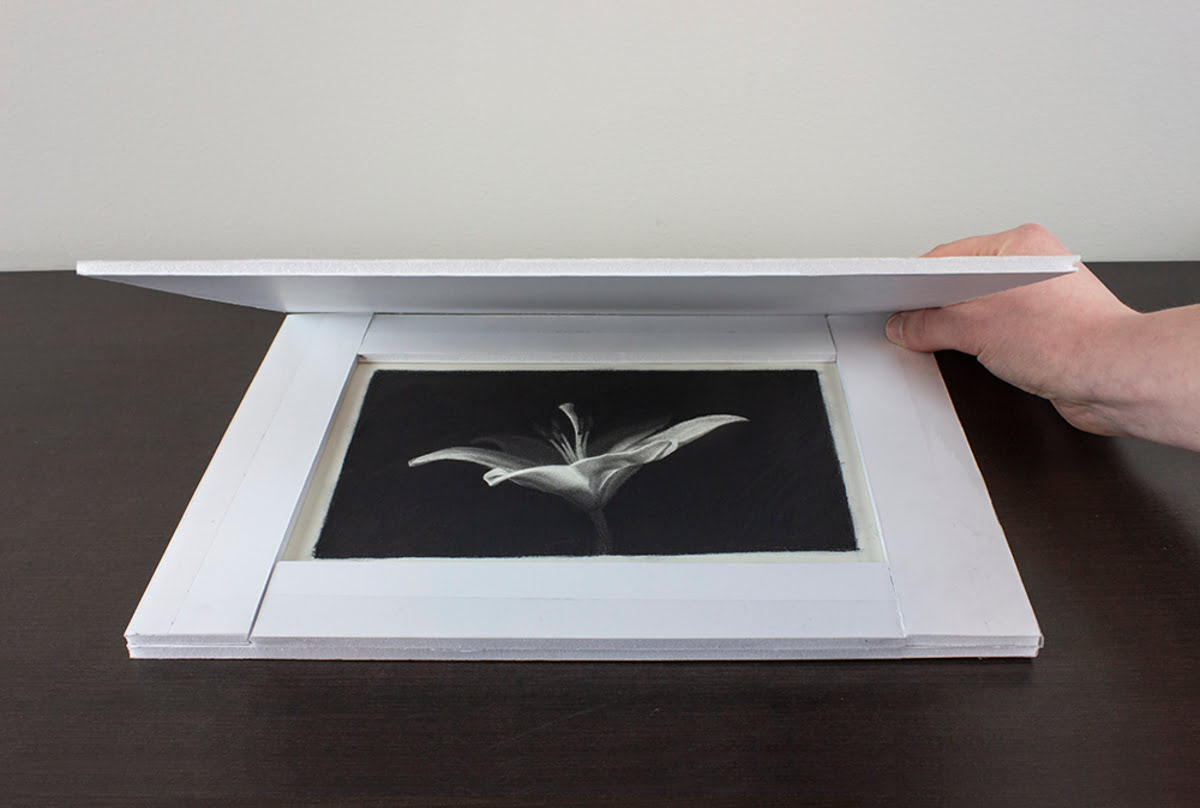
- Protecting the drawing: Once you are satisfied with the final touches, consider using a fixative spray to protect your artwork from smudging or fading. Follow the instructions on the spray can and let it dry completely before handling or framing your drawing.
Finishing touches are important to fine-tune your greenery drawing and add that extra level of polish. Take your time and pay attention to the small details. Sometimes, even the smallest adjustments can make a significant difference in the overall impact of your artwork.
With the final touches completed, step back and appreciate your finished greenery drawing. Admire the depth, texture, and realism you have achieved. Congratulations on completing a beautiful piece of art!
Conclusion
Drawing greenery with pencils is a journey that allows you to tap into your artistic skills and bring the beauty of nature to life on paper. The process of creating lush foliage, intricate branches, and vibrant leaves can be both fulfilling and rewarding. Throughout this article, we’ve explored various techniques and steps to help you master the art of drawing greenery.
We started by gathering the necessary materials and selecting the right pencils to achieve different shades and textures. Then, we delved into the foundational steps of sketching basic shapes and lines, establishing the structure of your greenery. From there, we explored different types of greenery and how to draw their unique characteristics, adding details and textures to make your drawings more realistic.
We also discussed shading and highlighting techniques to create depth and dimension in your greenery drawings. The use of blending colors brought vibrancy and added a touch of realism. Adding depth and dimension to your drawings made your greenery come alive, captivating the viewer’s attention.
Lastly, we explored the importance of final touches and refinement, paying attention to small details and making necessary adjustments. By refining the details, emphasizing highlights and shadows, and finalizing the composition, you can bring your greenery drawing to its full potential.
Remember, practice and experimentation are essential in developing your skills as an artist. Observe nature, reference images, and real-life greenery to gain inspiration and accuracy in your drawings. Embrace the joy of creation and allow your creativity to flourish.
Now, armed with the techniques and knowledge shared in this article, it’s time for you to pick up your pencils, let your imagination run wild, and immerse yourself in the beauty of drawing greenery. Enjoy the process and the amazing results that await you!
Frequently Asked Questions about How To Pencil Draw Greenery
Was this page helpful?
At Storables.com, we guarantee accurate and reliable information. Our content, validated by Expert Board Contributors, is crafted following stringent Editorial Policies. We're committed to providing you with well-researched, expert-backed insights for all your informational needs.


0 thoughts on “How To Pencil Draw Greenery”